When you click on links to various merchants on this site and make a purchase, this can result in this site earning a commission. Affiliate programs and affiliations include, but are not limited to, the eBay Partner Network.
Hello Everyone, this is my first time joining a forum and my first Jeep! So lots of new stuff!
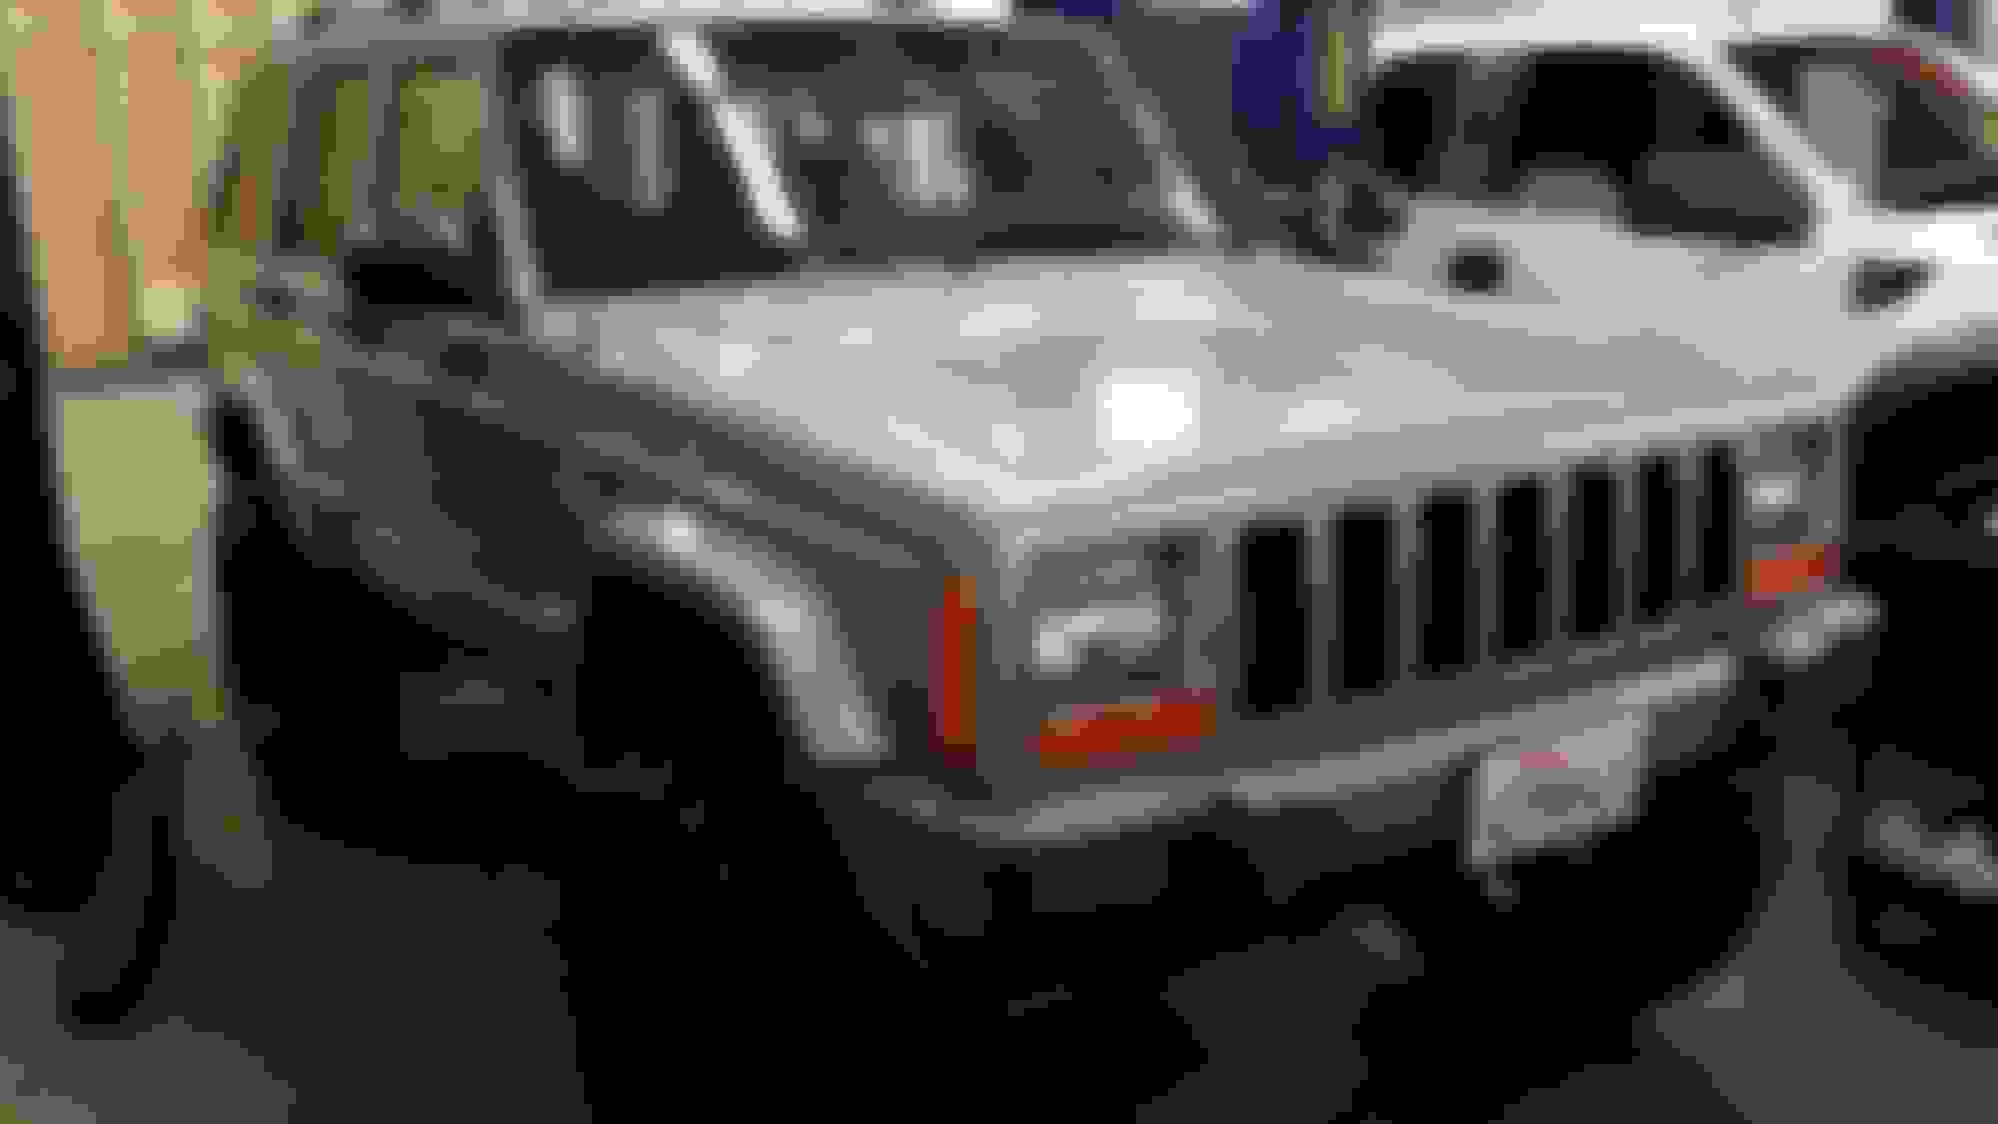
I recently purchased a 2000 Jeep Cherokee Sport for $3200.00 It was bone stock with 184k miles, A/C does not work and a small oil leak/ drip from what looks like the rear main seal.
Obviously the tires were shot, and the suspension (if we can call it that) was completely gone, the rear leaf springs were flat.
Brakes seam to work good, however the booster looks like it has been seeping where the master cylinder connects.
The paint is in decent condition and the interior is decent. The headliner needs to be replaced. It is sagging.
Hay, it is almost 15 years old!
Just picked this up on 10-9-14. Decent shape for 184k miles
Ok so I decided on the Rubicon Express 6.5 Extreme list kit. I took it to Custom Truck Shop by my house in San Dimas, CA. They installed it as well as 33" Toyo MTs and 16" Procomp steel wheels in black.
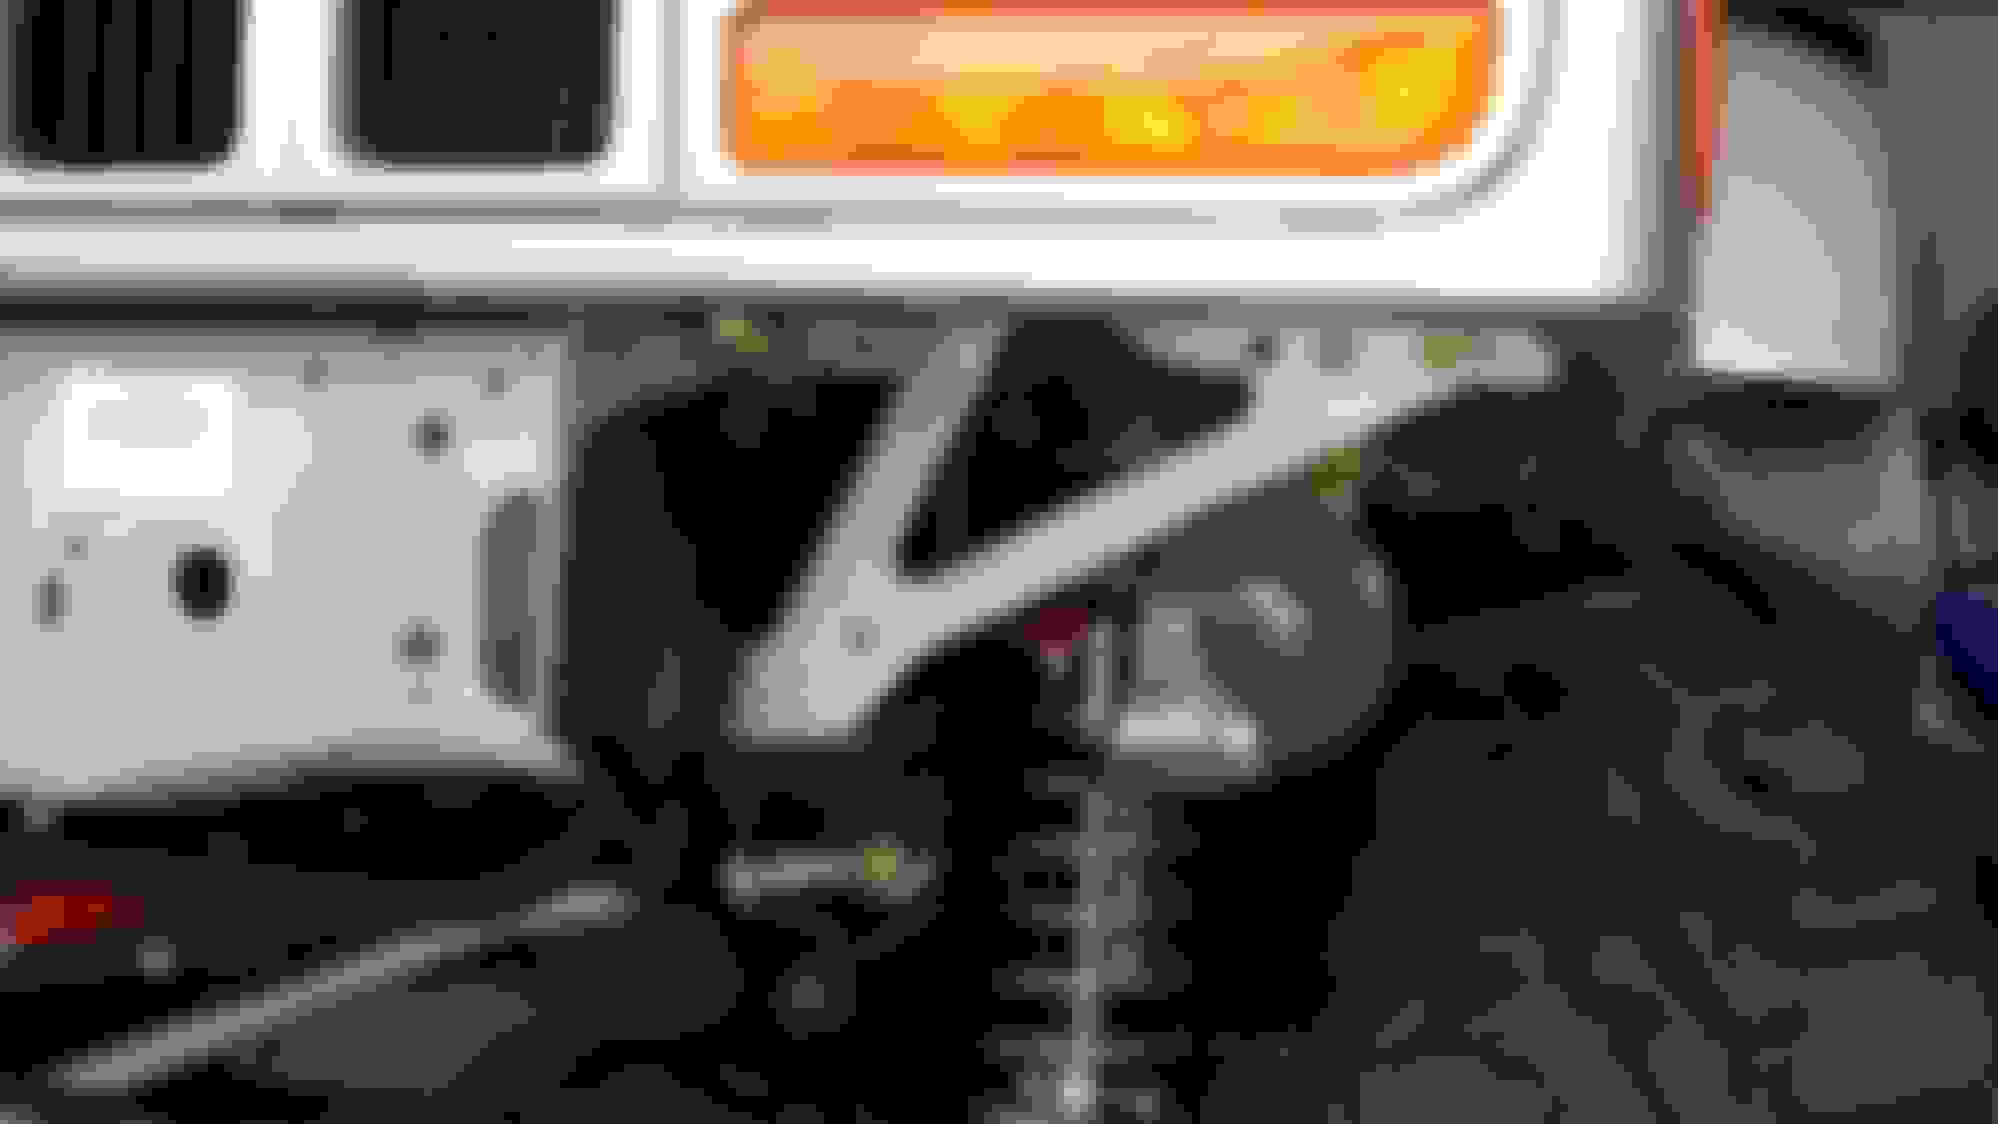
I got my Jeep back from the shop on Friday night, and got it into the garage. On Sunday, I started the Smittybilt XRC front bumper install.
First off the Smittybilt install instructions look like the have been translated from english to Chinese and back to english! They are awful.
1. I first started with inventorying the parts. This parts list did not match what I actually had. It appears I had more that what was on the list so I did not worry about it.
2. The first thing the instructions say to do is remove the stock bumper. Again not very detailed. This is what I found:
- There are 4 bolts per side that hold the plastic end caps to the metal center piece. Unbolt those and remove the end caps. I had to bend back the plastic wheel well liners.
- This will expose the 4 star? head bolts that hold the main front metal piece to the frame brackets. Also there will be 2 screws that attach to some kind of vacuum canister. Remove the metal bumper and sell on craigslist?
- This leaves the stock bumper brackets exposed. Remove those.
- Starting on the drivers side, I removed two bolts from the steering box and left on in. Then I installed the new XRC plate and temporarily installed two new bolts. This way the staring box was never without support. Then I removed that last bolt and aligned the bracket and installed the new last bolt. A note here, the old bolts had what looked like blue thread locker, so I installed new blue thread locker on my new bolts. I also temporarily installed a couple of the old bolts in the two front holes to make sure the were in align.
- I then moved to the passenger side. I did have to drill out one hole as the instructions said and got it all aligned.
- I need to go through and torque all the bolts now.
- I have a horn on both sides and am not sure how the bumper will fit, I may need to relocate them. Also, I am not sure if the vacuum canister will fit.
- At this point I read the instructions for the "bull bar" and it said to remove the bumper to install. I have not installed the bumper yet so that just saved me some work. I bolted the bull bar to the bumper and torqued it down.
That is as far as I got. More to come....
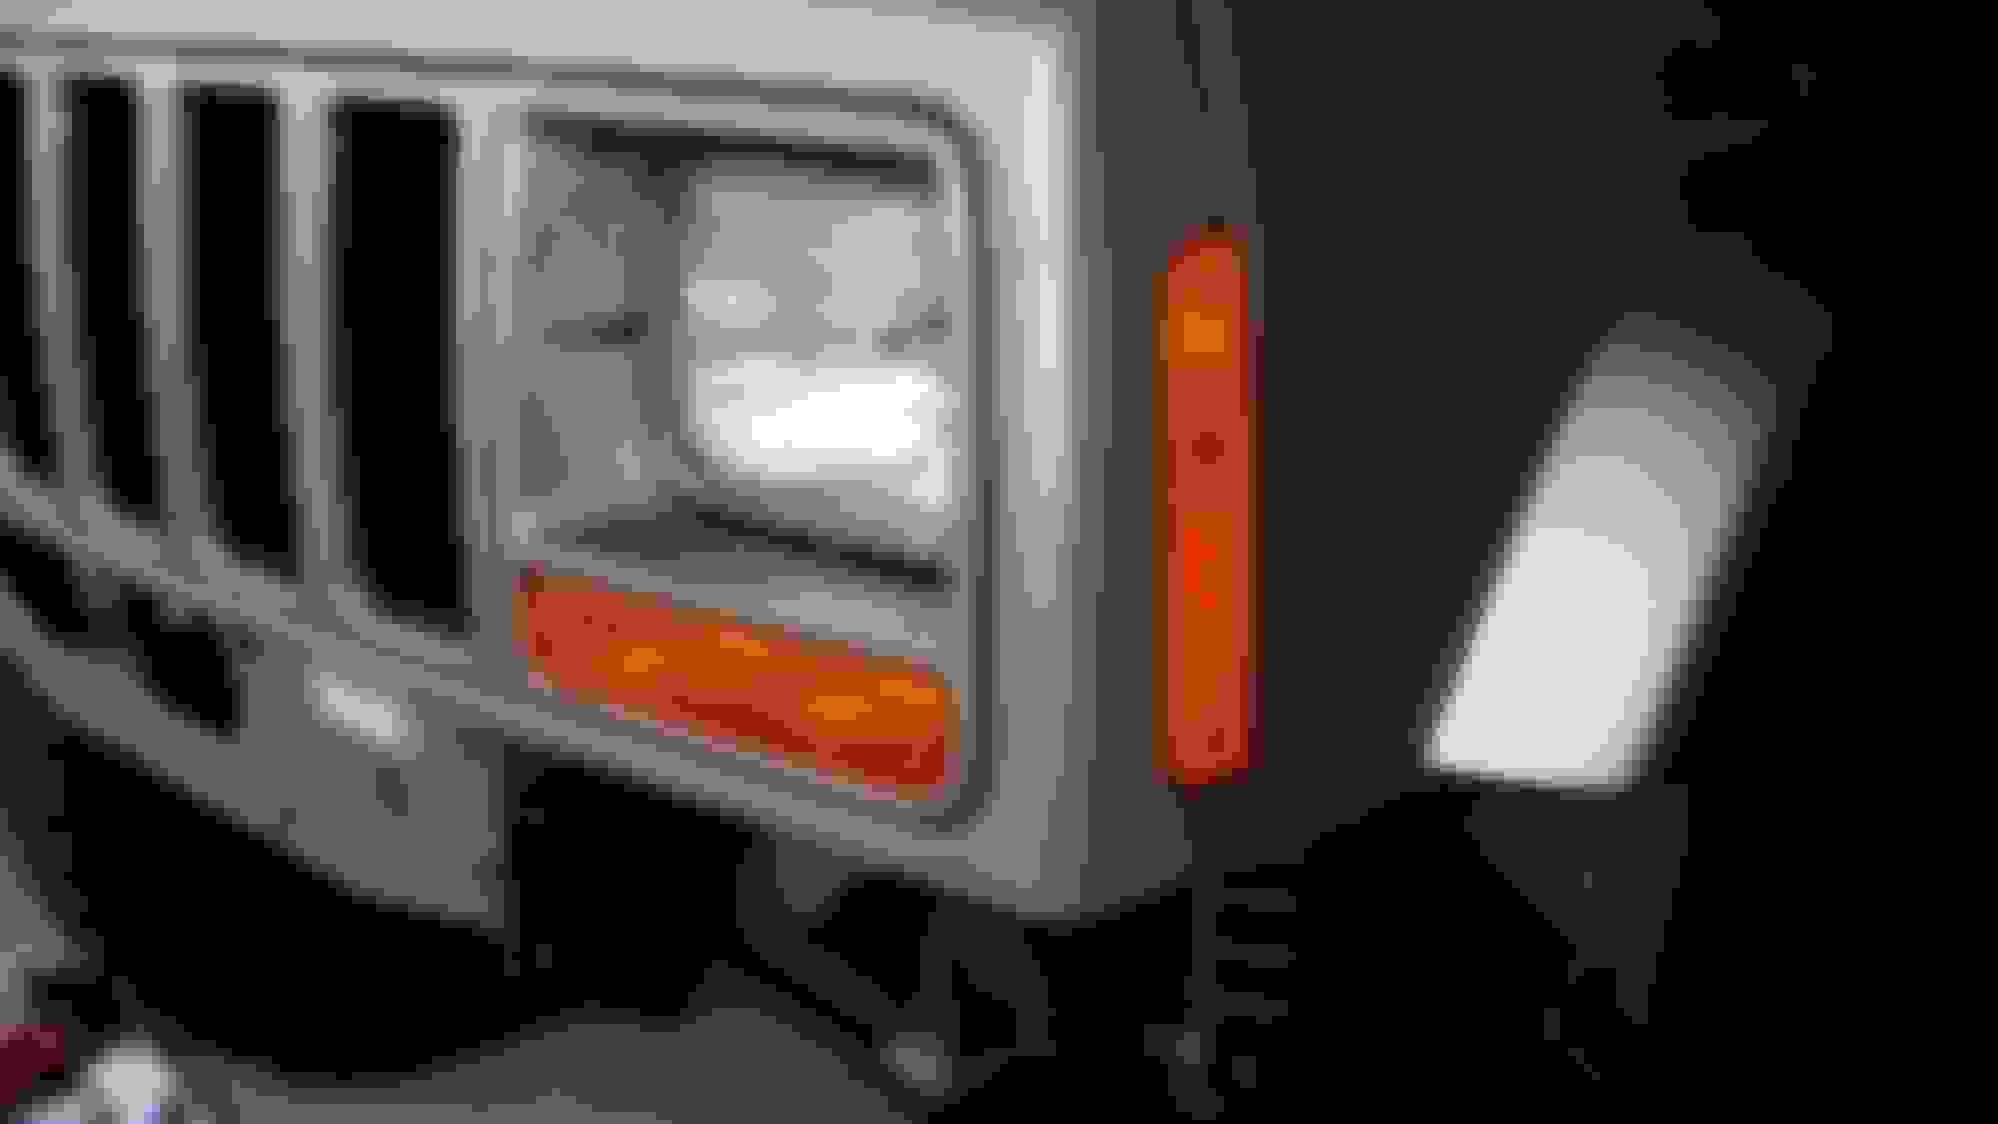
Does anyone know what this connector is for? I'm thinking it was for fog lights?
 10-20-2014, 01:04 PM