When you click on links to various merchants on this site and make a purchase, this can result in this site earning a commission. Affiliate programs and affiliations include, but are not limited to, the eBay Partner Network.
Its been a while since I've updated the thread, but I've been getting some small things done on the Jeep. Nothing very exciting, but it feels good to get things done and make progress.
When I first got the Jeep I noticed the passenger side floorboard would feel damp after a hard rain. I couldn't see where anything was dripping on to the carpet, so I figure it might be seeping in from underneath somewhere. I removed the passenger seat and pulled up the carpet. This is what I found.
It was mostly surface rust, with a small hole almost the size of a dime. I did some sanding and brushed on some Ospho which chemically converts and stops the rust.
After letting it dry completely, I painted the area with some Rust Reformer. Since it was such a small area and I don't have a welder, I used some 3M Marine Adhesive and a electrical box knockout about the size of a quarter to patch the dime sized hole.
Sorry no after pictures since my hands were pretty messy.
Last edited by pittman71; Apr 14, 2015 at 03:41 PM.
I began looking for the leak to prevent this from happening again. I used a water hose and started spraying areas starting low and working my way up. Started at the lower door seal, then antenna seal, then cowl, then windshield and under the hood. I isolated each area and found that when I sprayed the hood and/or under it, I was getting a small leak coming from the bottom of the hvac/heater box where it meets the firewall. After reading countless threads about typical leaks, I did seal one area that some may miss. It is the area under the hood where the firewall meets the passenger fender. There was an area of seam sealer from the factory that had cracked and could be part of the problem. I used the 3M Marine Adhesive sealant that was mentioned in some other threads. I also sealed the foam hood hinge seal to the firewall with some RTV.
Before:
After:
After giving it the proper time to cure, I tested for leaks again. When I sprayed the blower motor with a hose, I was still getting a trickle from the bottom of the heater box inside.
As I stated earlier, I discovered that I was only getting the leak when spraying the blower motor under the hood. Many others have reported to have stopped the leak by sealing between the blower motor housing and the area it mounts to on the firewall. I noticed that the way it mounts on my 97 is different to how the earlier ones mount. So, after wrestling my blower motor/housing out I took a closer look.
I noticed the backside of the housing has a lip that seats into a recessed area that is actually part of the hvac box itself. I have a hard time believing that the water was traveling around these three opposing lip areas. After further examination, I saw a small gap between the hvac box and the firewall where I could see foam peeking through. This was also the lowest point where water would settle. So I used a long funnel to isolate that area and poured some water though it making sure none made it past where the blower motor would have been. Sure enough IT LEAKED!
After letting it dry I used some black RTV to seal the gap between hvac box and the firewall at the bottom and along the seam up to the half way point on each side.
After waiting a few days I went out and tested it again. I am happy to report no leak! Hope this helps the 97+ owners that are having this same leak.
A little while later the Jeep would not start. I had a feeling I would run into this sooner or later since I had noticed that the reverse lights had not been working which these both together indicate a bad neutral safety switch.
That had me thinking about how dirty it was under the hood with the leaks and everything. So I gave it a pressure wash and replaced the valve cover gasket with the nice blue rubber one.
I didn't use any RTV and have had no leaks. No install pics since there are many threads already. I will be doing the oil filter adapter O rings later.
The previous owner had installed a aftermarket head unit. Unfortunately he used a piece of wood to support it and black duct tape to fill the surrounding space.
I was amazed at the trouble he went through to cut and notch the wood to fit when a proper install kit can be found so cheap.
So I took it apart and did it right. Very easy job as well.
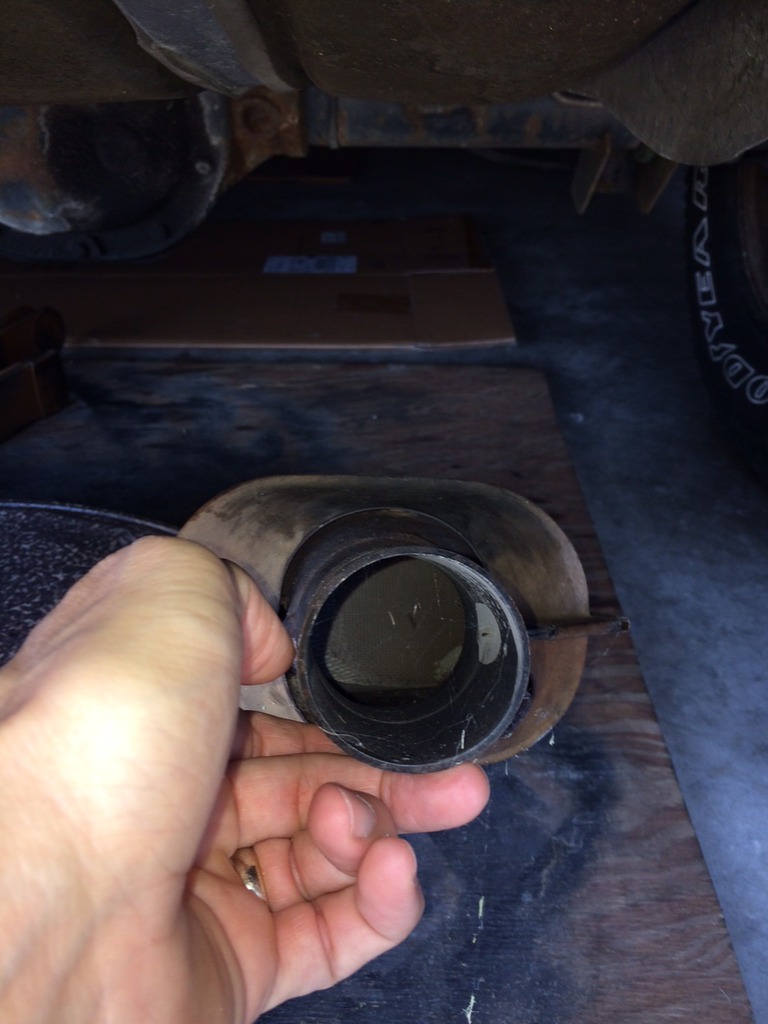
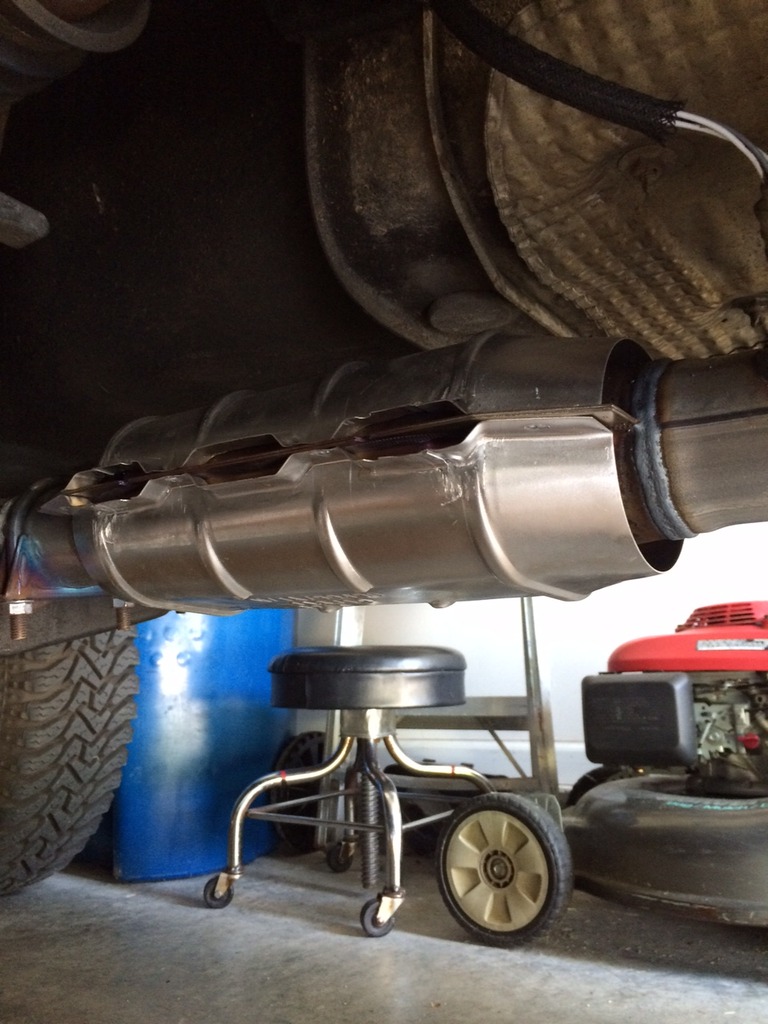
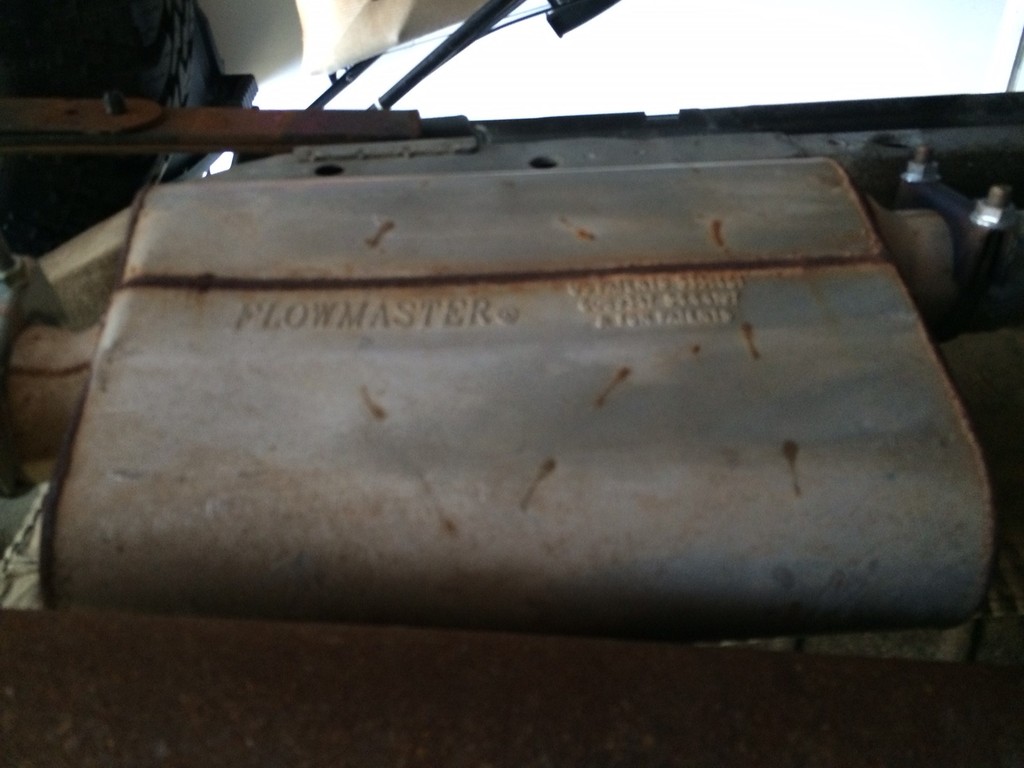
When I first bought the Jeep, I noticed a rattle coming from the catalytic converter area. Since it didn't rattle all the time and performance was not affected, I figured it was just a heat shield. After checking, shaking and tapping in several areas without finding anything loose, I knew it was probably the cat. The original muffler had seen better days as well. After taking it apart I could see the element loose inside the cat.
I found decent deal on a direct fit Walker Cat here:
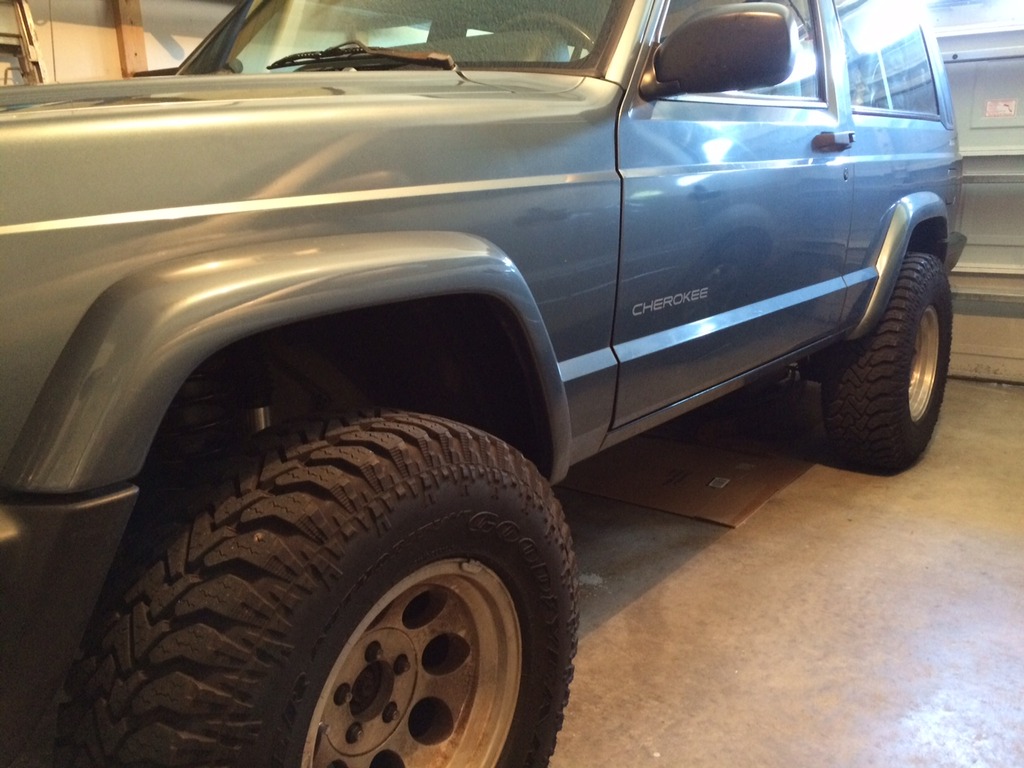
I had picked up some paint matched flares from another forum member a while back. Finally had time to install them. Was a pain since its difficult to avoid snapping the bolts, but its a great improvement from the original black discolored to gray ones.
Hey Turtle!!! Just catching up. I'm soooooo jealous you are that far ahead of me! I have a '97 donor sitting in my yard, so get a hold of me before you go crazy buying stuff from EBay. Good job, Bud.
Let me know if you need any rust repair help. You're only an hour and a half away.
Thanks for coming by! I'm sure you and the boys will catch up and surpass me in no time. You already have me envious of that longarm setup. Hopefully the ospho will have taken care or the little bit of rust I found. It was mostly surface except for the small hole I patched. I still have some things to do, but I'm happy to have it on the road for now.