Gnarly jeep build with mega insaneness
 09-09-2012, 10:37 AM
#1
Seasoned Member
Thread Starter

Join Date: Oct 2010
Location: Muskegon, MI
Posts: 310
Likes: 0
Received 0 Likes
on
0 Posts
Year: I've had a few...
Model: Cherokee
Engine: A secret
WELL I'VE HAD A LOT OF JEEP....

WELL... a few Jeeps later...
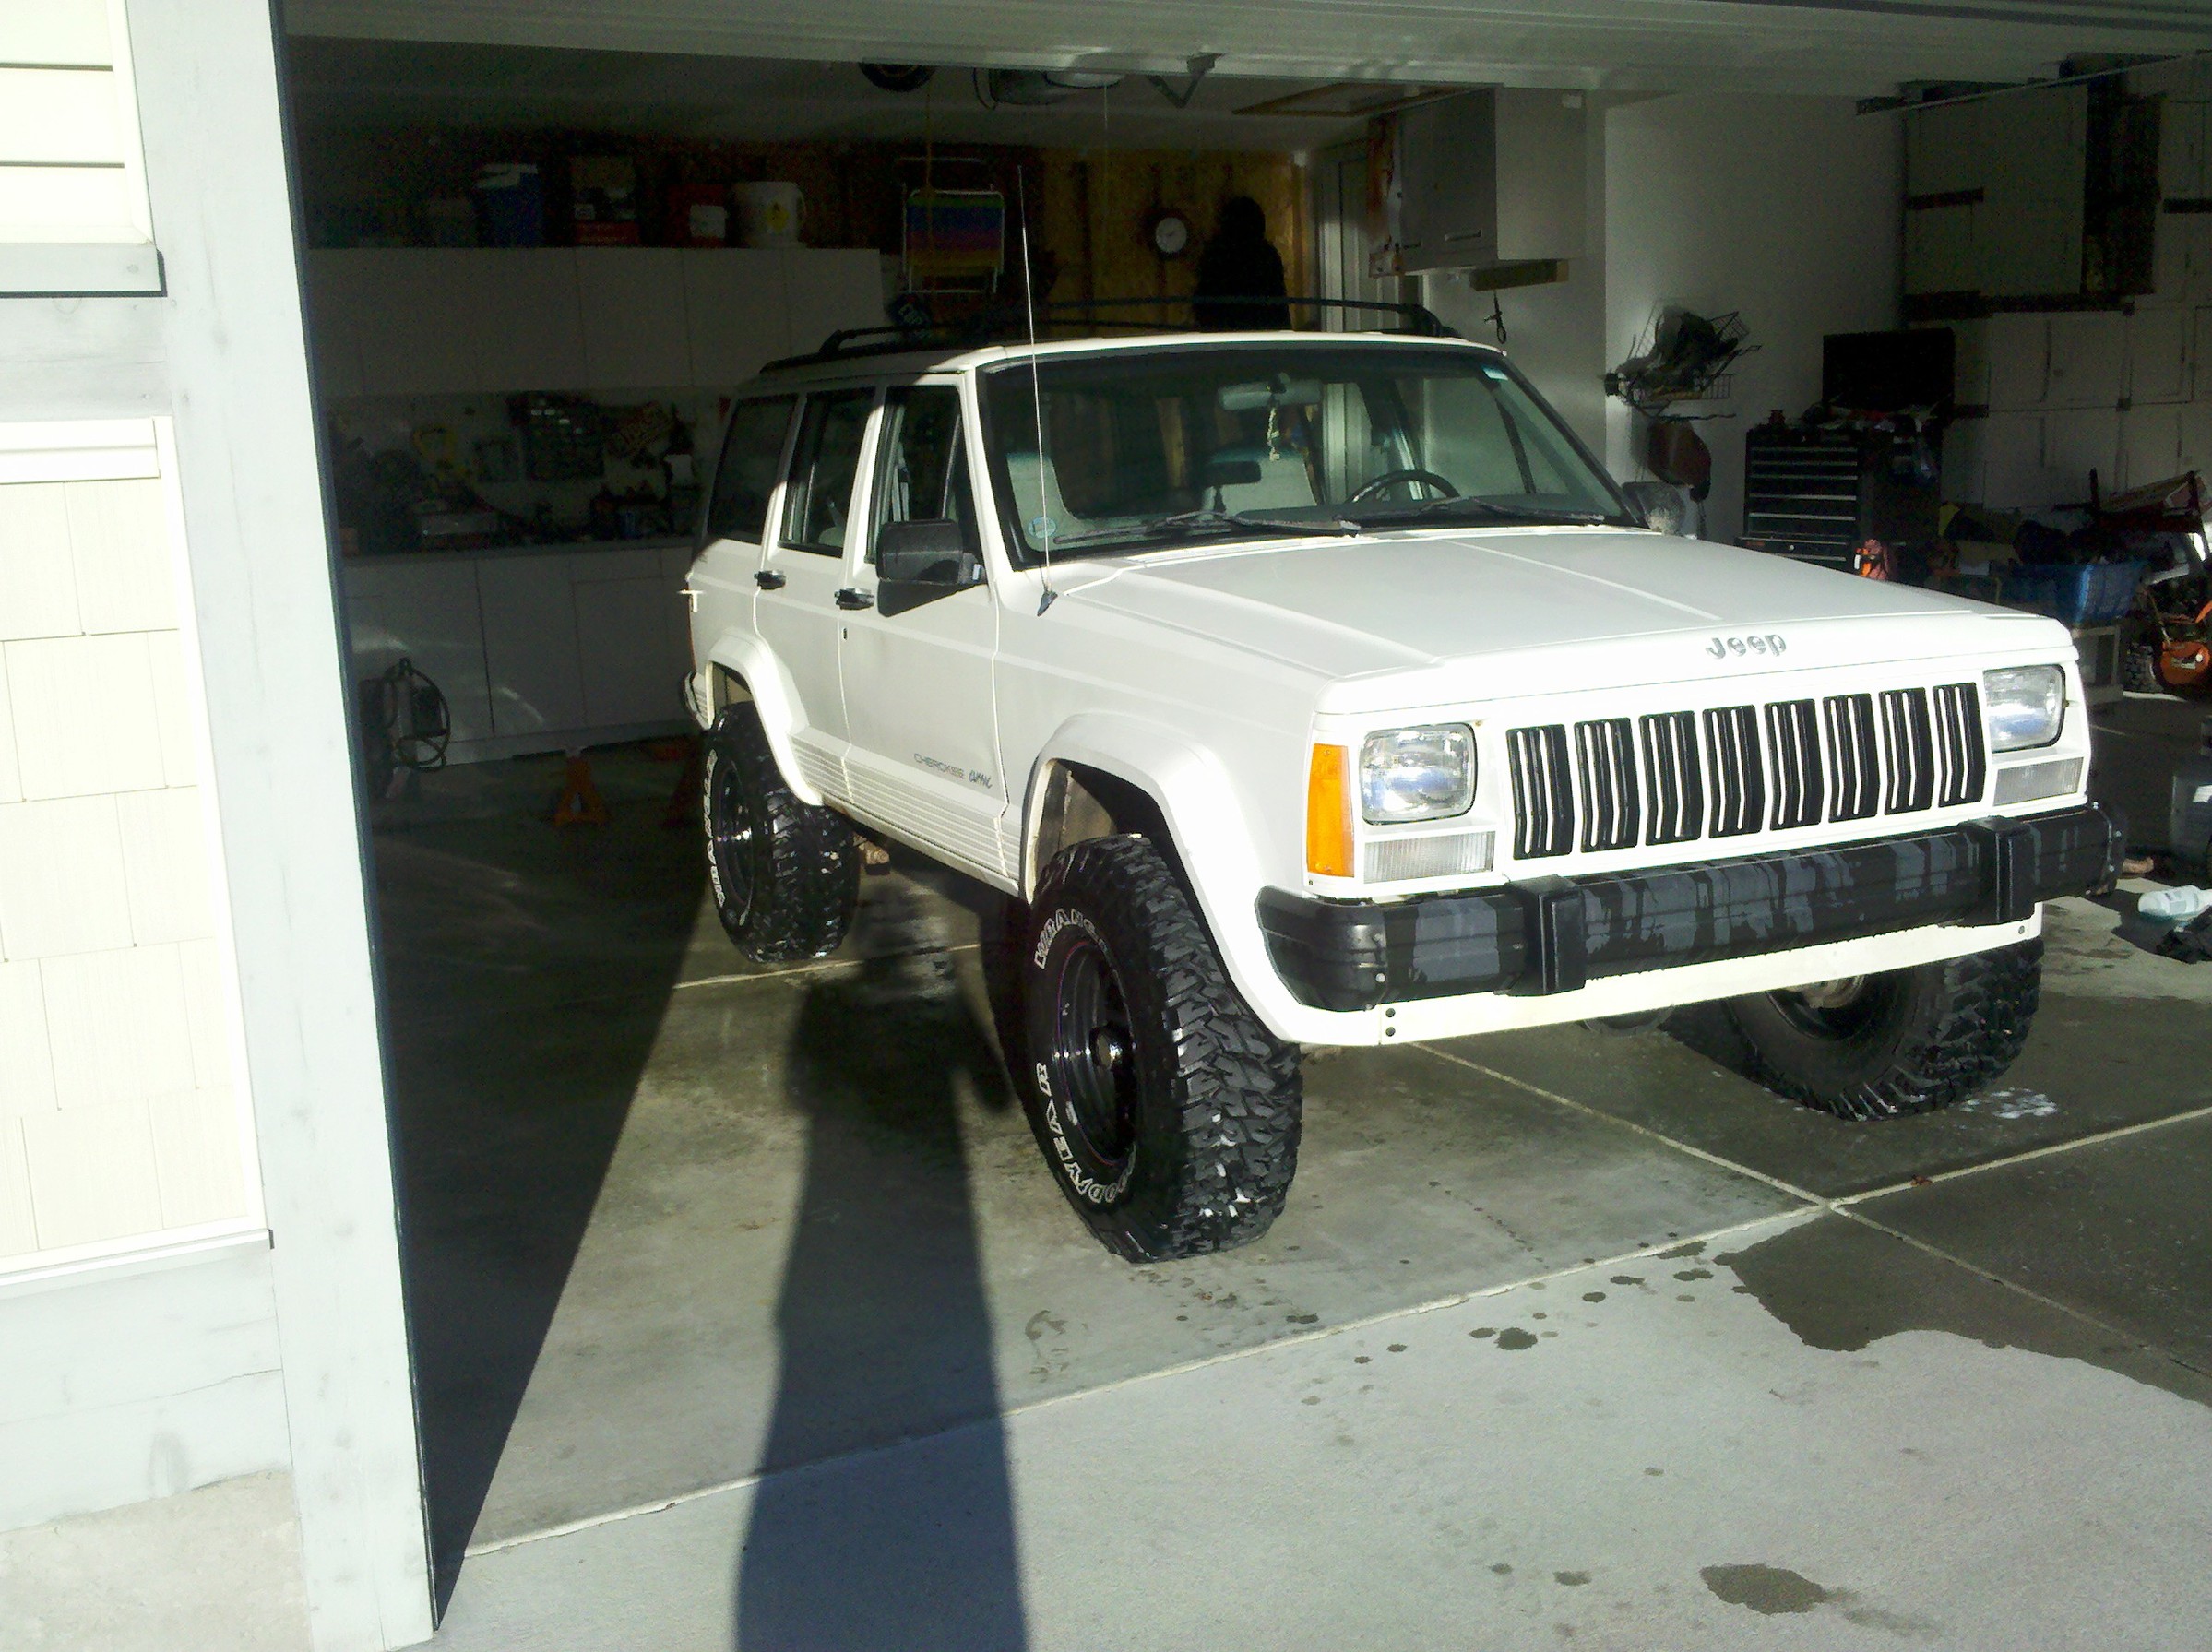
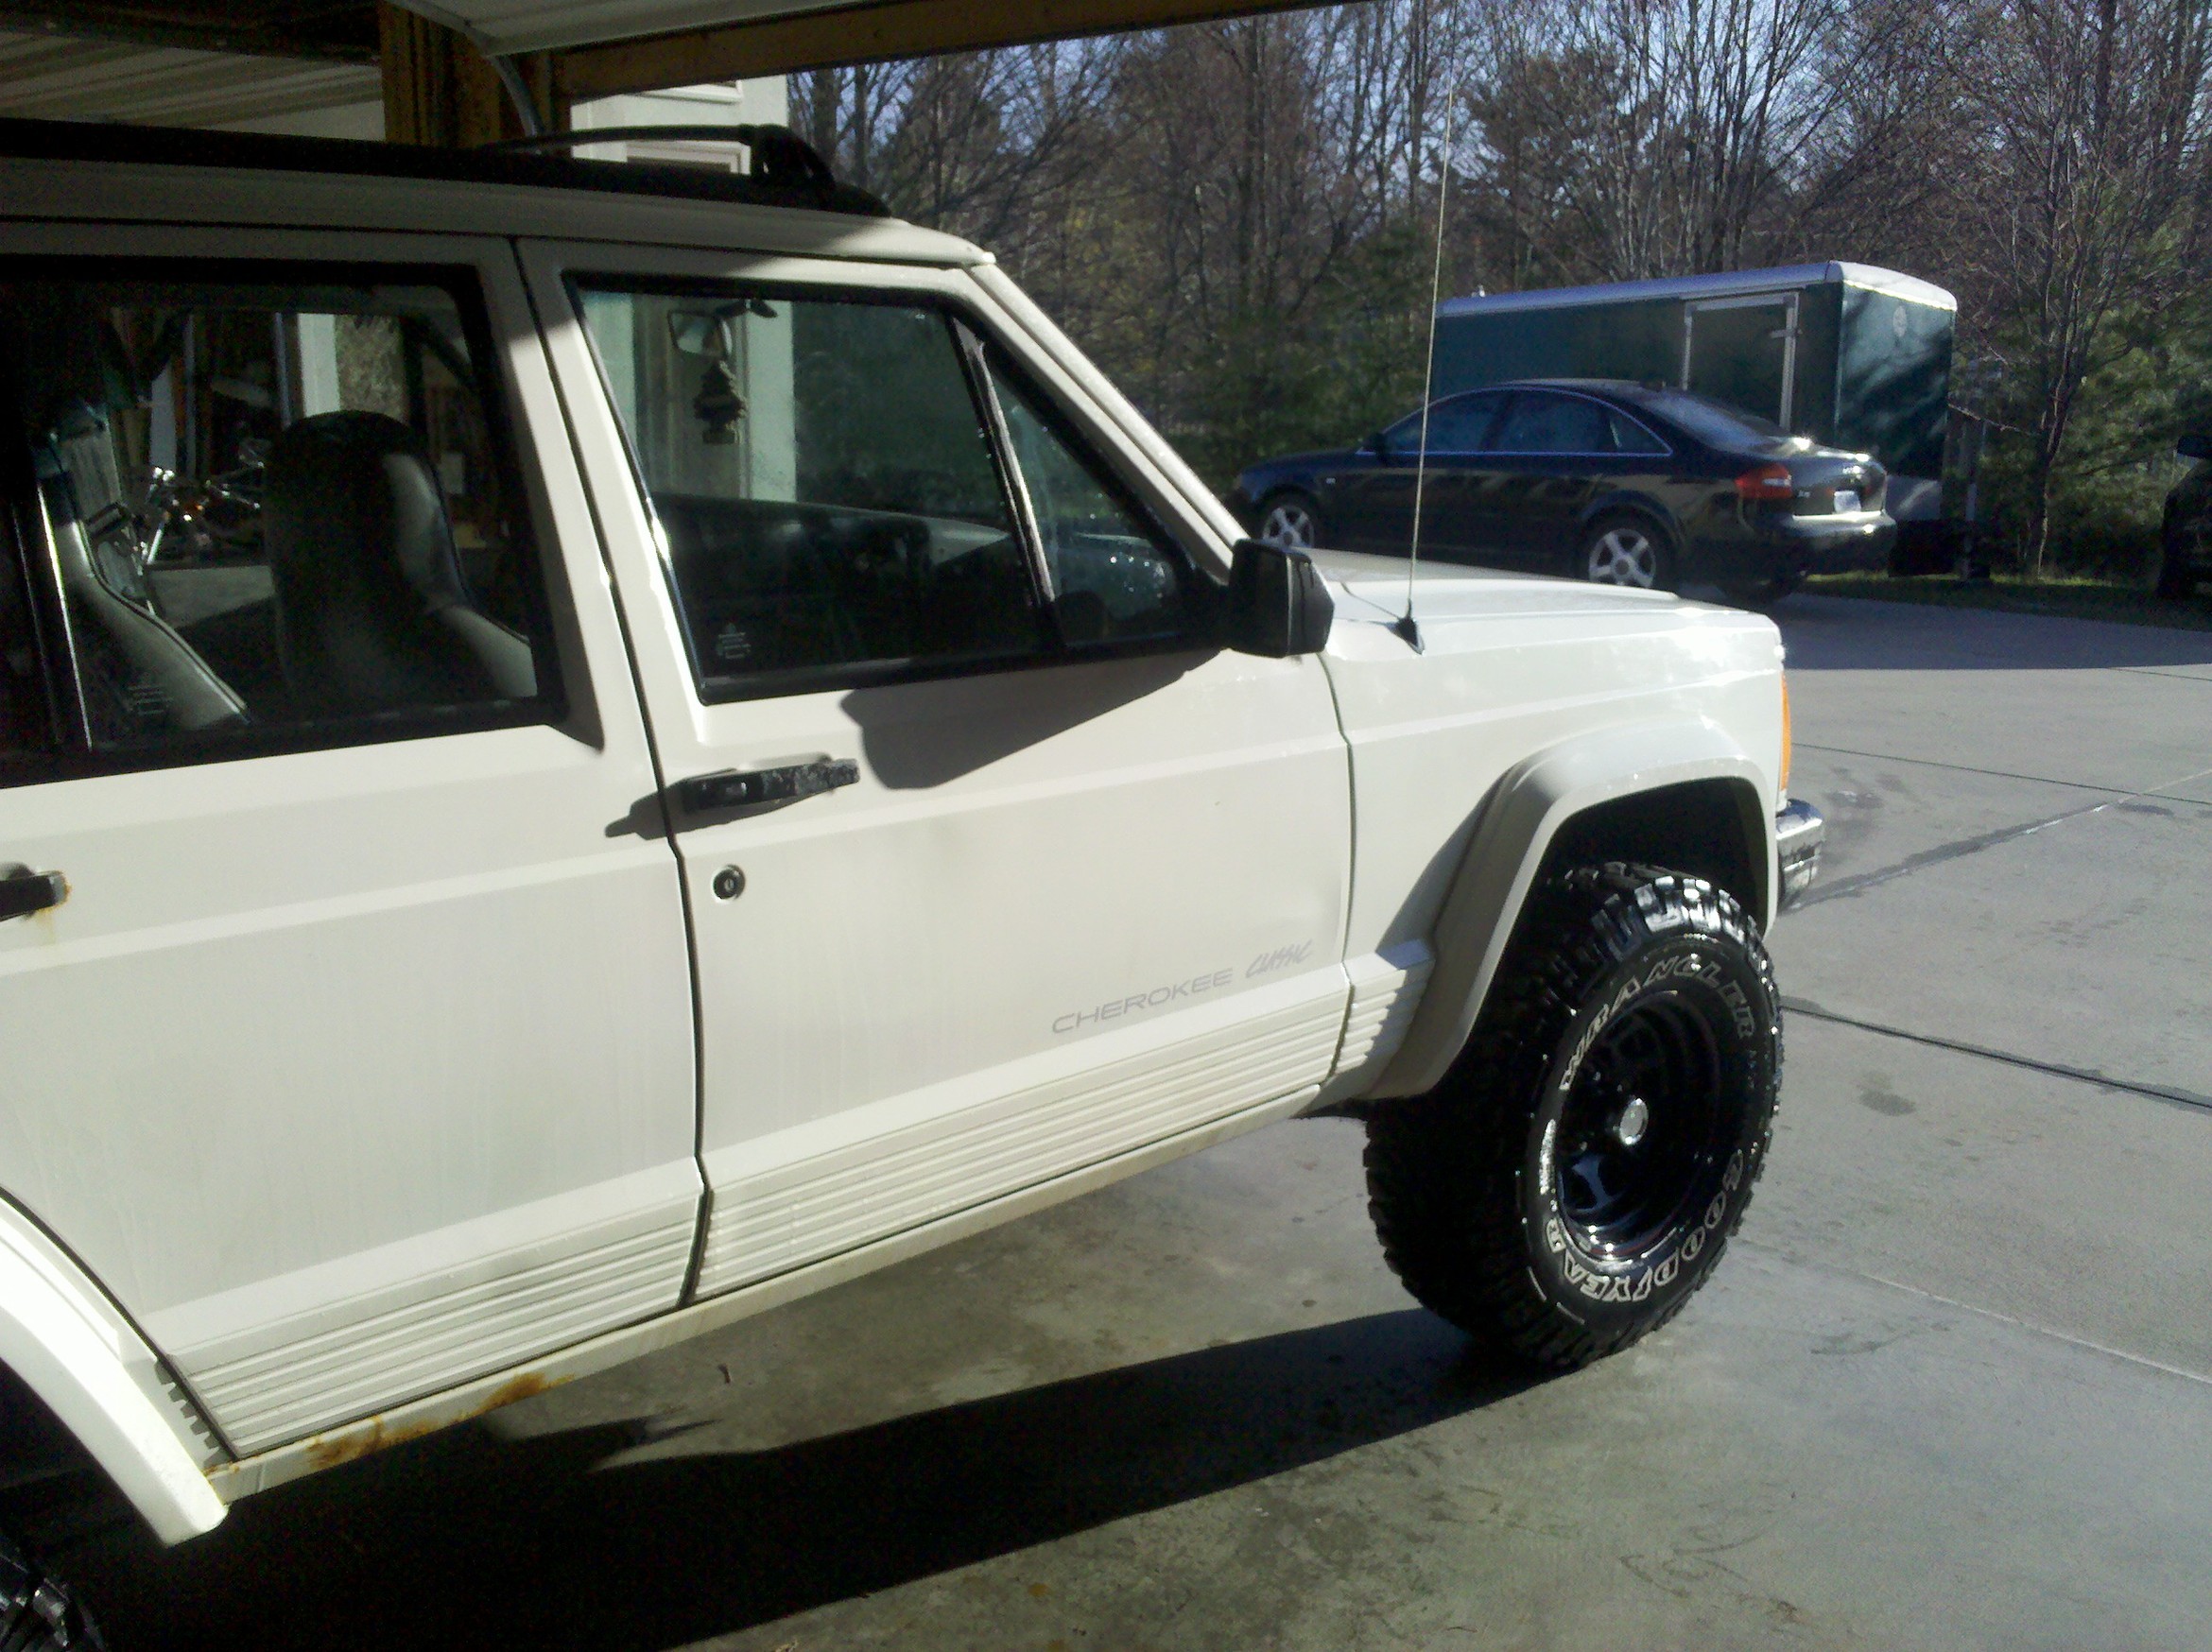
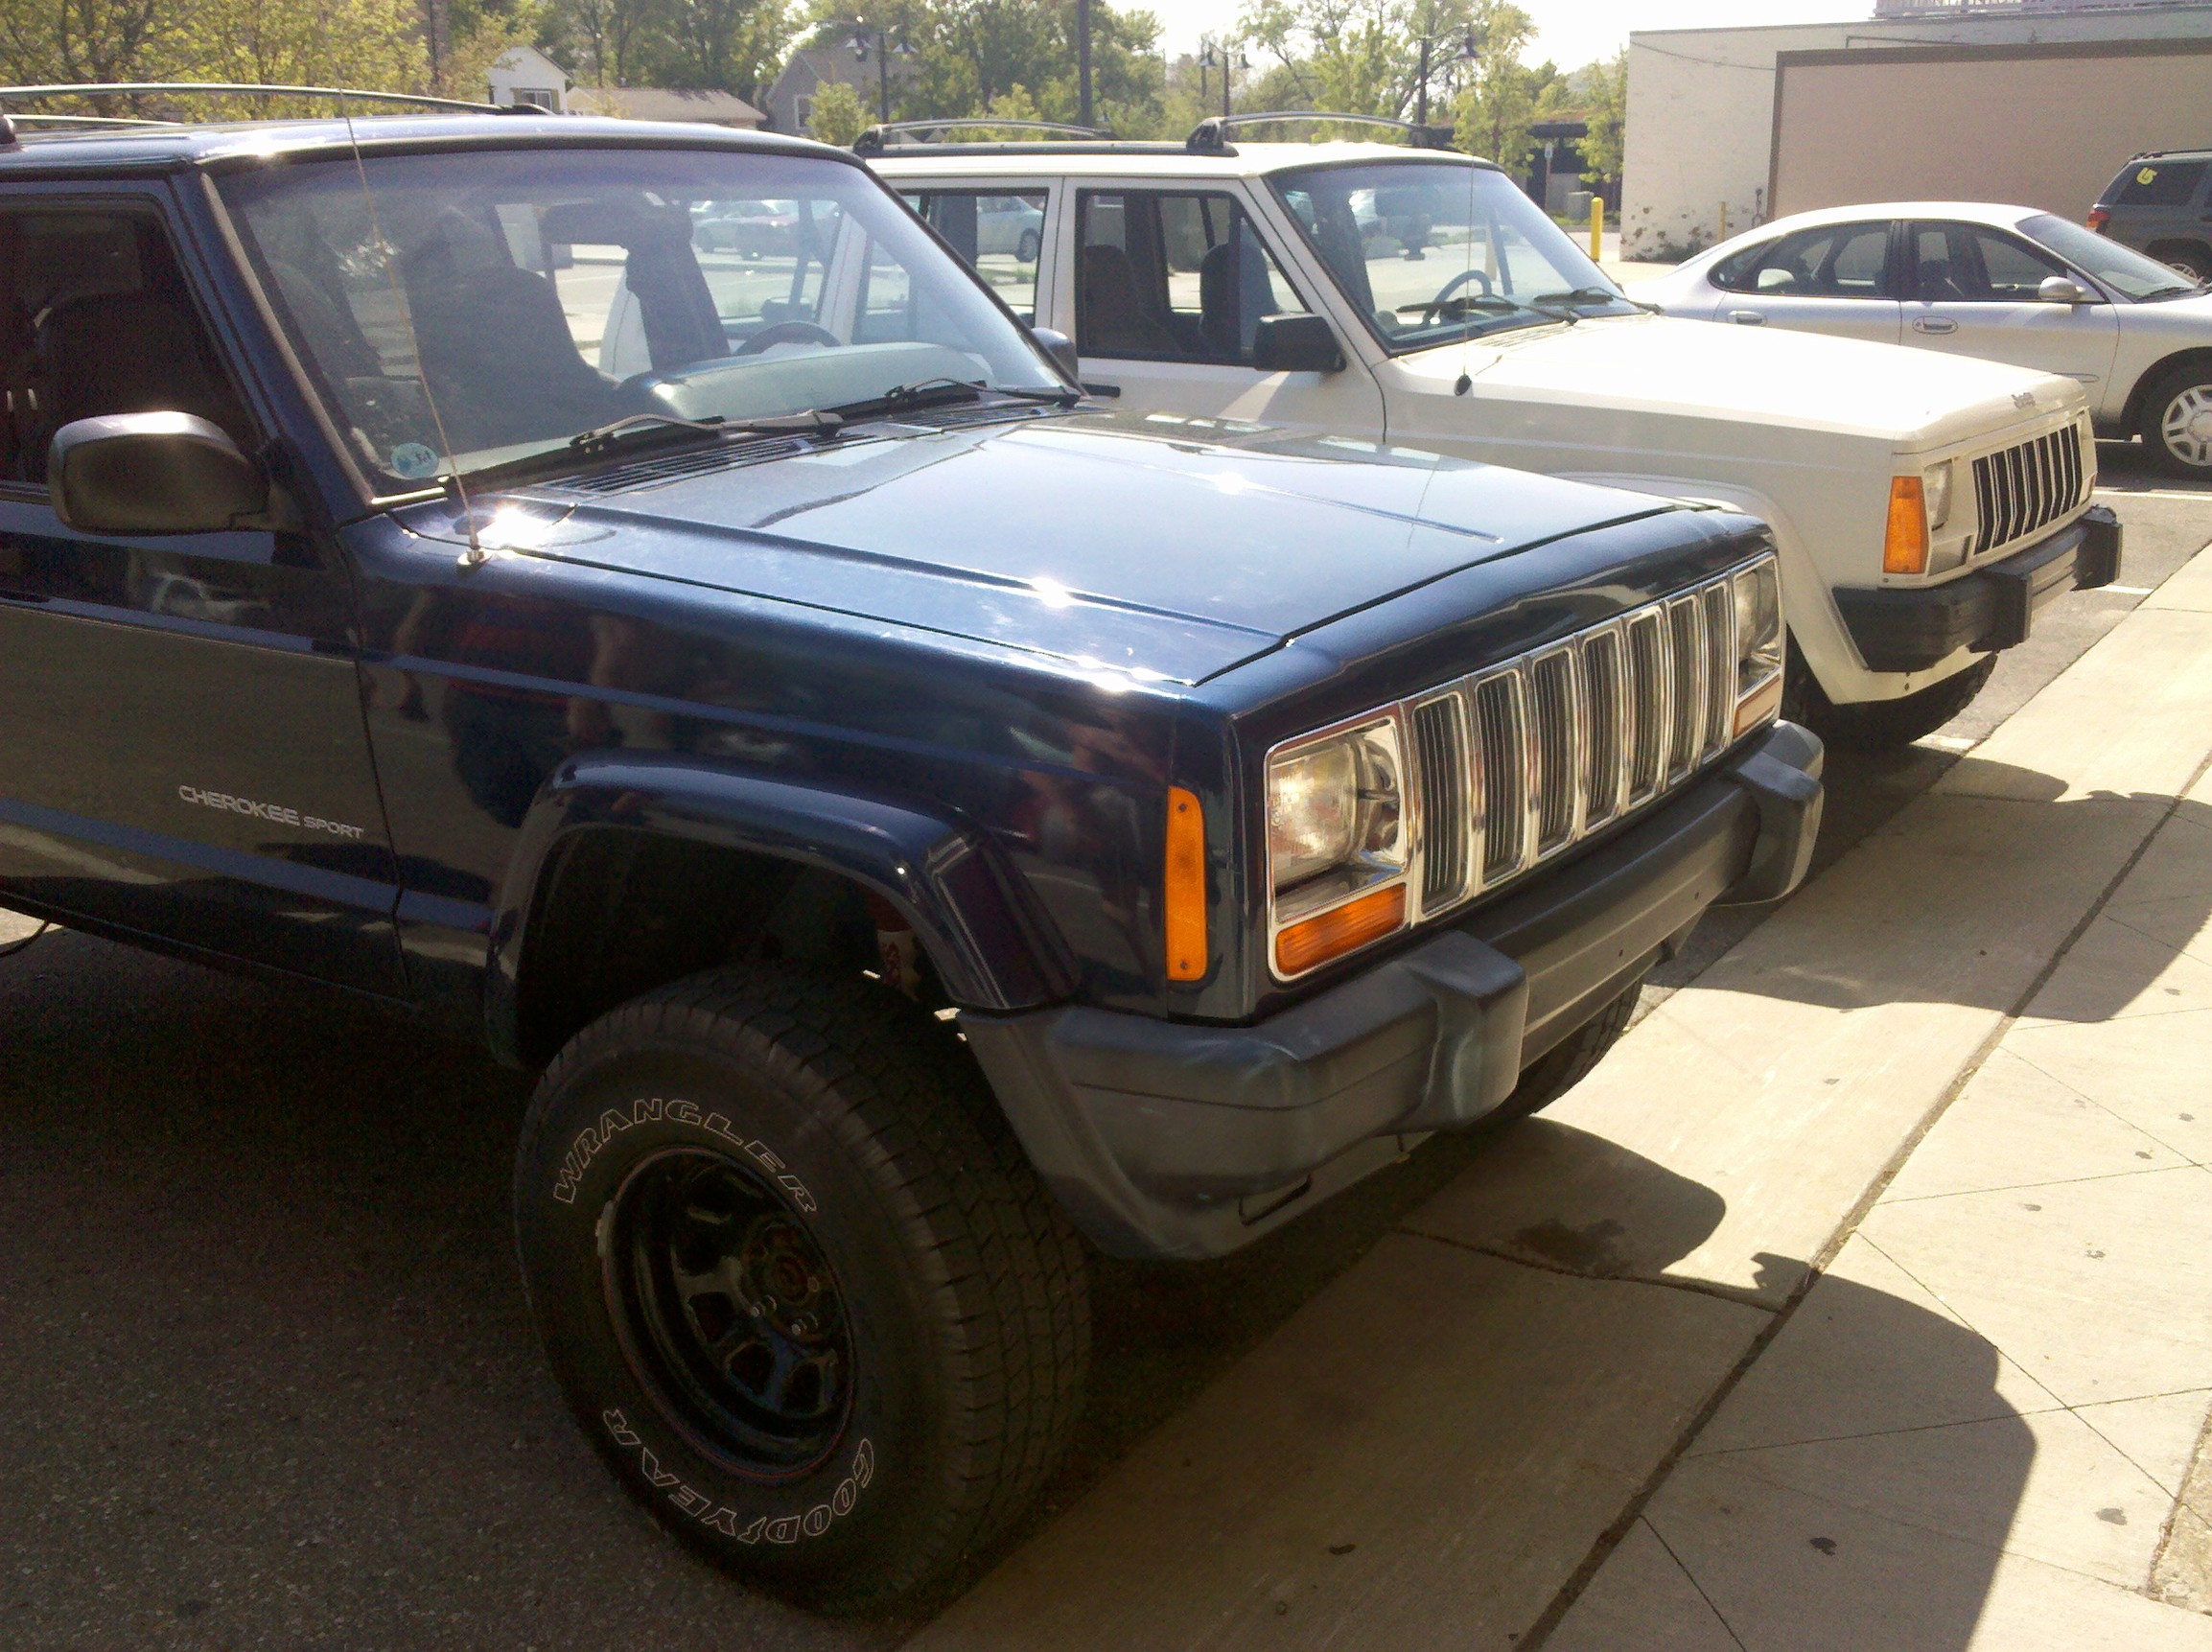
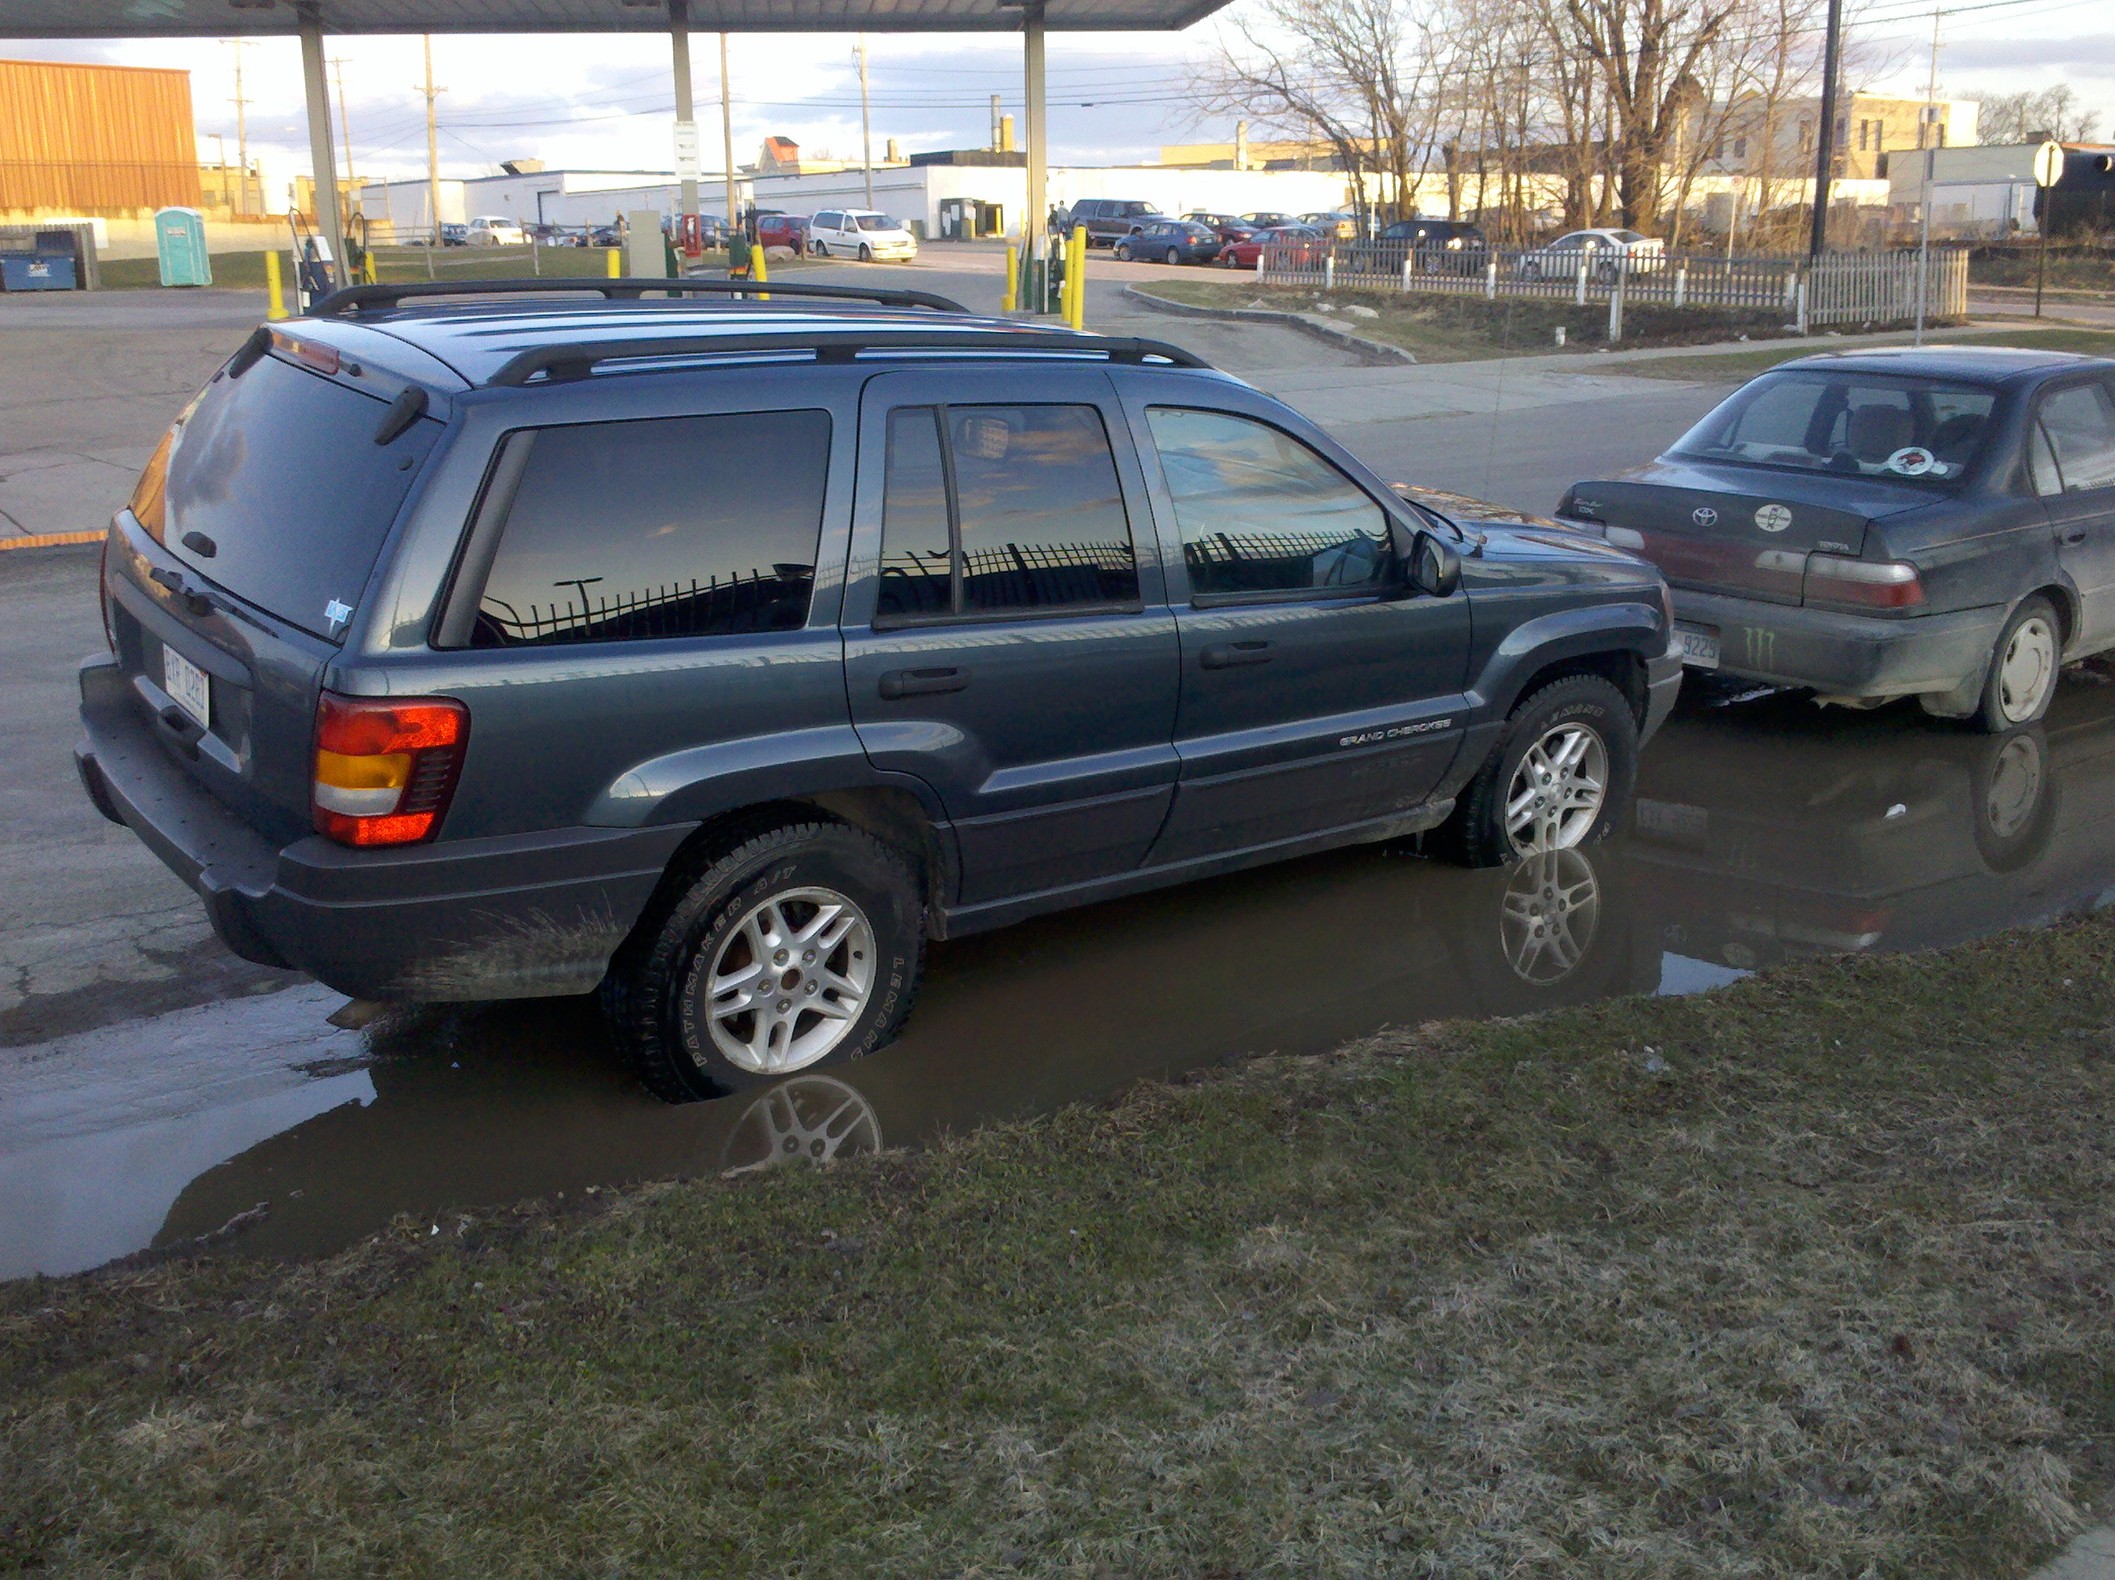
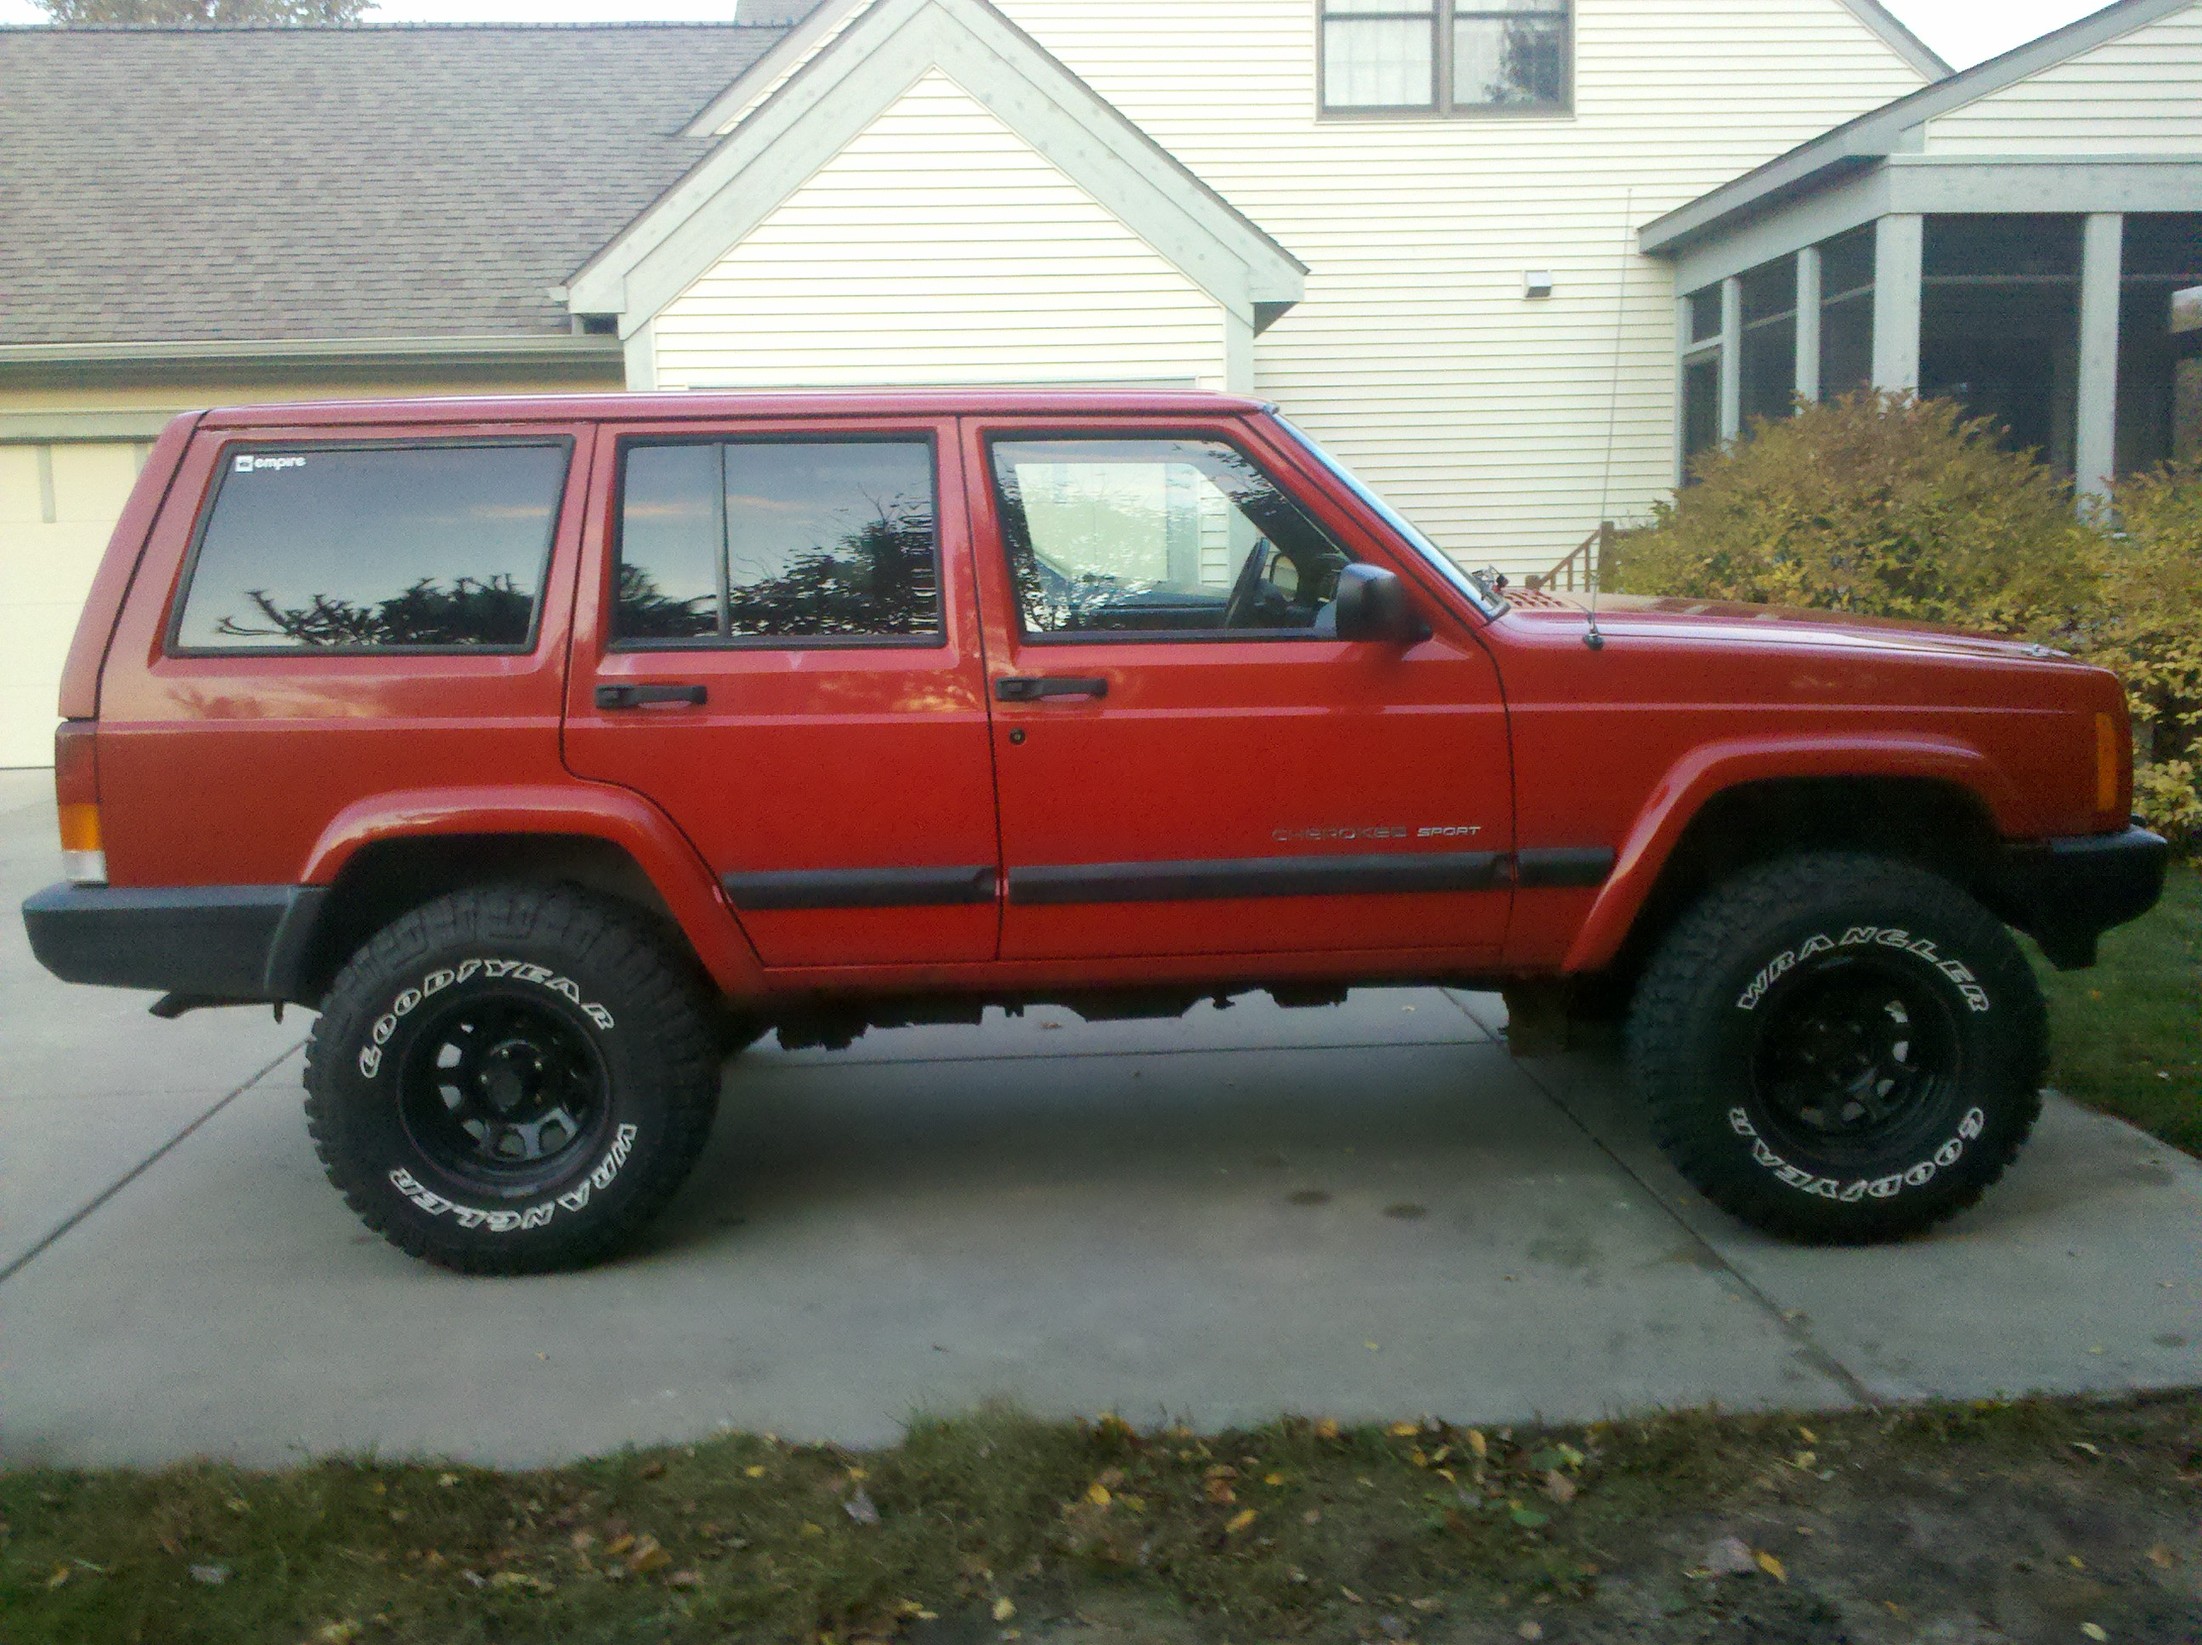
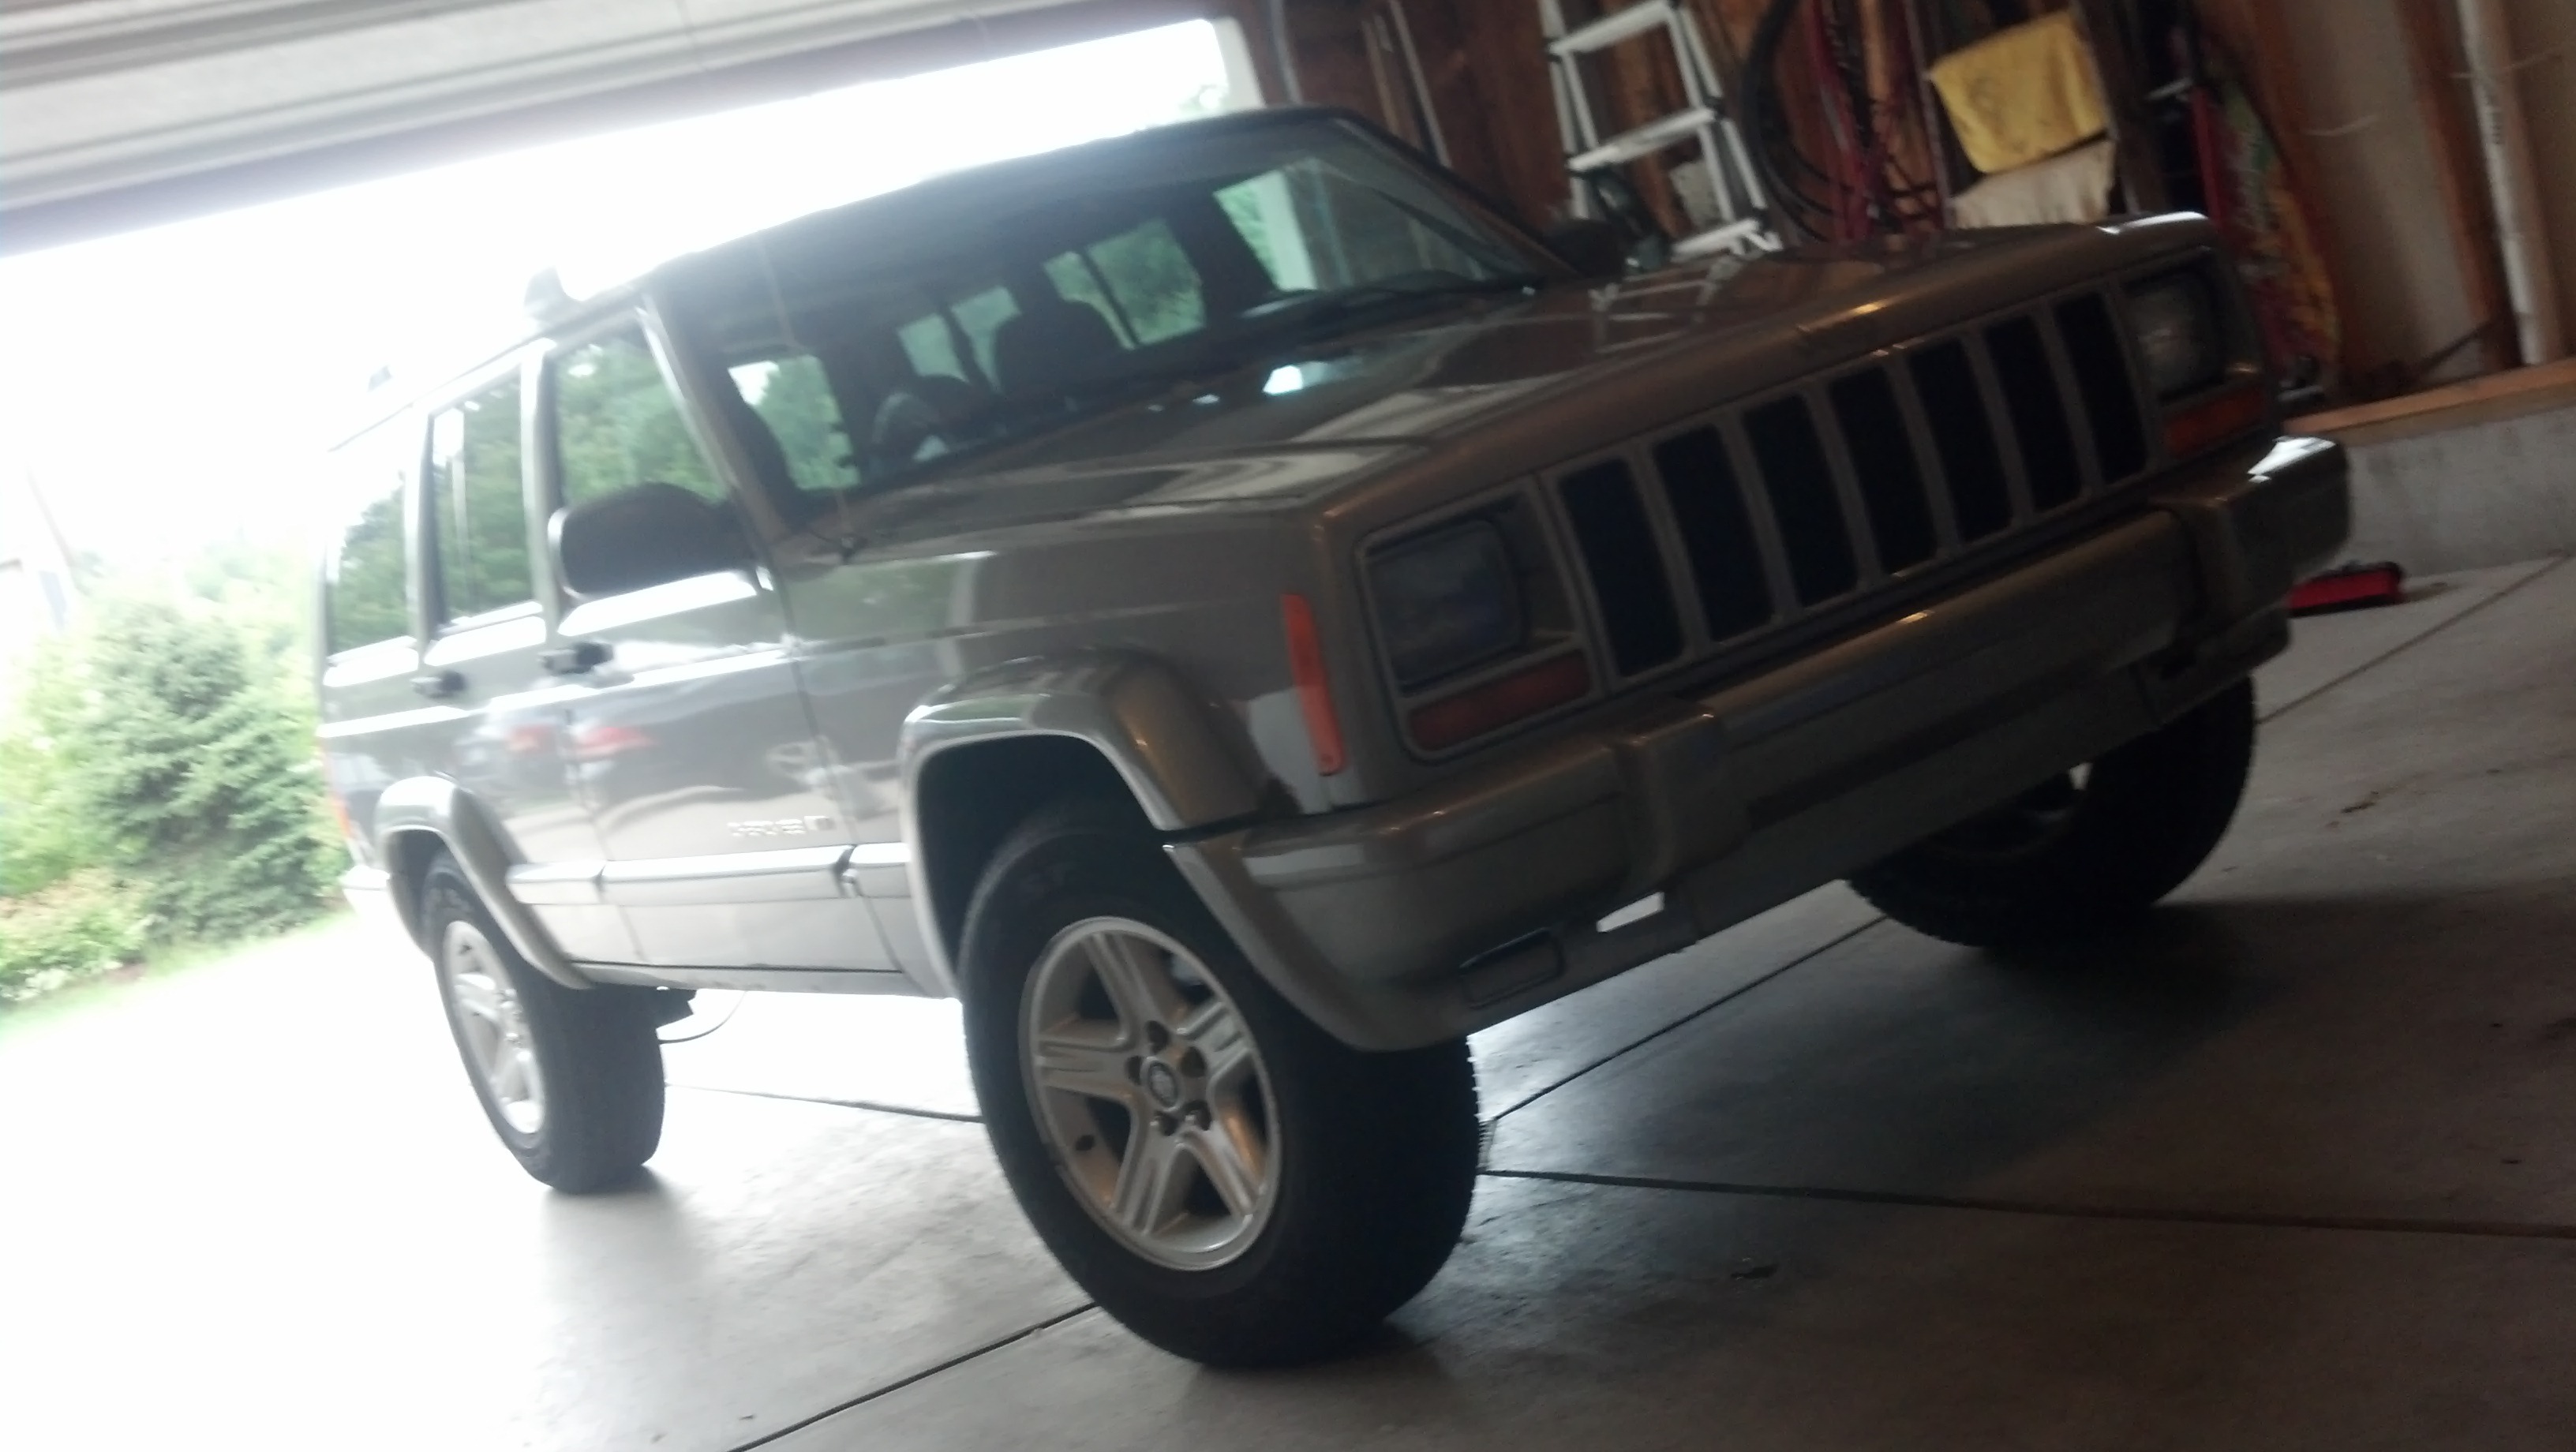
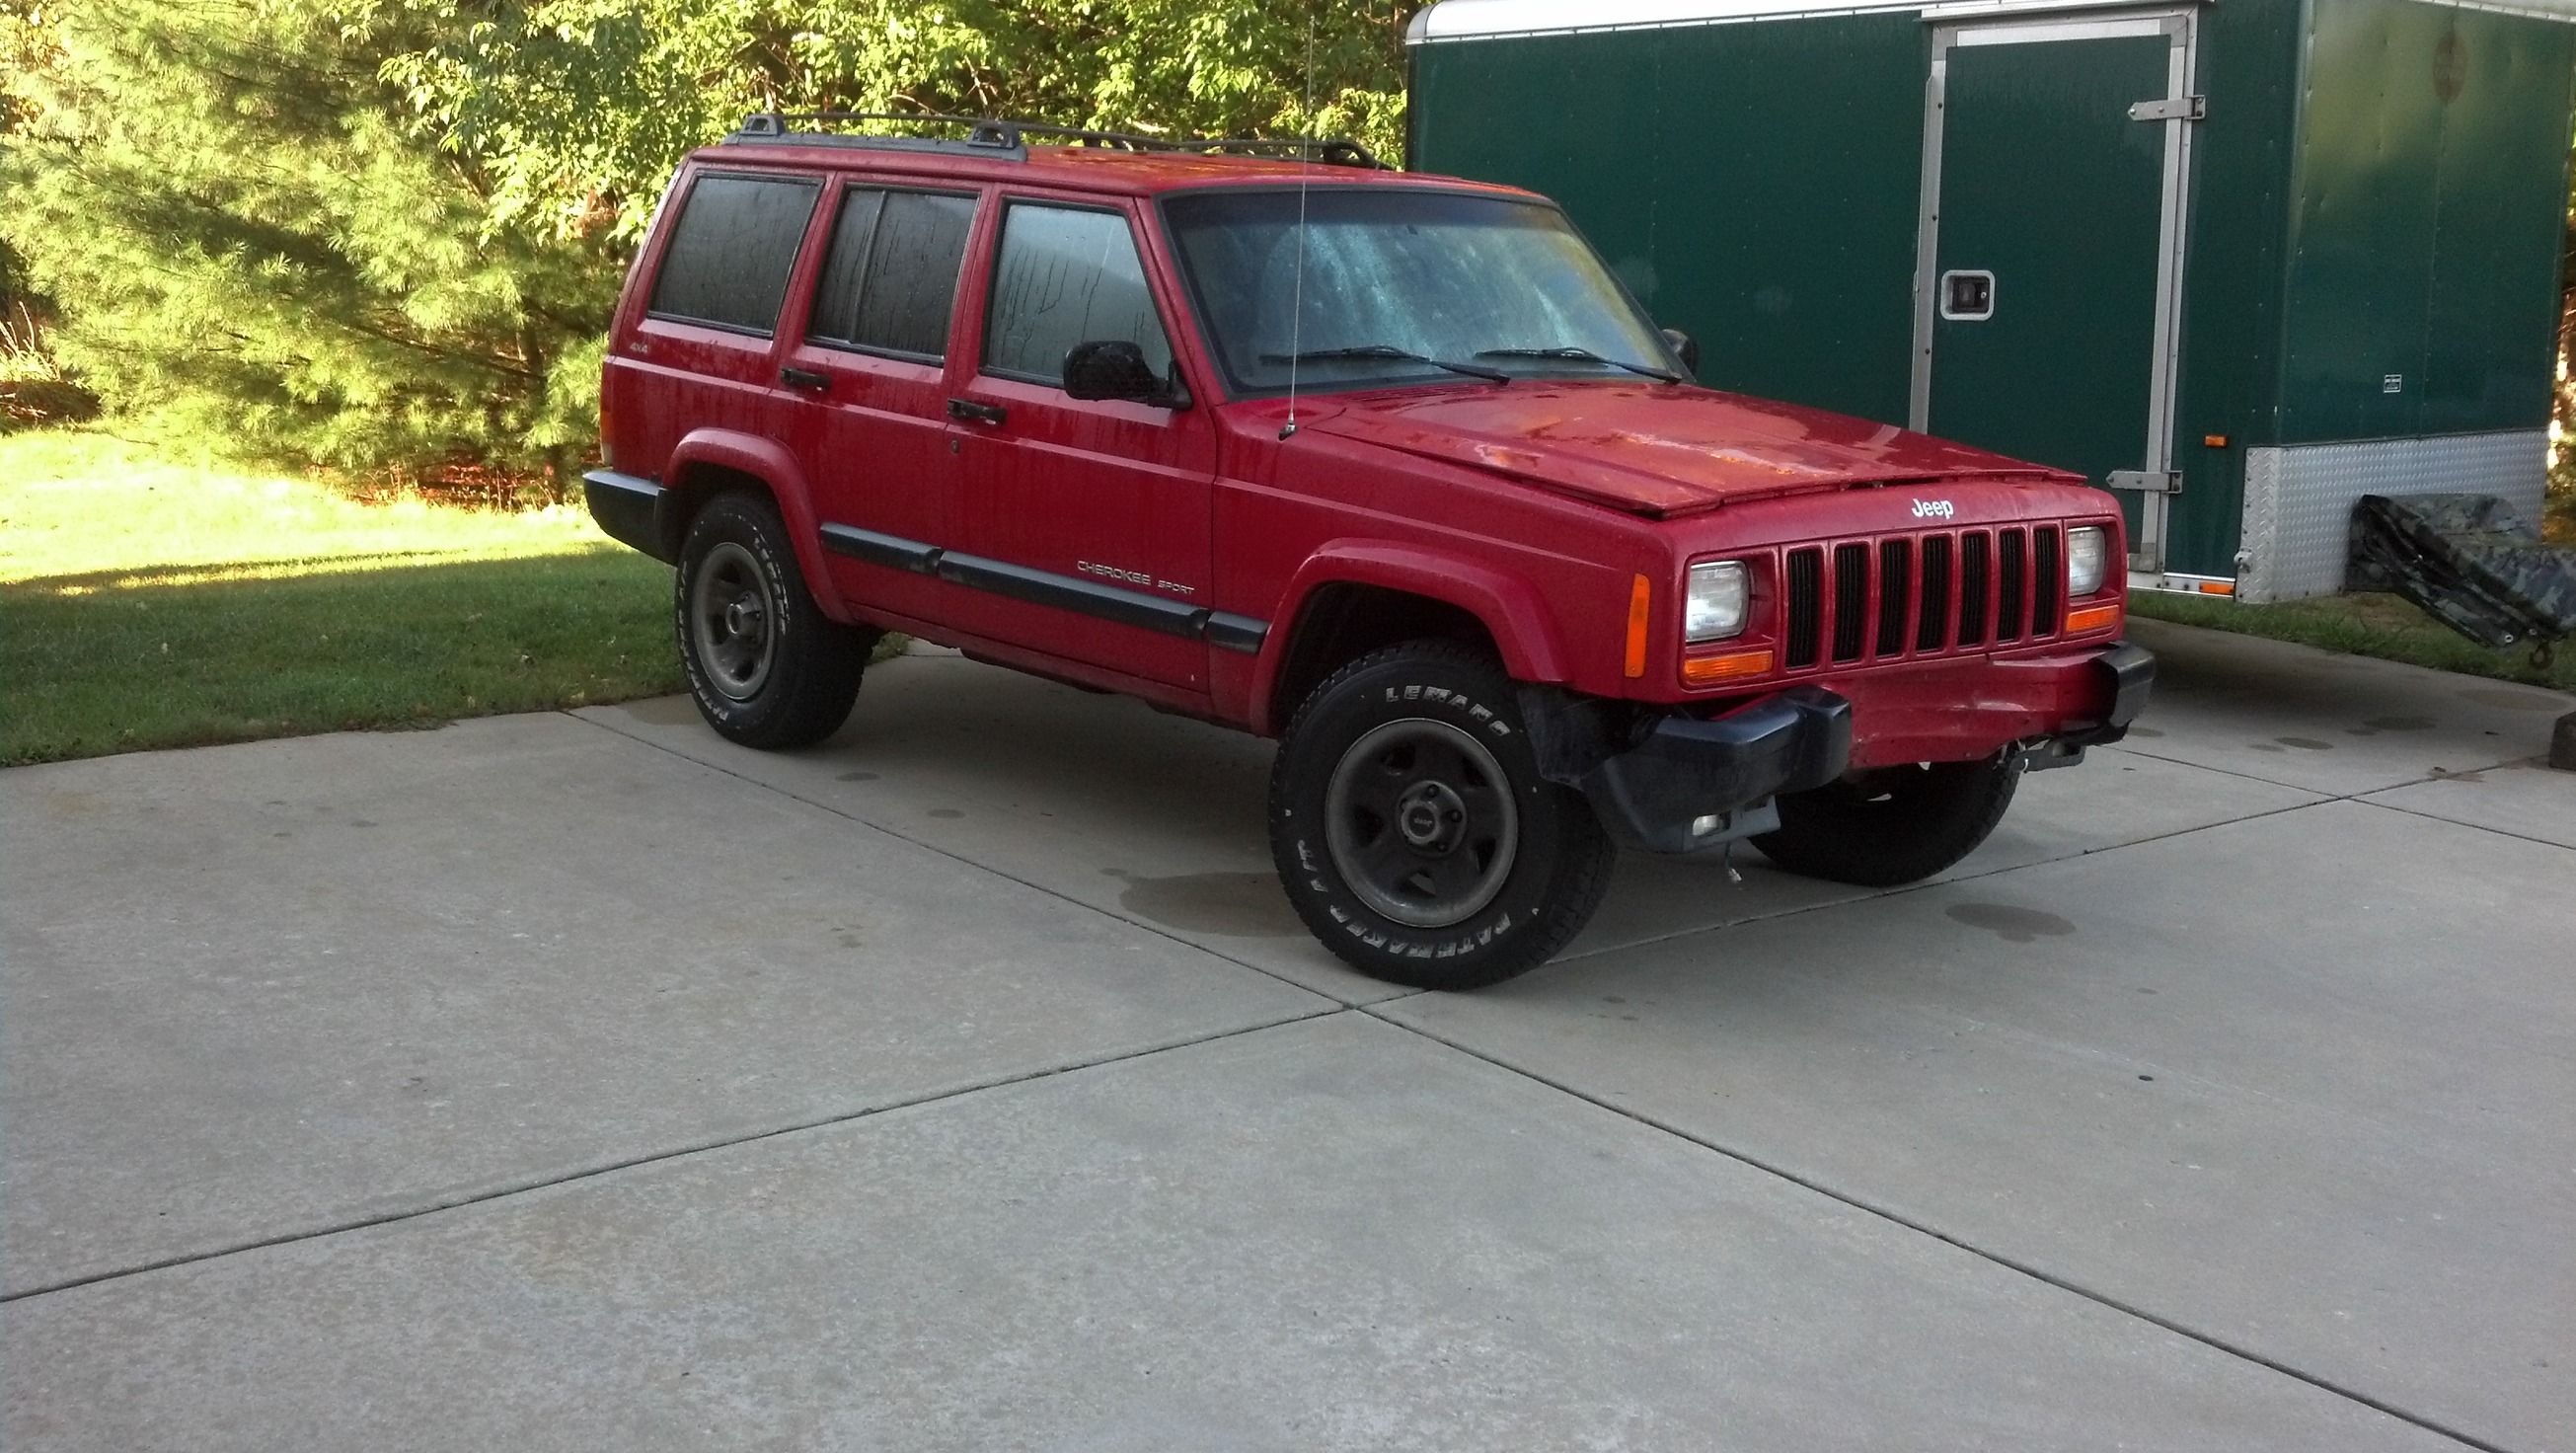
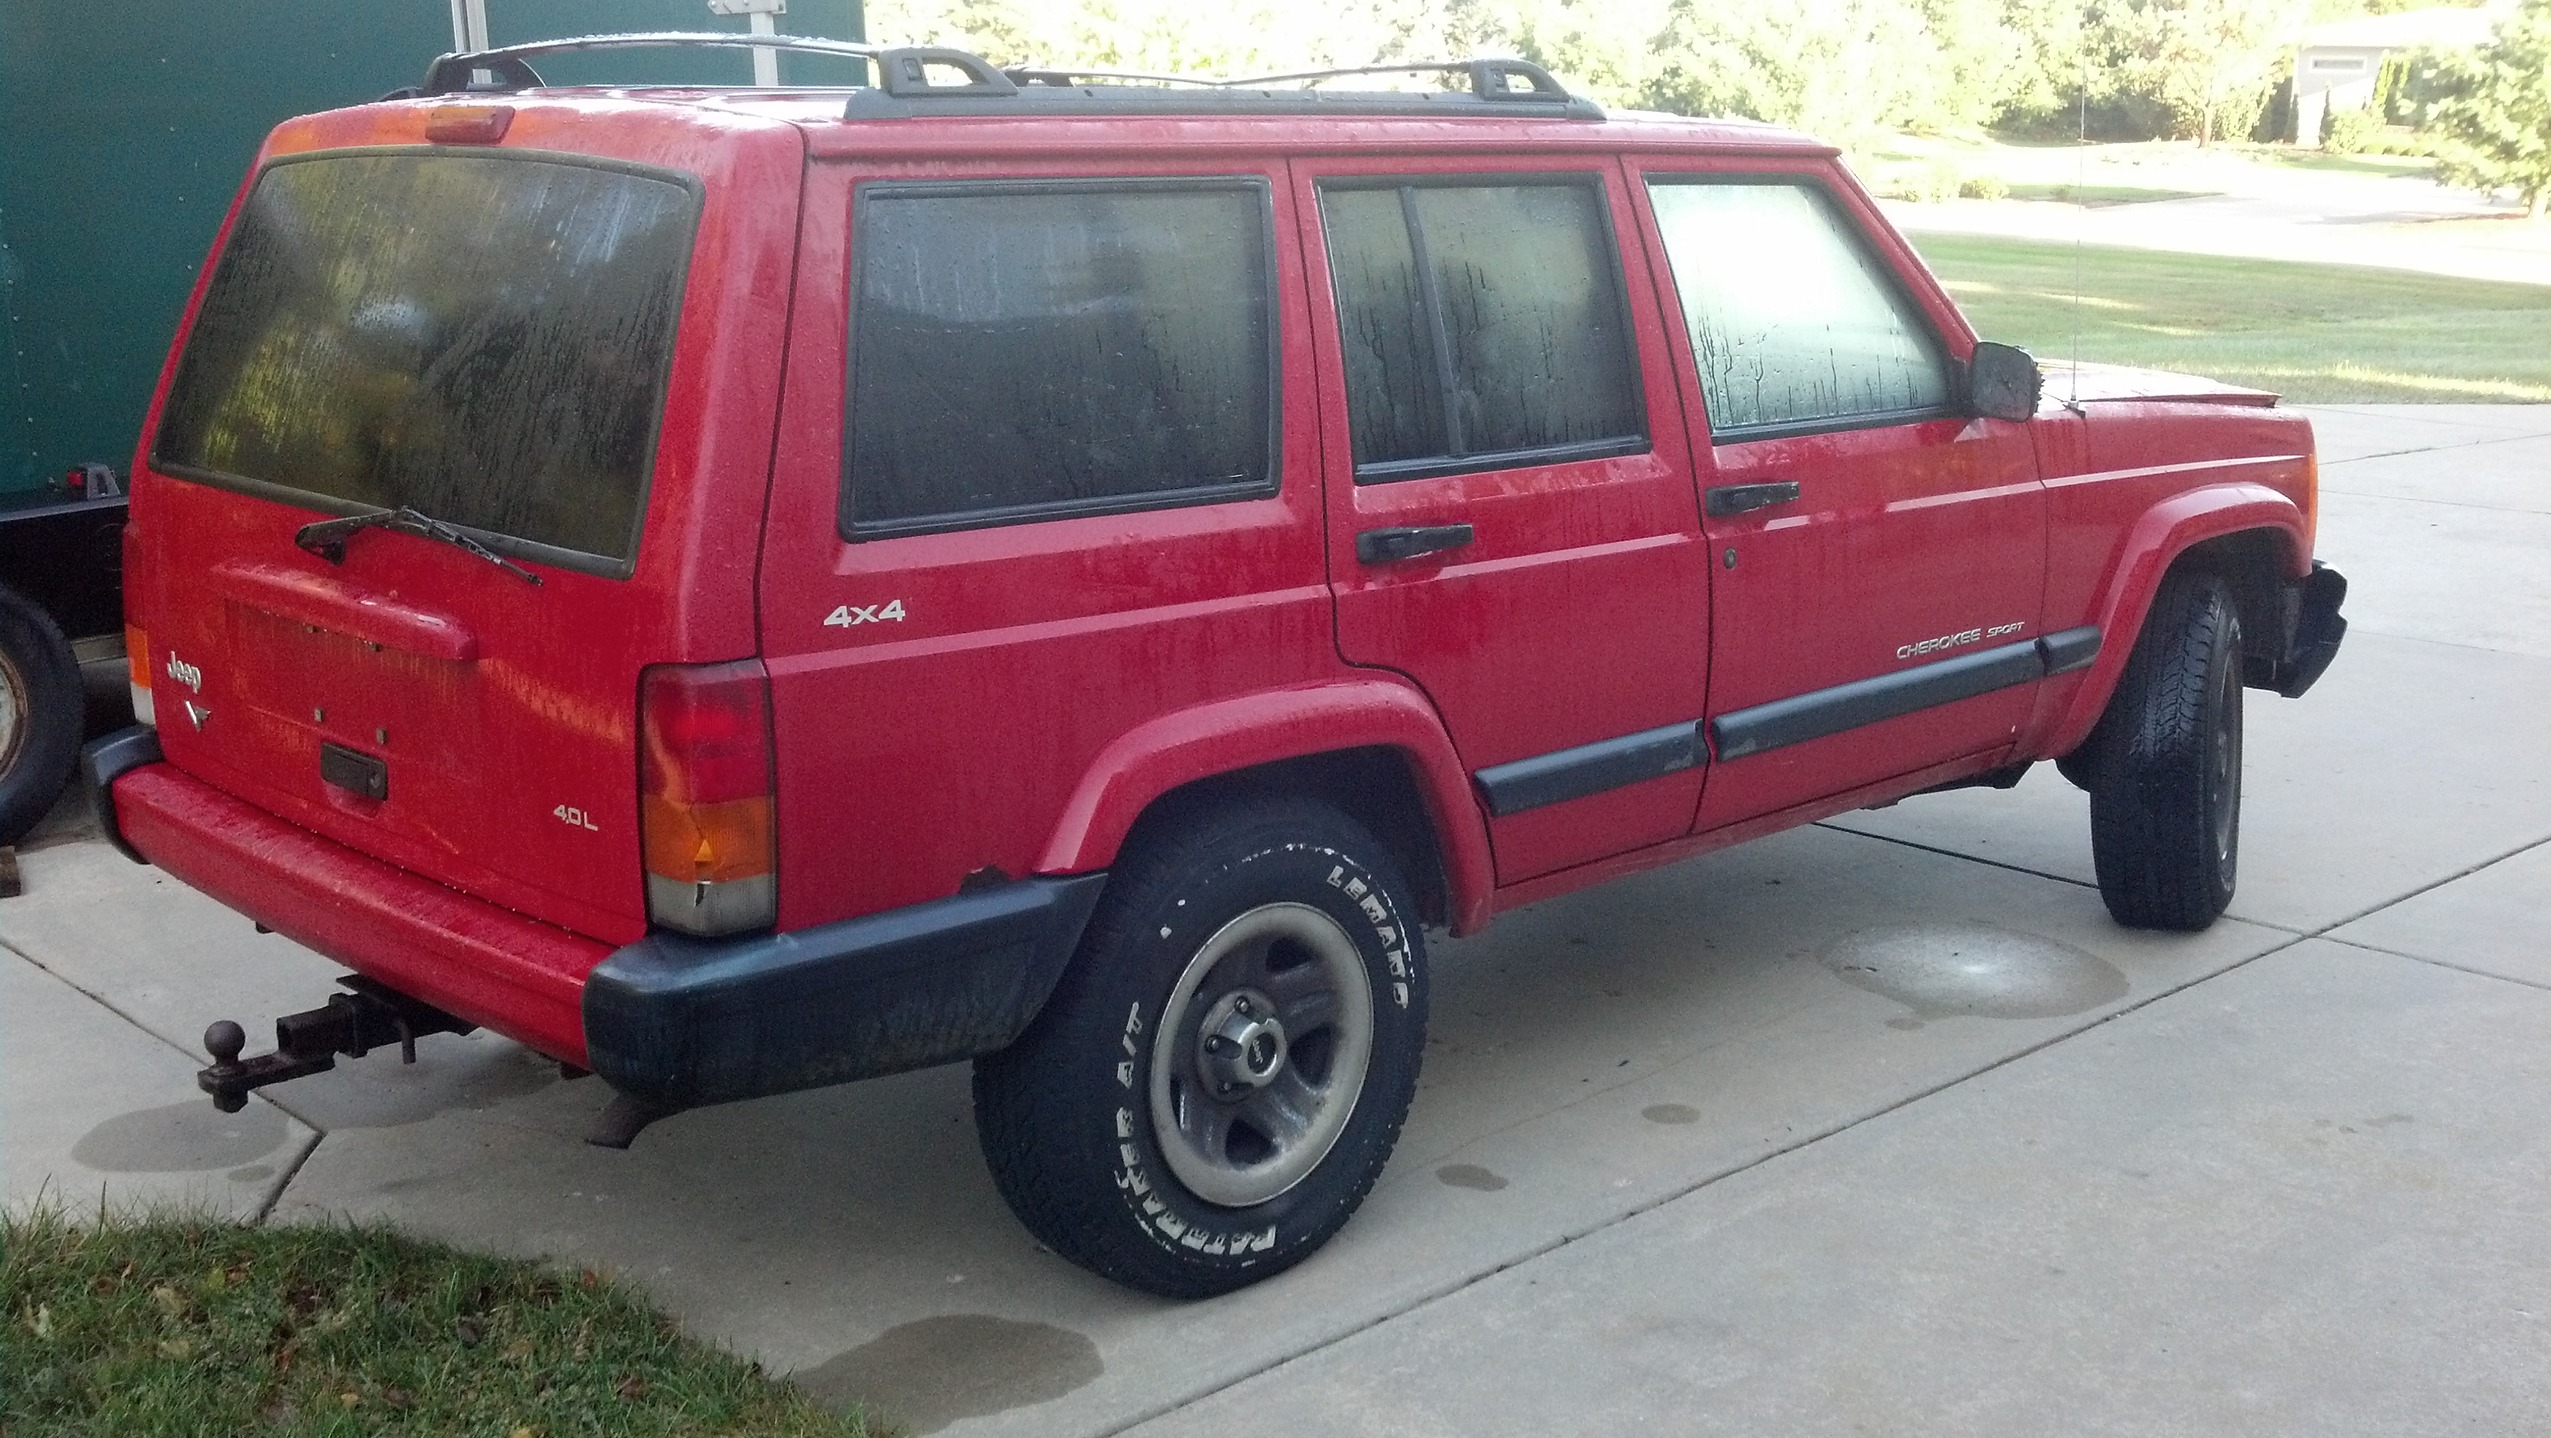
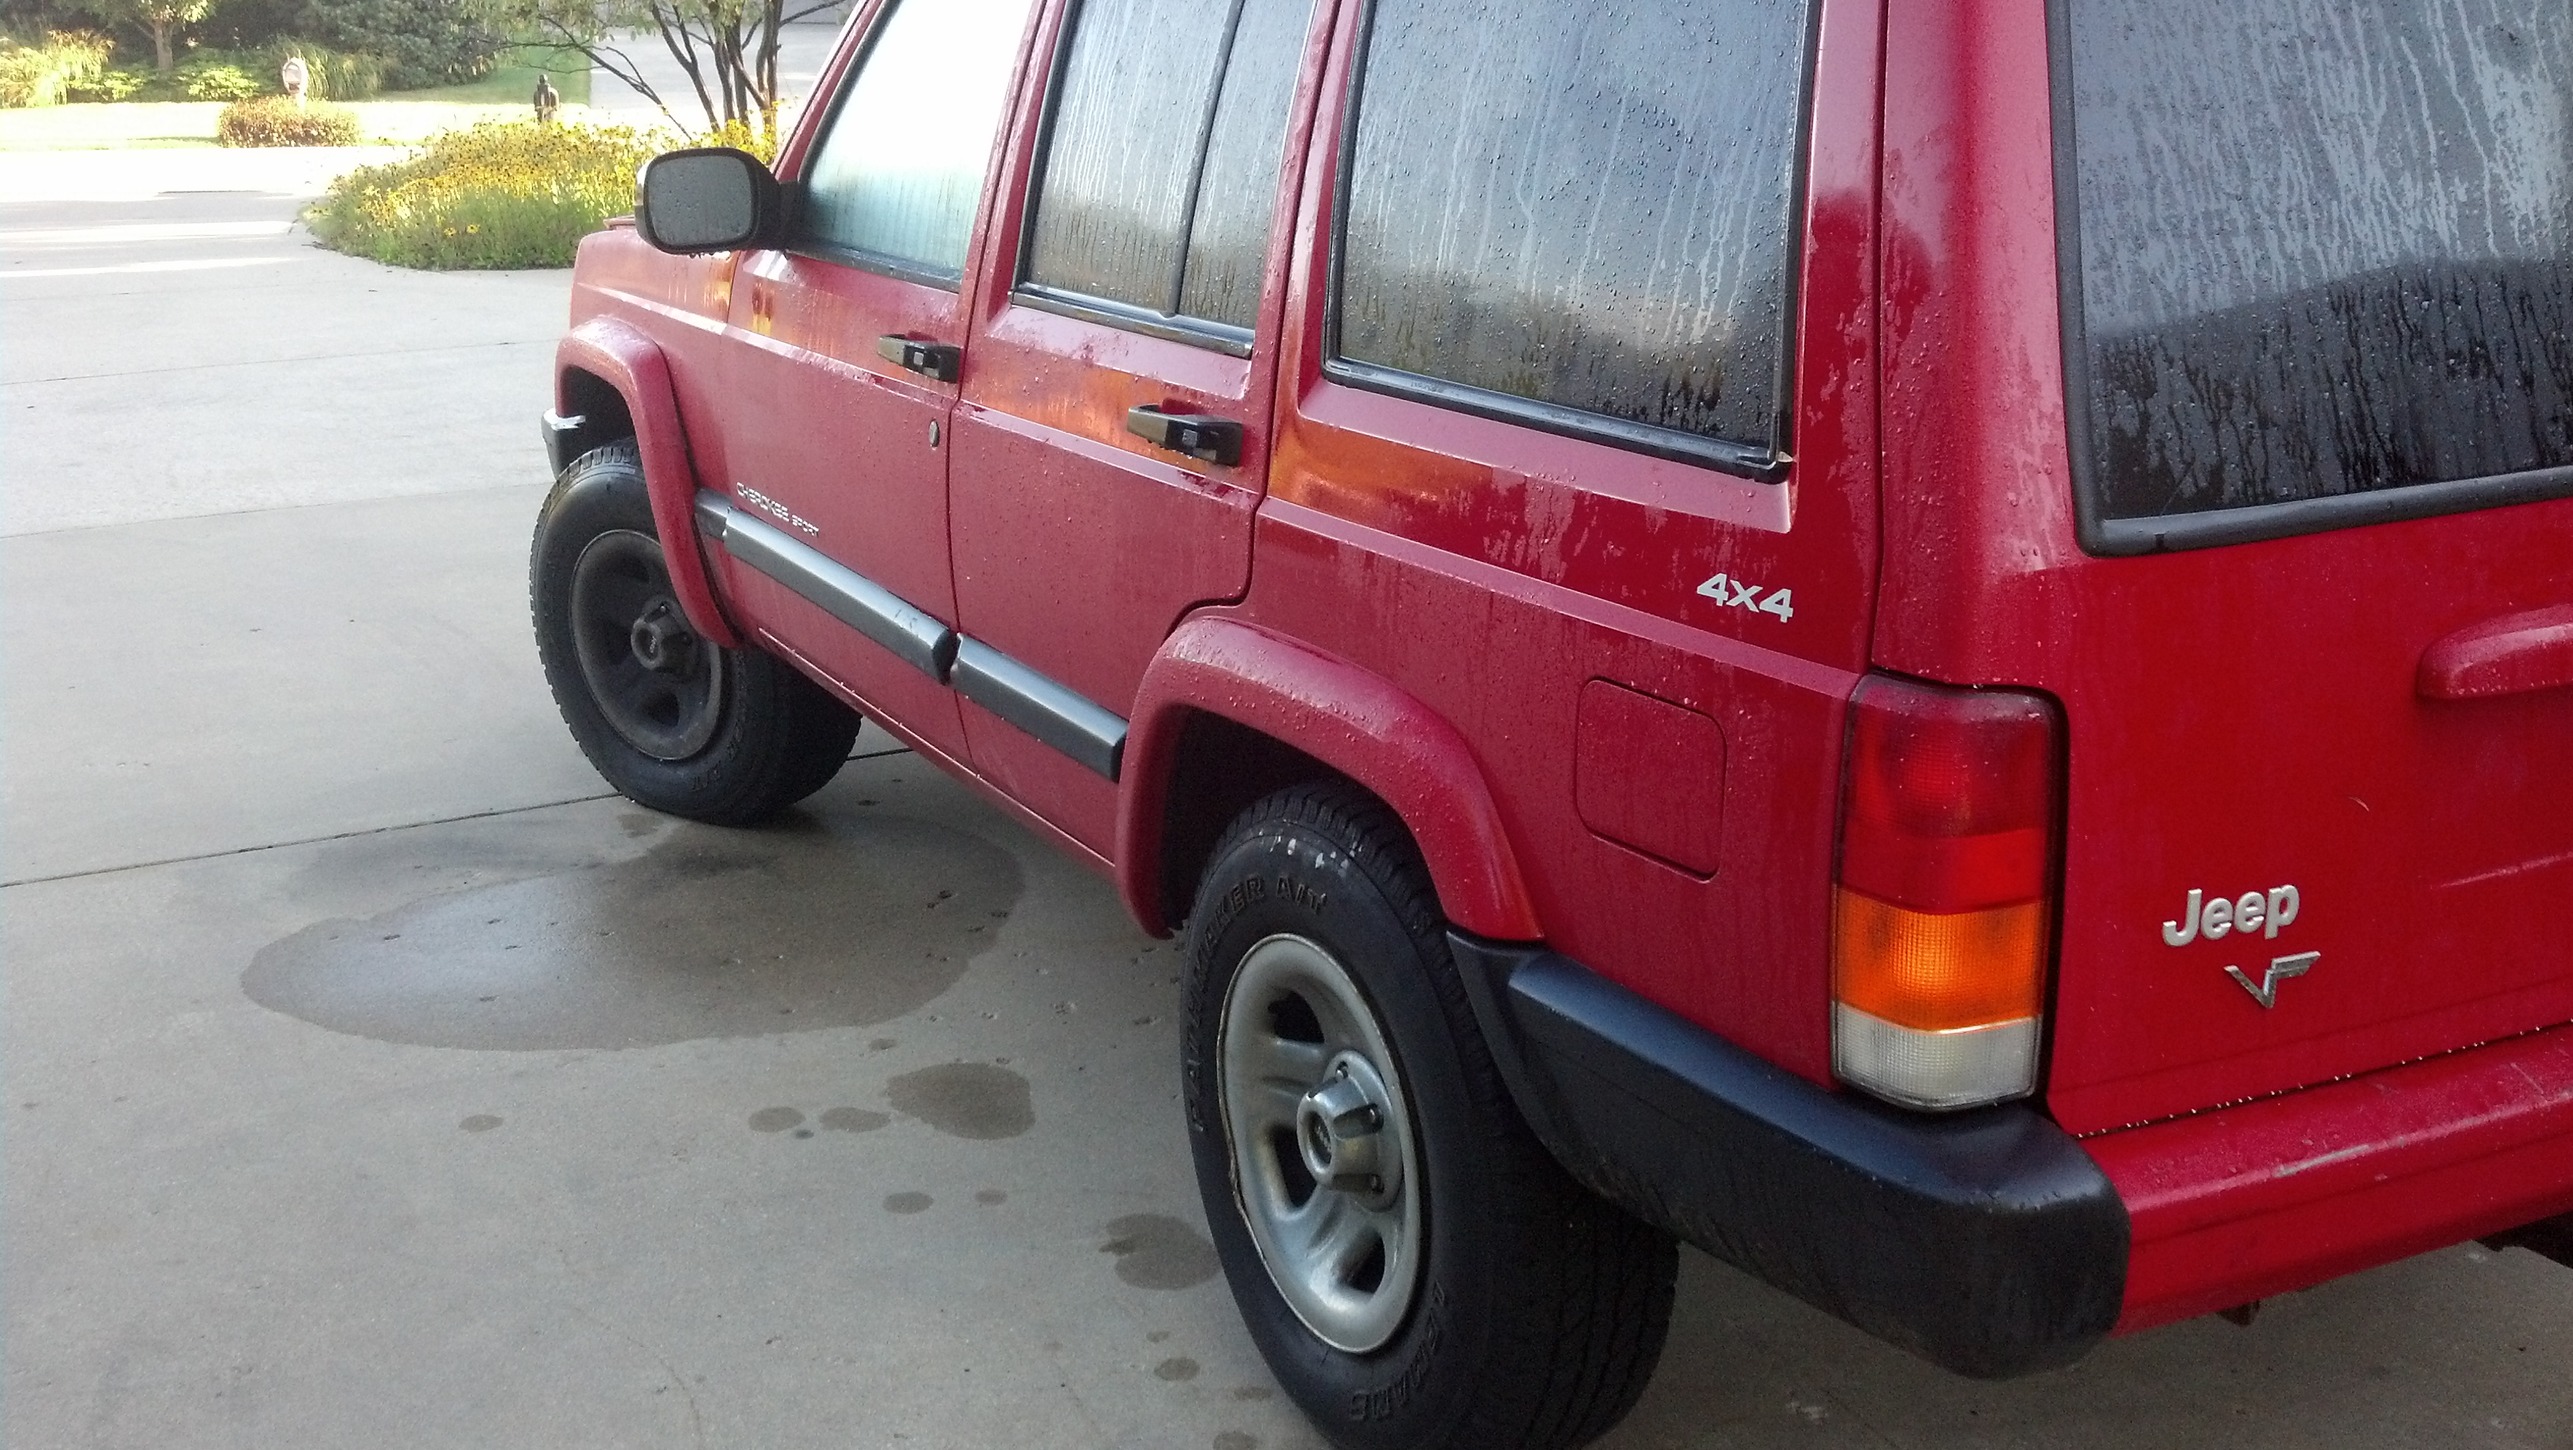
my 1999 Jeep Cherokee Sport 4x4 with select trac and cruise!!!!!!
130k miles (Lowest miles i've owned on a Jeep)
8.25 rear end... and it's fairly rust free... for michigan
WELL... a few Jeeps later...
my 1999 Jeep Cherokee Sport 4x4 with select trac and cruise!!!!!!
130k miles (Lowest miles i've owned on a Jeep)
8.25 rear end... and it's fairly rust free... for michigan
 09-09-2012, 10:42 AM
#2
Seasoned Member
Thread Starter
Join Date: Oct 2010
Location: Muskegon, MI
Posts: 310
Likes: 0
Received 0 Likes
on
0 Posts
Year: I've had a few...
Model: Cherokee
Engine: A secret
Well... This is the TO-DO list
-Fix Bumper
-U-Joint on rear driveshaft
-Fix speakers (YES I fix them, not replace cause i'm cheap... i'll show you how)
-Replace rear tail light
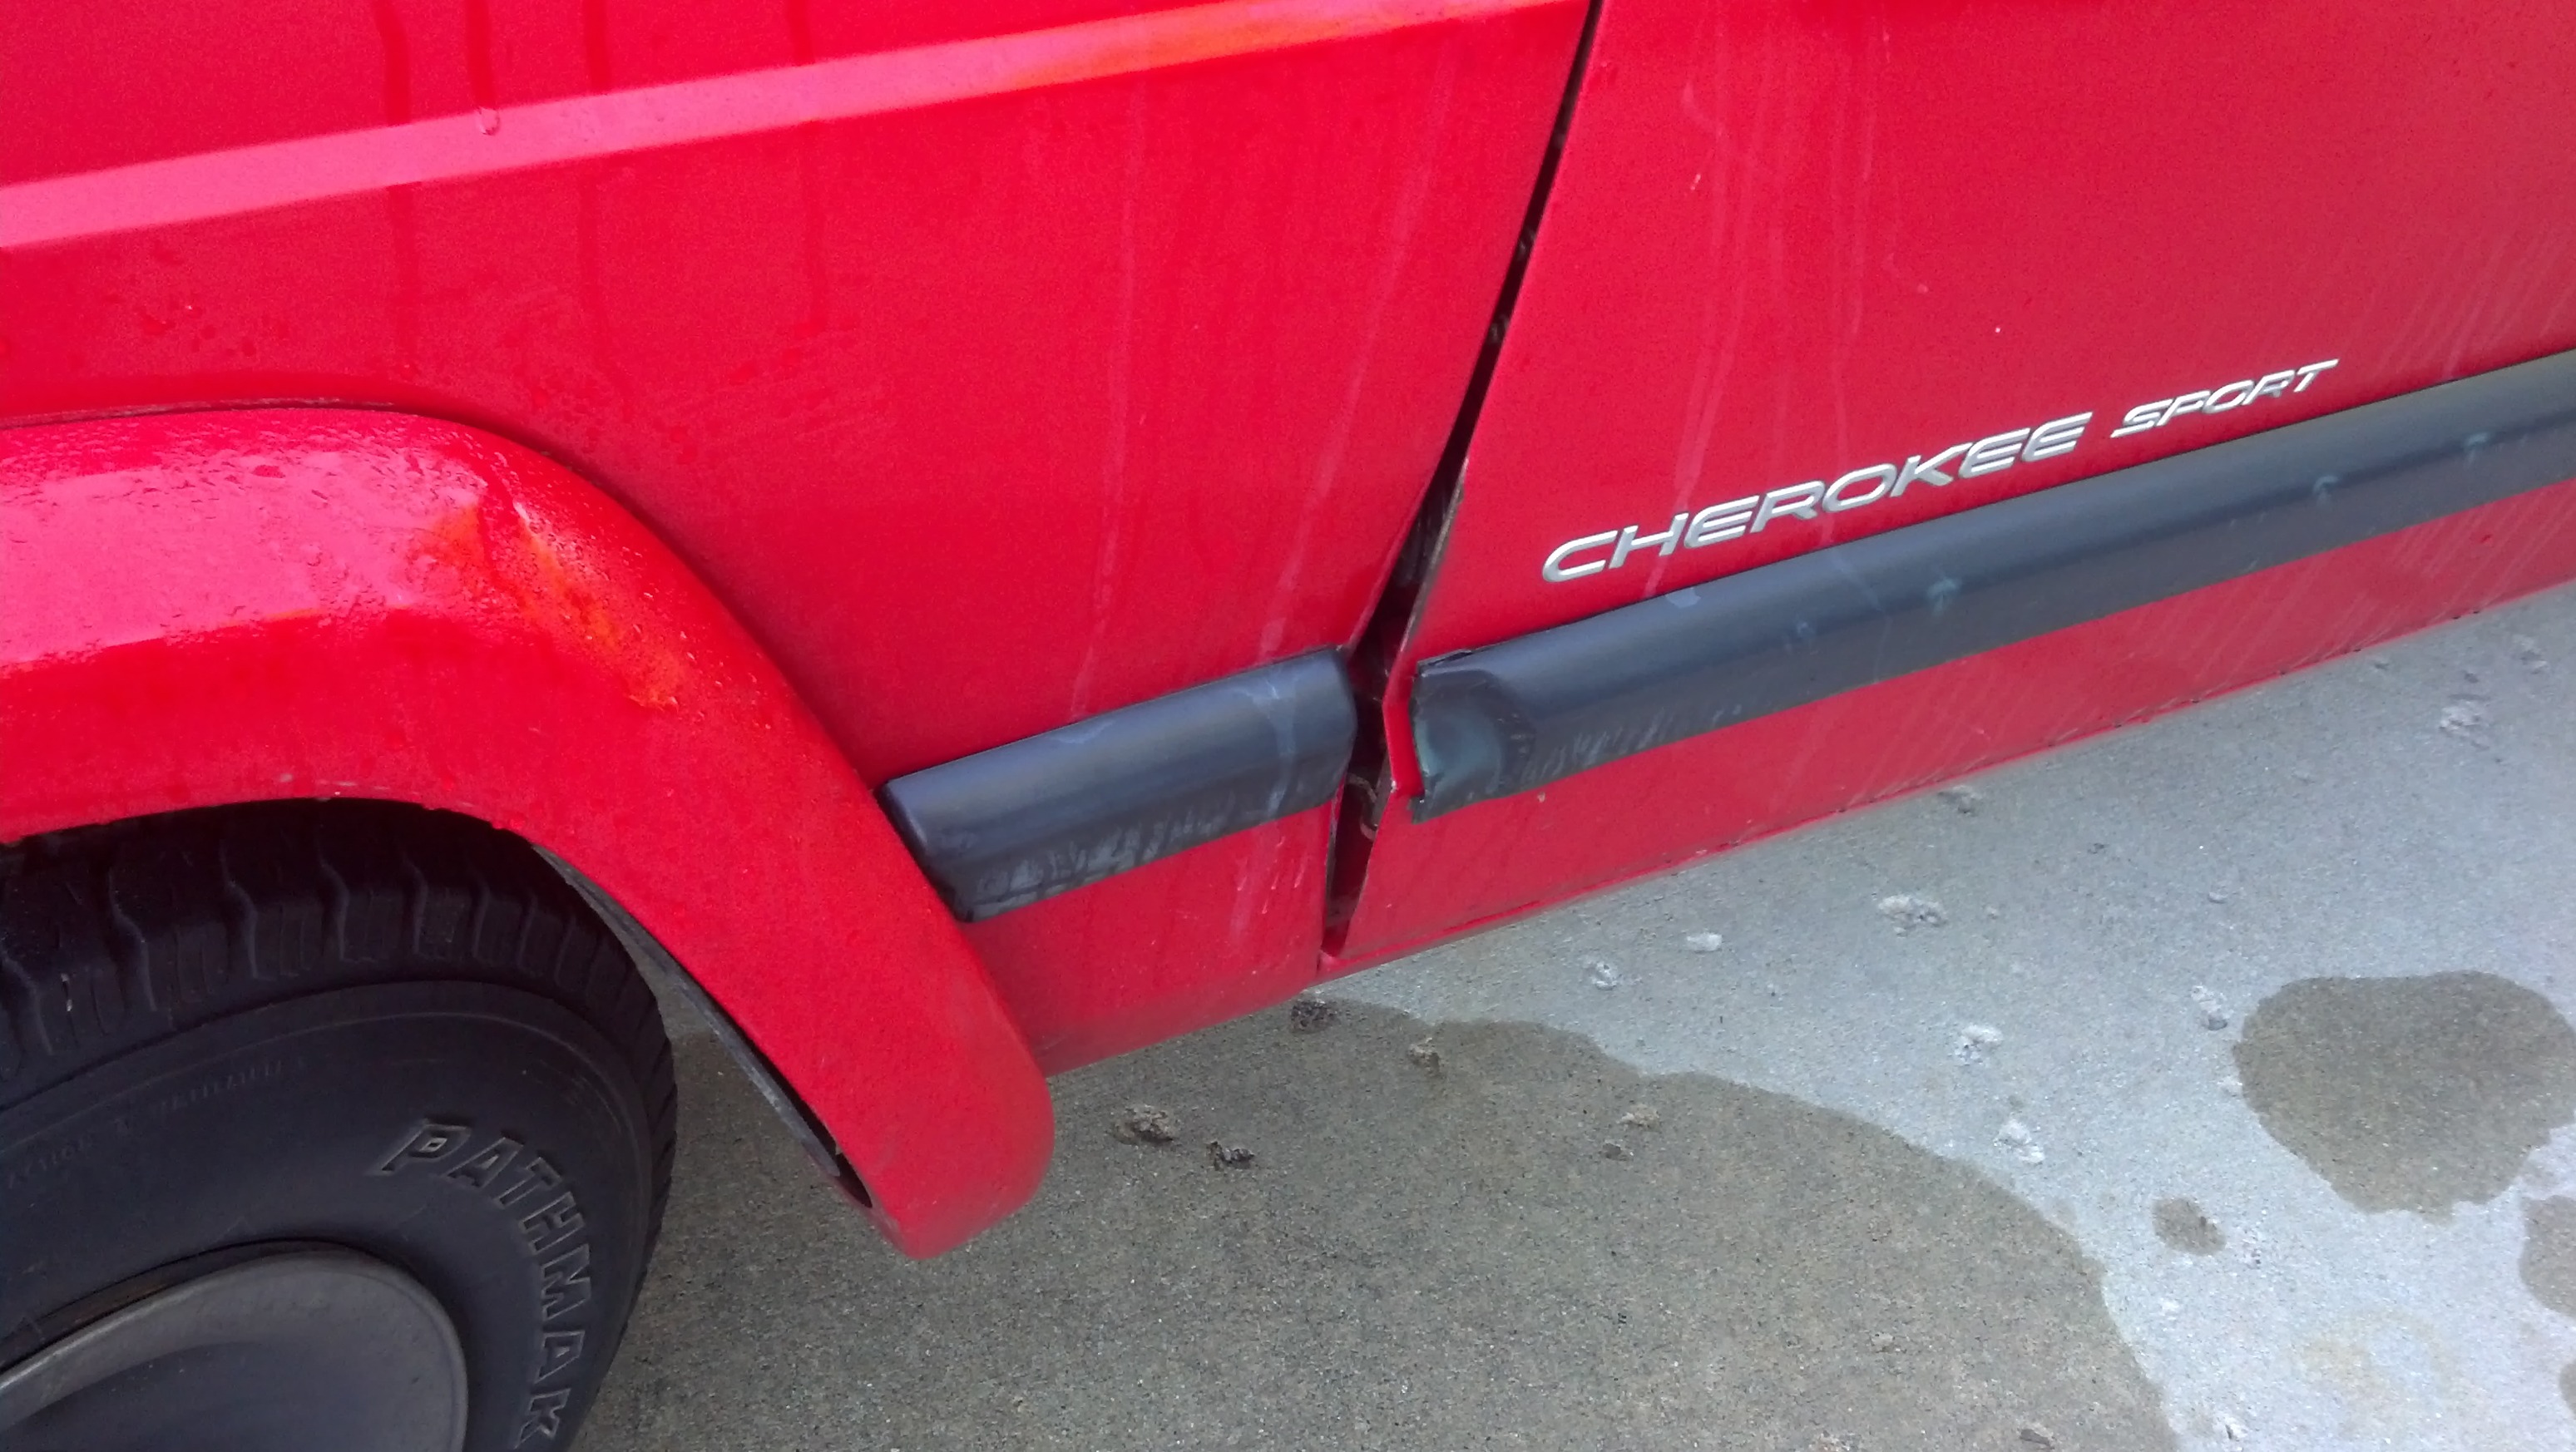
-Fix small rust spots (2)
-Clean it
After these are all done I will then decide if I want to keep it or sell it.
I'm already leaning towards keeping
-Fix Bumper
-U-Joint on rear driveshaft
-Fix speakers (YES I fix them, not replace cause i'm cheap... i'll show you how)
-Replace rear tail light
-Fix small rust spots (2)
-Clean it
After these are all done I will then decide if I want to keep it or sell it.
I'm already leaning towards keeping
09-09-2012, 10:56 AM
#4
Seasoned Member
Thread Starter
Join Date: Oct 2010
Location: Muskegon, MI
Posts: 310
Likes: 0
Received 0 Likes
on
0 Posts
Year: I've had a few...
Model: Cherokee
Engine: A secret
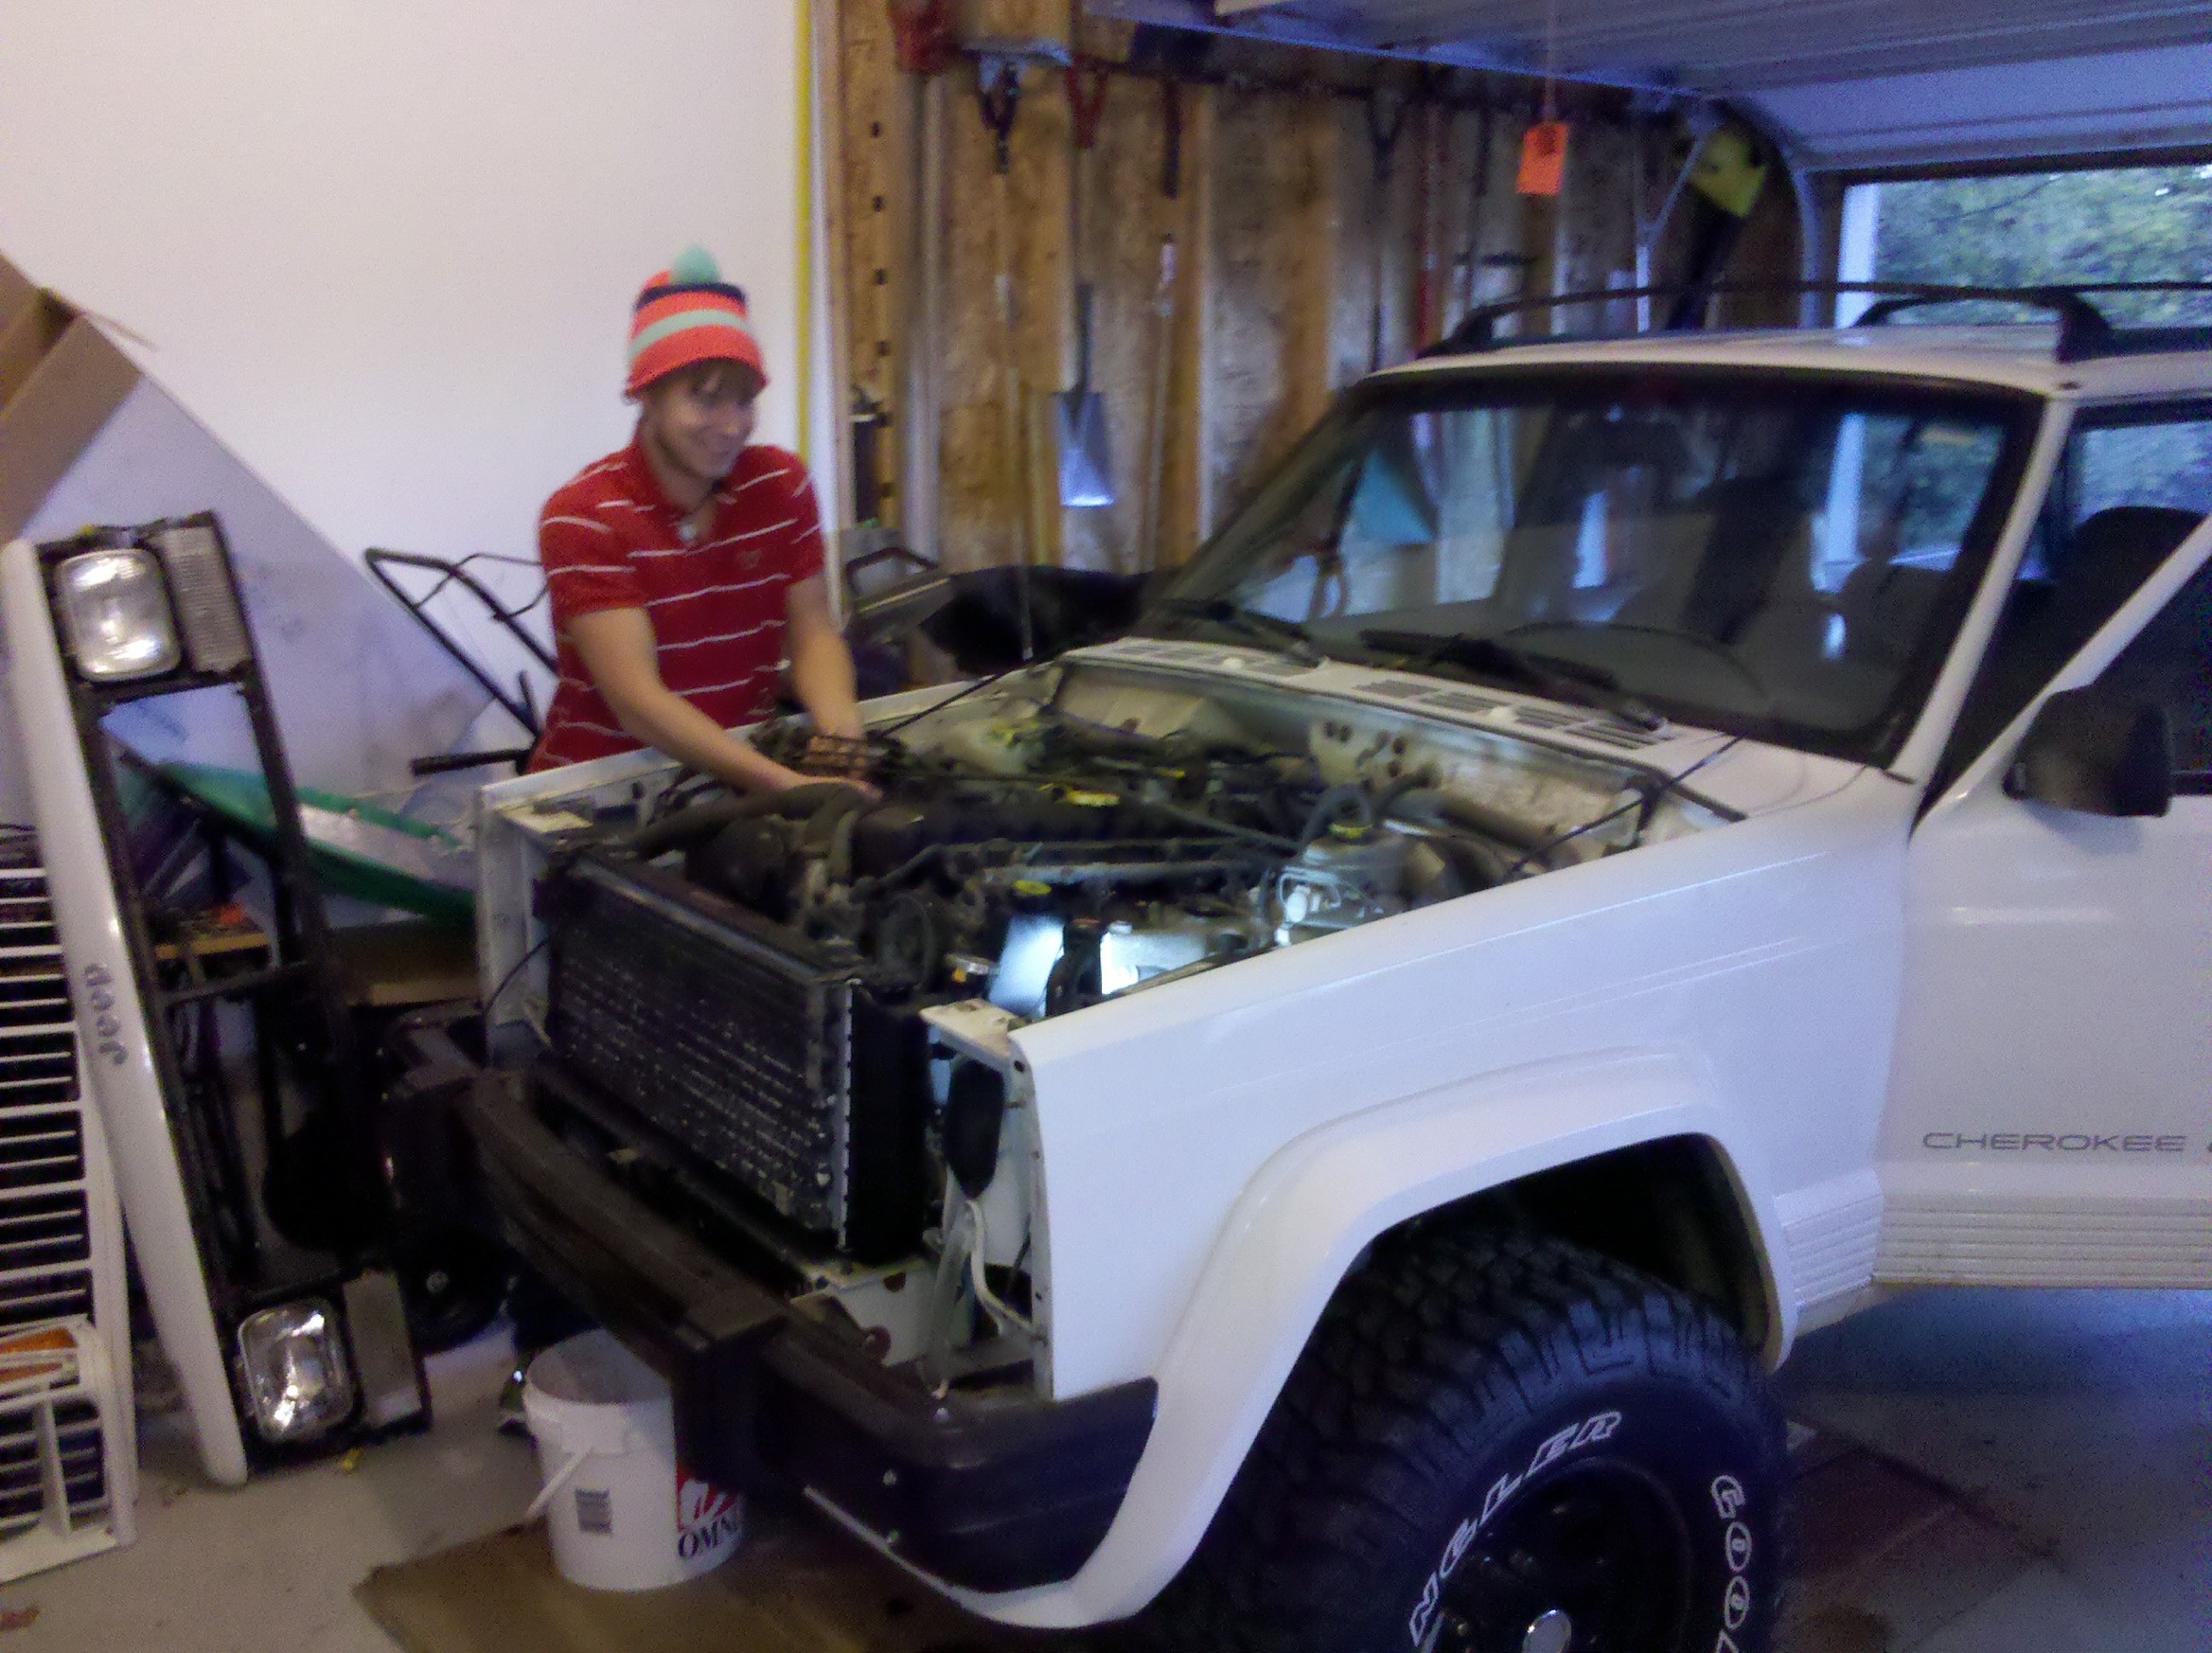
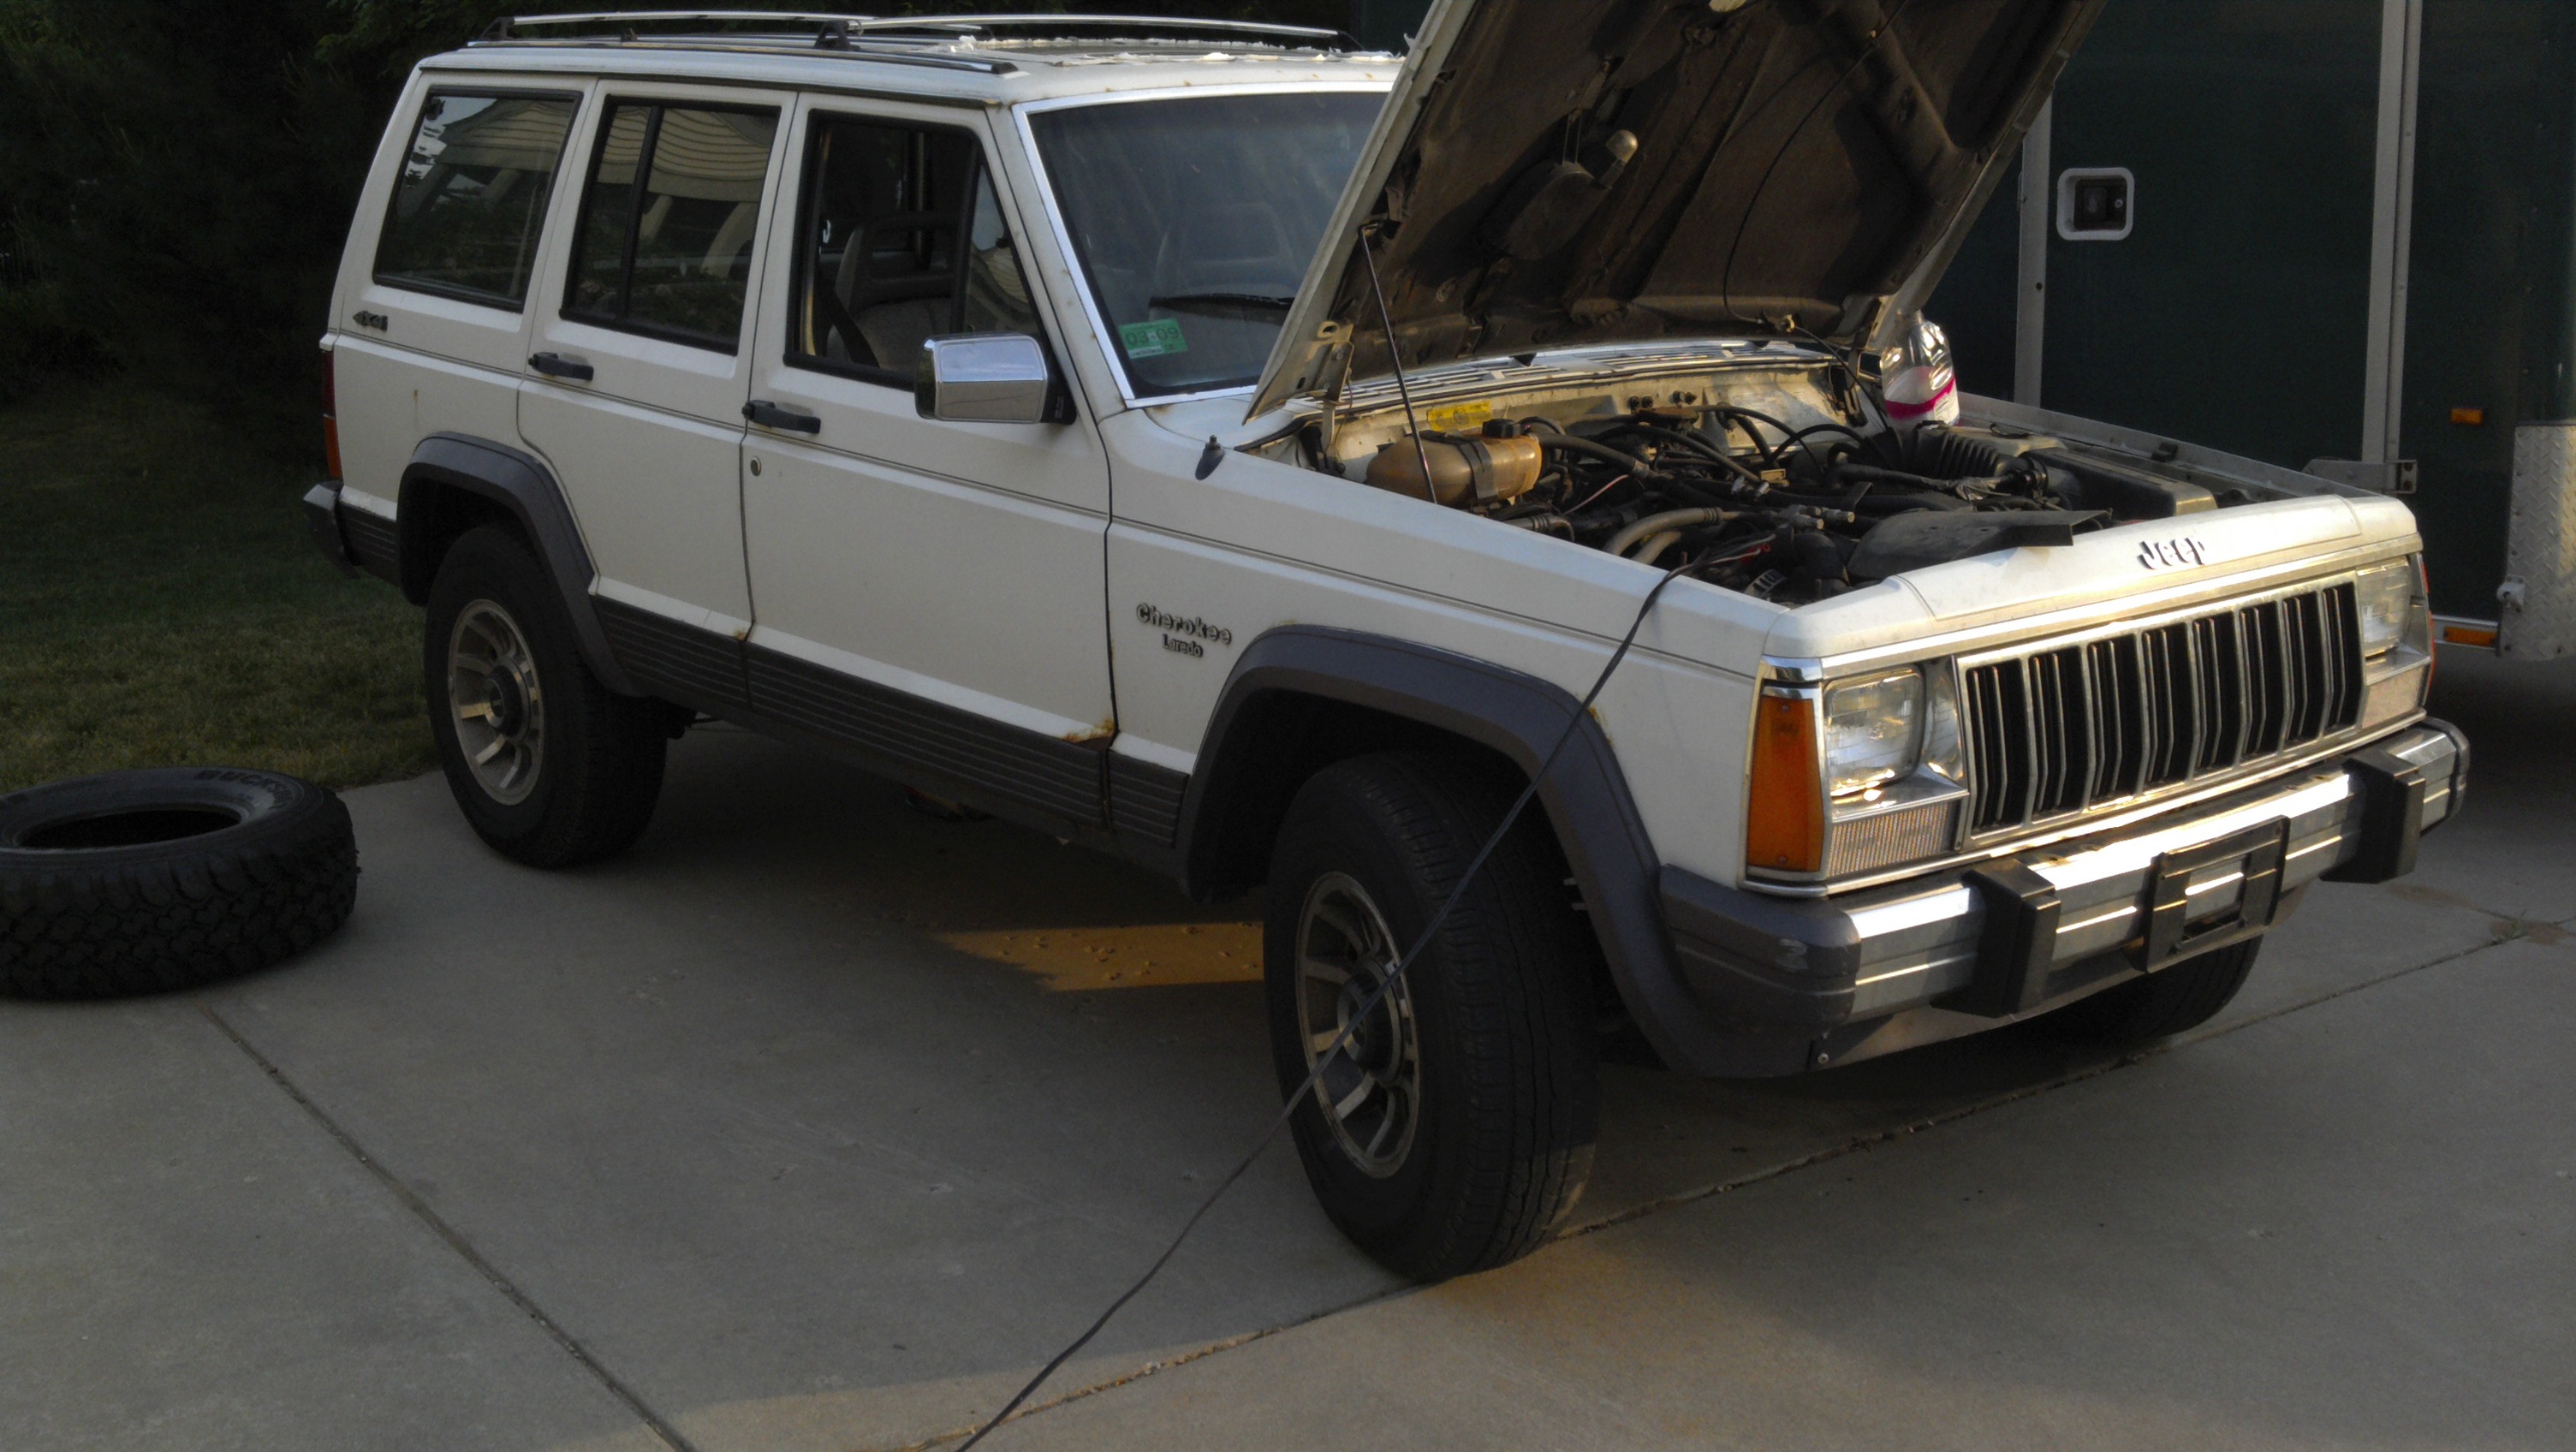
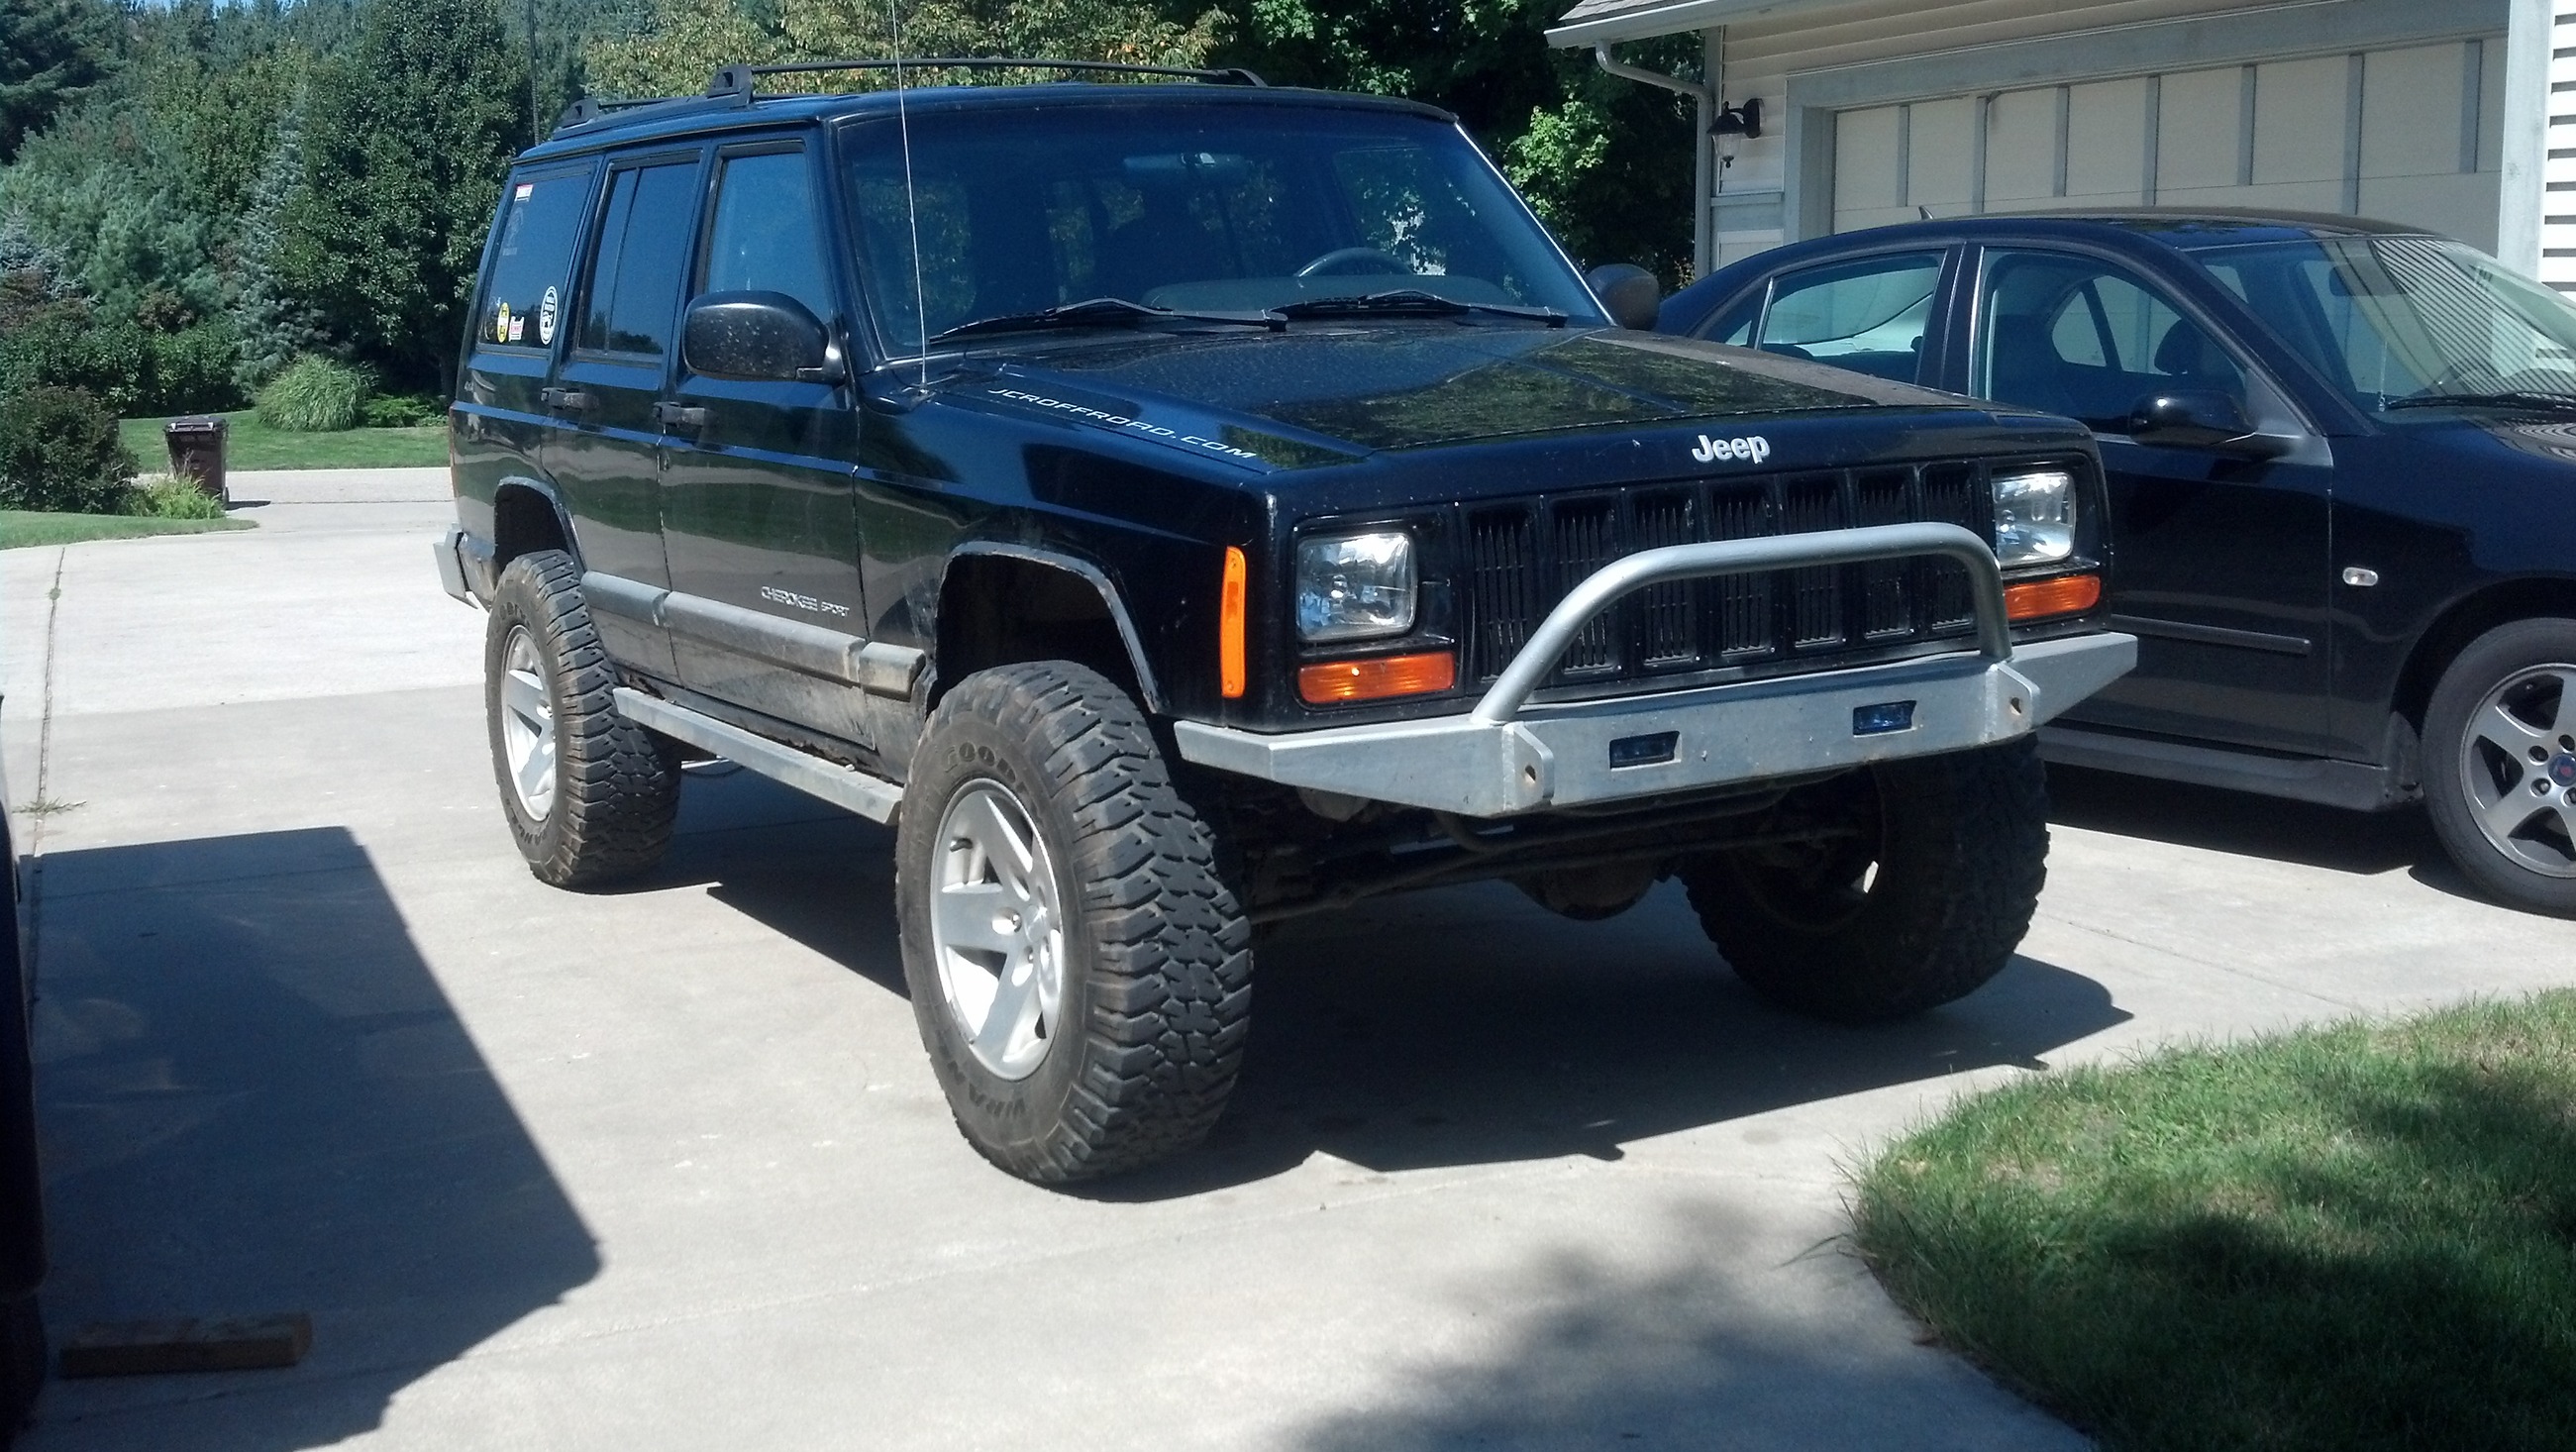
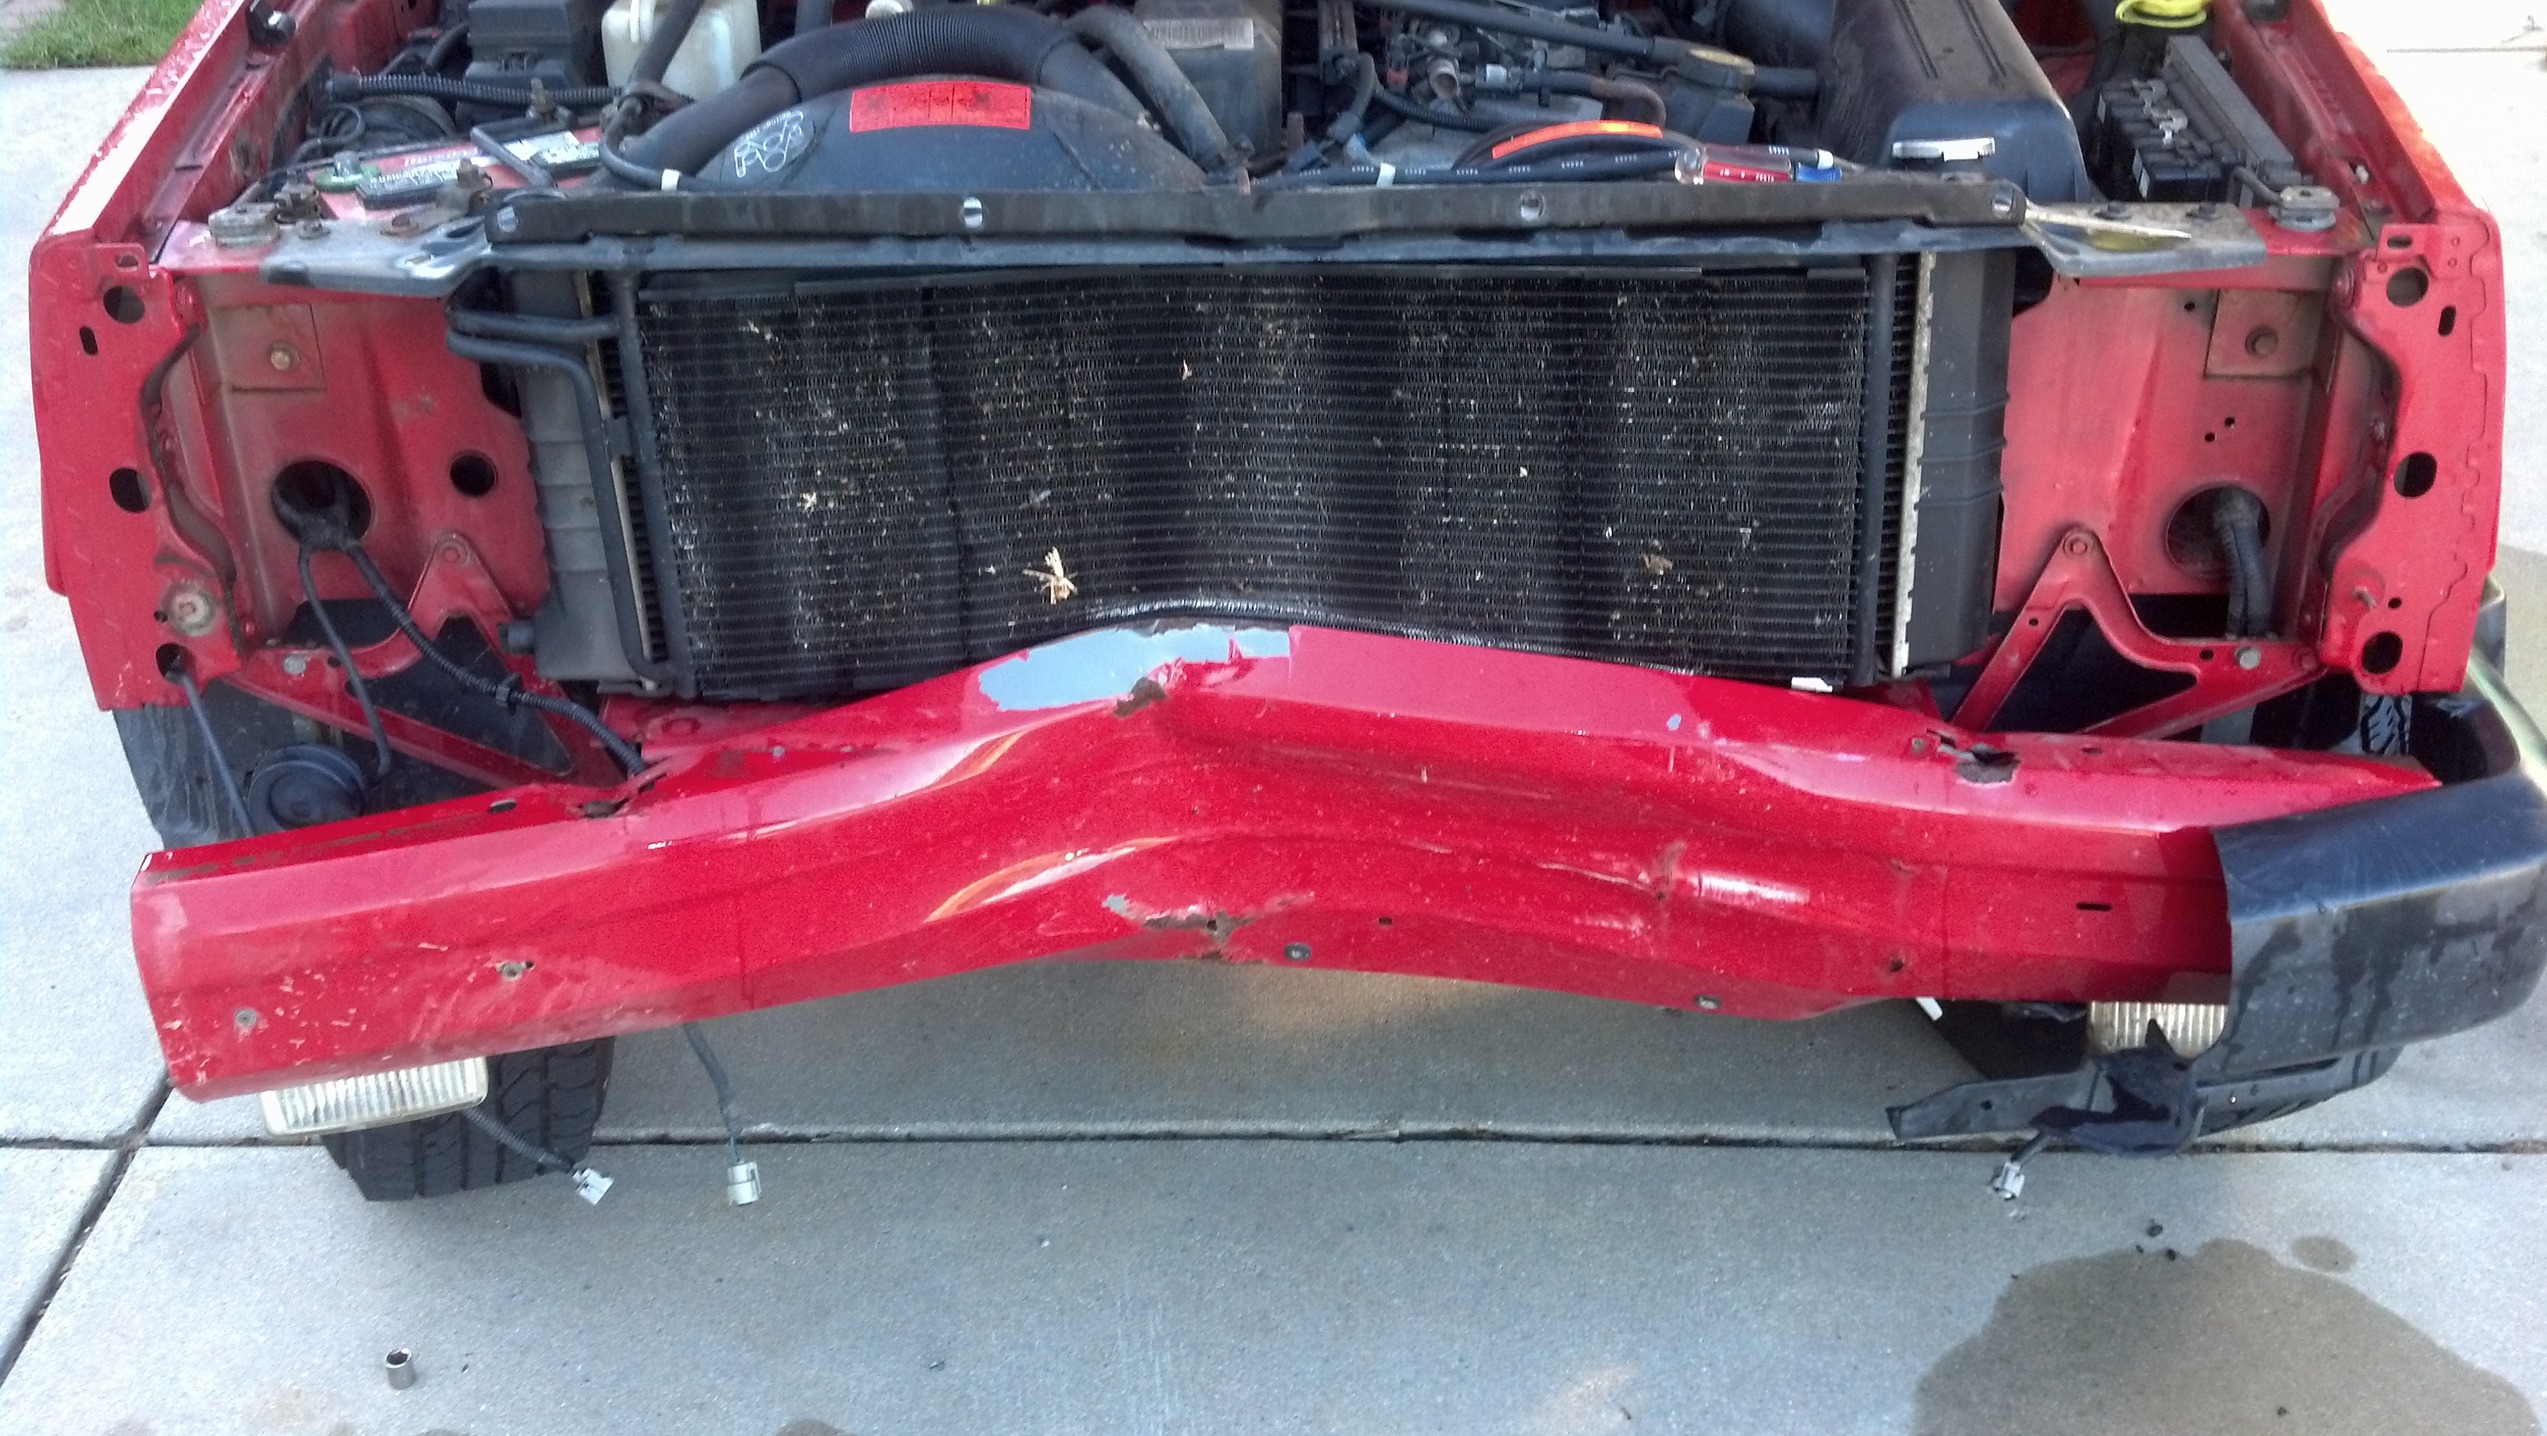
This morning I decided to take a wack at the front bumper.
It will look better off then on... thats for sure
End caps come off first... I thought this would be easier sense it's already half bent off. Not the case, but easier for pictures.
FIRST THING FIRST! disconnect your battery. You never know what you might hit on accident. Airbags make a mess...
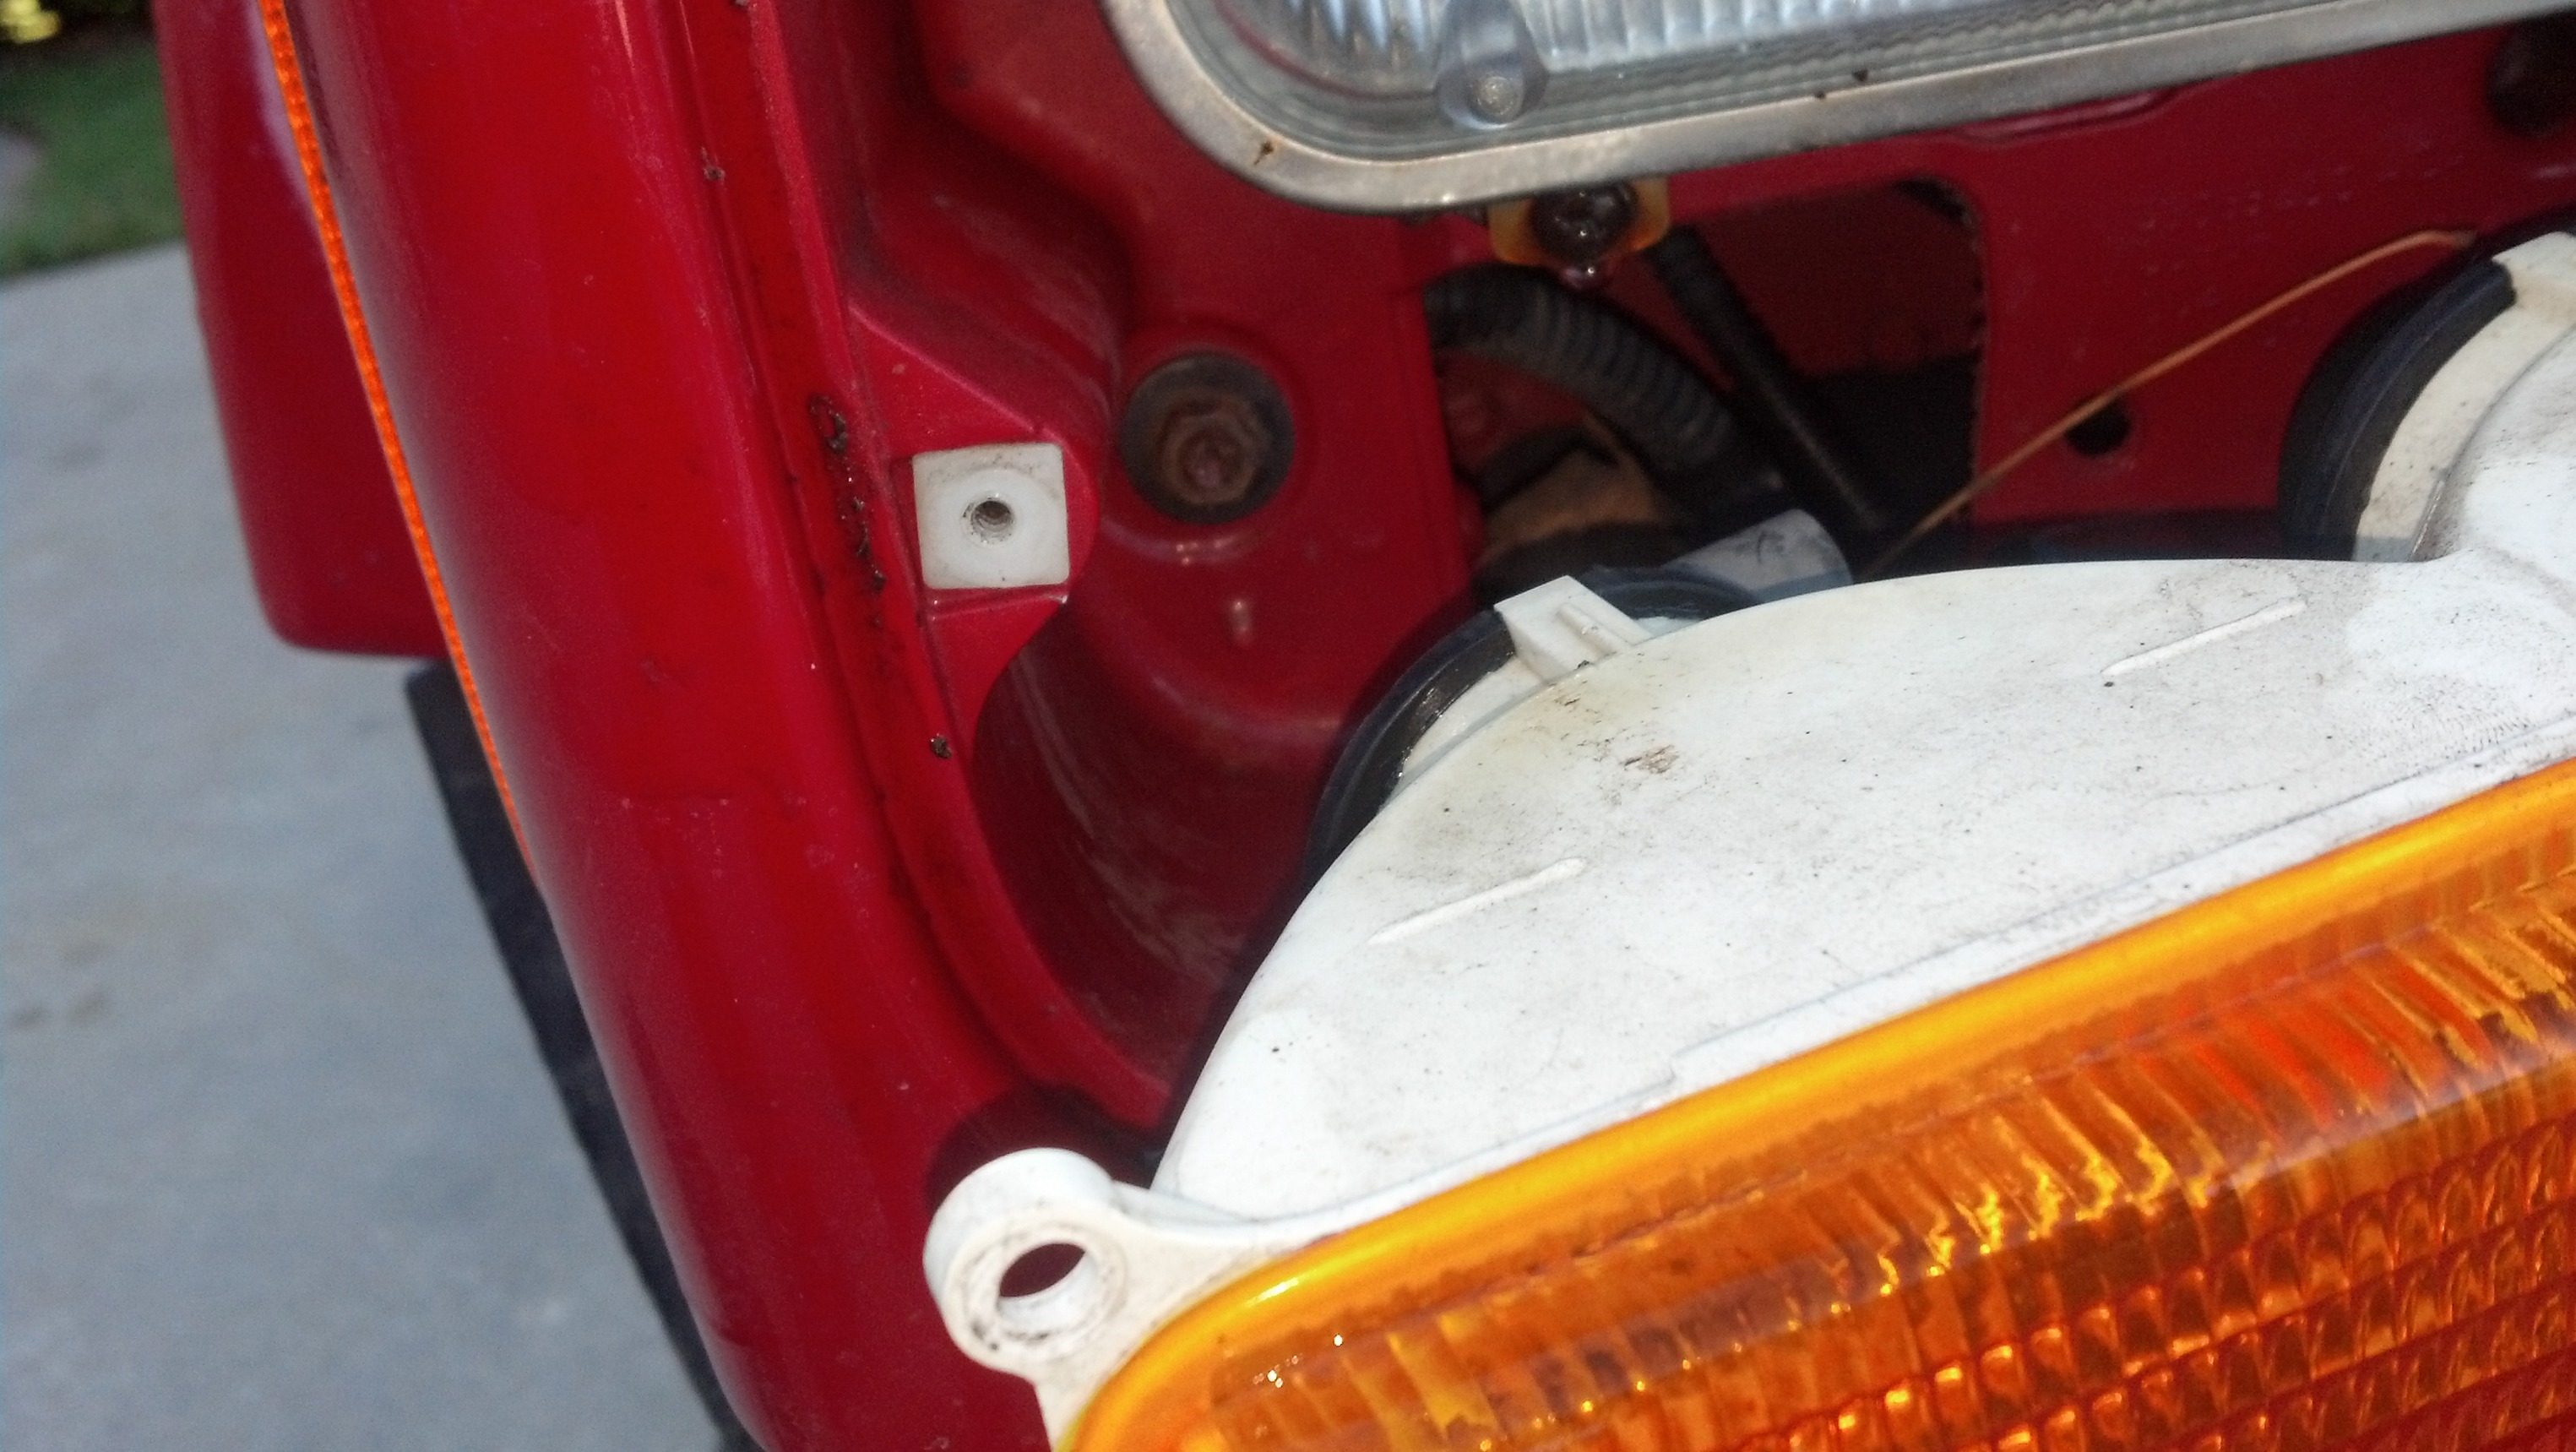
There is 2 8mm bolts on the fenders... simple easy... no photos. :/
2 10mm bolts /w non-fixed 10mm nuts on the bumper (LOL I BROKE THESE :P)
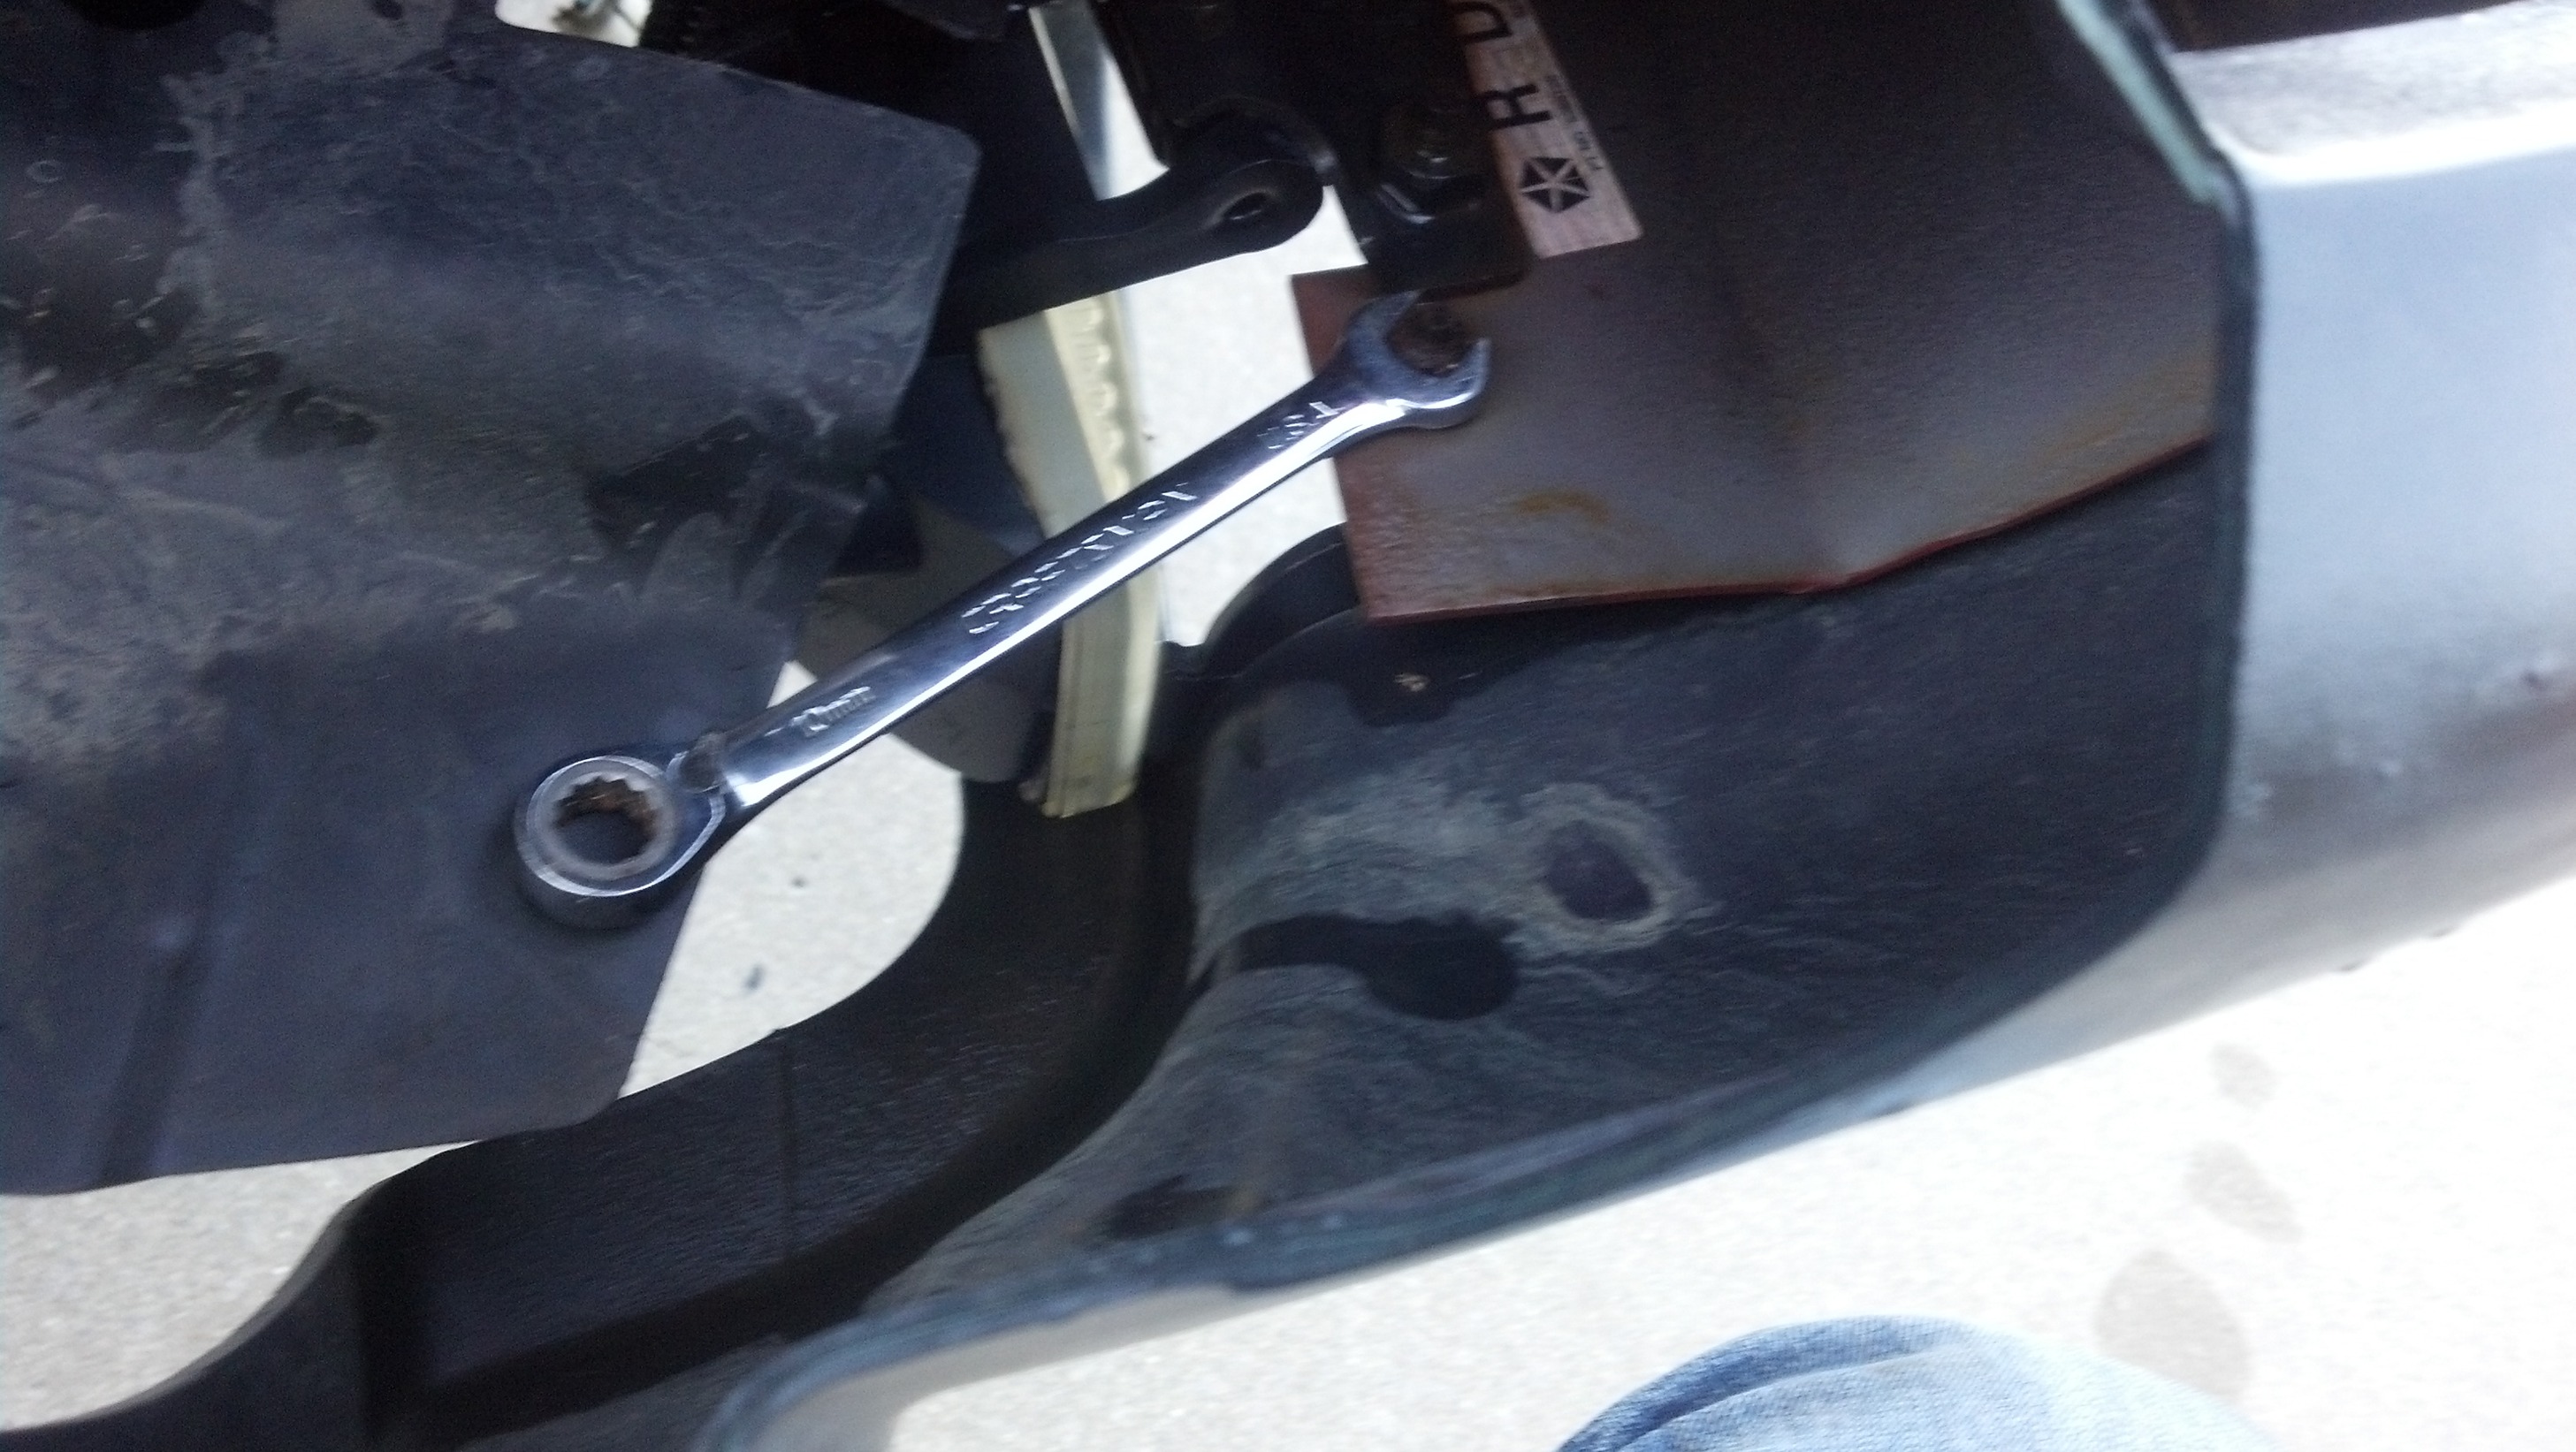
You can't miss them.
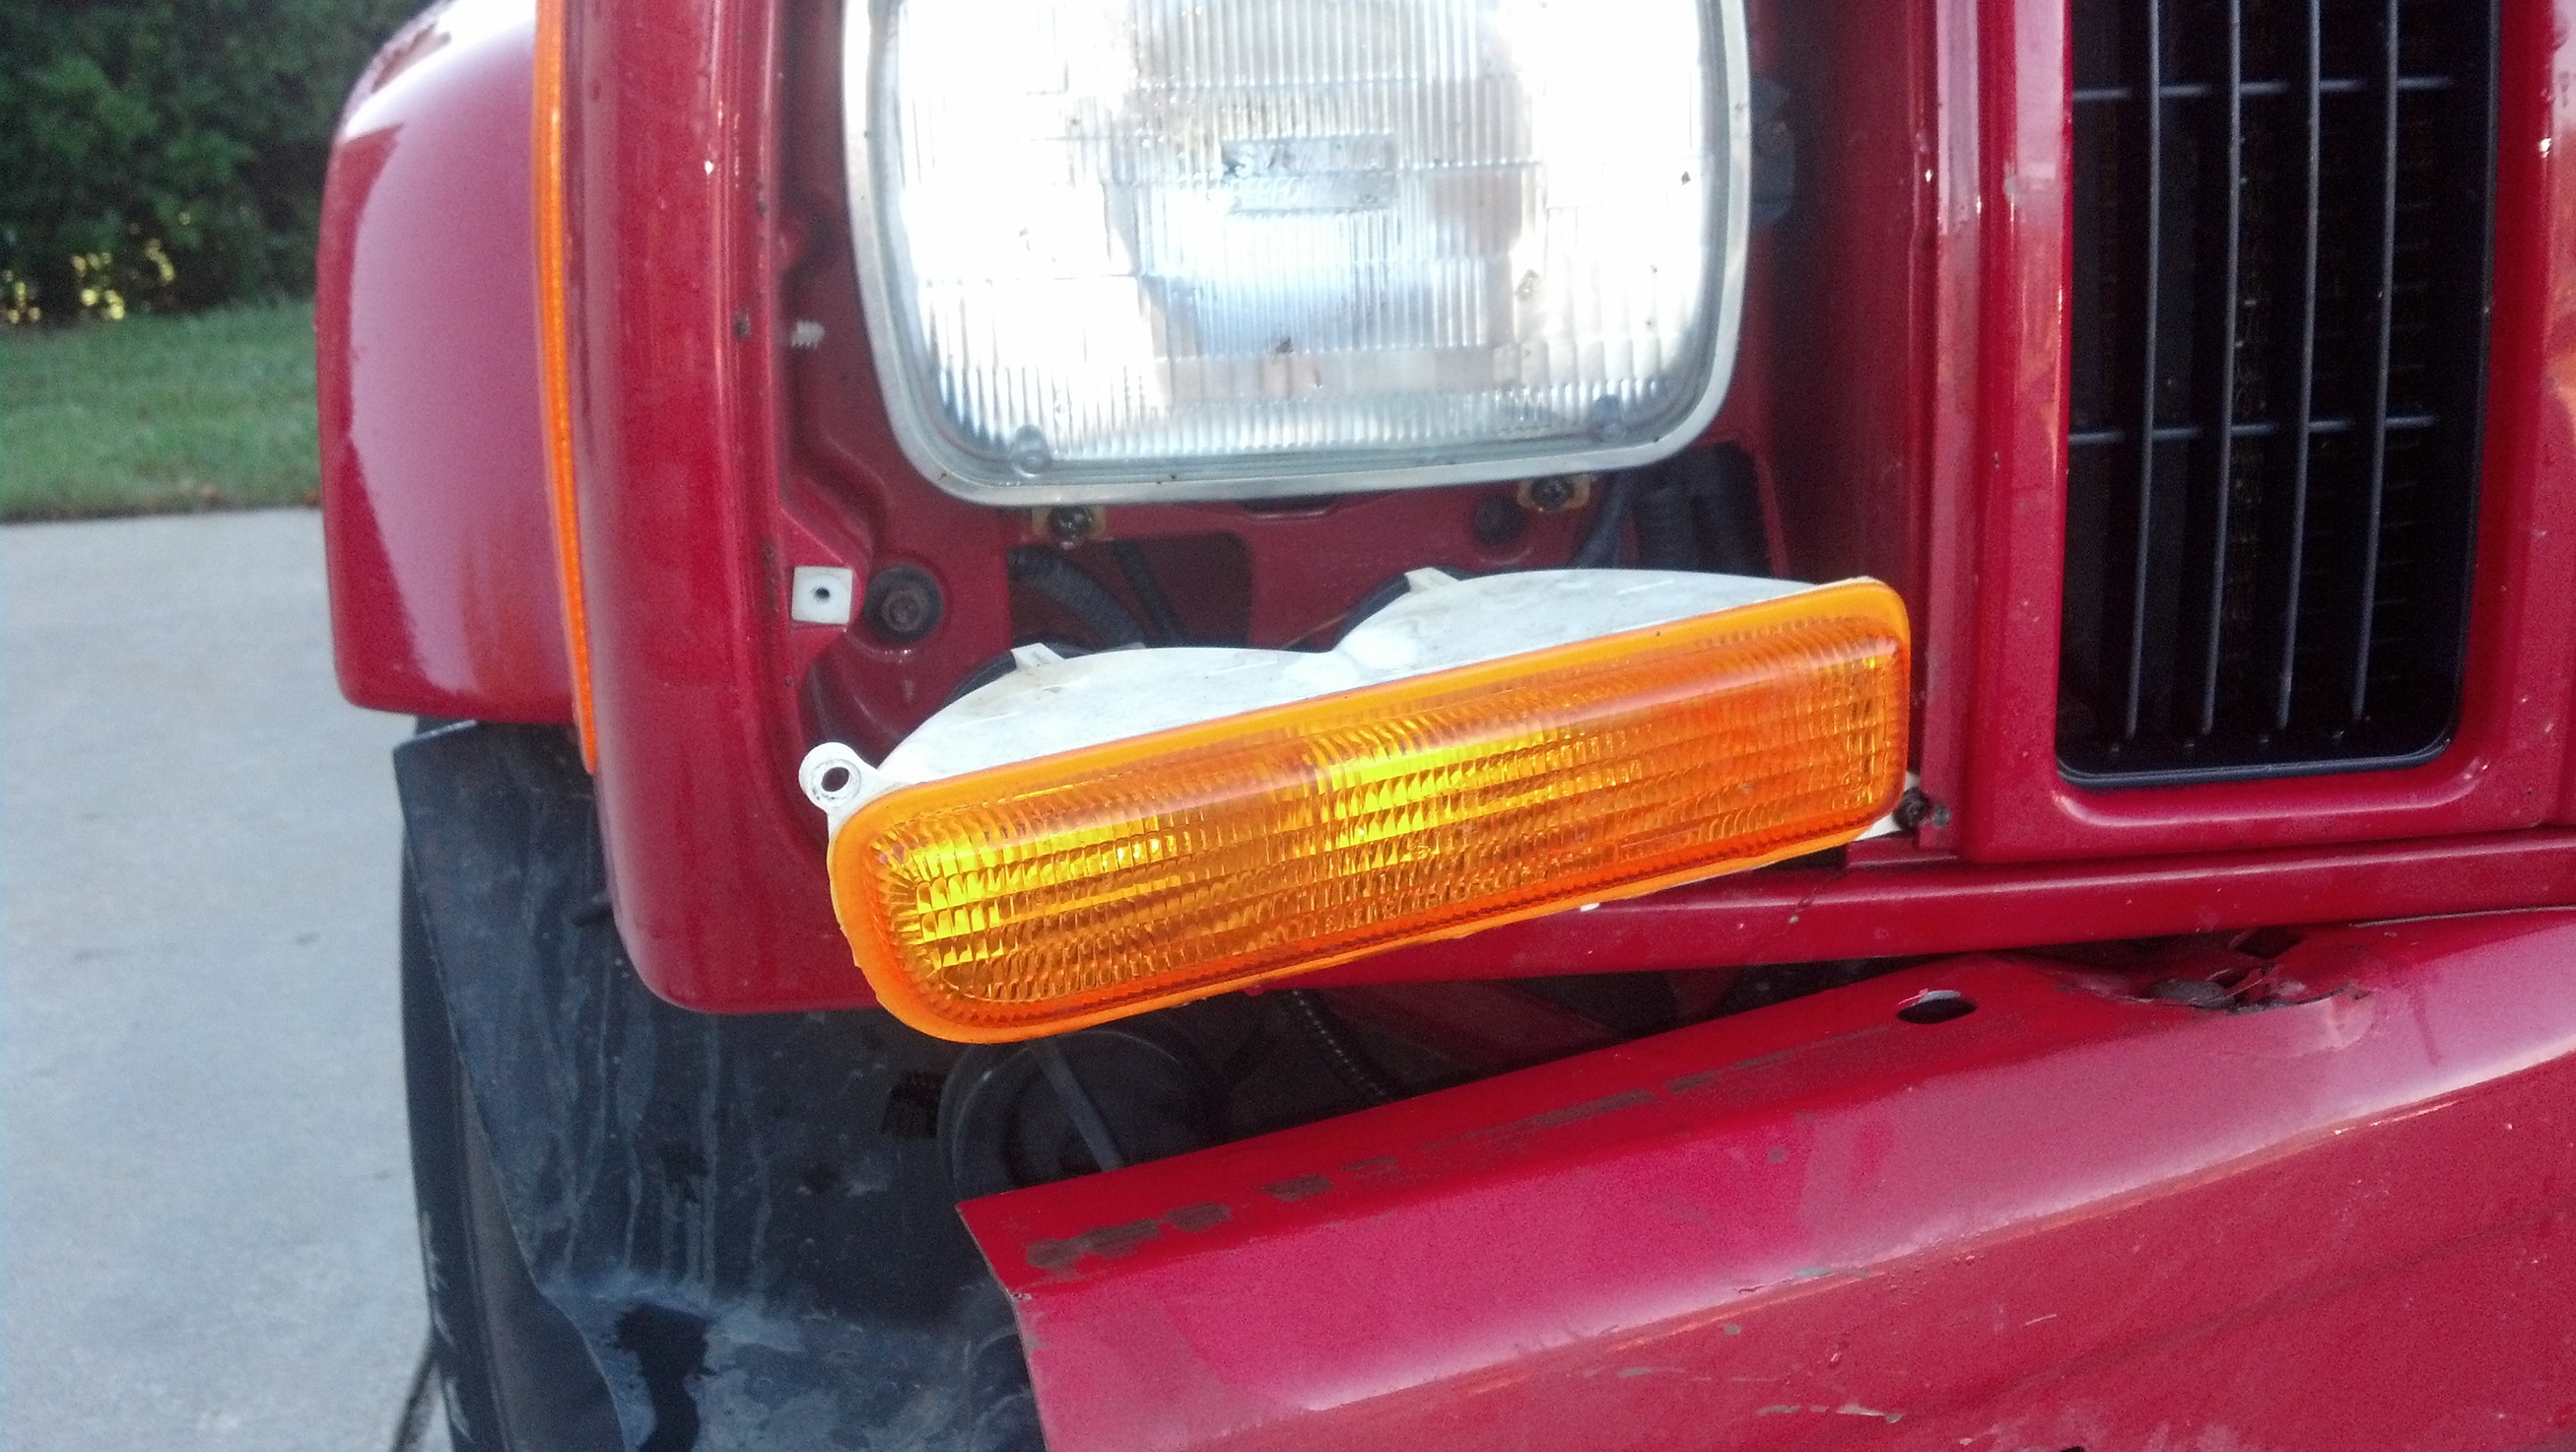
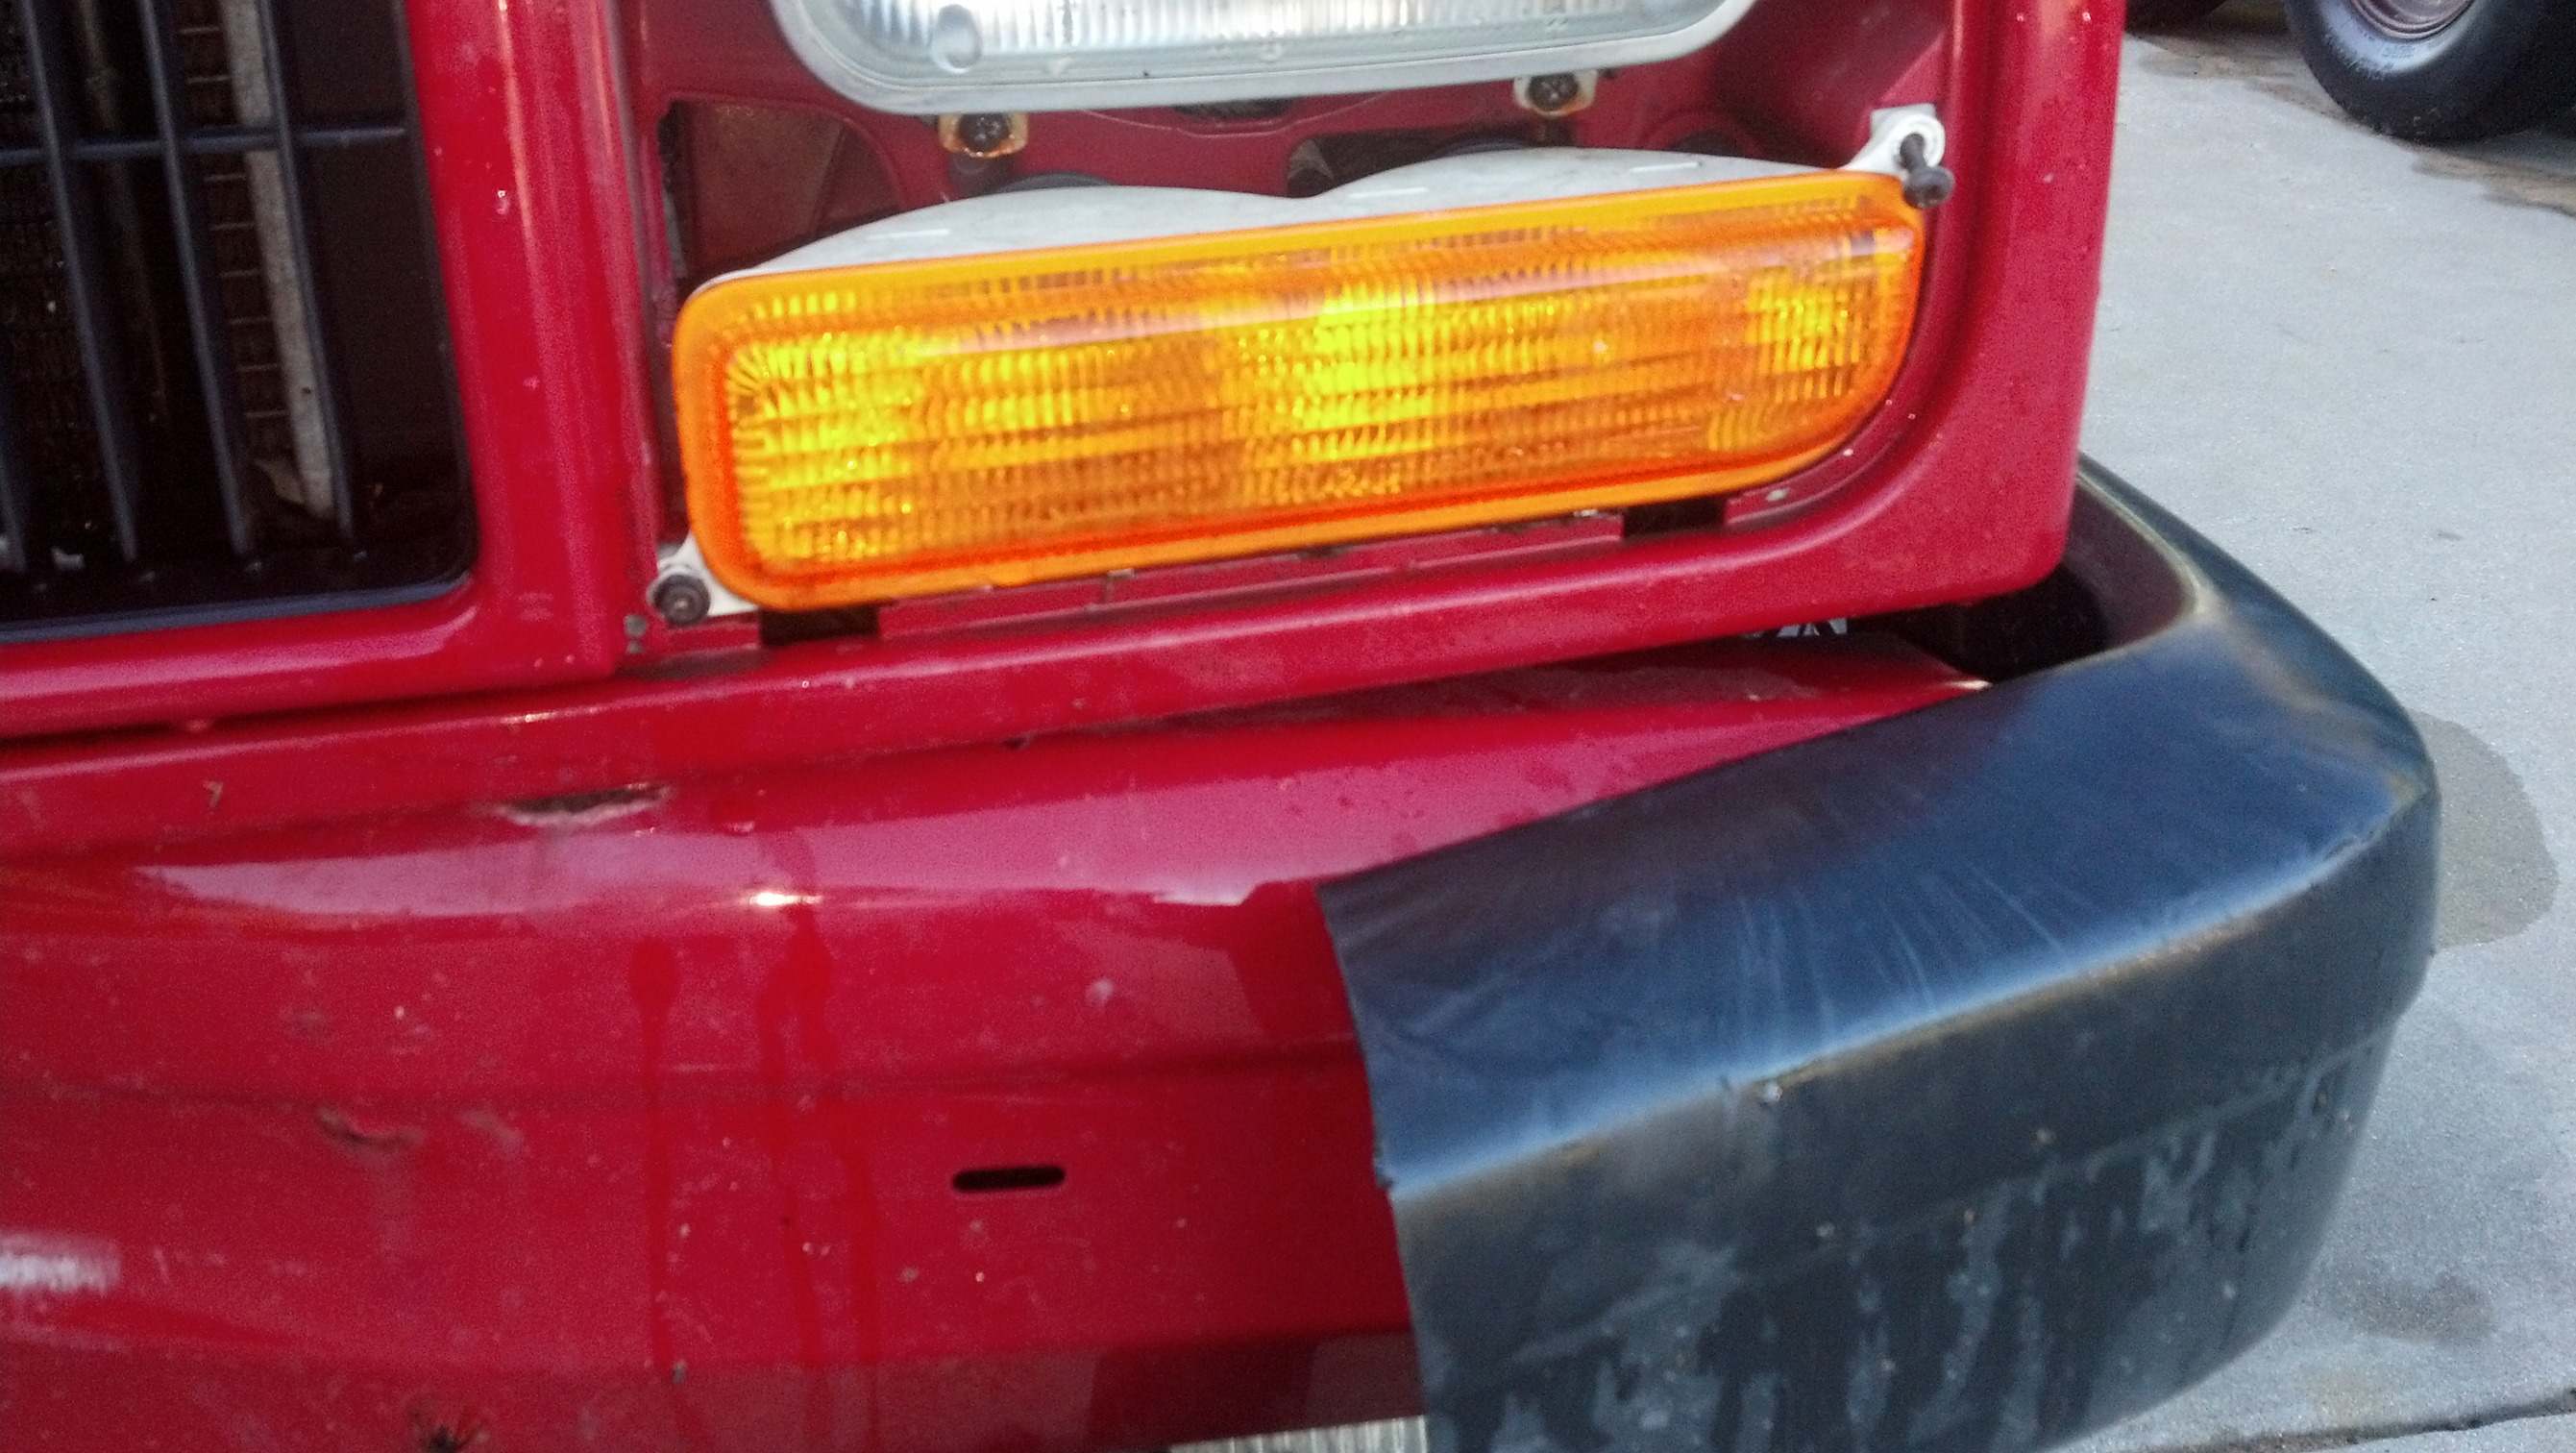
BOOM EASY DONE! Disconnect the fog lamps!
Once these are off, you might want to take off your vaccum ball thing. torx 25 if I remember... simple easy. cool. no pix :C
Poped off the breezels for the headlamps
2 phillips screws on the top and it comes out
2 phillips on the running lights. take off the outside one and loosened the inside one. I didn't want to take of the gill. (LAZY)
SHAZAM!!!!!!!!!! ON OUT WAY!!!!!!
2 10mm NUTS!!!!!!!!!!!!!! OUT!!!!! 1 on each side on the front!
KEWL BEANS THIS IS EASY!!!!!!
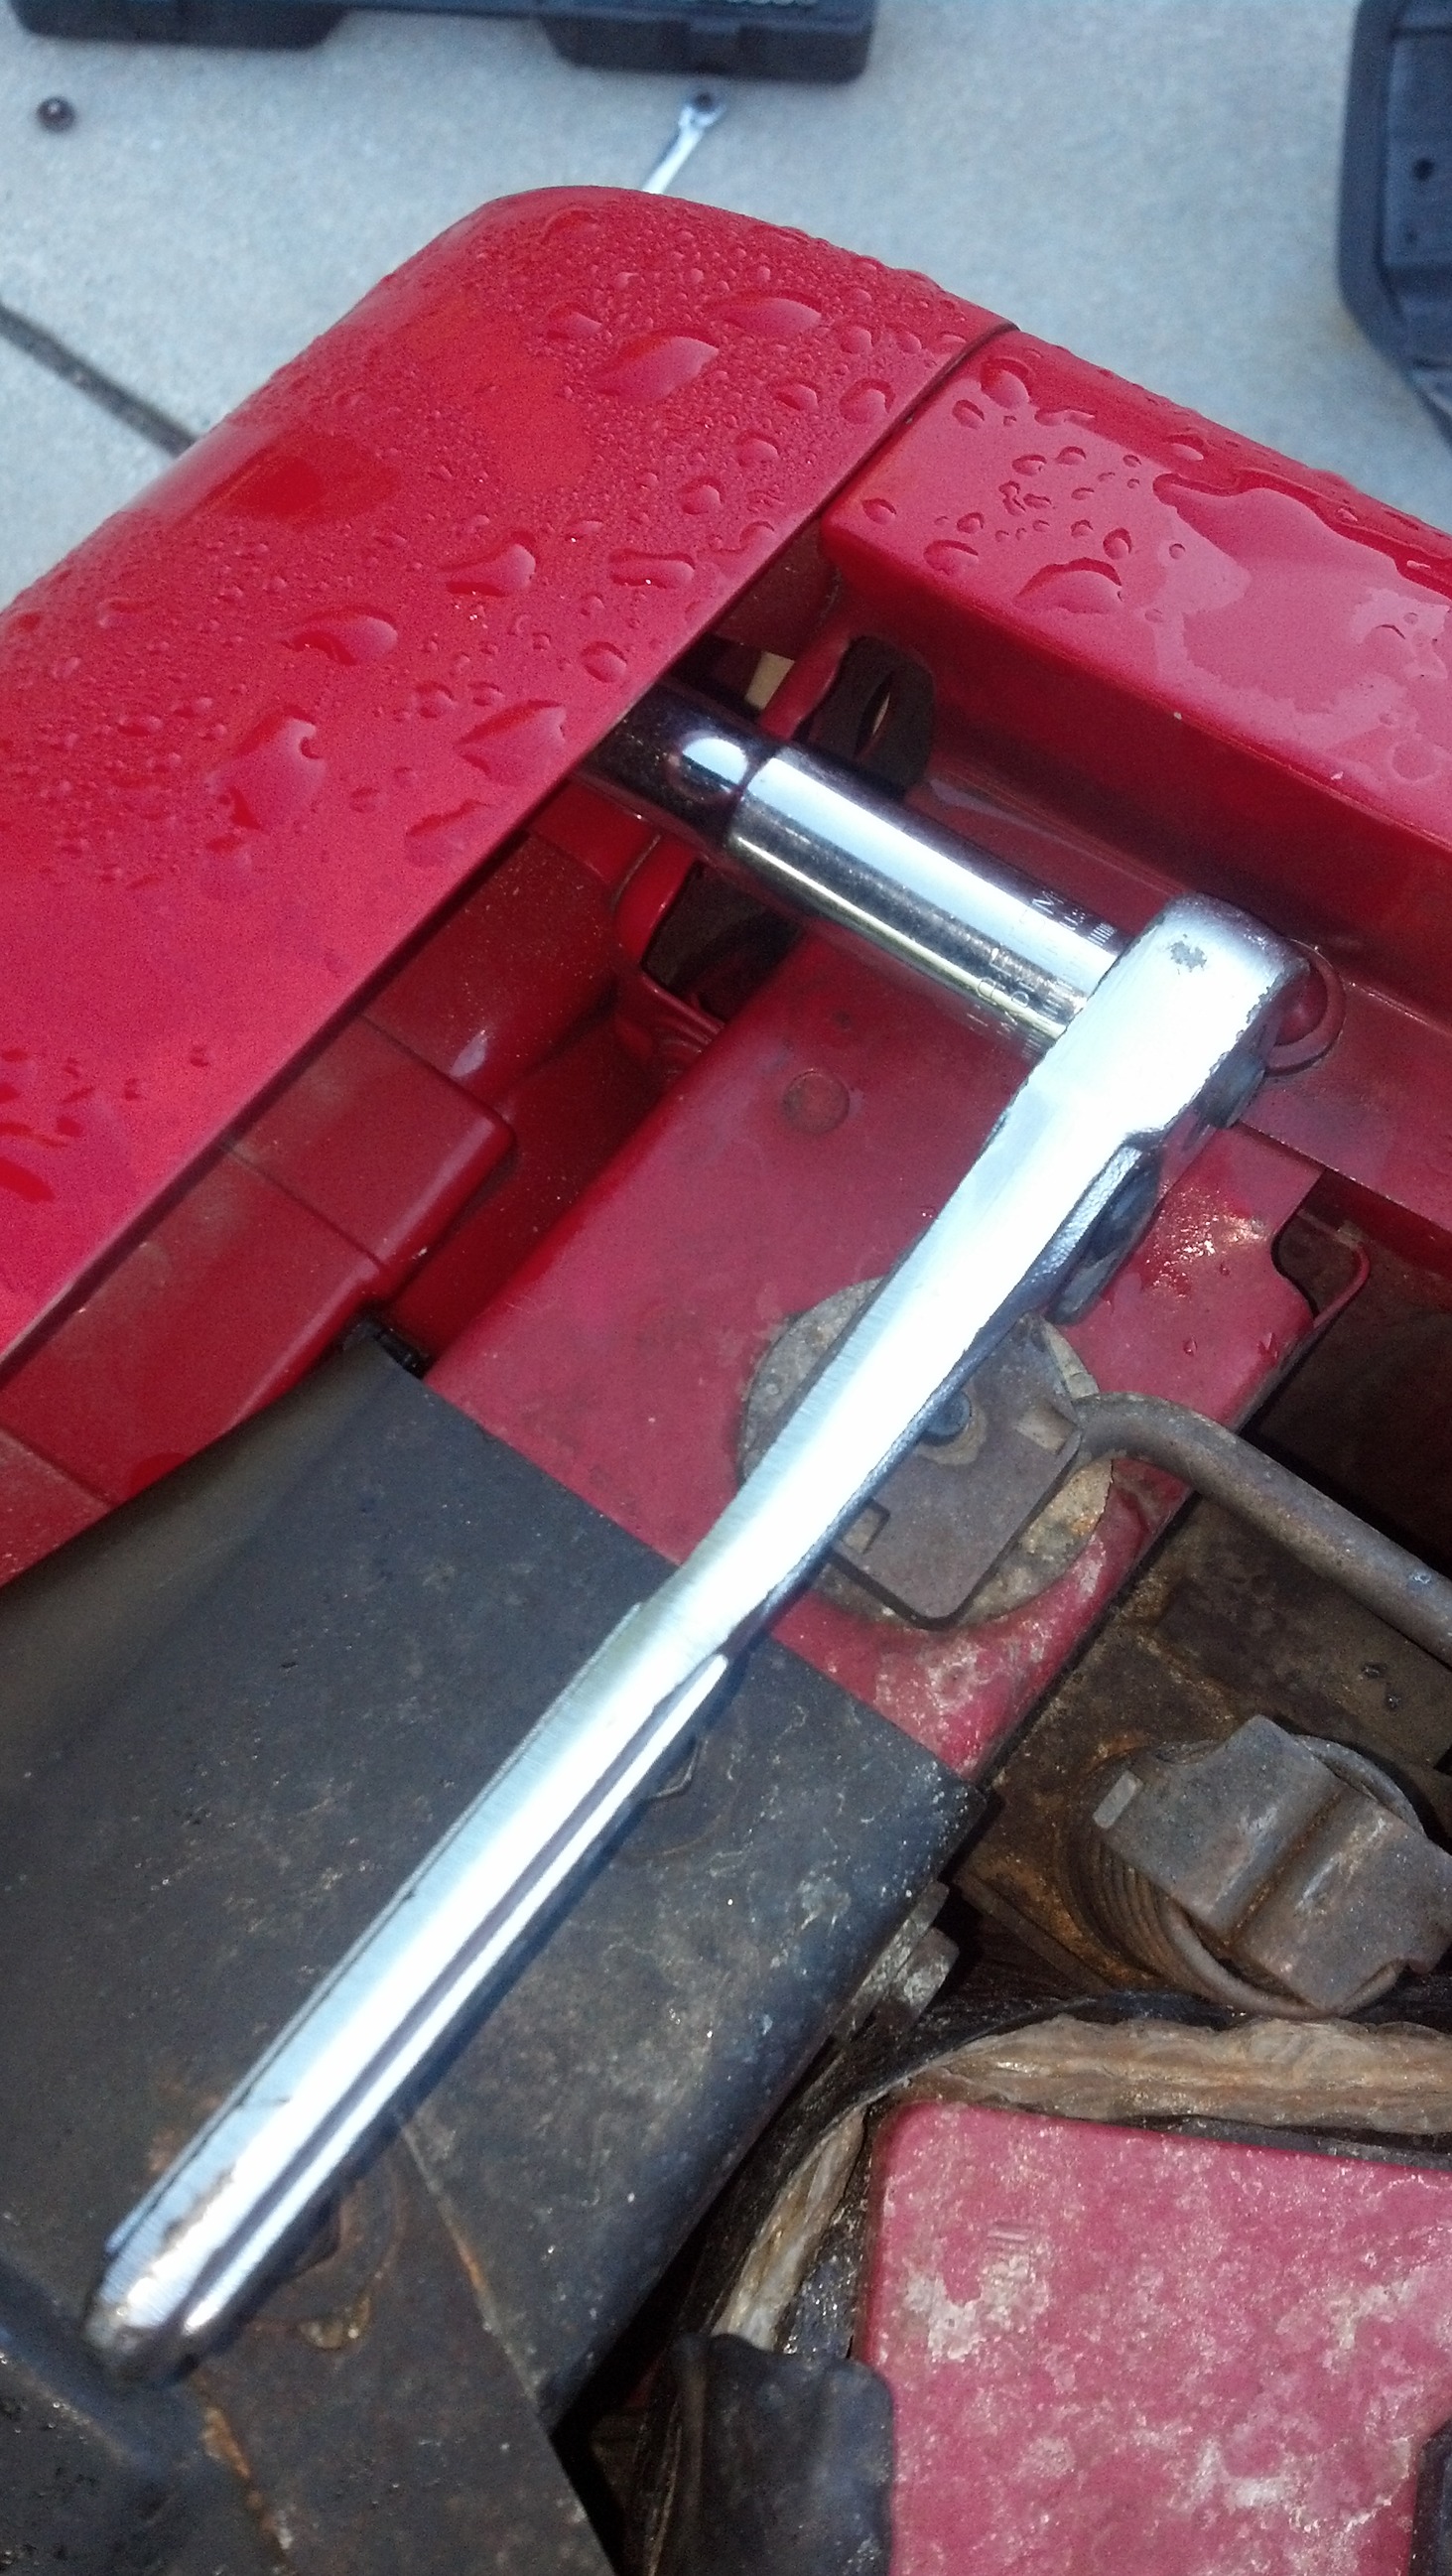
FROM HERE
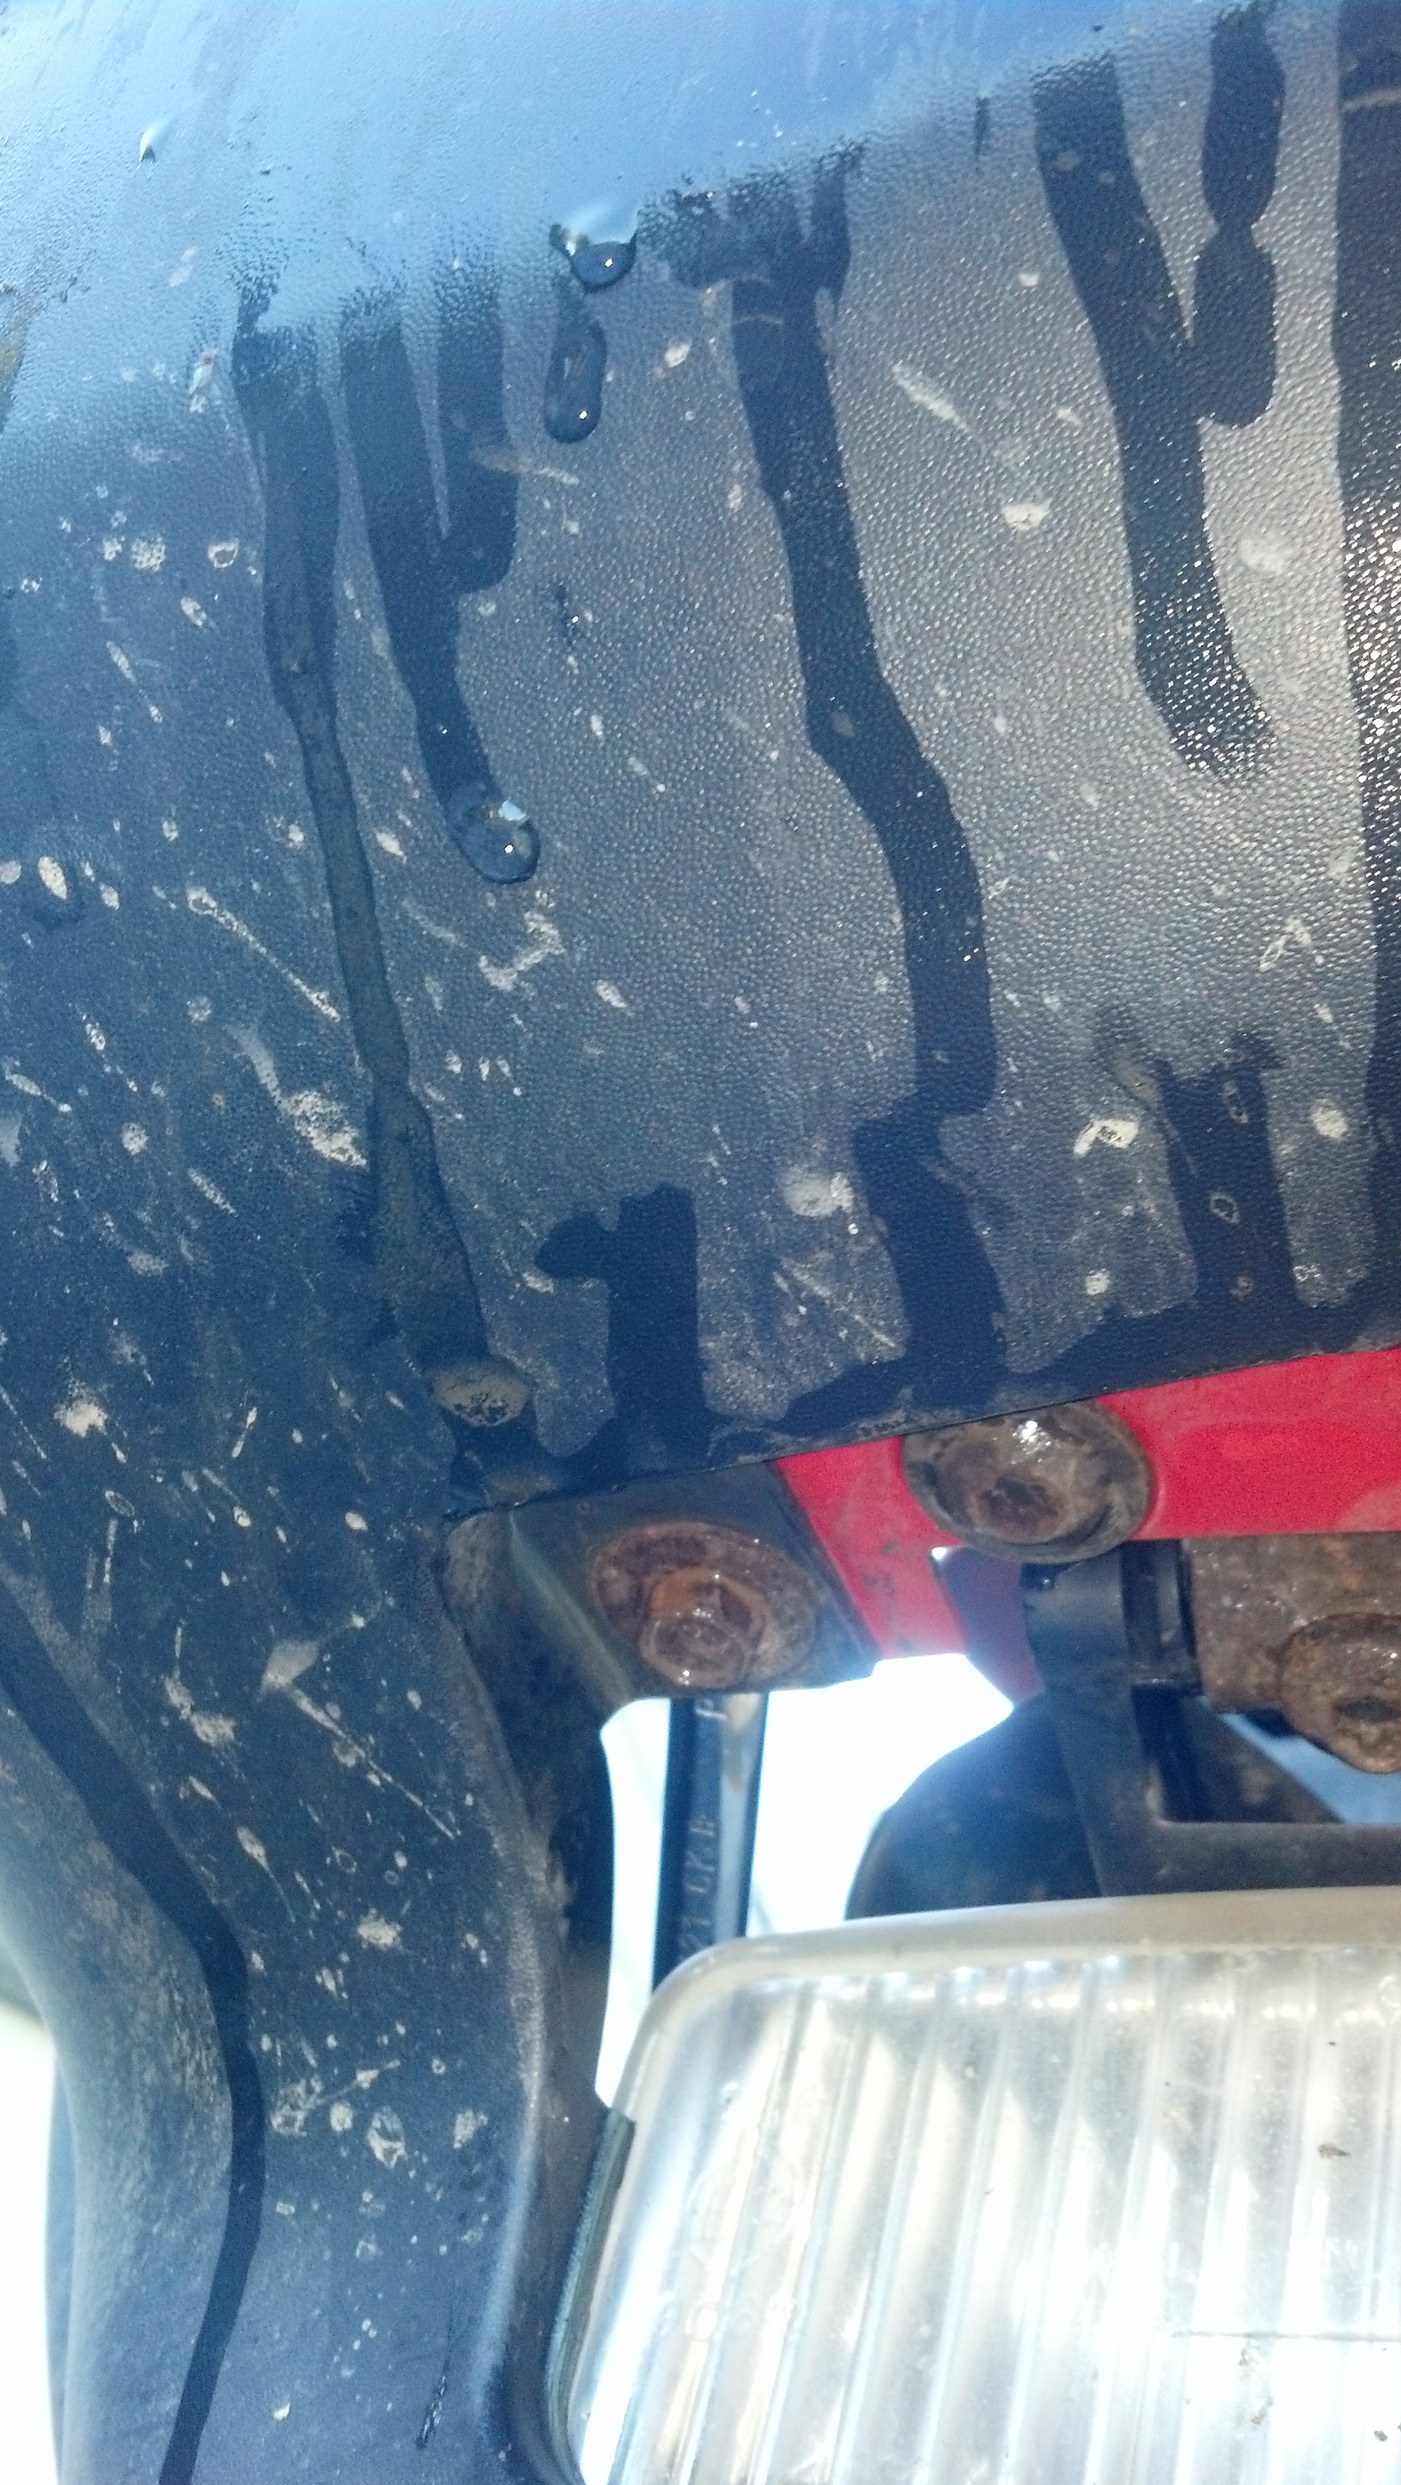
6 10mm BUTS ACROSSED THE INSIDE OF ENGINE BAY ACROSSED THE FRONT!!!!!!!!
TO HERE
KABOOM ON OUR WAY!!!
this is cakeeeeeeeeeeeeeeeeeeeeeeee
This thing is a B****H
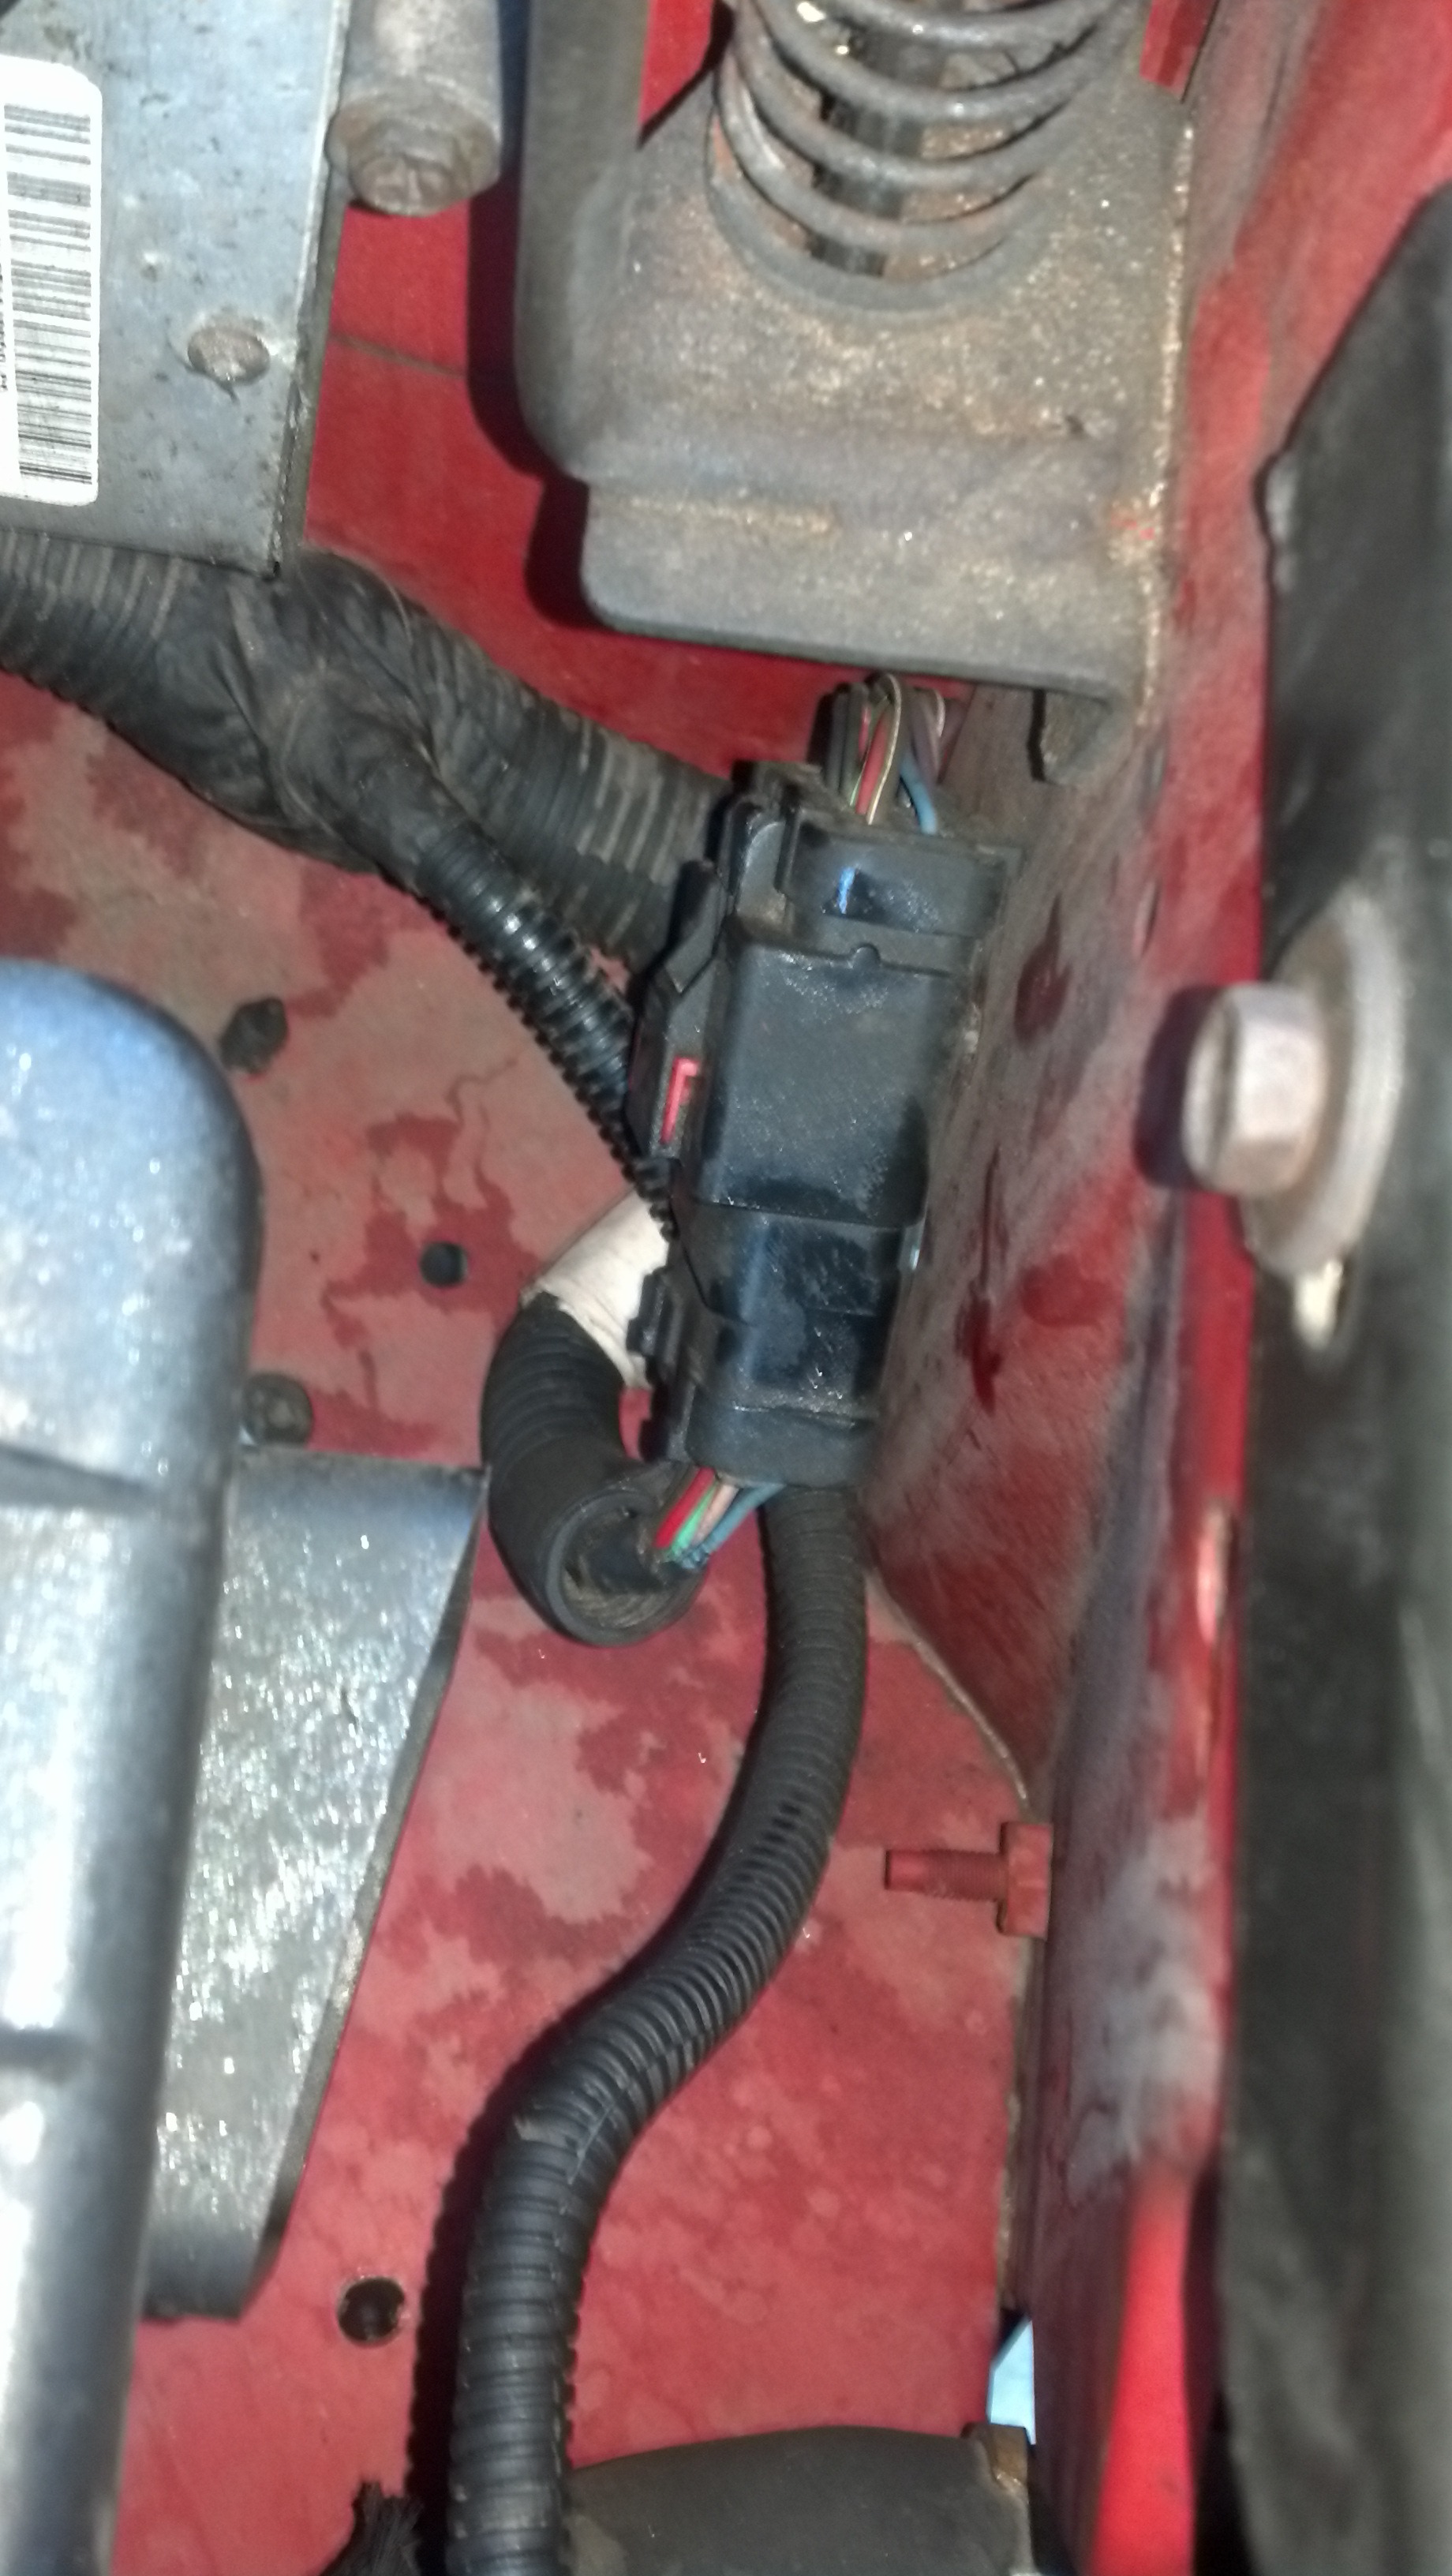
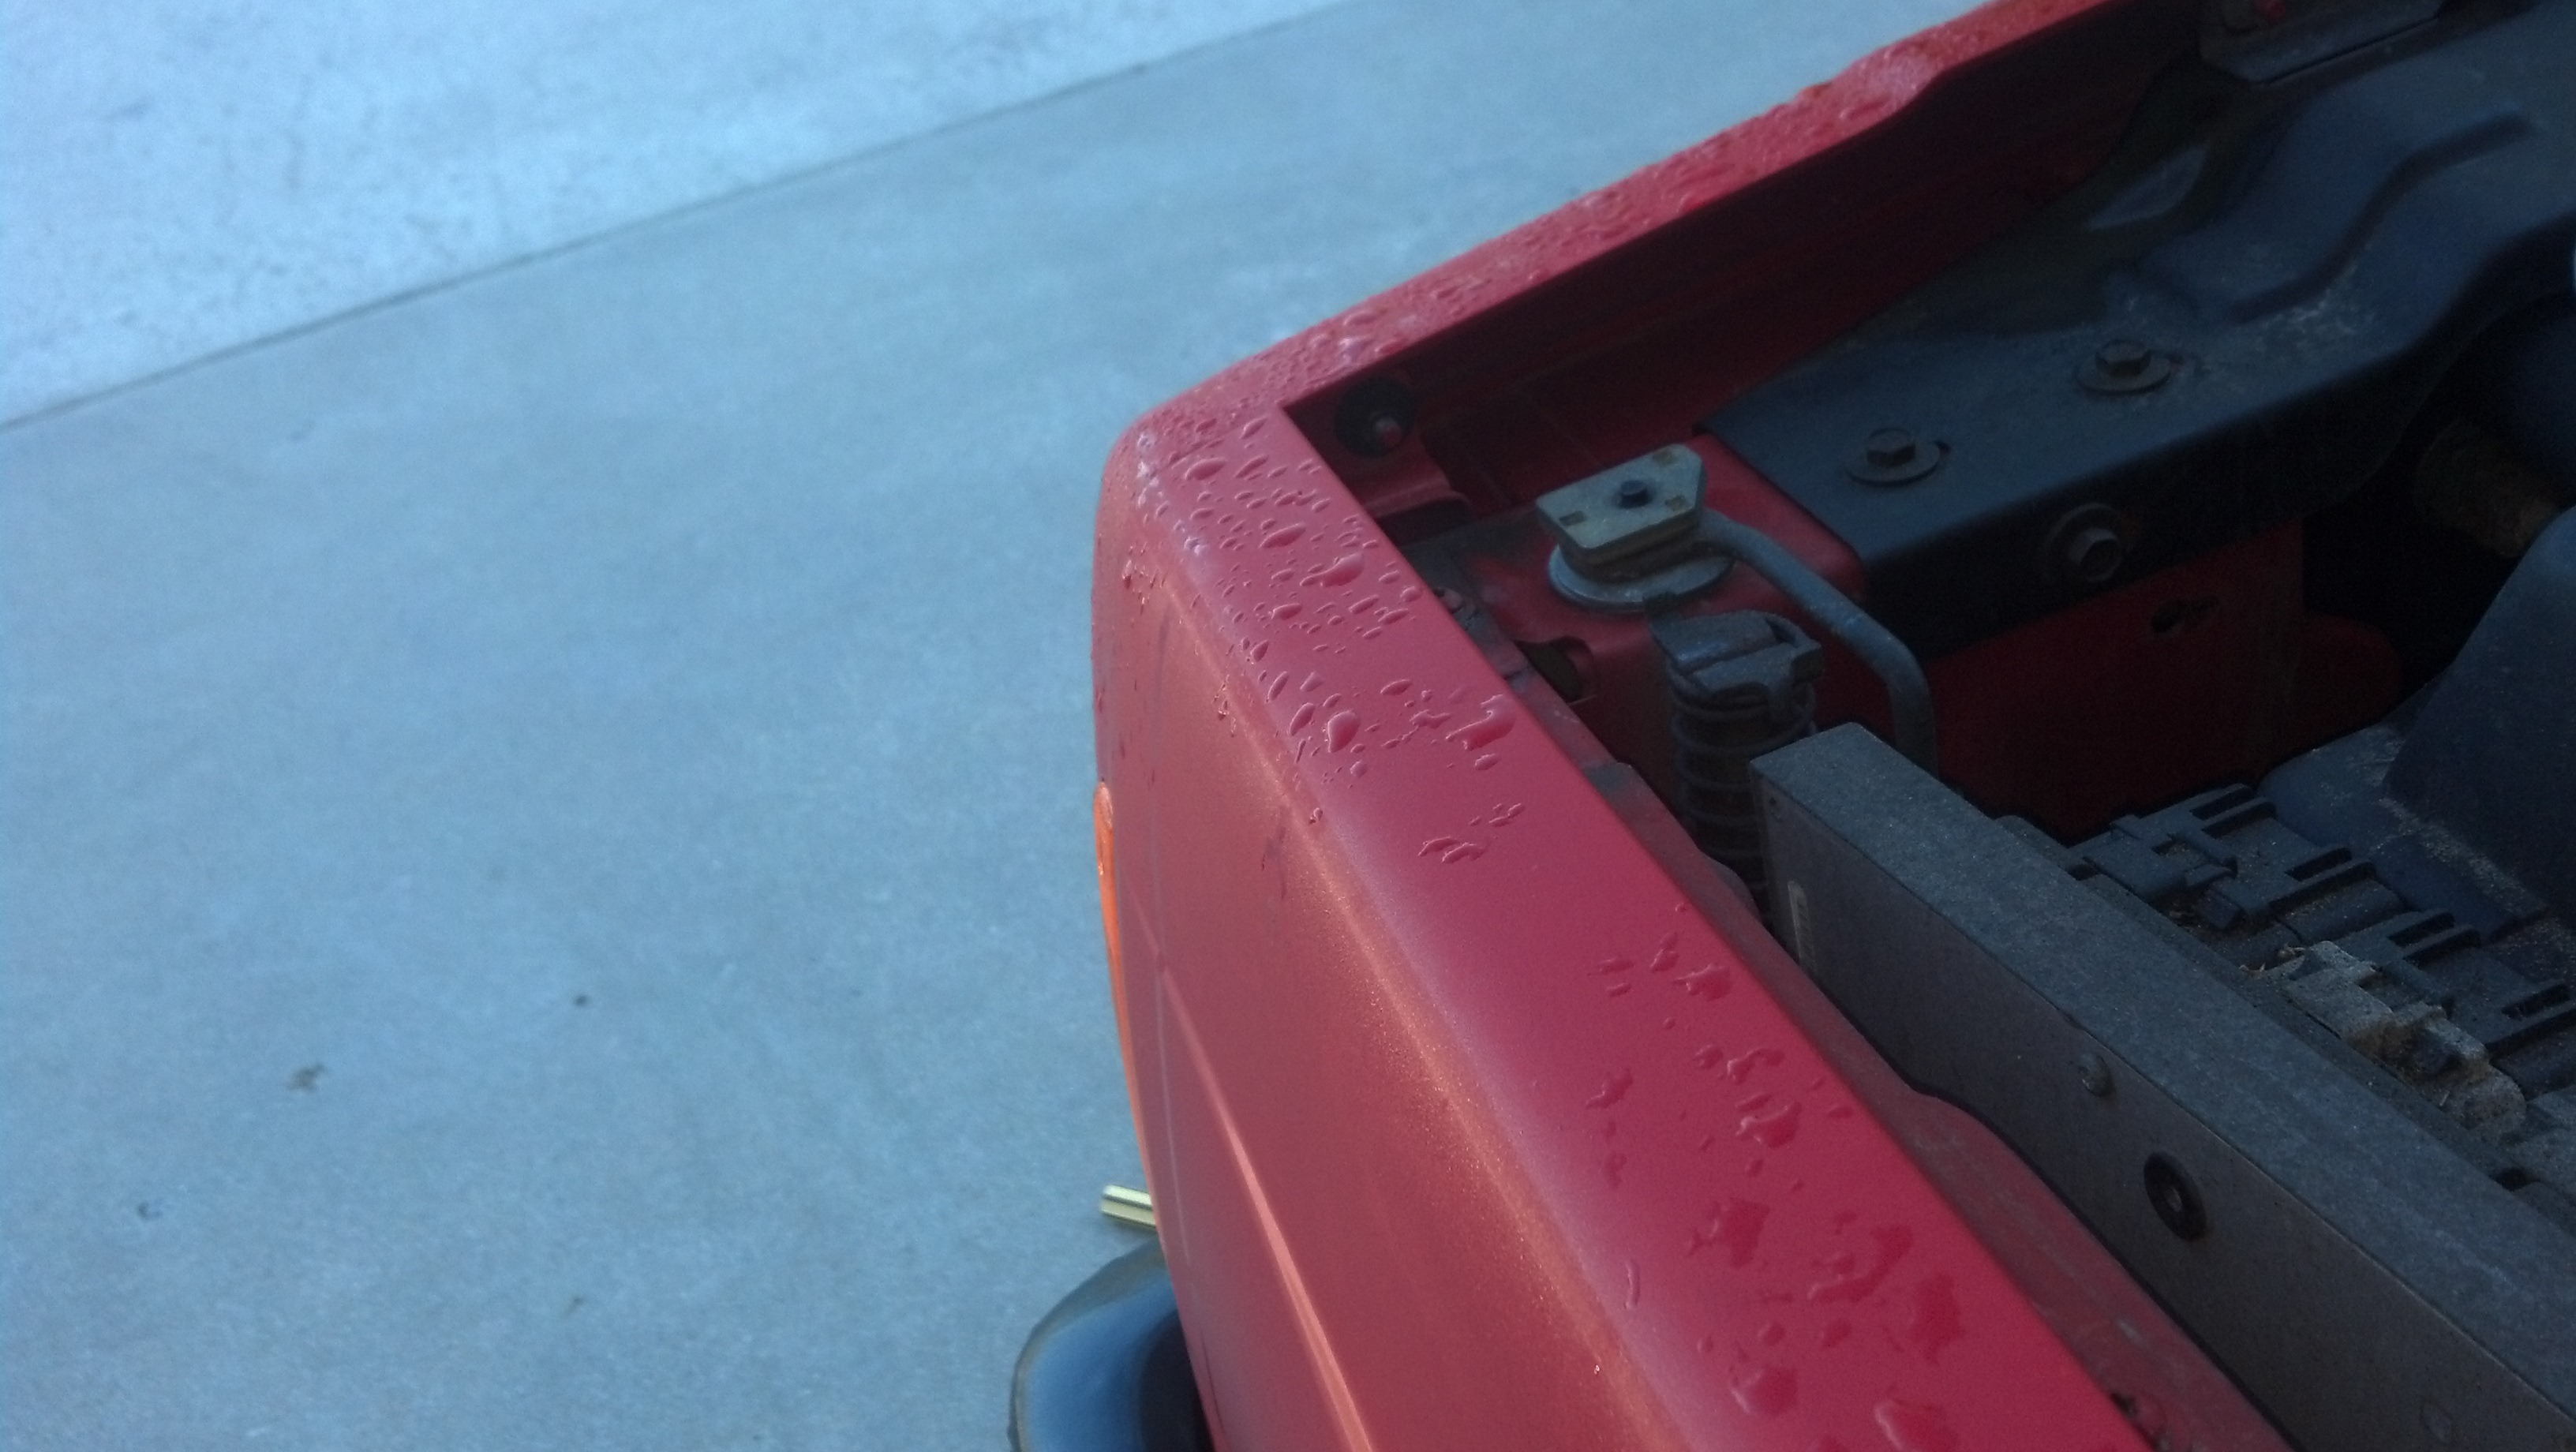
Push the fitting on the opposite side (Behind the headlamp)
and move the red thingy... or take a flat head screw driver and DESTROY IT WITH YOUR MANLY MIGHT!!!!!!!!!!!!!!!!!!!!!!! or womanly... props if your female.
and ya push on the thing out awesome cool..
4 trox 45 bolts hold this bad boy inplace.............. or 6 15mm sockets.. your choice. I couldn't use the impact tools at 9am on a sunday
If you can't find them you need your eyes checked.
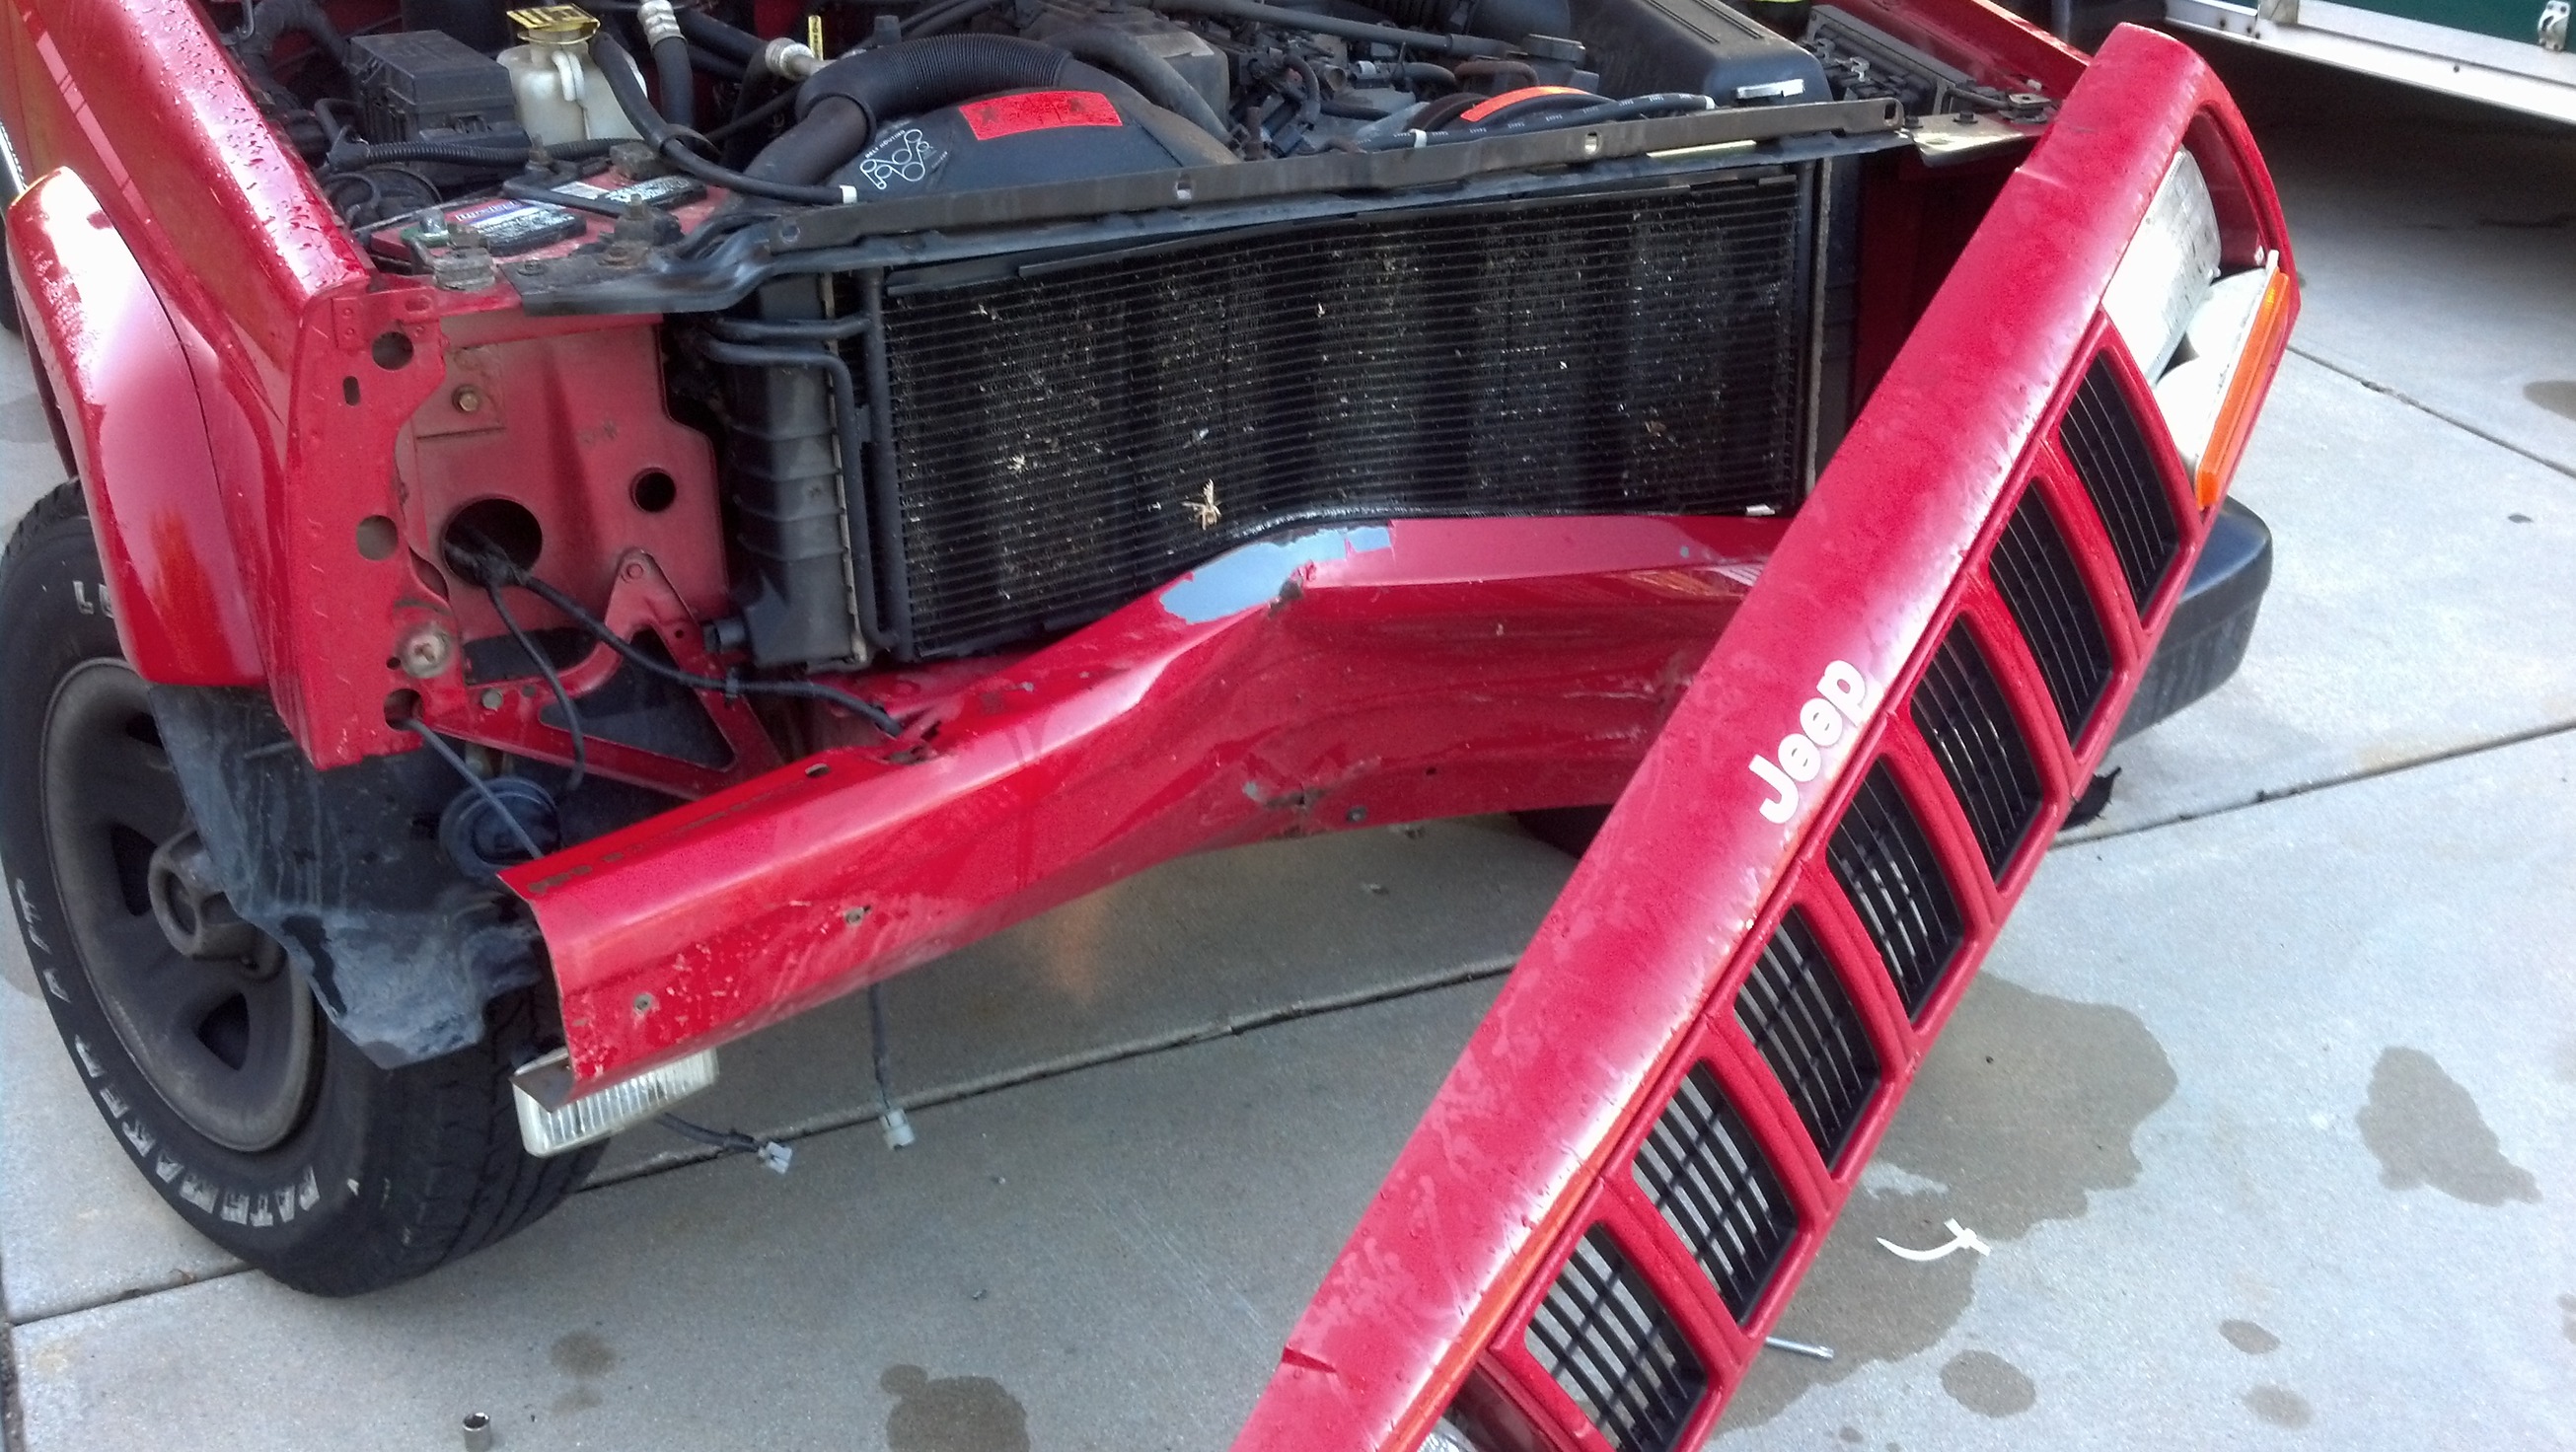
AND YA!!!!!!!!!!!!! WAHOOO!!! ITS OFFFFFFFFF!!!!!!!!!
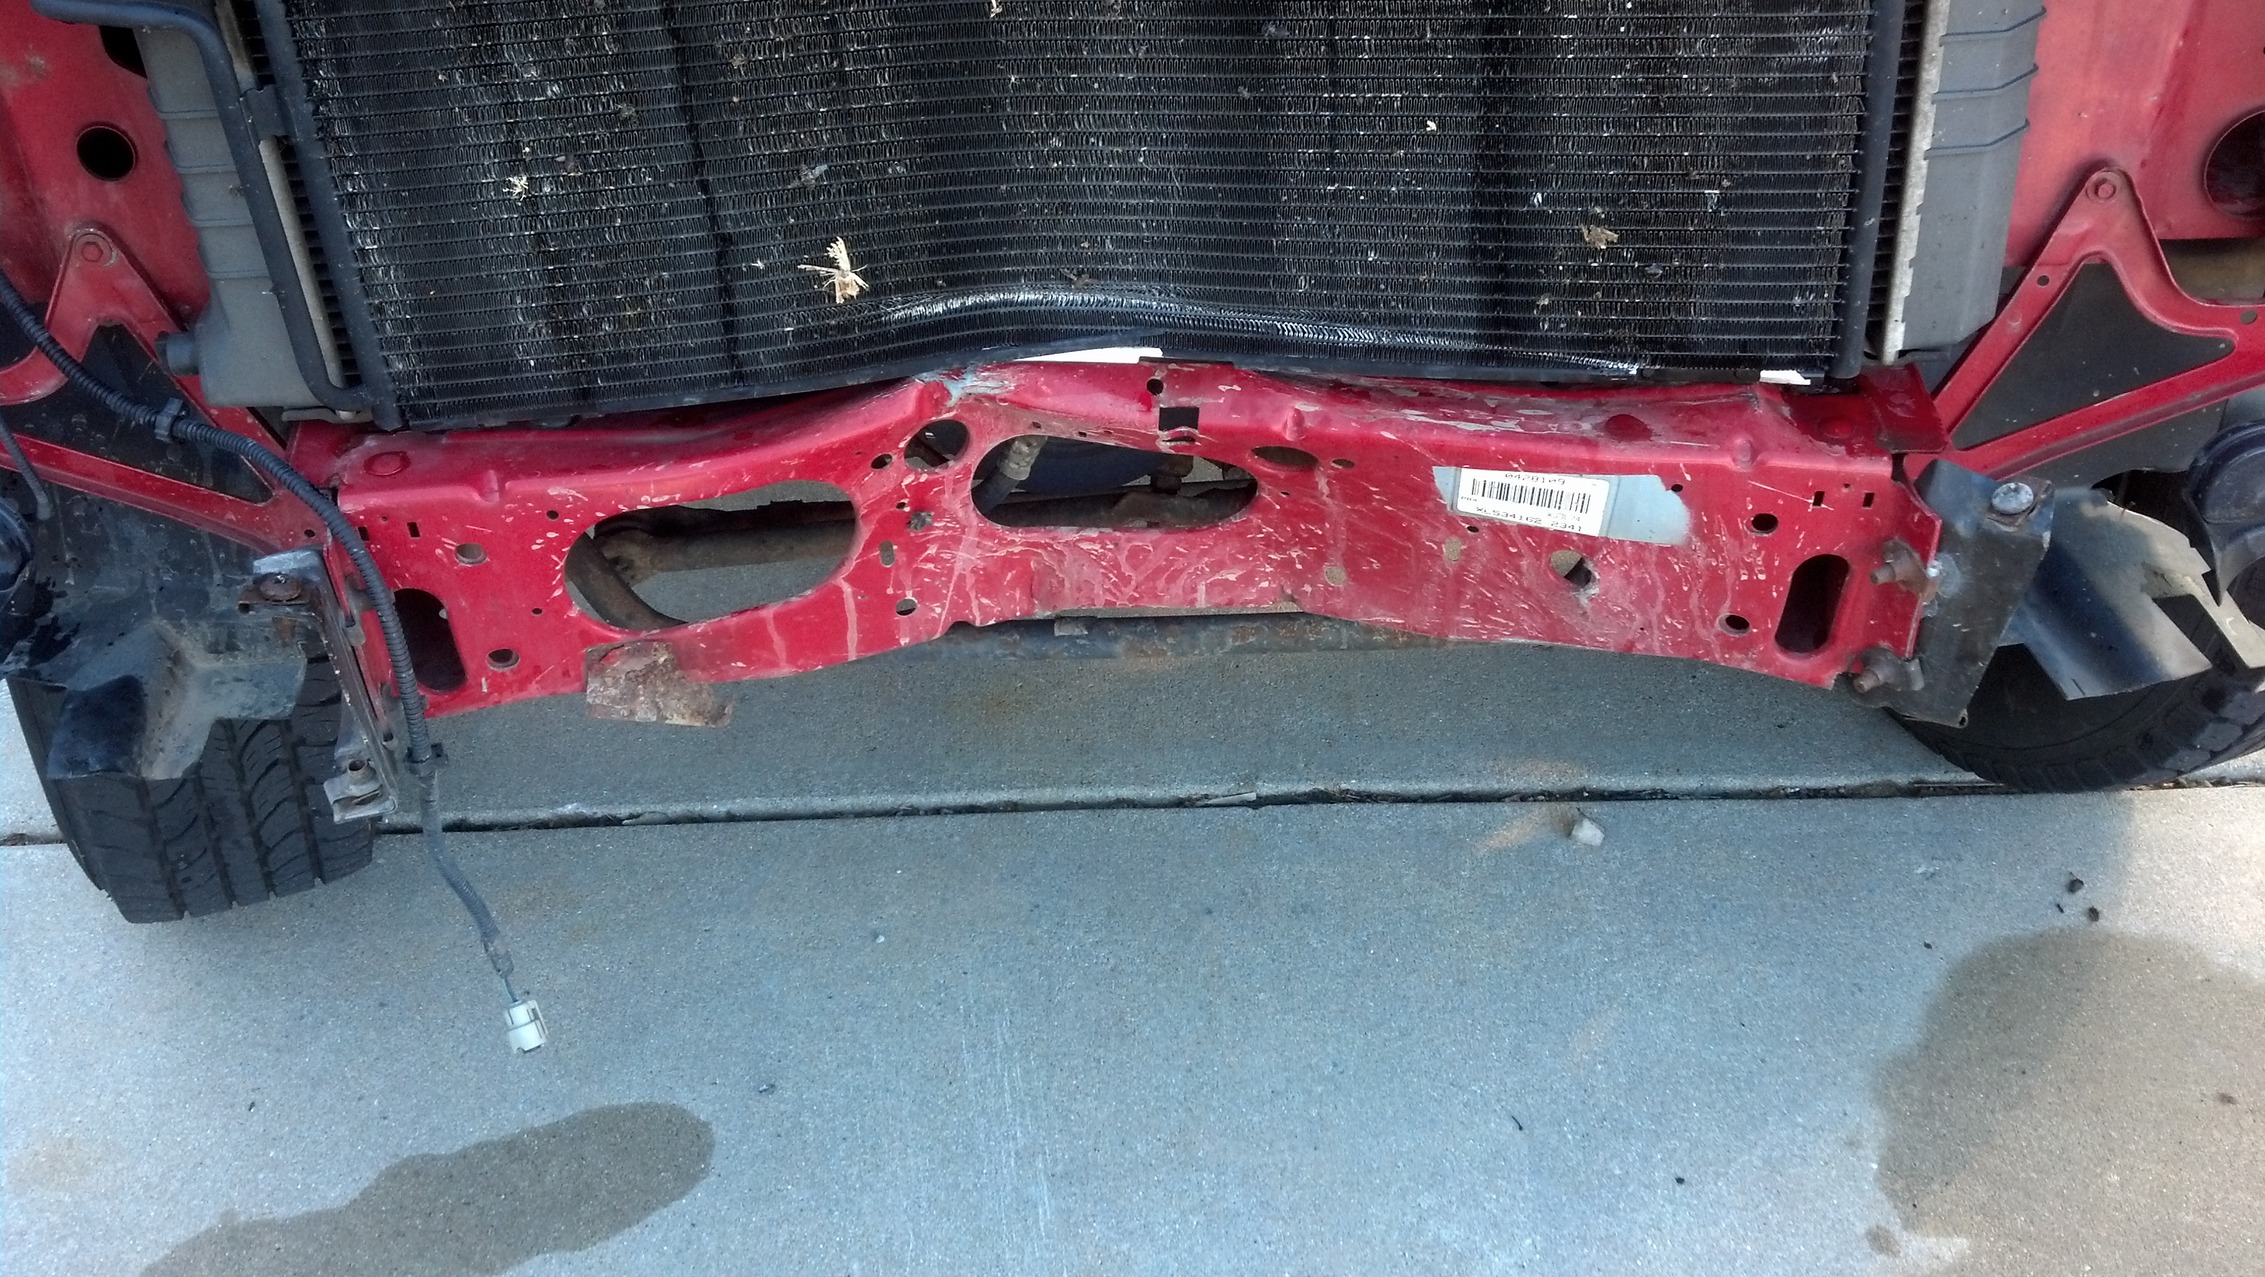
AC works and no leaks.. drove it 35 miles home doing 80mph (SPEED DEMON) so i'm not too worried about the rad.
Looks like I got some cutting and welding to do...
It will look better off then on... thats for sure
End caps come off first... I thought this would be easier sense it's already half bent off. Not the case, but easier for pictures.
FIRST THING FIRST! disconnect your battery. You never know what you might hit on accident. Airbags make a mess...
There is 2 8mm bolts on the fenders... simple easy... no photos. :/
2 10mm bolts /w non-fixed 10mm nuts on the bumper (LOL I BROKE THESE :P)
You can't miss them.
BOOM EASY DONE! Disconnect the fog lamps!
Once these are off, you might want to take off your vaccum ball thing. torx 25 if I remember... simple easy. cool. no pix :C
Poped off the breezels for the headlamps
2 phillips screws on the top and it comes out
2 phillips on the running lights. take off the outside one and loosened the inside one. I didn't want to take of the gill. (LAZY)
SHAZAM!!!!!!!!!! ON OUT WAY!!!!!!
2 10mm NUTS!!!!!!!!!!!!!! OUT!!!!! 1 on each side on the front!
KEWL BEANS THIS IS EASY!!!!!!
FROM HERE
6 10mm BUTS ACROSSED THE INSIDE OF ENGINE BAY ACROSSED THE FRONT!!!!!!!!
TO HERE
KABOOM ON OUR WAY!!!
this is cakeeeeeeeeeeeeeeeeeeeeeeee
This thing is a B****H
Push the fitting on the opposite side (Behind the headlamp)
and move the red thingy... or take a flat head screw driver and DESTROY IT WITH YOUR MANLY MIGHT!!!!!!!!!!!!!!!!!!!!!!! or womanly... props if your female.
and ya push on the thing out awesome cool..
4 trox 45 bolts hold this bad boy inplace.............. or 6 15mm sockets.. your choice. I couldn't use the impact tools at 9am on a sunday
If you can't find them you need your eyes checked.
AND YA!!!!!!!!!!!!! WAHOOO!!! ITS OFFFFFFFFF!!!!!!!!!
AC works and no leaks.. drove it 35 miles home doing 80mph (SPEED DEMON) so i'm not too worried about the rad.
Looks like I got some cutting and welding to do...
Last edited by hi im adam; 09-09-2012 at 11:11 AM.
09-19-2012, 06:26 PM
#5
Seasoned Member
Thread Starter
Join Date: Oct 2010
Location: Muskegon, MI
Posts: 310
Likes: 0
Received 0 Likes
on
0 Posts
Year: I've had a few...
Model: Cherokee
Engine: A secret

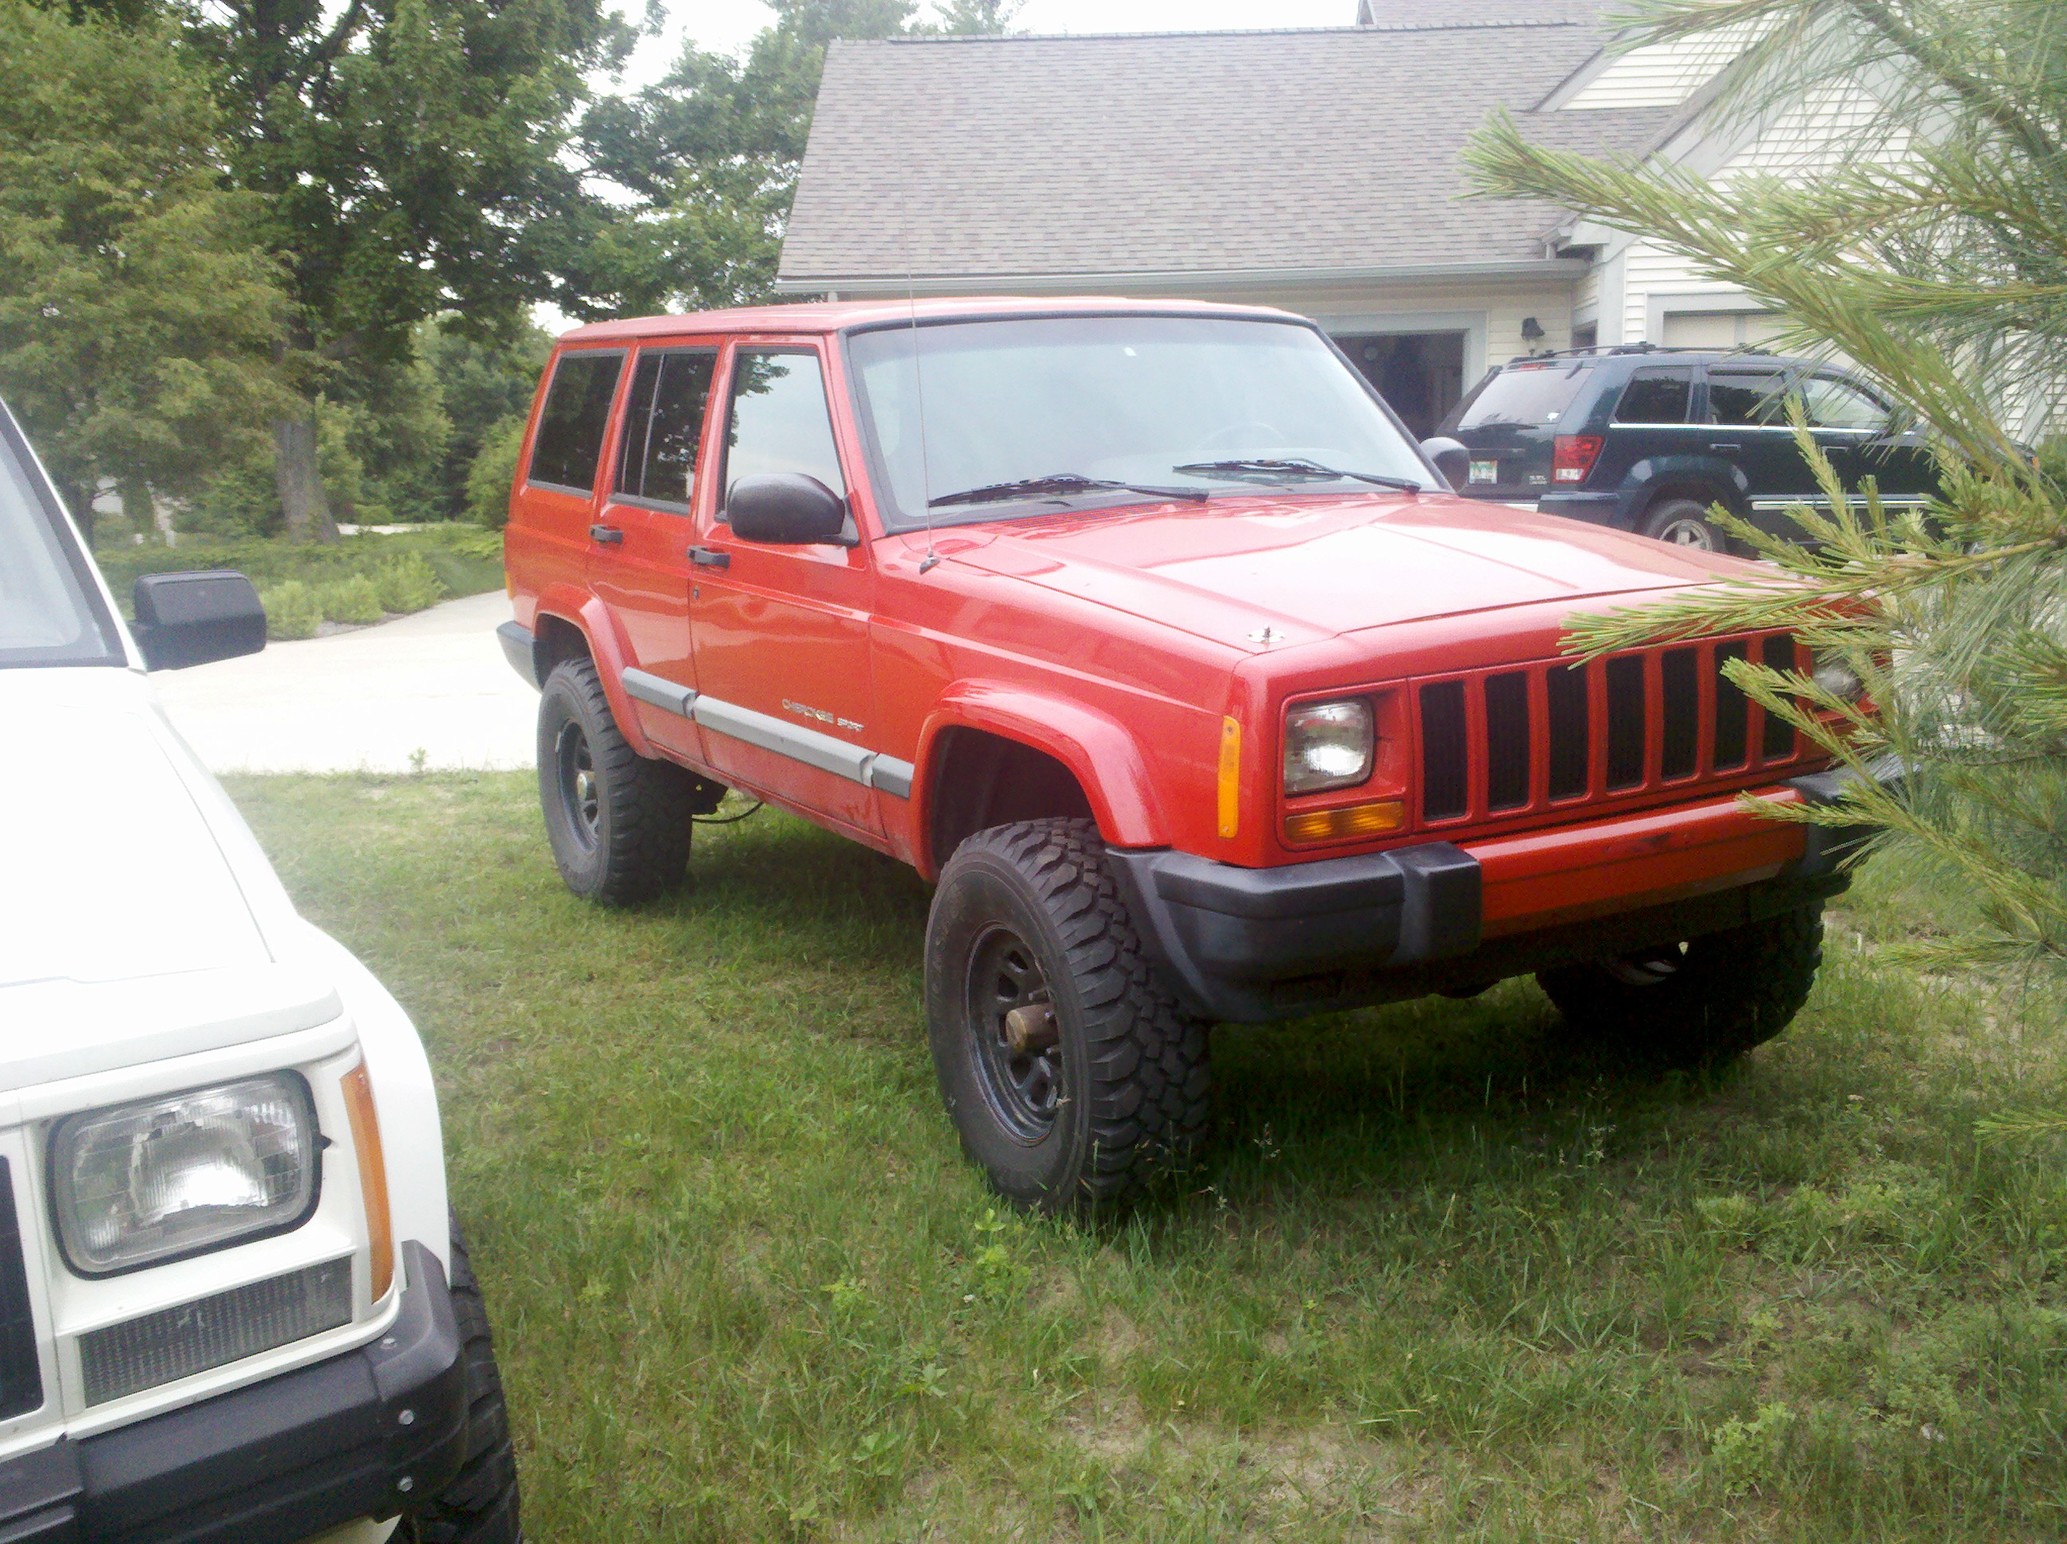
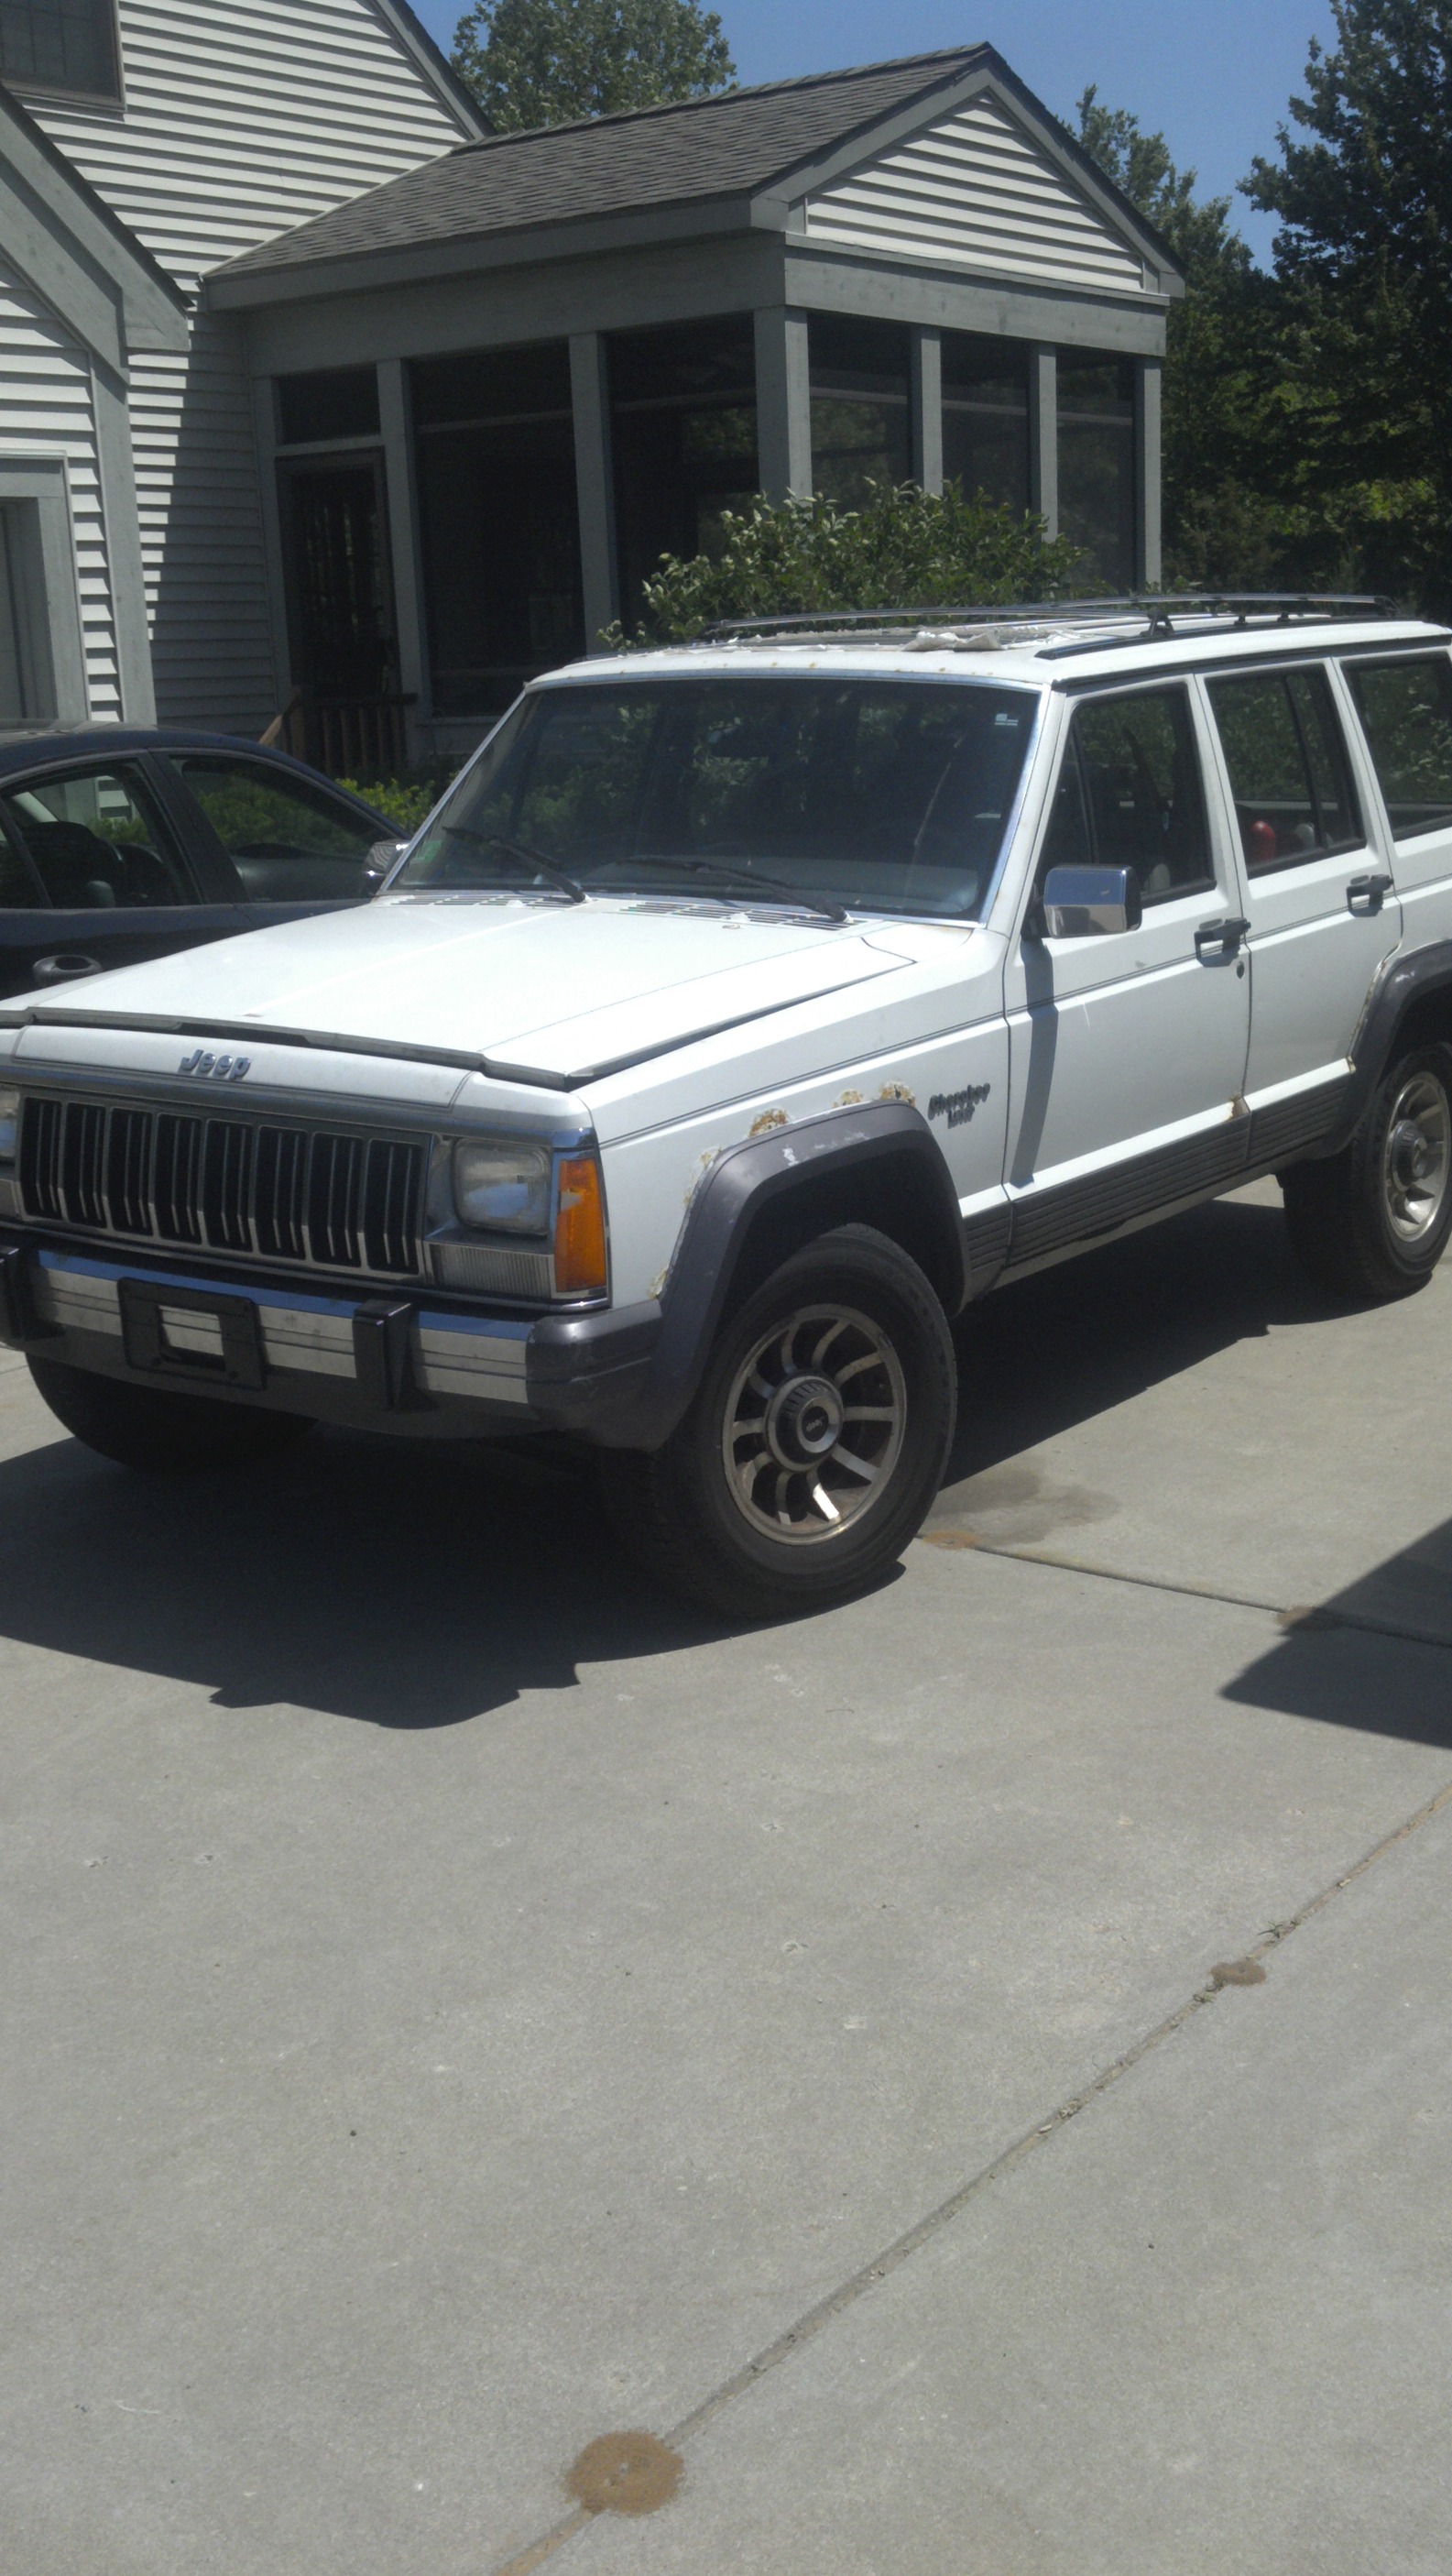
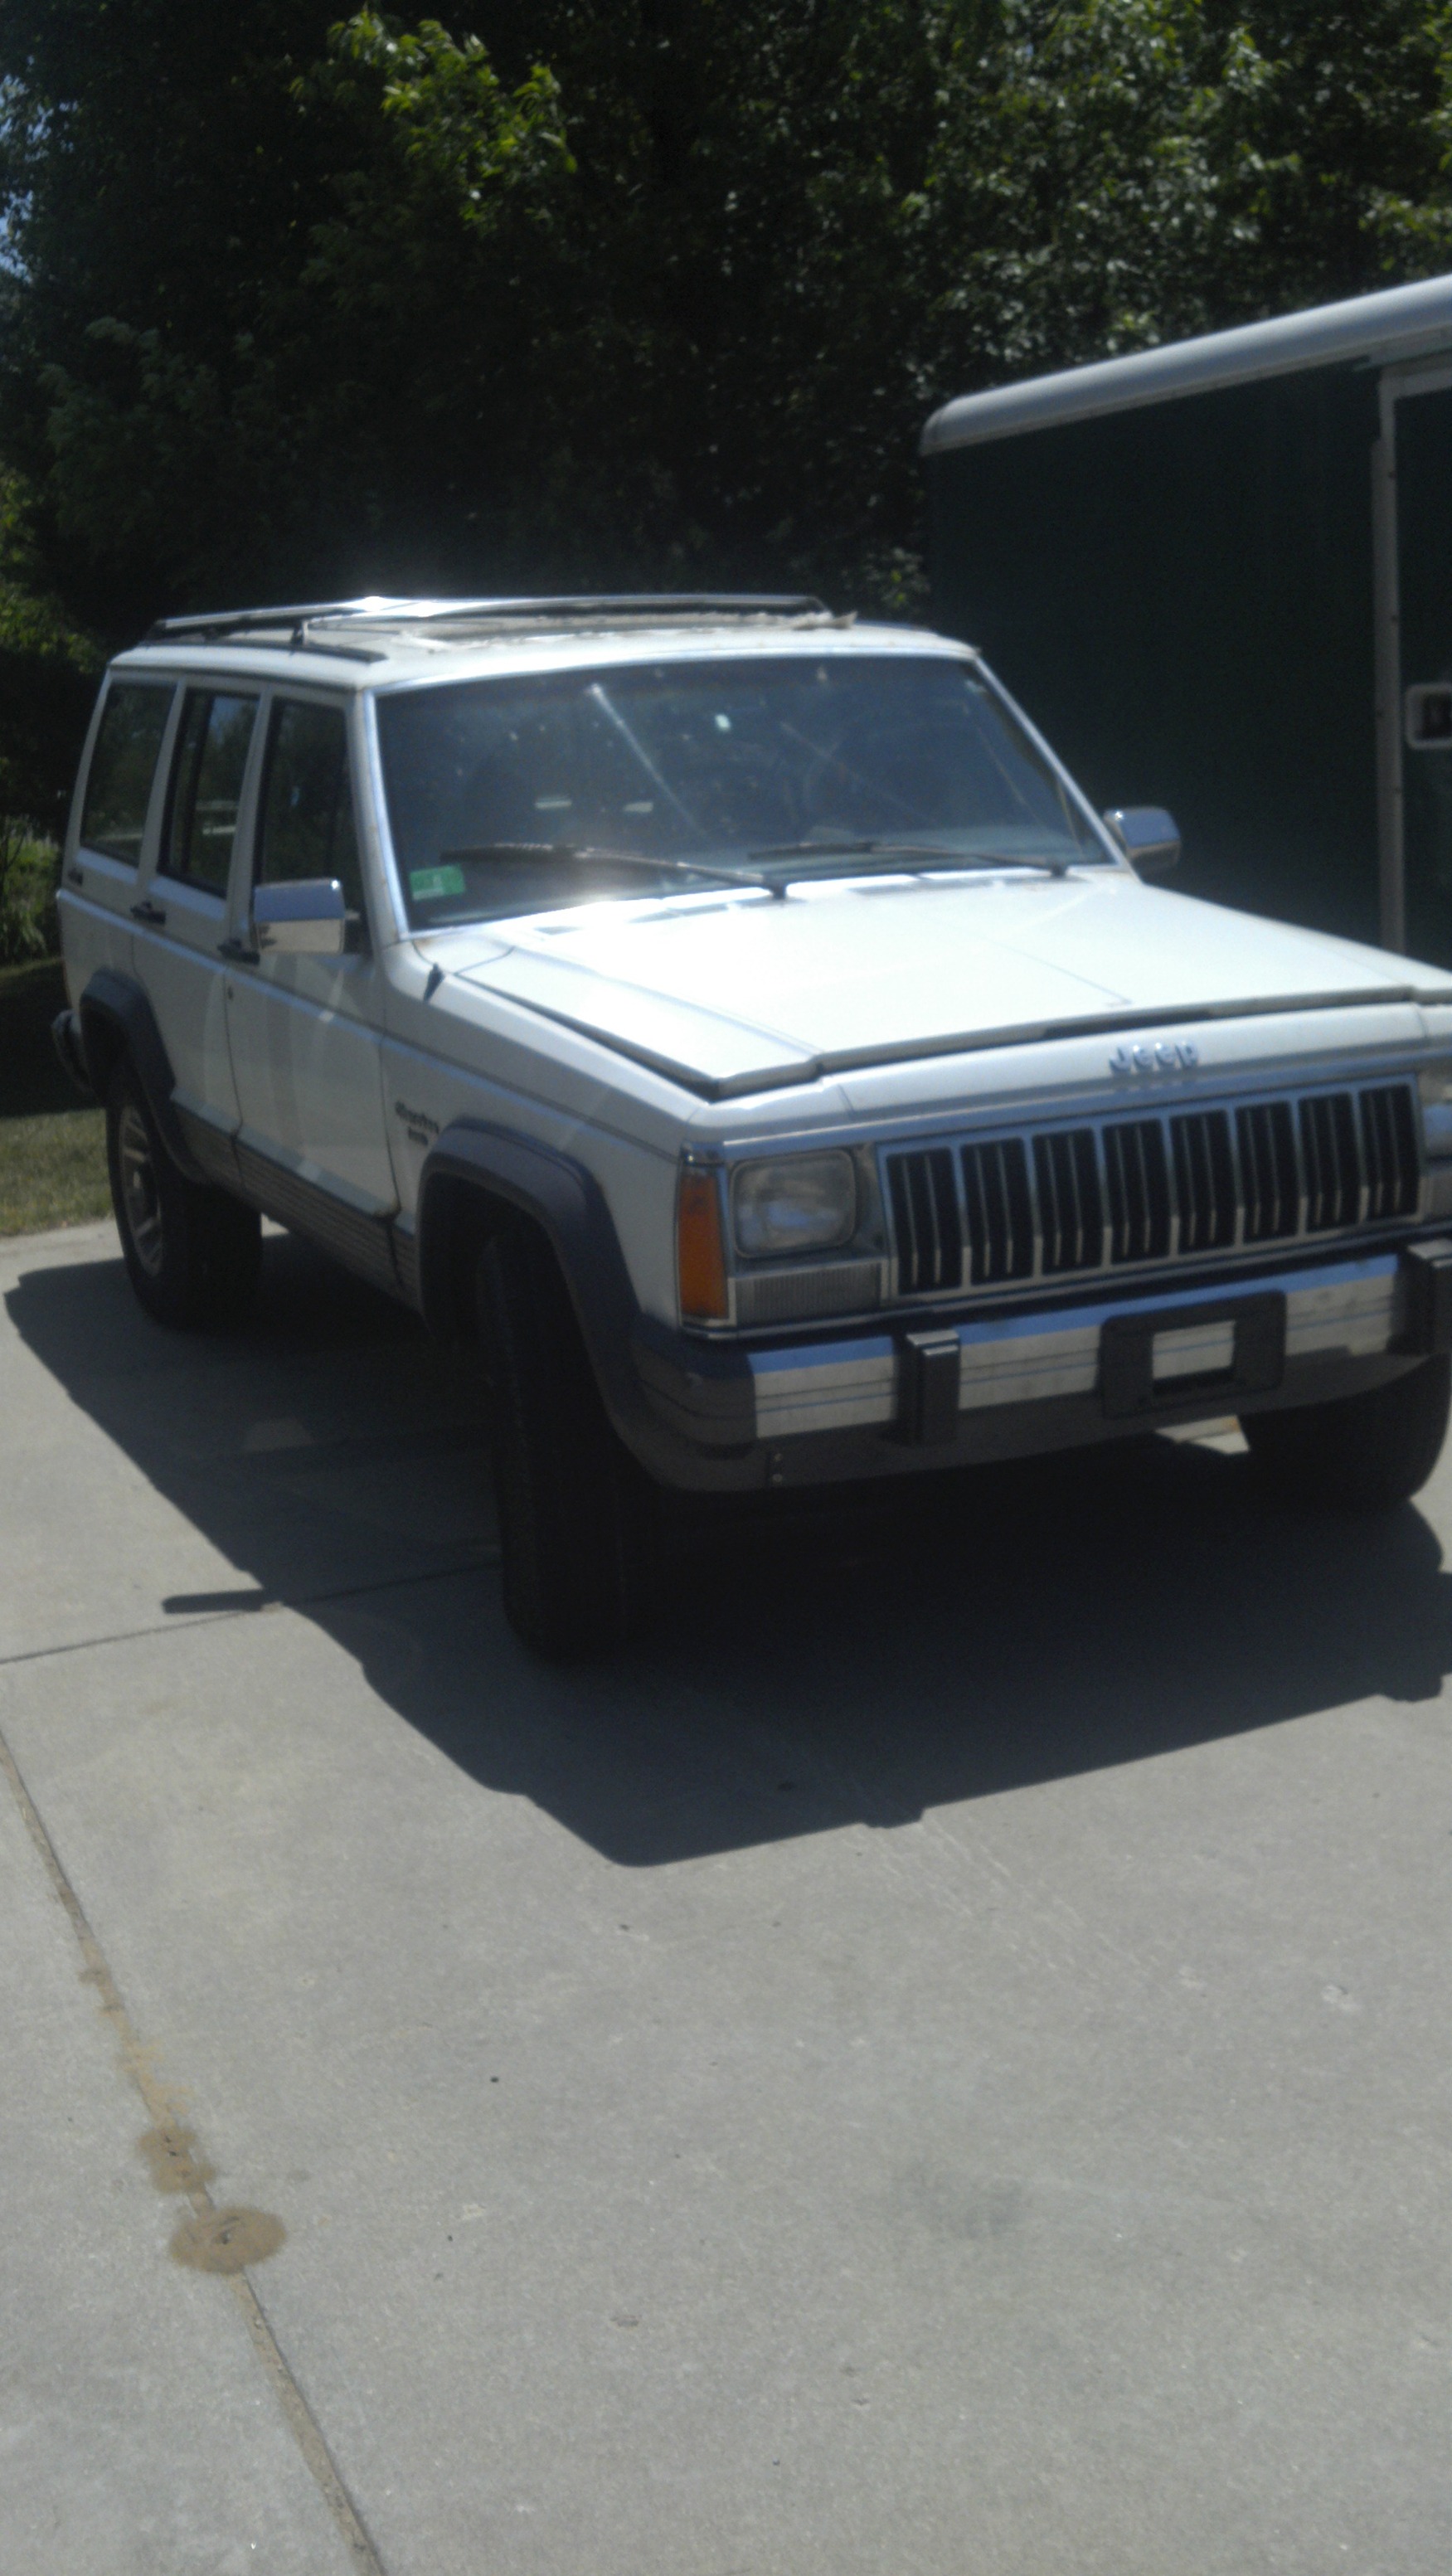
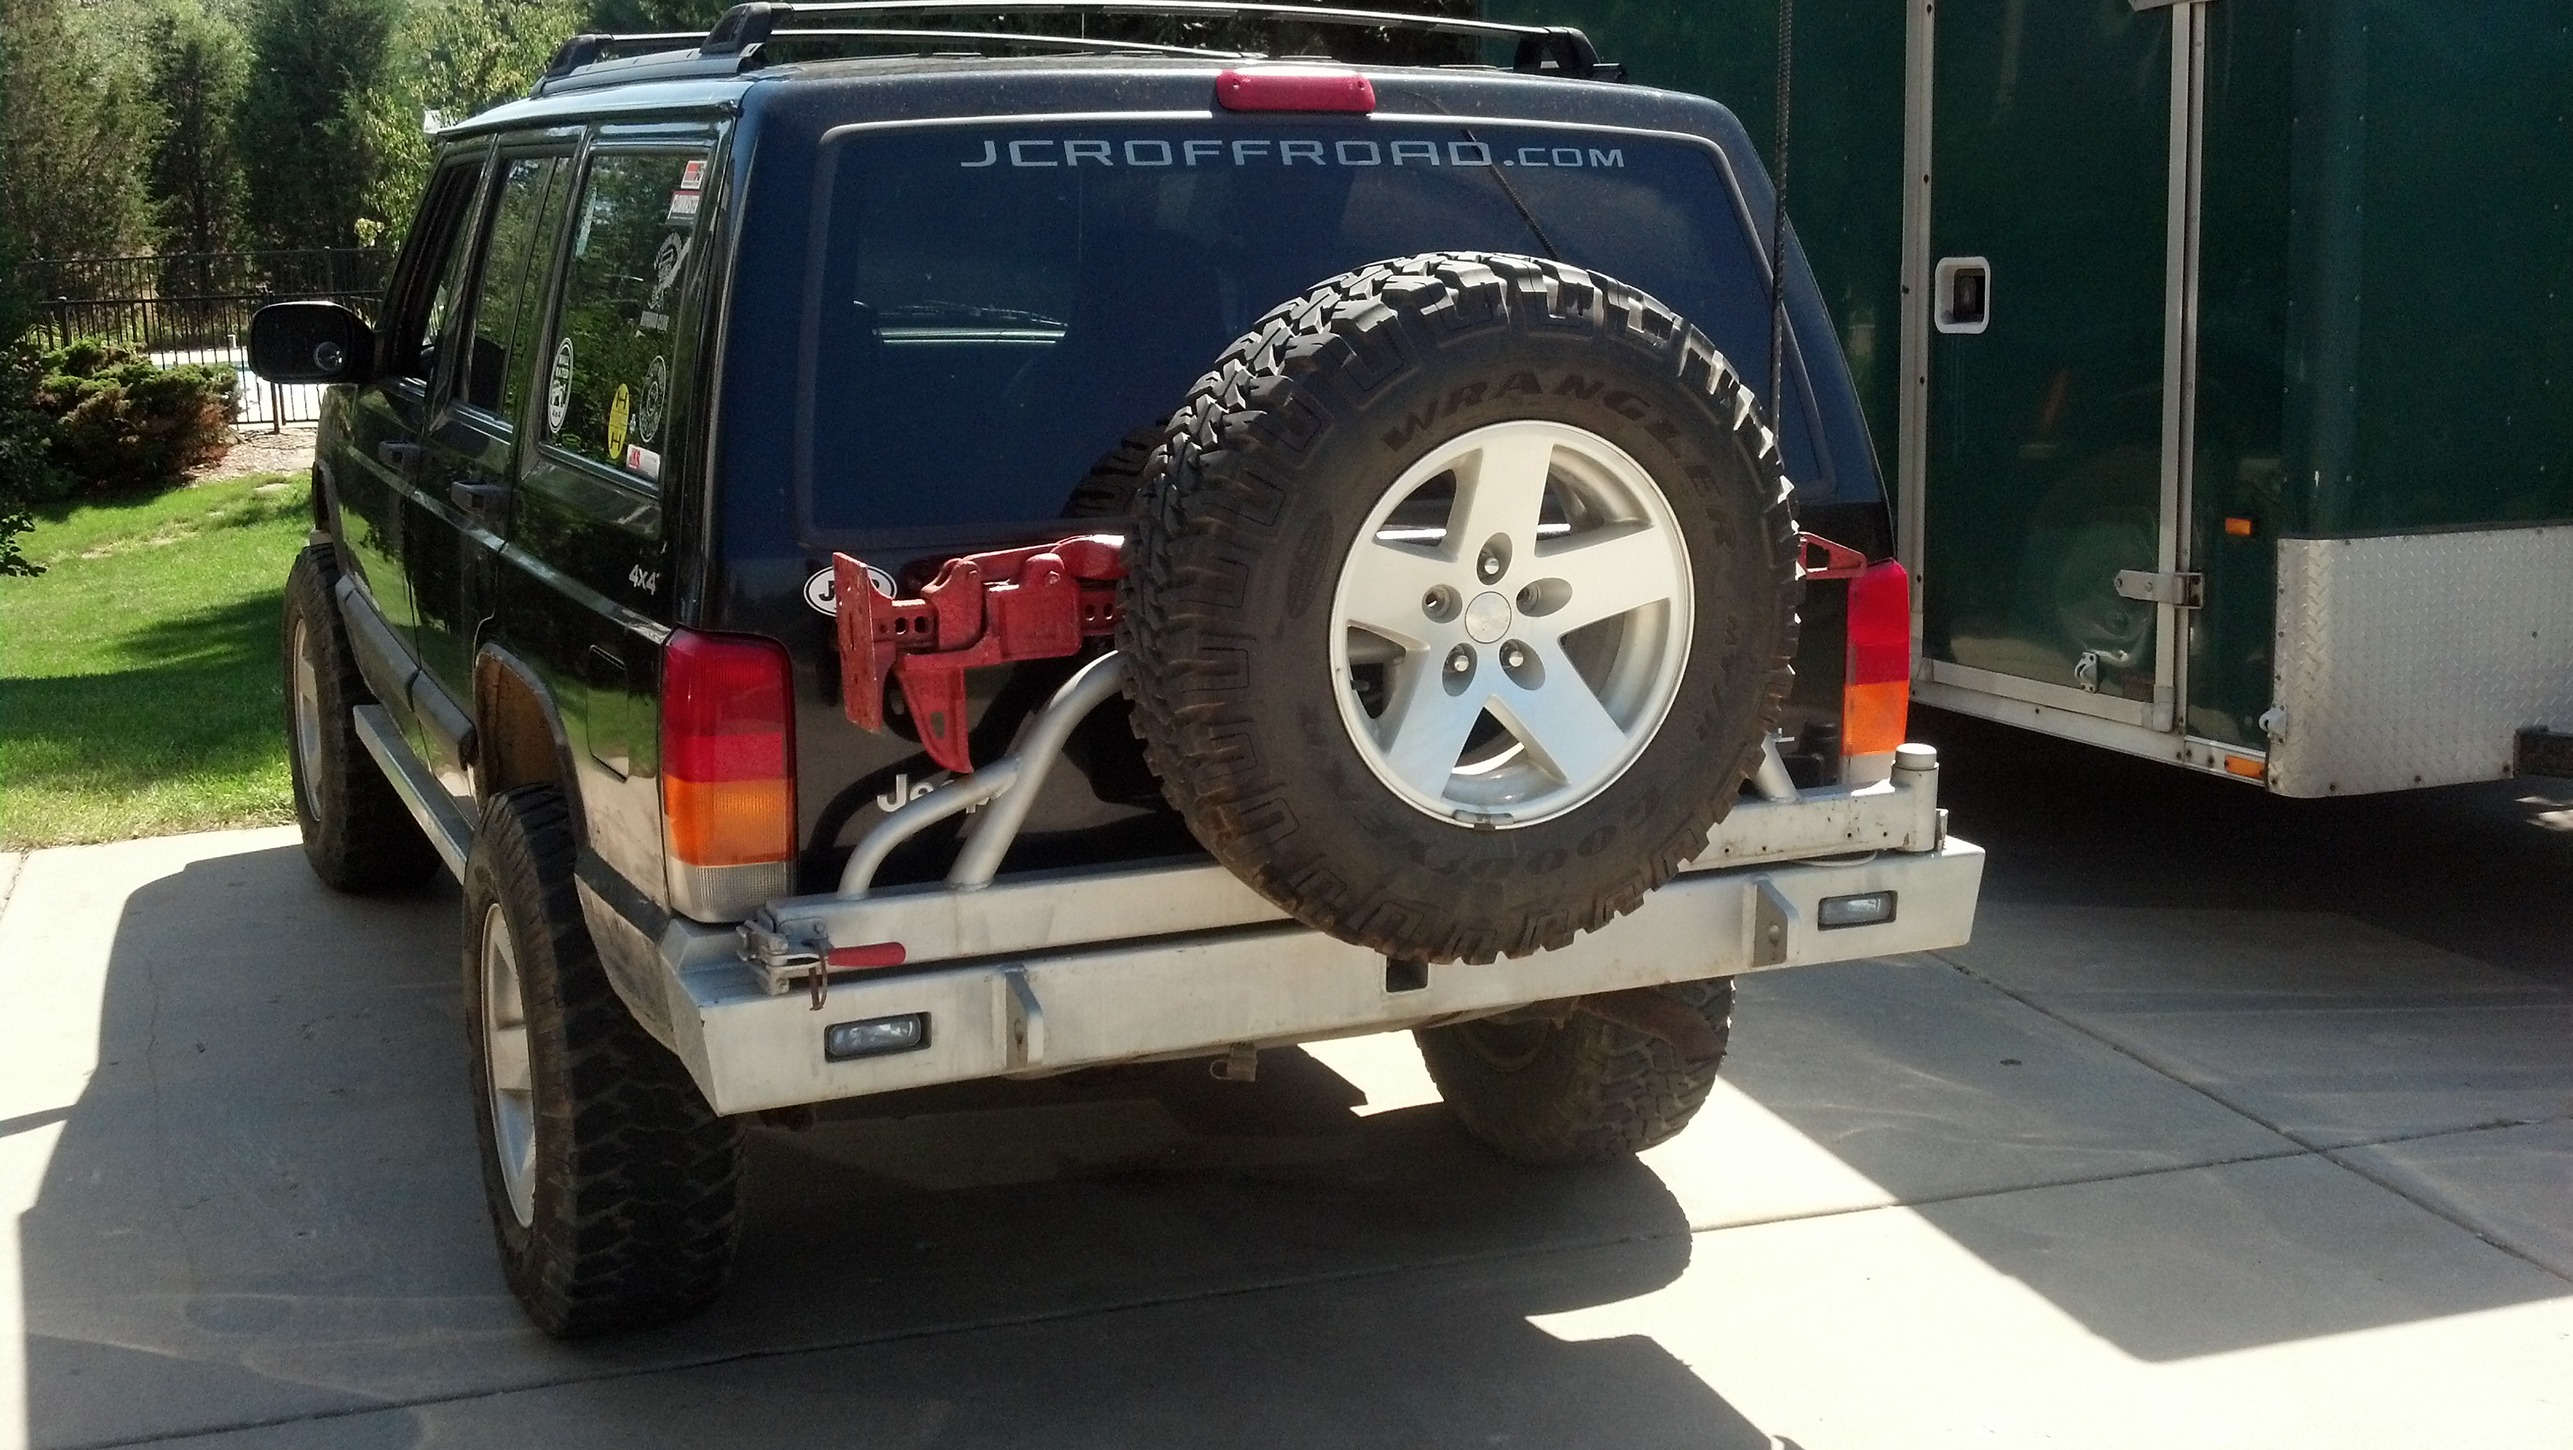
This is how she looks after all is straight. New bumper. Needs caps.
Sold it to my best friend who is an avid Cherokee lover... and regret every minute of it.
I bought this
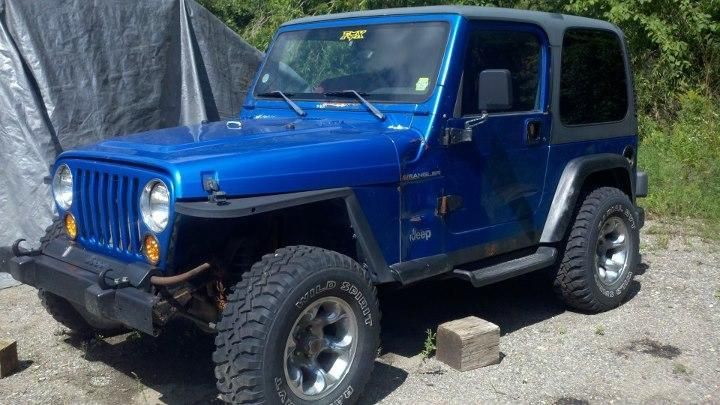
So now this thread belongs to "JEEPsF0RLIFE" as well as the XJ.
It truely is a gnarly Jeep. Surf Wax on all 4 door handles and wax stuck on roof wrack.
09-19-2012, 06:30 PM
#6
Newbie

Join Date: Feb 2012
Location: Rutland,Ma
Posts: 30
Likes: 0
Received 0 Likes
on
0 Posts
Year: 1996
Model: Cherokee
Engine: 4.0
Just read this entire build. You sir did exactly (for the most part) what I was going to do! Awesome build!
I was actually planning on doing the "paint the parts as you go approach". I think it's a good idea aesthetically as well as functionally (rust preventer)
I was actually planning on doing the "paint the parts as you go approach". I think it's a good idea aesthetically as well as functionally (rust preventer)
09-19-2012, 07:08 PM
#7
Seasoned Member
Thread Starter
Join Date: Oct 2010
Location: Muskegon, MI
Posts: 310
Likes: 0
Received 0 Likes
on
0 Posts
Year: I've had a few...
Model: Cherokee
Engine: A secret
but I think this is the wrong thread.
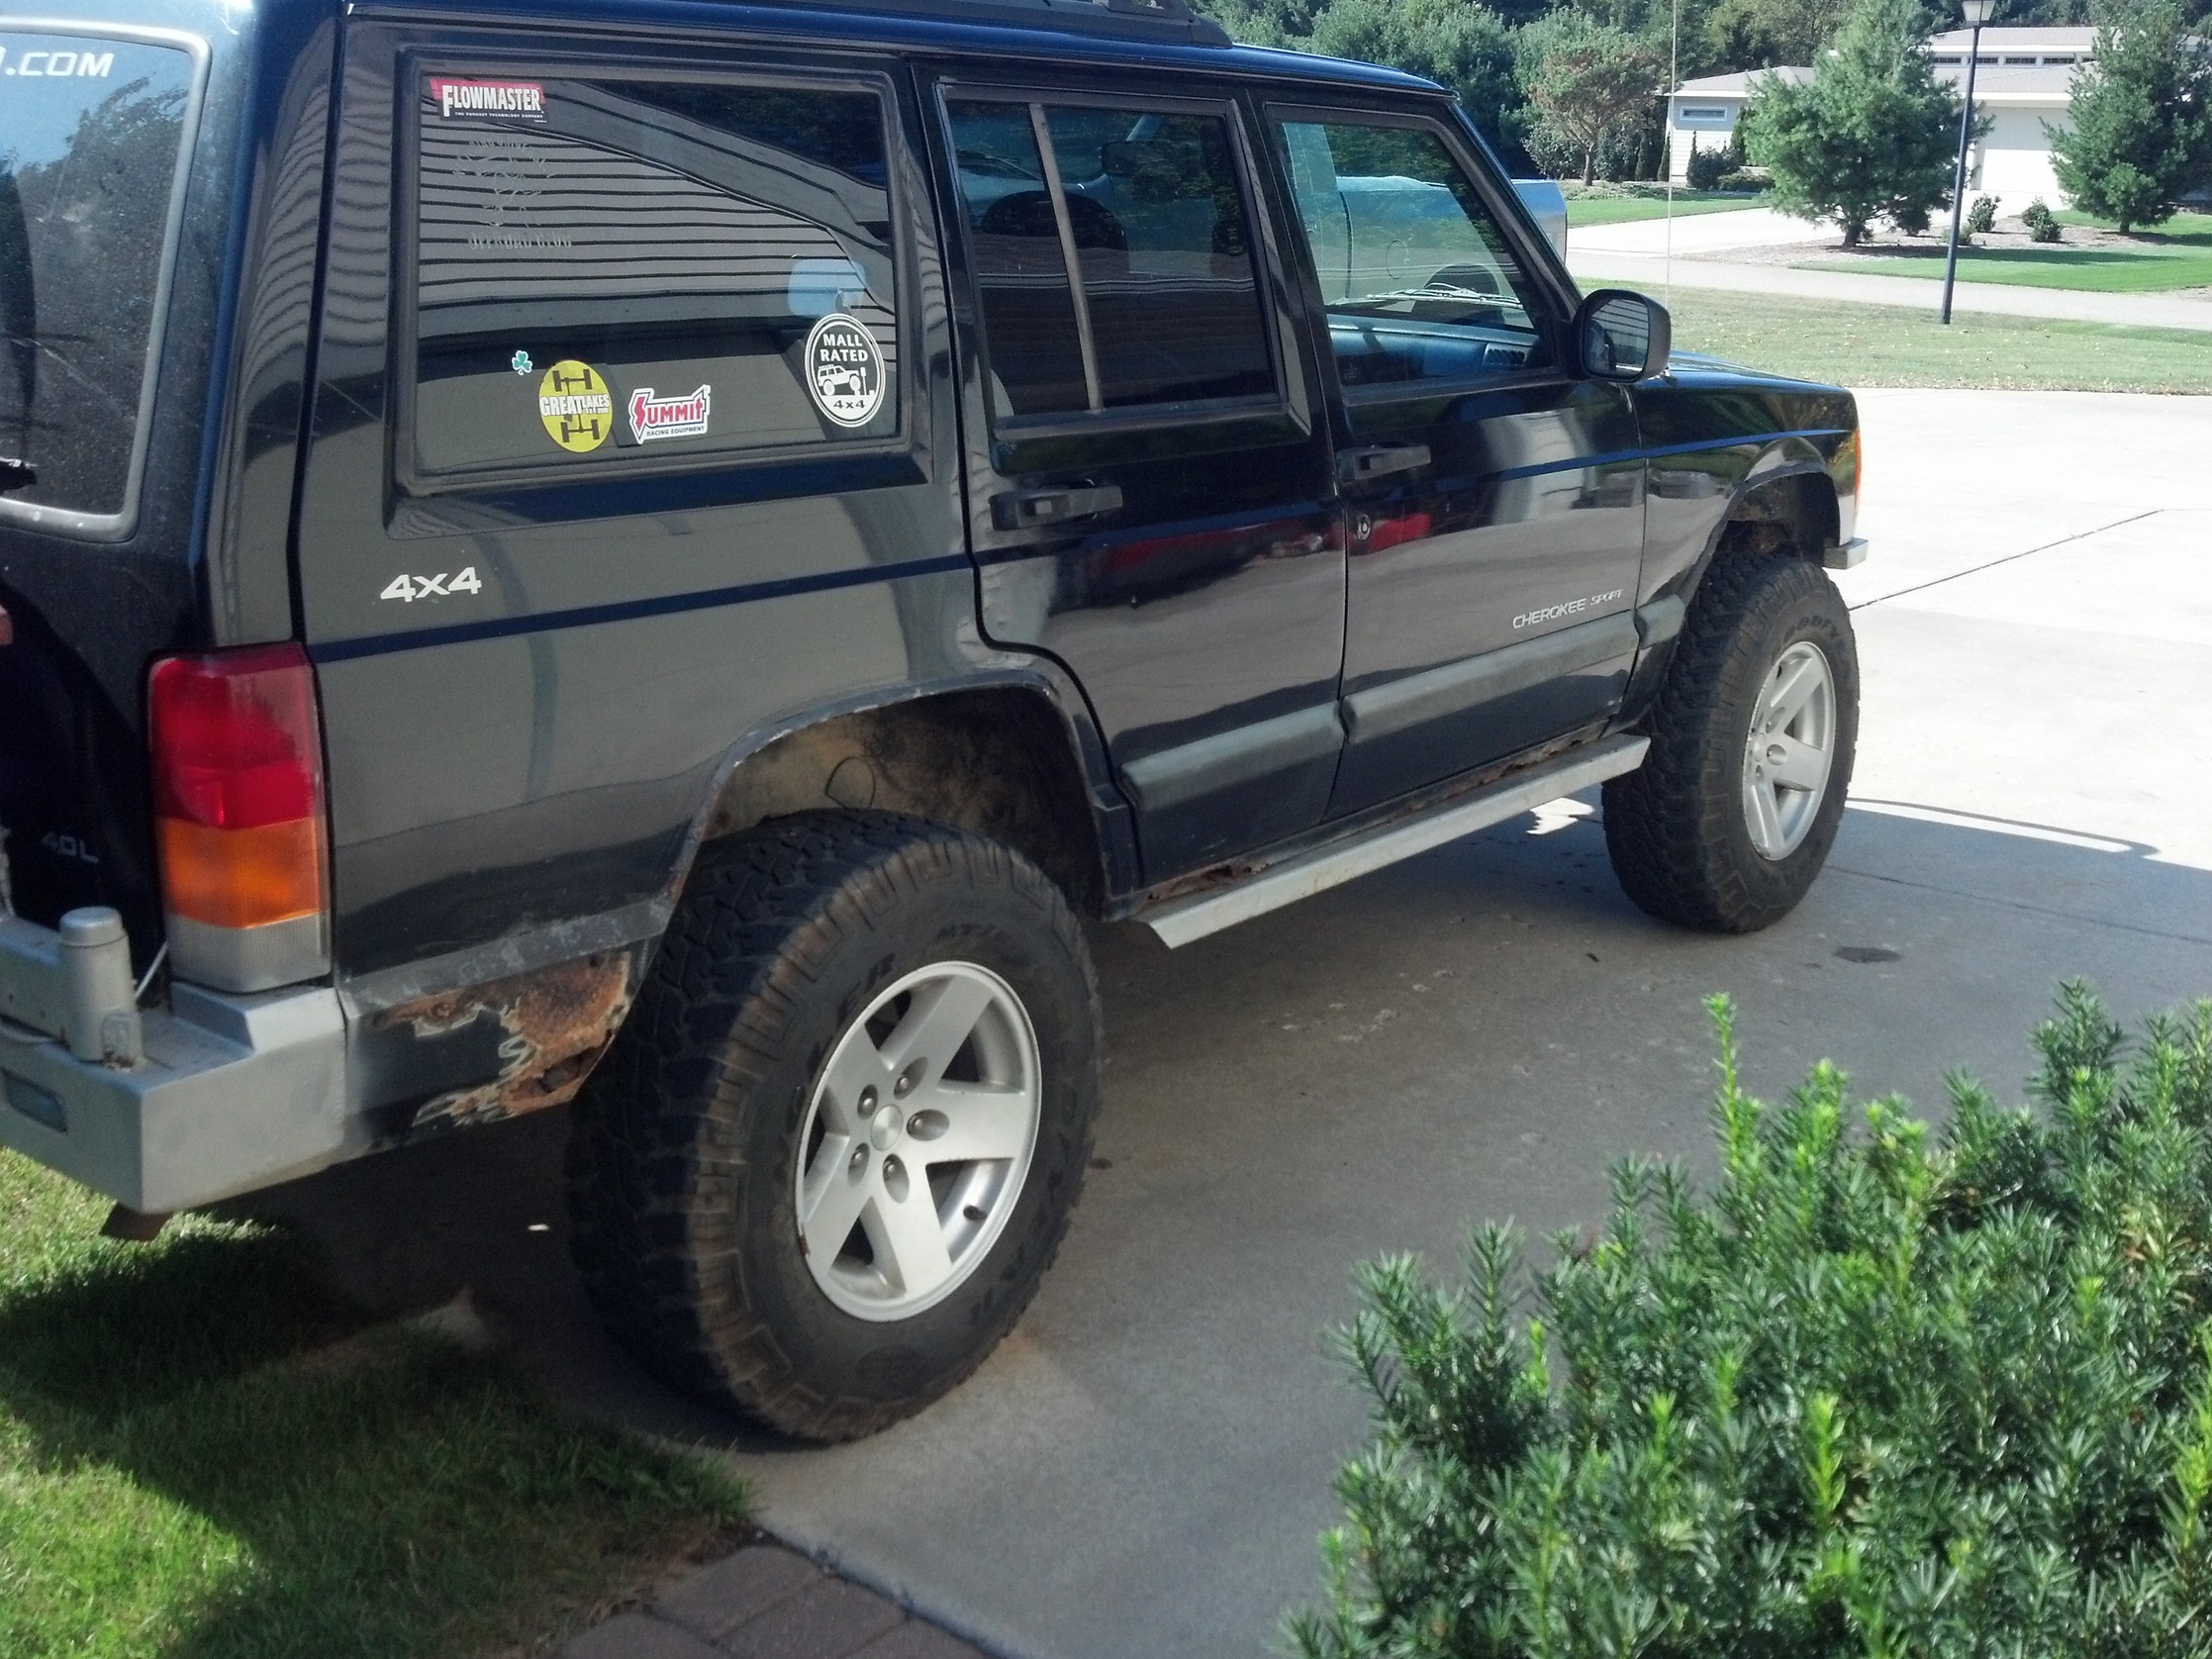
I actually did fix the fenders and did re-paint them just because the rust. awks

Thread
Thread Starter
Forum
Replies
Last Post
RunnerInPink
Stock XJ Cherokee Tech. All XJ Non-modified/stock questions go here
25
10-10-2017 10:34 AM
StPTrucker
Introductions
30
11-22-2015 05:07 PM
Currently Active Users Viewing This Thread: 1 (0 members and 1 guests)