When you click on links to various merchants on this site and make a purchase, this can result in this site earning a commission. Affiliate programs and affiliations include, but are not limited to, the eBay Partner Network.
Over the years the screws that hold the trim on the door-edges are either missing or the screw-holes were different sizes. As a result, I have various size screws with various size screw-heads. Then, where the woodgrain wraps around inside the door with an unfinished end.
So... I covered it all with a a piece of weatherstripping.
It seems most of the used lift-gate sill-plates had scratches in the same place. I even purchased a NOS that then scratched in the same place.
Concluded that the latch in the lift-gate with too tight to the sill-plate. So... I cut-out around the latch, then covered the sill-plate with flex-carpet; And lined the opening with the same adhesive-back material I put between the bumper and gap.
The dash is now reassembled. Radio in (power-antenna operational), and face-plate installed.
Then... I stood-back and could still see some of the wiring under the dash. Used a piece of corner-molding and covered it with flex-carpet... 3M taped to the underneath.
Then... Time to cover the black separator between the upper and lower dashes. Attached a filler between screw-heads to level (see below), then covered with black-molding. Used a heat-gun to contour around the edges and around the side to cover-up the seam (see below).
Hi Crist,
I am back to the forum after a long delay. Purchased my 87 Wagoneer limited 2 years ago. This is an incredible build and I have been following it and now catching up on the progress. Mine has a long way to go but your work keeps me inspired and I am now back to work on mine since selling another vehicle.
I have a couple of questions, am now cleaning up the engine compartment and was wondering how to go about getting the decals . Is there a place that makes them ? Also I picked up some extra trim pieces for the woodgrain from a trashed JY wagoneer . As I pulled them off most of the clips broke. I am afraid that when I start pulling the ones on my jeep off they will also break. Were you able to find a source for these? I am going to try wrapping the trim pieces with Di-Noc.
Again , great build and cant wait to get cracking on mine again.
Mike
I made the decals/stickers in my build. Unfortunately, I do not have any more... Sorry.
The molding-clips... Yeah.. They break. So I removed all them except the end-caps. To remove them... I melted them out with an old soldering-iron.
I had seen those clips online and wondered if they would work since there really isn't anything specific for our jeeps. I have a little margin of error since I removed almost all of the trim from the junk jeep.
How did you go about making the decals ? I am not that good on a computer but do know others that are. If you photographed you originals to start with , I may be in some trouble because several of mine are missing and the ones still there are rough.
I made the decals from scratch using a graphics program... Not something that can be copied. What I can offer: If you tell me which ones you want, I can price them from the printer. It could get pricey... But I can get quote, then you can decide. They are not pre-trimmed. Whatever you decide is fine with me.
I made the decals from scratch using a graphics program... Not something that can be copied. What I can offer: If you tell me which ones you want, I can price them from the printer. It could get pricey... But I can get quote, then you can decide. They are not pre-trimmed. Whatever you decide is fine with me.
Thanks Crist , I would need most if not all of them because it looks like something was sprayed in my engine compartment at some point. all the decals and even some of the metal parts are all covered with it and it doesn't come off. My brother in law is a graphic designer and has offered to 3-D print a few bits for me. He said it would be a fun challenge, I haven't taken him up on it yet. He may be able to do something with the decals too. I will ask when I see him next, he lives several states away so it isn't often. Otherwise I may take you up on your offer.
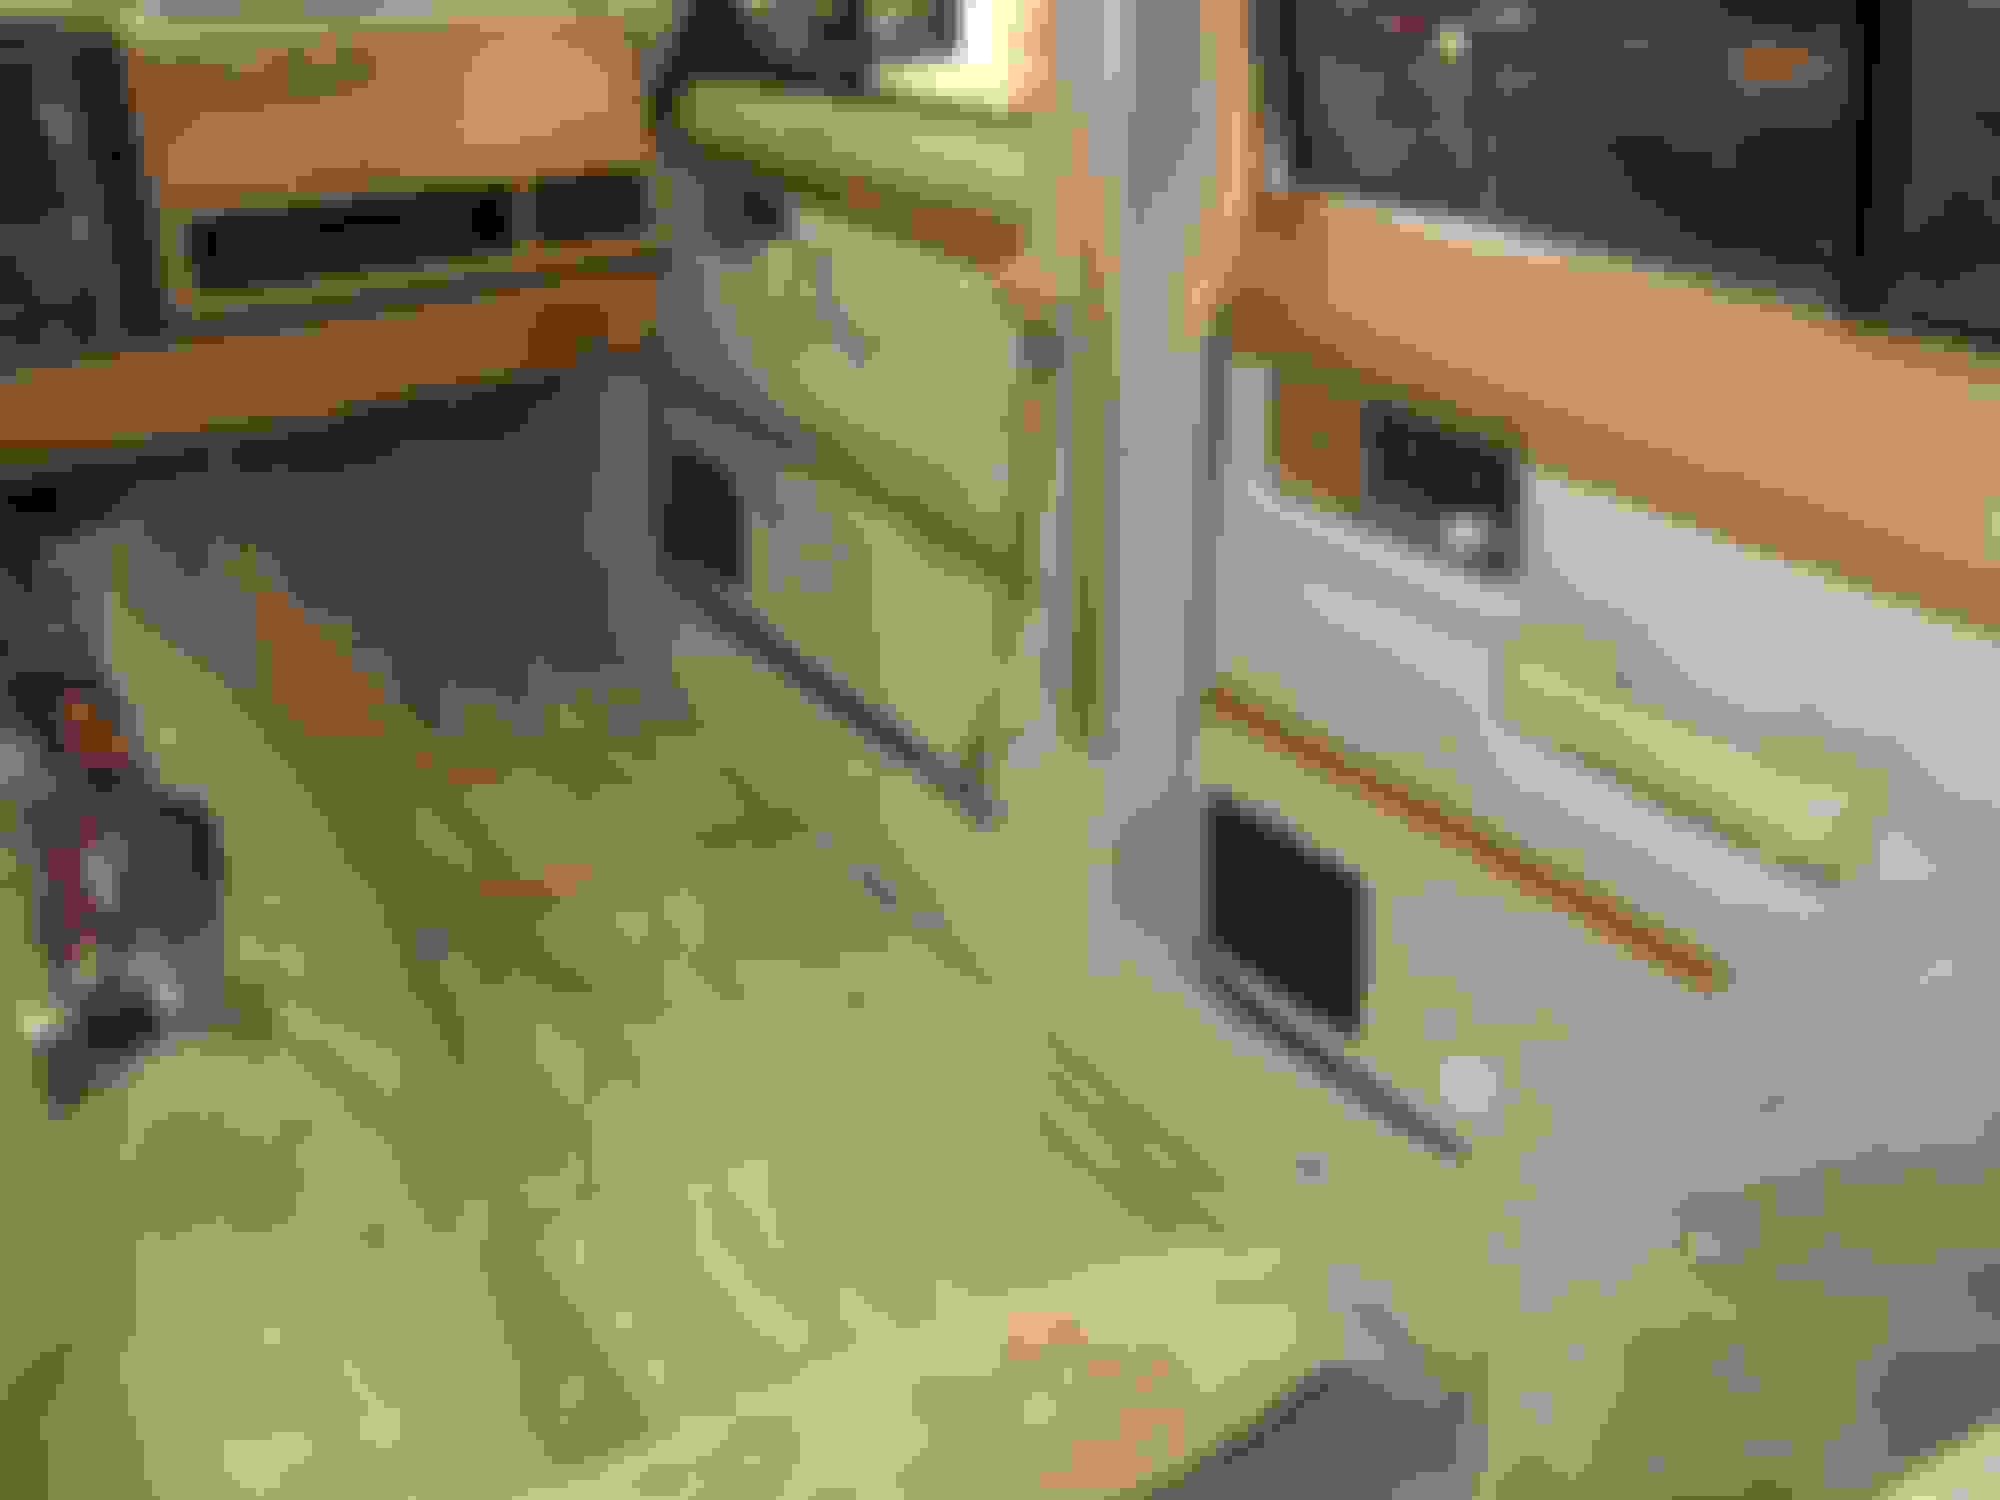
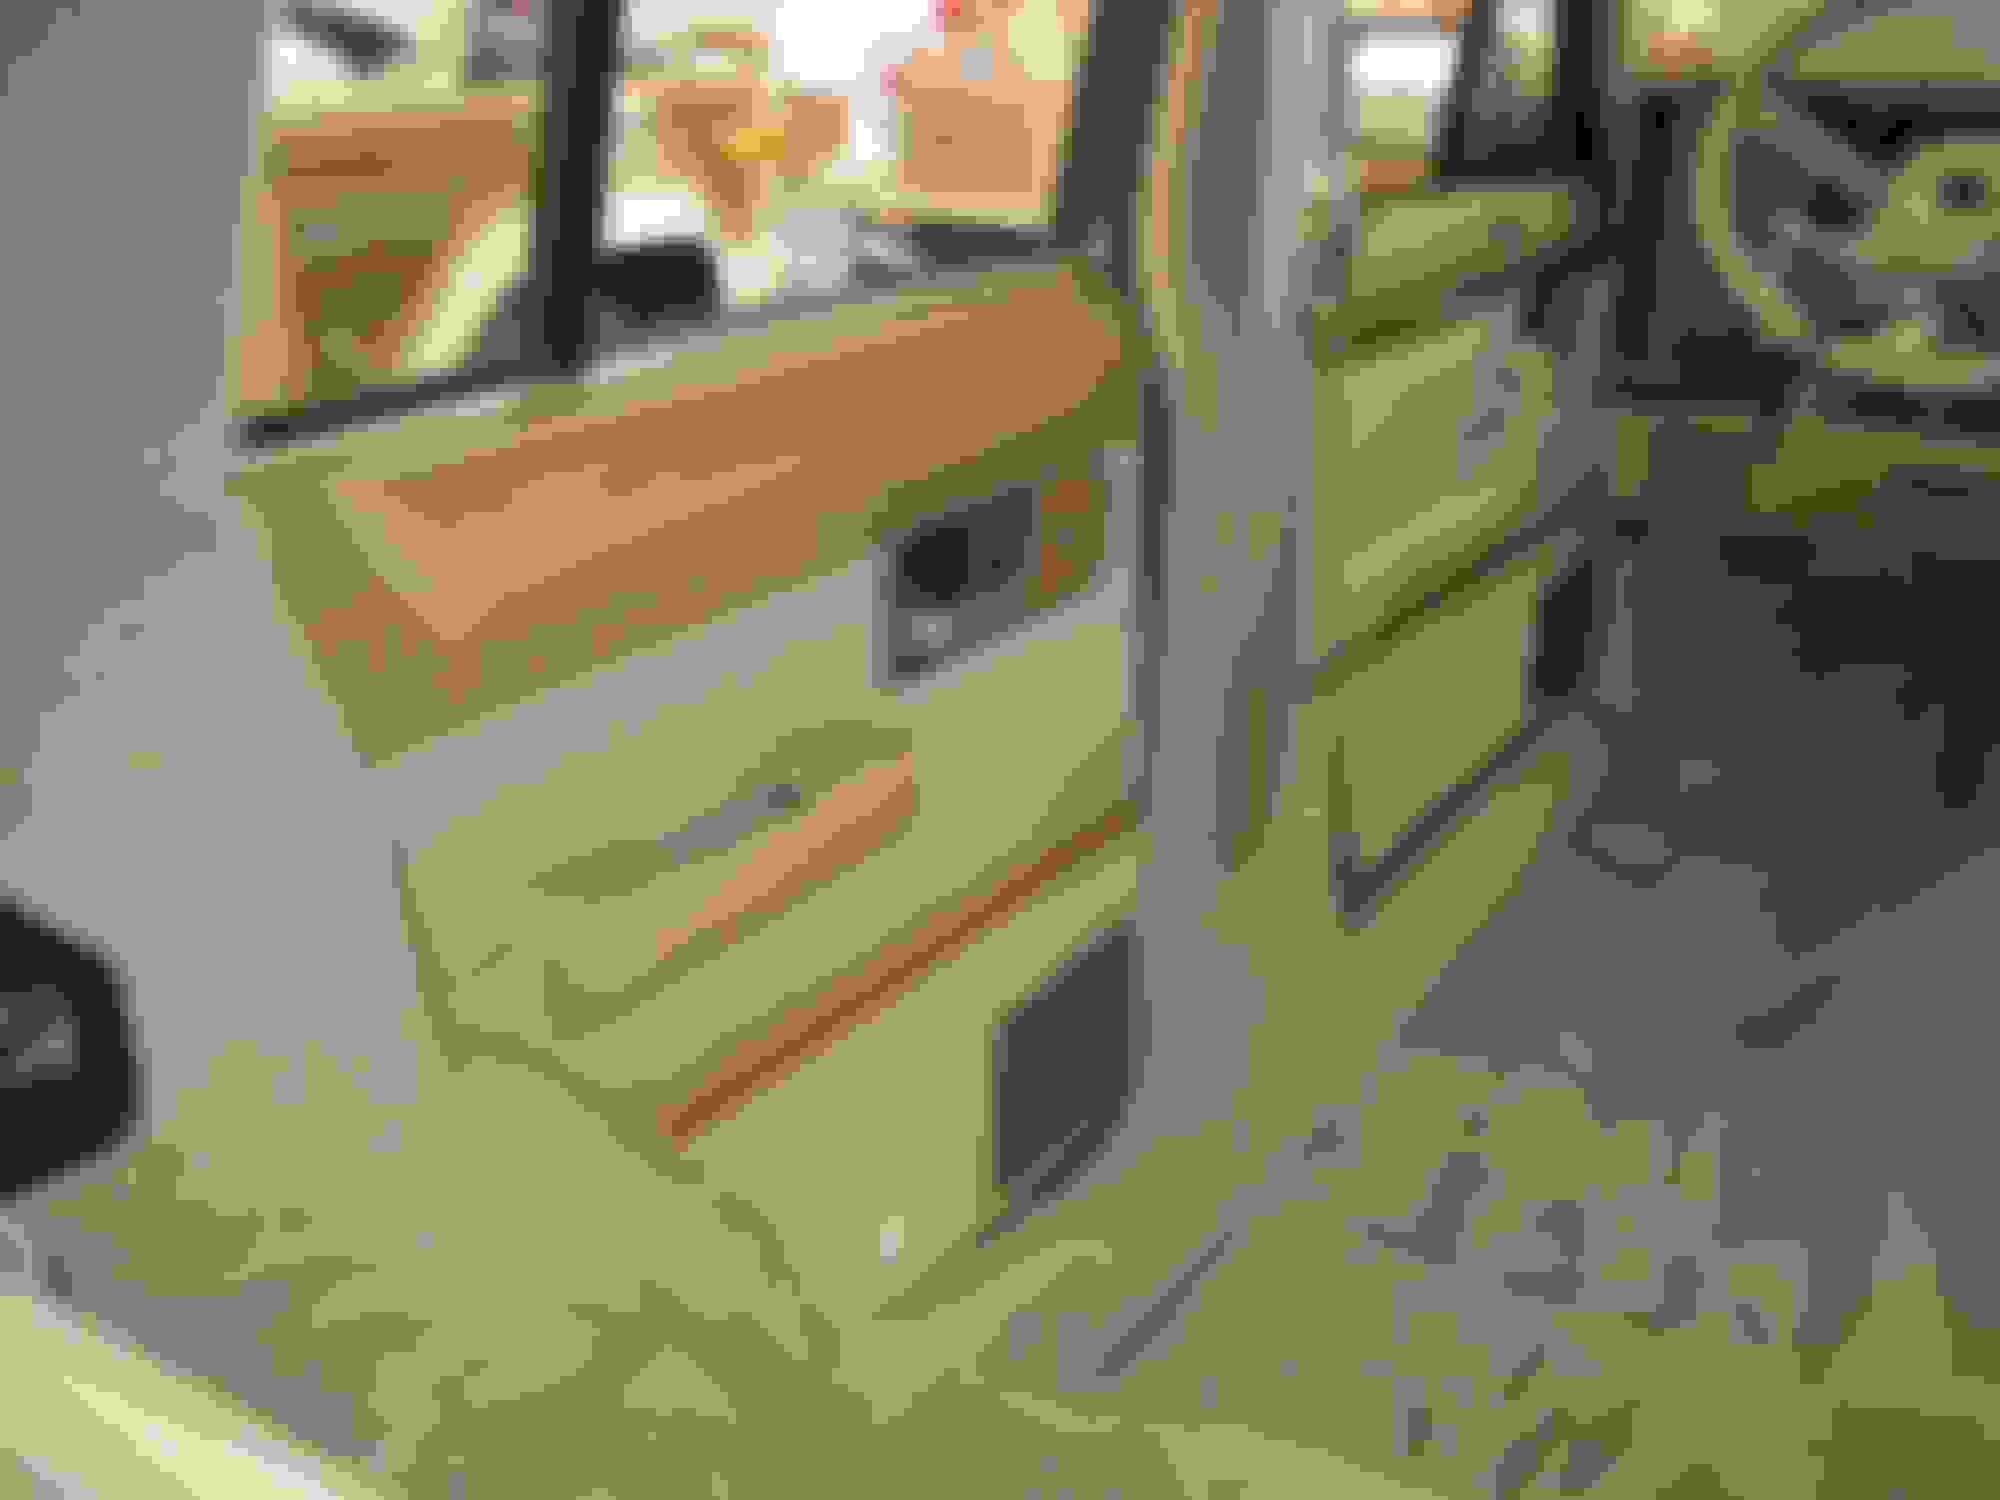
Covering the plastic-parts is time-consuming. A lot of trial and error. I still have fine-tuning to do. In the meantime... Here are some pictures of the progress:
Covering the plastic-parts is time-consuming. A lot of trial and error. I still have fine-tuning to do. In the meantime... Here are some pictures of the progress:
Wow. I can almost smell the new car smell in there just from the pictures.
Then... Time to cover the black separator between the upper and lower dashes. Attached a filler between screw-heads to level (see below), then covered with black-molding. Used a heat-gun to contour around the edges and around the side to cover-up the seam (see below).
What kind of filler/trim did you use for this? Looks great
 11-19-2018, 08:09 PM