When you click on links to various merchants on this site and make a purchase, this can result in this site earning a commission. Affiliate programs and affiliations include, but are not limited to, the eBay Partner Network.
If you're looking for a paint job on the wheels that isn't permanent, go with the plastidip. You can always take it off with a bottle of goo-gone and a pressure washer, basically melts the off. It says it's peelable and I found it's not that peelable on wheels, even with multiple coats.
Great looking jeep, I always loved the gun metal pearls.
Well it took me longer than expected to get the wheels Plastidipped. We started on a new front porch/deck and it turned the entire garage into a dust bowl for over a month lol
It came out exactly the way I was hoping it would look.
Havent been doing much to vehicles lately been busy with other projects and still working a good bit of overtime. Installing the new lift and suspension parts got put on the back burner for awhile.
Long time no update. Last summer me and the family ended up spending alot of time building quite the large front deck. Working alot of overtime and other projects delayed the new lift install untill the end of summer. I started mid September. I had been soaking everything in PB once a week or at least every other week since spring. I drilled little holes in the leaf bolt pockets big enough to get the BP can straw in and soak the end of the bolts. I pulled the hitch and bumper off and hosed out the frame rails aswell as the entire underbody to try to eliminate as much dirt falling in my face as possible lol. I have about 40 pics they will be up soon stay tuned
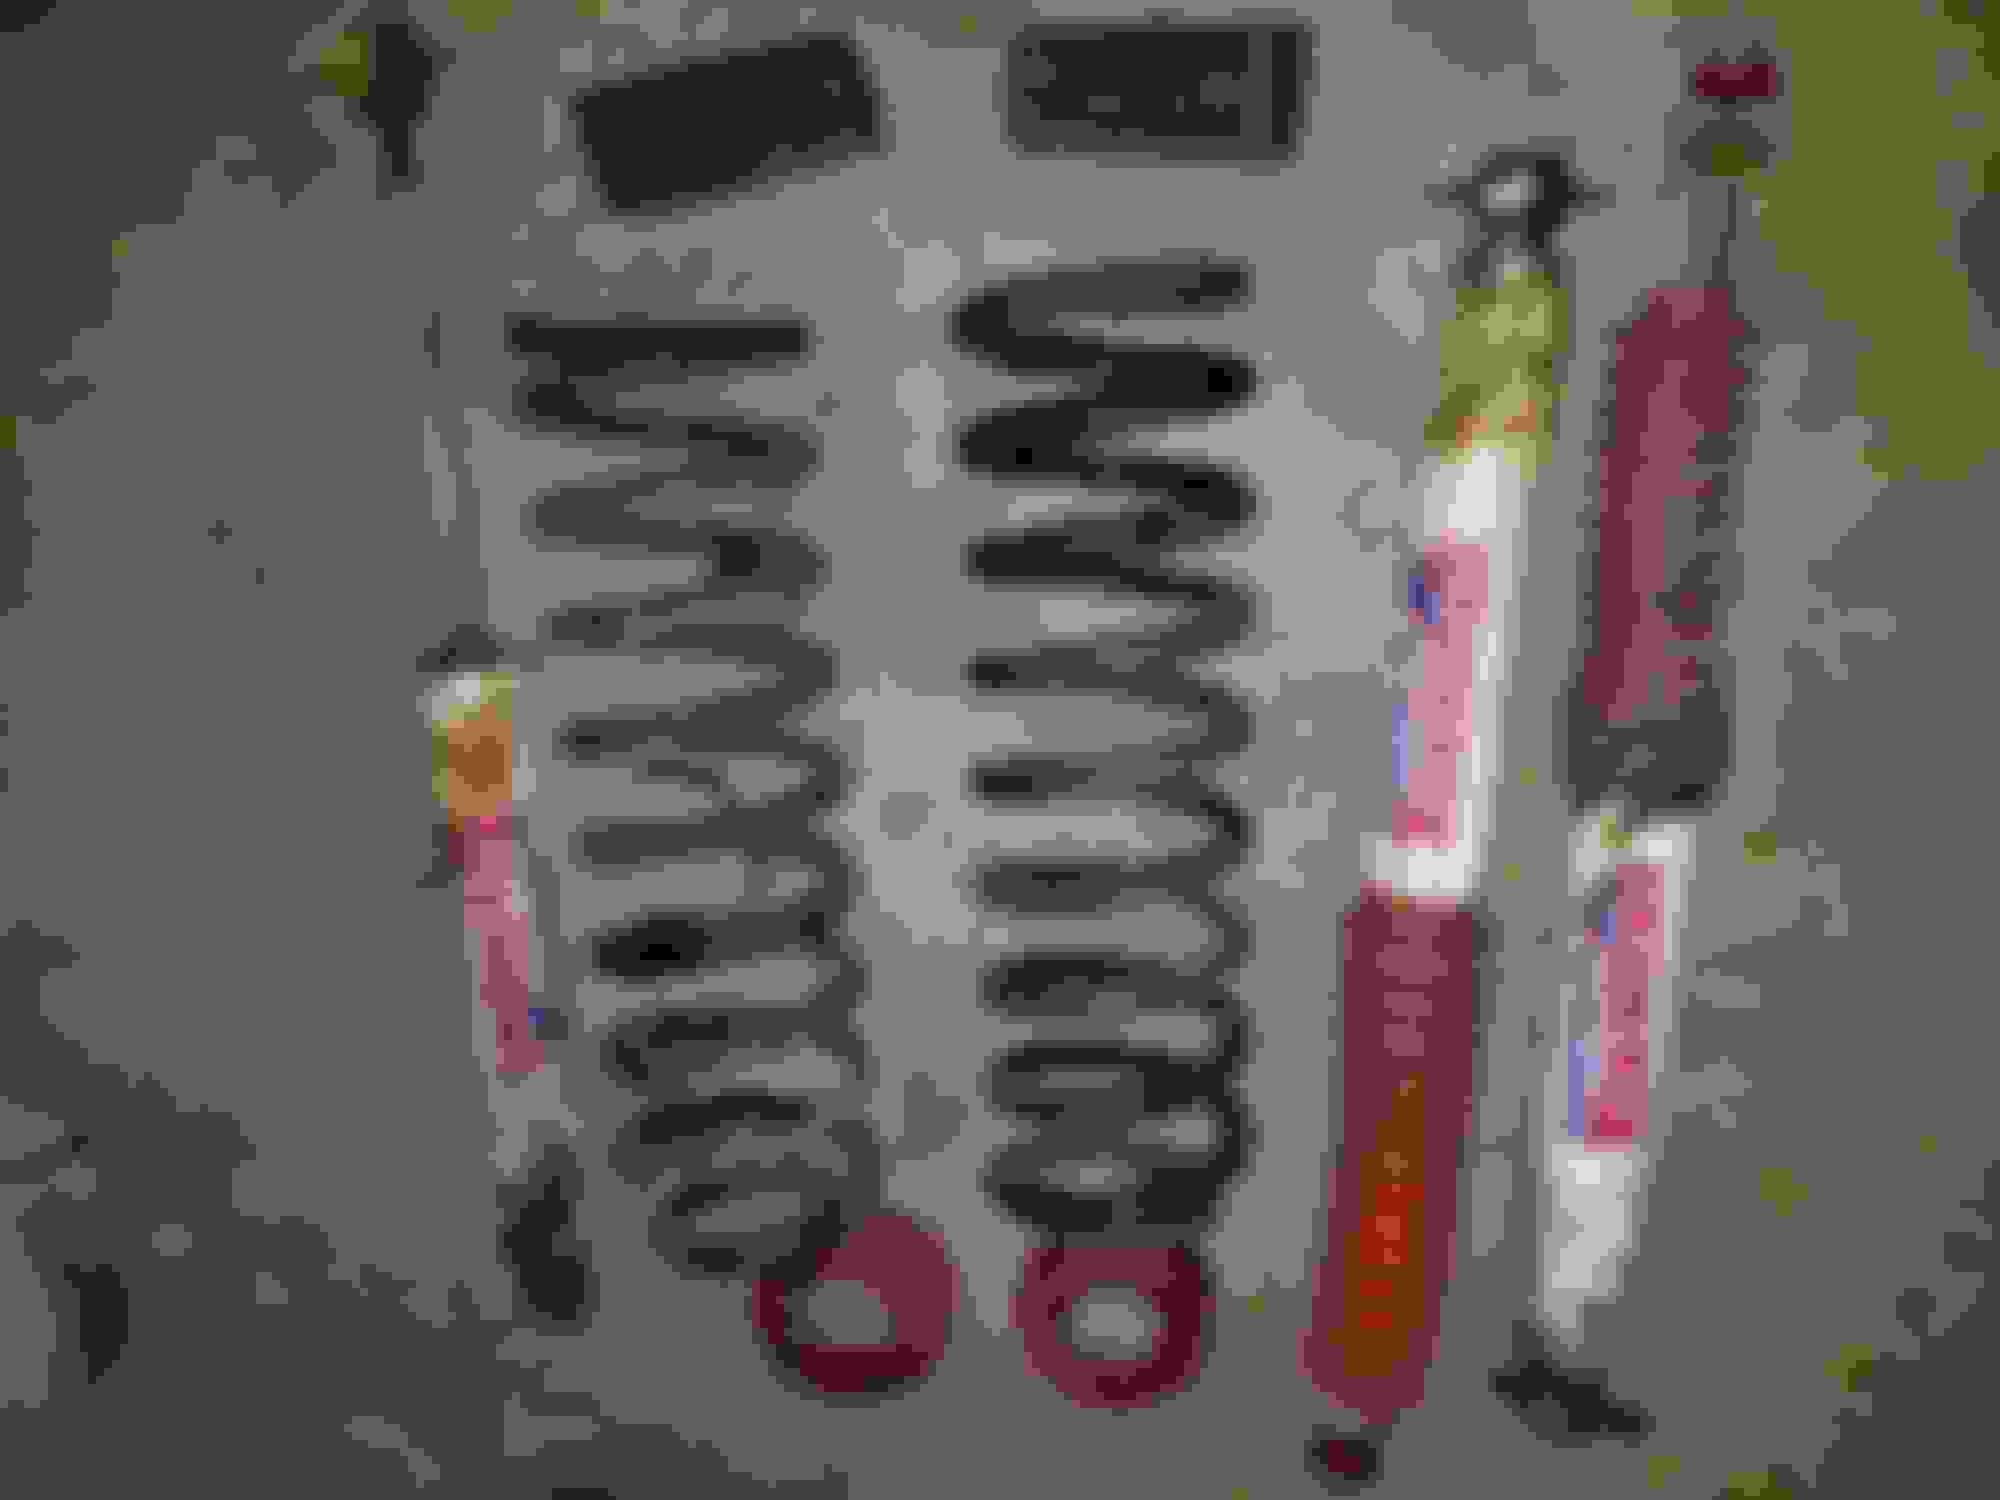
poor old coil isolators and rotted bumpstop I expected to find alot of rust underneath the hitch. its solid this shock was blown looks like fun
rotted out bushings both shocks were like this. one factory welded nut and one replacement bolt. much to my surprise everything came loose. then I air hammered the welded nuts out
I could see the ends of the upper shackle bolts. And I could tell they werent pretty
yummay
So I got my stepdad to run the torch and I ran the breaker bar. Gave the bolt some heat then the pocket where the nut is welded. All 4 broke loose from the nuts but not all from sleeves. Took everything I had lol
driver side rear bolt. loose from the nut but not the sleeve
driver side front bolt. loose from both
passenger side rear bolt. loose from both
passenger side front bolt. loose from nut not from sleeve
I think I got pretty lucky I was really dreading this part thats why I did it first lol
I cut where I needed to in order to get close enough to the bolts to cut them. Sawzall didnt work. I had to get a 6 inch cutting wheel for my 4 inch grinder to get in there. Worked very well. Then welded nuts to the studs and cranked them out
poor old thing
if you plan to do this the way I did, wear long sleeves.
cleaned and painted the hitch. Bolted back in with JCR nutstrips. Highly recommended!
Everything shiny black was wire wheeled, cleaned, prepped, then painted with a few coats of Chassis Saver. I added some flat black over it on the hitch
The front went pretty smooth. I had trouble getting the track bar bolted back in but who doesnt? The entire job took awhile doing one side at a time. Take everything apart, clean, prep, paint, time between coats, cure time, reassemble, then the other side. I think it was 5 days doing everything after work during the week
the bumpstop fell off not long after I bought the Jeep new vs old
After everything was done I gave everything a coat of flat black Krylon. I know it will eventually be ugly again the paint will flake off the leafs and such. But it will look good for awhile at least.
' skipped the driveshaft. planning for a SYE and Adams Driveshaft'
sold all this on Craigslist for $50
I check the torque on every nut and bolt every 150 miles 4 times untill I was happy. All the new parts didnt make much difference in the height of the lift compared to the old parts which I was hoping for.
All in all I am very happy with the end result and 100% happy with all the parts from Zone aswell as Tuburs hardware kit
When winter came around I started getting bad vibrations in the front end and a bad clunking in 4wd. Turned out to be a bad front DS centering yoke.
Old vs. New purdy
Had a really bad noise when it was about 8 degrees outside during a snow storm. Turned out to be a bad alternator. And with more snow in the forecast, I couldn't let 10 degree daytime tempatures stop me
Thats about it for the time being. Planning to do a SYE kit and a good driveshaft this summer to eliminate the slight vibrations that im getting at certain speeds. Also planning a bored out throttle body and the injector upgrade aswell as a few cosmetic changes
 06-25-2018, 10:28 PM