
96 XJ: The Wheeling Beer Can

Thread Starter
Junior Member
Joined: Oct 2015
Posts: 36
Likes: 0
From: Paso Robles Ca
Year: 1996
Model: Cherokee
We needed 5 lug unit bearings to match the rear end so Riley turned them down on the lathe.
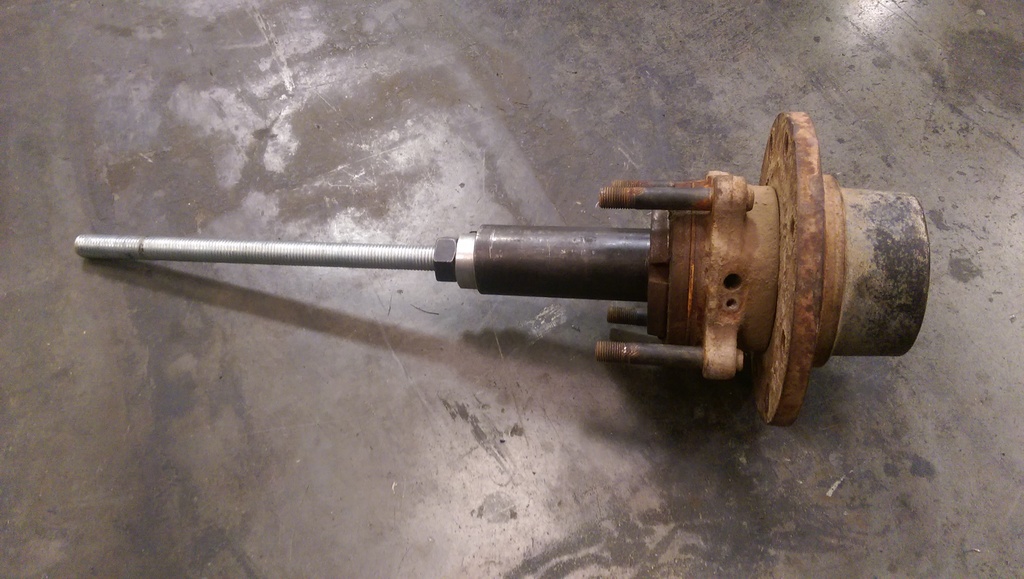
Step 1 was to press the studs out. Then he removed the needle bearing that the shaft rides on. In order to have a way to hold it he turned down a piece of 2" .25 DOM to match the OD of the needle bearing.
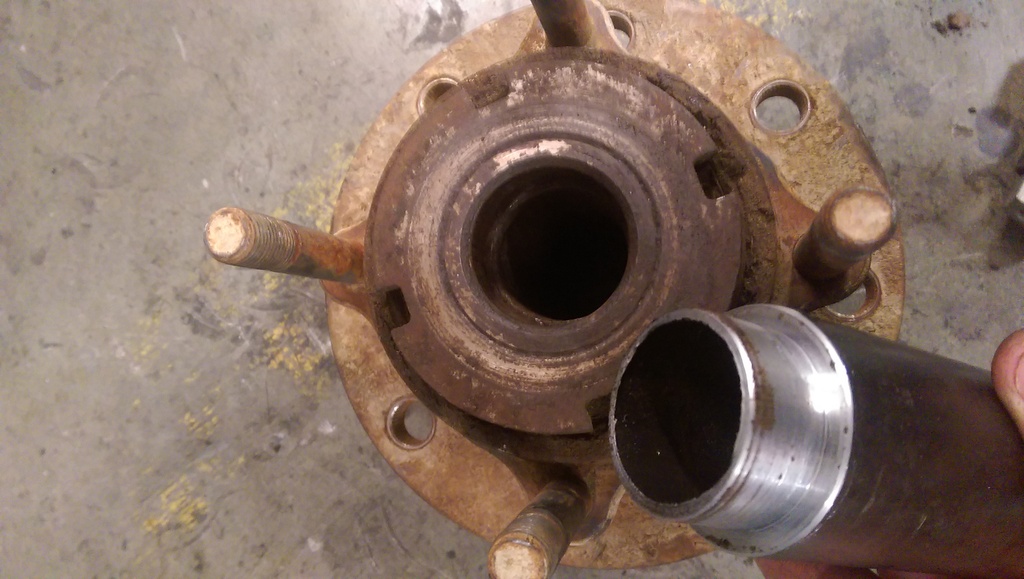
He used a big piece of all thread to clamp it and the unit bearing together.
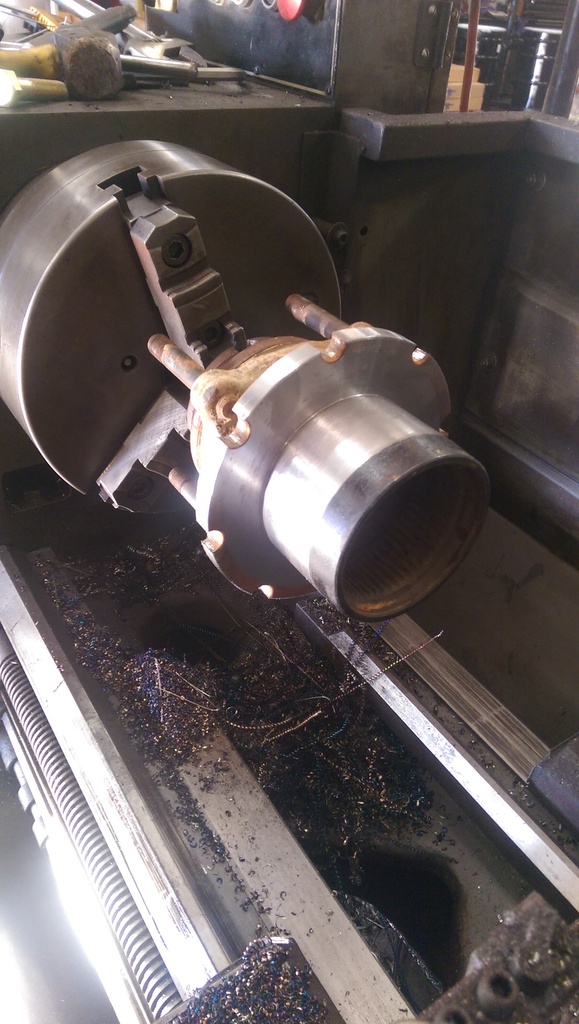
Then he turned it down. The hub bore diameter is 4.235" to match the Spidertrax ones.
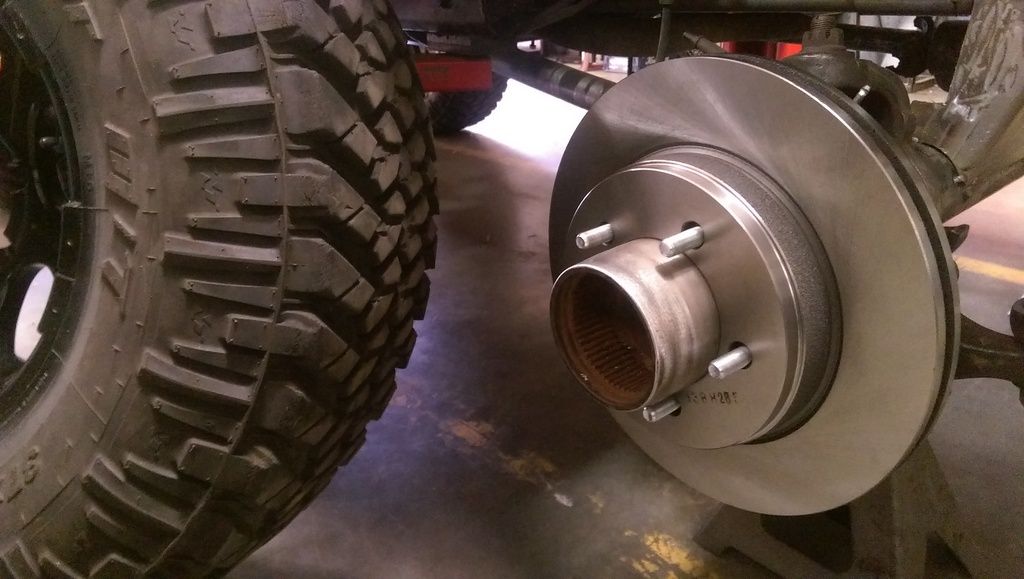
Then he used his mill to drill the bolt pattern. He used a 5 lug brake rotor as a template.
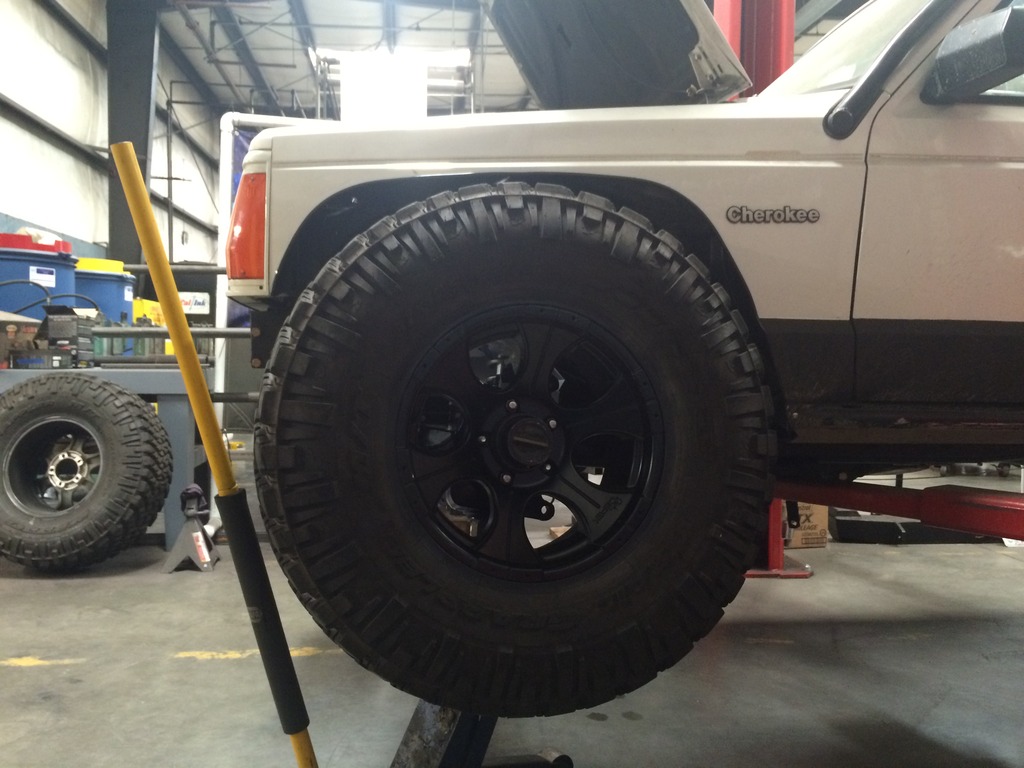
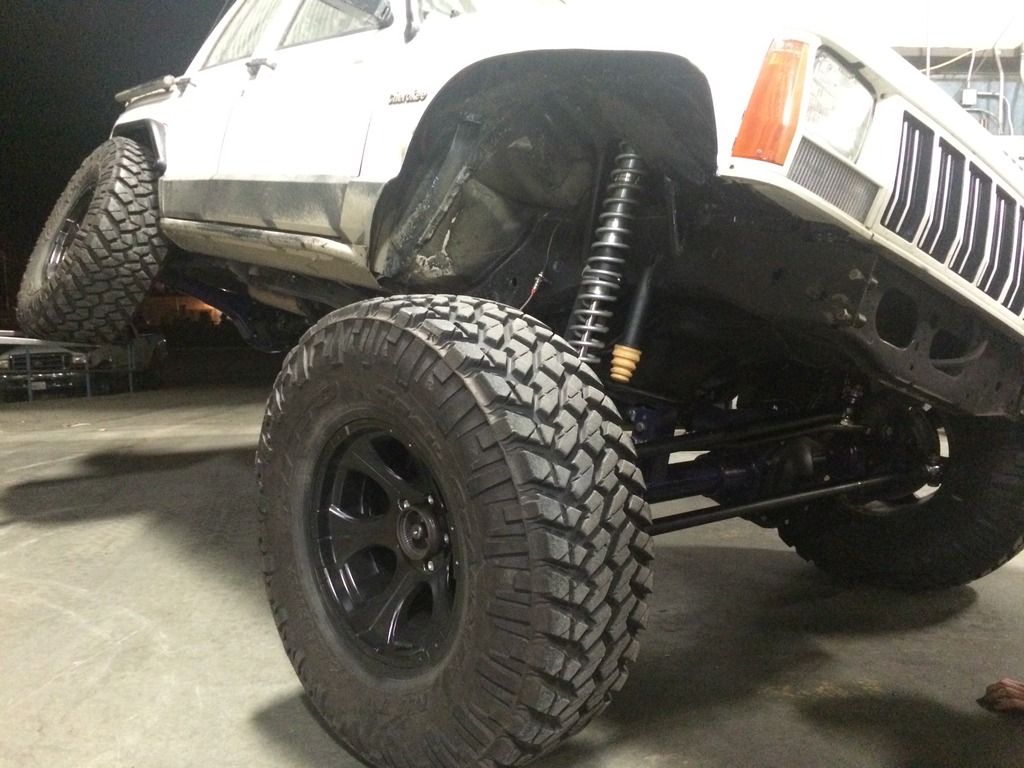
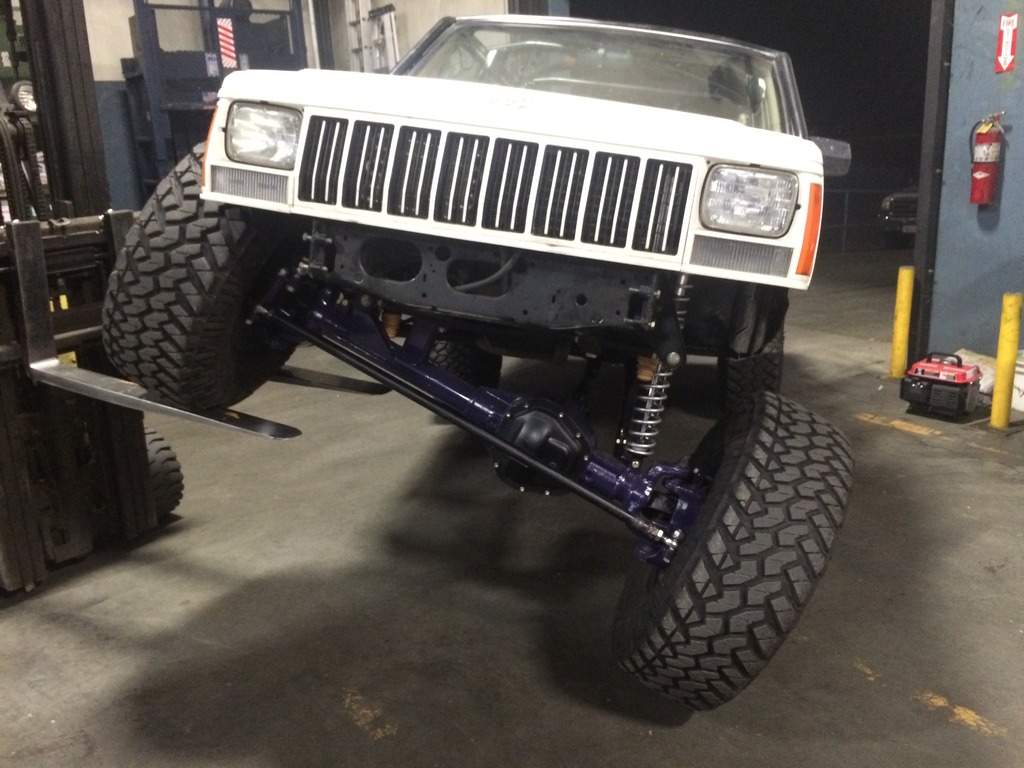
Then I was able to bolt a tire on and cycle the suspension some more.

Step 1 was to press the studs out. Then he removed the needle bearing that the shaft rides on. In order to have a way to hold it he turned down a piece of 2" .25 DOM to match the OD of the needle bearing.

He used a big piece of all thread to clamp it and the unit bearing together.

Then he turned it down. The hub bore diameter is 4.235" to match the Spidertrax ones.

Then he used his mill to drill the bolt pattern. He used a 5 lug brake rotor as a template.
Then I was able to bolt a tire on and cycle the suspension some more.

Thread Starter
Junior Member
Joined: Oct 2015
Posts: 36
Likes: 0
From: Paso Robles Ca
Year: 1996
Model: Cherokee
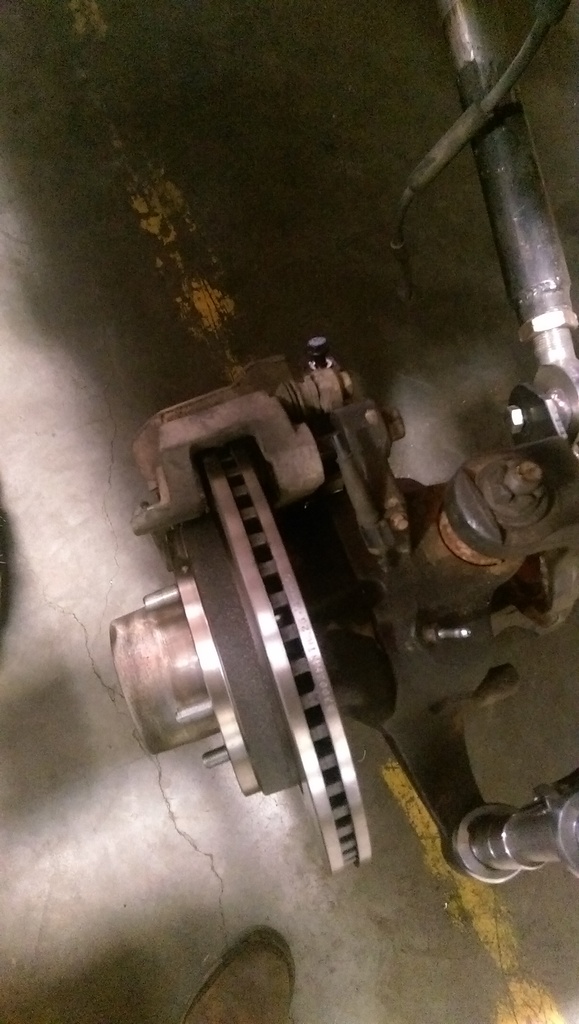
For brakes I couldn't use the stock super duty rotors because they don't have enough room to drill for 5 lug. So I ended up getting 2002 Dodge 1500 rotors. They are the same diameter and width as the super duty rotors but the offset is different. Riley bored the ID of the rotors to fit over the hubs.
With spacers and longer bolts the super duty calipers will still work.
I needed a larger master cylinder with a bigger piston so that I can supply enough fluid to the super duty calipers. I am going to try one from a 2000 Dodge 2500 van.
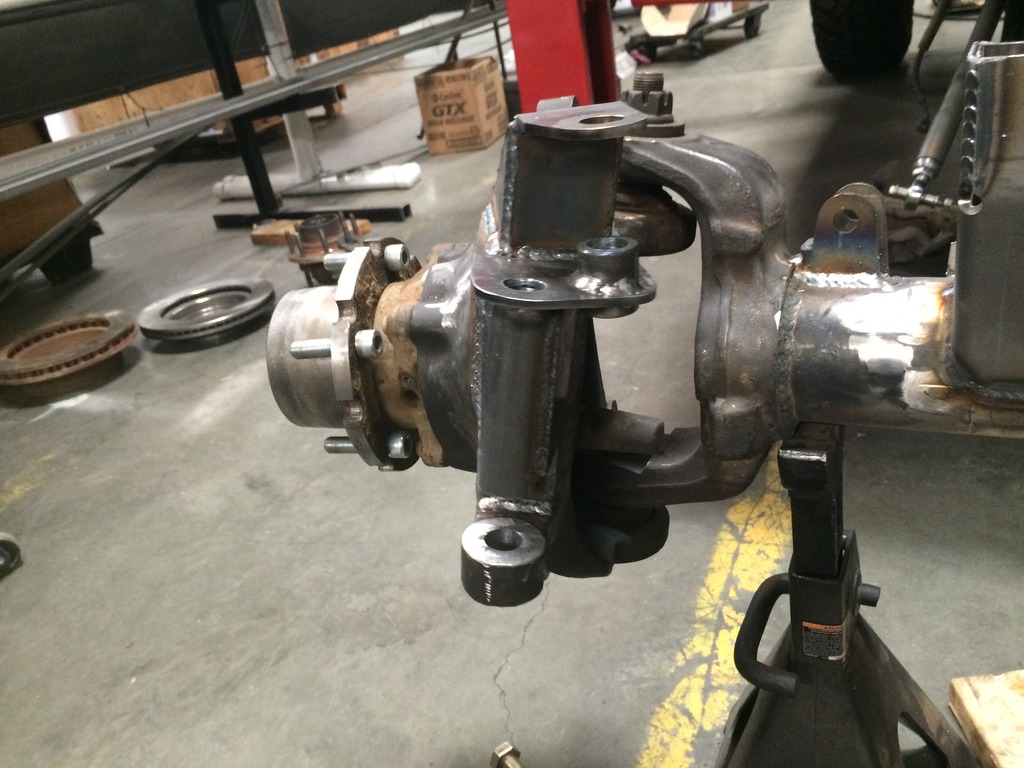
Then we made the high steer arm.
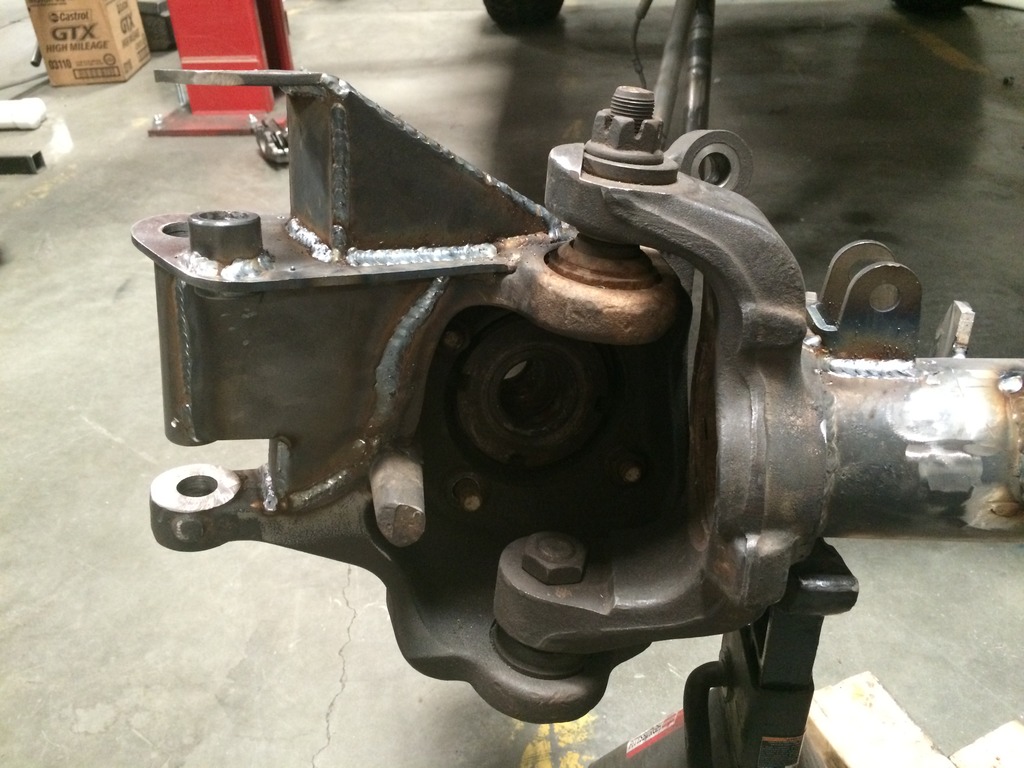
Because of the angle of the original arm the drag link rod end was maxing out at full droop. By adjusting the angle a little bit with a weld in spacer we were able to get it a lot more level.
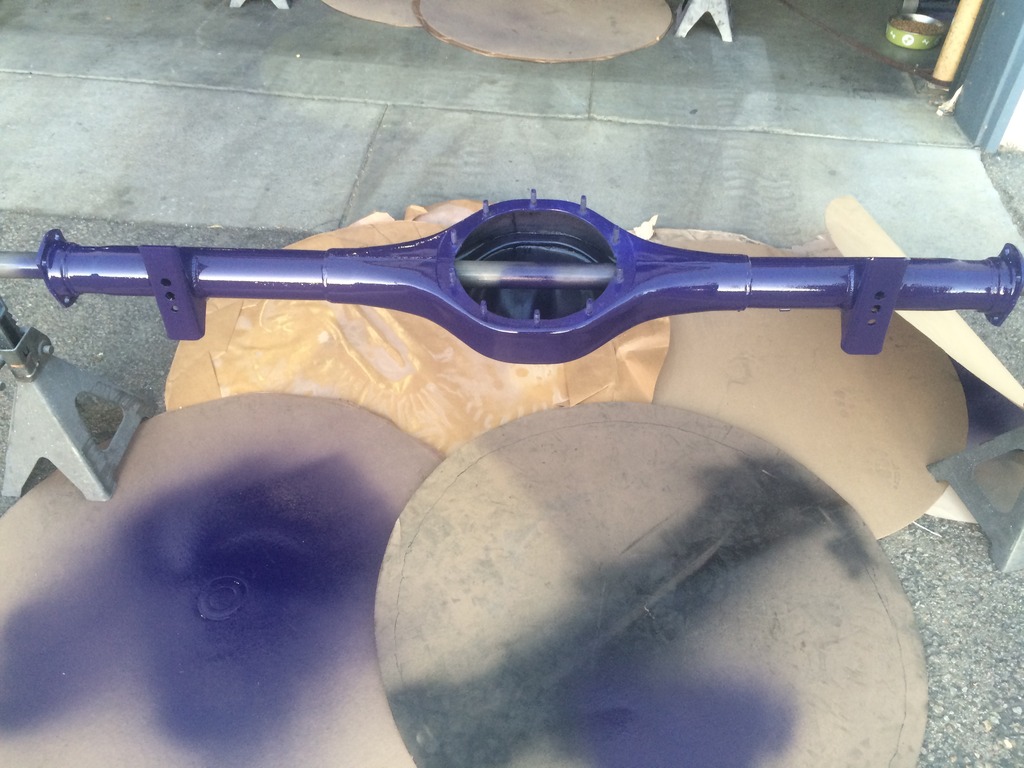
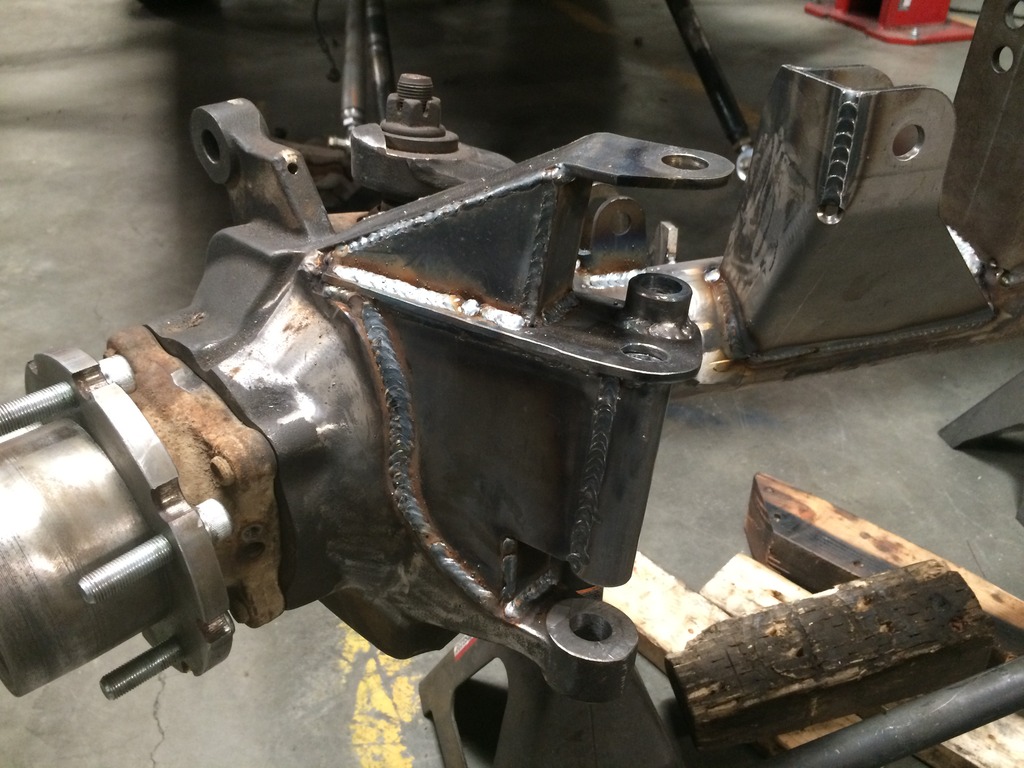
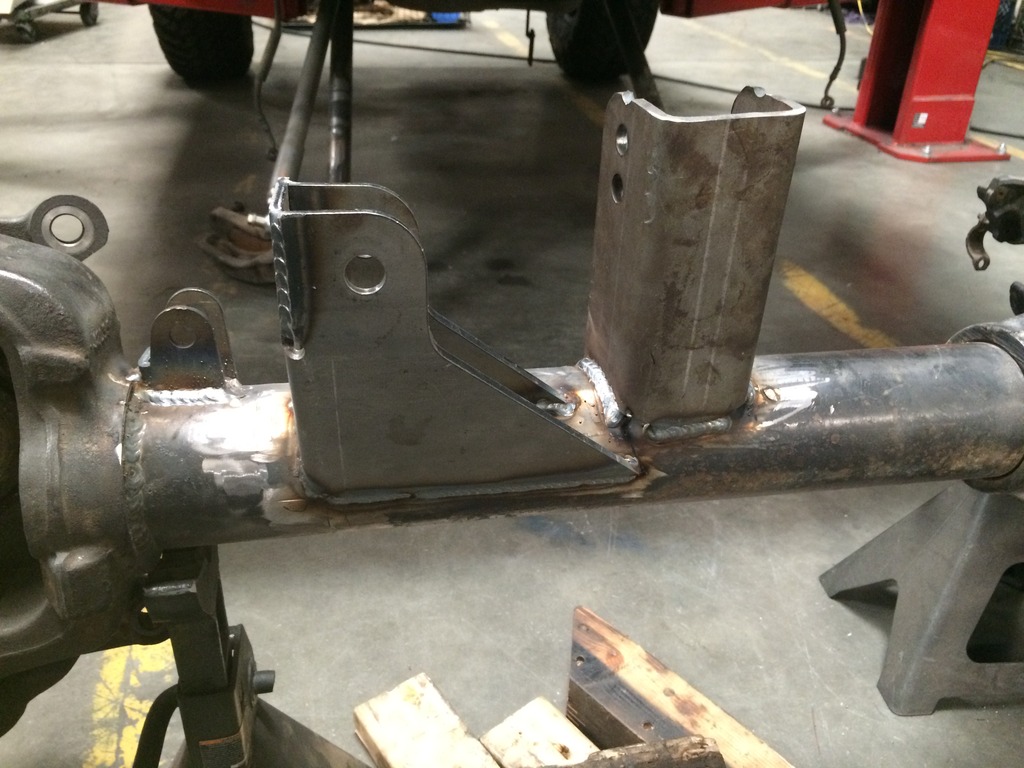
All of the brackets got fully welded.
And then it got painted too.
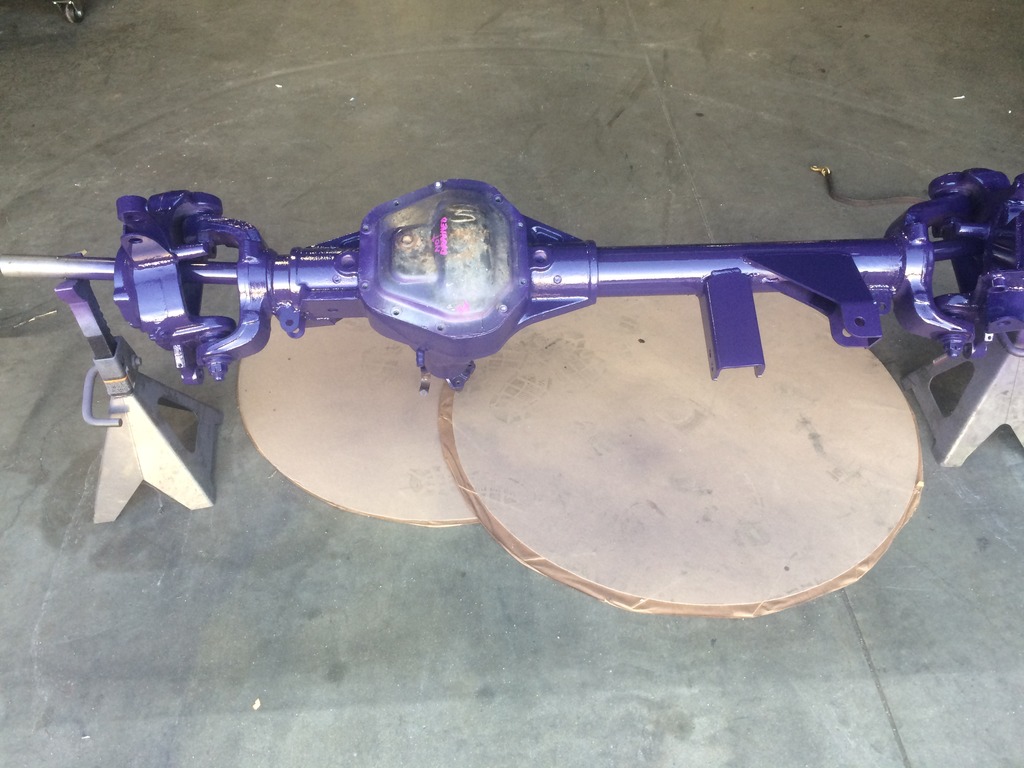
Gearing a 60 with your significant other is great way to test your relationship. If you both survive, you're probably going to be able to get through anything together.
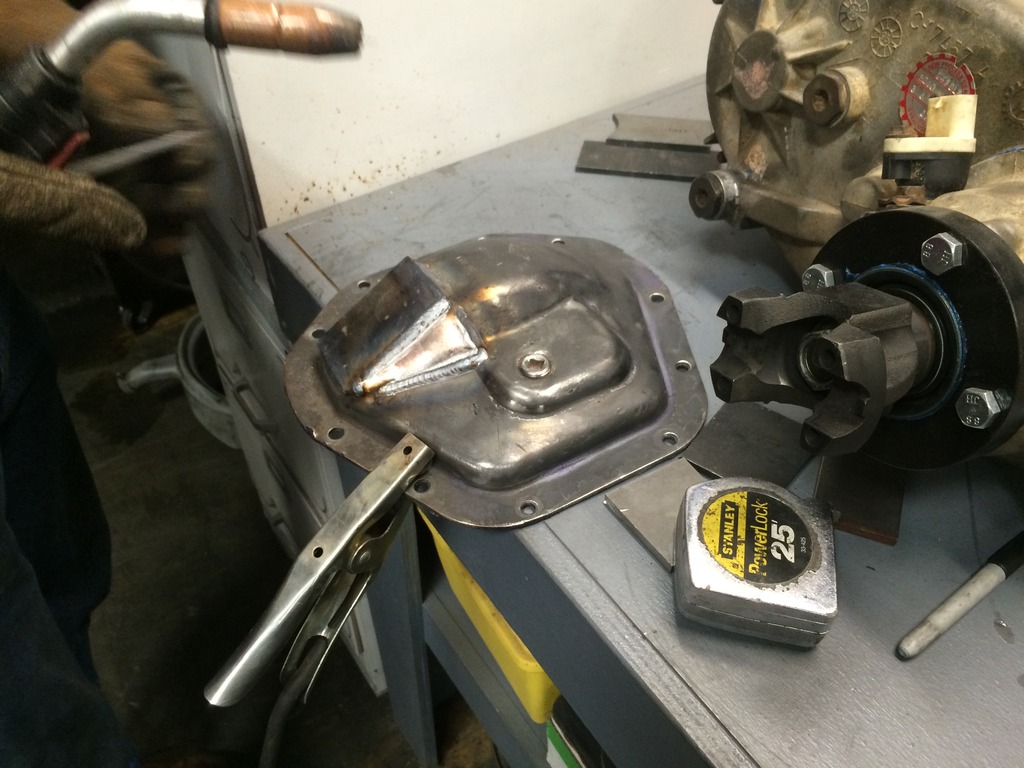
I had originally planned on using the Chassis Unlimited dif cover for the front but it ended up sticking out too far and hitting the tie rod. So the original cover got a little reinforcing and I will run that for now.

I opened up the driver side inner fender in a similar way to the rear. I cut out the curved portion and moved it forward, using a few pieces of plate to fill in the new gap.
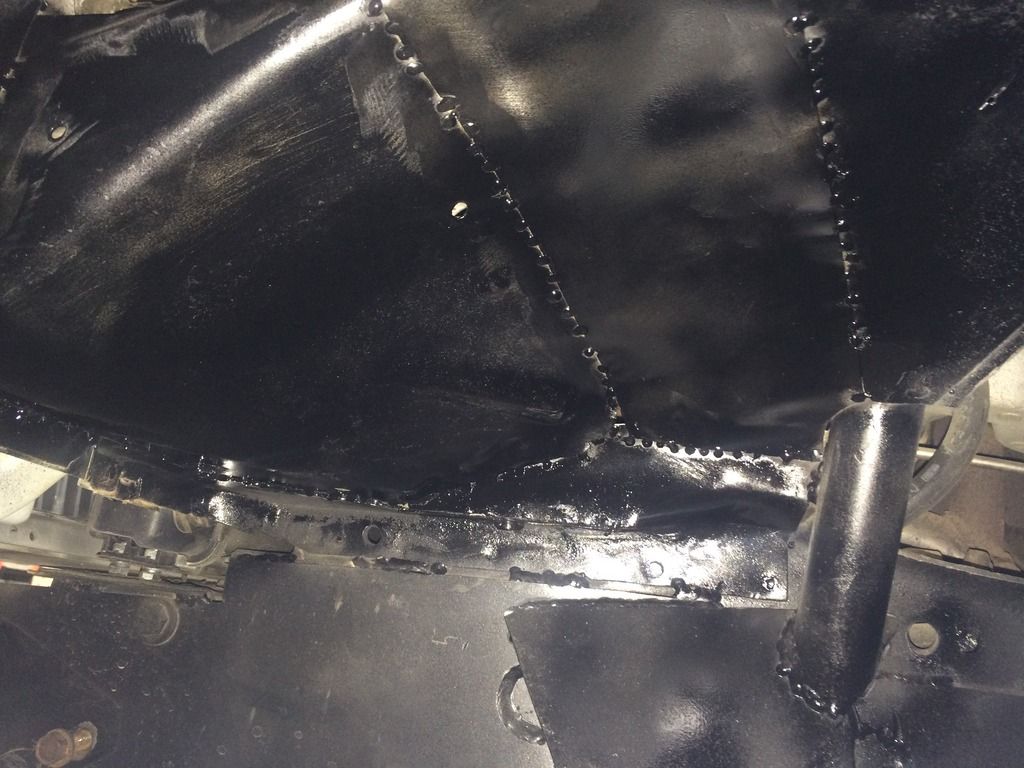
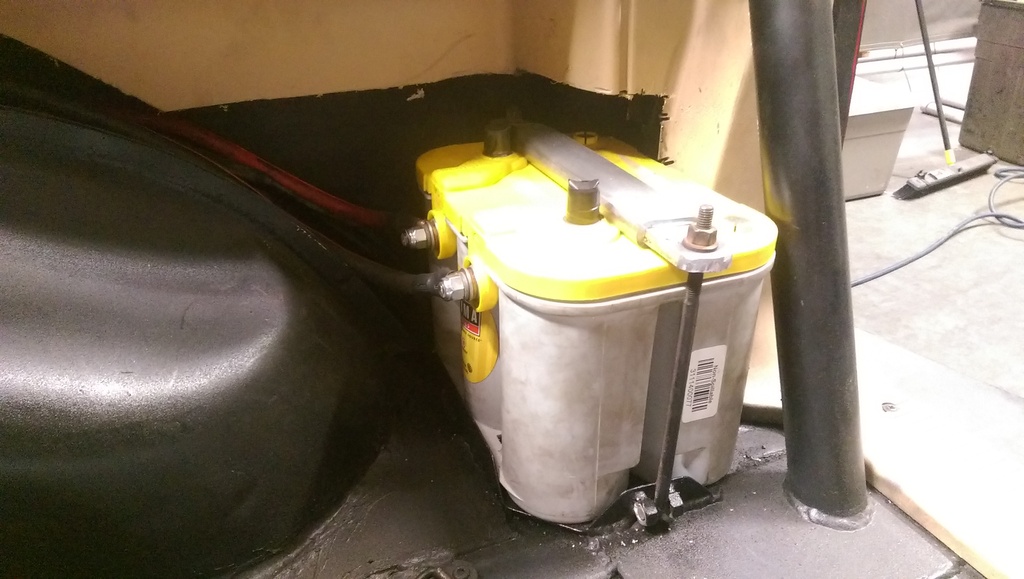
I did the passenger side fender the same way but that didn't leave enough room for the battery. I picked up a yellow top optima and built a battery box for it in the bed.

With spacers and longer bolts the super duty calipers will still work.

I needed a larger master cylinder with a bigger piston so that I can supply enough fluid to the super duty calipers. I am going to try one from a 2000 Dodge 2500 van.

Then we made the high steer arm.


Because of the angle of the original arm the drag link rod end was maxing out at full droop. By adjusting the angle a little bit with a weld in spacer we were able to get it a lot more level.

All of the brackets got fully welded.

And then it got painted too.

Gearing a 60 with your significant other is great way to test your relationship. If you both survive, you're probably going to be able to get through anything together.
I had originally planned on using the Chassis Unlimited dif cover for the front but it ended up sticking out too far and hitting the tie rod. So the original cover got a little reinforcing and I will run that for now.


I opened up the driver side inner fender in a similar way to the rear. I cut out the curved portion and moved it forward, using a few pieces of plate to fill in the new gap.


I did the passenger side fender the same way but that didn't leave enough room for the battery. I picked up a yellow top optima and built a battery box for it in the bed.
Thread Starter
Junior Member
Joined: Oct 2015
Posts: 36
Likes: 0
From: Paso Robles Ca
Year: 1996
Model: Cherokee
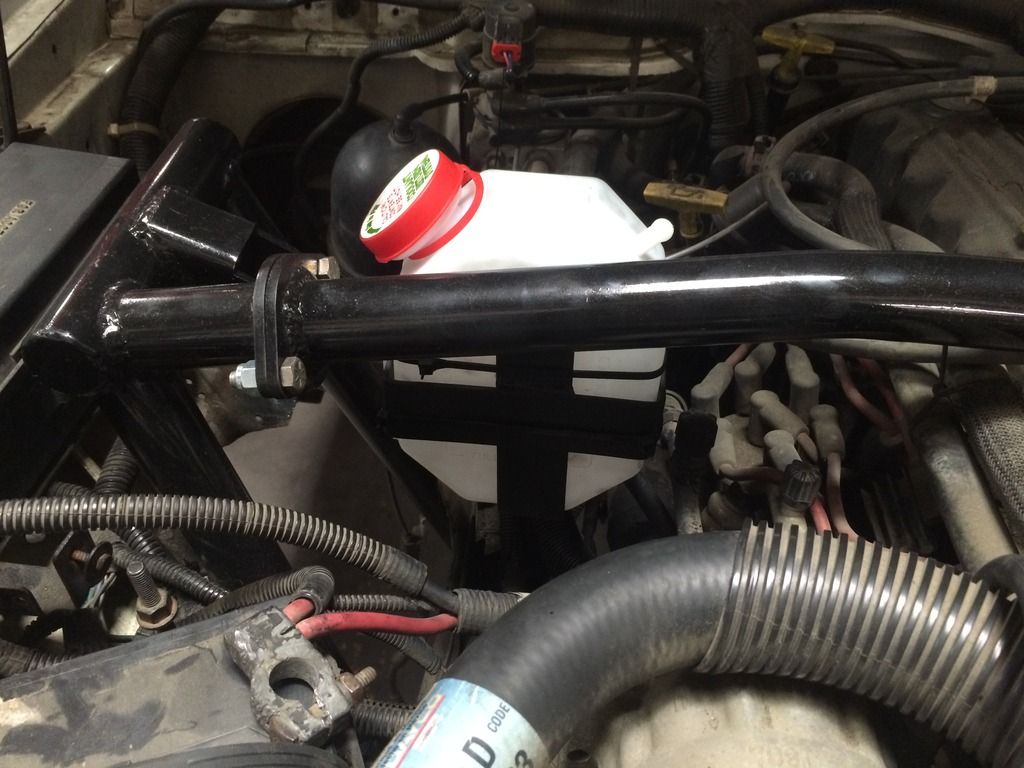
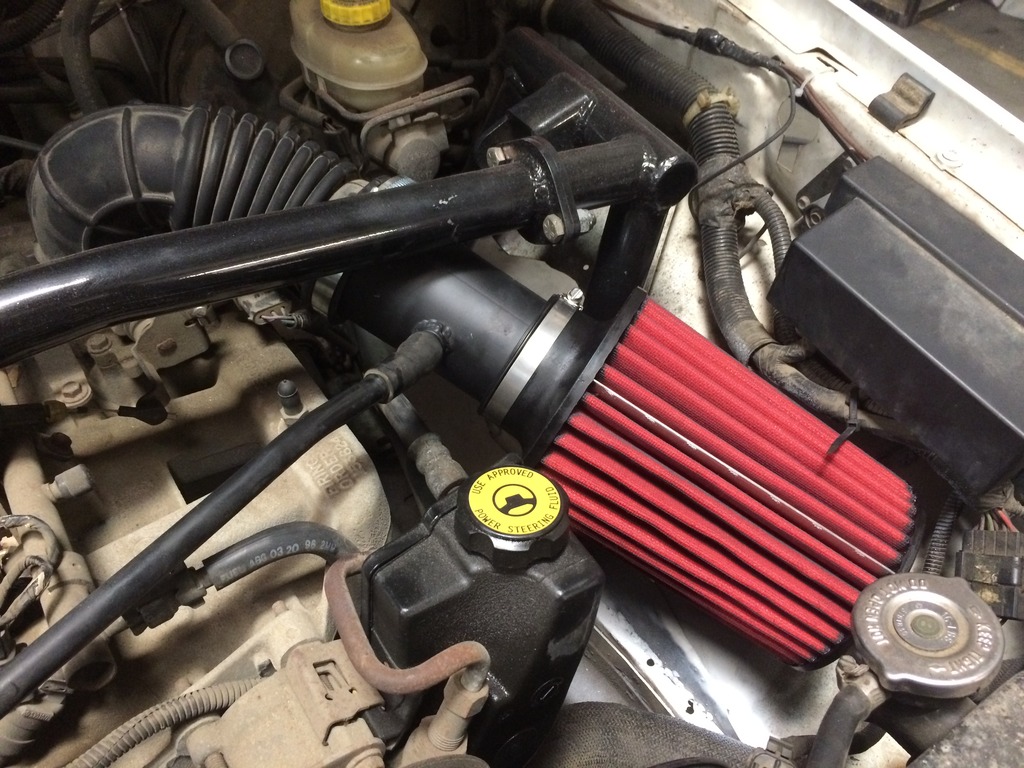
The engine cage caused me to have to re-do the air filter and coolant resi. The xj coolant resi was a really awkward shape so I ended up getting a generic diy kit from autozone and using that.
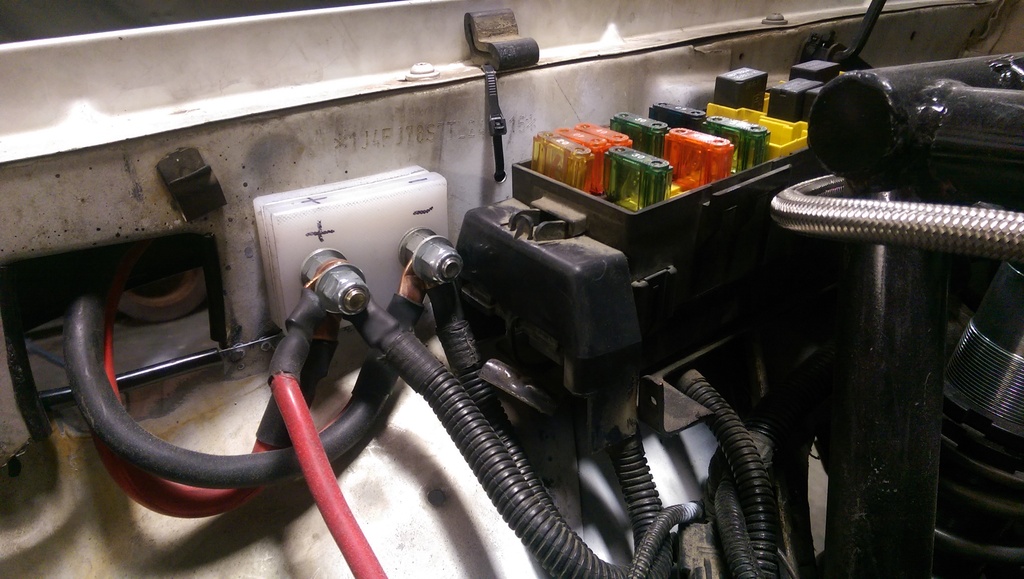
Plumbing the brakes wasn't too difficult. I rented the flaring and bending tool from Oreilly's, along with some premade brake lines for the rear. For the front I got two braided stainless lines made at our local hydraulic shop. Some weld in bungs that we had laying around worked great for the spacers that we needed to push the super duty calipers out.
Here's some pics of the battery relocation.
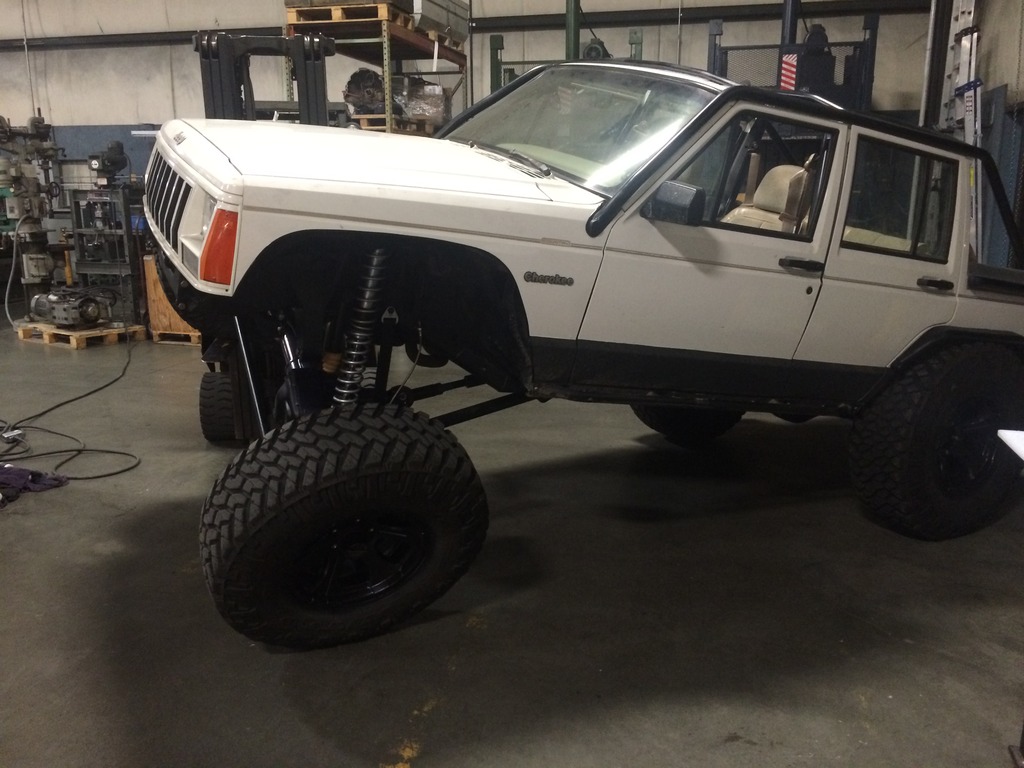
Then it got flexed out on the fork lift.
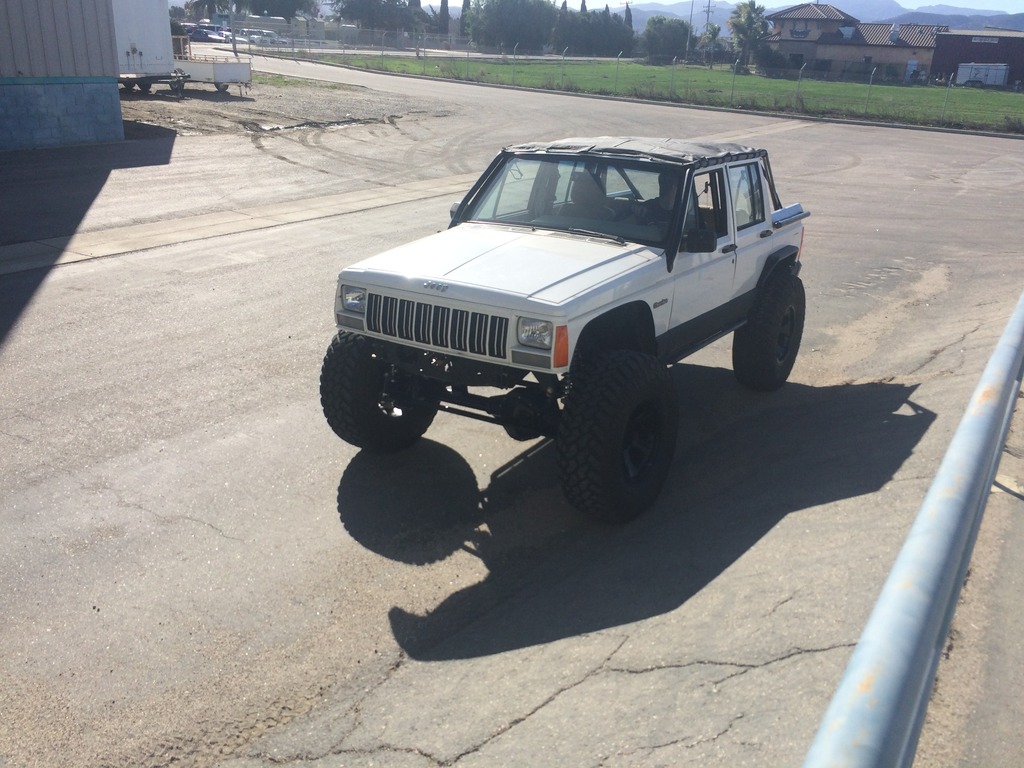
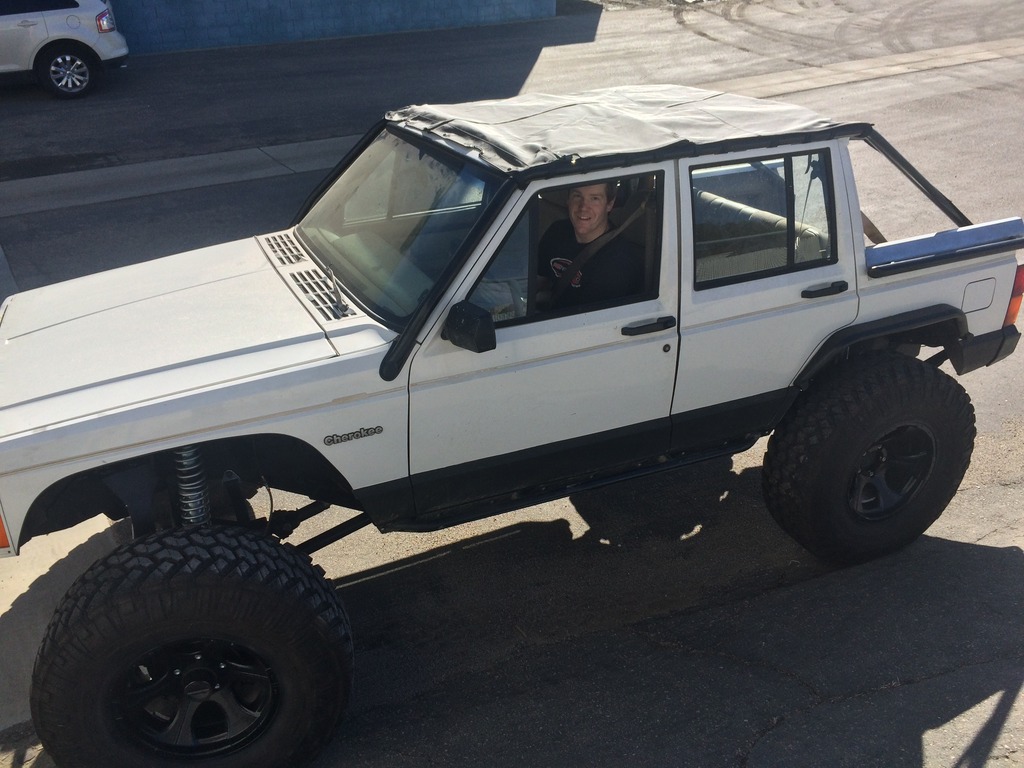
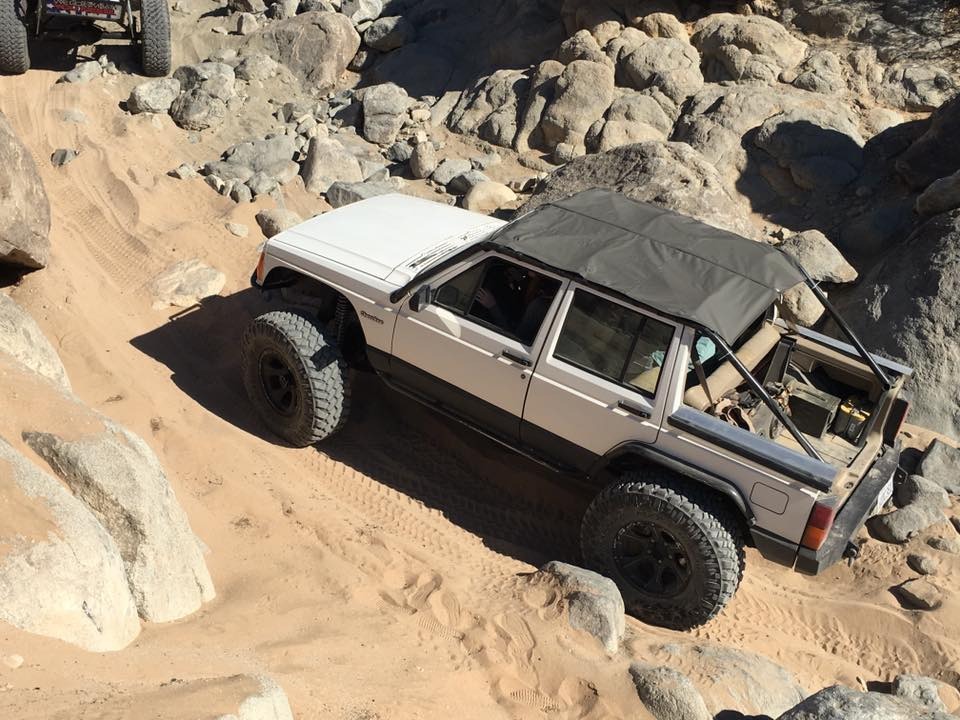
For the soft top I purchased a Bestop JK Bikini top off amazon for $29. It was a few inches too wide, a lot too long and most of the straps were in the wrong place. With a little help from the lady who can do it all (Riley's Mom) we had a sewing day in the shop and were able to get it fitting pretty well. The front is held on by super strong magnets sewn into individual pouches. The center will have an old tent pole running through it once I have a chance to get it from the house.
Riley would make a great Jeep model...


Plumbing the brakes wasn't too difficult. I rented the flaring and bending tool from Oreilly's, along with some premade brake lines for the rear. For the front I got two braided stainless lines made at our local hydraulic shop. Some weld in bungs that we had laying around worked great for the spacers that we needed to push the super duty calipers out.
Here's some pics of the battery relocation.


Then it got flexed out on the fork lift.


For the soft top I purchased a Bestop JK Bikini top off amazon for $29. It was a few inches too wide, a lot too long and most of the straps were in the wrong place. With a little help from the lady who can do it all (Riley's Mom) we had a sewing day in the shop and were able to get it fitting pretty well. The front is held on by super strong magnets sewn into individual pouches. The center will have an old tent pole running through it once I have a chance to get it from the house.

Riley would make a great Jeep model...

Thread Starter
Junior Member
Joined: Oct 2015
Posts: 36
Likes: 0
From: Paso Robles Ca
Year: 1996
Model: Cherokee
Then I installed a power steering cooler and swapped out my pump for an 03 WJ power steering pump. The Wj's have a hydraulic fan so the pump is larger and bolts right on.
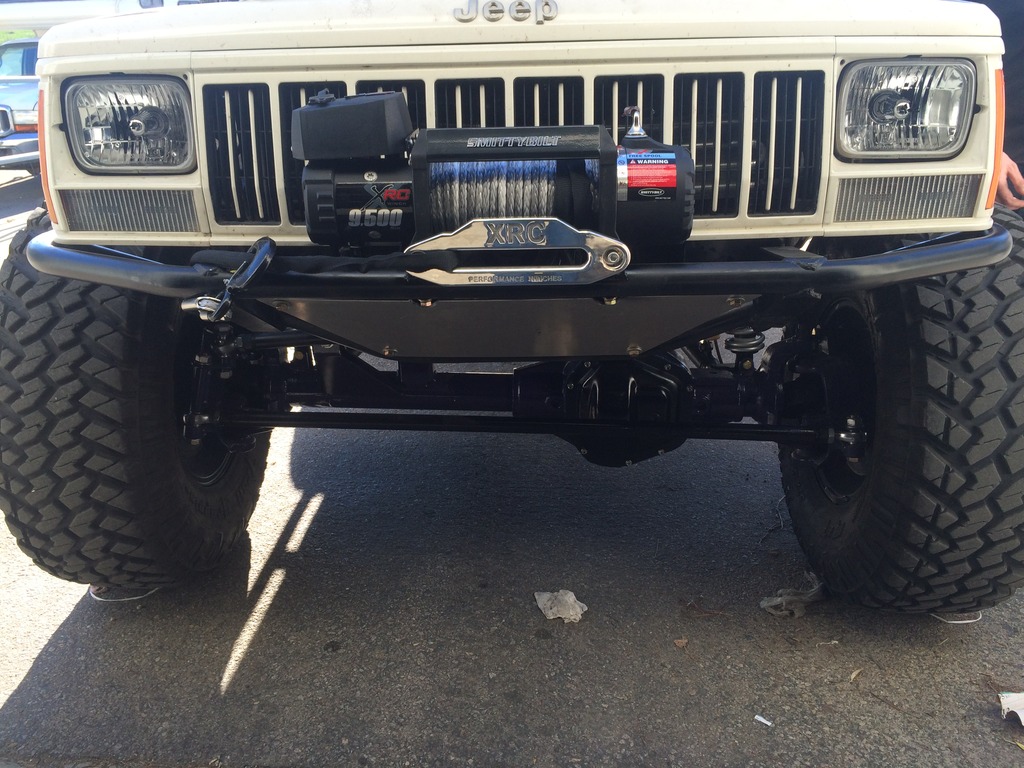
Then I modified the front bumper to adjust for the larger fender openings and installed my winch! I ended up getting the Smittybilt 9500 comp series one (best xmas present ever).
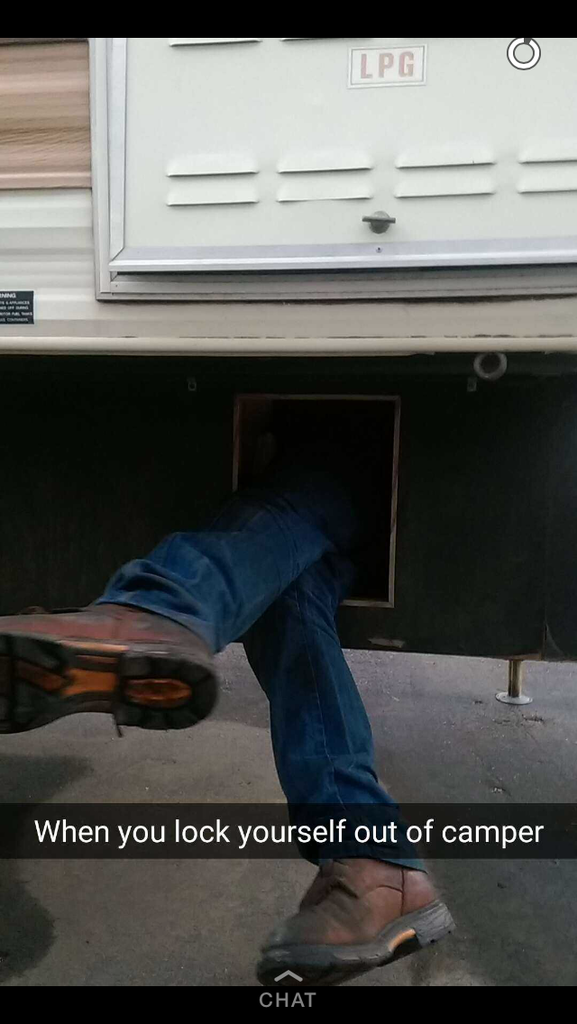
Once the Jeep was done it was time to load up the camper! Only problem was that Riley left the keys at home (an hour away). Riley volunteered to be the one to crawl through the access door. I helped by Snapchatting...

Thread Starter
Junior Member
Joined: Oct 2015
Posts: 36
Likes: 0
From: Paso Robles Ca
Year: 1996
Model: Cherokee
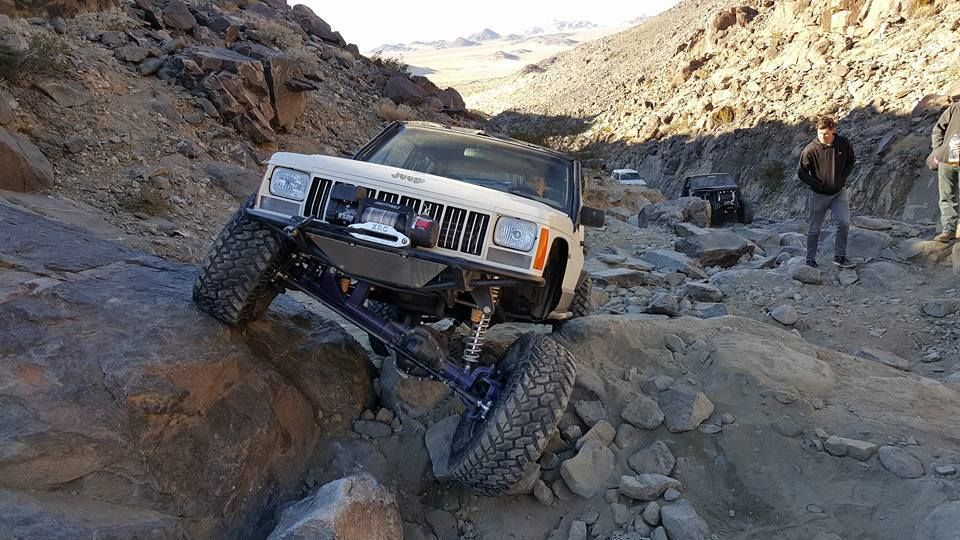
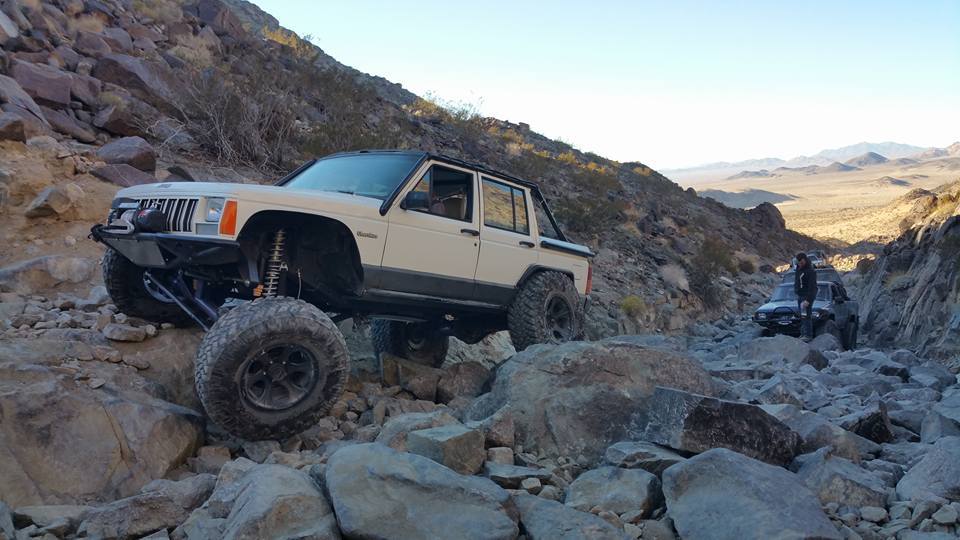
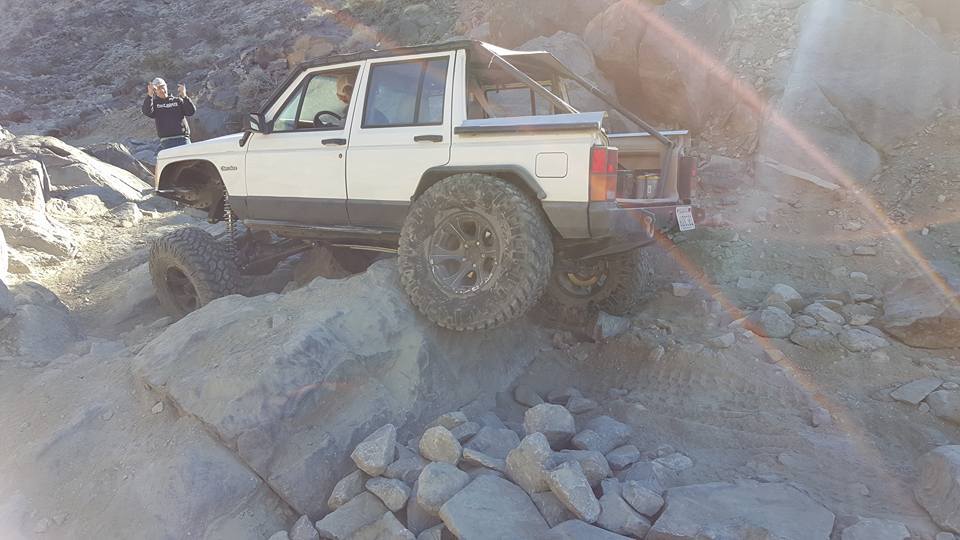
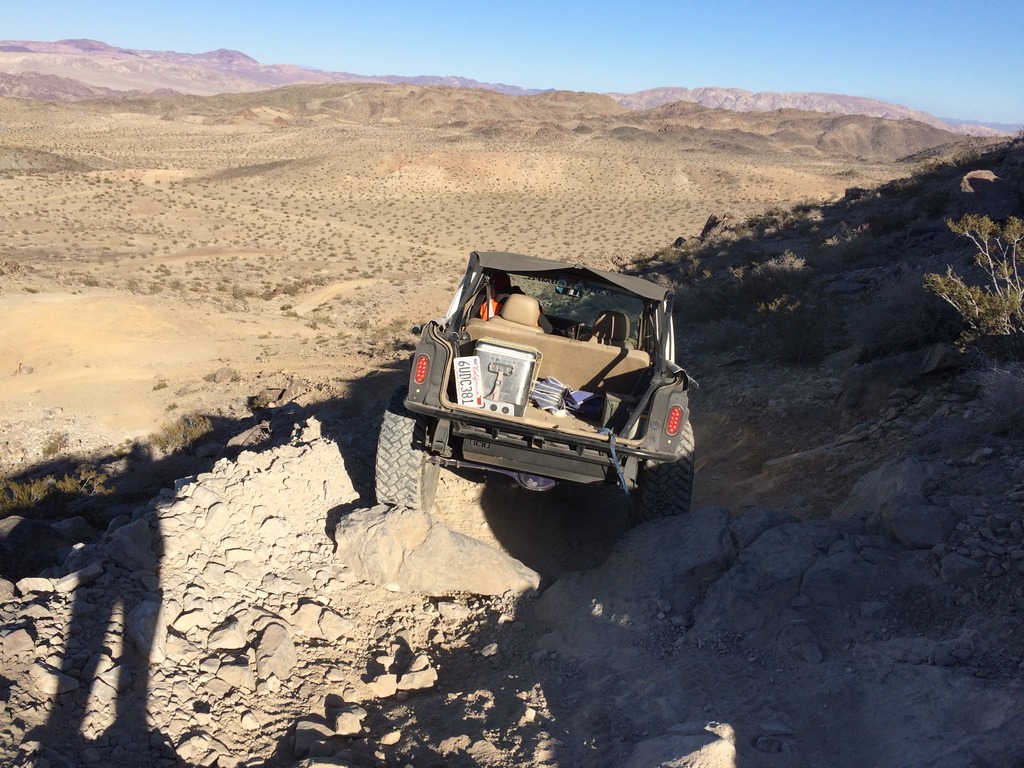
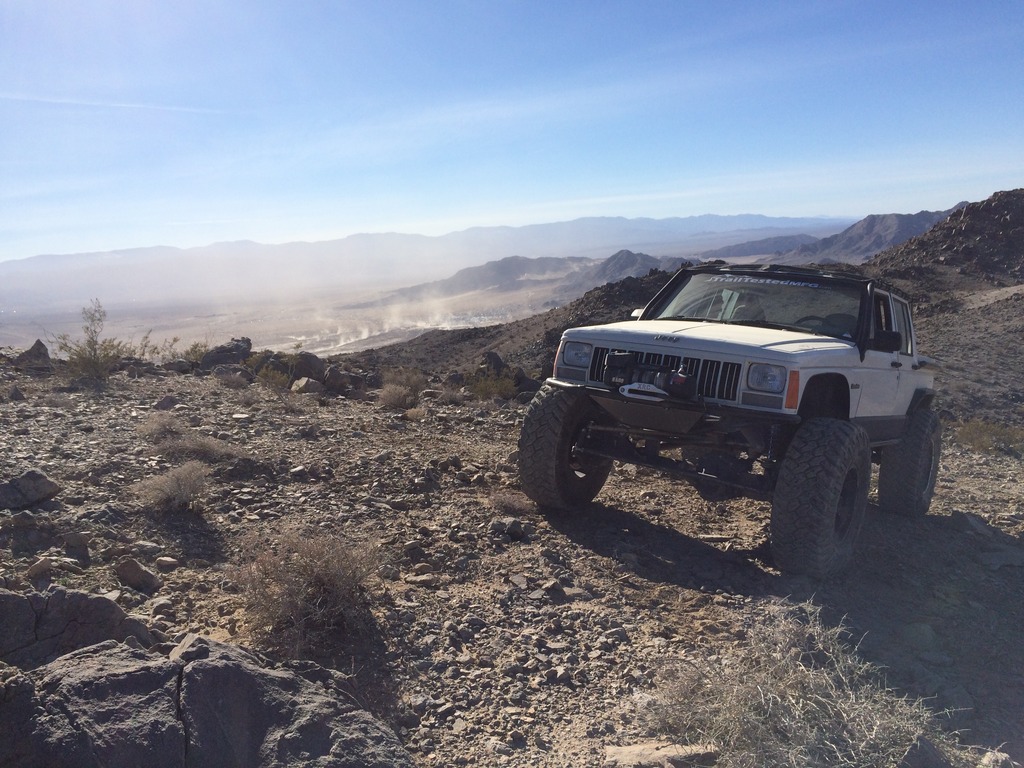
Our new years trip to Johnson Valley was as expected: freezing cold and freaking awesome. We wheeled turkey twice, claw hammer twice, chocolate thunder a bunch of times and sledge. Half way up claw I tore a valve stem but a stick and some duct tape kept it together until we got back to camp. Then Riley helped me pop the bead off and put in a new valve stem. Overall the Jeep did really well but there are some changes I would like to make before summer:
More ground clearance: Eventually I would like to relocate my cat and re-make my t-case cross member so that I have more belly clearance. I would also like to relocate my gas tank up partially into the bed.
Rear shocks: Turns out coil overs in the front are super awesome but old poopy bilstein's in the rear aren't so awesome... Once the budget allows new shocks for the rear will be in order!
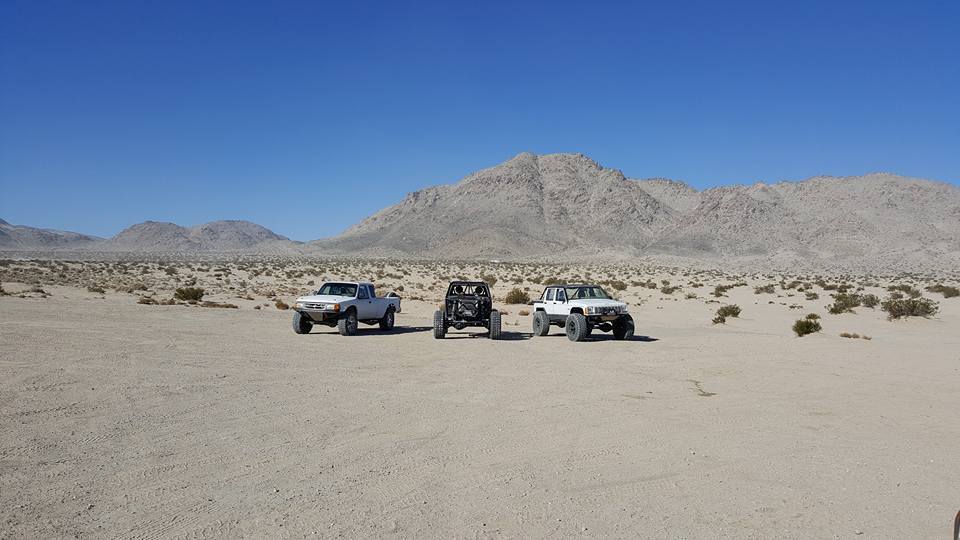
Less than 3 weeks until I'll be back on the lake bed for KOH!
More ground clearance: Eventually I would like to relocate my cat and re-make my t-case cross member so that I have more belly clearance. I would also like to relocate my gas tank up partially into the bed.
Rear shocks: Turns out coil overs in the front are super awesome but old poopy bilstein's in the rear aren't so awesome... Once the budget allows new shocks for the rear will be in order!
Less than 3 weeks until I'll be back on the lake bed for KOH!


Thread Starter
Junior Member
Joined: Oct 2015
Posts: 36
Likes: 0
From: Paso Robles Ca
Year: 1996
Model: Cherokee
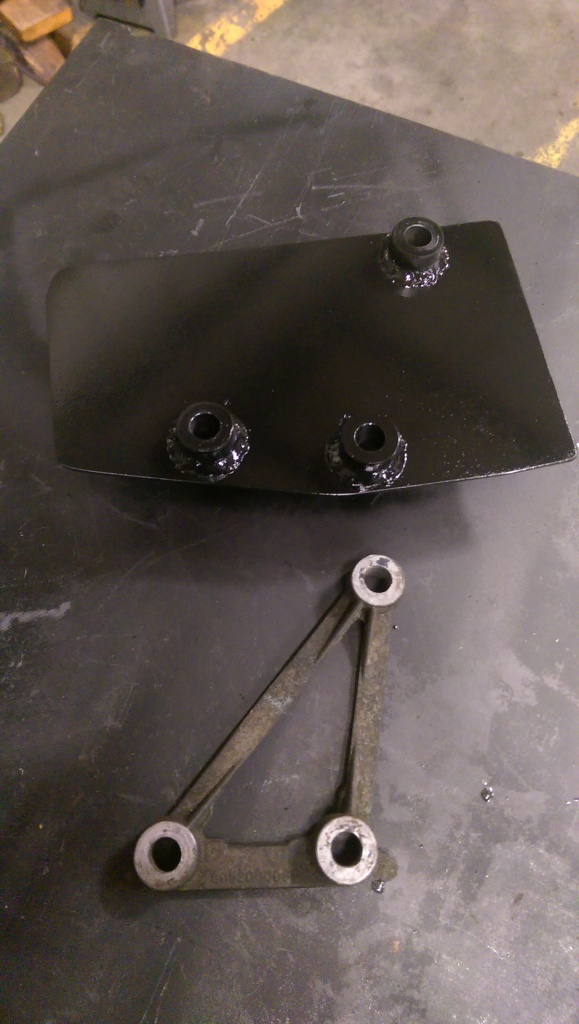
With only two weeks until we are headed to the lakebed I wanted to get a couple things checked off the list. My steering box had developed a pretty bad leak out of one of the seals so I replaced it with one that Riley had laying around on a TJ frame. I took the opportunity to replace the aluminum spacer with a steel one that better spreads the load onto the frame. Here's a pic of the old one vs the new one.
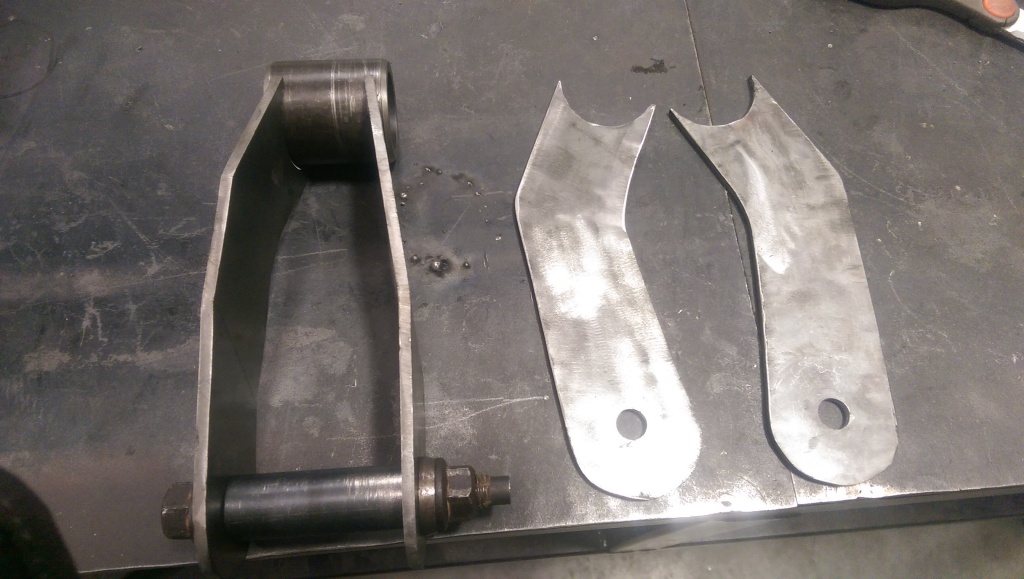
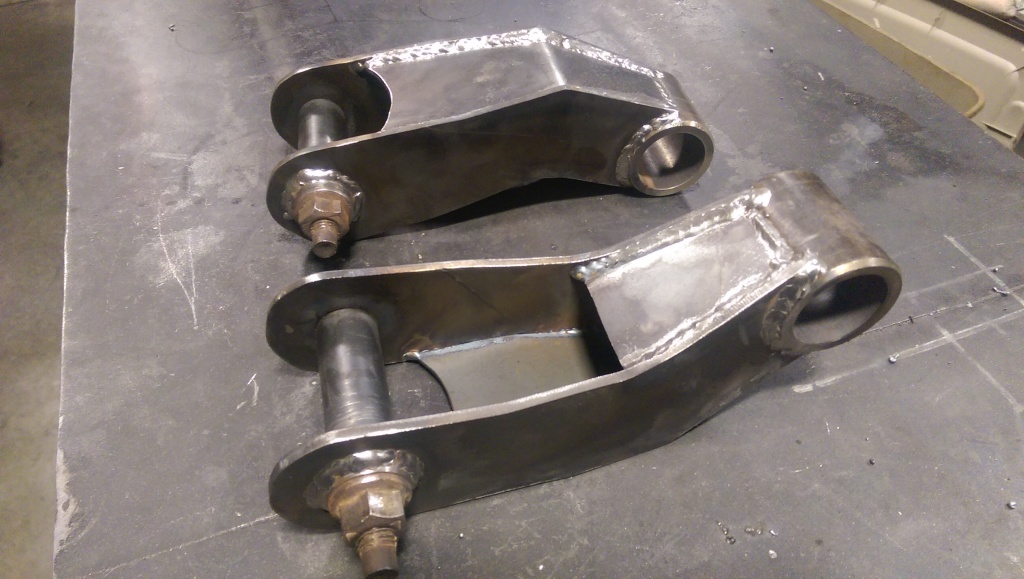
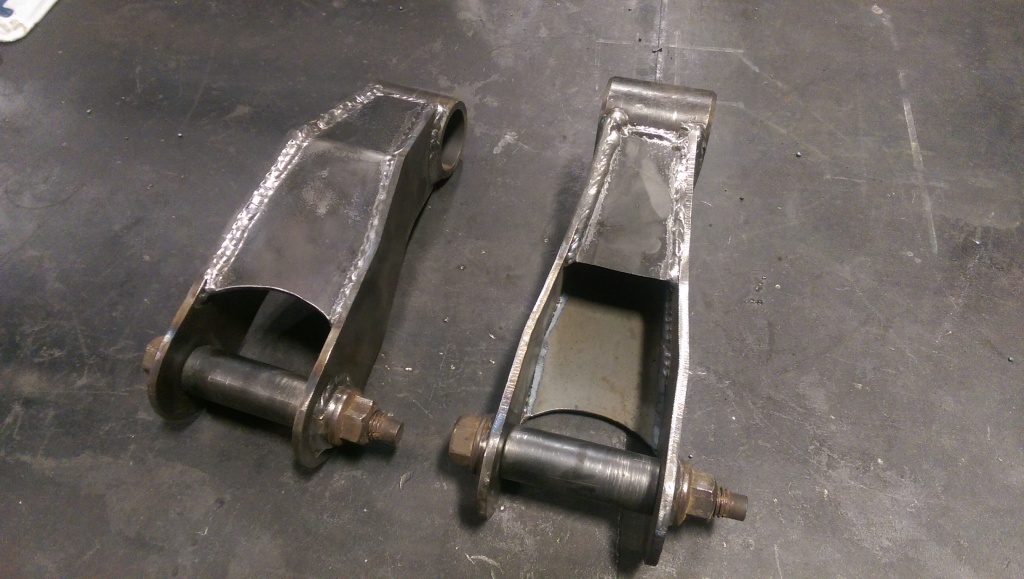
My ride height in the rear was about an inch lower than the front so we made some new shackles that gave me an inch of lift.
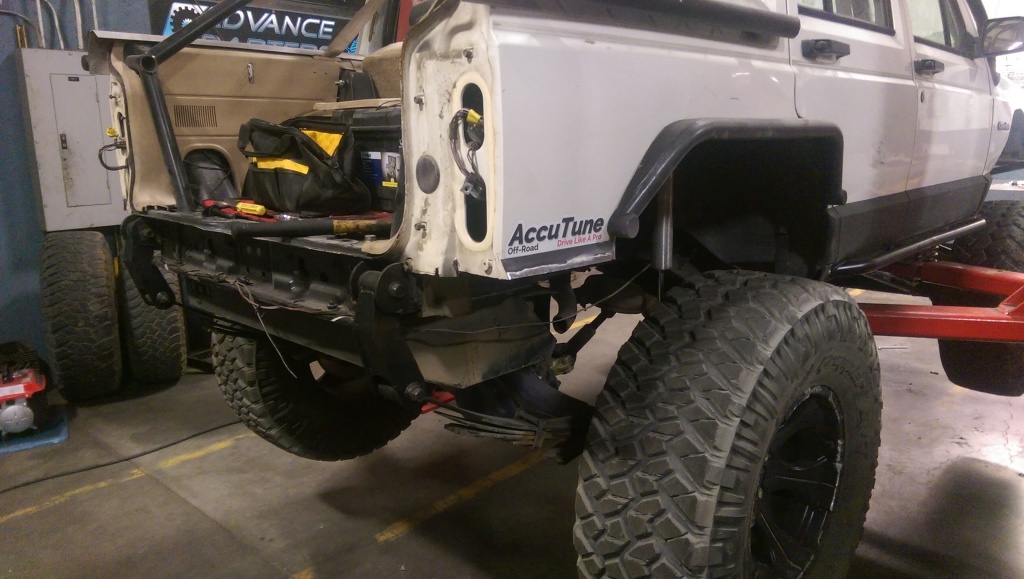
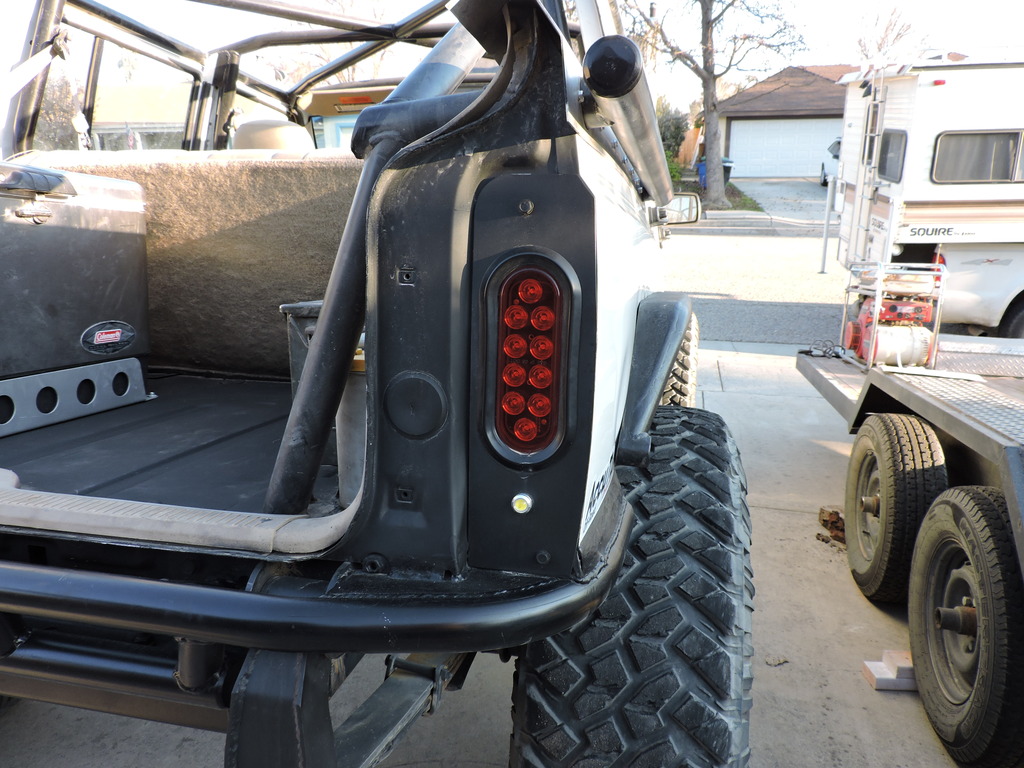
Next up I need a new rear bumper and new tail lights (The result of letting Riley drive sledgehammer) The JCR bumper that Riley gave me for my birthday folded like a piece of tin foil on the first hit Riley gave it. Two more skillful backups and he had taken out both of my tailights.
Thread Starter
Junior Member
Joined: Oct 2015
Posts: 36
Likes: 0
From: Paso Robles Ca
Year: 1996
Model: Cherokee
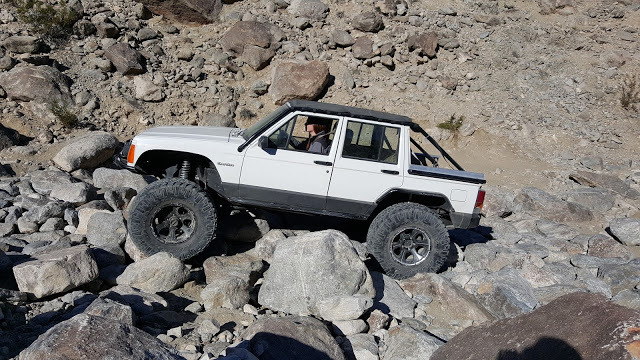
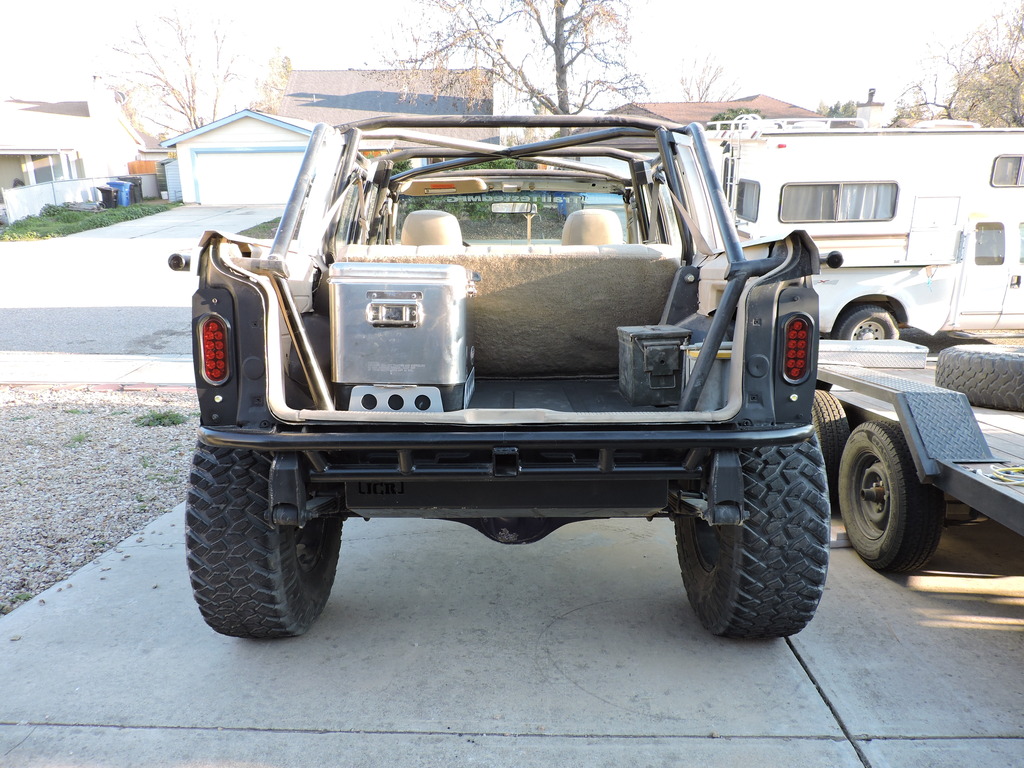
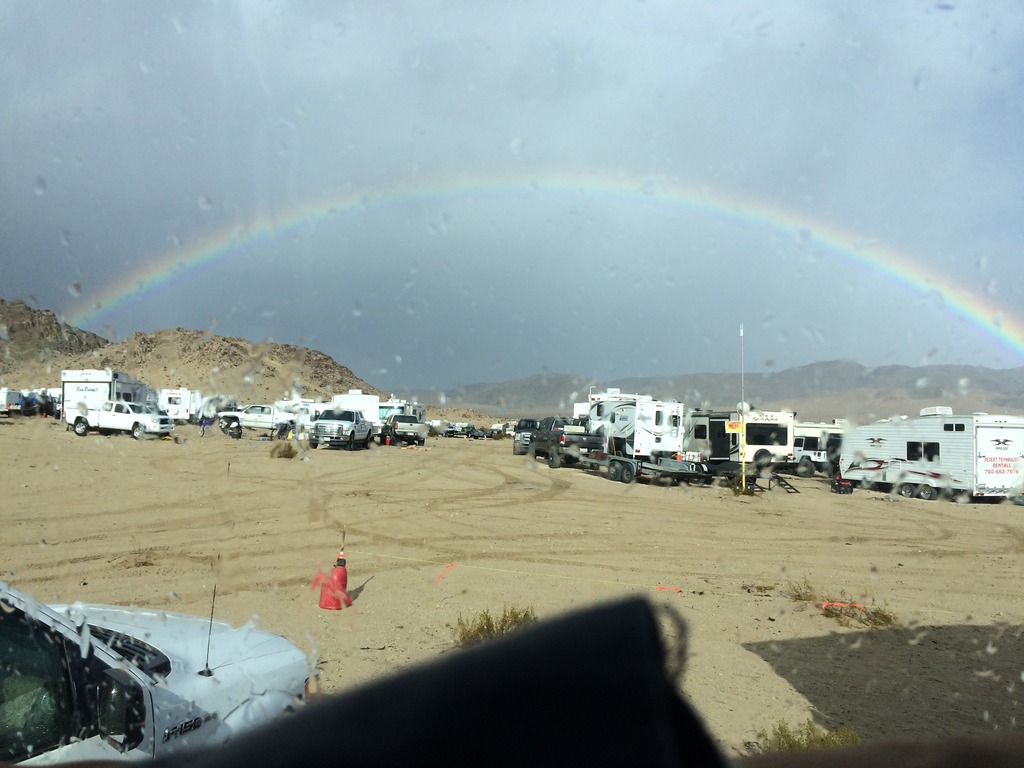
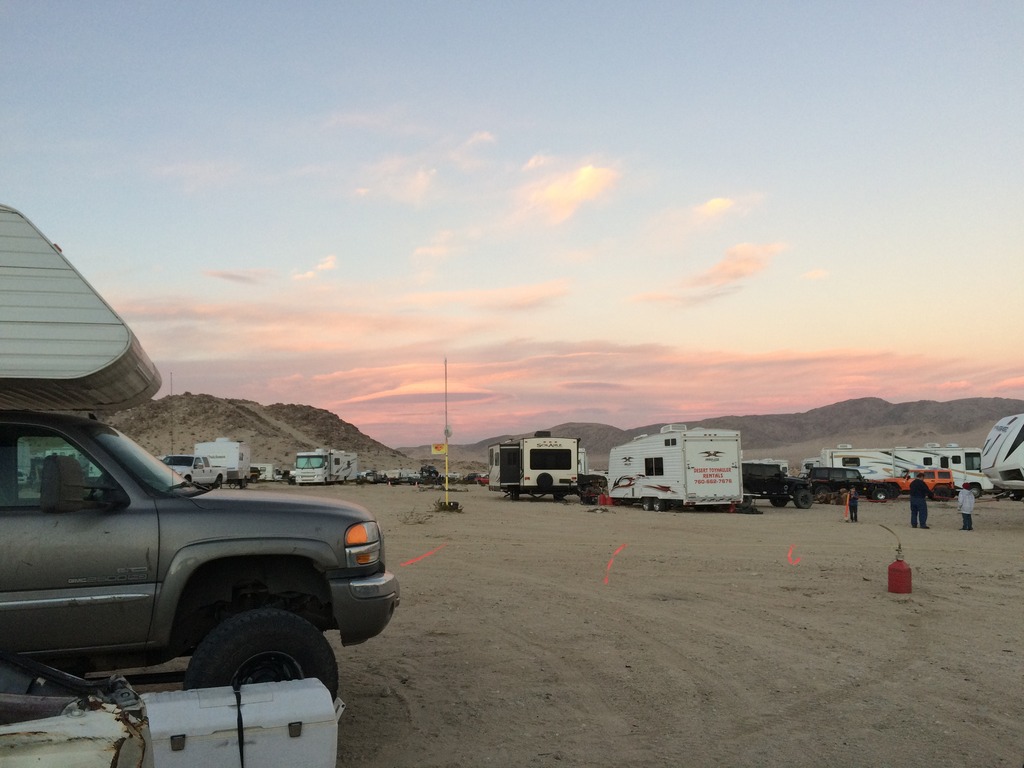
Got the rear bumper, bump stops and tail lights done just in time for KOH. We spent the whole week on the lakebed and had a blast. My buddy Scott raced legends and finished so congrats to him!

The bumps just land on the axle tube.
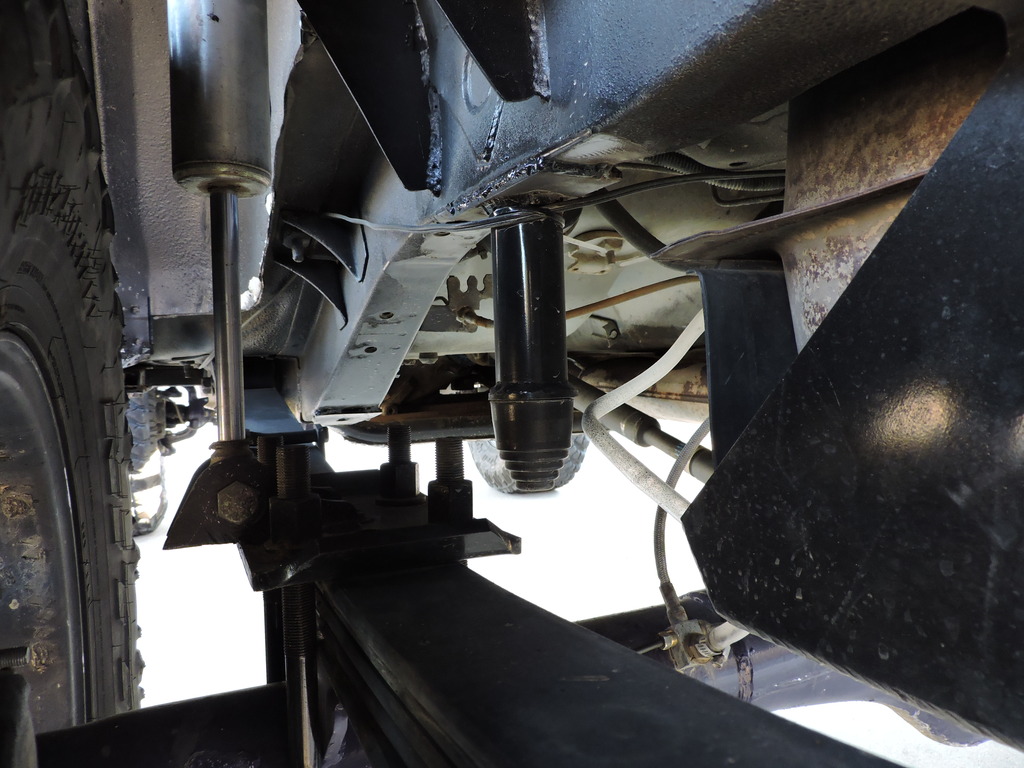

The bumps just land on the axle tube.


Junior Member
Joined: Mar 2015
Posts: 55
Likes: 0
From: North Carolina
Year: 1990
Model: Cherokee
Engine: 4.0L stroked to 4.6
With much respect nice rig and nice build I am ashamed to say you kick my ***** in the fab department. If you get a chance check out my jeep.
Though I need a little help in the brake department. You mentioned a 2000 dodge 2500 master cylinder but never said how it worked out. Please elaborate!!! Lol
Though I need a little help in the brake department. You mentioned a 2000 dodge 2500 master cylinder but never said how it worked out. Please elaborate!!! Lol
Thread Starter
Junior Member
Joined: Oct 2015
Posts: 36
Likes: 0
From: Paso Robles Ca
Year: 1996
Model: Cherokee
With much respect nice rig and nice build I am ashamed to say you kick my ***** in the fab department. If you get a chance check out my jeep.
Though I need a little help in the brake department. You mentioned a 2000 dodge 2500 master cylinder but never said how it worked out. Please elaborate!!! Lol
Though I need a little help in the brake department. You mentioned a 2000 dodge 2500 master cylinder but never said how it worked out. Please elaborate!!! Lol
 .
.
Junior Member
Joined: Mar 2015
Posts: 55
Likes: 0
From: North Carolina
Year: 1990
Model: Cherokee
Engine: 4.0L stroked to 4.6
Possible the brake booster has a leak
I was interested in the master cylinder was it a direct bolt it or did it require some mods if so what were the mods?
Thank You
Again much respect killer jeep!!!
I was interested in the master cylinder was it a direct bolt it or did it require some mods if so what were the mods?
Thank You
Again much respect killer jeep!!!
Thread Starter
Junior Member
Joined: Oct 2015
Posts: 36
Likes: 0
From: Paso Robles Ca
Year: 1996
Model: Cherokee
The master cylinder was mostly a direct bolt on. The bracket that holds the proportioning valve didn't line up perfectly so I could only get one of the two bolts back on. It seemed sturdy enough so I didn't mess with it. (Just to clarify you have to use one from a 2000 Dodge 2500 van NOT a truck. They are different dimensions and I'm not sure if the truck one fits).
Thread Starter
Junior Member
Joined: Oct 2015
Posts: 36
Likes: 0
From: Paso Robles Ca
Year: 1996
Model: Cherokee
 I'll catch up on sleep eventually!