
88 Comanche

Thread Starter
Junior Member
Joined: Nov 2012
Posts: 56
Likes: 0
From: Center of H$^^, CA
Year: 1988
Model: Comanche
Engine: AMC 150
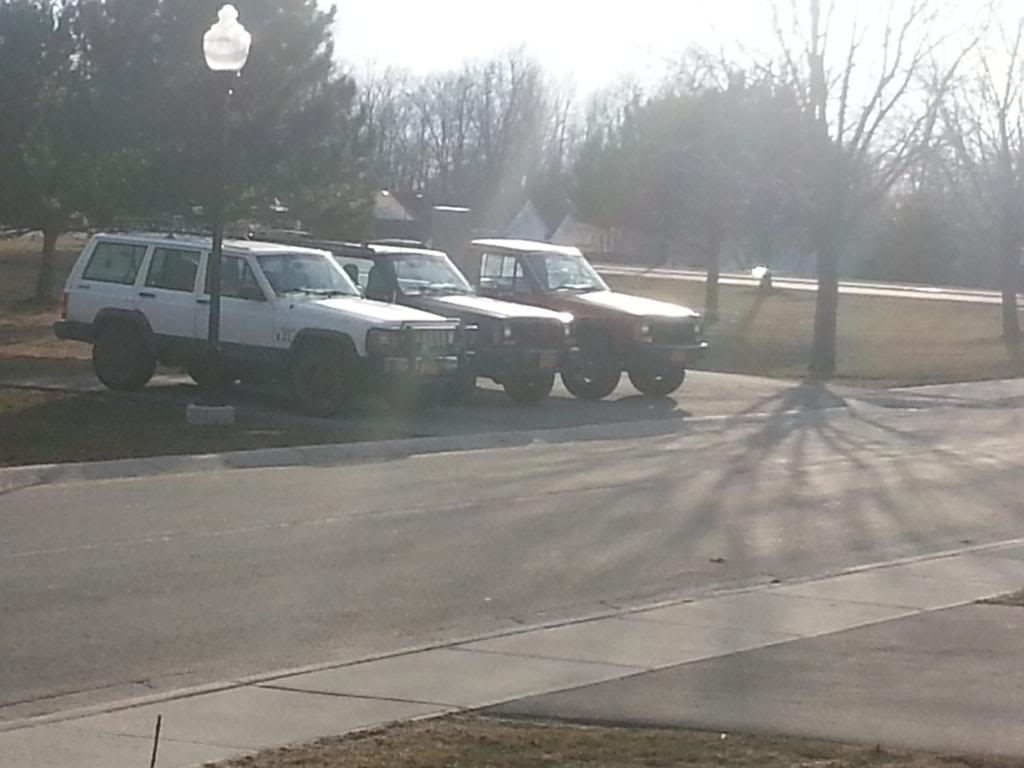
So RMoore and i are going to be starting this adventure into making something worth talking about out of this 88 comanche we found.
The Current Specs:
2.5l in poor condition
Aisin AX-4 solid shifting.
2wd dana35 unknown ratio
No A/C
Sun Roof!
It Claims to be a sport.
Most noticable issues to start:
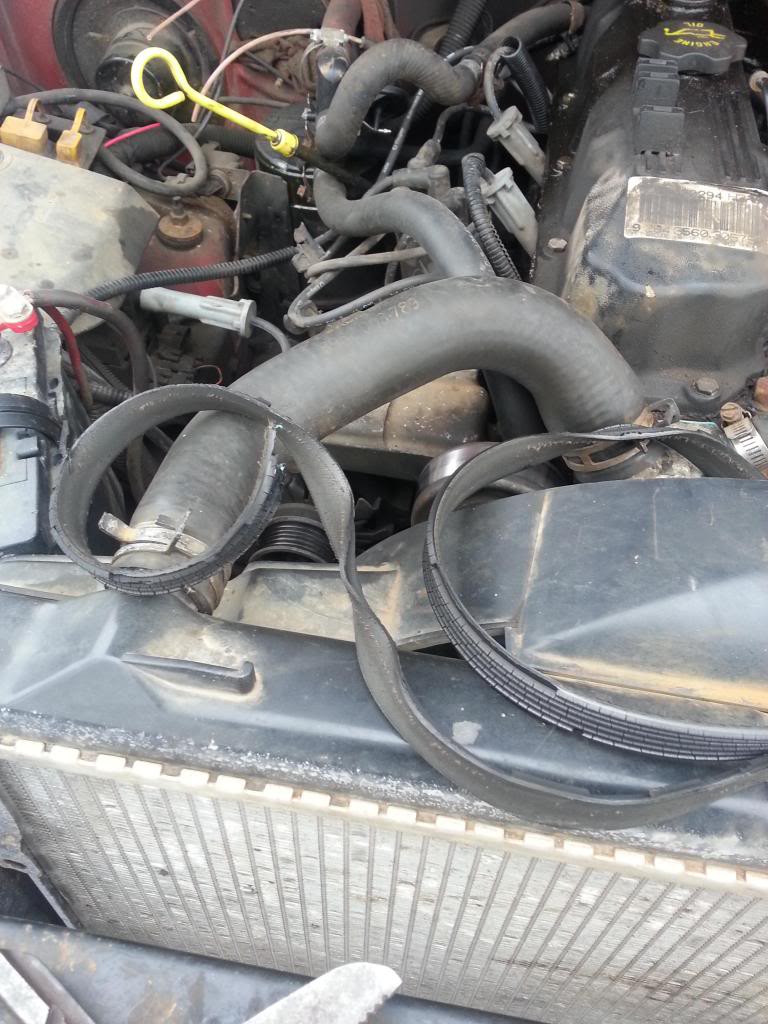
-The alternator bearing that rattles and recently seized.
-The pcv system is backwoods manufactured.
-Wrong valve cover.
-leaking rear and front mains.
-leaking by oil filter
-fuel contaminated oil
-O2 senor was cut off at the pigtail, dont know how it runs so well yet.
-won't start without depressing the gas pedal fully.
-front tires are at wear indicators.
-parking brake cables trashed
-coolant was very low, previous owner supplied us with a thermostat gasket.
-smashed front grille, no front clip damage.
-both sides of the box are badly dented, tailgate rusty slightly bent outward
-interior needs love.
-More to come
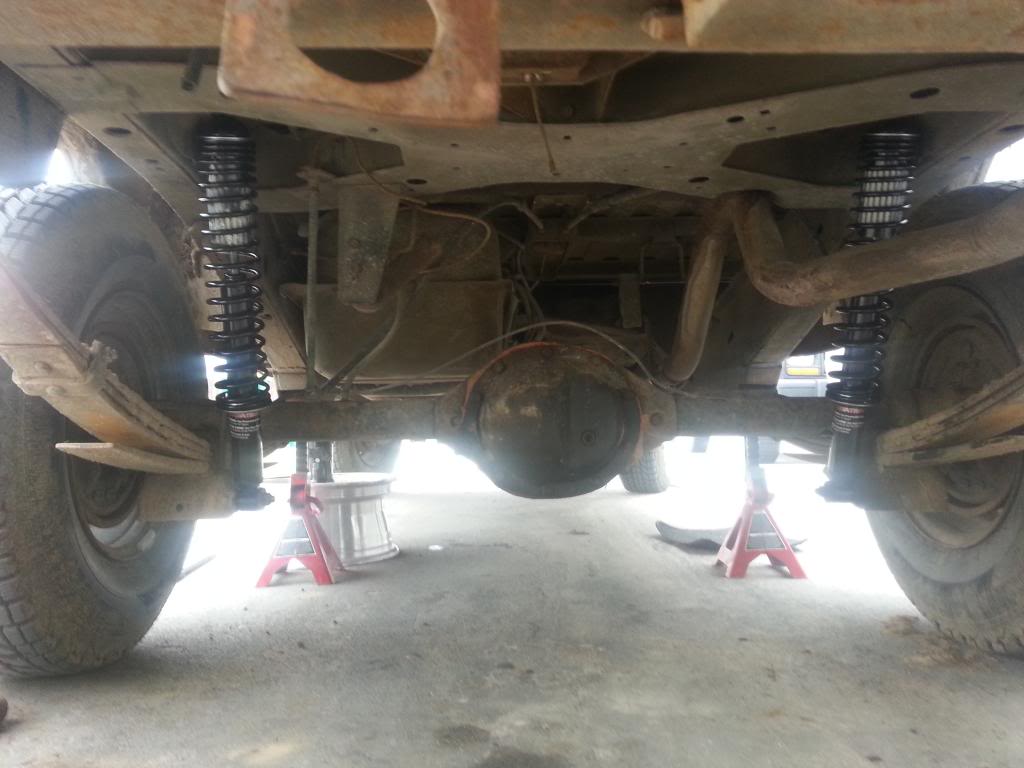
the most noticeable thing was how the previous owner jammed two coil springs between the axle and frame to level the rear. he forgot to extend the rear brake line but thats okay. he had the forethought to run some bailing wire between the springs so they would slide out into the tires.
I will get more pictures tonight, the jeep is at work were this happened.
that poor alternator bearing had enough. luckily the belt held together until i got it into my shop.
The Current Specs:
2.5l in poor condition
Aisin AX-4 solid shifting.
2wd dana35 unknown ratio
No A/C
Sun Roof!
It Claims to be a sport.
Most noticable issues to start:
-The alternator bearing that rattles and recently seized.
-The pcv system is backwoods manufactured.
-Wrong valve cover.
-leaking rear and front mains.
-leaking by oil filter
-fuel contaminated oil
-O2 senor was cut off at the pigtail, dont know how it runs so well yet.
-won't start without depressing the gas pedal fully.
-front tires are at wear indicators.
-parking brake cables trashed
-coolant was very low, previous owner supplied us with a thermostat gasket.
-smashed front grille, no front clip damage.
-both sides of the box are badly dented, tailgate rusty slightly bent outward
-interior needs love.
-More to come
the most noticeable thing was how the previous owner jammed two coil springs between the axle and frame to level the rear. he forgot to extend the rear brake line but thats okay. he had the forethought to run some bailing wire between the springs so they would slide out into the tires.
I will get more pictures tonight, the jeep is at work were this happened.
that poor alternator bearing had enough. luckily the belt held together until i got it into my shop.
Thread Starter
Junior Member
Joined: Nov 2012
Posts: 56
Likes: 0
From: Center of H$^^, CA
Year: 1988
Model: Comanche
Engine: AMC 150
So today it was just sunny enough to do a little work on the jeep. topped off the coolant, and went to change the oil. The oil was a watery black and contaminated with fuel. went to remove the drain plug only to find that the custom exhaust was formed snug up to the drain plug. So with some flexing managed to get the drain plug halfway out, and a decent dribble going. I suspect the oil contains metal particles which are now staying in the oil pan sadly.
so i flushed a quart and a half through the engine so i could get as much contamination out as my budget will allow right now.
with all the combined problems i feel that the engine swap i want to do is the most plausible route here. everything that touches this amc 150 is rigged or screwed.
So im curious which way i should go, 4.0l swap or sb chevy swap.
I want to keep a manual transmission either way. just not my ax-4
any input and experience would be much appreciated on this subject
Thread Starter
Junior Member
Joined: Nov 2012
Posts: 56
Likes: 0
From: Center of H$^^, CA
Year: 1988
Model: Comanche
Engine: AMC 150
Been a while, done a few things, this is a slow process.
- 4 new Firestone Winterforce 235/75R15XL 108S On a Matching set of jeep steels
- Replaced the front grill Assembly
- Flushed the sludge out of the engine
- Removed the coil springs that the previous owner had wedged between the axle and frame.
- New Sensa-Trac Load leveling coil-over shocks in the rear, originally meant for a full size GM. gave 2 inch lift and gave excellent ride quality
- New Sensa-Trac Shocks for the front
- Rear diff service with Lucas Stabilizer
I have some of the parts, and plan the following over the next few weeks.
-Lifetime alignment
-New Tailgate
-Wiring Harness modifications In Preparation for an engine swap
-Tube steel front bumper
-2" front lift to match the new lift in the rear
-Fullsize GM shackles from Napa Chassis
-318 Magnum with some machine work
- lots of painting and aesthetic work
This is the new Shocks
Welcome to Firestone
Just a little modification and presto, a new bumper

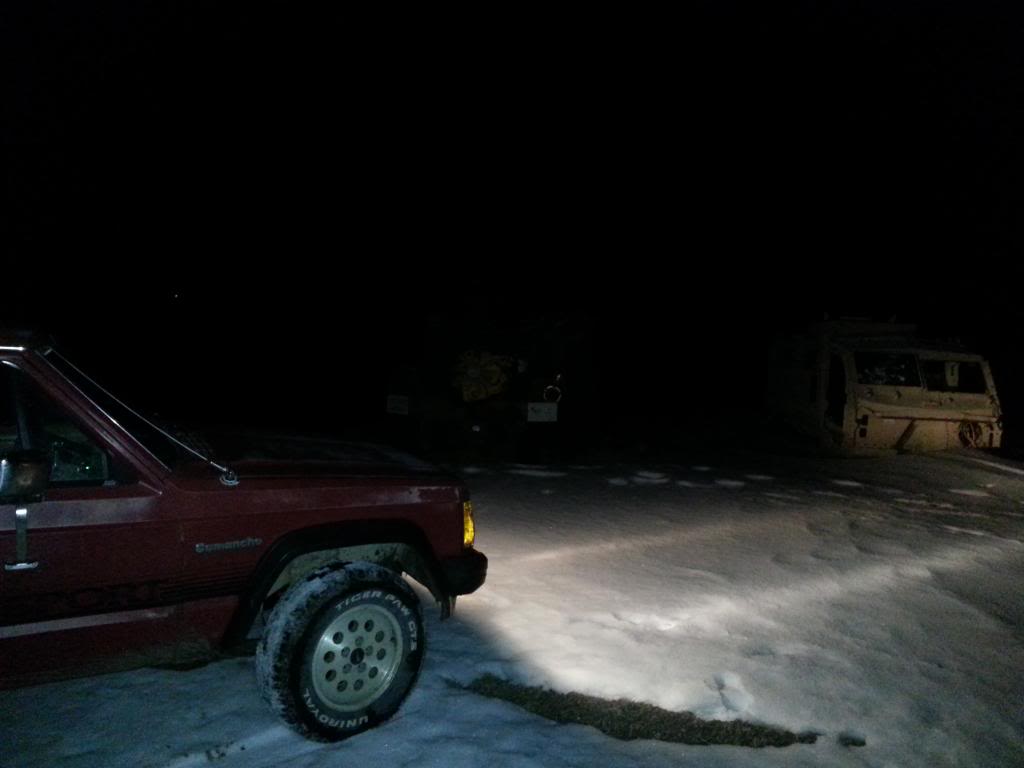
A little exploring in the comanche before the work
- 4 new Firestone Winterforce 235/75R15XL 108S On a Matching set of jeep steels
- Replaced the front grill Assembly
- Flushed the sludge out of the engine
- Removed the coil springs that the previous owner had wedged between the axle and frame.
- New Sensa-Trac Load leveling coil-over shocks in the rear, originally meant for a full size GM. gave 2 inch lift and gave excellent ride quality
- New Sensa-Trac Shocks for the front
- Rear diff service with Lucas Stabilizer
I have some of the parts, and plan the following over the next few weeks.
-Lifetime alignment
-New Tailgate
-Wiring Harness modifications In Preparation for an engine swap
-Tube steel front bumper
-2" front lift to match the new lift in the rear
-Fullsize GM shackles from Napa Chassis
-318 Magnum with some machine work
- lots of painting and aesthetic work
This is the new Shocks
Welcome to Firestone
Just a little modification and presto, a new bumper
A little exploring in the comanche before the work
Senior Member
Joined: Oct 2010
Posts: 562
Likes: 1
From: Pagosa Springs, Colorado
Year: 88-ish
Model: Cherokee
Engine: 4.0 I6
Just do a 4.0 swap. Its really not too hard in those. I had a 89 comanche in high school with that 2.5 in it. Sucker ran forever somehow but it was running super rough by the time my brother finally got around to working on it. He bought a rolled 93 xj on craigslist and pulled everything off of that and threw it in the mj.
Thread Starter
Junior Member
Joined: Nov 2012
Posts: 56
Likes: 0
From: Center of H$^^, CA
Year: 1988
Model: Comanche
Engine: AMC 150
Just do a 4.0 swap. Its really not too hard in those. I had a 89 comanche in high school with that 2.5 in it. Sucker ran forever somehow but it was running super rough by the time my brother finally got around to working on it. He bought a rolled 93 xj on craigslist and pulled everything off of that and threw it in the mj.
Trending Topics
Thread Starter
Junior Member
Joined: Nov 2012
Posts: 56
Likes: 0
From: Center of H$^^, CA
Year: 1988
Model: Comanche
Engine: AMC 150
CF Veteran
Joined: Jan 2009
Posts: 2,740
Likes: 0
Year: 87
Model: Cherokee
Engine: 4.0
It is the same amount of work to swap a v8 in as a4.0. In fact if you get a tbi v8 it is easier. Starter wire, Hei, fuel pump, and 13 volts to the comp that is keyed. Not that I would know.

CF Veteran
Joined: Aug 2012
Posts: 1,281
Likes: 2
From: Bentonville, AR
Year: 1990
Model: Cherokee
Engine: I6 4.0
Current plan is finish the rear brakes tomorrow.
Clean the interior and bedline it.
Do an XJ bucket seat swap.
Bedline the entire truck.
Get better XJ doors. (Tow mirrors are staying)
Then start hunting for a donor Renix era 4WD XJ or MJ.
Convert it to 4WD.
And of course zombie mods
Clean the interior and bedline it.
Do an XJ bucket seat swap.
Bedline the entire truck.
Get better XJ doors. (Tow mirrors are staying)
Then start hunting for a donor Renix era 4WD XJ or MJ.
Convert it to 4WD.
And of course zombie mods
Thread Starter
Junior Member
Joined: Nov 2012
Posts: 56
Likes: 0
From: Center of H$^^, CA
Year: 1988
Model: Comanche
Engine: AMC 150
Taking back over the project. Definetly going the survivalism route with this one. Hopefully one day it will have to be towed on a trailer to the park.
Recent additions:
V8 WJ front coil springs
Engine, Gearbox, rear end all running AMSOil and Lucas stabilizer.
New tailgate painted sand tan and roll on liner.
Truckbox mounted with 1/2-13 stainless 340 bolts.
Near future plans.
I have new rear leafs and lift shackles. Gonna add 3/4 inch energy suspension spacers up front
Investing in monstaliner.
Then it's time to fix up rust and paint in preperation to do the major mods.
Pictures tonight
Thread Starter
Junior Member
Joined: Nov 2012
Posts: 56
Likes: 0
From: Center of H$^^, CA
Year: 1988
Model: Comanche
Engine: AMC 150
Went ahead and spent the 40 bucks on the Fullsize gm lowering shackles. and spent about 30 more dollars on the new hardware to bolt up the new shackles on a set of unbroken leafs.
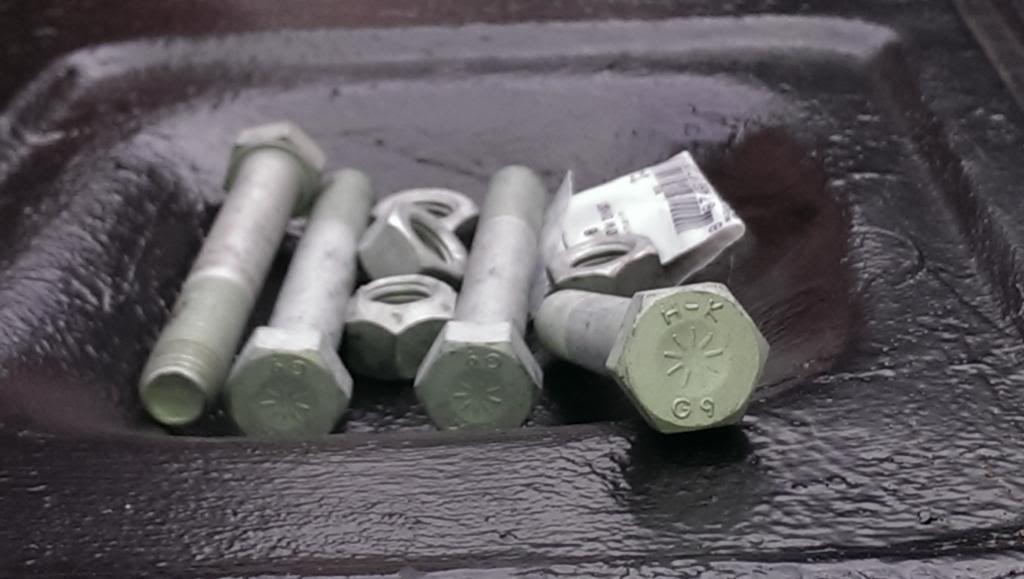
These are Holo-Krome Grade 9 9/16 x 4" bolts. the have the ecogaurd material that has been rated the best in corrosion resistance.
Though fastenal is a commercial bulk dealers, you can place orders in single units on grade 9 just expect to pay with a card.
I installed the shackle, it required me to use 3x 1/2" washers to make up the difference in width. i put two toward the inside. A 9/16s washer is large enough that the pin from the leafspring bushing only makes partial contact, the 1/2 inch washers are very tight on the bolt and gave maximum contact between bushing and shackle for torquing the fastner.
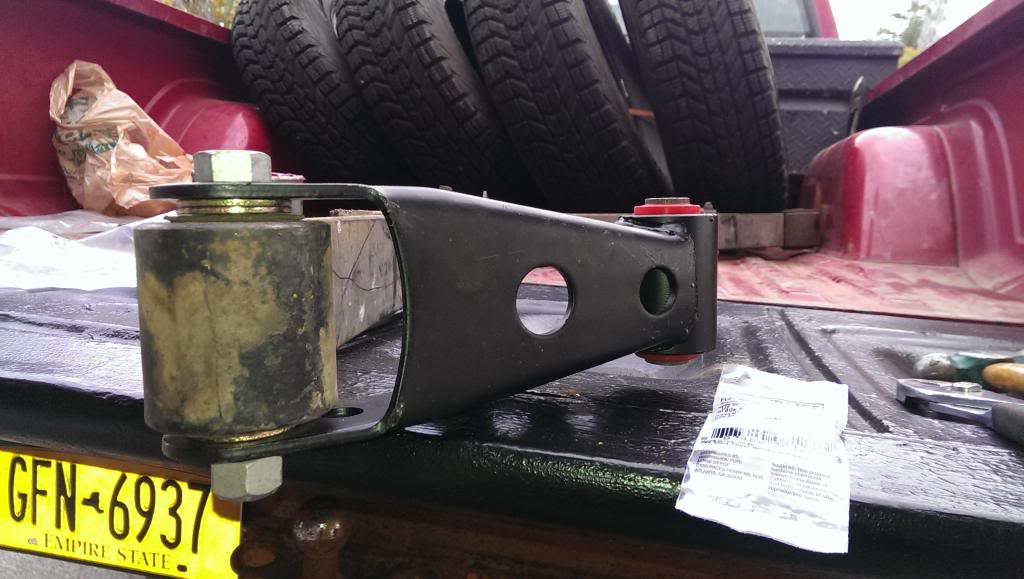
Heres a good look at the shackle in place you'll notice that the shackle bushing's pin extends out, this has to be trimmed or your shackle mount has to be stretched with force. Keep it cool while trimming as to not damage the bushing.
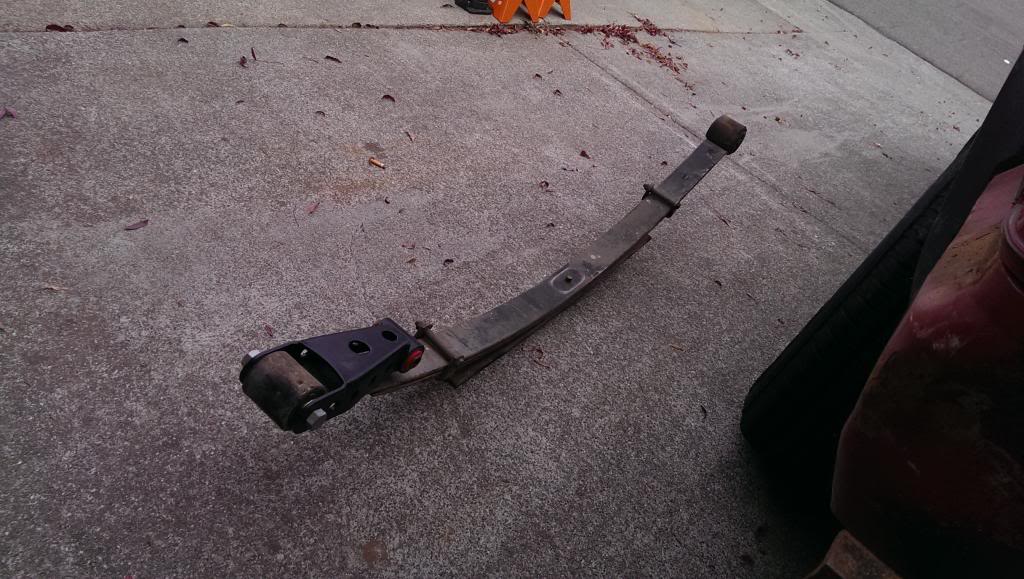
installation was the same as any other leaf install, forgot to take pictures of it while doing the actual install. EXTEND YOUR BRAKE LINES. i am using shocks from a ford f-250 and they are the only thing keeping my rear brake line from popping when my axle unloads.
over all though the shackles were over twice the length and achieved 2.5" lift over my previous coil-over helpers and broken leafs.
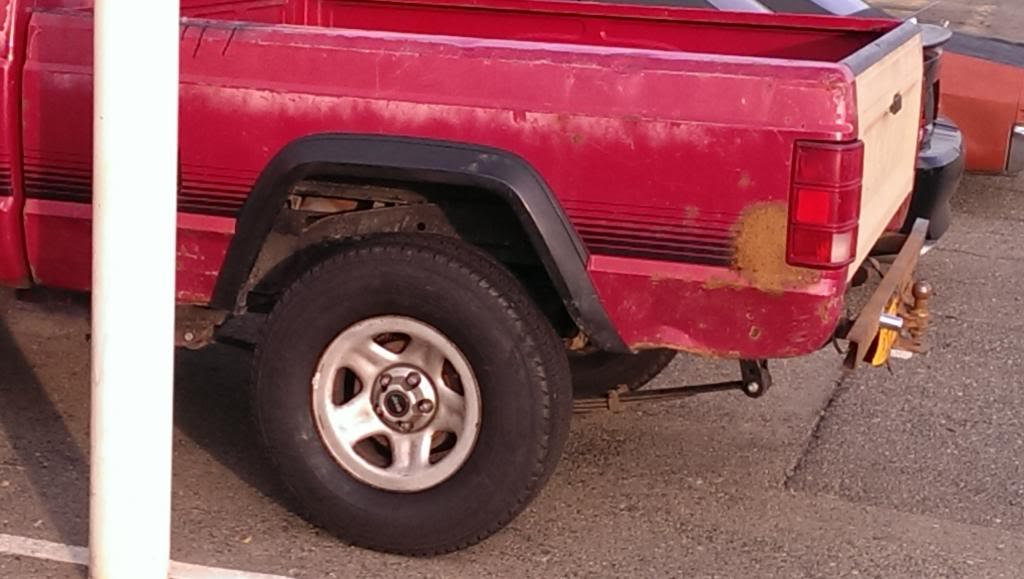
Edit: Those are 265-70-r15 Tires with 200 miles on them. for visual fitment. they measure as installed 29-7/8"
Details
i used 115 Ft-Lbs of torque on my u-bolts and 150 Ft-lbs of torque on the grade nine fastners.

the original equpiment fasters for the leafspring bushiongs and the shackle bushings are M14 metric 10.9. the reason i used a 9/16 grade 9 is tighter clearances and strength. plus eco-guard is very high corrosion resistance.
These are Holo-Krome Grade 9 9/16 x 4" bolts. the have the ecogaurd material that has been rated the best in corrosion resistance.
Though fastenal is a commercial bulk dealers, you can place orders in single units on grade 9 just expect to pay with a card.
I installed the shackle, it required me to use 3x 1/2" washers to make up the difference in width. i put two toward the inside. A 9/16s washer is large enough that the pin from the leafspring bushing only makes partial contact, the 1/2 inch washers are very tight on the bolt and gave maximum contact between bushing and shackle for torquing the fastner.
Heres a good look at the shackle in place you'll notice that the shackle bushing's pin extends out, this has to be trimmed or your shackle mount has to be stretched with force. Keep it cool while trimming as to not damage the bushing.
installation was the same as any other leaf install, forgot to take pictures of it while doing the actual install. EXTEND YOUR BRAKE LINES. i am using shocks from a ford f-250 and they are the only thing keeping my rear brake line from popping when my axle unloads.
over all though the shackles were over twice the length and achieved 2.5" lift over my previous coil-over helpers and broken leafs.
Edit: Those are 265-70-r15 Tires with 200 miles on them. for visual fitment. they measure as installed 29-7/8"
Details
i used 115 Ft-Lbs of torque on my u-bolts and 150 Ft-lbs of torque on the grade nine fastners.
the original equpiment fasters for the leafspring bushiongs and the shackle bushings are M14 metric 10.9. the reason i used a 9/16 grade 9 is tighter clearances and strength. plus eco-guard is very high corrosion resistance.
Last edited by IdleSerivice; Dec 1, 2013 at 01:06 PM.


