When you click on links to various merchants on this site and make a purchase, this can result in this site earning a commission. Affiliate programs and affiliations include, but are not limited to, the eBay Partner Network.
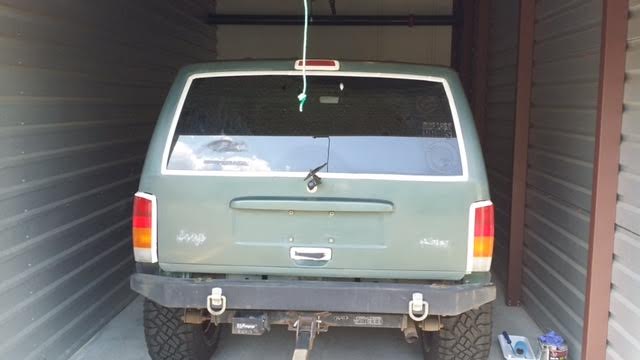
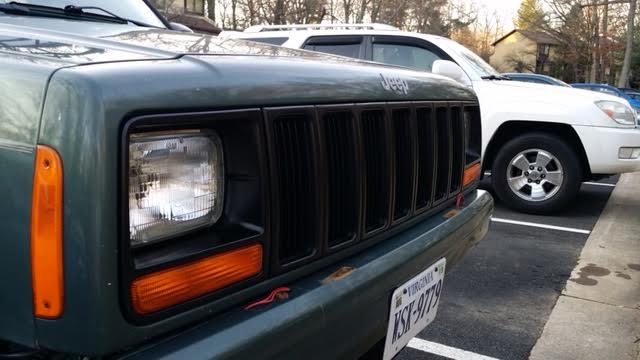
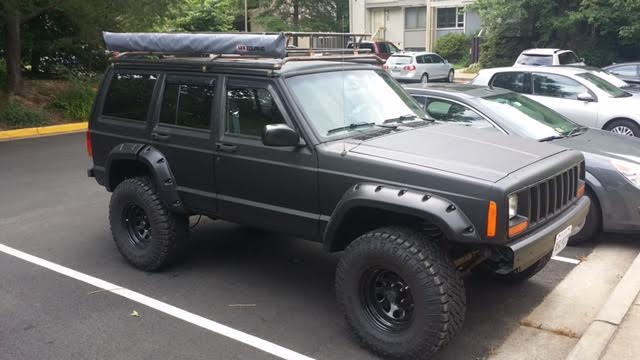
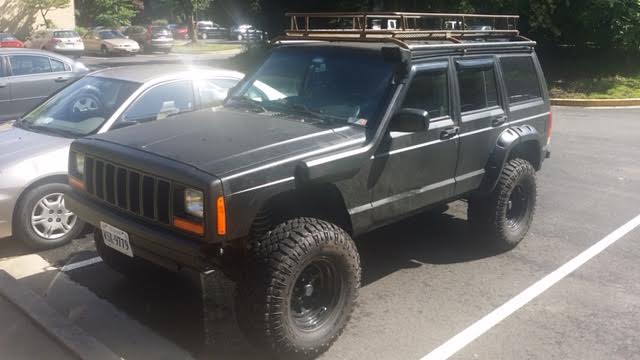
OK so here goes...I bought this jeep in 2013 from a craigslist ad:
I had owned a 96 XJ previously but it was stock and I didn't know much about all the research that would go into modifying anything. The 2000 XJ I purchased was on a 4.5" Rubicon Express short arm lift kit with rear shackles. From a distance this jeep was perfect. Already lifted, had a roof rack, trimmed fenders, and it just looked awesome. Little did I know that it would take me about 3 years of restoration to get it into a usable state! It had rusted floor boards that weren't disclosed, sagging roof liner that was temporarily sprayed to stick when I test drove it, a tack-welded SODA can covering an exhaust leak (like wtf??), a CRACKED front coil spring (wasn't seen until it was replaced because it was on the bottom), temporary AC charge to hide the fact that it had a leaking evap behind the dash, completely destroyed shocks, ball joints, wheel bearings, brakes, all 4 tires were dry rotted...the list actually goes on . Some of this is because I didn't know what to look for when buying a jeep, and the other piece is that the previous owner is a true POS (karma is a B!!!).
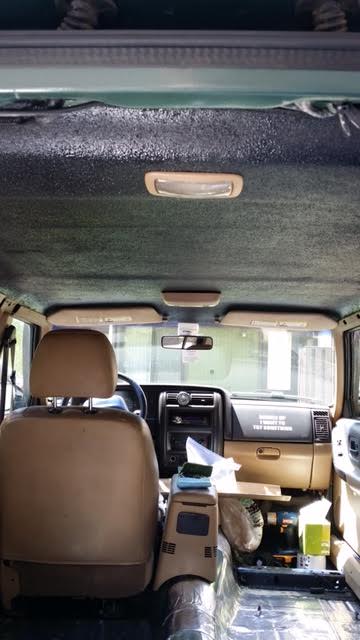
So let's get to the build already. Over the last 3.5 years of ownership, 3 of those years were me restoring this jeep. I didn't know a lot so I started simple. The sagging roof was one of the first things I fixed. I completely removed all the trim and pulled the headliner. After realizing that it was more of an arts and craft project to buy fabric and glue, I decided to use Herculiner and just paint it directly to the fiberglass after I removed all the glue. The end product was great and 3 years later it has held up perfectly. I decided to go this route because I am an avid mountain biker and figured I might as well make the headliner not something that will get snagged and rip again. The only downside is scraping your knuckles on this stuff!
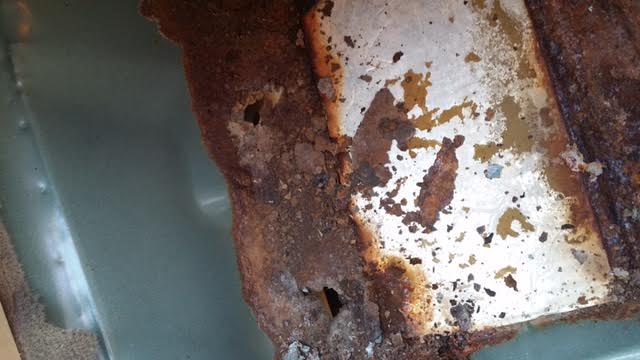
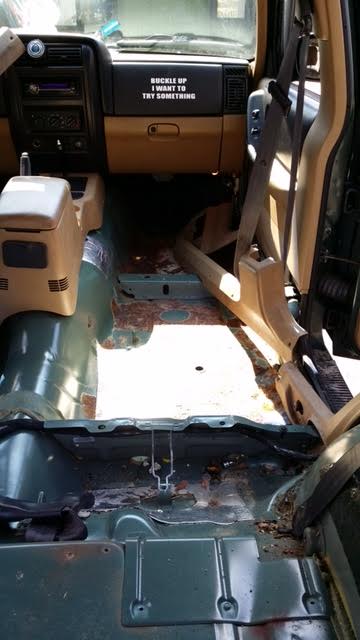
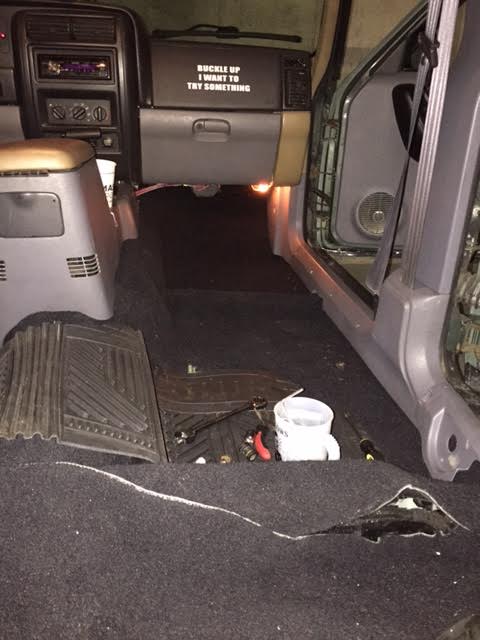
The next thing I decided to go after was the rotted floorboards. Because the carpet needed to be thrown out anyways, I pulled it up to see what damage was really under there. Once I realized I had a leak and saw the holes from underneath the jeep, I wasn't really going to be surprised by what I saw. Oh but I was..
I don't have many photos of this, but the floors were so bad that you could easily stomp your foot through if you wanted. I took it to a local shop and had them weld the floors up for me. They did an awful job and I ended up resealing the underneath myself with POR 15 and a water sealant.
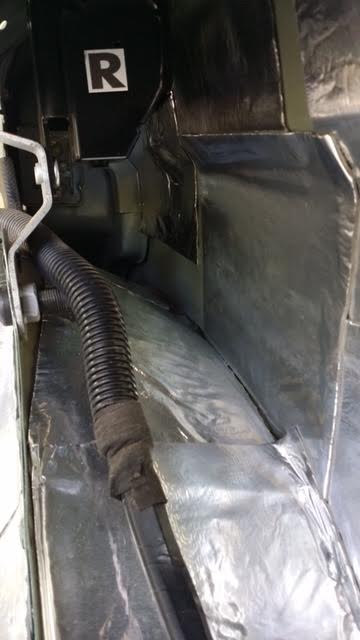
Because of my anxiety already developing from owning a rusting jeep, I decided that I wanted to waterproof my floors, while simultaneously trying to quiet the cabin from as much road noise as this box on wheels will allow. I went with a Dynamat alternative known as Fat Mat for my sound insulation and Herculiner as my water proof paint.
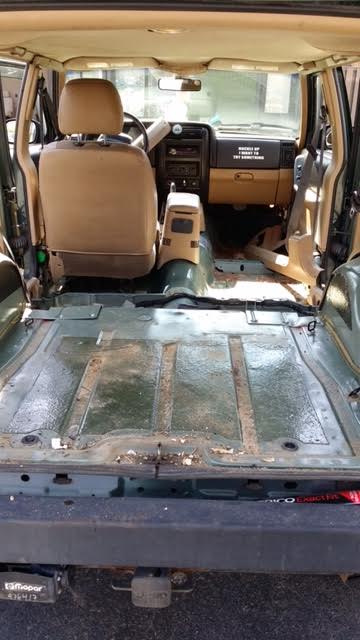
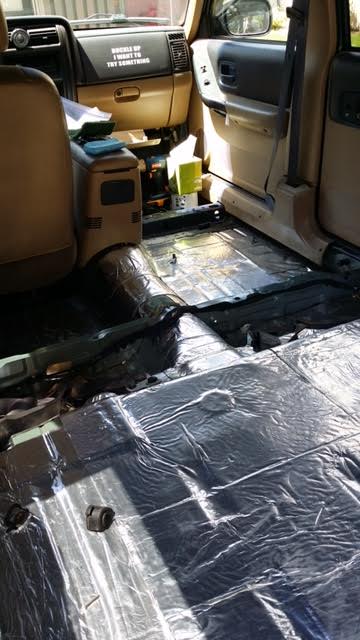
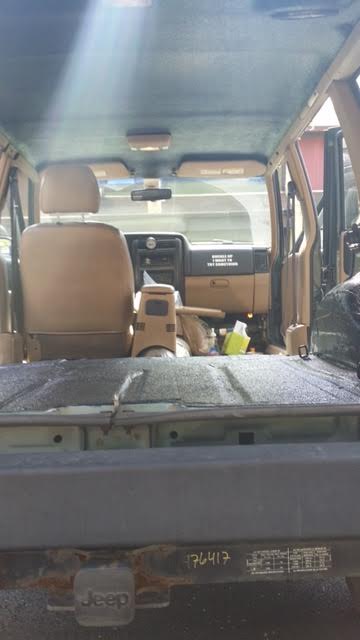
The basic process is to completely remove your interior, which is actually easier than it sounds, vacuum everything perfectly, and then use a metal cleaner to completely remove all grease, carpet fibers, etc that has been under there for the last 15 or so years. This process took me a few days (literally) because I knew without the proper adhesion I would be redoing this again in the near future. I don't remember exactly which cleaner I used but I believe it was some type of fast evaporating Mineral cleaner that you can get at home depot.
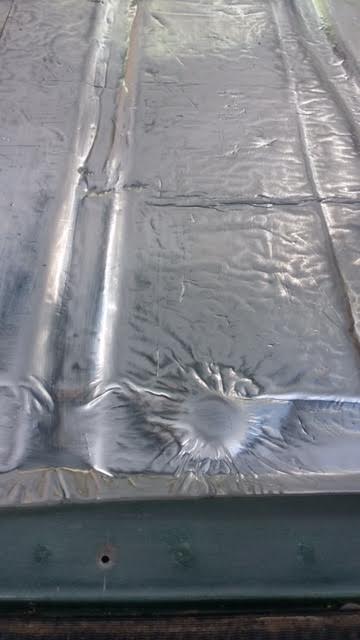
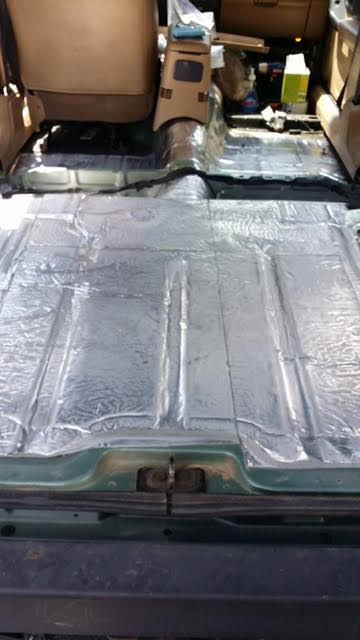
The next step is to start laying out your floor coverage. Fat Mat comes in a rolled up cylindrical tube so it's kind of a PITA at first. I ended up cutting a lot of 2'x2' squares to get started. You'll notice that from the factory there is some sound deadening material already. I chose not to remove this as I read it was a very time consuming and pointless activity. I simply etched the surface of the existing sound deadening since it had a metallic finish for the new stuff to stick to more easily. I also decided to cover the entire floor. A lot of places have mixed reviews on whether it truly makes a difference but since I had so much of this fat mat I figured why not. Besides, the other purpose was to waterproof my floor so I didn't want any gaps.
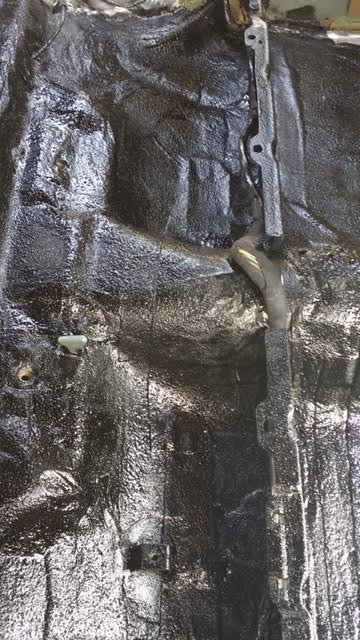
Fat Mat has a metallic layer on top. After talking with the company, they said a light sanding of this surface would not make a difference. I did this because the Herculiner calls for an etched surface in order to properly adhere to it. You'll see in some of my photos above that the surface seems dull and that is because I had already started sanding it. I used the Brillo Pad-type sand paper that came with the Herculiner kit and went to town sanding everything I could get my hands on. Then I followed the easy instructions and started rolling the Herculiner down.
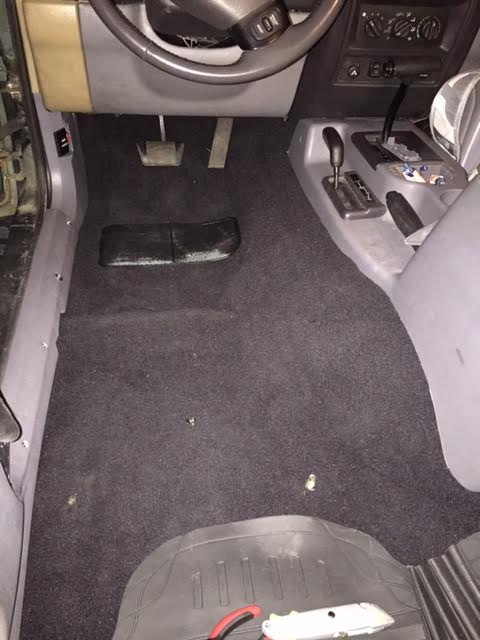
I will admit that this stuff smells like lung cancer. I ended up buying a basic air mask from home depot immediately because it was that strong. And yes, I was doing this literally in a parking lot in the most open space possible and it didn't make a difference. In fact, my car smelled like tar for a good couple of days. Side note for those interested, my car has 100% zero odor now and you'd never know it was in there. After a couple of weeks in the summer, I started to realize that the transmission tunnel heat and the pressure of my feet was making the fat mat slightly move under my gas and brake pedals. This isn't much of a surprise in hindsight. I decided to throw some rubber floor mats and the problem was solved (dispersion of pressure maybe?).
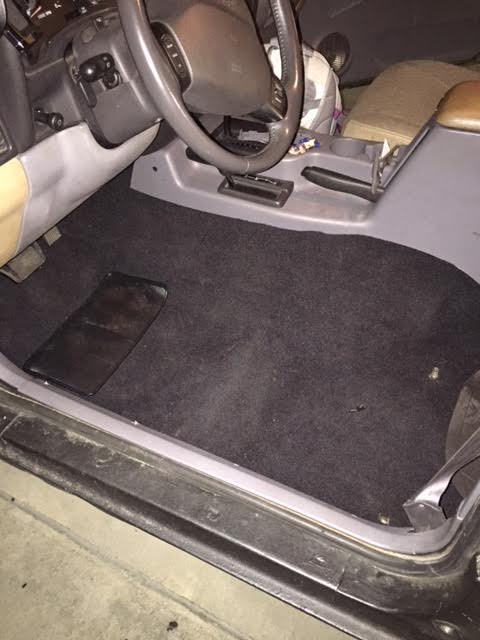
Not long after that I realized that the summer time heat and the hot XJ weren't going to get along. Road noise was considerably louder without the carpet and for my purposes it wasn't road worthy. I don't care how many people say having carpet is stupid, I prefer to have a comfortable ride as much as possible. Unless your jeep is a true trail rig, my opinion is don't remove your carpet. I decided to purchase a complete front and rear carpet kit for the interior.
This job took my father and I about 2 full days of maneuvering, cutting, more cutting, cursing, walking away, and finishing it a week later. I'm not sure if the company sent me the carpet for the older XJs or what, but this was quite literally the most annoying thing I've had to do. The end product did turn out pretty great. As you can see, I am bouncing around in my build thread a little bit. I now have the black and gray interior which is why I went with the black carpet. The two end pieces of the dash will be replaced when the AC is fixed. At this point, I now have fat mat, herculiner, and carpet with the additional mass backing for sound dampening. Everything I have done, the carpet made the most improvement over sound inside the cabin.
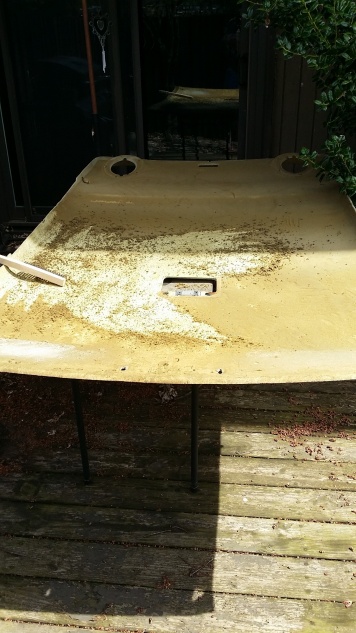
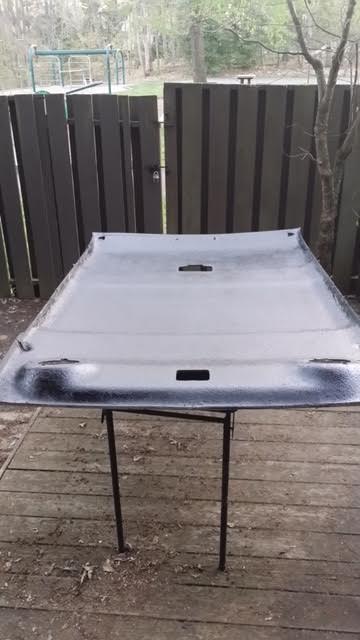
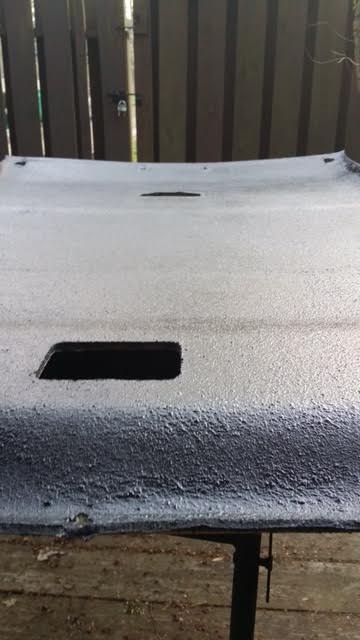
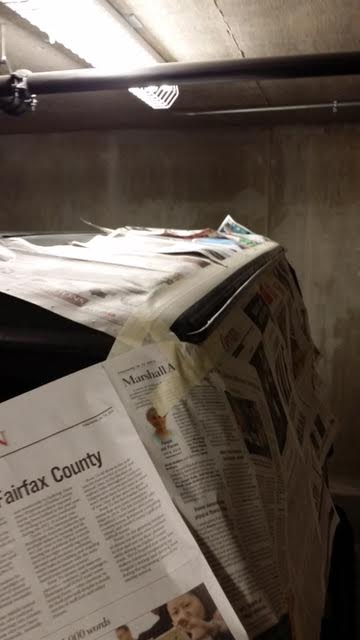
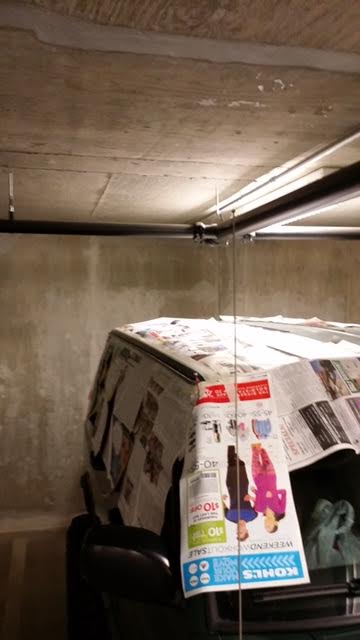
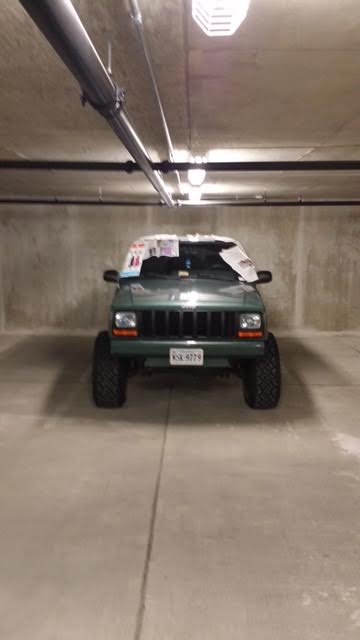
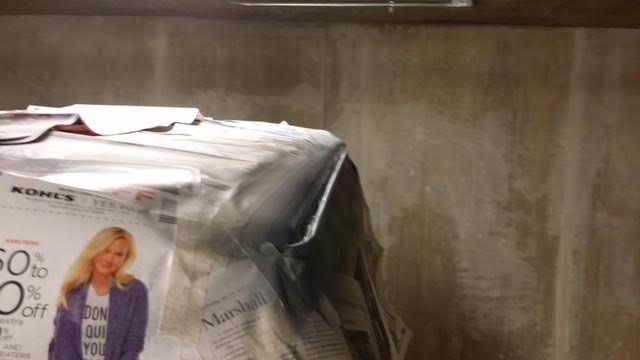
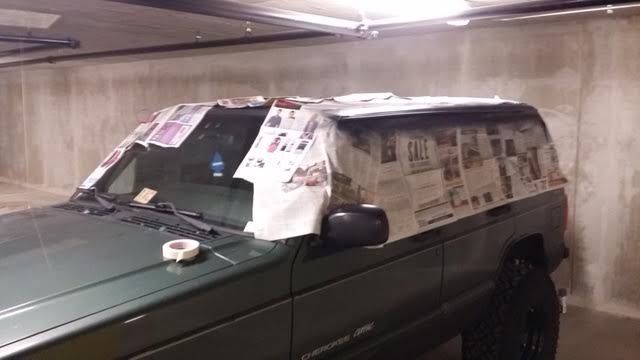
Somewhere along the line I realized that my rain rails were rusting really bad. I decided to clean this up by sanding the rails and then laying out pinstripes down the roof for my paint. This job turned out fantastic. I laid down tape for the area I wanted to paint, added newspaper on top to prevent and overspray, and then taped down the newspaper.
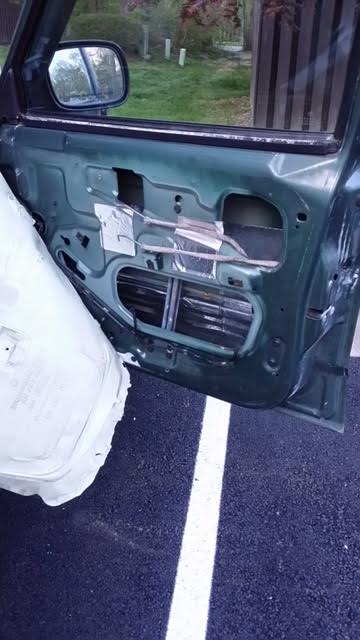
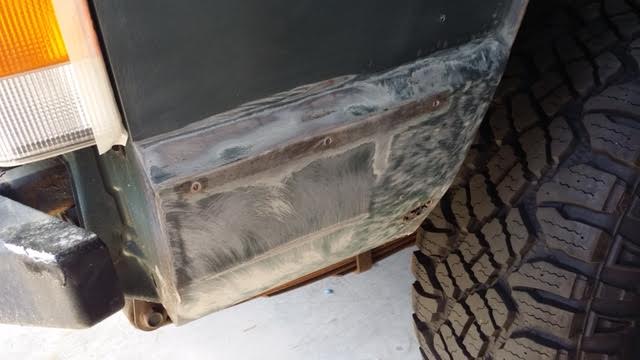
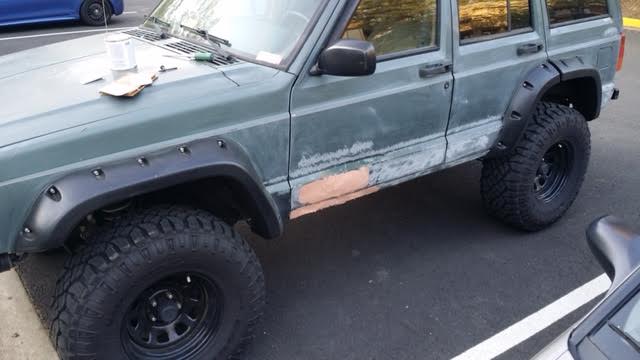
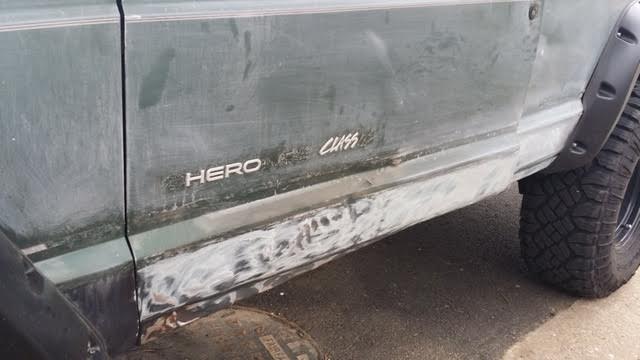
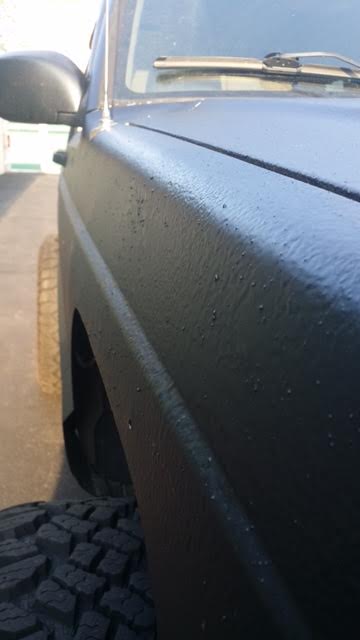
Since I like to duplicate my efforts so much apparently, I then decided (about 12 months later) that I liked the no fuss coating that herculiner created, but I didn't like the rubber particles that were contained in the paint. I wanted to go with a Line-x exterior but it was really expensive (like 50% of the cost of the jeep). After much research I ended up going with Monstaliner (I believe magnetpaints is a vendor on here). I did this because since I am not a master painter, nor a person with a paint booth or any painting experience other than house walls, but I could use a roller . I ordered the paint and went to work on prepping my jeep while it was shipping. I had to completely hand sand the exterior, remove my fender flares, remove all Jeep decals, all of the lower body rubber moulding, bondo my driver's door from a minor dent, etc. Fast foward about 2 days and I was now done with all of the taping of window trim, door trim, headlights, tail lights, and so forth. This is crucial because monstaliner is pretty hard to get off once it touches something you don't want painted.
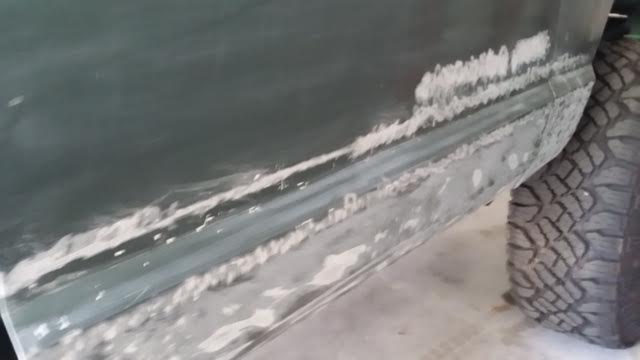
This was a lot of work but I am definitely glad I did it. Not long after that, I realized that there seemed to be hard particles that had formed in the paint (see passenger's side close-up picture). I contacted magnet paints and discussed the issue with them. They sent me a complete 2 new gallons with all new prep materials for free! Now granted I wasn't happy I would have to completely repaint my jeep, but it was still worth it. I now have 4 coats of magnet paint on the jeep which in my opinion was necessary to completely hide the underlying green paint. If you have something more drastic like white to black I would recommend doing this as well (2 kits worth of paint basically).
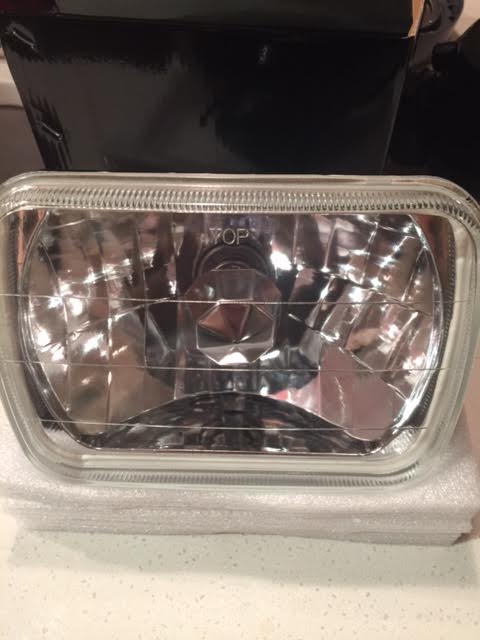
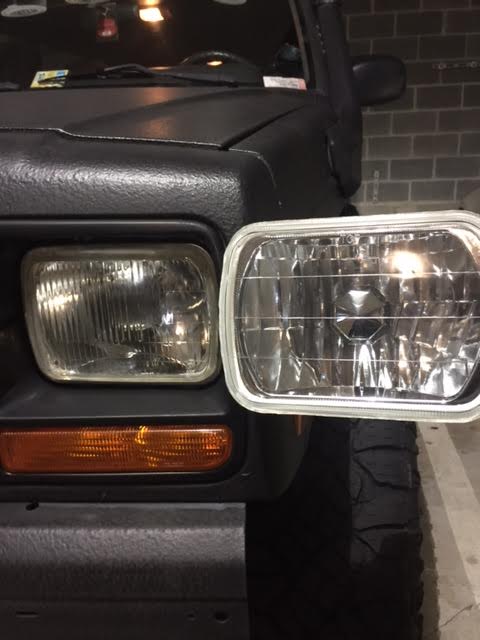
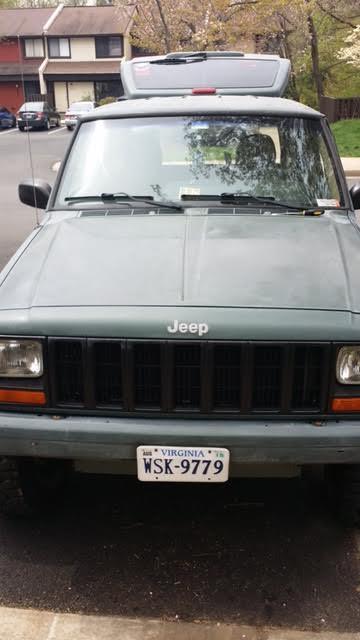
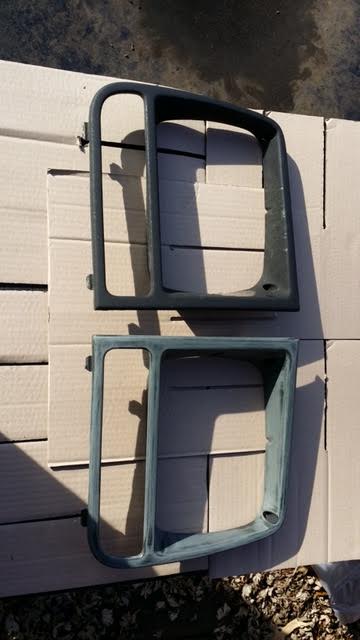
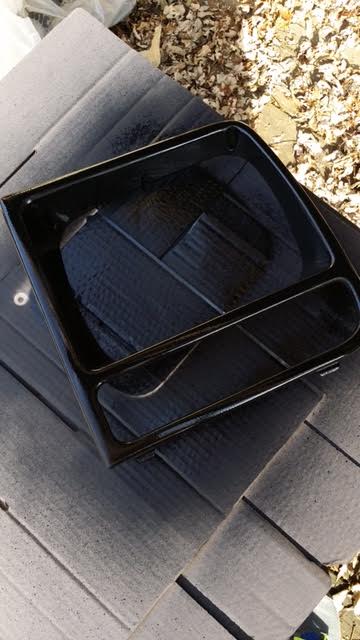
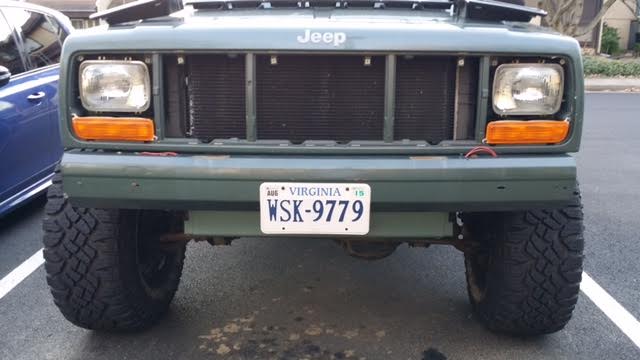
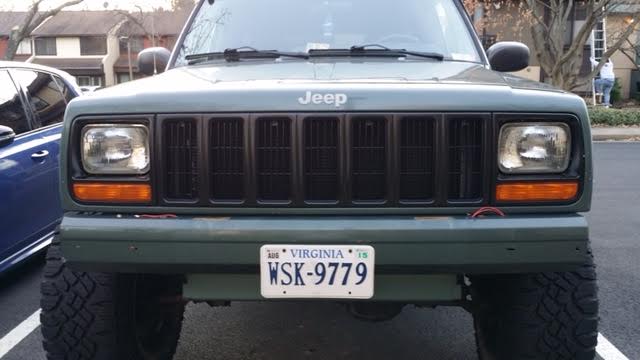
I also redid my headlights with the upgraded wiring harness, clear euro headlights, and brighter bulbs, along with repainting my headlight surroundings and entire grill prior to exterior paint. Some might want to know why I'm doing "superficial" upgrades to my jeep and where is the overland build. Well, this is my complete build and I wanted to restore the jeep. So be patient.
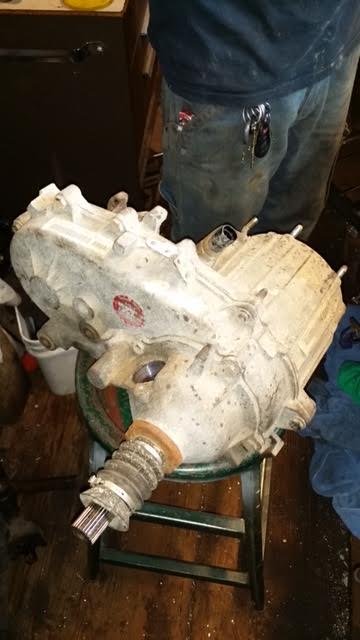
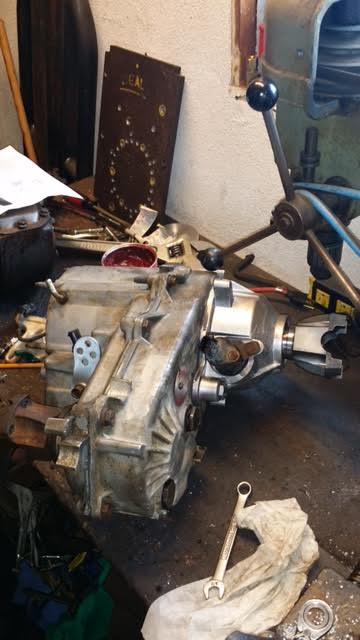
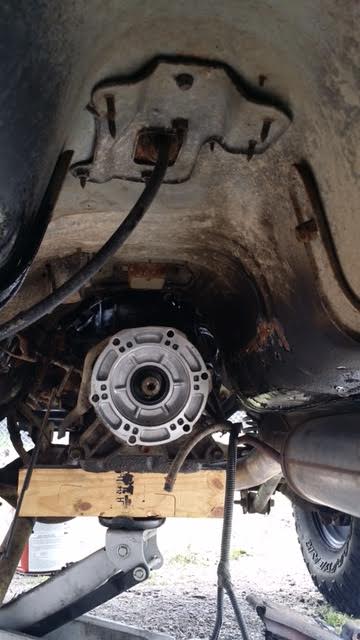
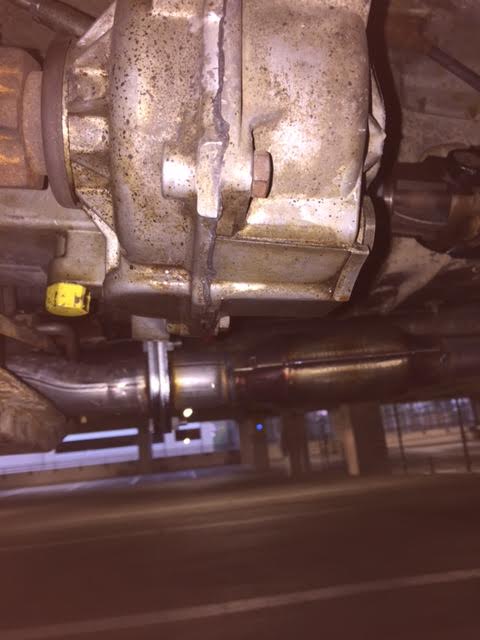
Swapped out NP 242 with 231 T-case, SYE kit, and all new Boostwerks linkages:
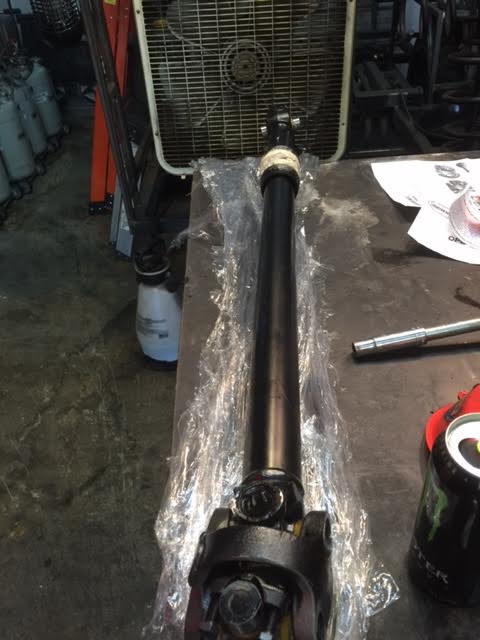
Put in new Tom Woods front and rear drive shafts:
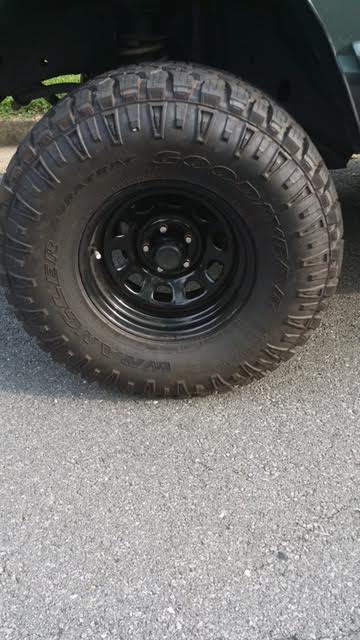
Bought new 33x12.50r15 Goodyear Duratrac's which are GREAT. A note on these, they say 33 but they measure 33.1" at 33 PSI, so they are slightly exaggerating by my books:
Installed a new complete exhaust system (thank you rock auto for the great deal). I don't have many pictures of this install but I did it in my parking lot without even putting the jeep on jack stands. Took me about 6 hours. I mostly did this because what was on there was too loud and on the highway it droned like an MF'er.
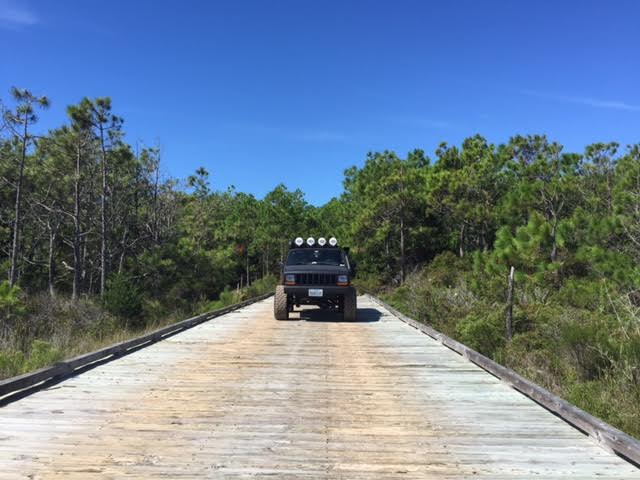
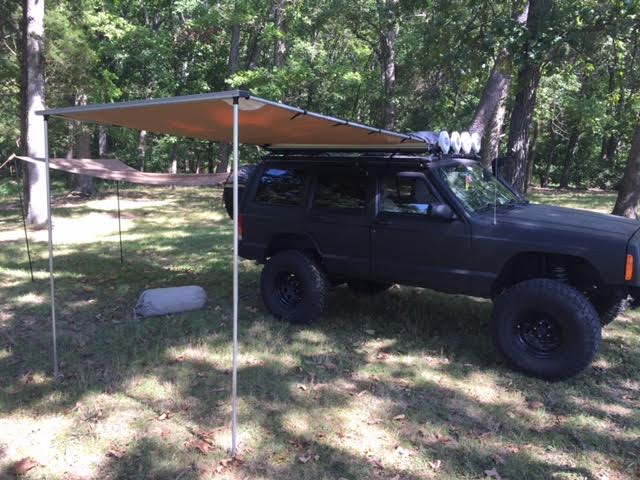
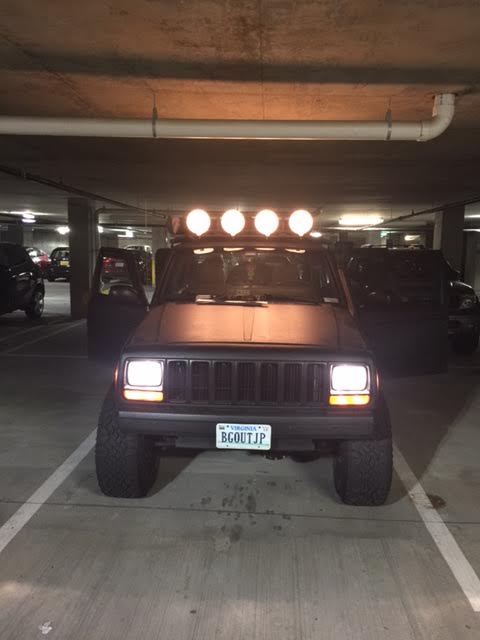
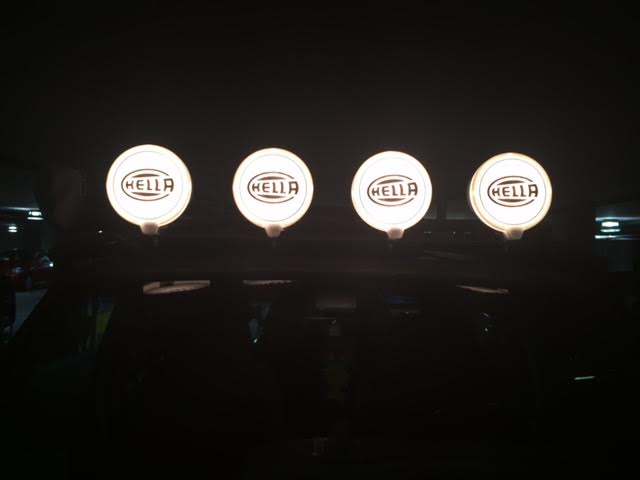
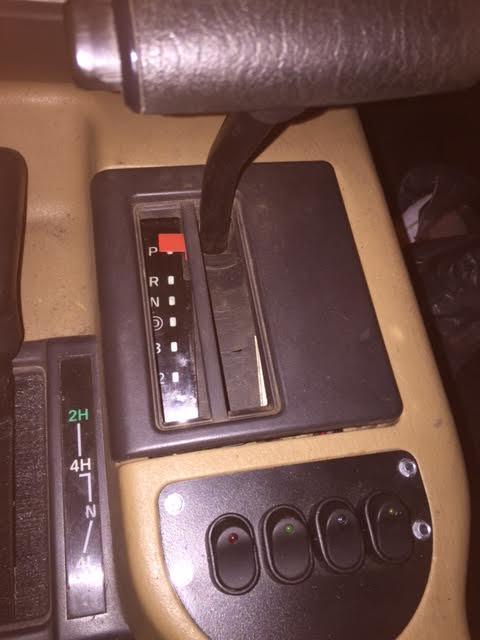
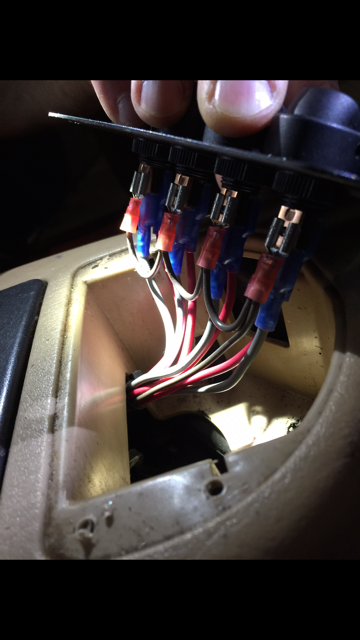
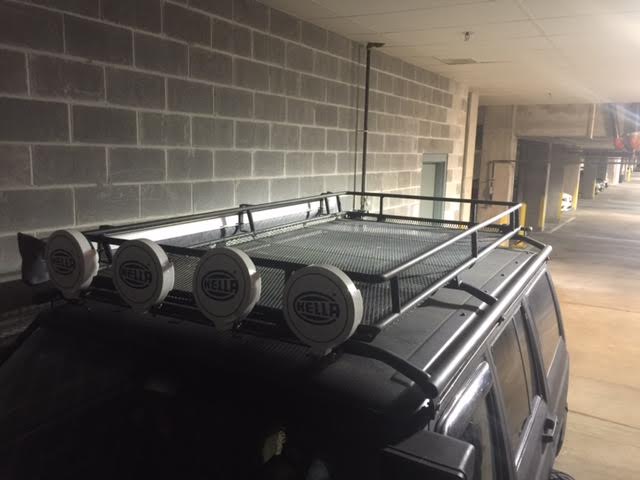
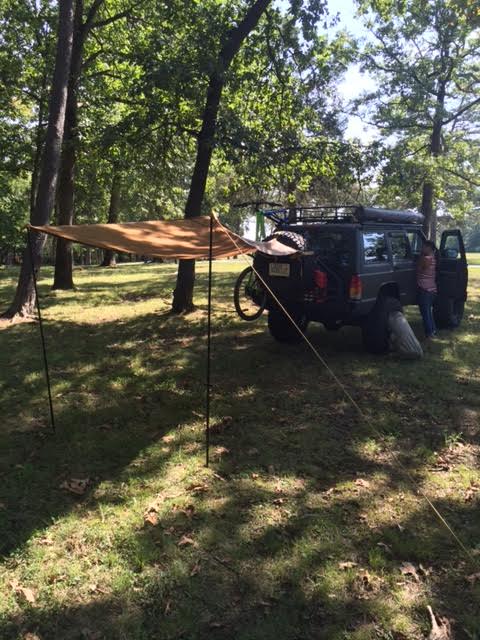
Now comes to part of the build which has been a test of my patience and desire to build an overland rig on an XJ platform. I decided to use my roof rack as my main overland accessory instead of doing the whole roof top tent system. I went this route since I already had the roof rack, didn't want to spend $1500 on a roof rack that would make my COG even worse, and for other reasons that you'll see below. I stripped the paint completely by hand using airplane paint remover, had a local welder put in a basket to the cage since it didn't have one for some reason, and welded in some brackets to have my ARB awning. I also ordered some JCR roof rack brackets, cut to size, and welded to track to ensure it was properly mounted. Then I had 4 HELLA light tabs mounted to the front and rain wires inside to a 4 panel switch. Last step was painting.
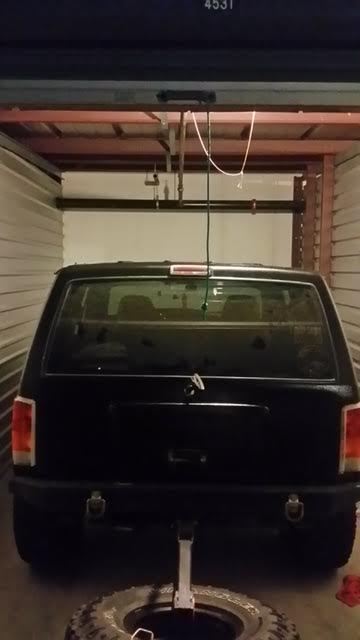
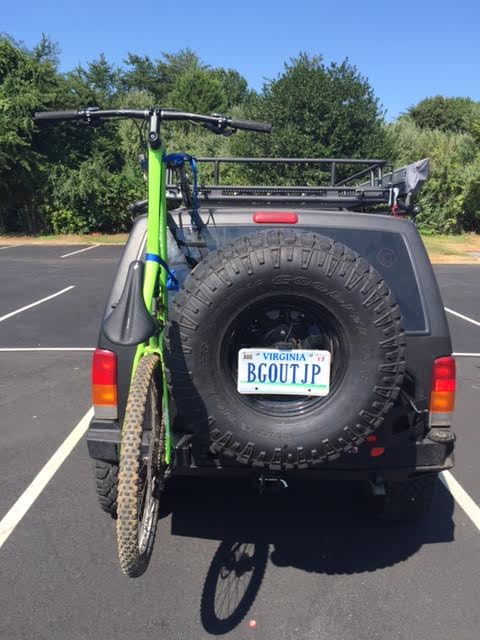
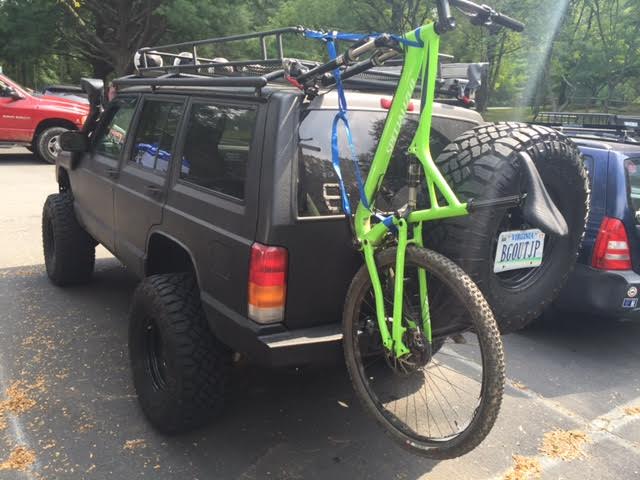
I also mentioned I'm an avid mountain biker so check out what I had custom fabbed for me :-). These are truck bed fork mounts that you can buy at any bike store. I then bought a Thule adapter for bikes with thru axles. This gave me another 3-4" of clearance from the any of the bike components touching the rear tail gate. When strapped down there is no lateral movement because it rests against the rear tire as well! SAWEEEET.
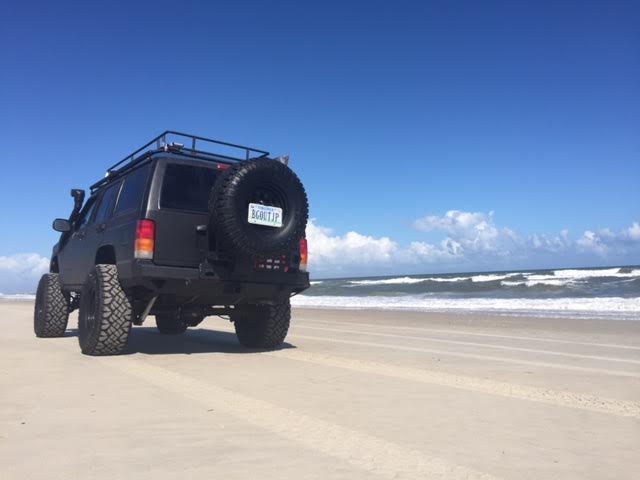
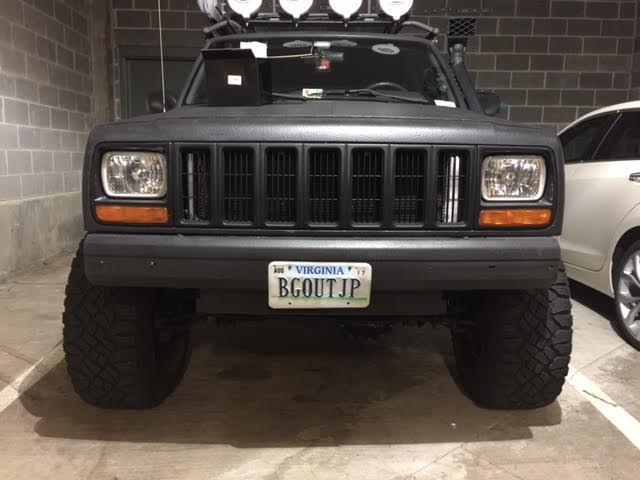
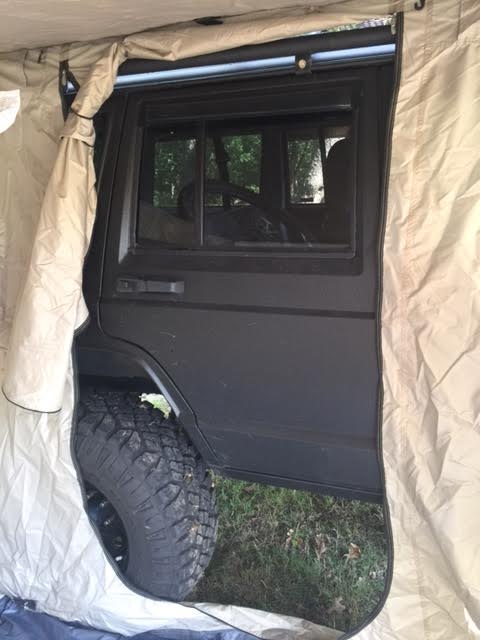
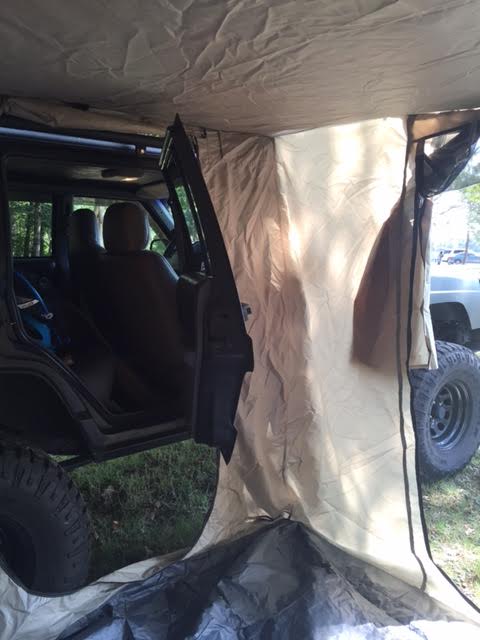
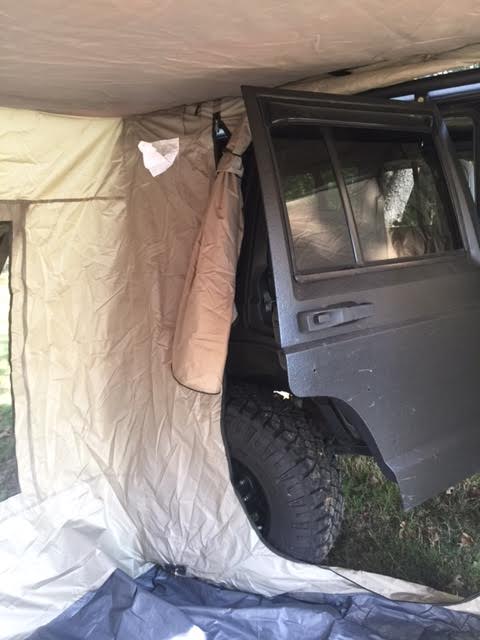
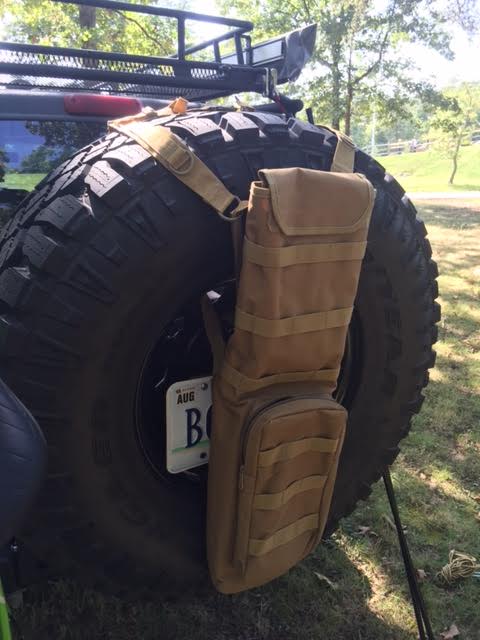
One of the other reasons I went with the roof rack build is because as you can see from my new tags "BGOUTJP", I wanted this thing to be a true bug out jeep. Having to store a RTT somewhere inside my house and mount it when I went camping defeated that purpose, not to mention my condo complex's garage is only 7' which I'm rapidly approaching. That being said, I also have the ARB tent attachment that stays in my jeep at all times in case zombies come.
The driver's side of the rack is being completed right now. I have another ARB awning and ARB mosquito net getting welded up. These awnings are incredibly durable and can be deployed with tent attachment in less than 5 minutes easily. I also have the Road Shower 3 on pre-order which will be welded between the roof rack and the new awning on the driver's side. A lot of true overlanders will hate on my high water storage option, but the XJ has limited interior room for things like this. With an ARB fridge, onboard air system, and storage platform going in the interior next, I wanted to keep as much outside the jeep as possible. Pix to come on this!
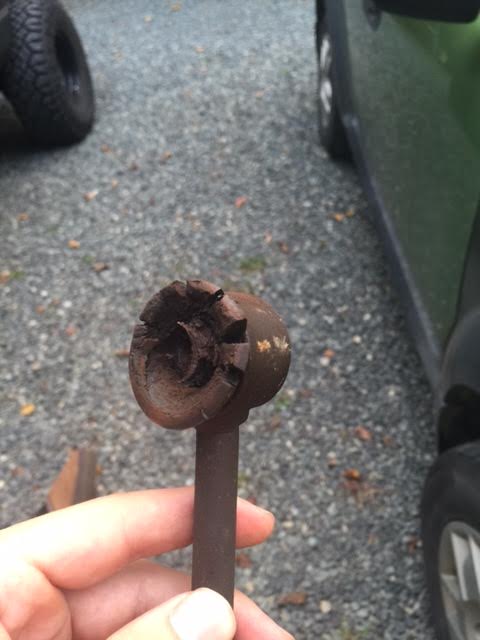
Oh, I can't forget about the suspension. I mentioned the jeep came with a pristine suspension upgrade already right? (SARCASM). I picked up a 3 link setup by Rock Krawler from my buddy XJWonders. I had all of the joints and bushings rebuilt and had Rock Krawler commissioned to build me the frame brackets. Big kudos to them since they haven't produced this kit since like 2009 I believe? So they literally had this made for me. It is being installed this weekend and I'll have some flexy pictures up within the next week or so. In the interim, here is a hilarious picture of my sway bar end links that are being replaced by JKS quicker disconnects:
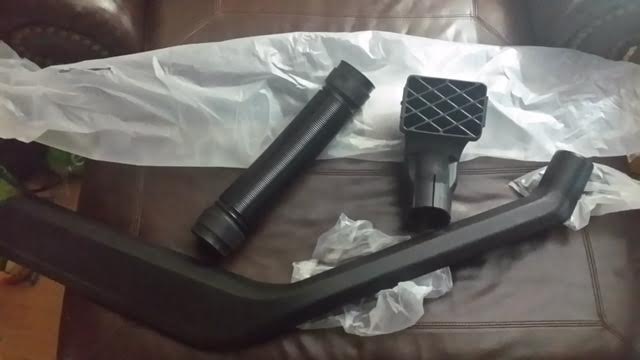
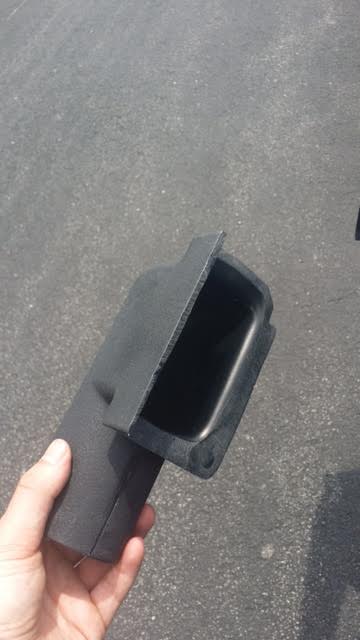
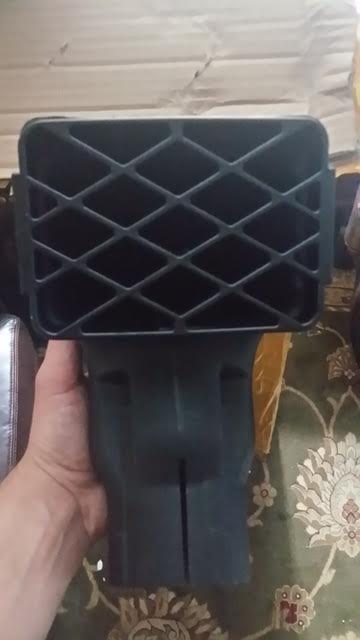
Snorkel upgrade for 500 WHP gain. These are the Chinese knock-offs that work great. Big pain to install though especially since I didn't have a factory airbox to begin with.
Smittybilt Awning for extra shade. Things to note with this are that if you have a low rear tire carrier, your awning will be just as low--if not lower. It is a less thick quality compared to ARB, but the price point is awesome for this bugger. It's fast and easy to deploy as well and provides shade in a different direction than my other awnings.
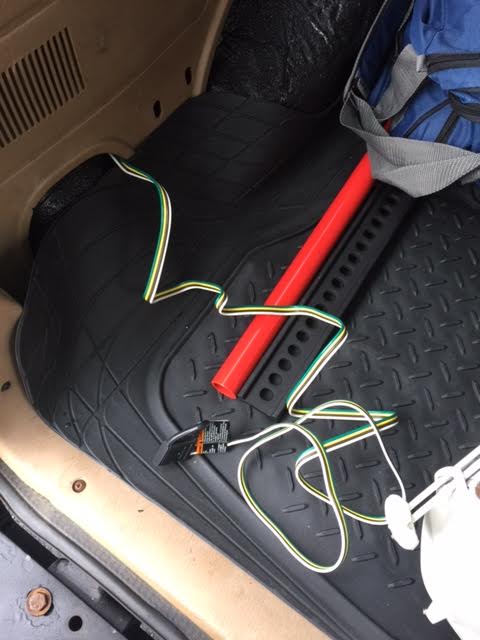
Trailer light attachment for those jeeps that didn't come with factory harness. Bought this from amazon for like $20ish bucks I believe. Is super easy to install and literally plugs right in to existing port behind plastic interior panel (in the event I ever do a trailer build )
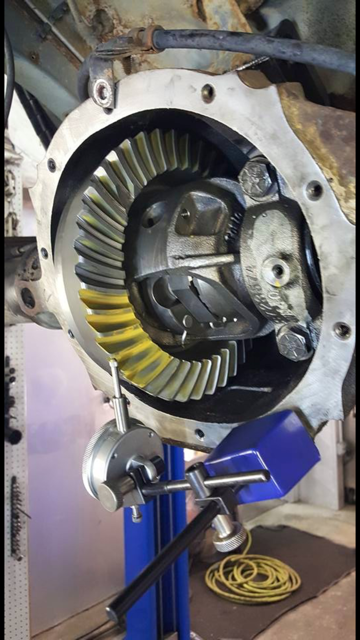
4.88 race car gears for obvious reasons:
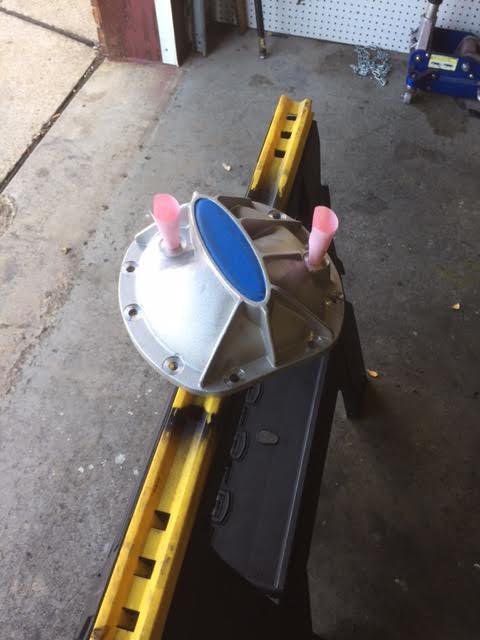
G2 diff covers front and rear. These have increased volume for more oil and cooling as well as protection on the trail. I painted mine black and the paint adheres very well.
Last edited by osinrider04; 09-24-2017 at 01:56 PM.
I'm leaving space for my long arm pictures to go here once I get it back next week, along with my steering upgrade. I went with the grand cherokee tie rod and drag since I picked it up for cheap and had brand new ends installed. When the ends die in this one I plan to go to currie's setup. I don't have new shocks yet but I am planning to go with a long travel and some type of hydraulic bump stomp. The reason for this is that most of my wheeling is long distance stuff getting to and from the best mountain bike/hiking trails and camp spots in the US. Having this kind of suspension build suits my needs.
Edit: finally got my rock krawler 3 link installed.
Last edited by osinrider04; 12-31-2016 at 08:32 AM.
This space is reserved for when I complete the rest of the overland upgrades. This will include the onboard air system, water system, second awning with mosquito net, odyssey second battery with IBS's dual battery system, and fridge...this might be a placeholder for quite some time lol
A few goodies have been on order. Still waiting for all of the packages to show up before I can get everything permanently mounted. I picked up the IBS dual battery system from Sierra Expeditions. These guys have great customer service--I must have emailed Wil 100 times and he answered every question with great detail. I highly recommend ordering from them. Anyways, I picked up the battery system, a fuse, relay, and some other stuff. Not sure where I plan to place this setup because I don't have room in my engine bay for a second battery with the snorkel in there. I also have an Odyssey Extreme Group 34R en route that will be used to power all my lights, the fridge when I get one, and act as the backup battery for anything else when out camping for days. I went with the IBS system instead of the national luna because this one more easily allows to connect to a solar panel if I want to go that direction in the future.
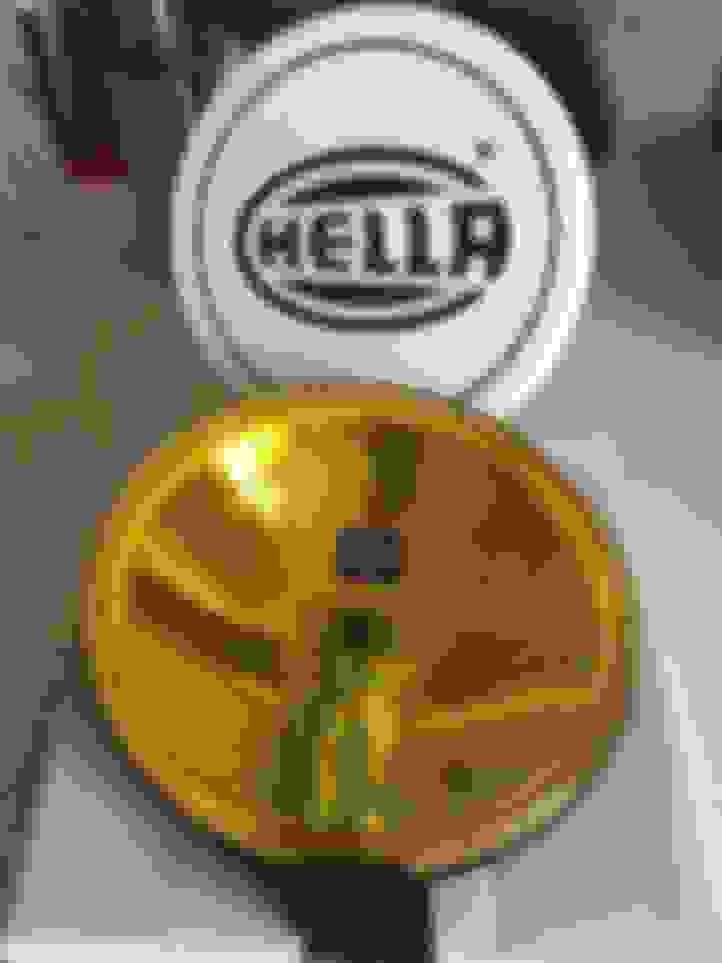
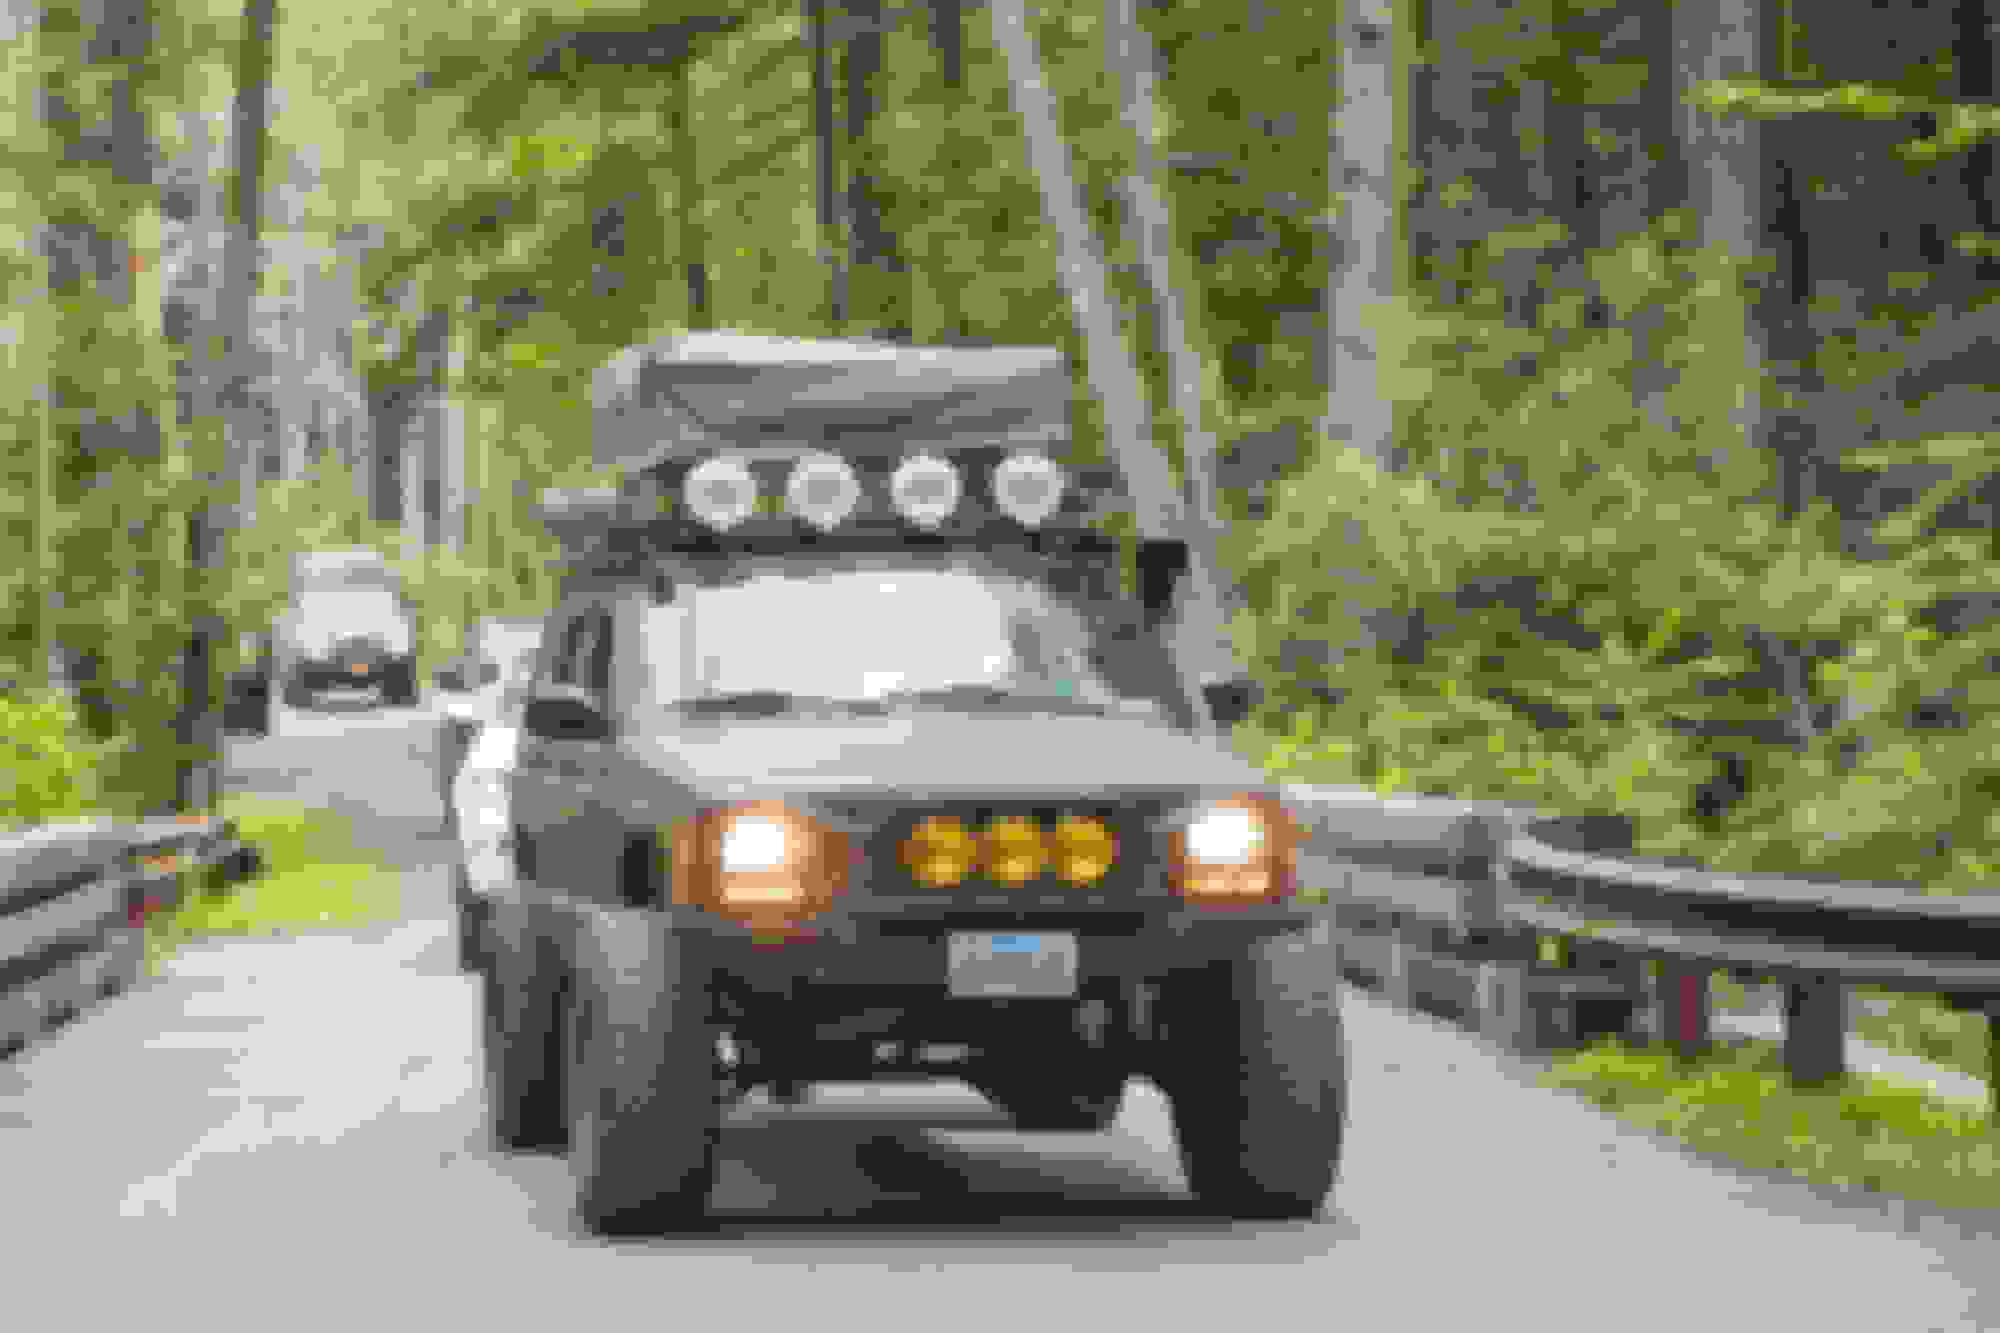
I also am waiting delivery of my new bumper from DirtBound Offroad. I went with the Extreme Winch series because it combines full protection around the lights, a winch mounting spot, somewhat of a stinger hoop, and enough room to mount additional lights as well. Right now my roof rack lights are all white but the lights under the stinger will be my yellow fogs. A lot of where I take my jeep in the mountains have fog at different times of year so these will be a great addition. The yellow jeep is the concept I'm going to be mimicking. Once the bumper comes in I will get it painted and update with actual pictures!
I also received my Road Shower 3. I pre-ordered it a few months back while it was still being manufactured overseas. I haven't mounted it to my roof rack yet because I'm still planning how it will fit incase I go with another awning. Tabs will be welded to the roof rack to allow it to mount flat. Right now it's just laying on the rack for fitment.
Last edited by osinrider04; 01-21-2017 at 08:20 PM.
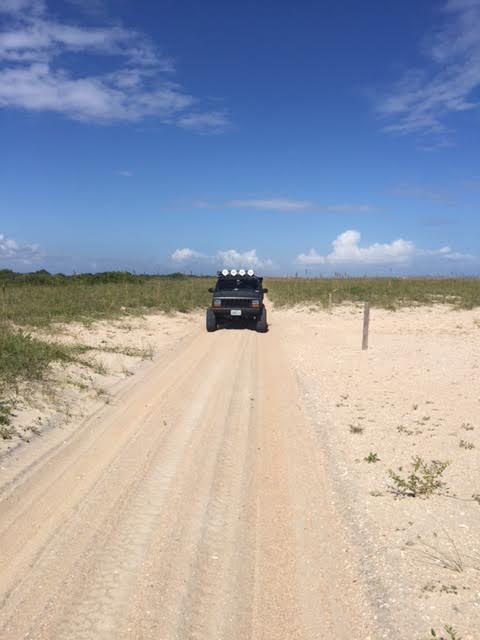
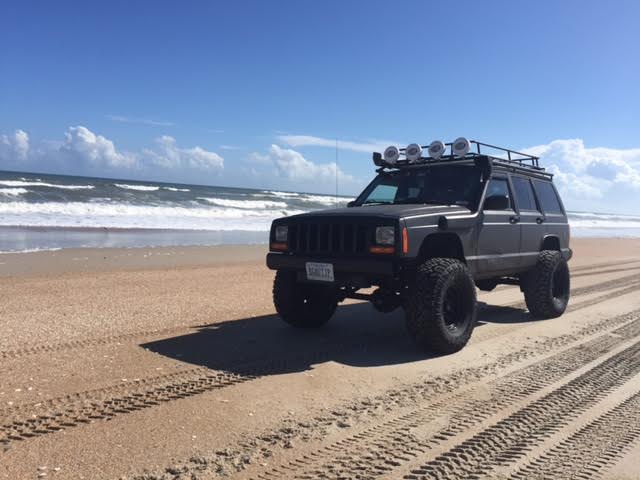
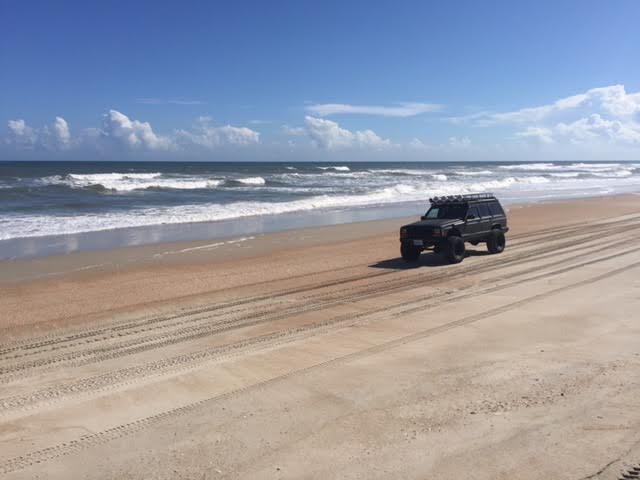
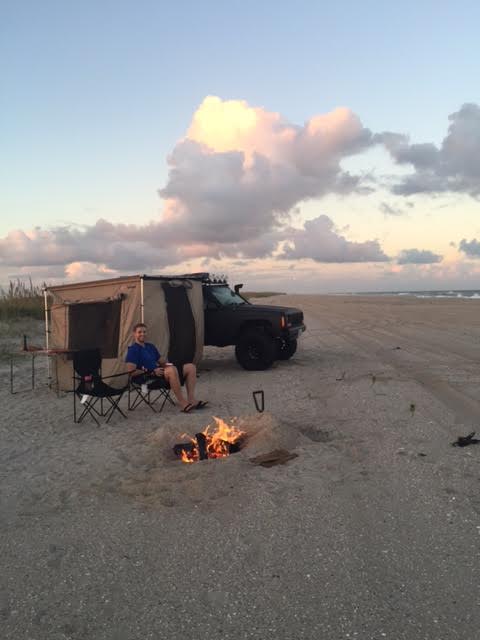
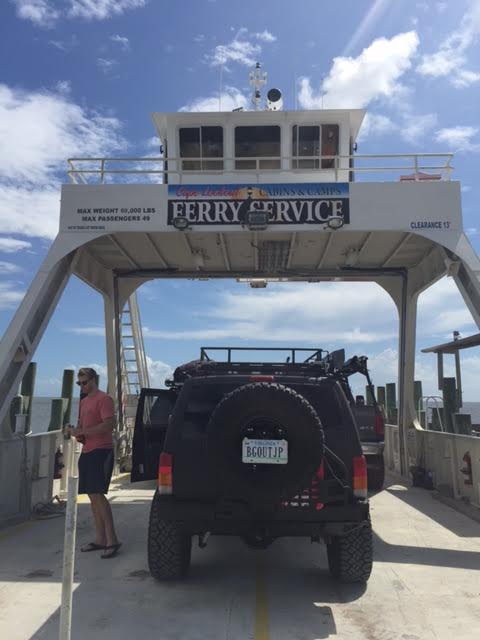
I did just take a trip to Cape Lookout, SC to do some beach camping and exploring. It's a "primitive" island where you're allowed to drive almost anywhere you want and camp right on the sand. Not something that is easy to find in mid-atlantic so I went for a trip, even though the overland build isn't done (who can blame me after a 3.5 year build and no real trips).
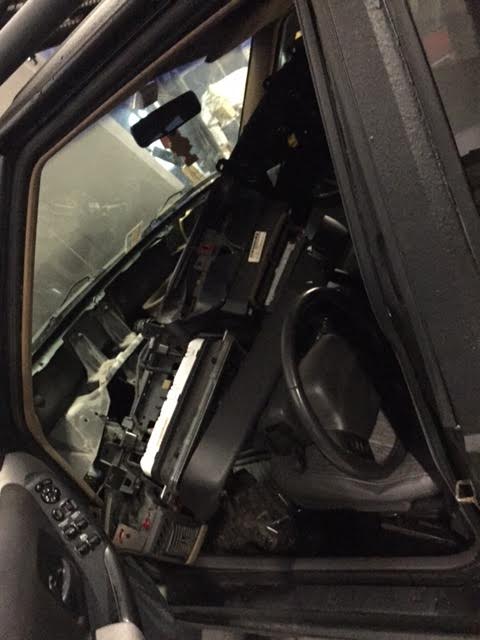
Had some other misc. things fixed that are worth mentioning. AC was done by a local shop where the evap, heater core, and blower motor were replaced. FINALLY has AC after all this time, which I splurged on just because I went to that trip in SC and needed AC on the beach.
I'm sure you saw from the pictures but I also picked up a Smittybilt rear tire carrier, and added a 5 gallon spare gas can. Unfortunately it is metal, but Smittybilt actually designed this bumper to fit this particular jerry can so that's what I got. If anyone is interested I can get the part number for them.
Old:
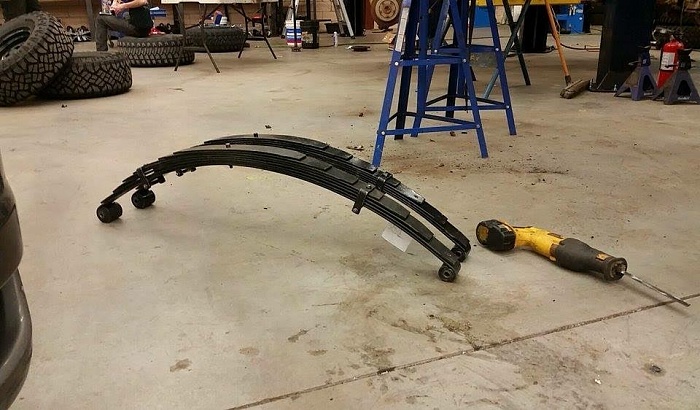
New:
New rear leaf springs to account for the seriously heavy weight of this rear bumper with all the crap on it.
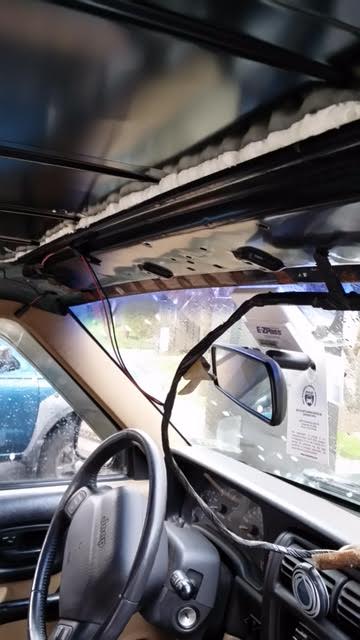
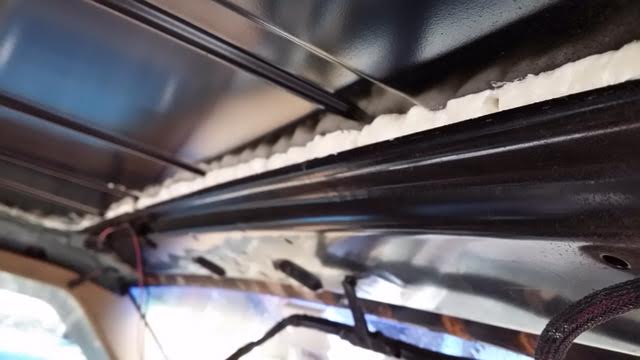
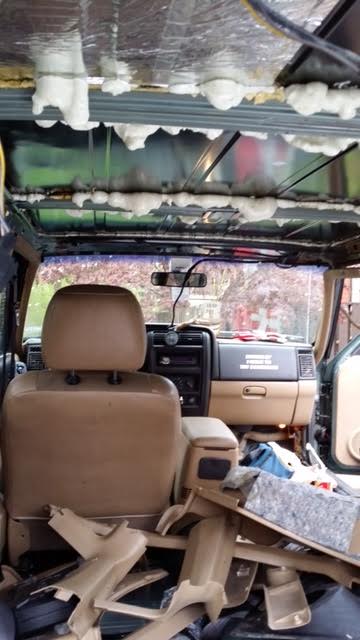
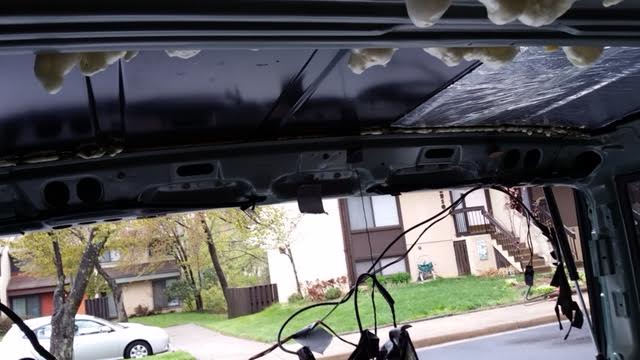
I also sprayed new expandable foam on my roof in the interior as well. I noticed that when I closed my doors I could hear the roof rattle. The old spray wasn't sprayed in perfectly and there were lots of gaps. I also assumed it would help with heat and cold pockets in the cab. I do plan to take the headliner back out this winter and install fat mat to my roof as that is one place I have yet to sound dampen. I've read this will make a huge difference.
How do you like the smittybuilt bumper? I like the price, but I've read enough negative reviews to be a little apprehensive about it.
I don't have any major complaints about it. It was a bit difficult to get the swing out arm to install properly and I actually need to get the bumper adjusted because the tire isn't perpendicular to the ground (leans backward a bit), but that is installer error. The powder coat paint is very good quality.
The only thing worth mentioning is that the rear tire is not as flush against the tailgate as I would prefer. Because there's enough room for the Jerry can behind the tire, it creates more space between the two. There's no performance loss with this but it's more of a preference thing.
Long arms went on last week, but it had so much flex that I had to relocate my front sway bars and get even longer brake lines (as well as quicker disconnects of course)--no problem on that. However, on the shop's test drive the f'ing radiator finally gave up its 16 year old fight. So while that part is on order the jeep is having the sway bar mounts configured and alignment done.
I'm really excited to get this suspension finally done because it is the Rock Krawler 3 link which they don't make anymore. It's a great setup so it's a shame they aren't produced by them anymore. I should be getting some flex pictures sometime this week so stay tuned!
Had a few more things done to the jeep over the holiday break. I had previously upgraded to the putco wiring harness and the euro lights for better light output and clarity respectfully, but the light housings I received were straight garbage. I upgrade to a new set of housings from topgearautosport.com for a great price, and the quality of the light is much nicer. I went ahead and added another layer of sealant around the existing seal since that is why my first set of headlights failed.
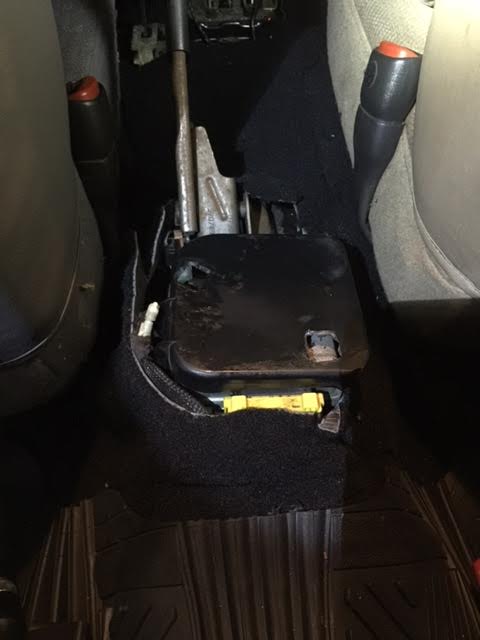
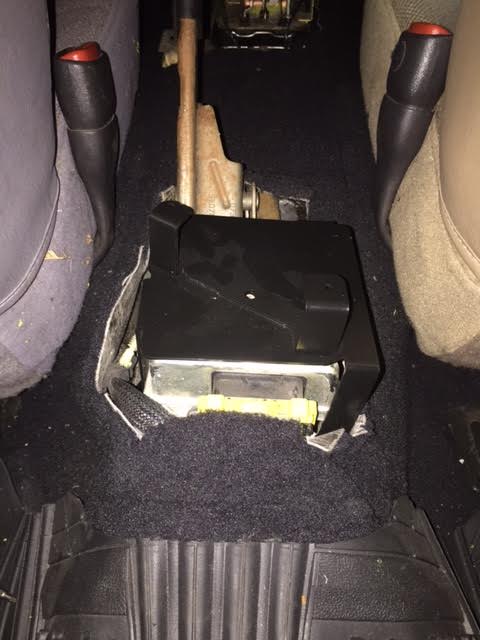
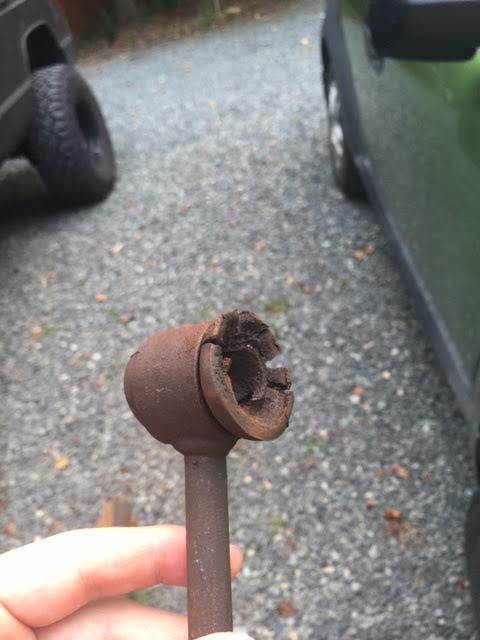
I also ordered the JCR Center Console Bracket upgrade. Mine was completely busted, but I also went with the metal upgrade because when I do my interior sleeping platform, it will give me a stronger base for the tiny additional leg room extension.
Nice build. Not too many guys are lucky enough to have the Rock Krawler 3 link kit. I added limit straps so I won't damage my shocks or drag link if I air it out any. I have insulation/mat but have been to lazy to put it in. Looks like I should strip the interior and redo the headliner while I'm at it, and get the center console support. Mine is floppy too. Keep up the good work.
Nice build. Not too many guys are lucky enough to have the Rock Krawler 3 link kit. I added limit straps so I won't damage my shocks or drag link if I air it out any. I have insulation/mat but have been to lazy to put it in. Looks like I should strip the interior and redo the headliner while I'm at it, and get the center console support. Mine is floppy too. Keep up the good work.
Charles
Thanks Charles! If you're going to be removing your headliner I would definitely suggest adding the sound dampening material to the roof. It's very thin and you might as well knock out two projects at once.
My bumper was dropped off yesterday for powder coating and in the next 2 weeks I'll be installing the bumper, onboard air, and dual battery. I picked up an air relocation kit for viair which will allow me to run air all the way to the front of my jeep with a quick disconnect. That way I'm not running the hose through the interior. Especially considering all the camp stuff being in the way. ill post pictures soon
Last edited by osinrider04; 02-10-2017 at 12:10 PM.
very nice build so far. i have followed suit and went and got some spray foam to do the roof on my MJ. I will be using Frost King insulation instead of Fat Mat.
 10-08-2016, 09:06 AM


 )
)