When you click on links to various merchants on this site and make a purchase, this can result in this site earning a commission. Affiliate programs and affiliations include, but are not limited to, the eBay Partner Network.
The Bosch 703 are for earlier XJ's (and Neons) , but 99-01 the Bosch 784 (full part #0280155784) are a direct plug in (I have done them twice) and available in newer Neons, (as well as other Dodge vehicles) See link or image below.
The Bosch 703 are for earlier XJ's (and Neons) , but 99-01 the Bosch 784 (full part #0280155784) are a direct plug in (I have done them twice) and available in newer Neons, (as well as other Dodge vehicles) See link or image below.
PS: ALWAYS !!! I REPEAT ALWAYS!!!!! Replace the Orings and I use a little Vasoline to make them slide back in and not tear up the new Oring (others may use something better)
IT IS NOT WORTH SAVING $10 ONLY TO HAVE YOUR JEEP GO UP IN FLAMES FROM A FUEL LEAK !!!!
There are a lot of good vendors that sell injectors, cleaned, new seals, tested, etc. for a very reasonable price - I am considering these for my current project - http://www.ksuspensionlifts.com/stor...ity=87-90+4.0l
, but if you are really cheap like me usually and grab junkyard injectors, you can visually check the spray pattern with the injection rail pulled out but still hooked to the fuel line, and powering with 12 volts each injector one at a time (grabbing an injector connector at the junkyard with some wire off it will make it easier), just hookup a positive or negative, and tap the other quickly to see it sprays nicely - obviously watch the eyes and make sure the fuel that sprayed fully evaporates before starting the Jeep !!!! I actually built a little test jig for the workbench that I use a can of pressurized injector cleaner hooked up to a piece of junkyard injector line to test mine. I usually find one or two that does no spray well.
Agreed on the new O-rings and using vaseline, sometimes I just use a dab of oil too. Anything to make it slip in and not bind up.
As for the spray pattern testing, I do my own home version of this. I put each injector in my bench vise, hook up a 9V battery (for some reason 9V batteries seem to work just fine on injectors despite supposedly needing a full 12V). Then I take a tire stem and can of brake cleaner and blast it through there. The battery holds the injector open so when you spray the brake cleaner, the pressure in the can acts like actual fuel pressure and shoots out like it normally would. Plus the brake cleaner will help dissolve any hard buildups in the injectors. Here's a pic of what the setup looks like, as well as a youtube video that explains way better than I can:
You do have to drill a small hole in the tire stem cap to put the straw through
IIRC they just atomize the fuel better and assist in a more even and complete burn.
In my ZJ I immediately noticed better idle and I also got better fuel economy (not by much tbf).
Tho I could have just had a bad or dirty injector(s). So I really can't say if it was really an improvement or a fix. Just my experience.
Im am still very much considering going stroker. Going to have it this far apart anyway and cant just throw in new pistons without machine work. Thinking might as well go all the way.
That said, neon injector irrelevant cause as far as I understand it Ill need even bigger/better injectors.
Last edited by SouthSeaPirate; 05-13-2016 at 12:16 PM.
I suppose there were a few questions I had previously not thought to ask.
How to prep for paint? A good de-greasing and dish detergent wash good enough?
Sealer/gasket maker around front and rear of oil pan? Seems to be hit or miss on this.
Expansion/core/freeze plug install? Also, hit and miss. Some day dry some say sealer.
Where to weld rear O2 bungs?
Looks like I may have the same header and quick hold up to the block shows it may be uneven. Do I need to be bolted up to truly tell?
How to clean gunk out of head ports while avoiding getting debris in cylinders?
Last edited by SouthSeaPirate; 08-30-2016 at 02:47 PM.
How to prep for paint? A good de-greasing and dish detergent wash good enough?
Yes, degrease as good a you can. I scraped, scrubbed, and wire brushed this one. On engines that I have fully apart I even pressure wash the block. Then just make sure to cover the necessary oil holes and deck with tape before spraying it. I think I used high temp engine enamel.
Sealer/gasket maker around front and rear of oil pan? Seems to be hit or miss on this.
I used Ultra Copper RTV in the very corners, on both sides of the gasket, when installing mine. The gasket is pretty good, but it only takes a small space to become an oil leak. Just don't go crazy with the RTV. Ultra Copper isn't necessary, it's just my personal preference. It's oil/gas resistant like the rest of the colors, but it stands up to heat better.
Expansion/core/freeze plug install? Also, hit and miss. Some day dry some say sealer.
Same as above, dry is *usually* fine, but every once in a while a fresh plug will leak because of some tiny scratch in the sealing surface. I smear RTV around the edge of the the plug, but literally just a very thin coating. Then tap them in until flush.
Where to weld rear O2 bungs?
By rear O2, do you mean after the pre-cats? In that case I welded them to the downpipe I made, one on either side. Anywhere after the header should be fine, my Jeep still hasn't thrown a single code.
Looks like I may have the same header and quick hold up to the block shows it may be uneven. Do I need to be bolted up to truly tell?
Mine looked lose when just holding it up but did flatten out some after bolting it up. I did have that one leak on the #5 cylinder that I eventually had to fix. The flange on these headers is one solid piece, so if it's just a little bent or warped it will leak. Cutting the flange supports in a few places seemed to help my problem, plus a little RTV around the ports on the gasket. You should hold the intake up with the header on to dry fit them... mine made contact on the #6 runner and I had to dent the header a little with a hammer to get it to sit flush.
How to clean gunk out of head ports while avoiding getting debris in cylinders?
That's a tough one... it's hard to get all the debris out one you've cleaned it. I had my whole head apart and soaked/cleaned it in my parts washer, but all the valve were out. If it isn't that gunked up (i.e. a coating of black crap vs. sludge) I would just leave it. When the valves are in I try to use a shop vac to suction out the debris, but it's hard to see if you've missed any. I would really just be concerned about the intake ports having debris.
I just read you're build thread, good work! I'm literally you but maybe 6 months - 1 year ahead of you in replacing parts haha
I've been meaning to post updates to this but haven't had time. Since I left off, I've replaced the rear leaf springs, rear shocks (everything broke when I went to remove them), shackles, sway bar links/bushings, front shocks, front sway bar bushings/links, AND front ball joints and U-joints.
A while since I updated this regarding the actual jeep, but here goes. Since getting it running, I've installed new leaf springs (Dorman units), KYB shocks front and back, front ball joints, and front axle U-joints and axle seals. What a pain.
The leaf springs and shocks were of my own will, I wanted to raise up the sagging rear end and the shocks were easily 100k miles old. The axle U-joints and seals were forced repairs. When making turns it would feel like something was binding up, almost like 4WD was still active. If I can get the videos to upload you can see why the U-joints were the problem. I did ball joints too, because why not once you have everything apart.
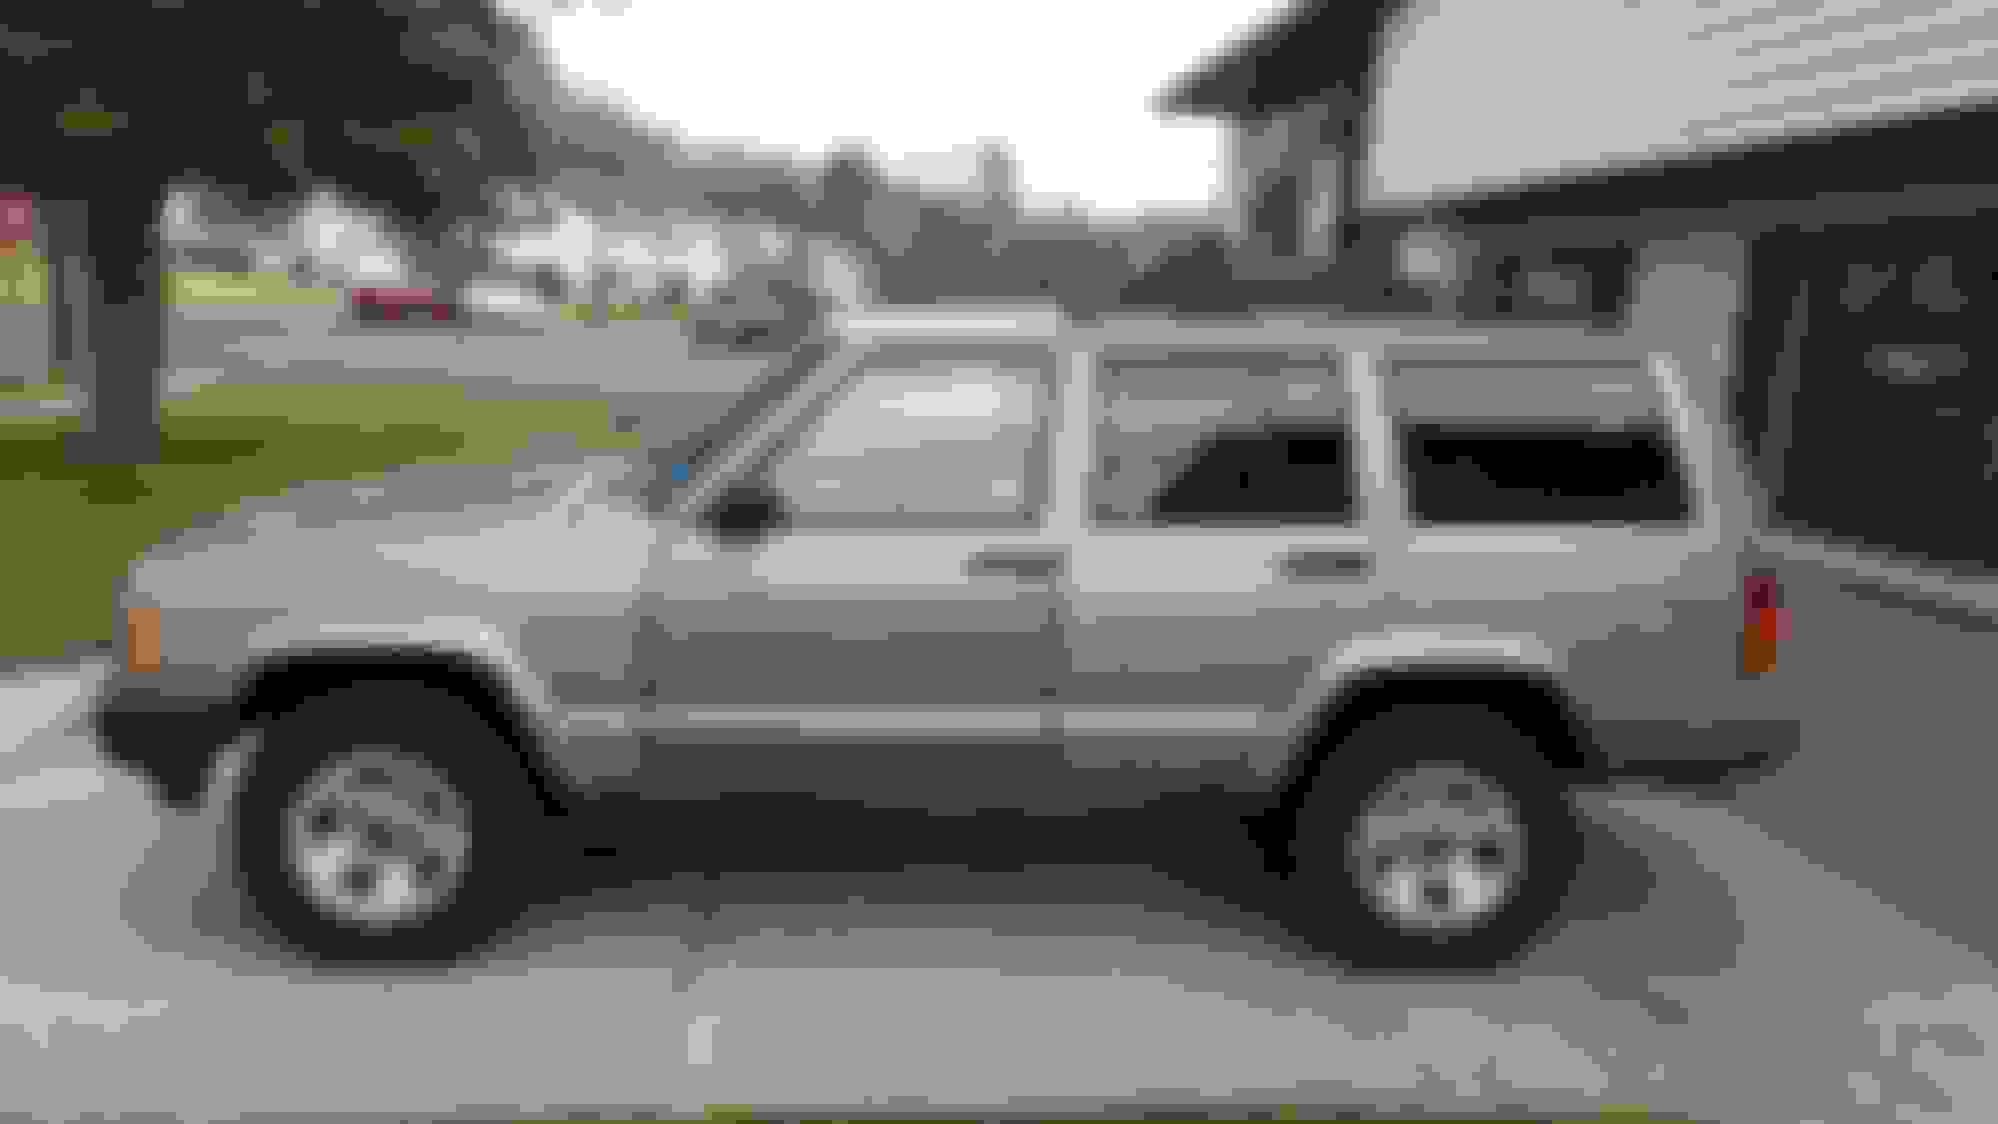
As it sits now (the color of the driver side door still pisses me off):
The rear tire-to-quarter panel clearance went from 3.5" to 5" after the new leaf spring install. Dorman part# 929301 on both sides, good stock replacements for $85 + shipping each.
I don't have any pics of the install, but removing the main bolts from the frame was a PITA, I had to use a 3 foot breaker bar with another 3 foot cheater pipe on it to break the loose, plus heat and lube. Luckily none of the nuts broke loose inside the frame.
The front shock replacement was easy, but the rear sucked. I attempted to remove the single lower nut first, which broke off completely on both sides:
Not my pic but you get the idea:
So you have to do this on both sides:
And buy two of these:
Bolt them up with the new shocks, make sure its all straight, and then weld the head of the bolt to the axle housing. The upper mounting bolts/nuts usually break too, which was more fun trying to figure out how to rig up. One nut broke loose on either side, so I managed to get a new nut up there and just bolt it up with a ratchet and wrench.
Then the steering started to get annoying. Like I said, felt like it was binding up as you made turns similar to how it feels with 4WD engaged with no slippage.
Some threads on here pointed me to front axle U-joints. Not really a way to tell without taking it all apart, but it seemed like a safe bet since mine had 200k on them. The U-joints on the front axle sit between the axle housing and hub, so you have to take alot of stuff apart to get to them.
Here's what it looks like one you do:
The axle is already out at this point, they just slide out. Basically unbolt the caliper, take the rotor off, blast the axle nut off, unbolt the three bolts that secure the hub to the spindle from the back (13mm, 12-point), and then beat the hub til it comes away from the spindle. The brake backing plate sits between these two, and mine were rusted behind belief so I ordered these off of ebay for $35:
Then remove the nut off of each ball joint and pound on the spindle til it drops off. Then you can remove the axle. This is when I realized I did in fact need new U-joints.
The passenger side axle U-joint was only able to move in one direction, not the other. So every time it went to rotate it caused the steering to bind up. I'll try to post the videos I took later.
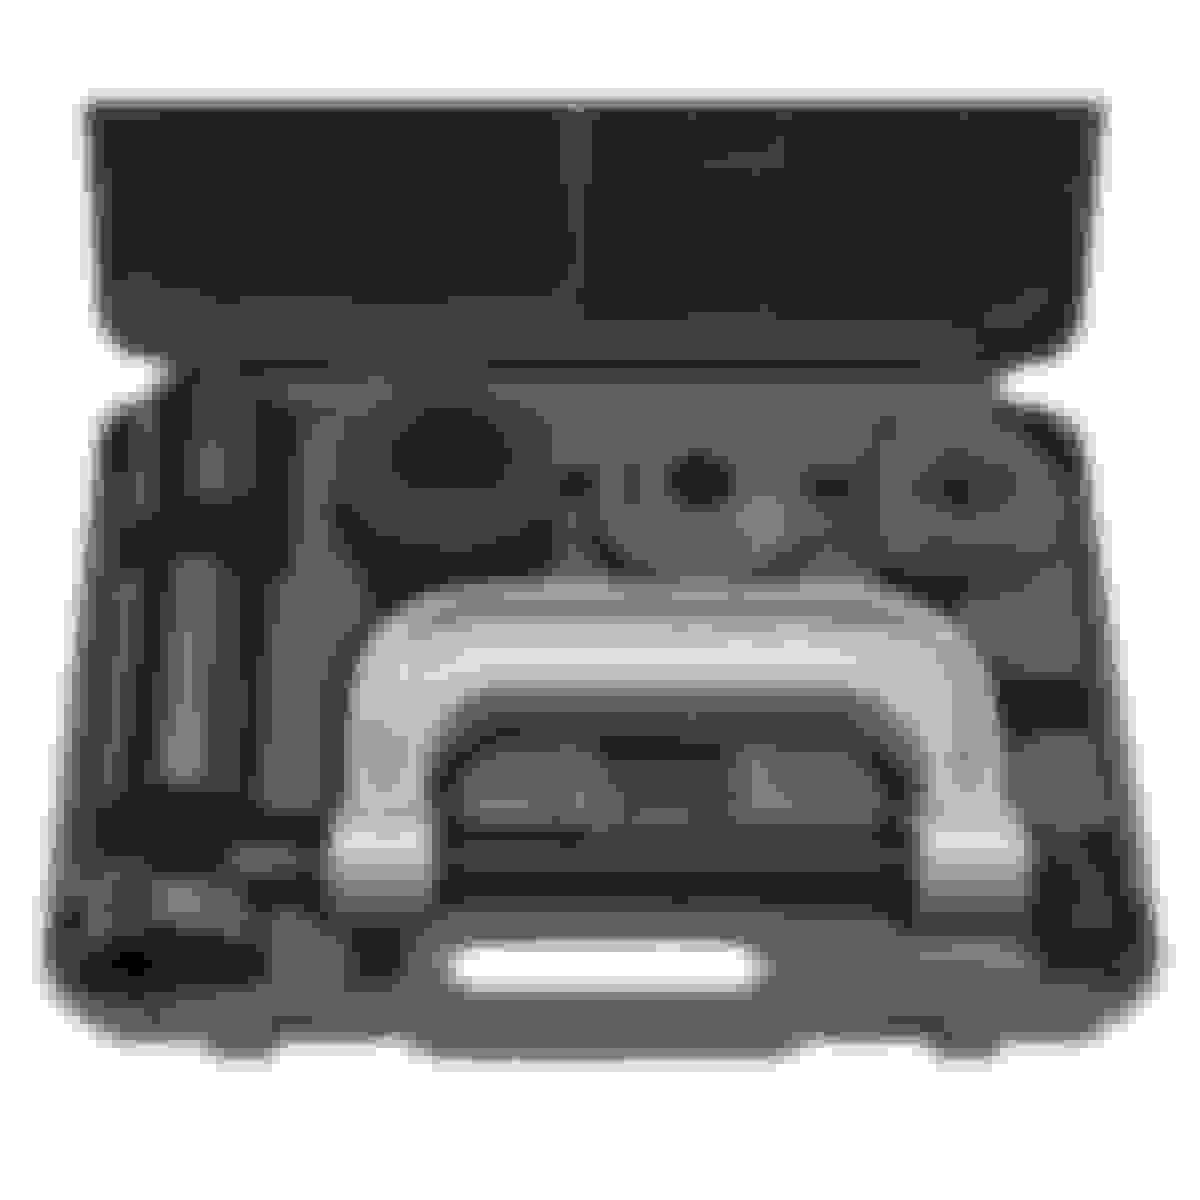
With how much I had already removed, I figured I might as well do the ball joints while I was in there. I bought replacement Spicer units from rockauto for $50ish a pair. Install went smoothly, but you ABSOLUTELY NEED a ball joint remover/install tool. I used a Harbor Freight kit with no problems.
It will look like this with them removed:
The tool:
Press the top out first and then the bottom, then install the bottom first. This way the screw on the tool can fit through the upper hole when doing the bottom one. You find out pretty quick when it's in front of you.
Also when taking the axles out, I noticed that the drivers side axle tube was bone dry while the passenger side one looked like this:
Yeah, that fluid shouldn't be there.
Bad axle seal. Guess where they are? All the way inside where the diff sits. You have to remove the cover, drain the fluid, unbolt the differential (mind the bearings), and then tap the old ones out. I used a pipe from the outside to do this. Then tap the new ones in similarly with a big old socket and a million extensions.
My XJ is currently on loan to my brother in law while I fix his black XJ (also a 2000). Lost power on the highway, not sure why. Also leaking coolant out of the rear freeze plug so I have to drop the trans to get to it.
I drove my XJ for like 12k miles with absolutely zero problems... my brother-in-law has it for a day and a half and the CEL comes on. He said it still ran fine so I chalked it up to an oxygen sensor or something silly. He brought it over yesterday so I could scan the code, came up as P1294 aka evap/vacuum leak or a bad IAC or TPS. Basically makes it idle high all the time, bad gas mileage, etc.
I figured I would look for any obvious problems before checking out the sensors. Popped the hood and the problem is staring me in the face:
I had replaced the little soft hose (rock hard at that point) with a silicone one and never clamped it. I guess as it got oily from the PCV output it slipped right out, boom vacuum leak! Easiest repair ever.
Side note, my brother-in-laws XJ diagnosis is in.... freeze plug popped out on the highway, engine overheated, fried the #2 piston and rings
 05-10-2016, 09:58 PM