When you click on links to various merchants on this site and make a purchase, this can result in this site earning a commission. Affiliate programs and affiliations include, but are not limited to, the eBay Partner Network.
I am starting this build thread 1 year late but I will take you through the phases up to the current stage.
First off, this is my second XJ build. I earned a lot from the first build many years ago and wanted this build to be much more budget friendly.
March 2016 I purchased a 1995 XJ with an RE 3.5 inch lift and 31 inch tires. Dana30 HP and D35 with 3.55 gears. Aw4 trans and 242 transfer case. Well taken care of with 183K miles.
After several adventures I decided it was time to start the mods. First was to find a 8.25 to replace the D35. Off to the local pick n pull yard to get a good 29 spline 8.25. Found the perfect donor axle so I pulled it out and quickly ordered up a Spartan locker for it. I put the Spartan in while the axle was still out for simplicity along with putting in new brake shoes. Hind site now tells me I should have done a disc brake swap at that time too. Easy to get ZJ discs while I was at the yard. Oh well, disc swap is still on the to do list.
With the locker installed and 8.25 axle now in place the XJ was way more capable and confidence was growing with its capability.
One of the adventures ended putting a rock into the rocker panel a bit so JCR sliders got ordered and bolted up. No more rocks eating up the rockers. These sliders are super strong even with them just being bolted on. The are now welded onto frame stiffeners.
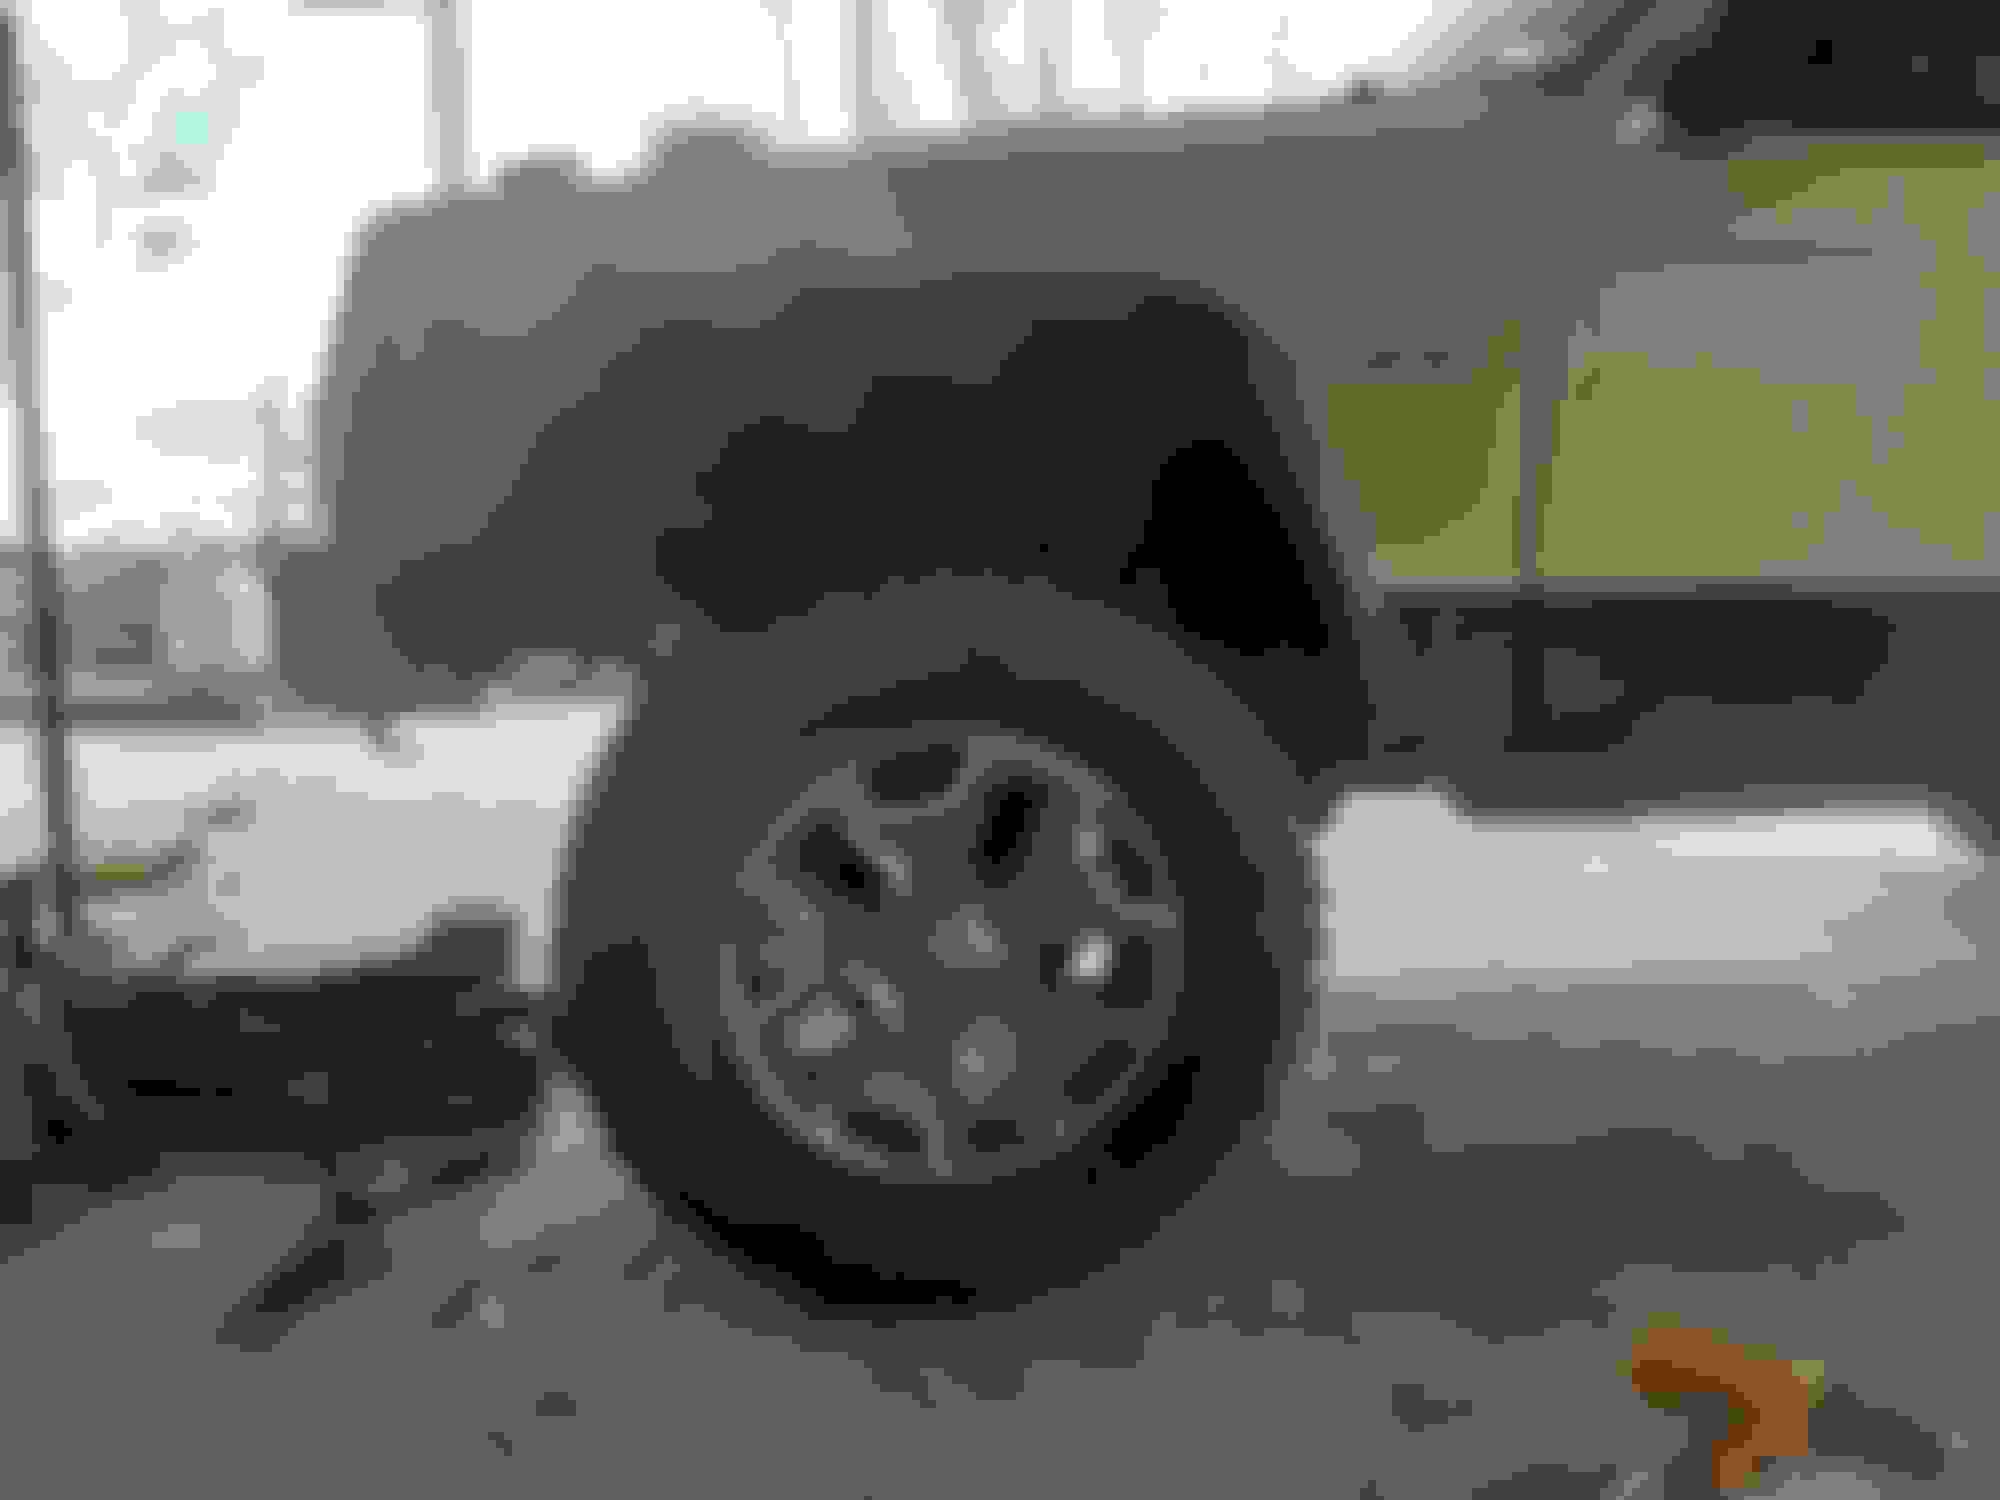
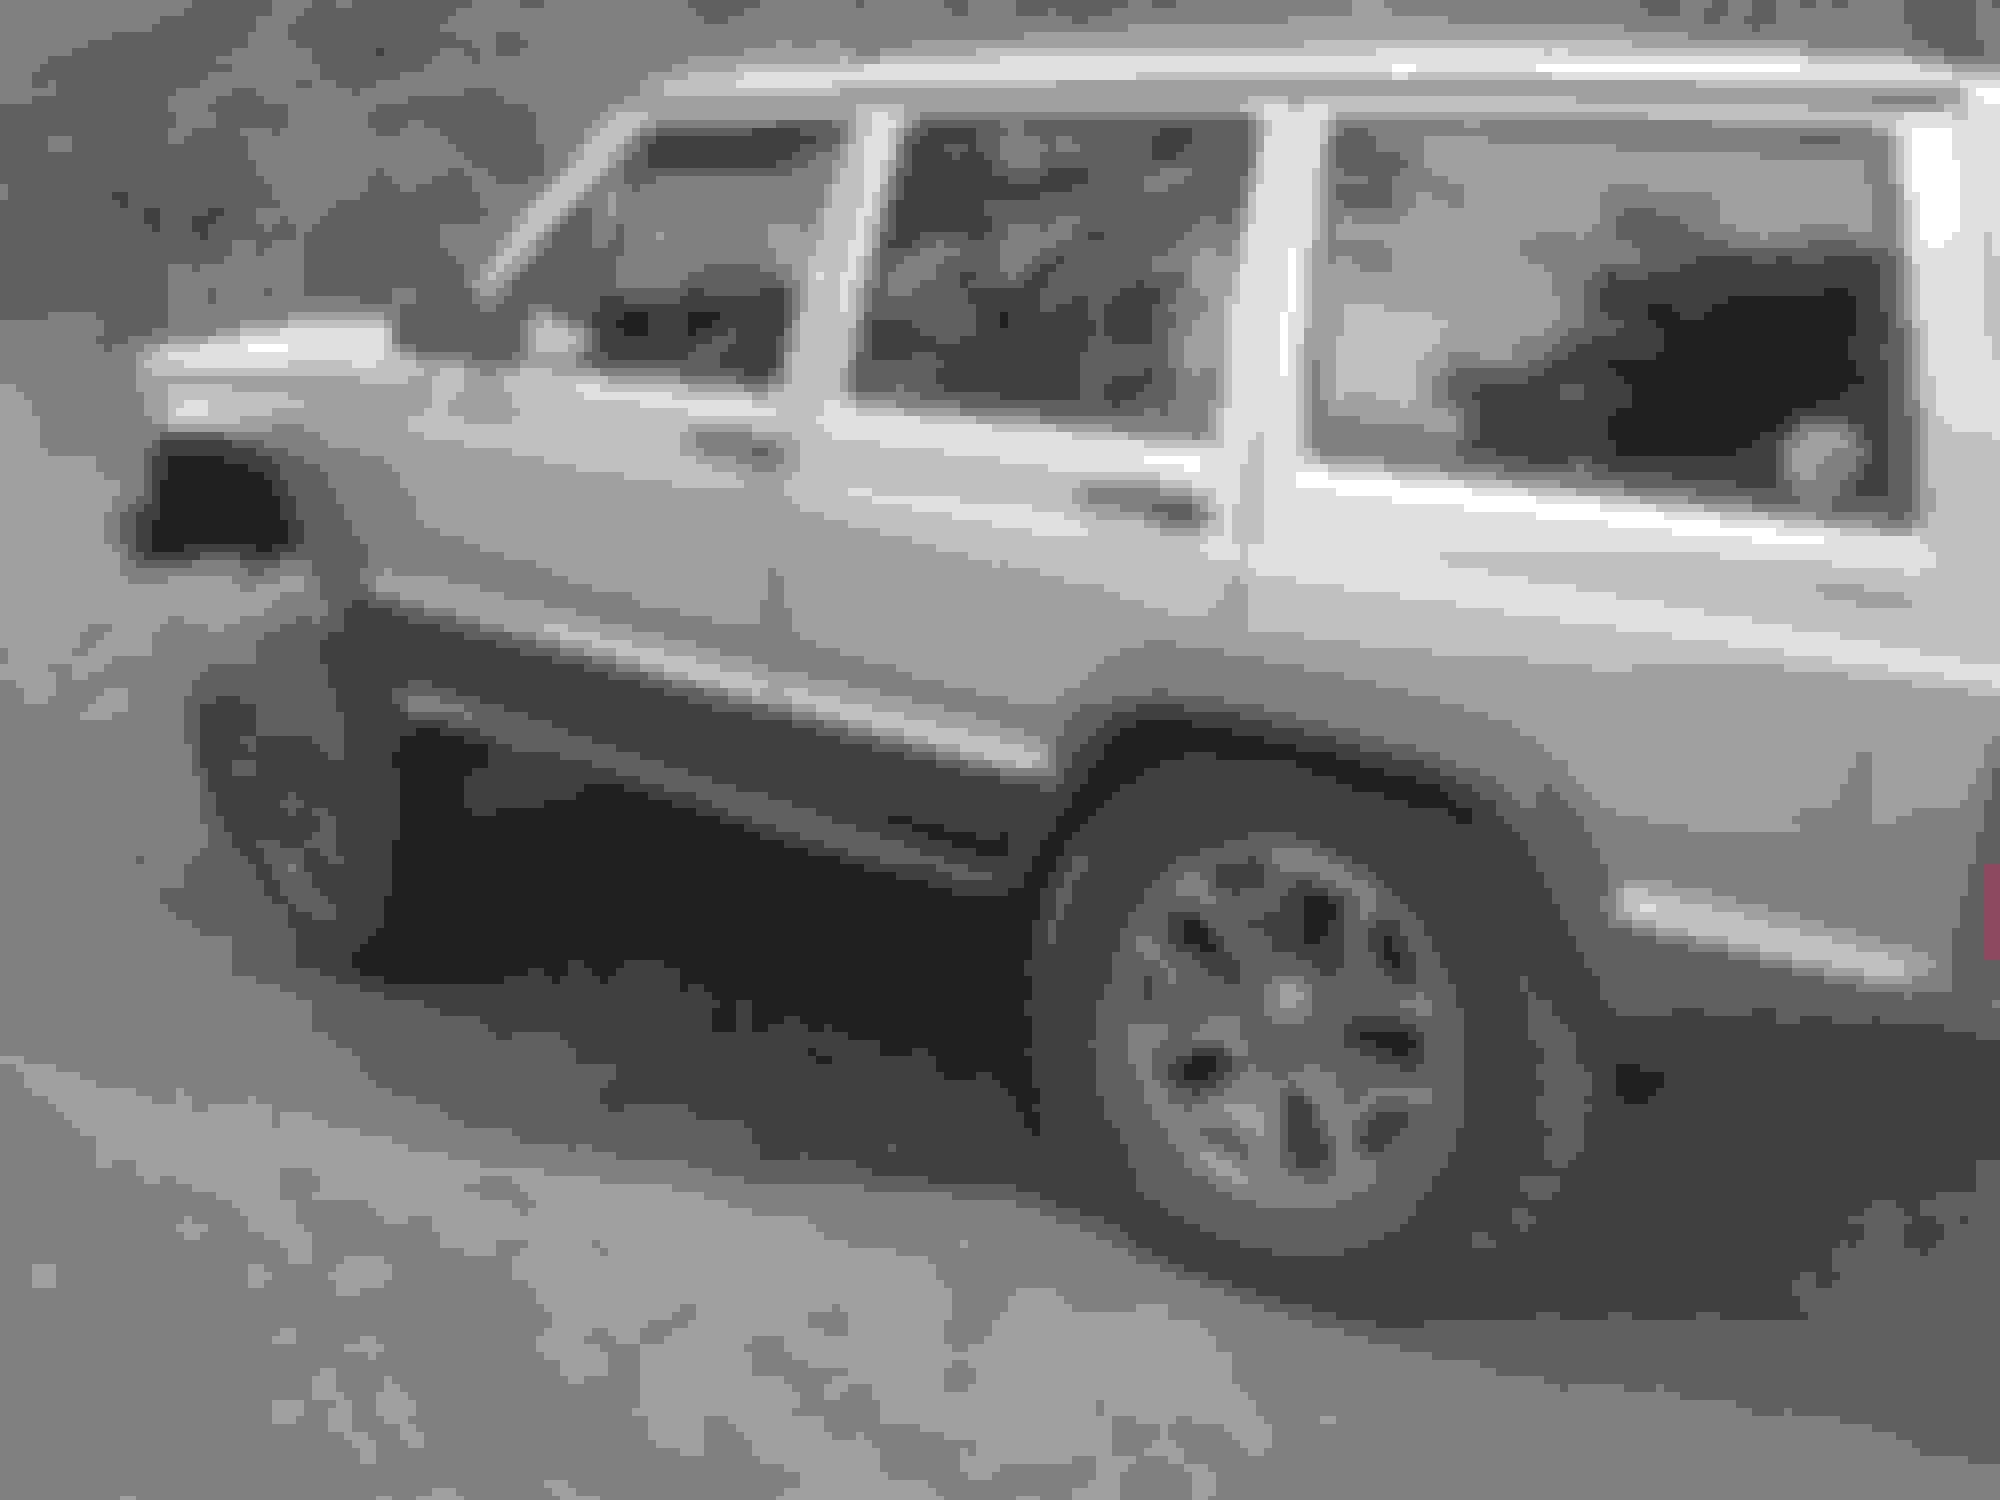
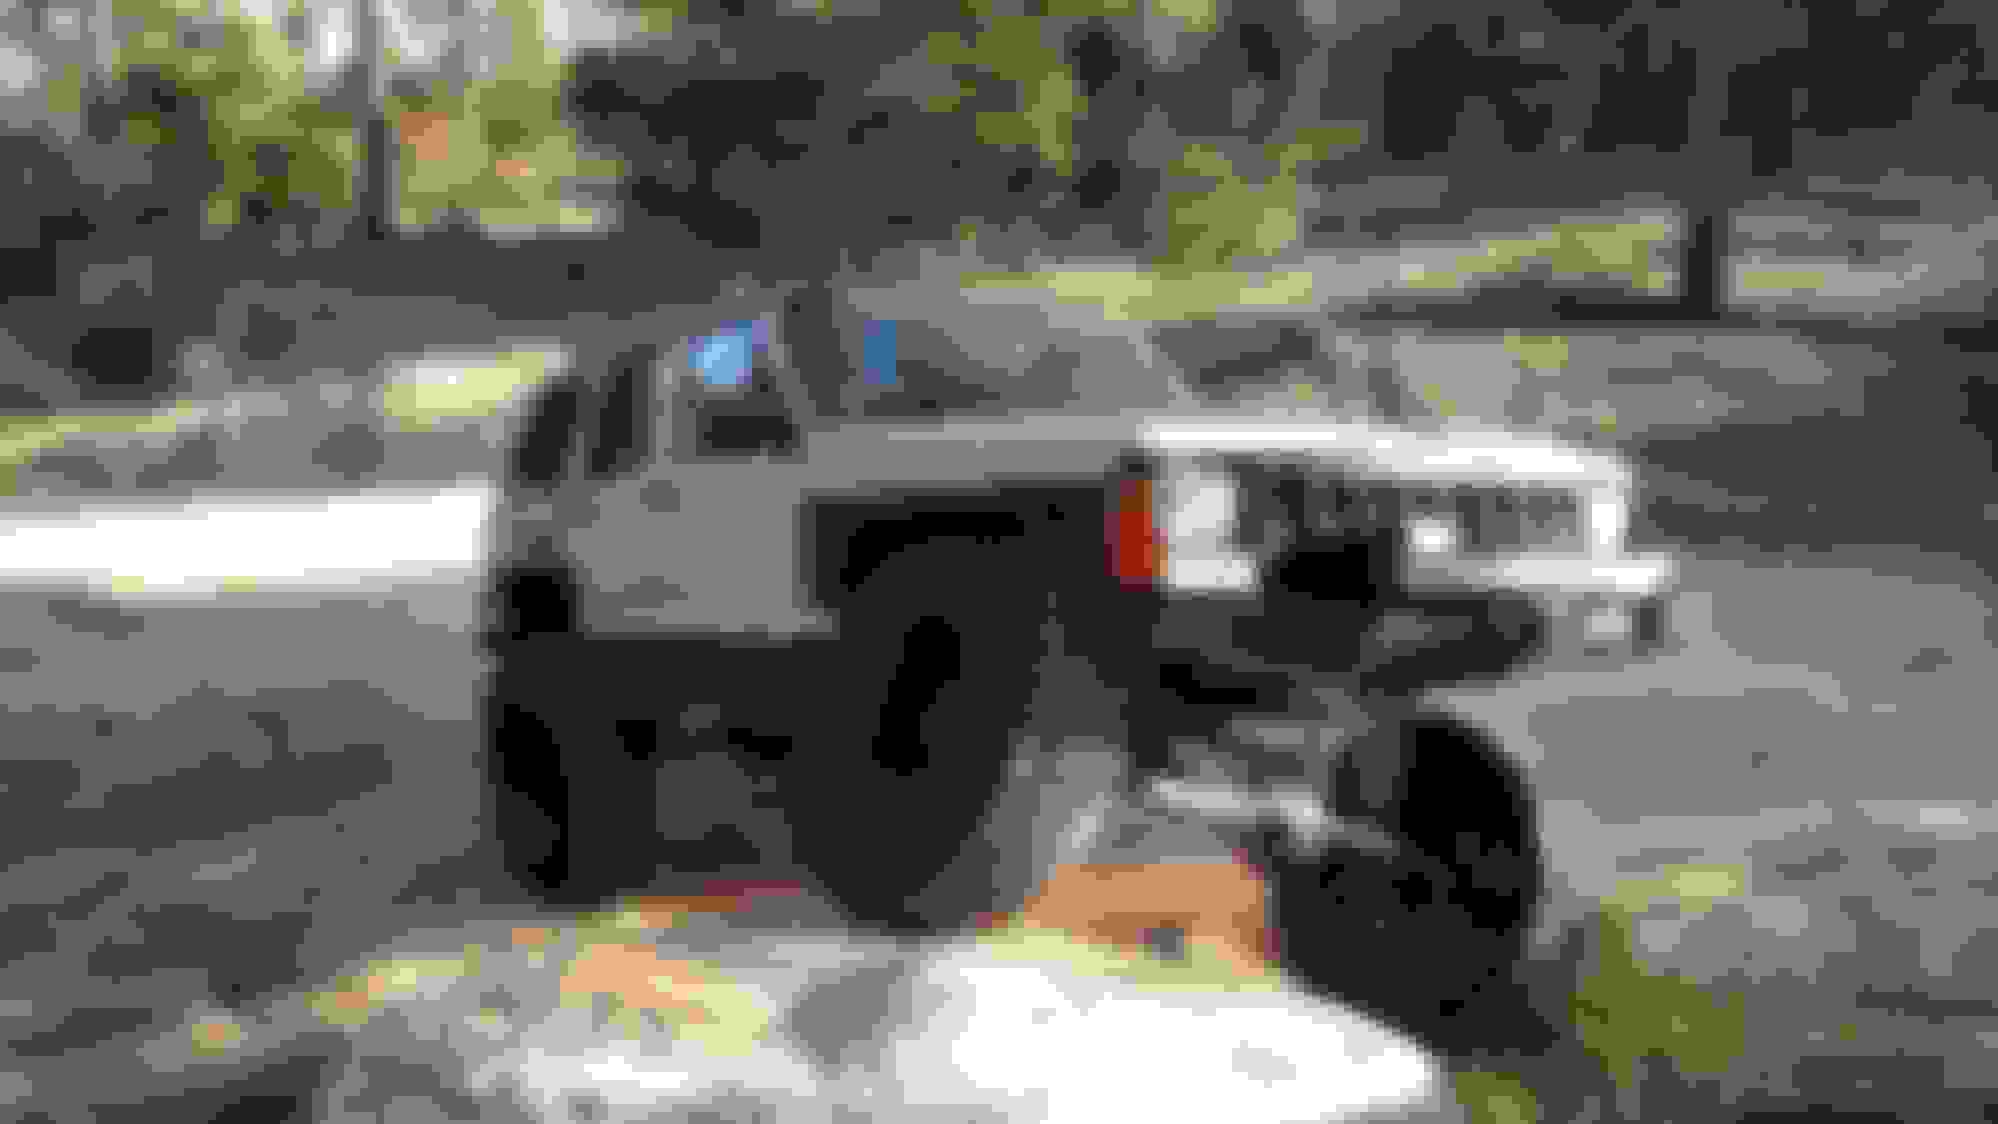
Now to address the issue with the tires being pretty worn out. I wanted some slightly bigger tires and started looking on craiglsit. I noticed that many people are getting rid of their stock late model Rubicon wheels and tires so I found a sweet deal on some barely used Rubicon wheels and tires. I ordered up some 1.25 inch wheel spacer/adapters to mount the Rubicon 5 on 5 wheels tot he existing 5 on 4.5.
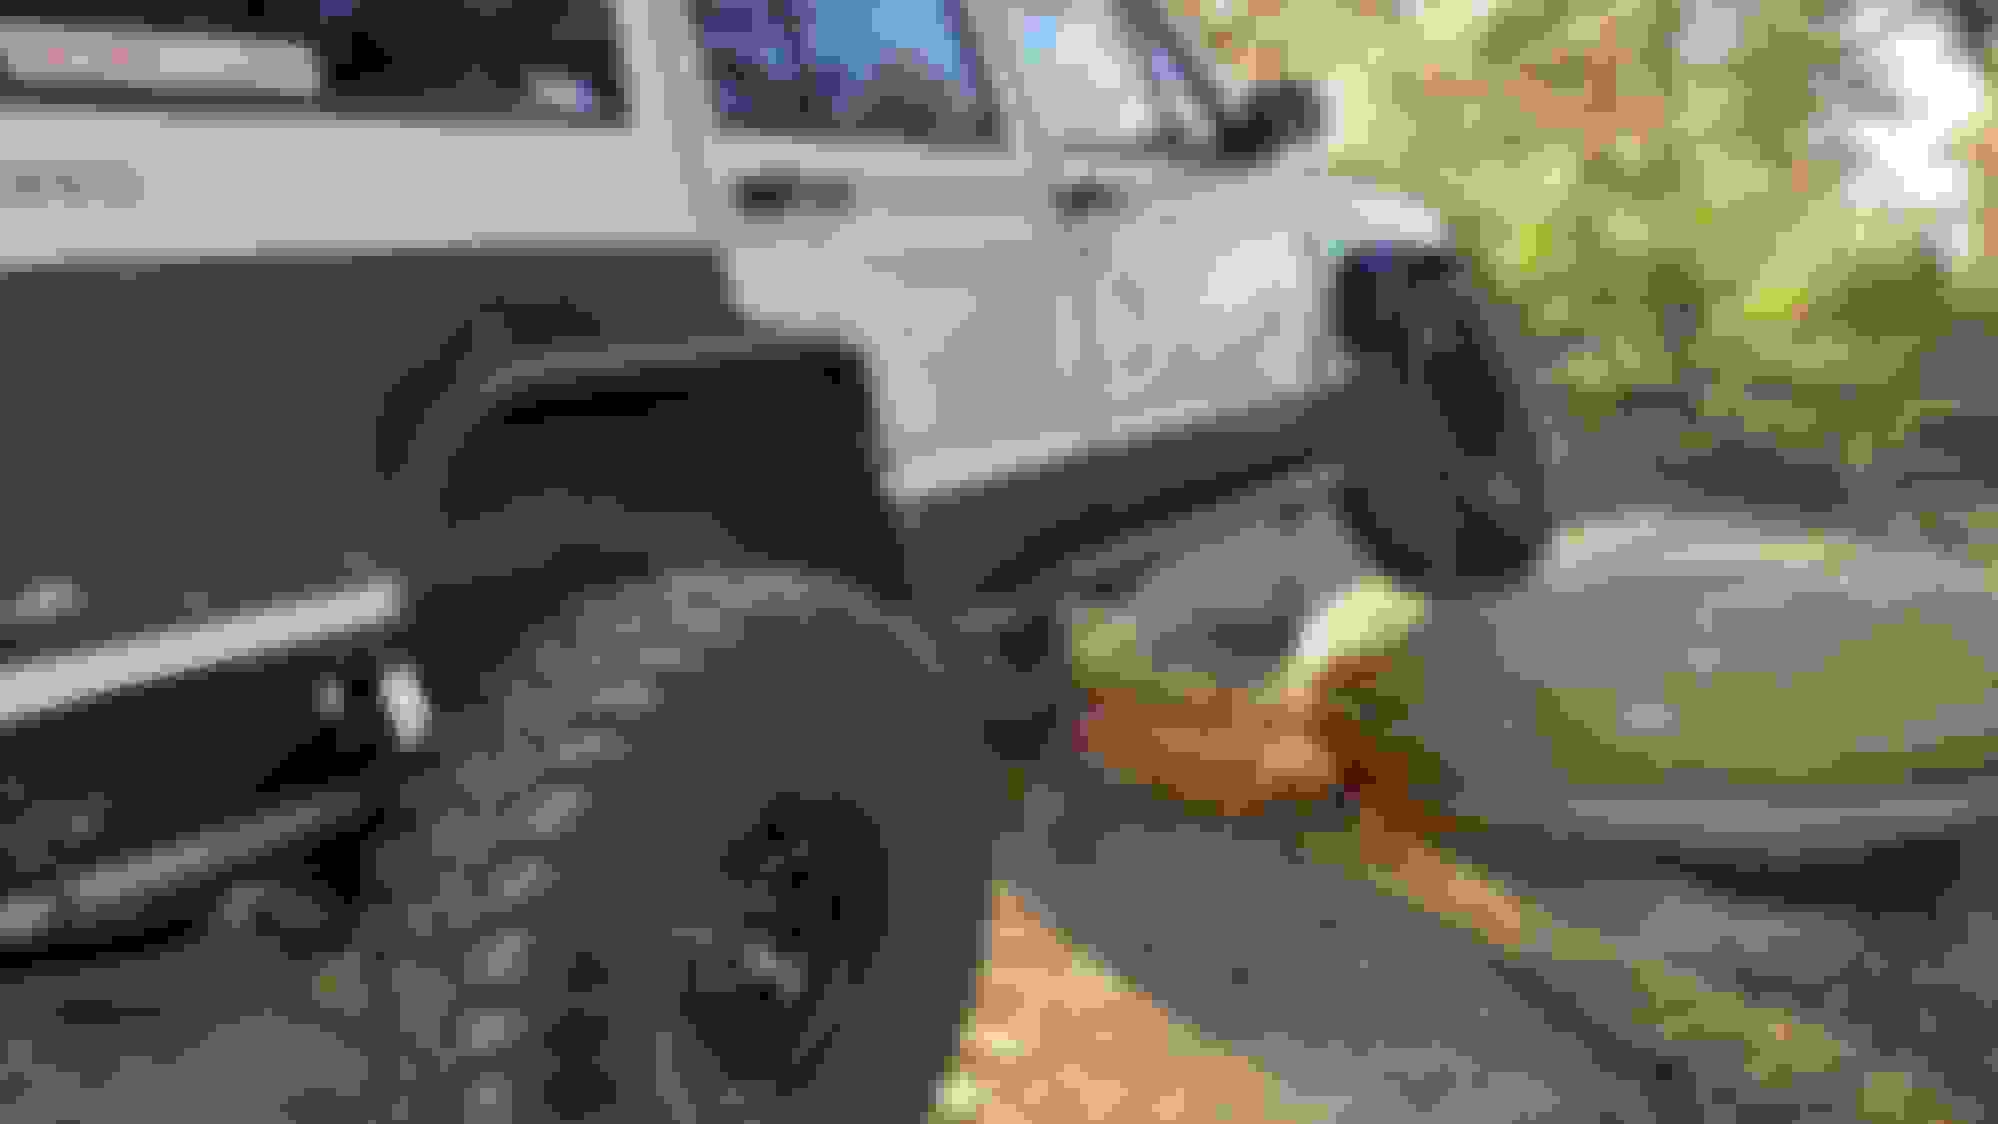
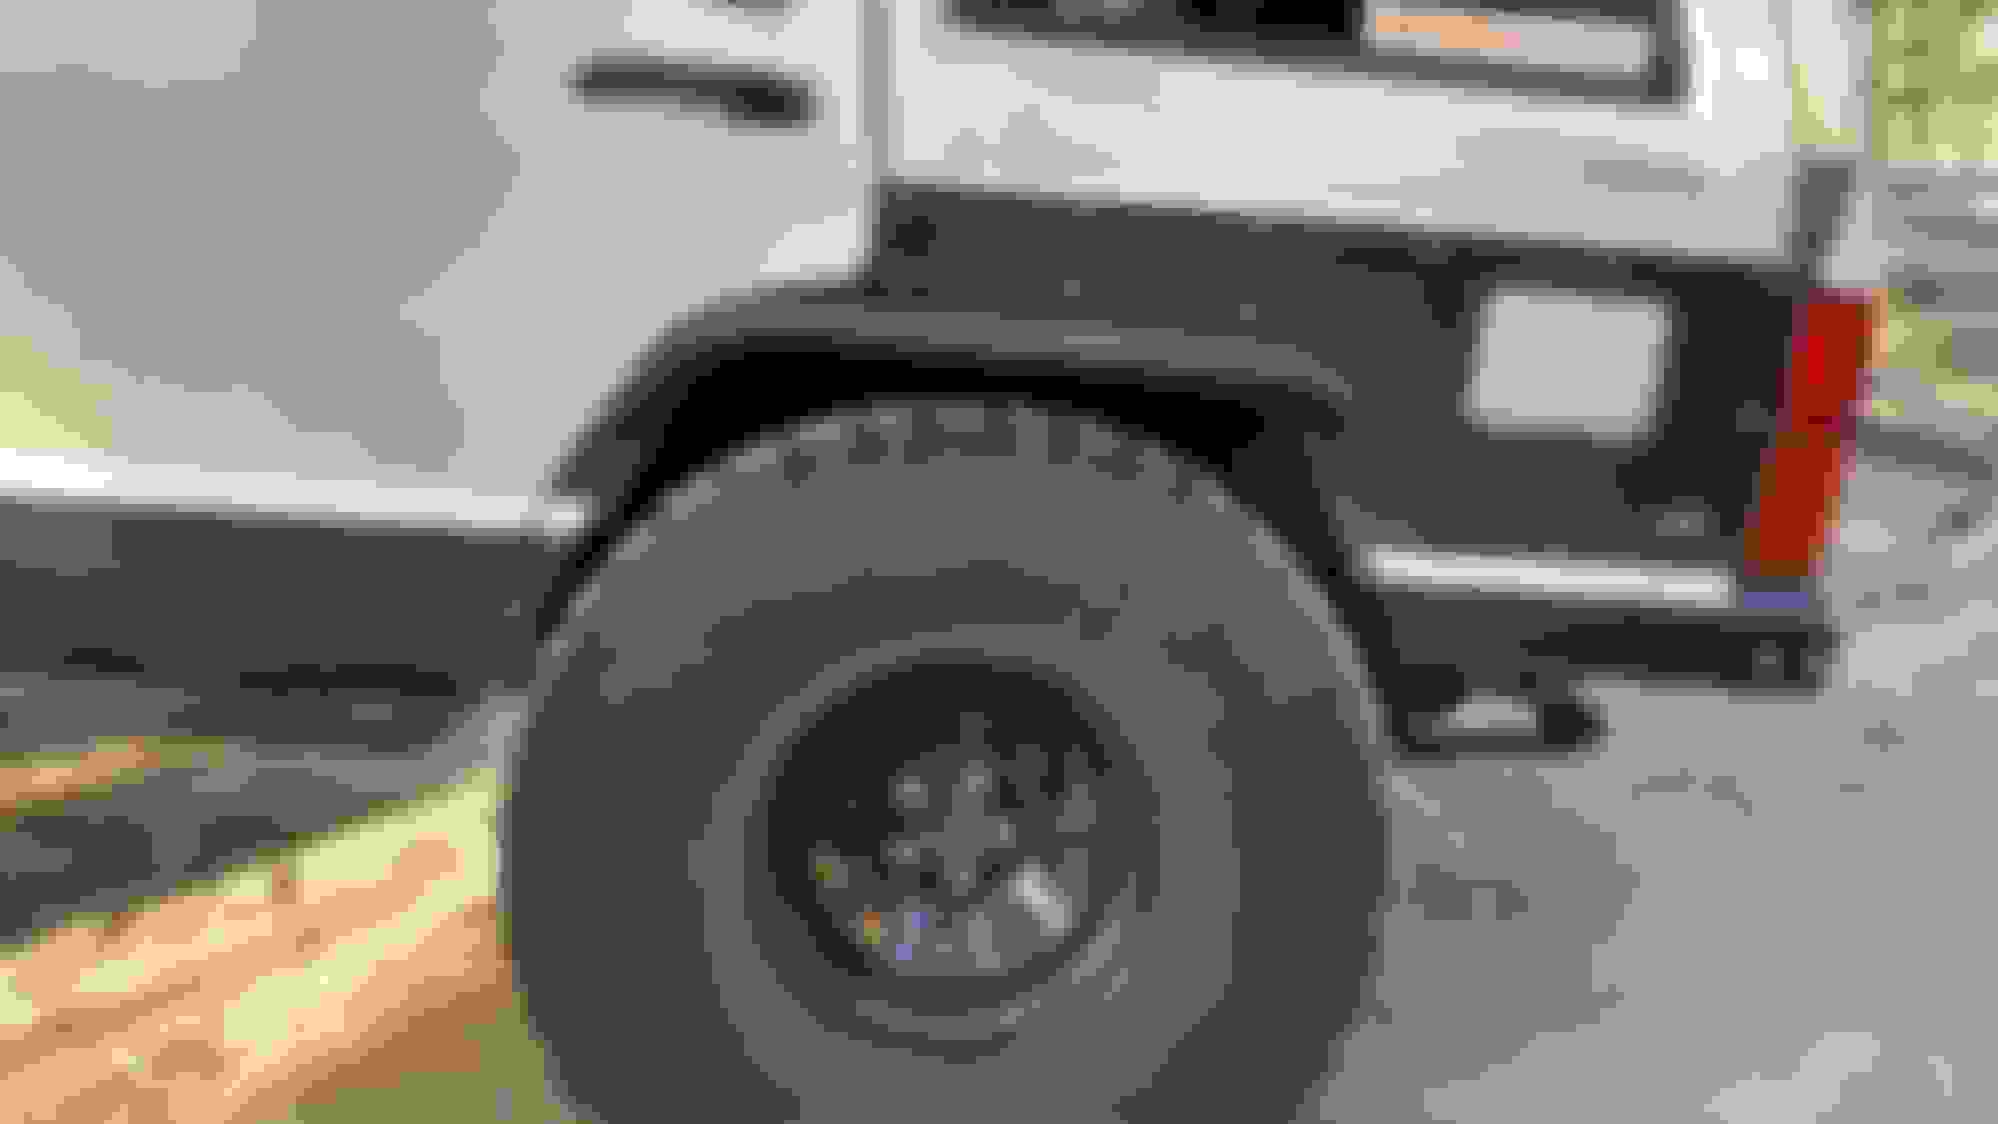
Here is a pic with the Rubicon wheels and tires on an RE 3.5 inch lift.
Now with the Rubicon wheels and tires on I was having issues with the front tires rubbing the wheel wells and flares. I didnt want to remove the flares cause they are helpful when it its wet out. So I decided to cut the front fenders back some so i could mount the flares up about 2 inches for tire clearance. This worked out really well.
Shes looking nice bro what upgrades are on your list? if you dont mind me asking
Thanks, as far as upgrades go, I am writing this thread in mostly past tense as the jeep is far past this stage right now. I am wanting to provide info on what upgrades I did and why for the many others that may be looking for ideas as I did while building it up. I will keep moving this thread along and getting it up to the present date within a week or two.
Shackle angle is the next thing I decided to address since the ride was a little rougher than i liked. With the RE 3.5 inch lift springs and stock shackle it looks like this.
So I decided to go with HD Offroads shackle relocation kit but and was also looing forward to a small lift from this. After the install the shackle angle is about perfect. It took a few times to figure out what hole was right to get the desired angle.
As you can see I cut the back portion off so the shackle can move freely as the leaf spring pack moved. This gave a much better ride and allowed the leafs to flex much better. It also resulted in about an inch of lift so I leveled out the front with a 1.75 inch spacer and removed the stock coil spring isolater.
Next, its time for some self recovery options as I kept finding my self way out in the middle of no where and knew that eventually I would get stuck. Since this is a budget build I decided to go with a dirtbound DIY front winch bumper kit. The kit is pretty nice but challenging to get all the angles right for the Manta Ray bumper. I think it turned out pretty well for my first DIY bumper. I tacked it all together and brought it to a buddy to finish up the welding.
I then purchased a SmittyBuilt 9000 pound winch with wire rope. I picked it up for $280 so bumper and winch is just under $600. Pretty good deal I think.
I now know the goal is to eventually be running 4.88 gears on 35's locked front and rear. So with that, I must build a rear bumper and tire carrier to hold the spare 35. Right now the spare just lays flat in the back behind the rear seat. A perfect fit. So back to dirtbound offroad for their rear DIY bumper and I will design/build a tire carrier into it or so that was the plan.
At this point I came across a great deal on a 220v welder, the Hobart 180. So I decided I would do all the welding on this project. I learned alot from this experiment. I especially learned how the heat from welding can warp steel real good and taking my time is something I will do for sure on the next bumper build. The bumper turned out OK at best but structurally was not as strong as I had hoped. Here it is tacked together. This is the cut and fold rear bumper.
Time to finish up the bumper by welding on the side plates and bolting on the lower sections for the cut and fold portion which I somehow dont have any pics of.
OK, a few months later I got the right deal from a local 4x shop to regear the axles and add a front locker. I decided to use an Eaton E locker on the front and keep the Spartan in the back. So it is time to order up 35's and decide on the back spacing needed since I also knew I am going to upgrade the knuckles to the WJ swap for better brakes and way better steering.
Time to open up the wheel wells and bolt on the fender flares from dirtbound. These were a huge pain in the ***. They come flat and are some how supposed to mold to the slight curve of the body. I dont understand what they are thining with these parts.
The front was easier to do but still hard to get the plate steel to bend with the body.
With the axles re-geared and front locker installed I bolted on the new meats. I went with General Grabber X3 tires in a 35 12.50 15 as they are about $180 a piece and went with the inexpensive D window black steel wheels.
On to the WJ knuckle swap. It took me a while to figure out what type of steering i was going to use. I do not care for the heim joints on steering for a daily driver scenario so I opted for the JKS steering links and the stock TRE's for the WJ. I also set it up over the knuckle to keep the tie rod out of the way and keep the drag link angle down.
This was a lot of work and took me all day. I had never replaced ball joints before and the tool I rented to do the swap was OK at best but somehow I got it done. I am now super happy with the swap even though it is not budget friendly but it got me way better brakes and super sweet steering that also required a a trackbar relocation on the axle side to match the drag link angle. I will have to add a pic of the finished WJ swap soon.
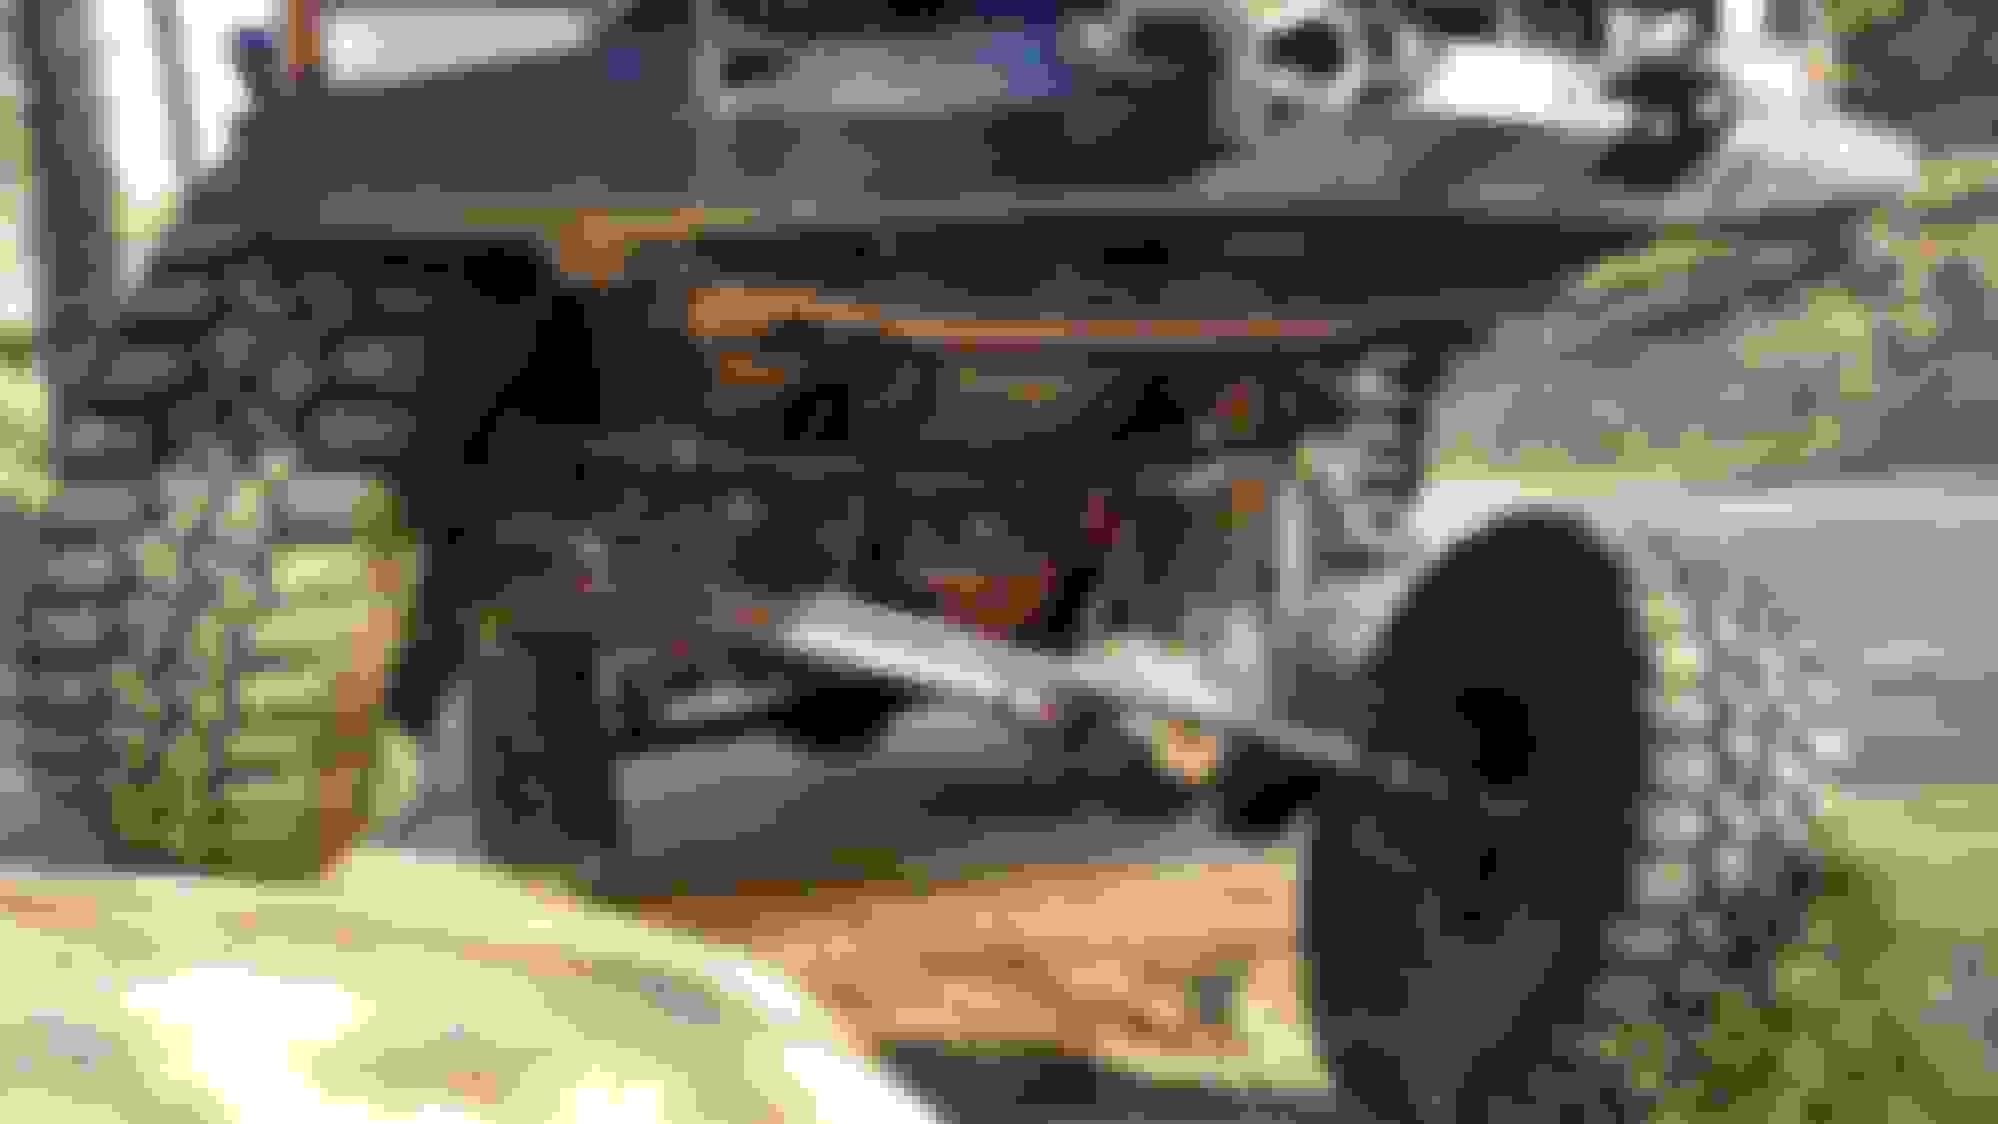
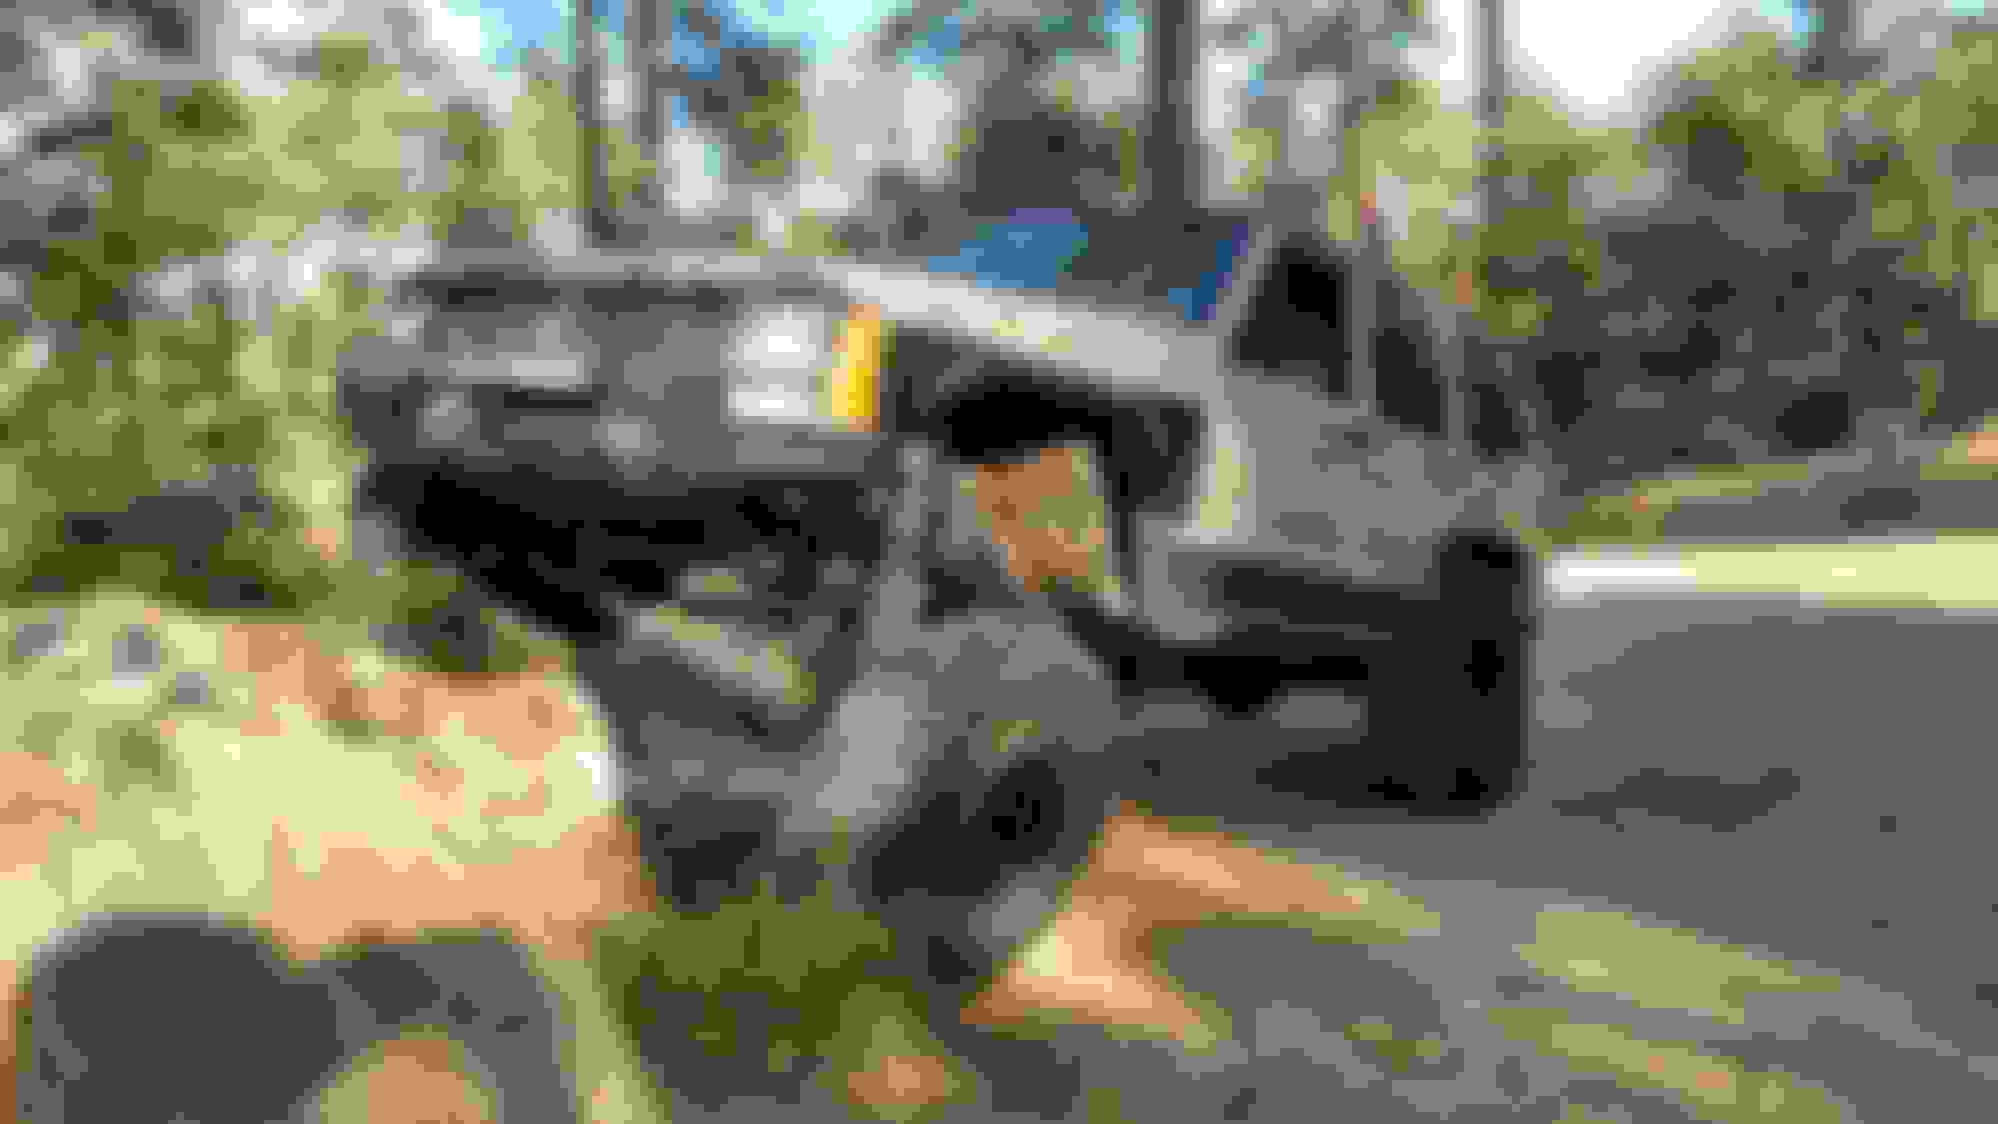
Now, finally about up to speed with the build. 14 months after purchasing the jeep and building it up the long arm kit finally arrives. I knew I wanted to go long arm on this as it rides better and flexes easily while keeping the tire centered in the wheel well. I was one fo the first to order the Cavfab Alpha series 3 link long arm kits. The wait was very long but I couldnt find any other kit out there that met my desires like this did especially since I wanted to keep the lift at 4.5 to 5 inches and dont want to use heim joints. The kit was super easy to install, the hardest part for me was cutting off the stock lower control arm mounts from the body. I ended up using a reciprocating saw with a metal blade. It only took two blades since I broke one of them.
The kit performed beautifully. I now need to bump stop more and possibly get different front shocks to allow for more down travel.
Ya skipping out on the tie-in brackets, and front most cross member bolts?
Looks great though! Can't wait to swap my OG kit for the Alpha kit. Waiting for them to get caught back up.
Oh, you saw that. Well, since the pic I have installed the front cross member bolts. A bit of a pain since I have frame stiffeners installed and drilling precisely through the frame stiffener directly into the existing threaded hole in the frame is tough. I made it work some how. Now the tie in brackets. I am a little confused on exactly how to set them up since there isnt any install directions and there appears to be a short and long bolt per side, what goes to the front or back? Maybe it would be more obvious if I didnt have the stiffeners covering up the frame rails. So until I get a hold of some instructions on that I will wait till I have more time to figure it out. Not much fun trying to drill through the stiffeners so i want to make sure I am doing it right the first time. Other wise the Cavfab Alpha series 3 link is sweet.
I swapped out the RE3.5 coils for 4.5 coils with the same 1 inch spacer. I am trying to figure out exactly what height I want it to sit at. Trying to keep a low center of gravity while having good up travel for dirt road bumps but also setting the bump stops high enough to keep the tires from destroying the wheel wells. The compromise is tough but I think I am getting close. Need to add another hockey puck on the bump stop as the tires dig into the wheel well too much still. I also installed longer Bilstein 5100 shocks model 24-185943.
I am really loving the WJ knuckle swap with the really nice drag link angle and especially the bigger brakes.
 04-14-2017, 12:35 PM