Installing axle seal help
 02-27-2010, 09:40 AM
#1
Junior Member
Thread Starter

Join Date: Feb 2010
Location: Naples FL
Posts: 73
Likes: 0
Received 0 Likes
on
0 Posts
Year: 1999
Model: Cherokee
Engine: 4.0
I am installing new seal on my XJ with a dana 30 front. I can't seem to get them to go in. I even made a little tool using a couple peices of pipe and a hunk of all thread and still keep getting crooked. Am I missing a trick or two?
 02-27-2010, 09:53 AM
#2
Senior Member
Join Date: Feb 2009
Location: Highlands Ranch Co.
Posts: 717
Likes: 0
Received 0 Likes
on
0 Posts
Year: 1985 shell
Model: Cherokee
Engine: 1996 6 cylinder Briggs & Stratton
Are you using a big socket behind your washer? If the washer flexes even slightly it makes it hard to seat the seal.
02-27-2010, 09:55 AM
#3
CF Veteran
Join Date: Apr 2009
Location: Austin, Texas
Posts: 1,109
Likes: 0
Received 3 Likes
on
3 Posts
Year: 1991
Engine: 4.0 I-6 H.O.
which side are you installing?
honestly it makes a lot of sense to rent a installation tool set from a local parts store. I had so many problems installing the passenger side seal on my XJ with the vacuum disconnect, it was hell working through that tiny little square hole
honestly it makes a lot of sense to rent a installation tool set from a local parts store. I had so many problems installing the passenger side seal on my XJ with the vacuum disconnect, it was hell working through that tiny little square hole
02-27-2010, 10:15 AM
#4
Junior Member
Thread Starter
Join Date: Feb 2010
Location: Naples FL
Posts: 73
Likes: 0
Received 0 Likes
on
0 Posts
Year: 1999
Model: Cherokee
Engine: 4.0
which side are you installing?
honestly it makes a lot of sense to rent a installation tool set from a local parts store. I had so many problems installing the passenger side seal on my XJ with the vacuum disconnect, it was hell working through that tiny little square hole
honestly it makes a lot of sense to rent a installation tool set from a local parts store. I had so many problems installing the passenger side seal on my XJ with the vacuum disconnect, it was hell working through that tiny little square hole
02-28-2010, 08:50 PM
#6

copied from another forum.
HTH
I used a fancy big dollar O.E.M. seal installer for a leaking D30 axle seal at work, and i got the idea of making one similar myself. So I kept the old leaking seal and went to the hardware store.
While walking though Menards, I picked up the threaded rod, then realized i had a Home depot gift card to burn up. I headed over the HomeDepot with the axle shaft seal in hand an found that a 1 1/4in Sch pvc pipe cap fits the outer raised edge pretty darn well. I dont have the seal in front of me to show how well the axle seal fits the 1 1/4 cap, But if you are gonna take on this repair, once you get your seal, take the seal to the hardware store and match it up. Maybe you can find something better!
Anyways, on to the tool
Materials Needed:
1 Threaded Rod (i used 7/16-14 x 12inch long rod from menards)
2 Nuts 7/16-14
2 Washers 7/16
2 Sch 40, 1/14in end cap(from homedepot, menards ones had rounded caps not flat like the ones i got
2 Large fender washer 7/16 hole, and about the diameter of the cap(found them at work)
1 7/16-ish Drill bit and drill
1 Roll of electrical tape
Pretty easy construction
Drill holes in the center of the caps, put the nut on, put the washers on, then slide the cap with the open end facing out.
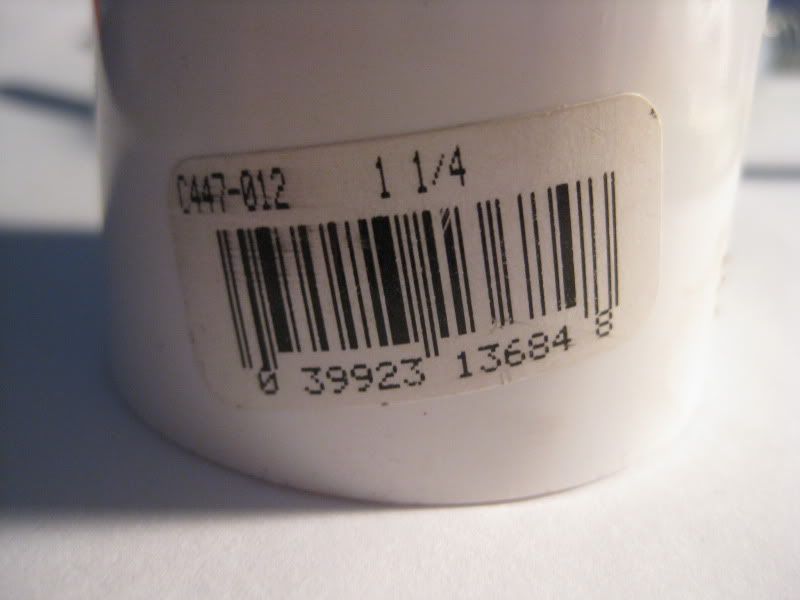
Cap bar code
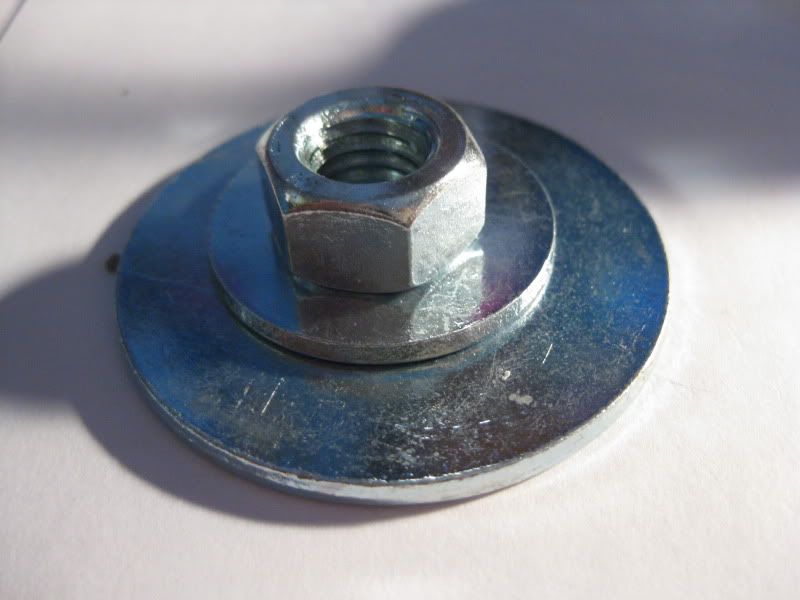
Nut and washers
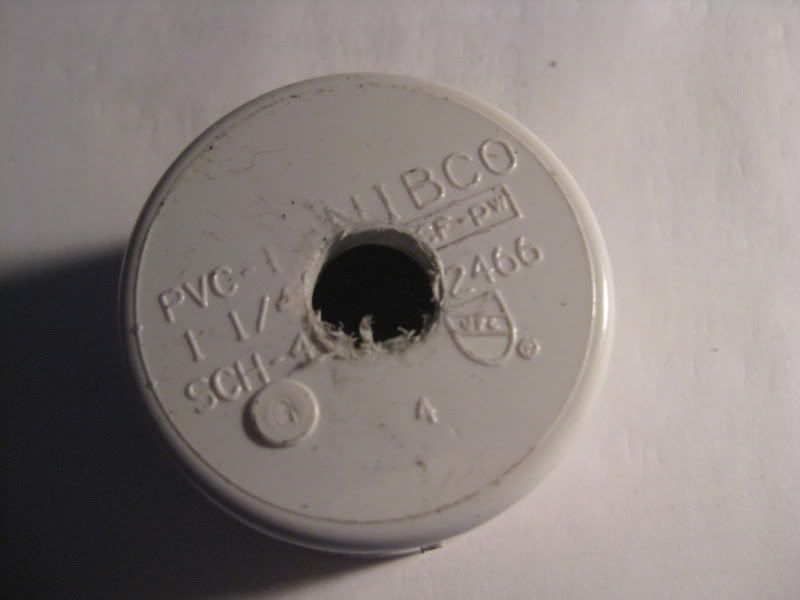
hole drilled in cap
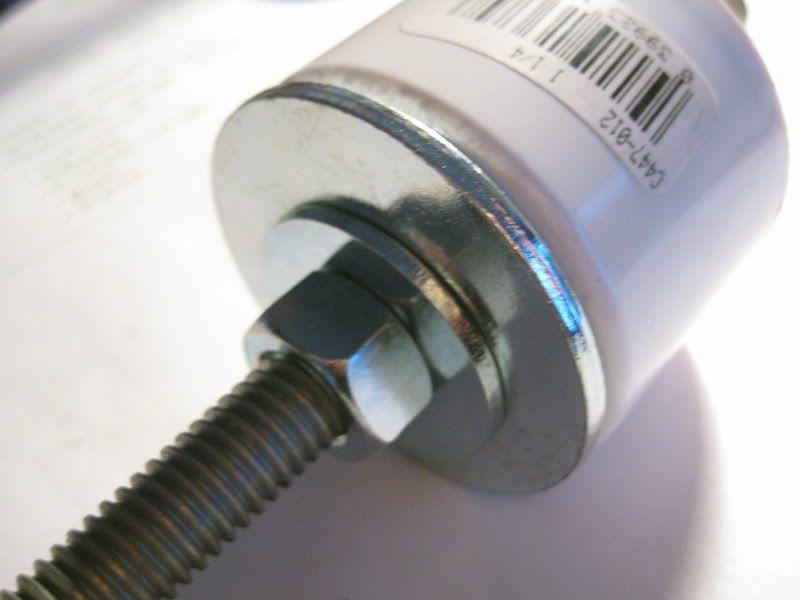
One side assembled
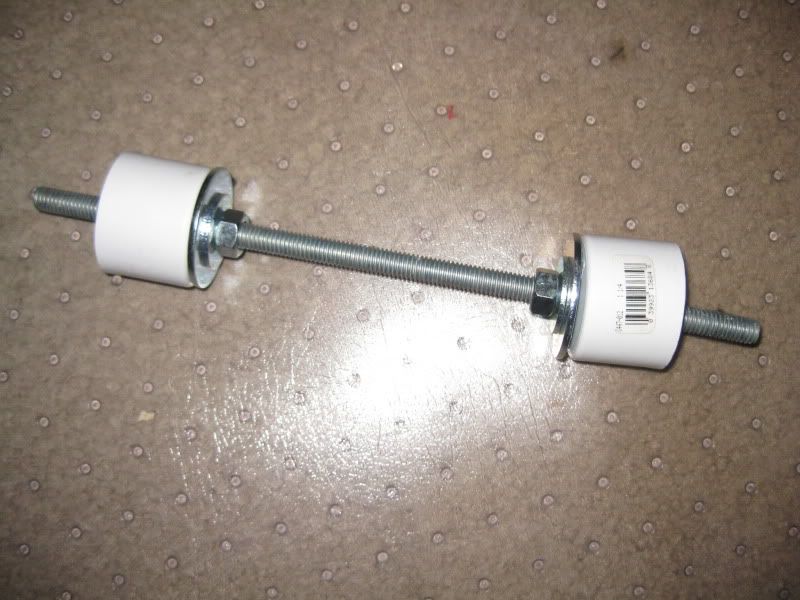
Overall Tool
Not pictured is the Electrical tape. That gets wrapped around the threads on the end to protect the new seal if the threaded rod was dropped/dragged along the seal, possibly damaging the seal.
how the tool works is just like the O.E.M. tool. Seat the caps on the seals using hand pressure to get the caps properly seated on the axle seal, then start tighten one of the nuts. This will cause the caps to push outward on the seal and force them in place. Or you could just use the cap as a seal driver and hammer the seal in. I havent tried that but it could work too,...
If someone builds and uses this idea before me, please let me know how it turns out!!!
Hope this help! and if anyone has any improvements, let me know!!
While walking though Menards, I picked up the threaded rod, then realized i had a Home depot gift card to burn up. I headed over the HomeDepot with the axle shaft seal in hand an found that a 1 1/4in Sch pvc pipe cap fits the outer raised edge pretty darn well. I dont have the seal in front of me to show how well the axle seal fits the 1 1/4 cap, But if you are gonna take on this repair, once you get your seal, take the seal to the hardware store and match it up. Maybe you can find something better!
Anyways, on to the tool
Materials Needed:
1 Threaded Rod (i used 7/16-14 x 12inch long rod from menards)
2 Nuts 7/16-14
2 Washers 7/16
2 Sch 40, 1/14in end cap(from homedepot, menards ones had rounded caps not flat like the ones i got
2 Large fender washer 7/16 hole, and about the diameter of the cap(found them at work)
1 7/16-ish Drill bit and drill
1 Roll of electrical tape
Pretty easy construction
Drill holes in the center of the caps, put the nut on, put the washers on, then slide the cap with the open end facing out.
Cap bar code
Nut and washers
hole drilled in cap
One side assembled
Overall Tool
Not pictured is the Electrical tape. That gets wrapped around the threads on the end to protect the new seal if the threaded rod was dropped/dragged along the seal, possibly damaging the seal.
how the tool works is just like the O.E.M. tool. Seat the caps on the seals using hand pressure to get the caps properly seated on the axle seal, then start tighten one of the nuts. This will cause the caps to push outward on the seal and force them in place. Or you could just use the cap as a seal driver and hammer the seal in. I havent tried that but it could work too,...
If someone builds and uses this idea before me, please let me know how it turns out!!!
Hope this help! and if anyone has any improvements, let me know!!
03-01-2010, 06:49 AM
#7
Junior Member
Thread Starter
Join Date: Feb 2010
Location: Naples FL
Posts: 73
Likes: 0
Received 0 Likes
on
0 Posts
Year: 1999
Model: Cherokee
Engine: 4.0
I made one similar to that using 3\4 - 1 1\2 pvc adapters. Still wanted to go in crooked because they could rock on the all thread. I ended up getting a 4' hunk of 3\4 black iron pipe and a 3\4 to 1 1\2 fitting. The 4' long pipe could reach the distance from the end of the axle tube and being non flexible it pressed the bearing right in with a few whacks of a hammer. I was surprised how hard I had to whack it to get them in though.
Trending Topics
03-01-2010, 11:10 AM
#8
CF Veteran
Join Date: Apr 2009
Location: Austin, Texas
Posts: 1,109
Likes: 0
Received 3 Likes
on
3 Posts
Year: 1991
Engine: 4.0 I-6 H.O.
yea the passenger side one gave me huge problems, i went through 2 and that side wasnt even the one leaking, the driver side was leaking and I decided to pull both since I would be in there
02-17-2012, 11:39 PM
#9
Seasoned Member
Join Date: Nov 2011
Posts: 309
Likes: 0
Received 0 Likes
on
0 Posts
well guys, imma head to lowes tomorro and get some of this stuf similar and hopefully get my seal pressed in. ive done it all from using screw drivers to "tap" it in , block of wood sure as heck dont fit ) im replacing my right front on my 88 cherokee 4x4. i removed the whole passenger side axle, hub, and went behind the main axle and removed the housing for the vacuum where the seal is located. ill try to post pics soon of wat i come up with wen i get the materials. i hope this works. i gotta get my jeep on the road asap :/