Jeep Grand Cherokee 1999-2004: How to Replace Radiator
The radiator is responsible for keeping your Jeep Grand Cherokee's engine cool. Replacing a faulty one or upgrading to a better one is a wise decision that will ensure your engine stays cool and healthy.
This article applies to the Jeep Grand Cherokee WJ (1999-2004).
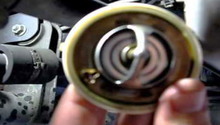
The radiator in your Jeep Grand Cherokee is designed to cool down your engine by letting coolant flow through it. When you start the engine, the thermostat blocks the coolant from going into the engine, and when it reaches its optimal temperature, the thermostat opens up and allows the coolant to go from the radiator to the engine in order to keep it cool. If the radiator starts leaking, your car will start overheating. There are also aftermarket radiators that can take more wear than OEM ones, thus keeping your car cool under heavier driving conditions. Read on to learn how to replace your own radiator.


Materials Needed
- Wrench set
- 5/32 Allen wrench
- Ratchet and socket set
- Container
- Pliers
- New radiator
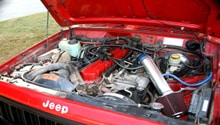
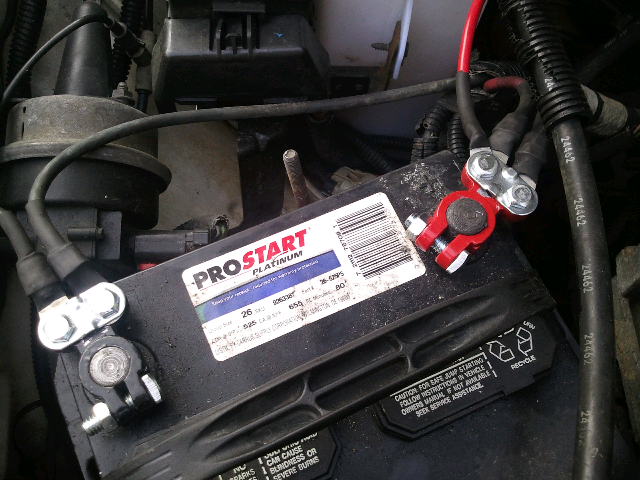
Step 1 – Disconnect battery
Open your hood and disconnect the negative (black) battery terminal. Wrap it in a towel so it doesn't touch any metal and create a spark.
Step 2 – Drain radiator from coolant
Open the radiator's cap located on top of the radiator, and locate the drain plug on the bottom of it by the passenger's side. Place a container under the drain plug and remove it by turning counterclockwise. Let the coolant drain completely.
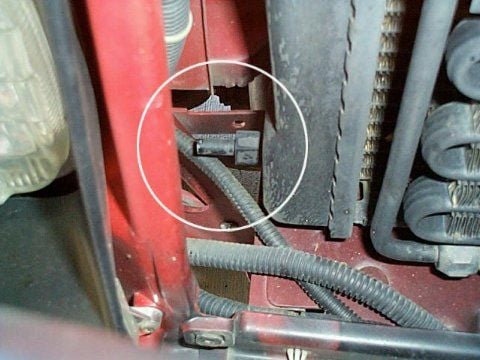
Figure 3. Remove plastic drain plug. 
Figure 4. Drain coolant.
Step 3 – Remove the grill's screws
Remover the top screws holding the grill in place using your 5/32 Allen wrench. Even though this won't allow the grill to completely come off, it will give you more room to pull the radiator out.

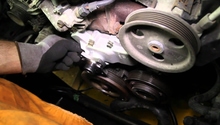
Step 4 – Remove hoses
Remove the upper and lower radiator hoses. They are connected and held in place with a clamp that you simply need to squeeze with pliers to slide it in; then pull the hose out and away to remove. The upper hose is connected on the top and the lower hose is connected the same way, only on the bottom.
Remove the transmission line connected to the radiator by removing the nuts with your 7/8 wrench.
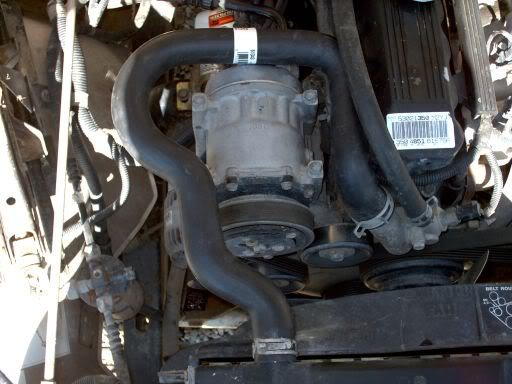
Figure 6. Upper radiator hose. 
Figure 7. Transmission line going into radiator.
Step 5 – Remove radiator
Remove the fan shroud by removing its mounting nuts and the upper brace bolts, as well as the upper brace itself. Remove the condenser and hood latch bolts through the grill, and finally remove the lower bracket bolts. Make sure there are no more connections to the radiator; carefully and with the help of a friend, pull the radiator all the way out.
Step 6 – Install new radiator
With the help of a friend, lower the new radiator in place carefully. Be sure to either pull out the fan or push it out of the way as the radiator lowers into place.
- Install the lower bracket bolts.
- Install the condenser bolts.
- Install the hood latch bracket.
- Install the upper brace and its bolts.
- Install the fan shroud mounting bolts.
- Install the transmission lines.
- Install the upper and lower radiator hoses.
- Install the grill screws.
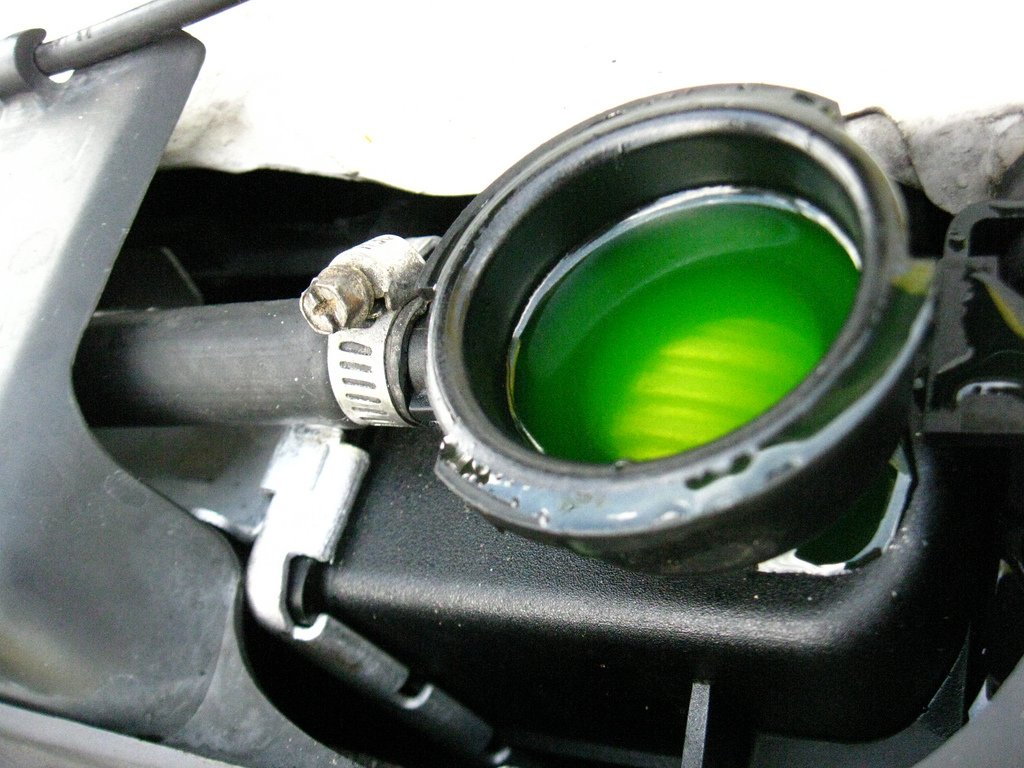
Step 7 – Refill radiator with coolant
Fill the new radiator with 50/50 antifreeze mixed with distilled water until the coolant is about 1/2 inch from the top. Reconnect the negative battery terminal, start the car and let it run for a few minutes. Check the coolant level again and top off as needed. Use a flashlight to check for any visible leaks around the areas you worked on. Check all the hose connections to ensure you've tighten them properly. Keep an eye on the coolant level and any leaks for a few days to follow.
Featured Video: Jeep Grand Cherokee Radiator Replacement
Related Discussions
- Radiator Replacement - CherokeeForum.com
- Radiator Changing Issues - CherokeeForum.com