Jeep Cherokee 1984-2001: How to Replace Radiator
Whether it be from impact damage, corrosion, restricted flow, or seam failure, radiators wear out and often fail over time. A failing radiator can lead to overheating issues and potential engine damage if left untreated in the Jeep Cherokee.
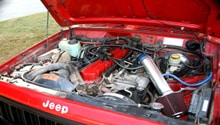
This article applies to the Jeep Cherokee XJ (1984-2001).
The radiator is the main component of the cooling system, as it cools the water circulating the engine to help maintain a steady operating temperature. Coolant passes through the radiator cores and transfers the heat to the radiator fins. The internal cooling system builds up from neglected maintenance and will reduce the efficiency of the radiator; in severe cases, the cores get plugged, which causes overheating. Similarly, extremely old coolant cannot adequately prevent internal corrosion from occurring, and radiators can often rot from the inside out. In addition to corrosion, end tanks as well as seams can split and cause coolant leaks.
For the XJ Jeep Cherokee, off-road terrain can be especially tough on the vehicle and any impact damage can make quick work of your radiator. In any case, a leaking, plugged, or damaged radiator can reduce cooling efficiency, which can lead to overheating issues and potential engine damage. Replacing the radiator is a straightforward job that can be quickly completed to improve cooling system's performance. This article will outline the radiator replacement procedure for 1984 to 2001 Jeep Cherokee XJ models.

Materials Needed
- 3/8" drive ratchet and extensions
- Metric socket set
- Torx driver bits
- Screwdrivers (Phillips and straight)
- Transmission line quick disconnect tool
- 3/4" combination wrench
- Pliers
- Catch pan
- Shop rags
- Funnel
- 1/4" vinyl hose
- Cardboard
Warning
Be sure the engine is cool before beginning this procedure, as a warm engine contains scalding hot water that can cause serious injury!
Step 1 – Remove grille and drain coolant
For easiest access to the radiator and radiator drain cock, the front grille should be removed.
- To remove the front grille, the headlight bezels first need to be removed. Depending on the year and model, there are two to four Phillips screws holding each bezel in place. Remove the screws and lever the bezels out. Later models will have hinged clips at the bottom that need to be freed for removal. Disconnect any wiring to the marker lights and set each bezel aside.

Figure 1. Headlight bezel removal. - Depending on the year and model, there are additional four to eight Phillips screws securing the grille in place. Early XJs will have screws across the top and bottom of the grille, whereas later models have only four screws at the top with plastic clips at the bottom. Remove the screws and tilt the grille forward at the top while, pulling it away from the car.

Figure 2. Removing grille fasteners. - With the grille removed, the radiator drain cock is now accessible on the passenger's side of the radiator. Loosen the drain cock and catch emerging coolant. A piece of 1/4" vinyl hose can aid in draining the coolant by attaching it to the drain cock.
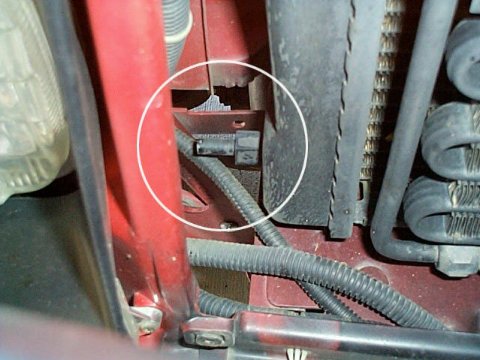
Figure 3. Radiator drain cock with front grille removed.
Pro Tip
Some individuals opt to leave the grille in place and drain the radiator by removing the lower radiator hose. However, this method can be a bit messy, so proceed with caution.
Step 2 – Remove electric fan and shroud
- Disconnect the electrical plug at the electric fan.
- Remove the radiator overflow hose from the radiator neck.
- Remove the two bolts securing the top of the fan shroud, and push the shroud back towards the engine.
- Remove the two bolts securing the electric fan in place and lift the fan straight up as well as out of the engine compartment.

Step 3 – Remove radiator crossmember and support bracket
The top radiator crossmember and support bracket must be removed next.
- Using the appropriate size Torx bit, remove the two hood latch bolts (green) and set the hood latch aside.
- Remove the four fasteners (yellow) securing the crossmember in place. It can then be lifted up and out of the engine bay.
- Remove the eight fasteners (red) securing the top radiator support bracket in place and lift the support out of the engine bay. The top of the radiator is now exposed.

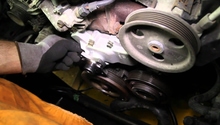
Step 4 – Disconnect condenser, hoses, and transmission lines
The final steps before removing the radiator involves removing the attached condenser, radiator hoses, and automatic transmission lines (if applicable) from the radiator.
- The air-conditioning condenser is attached to the radiator via two brackets with one nut each. Remove each nut and allow the condenser to hang free of the radiator.

Figure 6. Air conditioner condenser fasteners. - Remove the top and bottom radiator hoses by removing the hose clamps and sliding them off of the radiator. A small screwdriver or a radiator hose removal tool can come in handy to separate the hoses from the radiator necks if they are stuck in place.
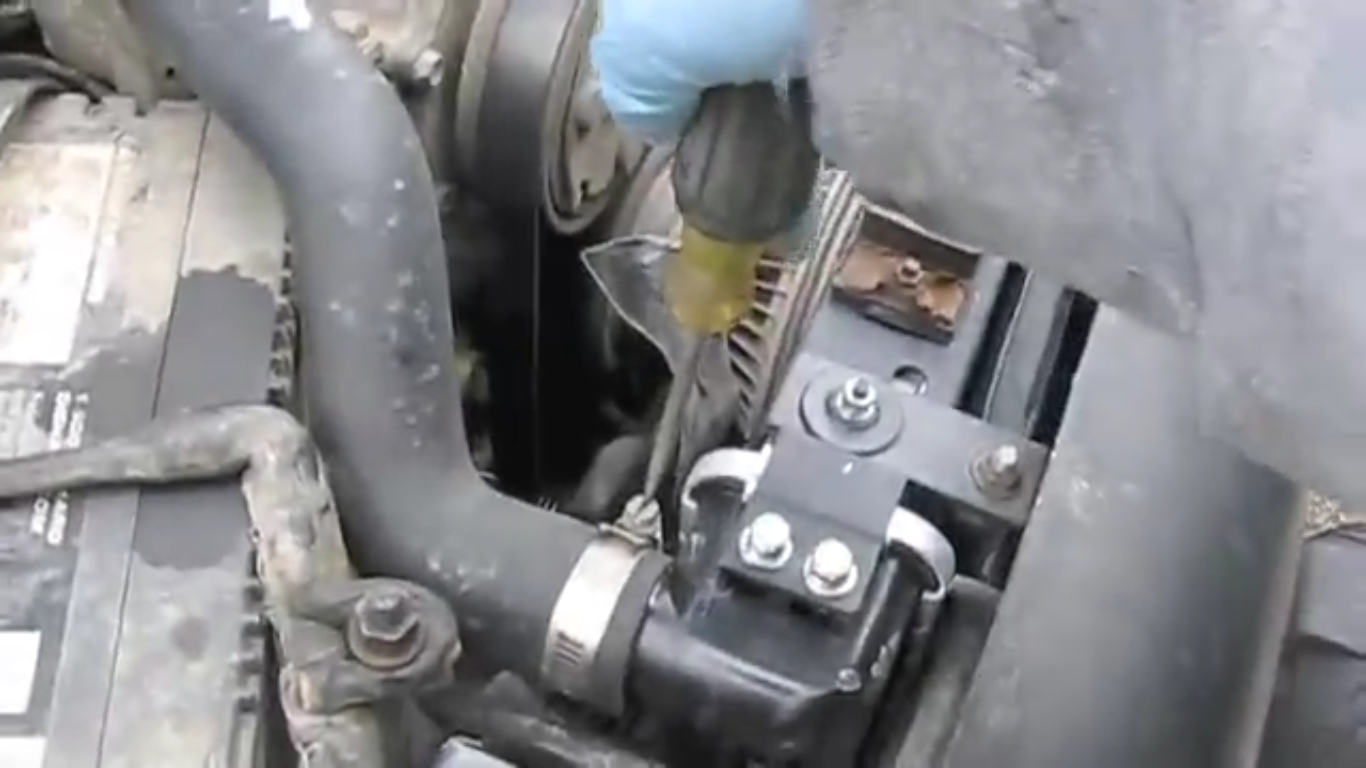
Figure 7. Radiator hose removal. - If applicable, remove the transmission cooler hard-lines connected to the radiator tank. Typically, the top line simply threads into the radiator and can be removed with a 3/4" wrench. However, the bottom transmission cooler line is a pressure fitting that is best removed with a fuel line/transmission line disconnect tool. Although some individuals have had success removing the lower line with a set of pliers, the line and fitting can be easily damaged. Have a few shop rags available because a small amount of transmission fluid will emerge when disconnecting these lines.
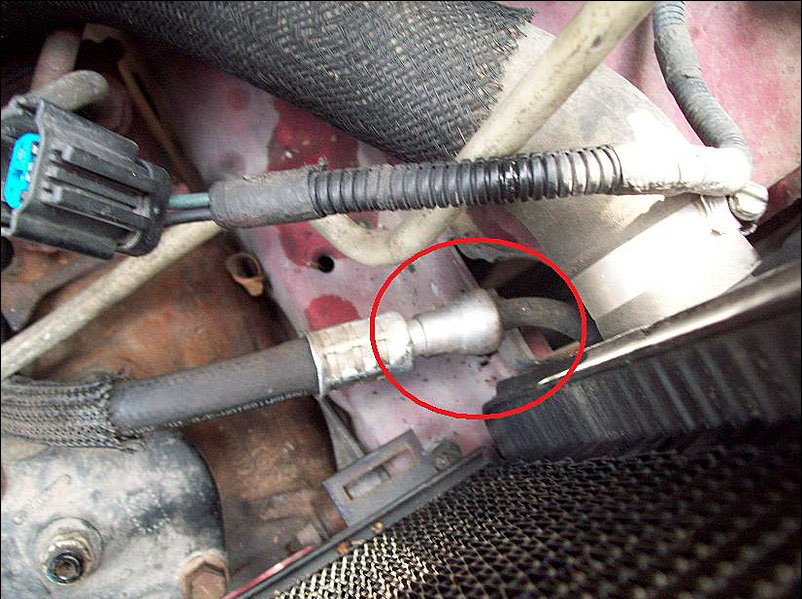
Figure 8. Lower transmission cooler line requiring special tool. - With everything disconnected from the radiator, it can be tilted forward and the fan shroud can now be removed.

Pro Tip
A fuel/transmission/air conditioning line quick disconnect tool kit can be bought relatively cheap and is typically available at all auto parts stores.
Step 5 – Remove and replace radiator
The radiator is now ready for removal.
- Lift the radiator straight up and out of the engine bay.
- Compare the old radiator with the new one. If the new radiator does not include new bushings, remove the old bushings from the top of the radiator and install them onto the new radiator.
- Next slide the radiator into place, ensuring it is properly seated in the lower track with the alignment pins inside of the rubber grommets.
- Install the fan shroud by leaning the radiator forward. A small piece of cardboard can be laid across the backside of the radiator to prevent any damage to the fins when installing the shroud.
- Reinstall the transmission cooler lines (if applicable). Be sure the lower quick-connect line is securely connected by giving it a firm tug once it is in place.
- Install the top and bottom radiator hose clamps. Ensure they are fully seated on their respective radiator necks. If using worm-style hose clamps, tighten to approximately 35-50 in/lbs.
- Attach the condenser support brackets to the radiator and tighten the nuts.
- Reinstall the radiator bracket and crossmember.
- Install the hood latch.
- Install the electric fan and reconnect the electrical plug. Be sure to install the fan shroud fasteners as well.
- Reattach the radiator overflow hose.
- Fill the radiator with coolant.

Step 6 – Start vehicle
- With the cooling system filled, the radiator cap can be left off as you start the engine. Monitor the coolant level in the radiator. If it drops significantly after running, top it off as necessary and install the radiator cap. Check all coolant hose connections as well as the transmission cooler lines for any signs of a leak. It is also a good idea to check the automatic transmission fluid if applicable.
- If there are no leaks and everything checks out okay, reinstall the headlight bezels and front grille.

Pro Tip
In some cases, an air pocket can remain in the coolant system and lead to overheating. If you notice any overheating problems, it may be necessary to remove the temperature sensor at the back of the cylinder head and run the engine to allow any residual air to escape.
Featured Video: Replacing a '95 Cherokee Radiator
Related Discussions
- Radiator Replacement - CherokeeForum.com
- Replacing Radiator - CherokeeForum.com
- Replacing radiator on a 1996 Cherokee - CherokeeForum.com