96 XJ: The Wheeling Beer Can
 05-24-2016, 12:55 PM
#46
Junior Member
Thread Starter
Join Date: Oct 2015
Location: Paso Robles Ca
Posts: 36
Likes: 0
Received 0 Likes
on
0 Posts
Year: 1996
Model: Cherokee
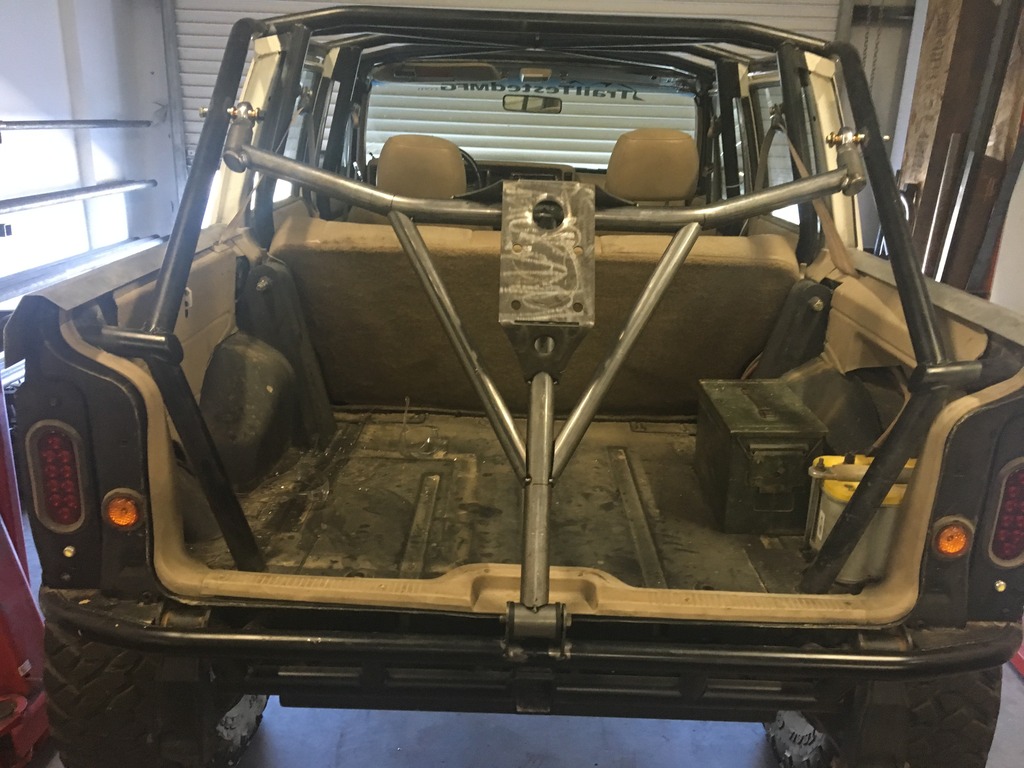
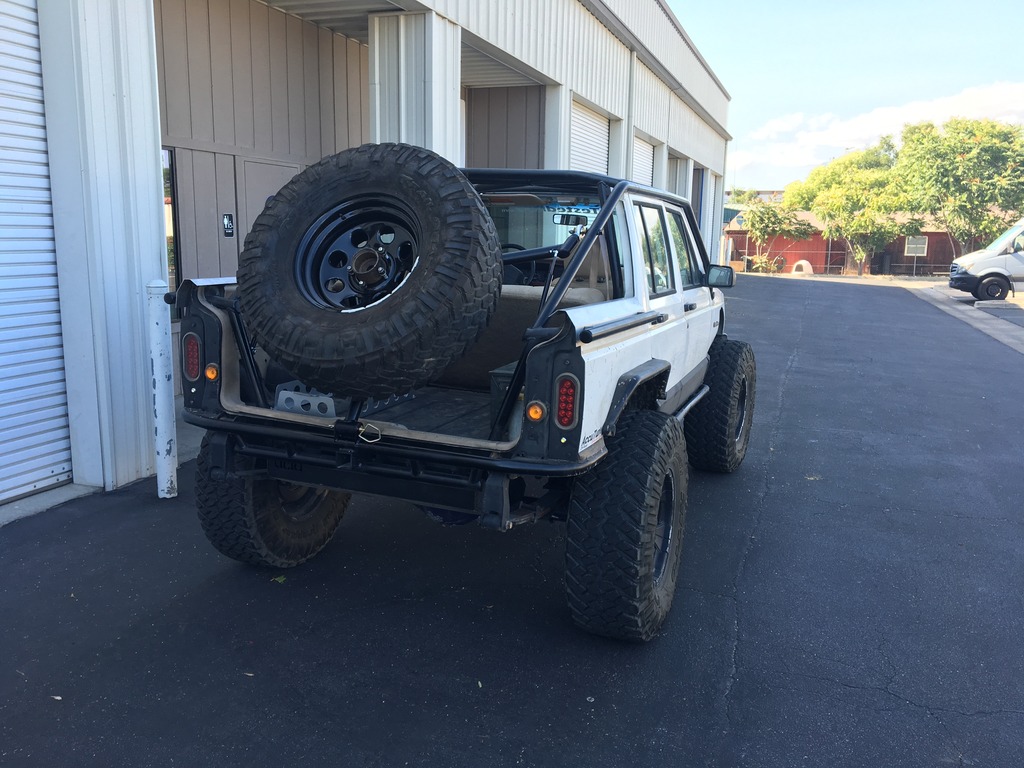
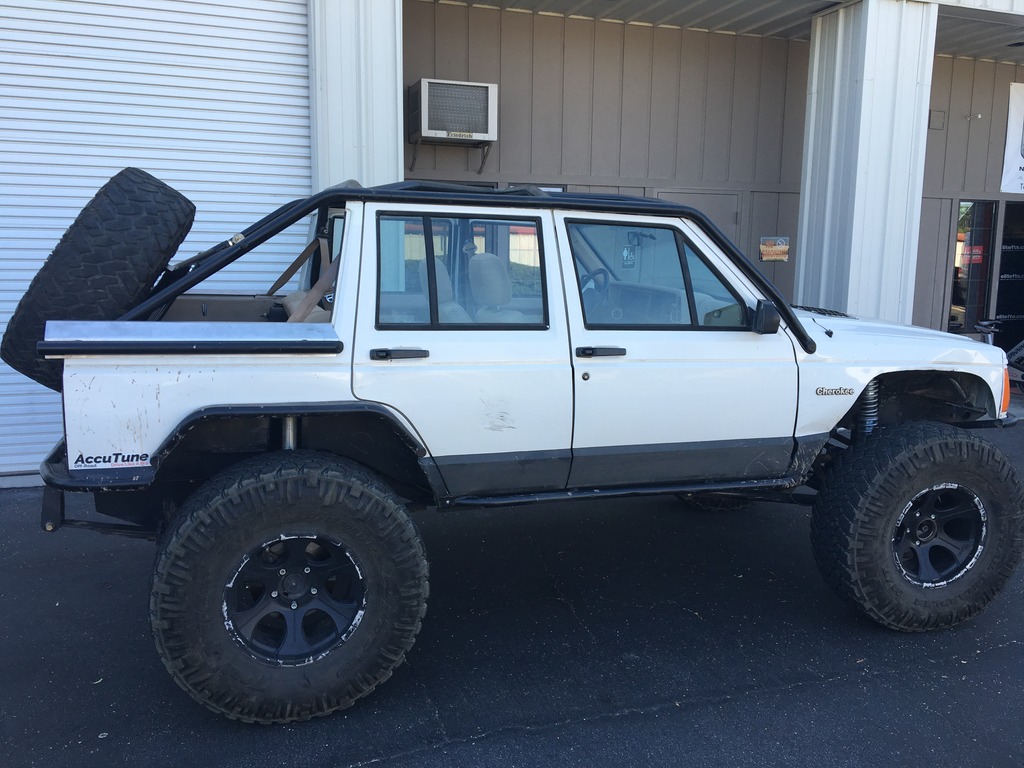
We are headed to the Rubicon Memorial weekend so it's time to get some stuff checked off my summer wheeling to-do list! First up was a spare tire carrier. I wanted something that did not limit my cargo space, didn't hang off the back, kept the weight down low and was easy to use. I wanted the tire to sit something like this...
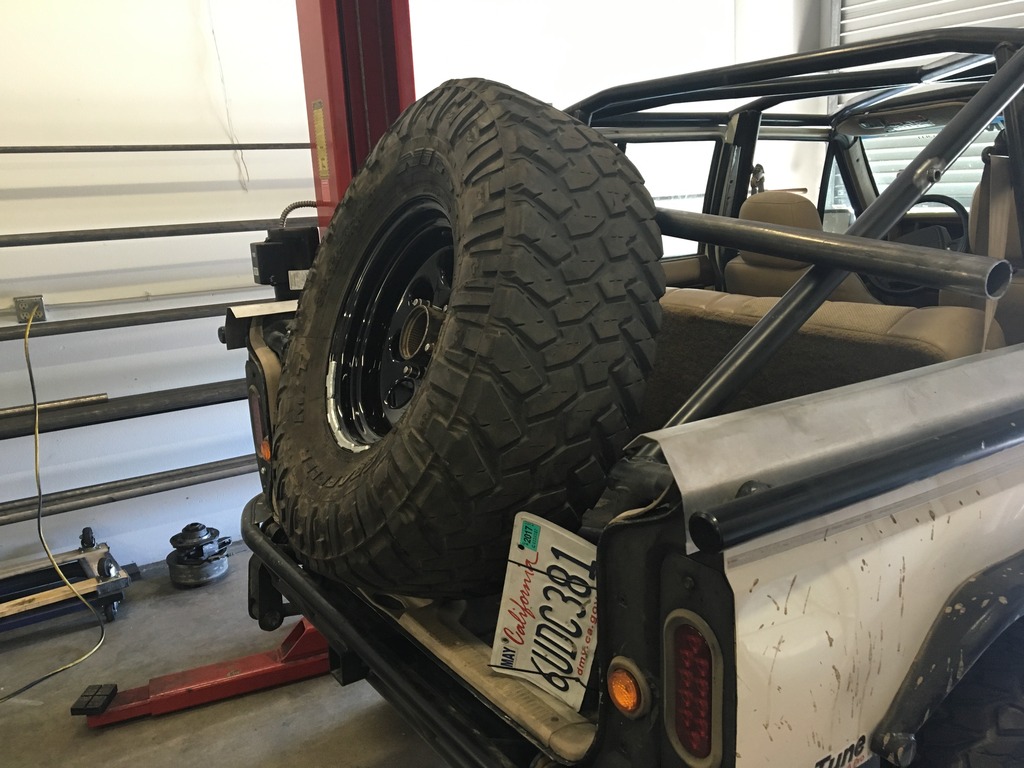
First we sleeved the c-pillars with .75x.120 tube.
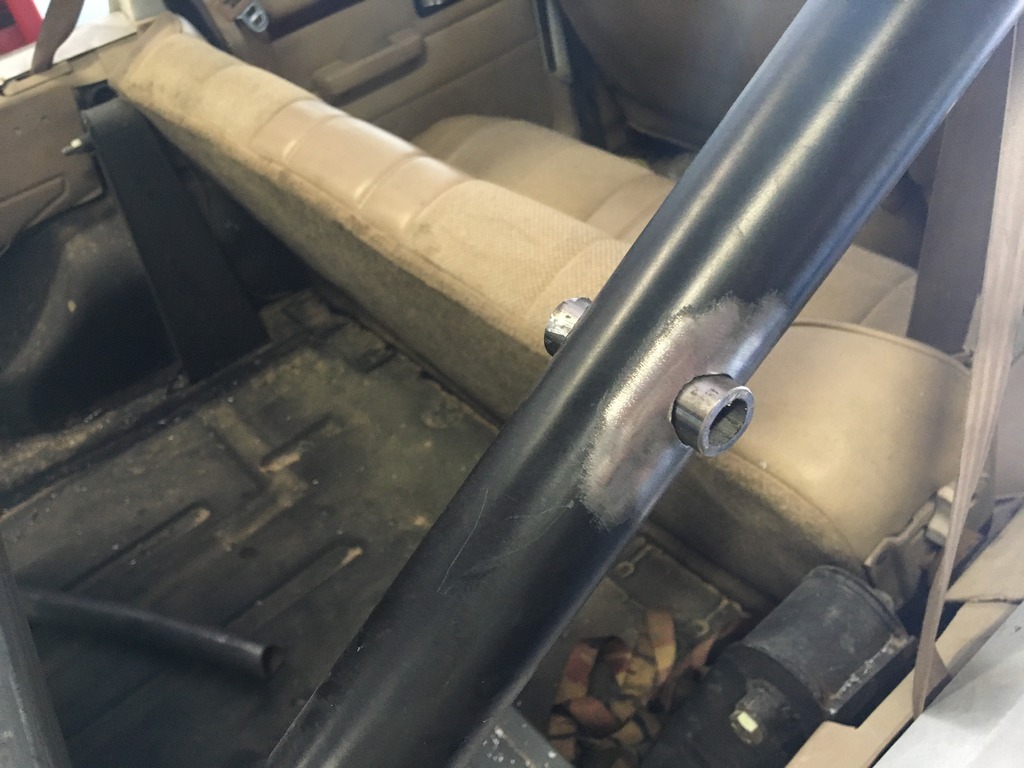
Then I bolted in a set of 7/8 heims. I ordered the same ones that I'm using for my steering, track bar and upper link so that I have a set of spares. One is LH and the other is RH.

Next was the cross tube.
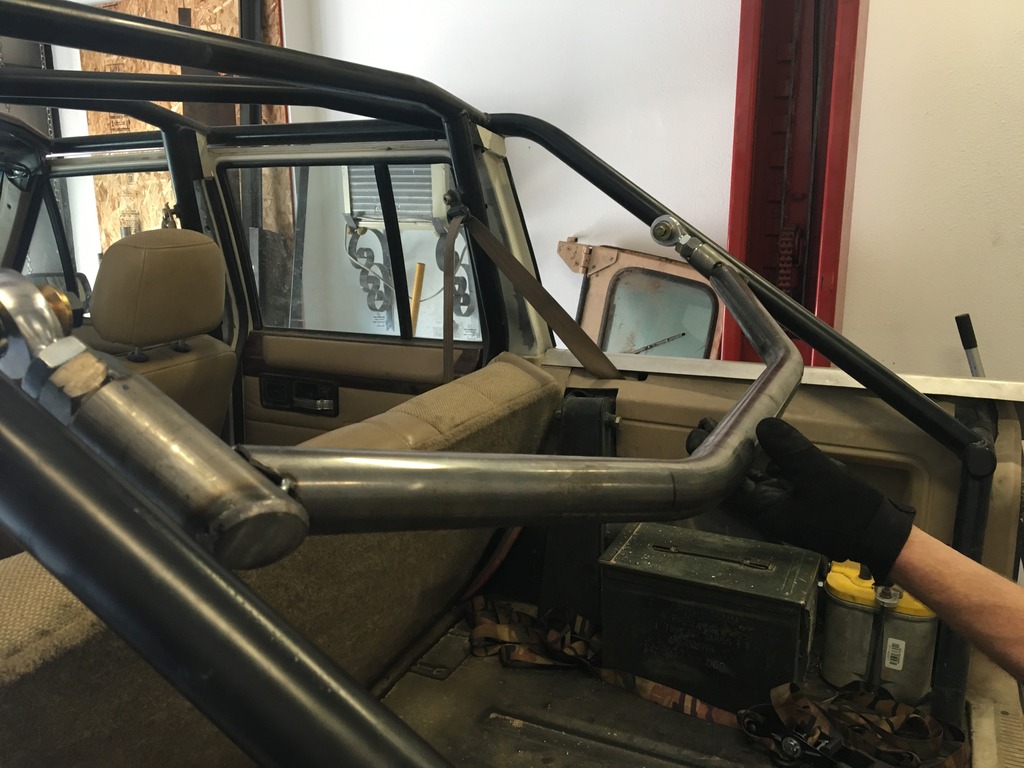
And then the tube the tire will mount to.
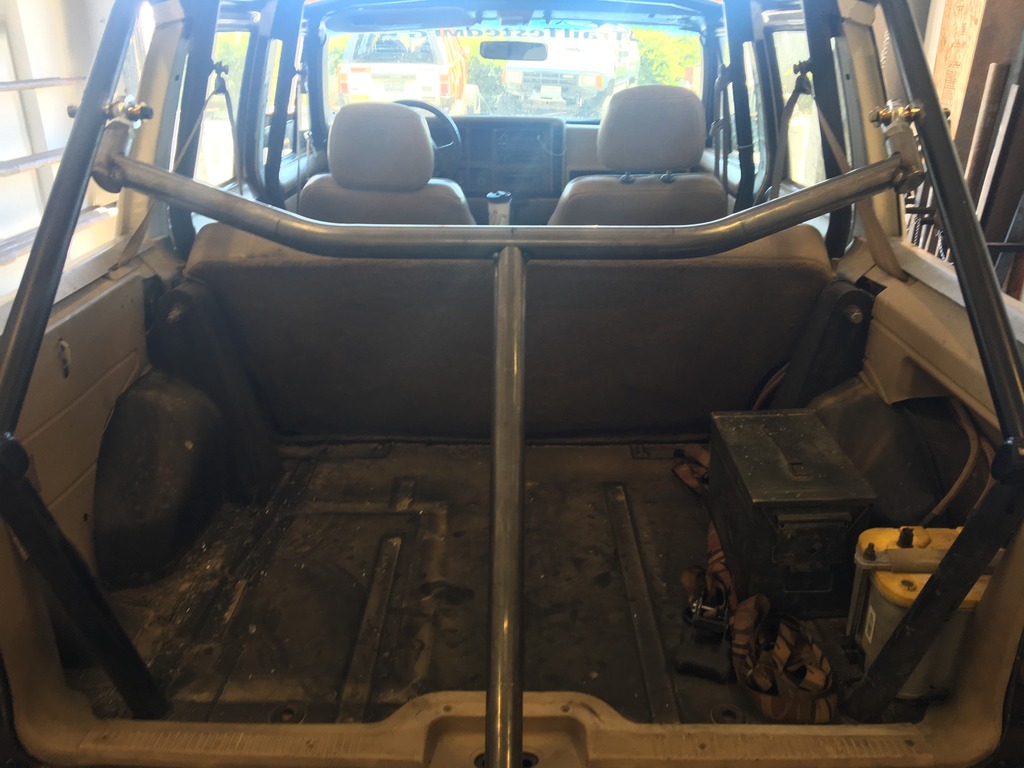
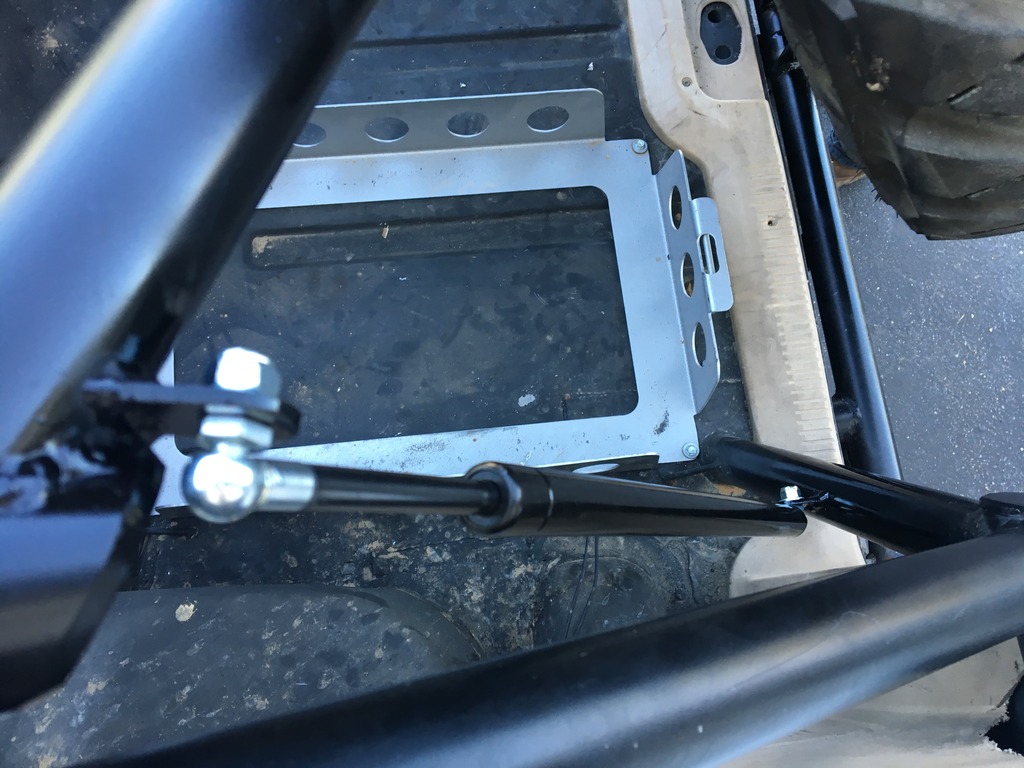
Some bracing was added. The mounting plate was made to attach the tire using my spare unit bearing.

First we sleeved the c-pillars with .75x.120 tube.

Then I bolted in a set of 7/8 heims. I ordered the same ones that I'm using for my steering, track bar and upper link so that I have a set of spares. One is LH and the other is RH.

Next was the cross tube.

And then the tube the tire will mount to.

Some bracing was added. The mounting plate was made to attach the tire using my spare unit bearing.

 05-24-2016, 12:56 PM
#47
Junior Member
Thread Starter
Join Date: Oct 2015
Location: Paso Robles Ca
Posts: 36
Likes: 0
Received 0 Likes
on
0 Posts
Year: 1996
Model: Cherokee
It attaches to my bumper with a poly bushing that doubles as spare for the frame side of my lower links. Then it was time to do some math! My personal engineer pulled out his slide rule and pocket protectors to help me figure out what size gas struts I needed and where to mount them. We ended up choosing a set from McMaster that are 10" travel and 200lb each.
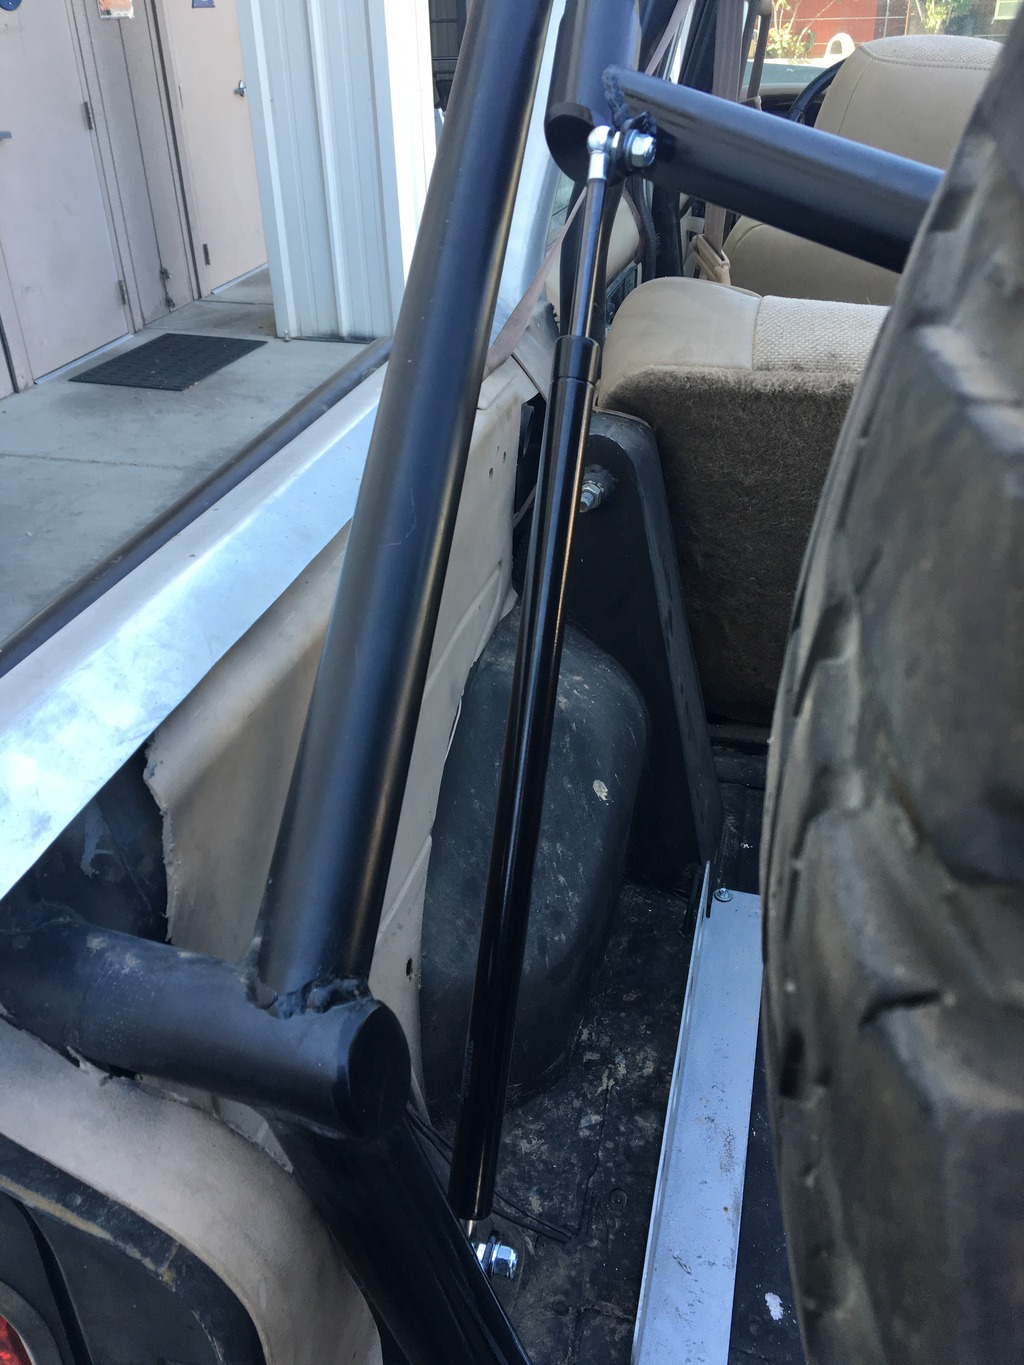
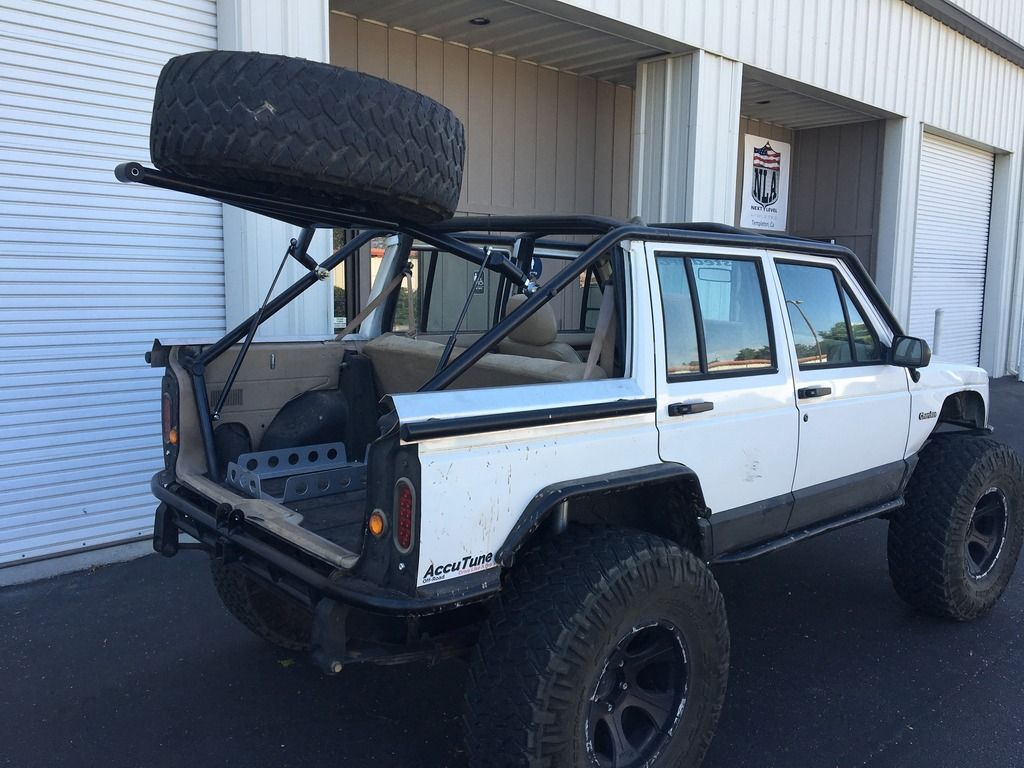
The gas struts ended up being perfect. The tire requires a little effort to start lifting and then slowly rises up to its top point. You can easily get into the cargo area without bumping your head and it does not require too much effort to close. Next up is a higher clearance belly skid!


The gas struts ended up being perfect. The tire requires a little effort to start lifting and then slowly rises up to its top point. You can easily get into the cargo area without bumping your head and it does not require too much effort to close. Next up is a higher clearance belly skid!
05-24-2016, 12:57 PM
#48
Junior Member
Thread Starter
Join Date: Oct 2015
Location: Paso Robles Ca
Posts: 36
Likes: 0
Received 0 Likes
on
0 Posts
Year: 1996
Model: Cherokee


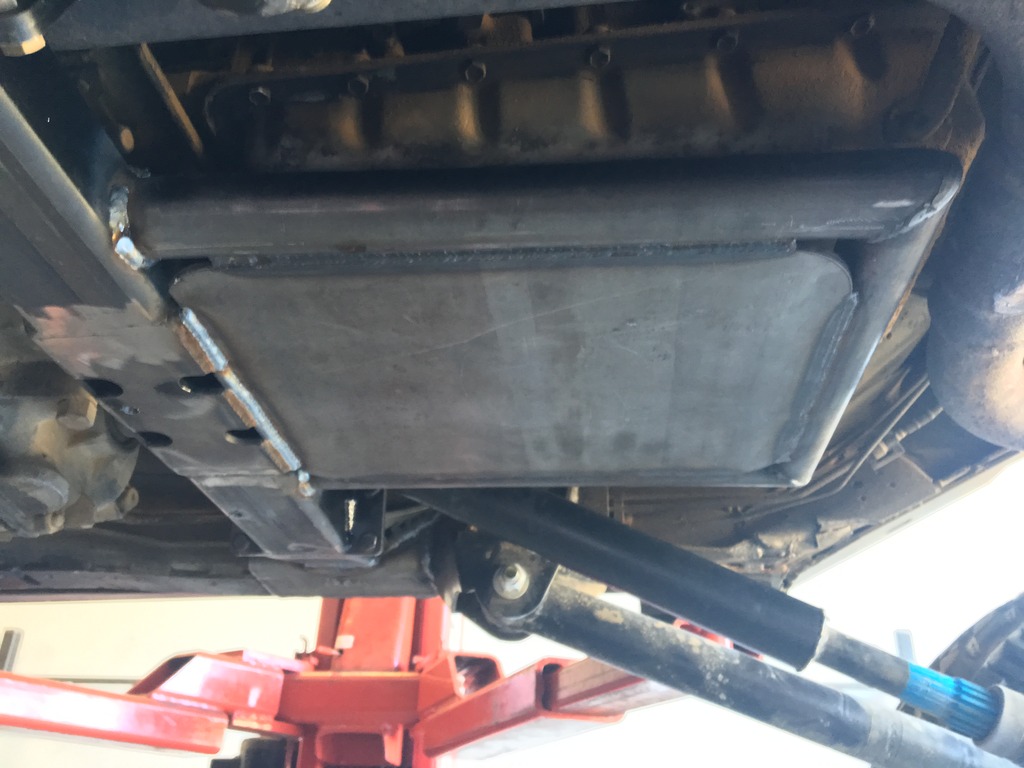
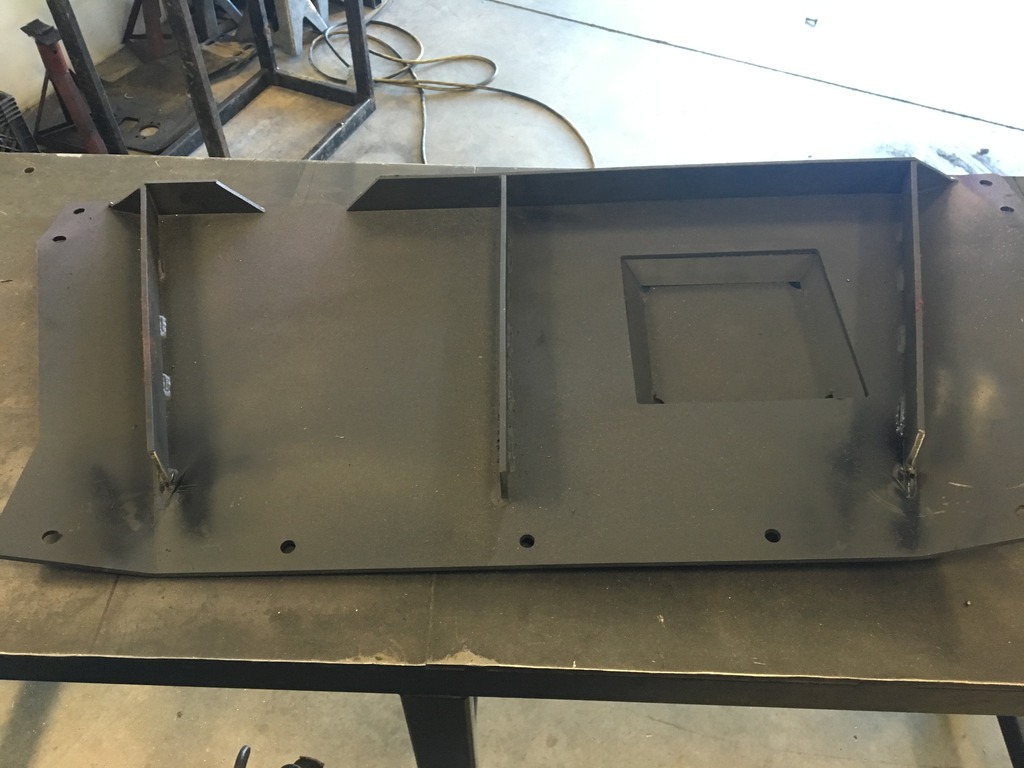
My old belly skid worked for a couple of trips but quickly became bent. I wanted something with higher clearance so it was time to remake it. The old exhaust was in the way so we redid it.

I needed place to weld a new crossmember to so I cut these out and Riley welded them in. They also help to reinforce the frame side link brackets.

The crossmember is made from 2x3x.188 box tube. I wanted to use the stock transmission mount and the box tube was not quite wide enough so we added a plate section in the middle.


 05-24-2016, 12:57 PM
#49
Junior Member
Thread Starter
Join Date: Oct 2015
Location: Paso Robles Ca
Posts: 36
Likes: 0
Received 0 Likes
on
0 Posts
Year: 1996
Model: Cherokee
The tranny skid permanently mounts to the crossmember.
In order to keep the skid as high was possible I had to make a boss for the tcase.
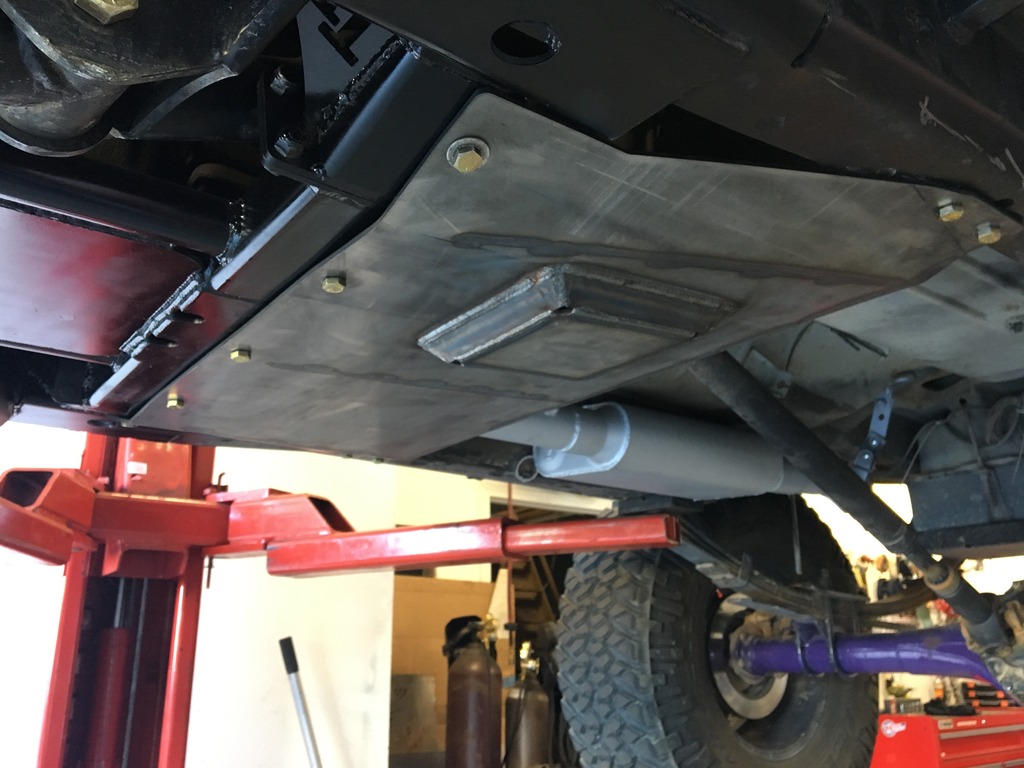

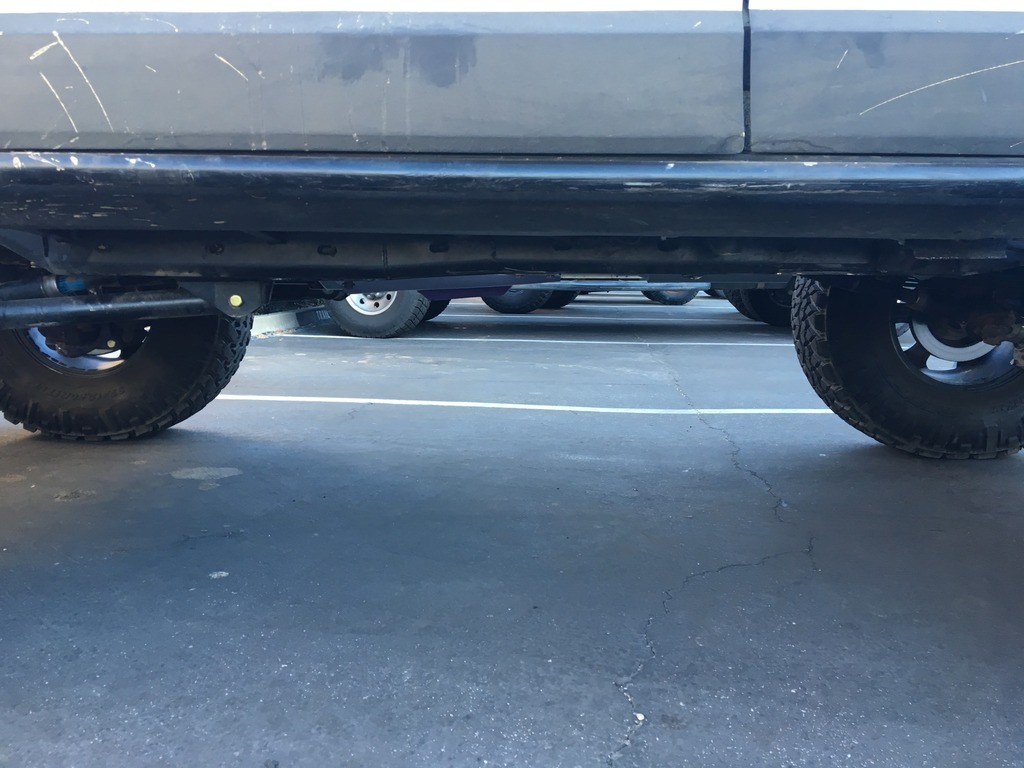
I gained a significant amount of ground clearance and am more confident that this one will not bend.

In order to keep the skid as high was possible I had to make a boss for the tcase.


I gained a significant amount of ground clearance and am more confident that this one will not bend.
05-24-2016, 12:58 PM
#50
Junior Member
Thread Starter
Join Date: Oct 2015
Location: Paso Robles Ca
Posts: 36
Likes: 0
Received 0 Likes
on
0 Posts
Year: 1996
Model: Cherokee
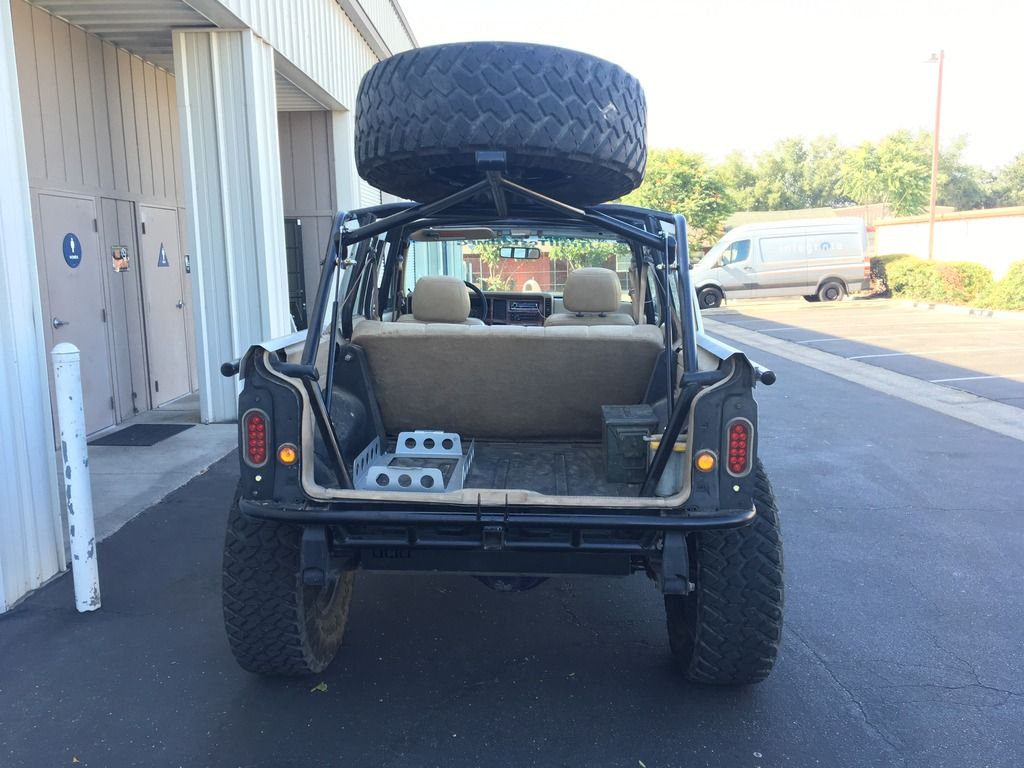
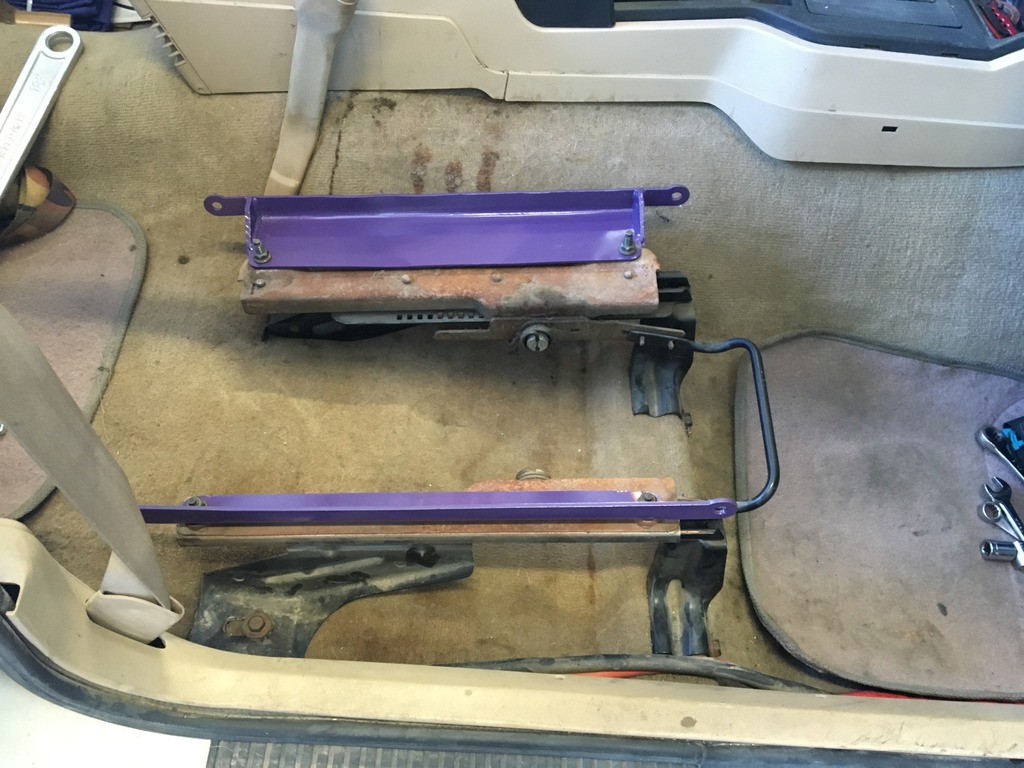
Got the seats mounted yesterday. I wanted to keep the factory sliders so I just cut some new brackets out on the plasma to bolt the suspension seats in. Once I get harnesses I'll add a harness bar and reinforce the seat mounts to the cage.


 07-05-2016, 01:05 PM
#52
Junior Member
Thread Starter
Join Date: Oct 2015
Location: Paso Robles Ca
Posts: 36
Likes: 0
Received 0 Likes
on
0 Posts
Year: 1996
Model: Cherokee
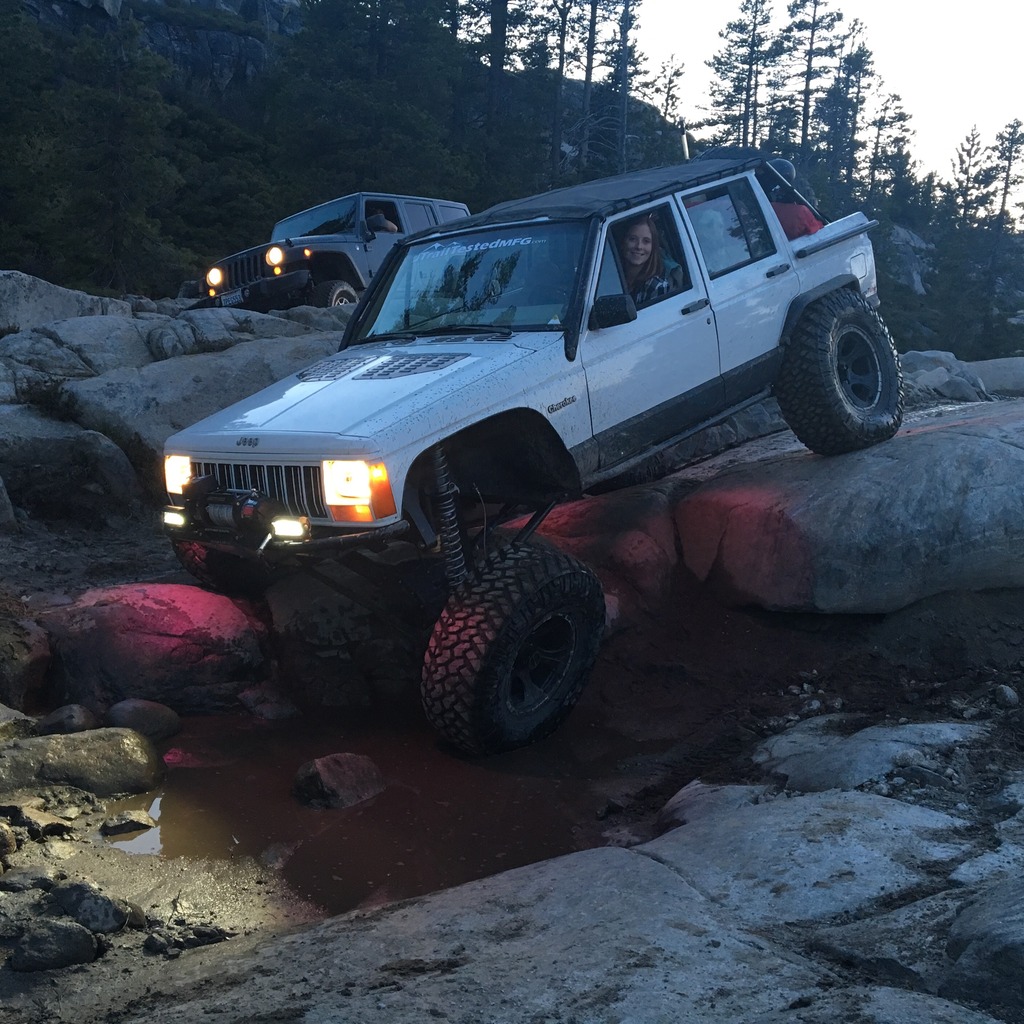
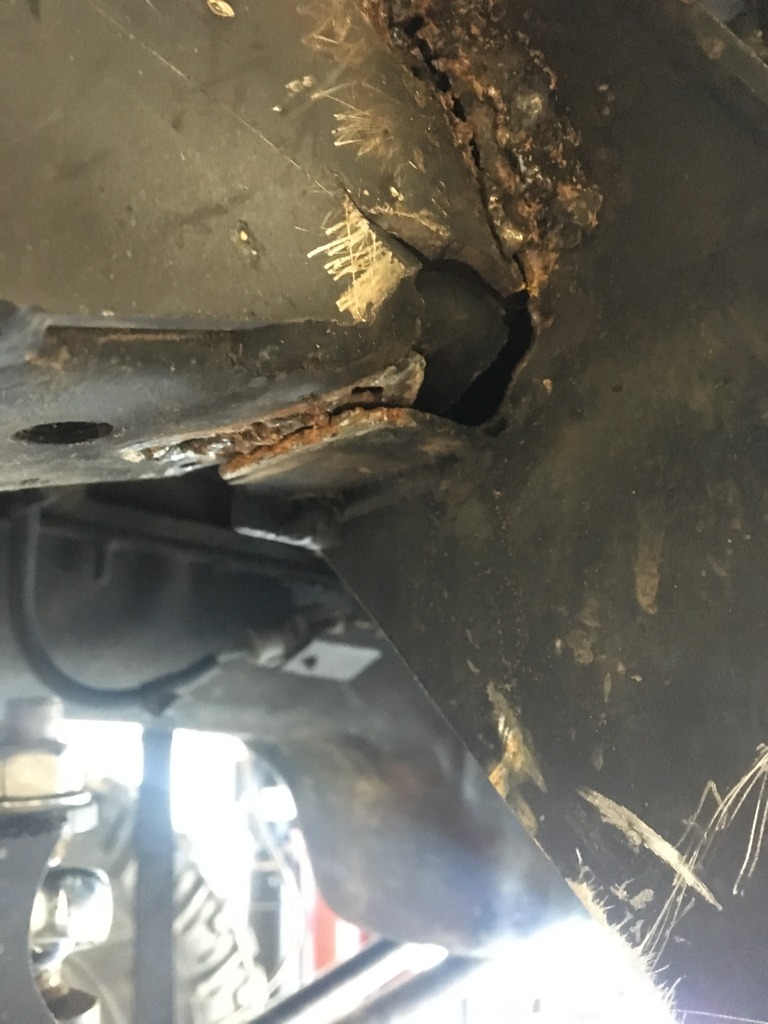
I had a blast at the Rubicon a few weekends ago and the Jeep did great. I was very pleased with the new belly skid, and didn't get hung up once. On Sunday we were headed to Rubicon springs from Buck when I noticed I had lost some range in steering. My track bar bracket had started to tear off from the frame, taking Liquid Iron's 3/16" frame plate with it  We were able to winch it back in place and get a few welds on it. When I got back to Buck I was able to find some bolts that fit in the factory track bar bracket holes to keep it from wanting to peel away more. The fix got me back to Loon so now it's time to add some more reinforcement. The goal is weld up the cracks and add some gusseting and maybe a cross-member to spread the load out over more of the frame so it doesn't happen again.
We were able to winch it back in place and get a few welds on it. When I got back to Buck I was able to find some bolts that fit in the factory track bar bracket holes to keep it from wanting to peel away more. The fix got me back to Loon so now it's time to add some more reinforcement. The goal is weld up the cracks and add some gusseting and maybe a cross-member to spread the load out over more of the frame so it doesn't happen again. 
 07-05-2016, 01:08 PM
#53
Junior Member
Thread Starter
Join Date: Oct 2015
Location: Paso Robles Ca
Posts: 36
Likes: 0
Received 0 Likes
on
0 Posts
Year: 1996
Model: Cherokee
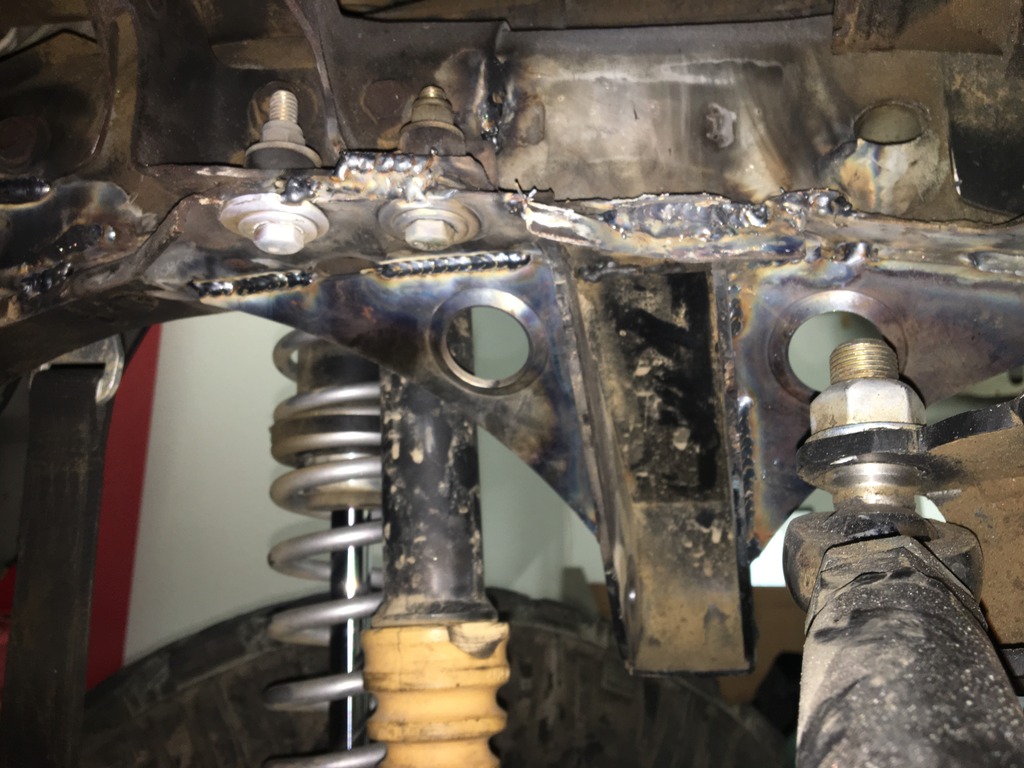
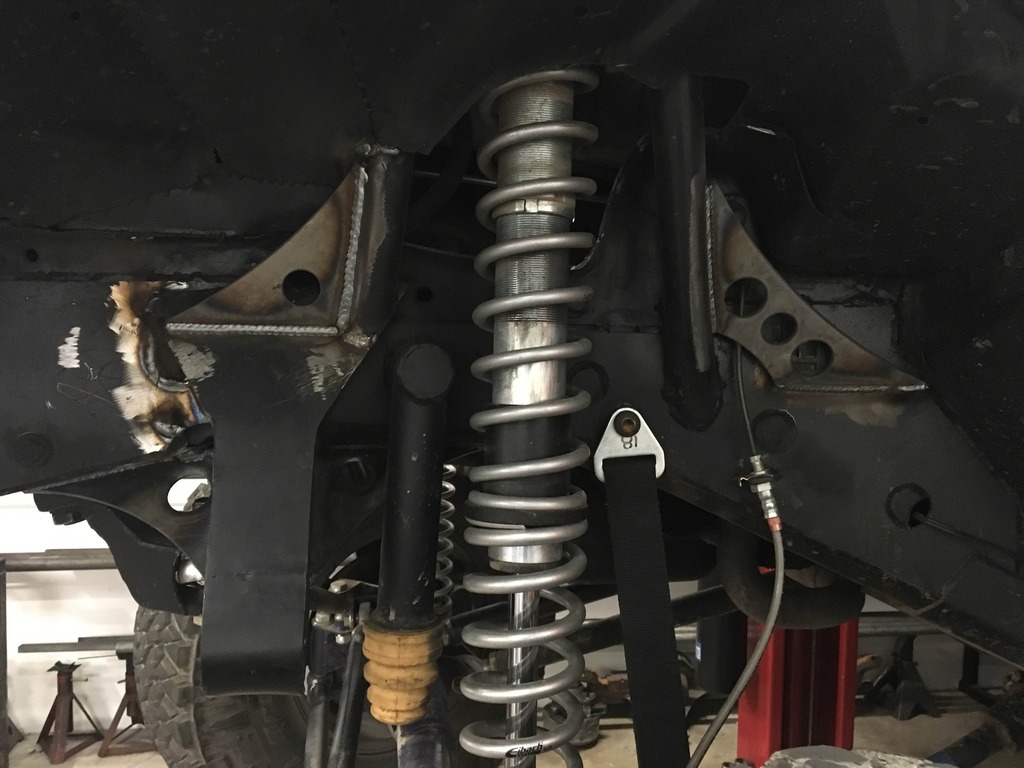
With the amount of up-travel I have I'm having a hard time figuring out where to put a cross brace that won't interfere. For now we've added some gussets to the shock hoop mounts on both sides and the track bar bracket.
 [/QUOTE]

 [/QUOTE]

Thread
Thread Starter
Forum
Replies
Last Post
codykrr
Modified XJ Cherokee Tech
9
09-18-2015 01:27 PM
Currently Active Users Viewing This Thread: 1 (0 members and 1 guests)