Zebvance's Comanche build


 10-25-2012, 04:05 PM
#62
CF Veteran
Thread Starter
Join Date: Feb 2012
Location: college station
Posts: 1,116
Likes: 0
Received 0 Likes
on
0 Posts
Year: 1988
Model: Comanche
Engine: 4.0
new HD fan clutch and new 3 row CFS all metal radiator also just came in.
old radiator and clutch beside the new.
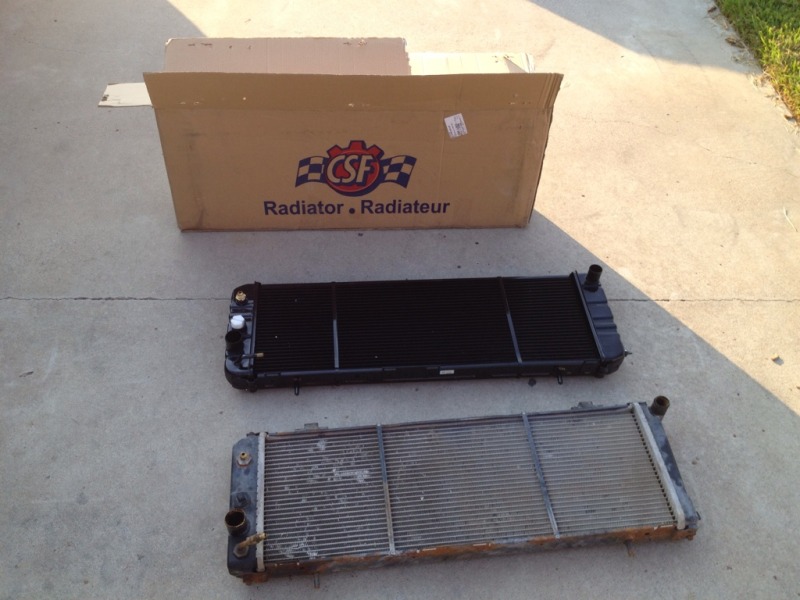
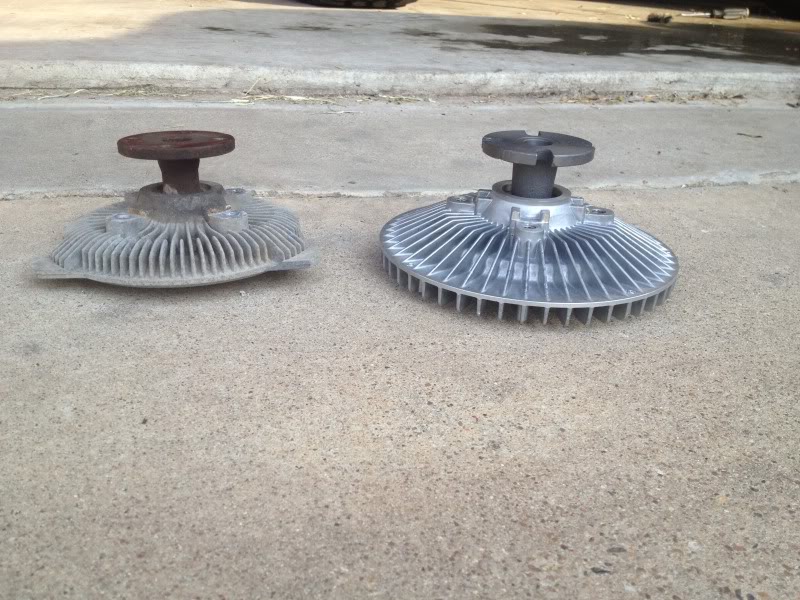
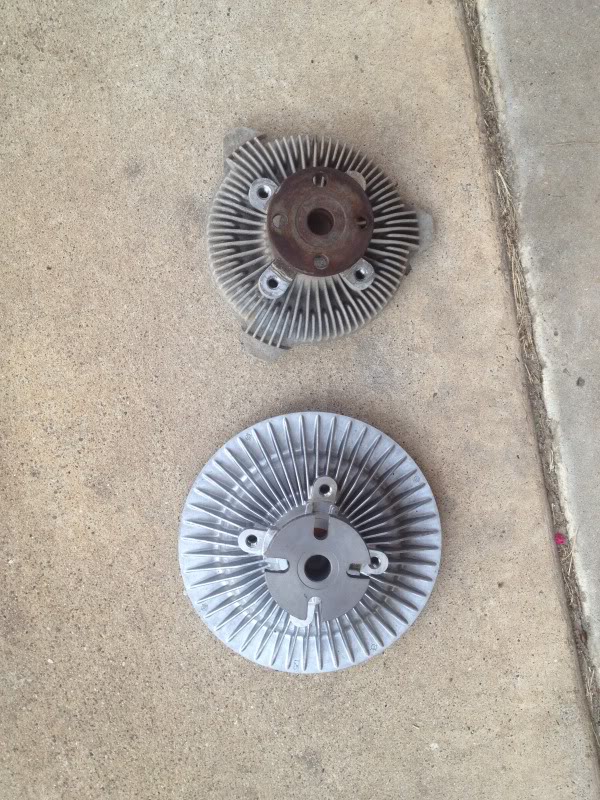
old radiator and clutch beside the new.
 10-25-2012, 04:09 PM
#64
CF Veteran
Thread Starter
Join Date: Feb 2012
Location: college station
Posts: 1,116
Likes: 0
Received 0 Likes
on
0 Posts
Year: 1988
Model: Comanche
Engine: 4.0
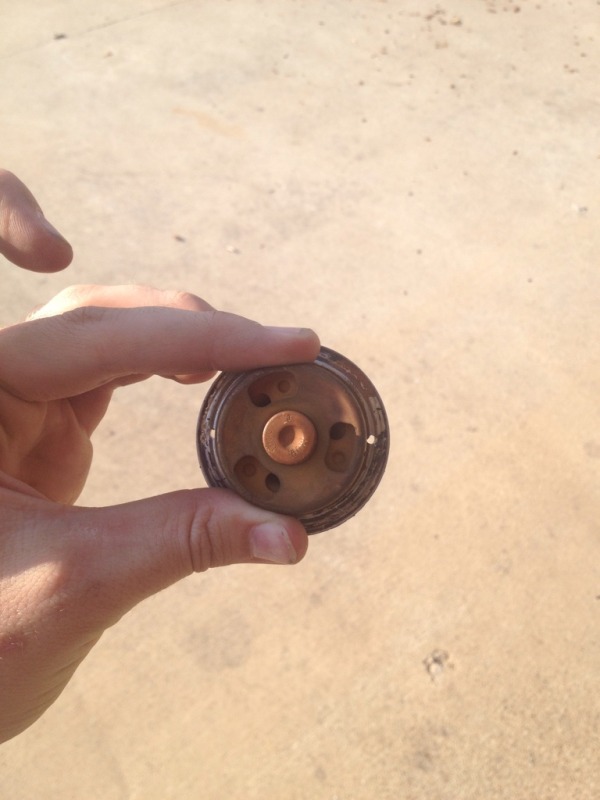
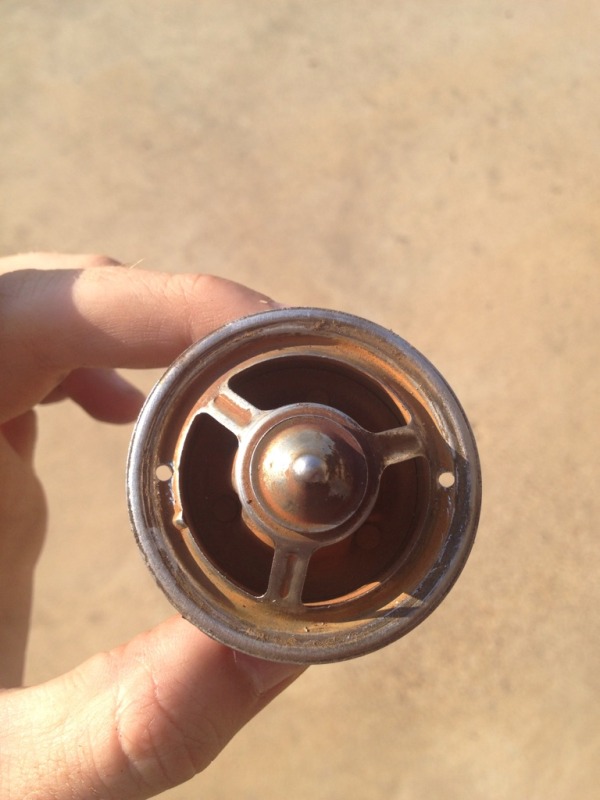
now its time for the install. first I pulled off the high flow thermostat and drilled 2 holes it it to make it easier to burp the closed loop system and keep air pockets from getting trapped.
10-25-2012, 04:13 PM
#65
CF Veteran
Thread Starter
Join Date: Feb 2012
Location: college station
Posts: 1,116
Likes: 0
Received 0 Likes
on
0 Posts
Year: 1988
Model: Comanche
Engine: 4.0
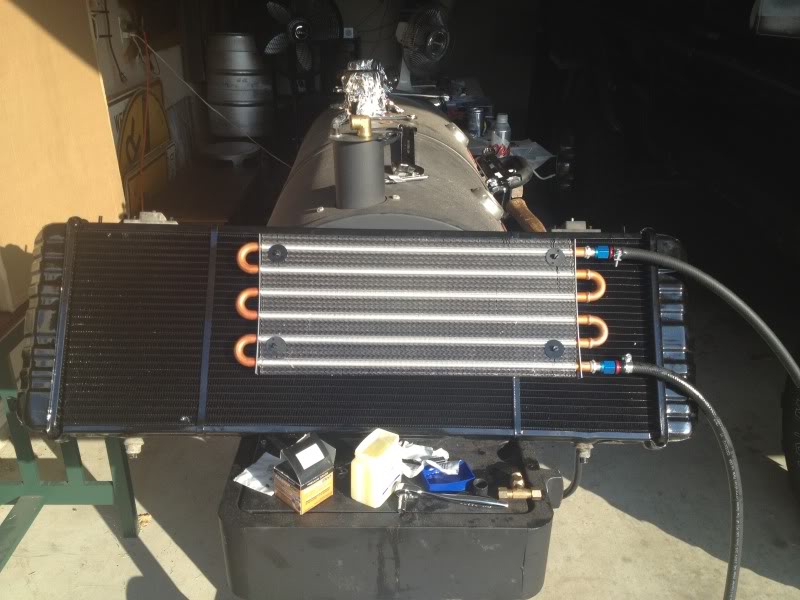
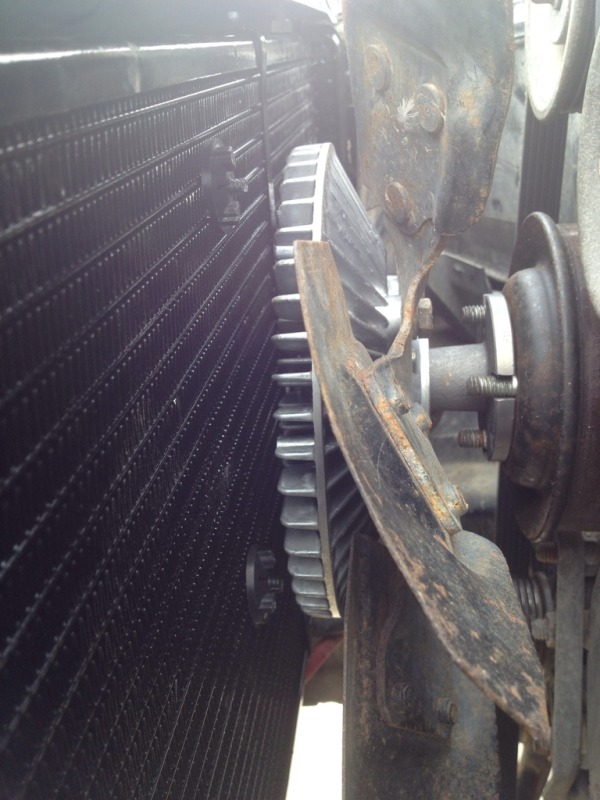
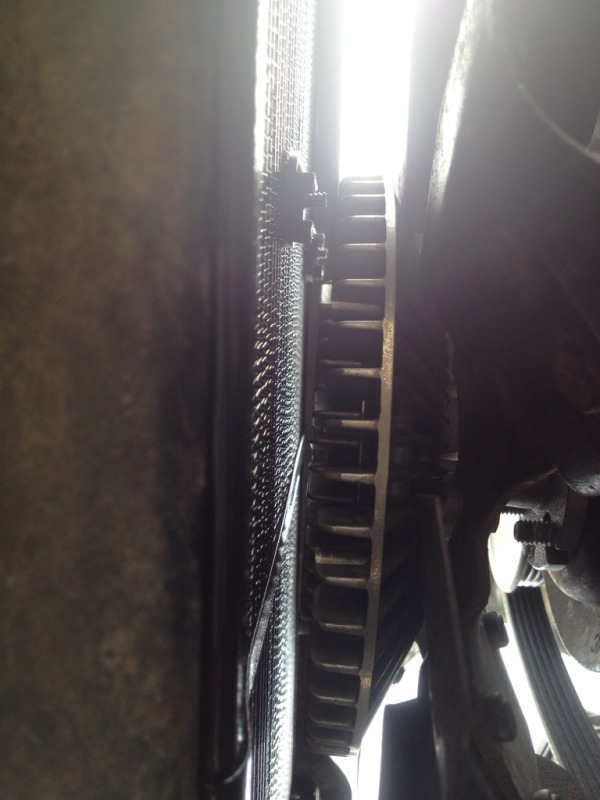
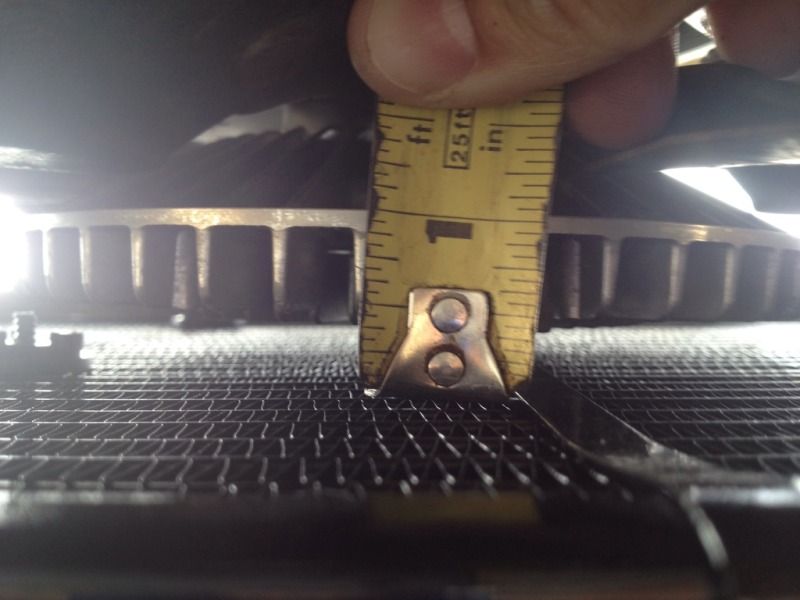
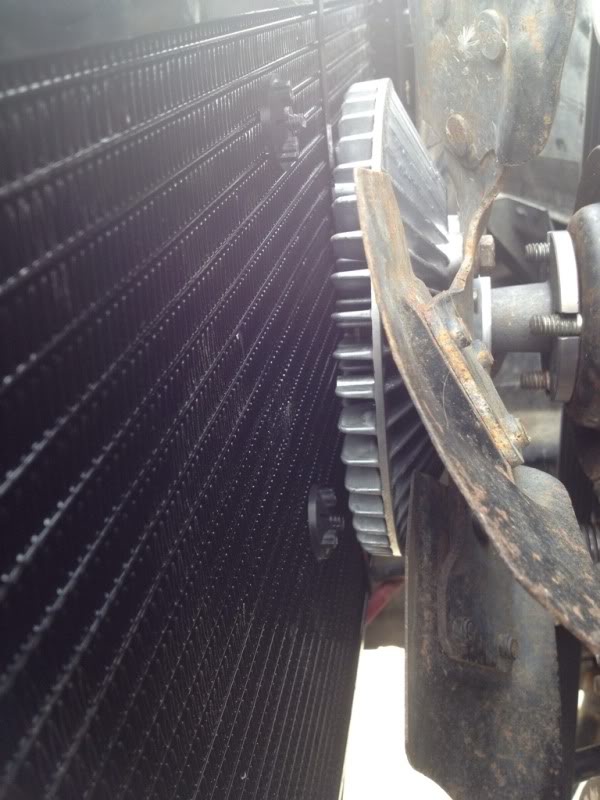
got everything bolted on and sitting in there and ran into some serious problems with clearance between the fan clutch and new thicker CFS radiator.
10-25-2012, 04:22 PM
#66
CF Veteran
Thread Starter
Join Date: Feb 2012
Location: college station
Posts: 1,116
Likes: 0
Received 0 Likes
on
0 Posts
Year: 1988
Model: Comanche
Engine: 4.0
so after sitting on the clearance problem for about a week and talking to a few different people, I was told that its very close but it should be enough room as long my motor mounts are solid. Which i just replaced with the iron man 4x4 mounts and they are VERY solid. But I was still rubbing the fan on the fan shroud also because the motor mounts lifted the engine 1/4 inch up.
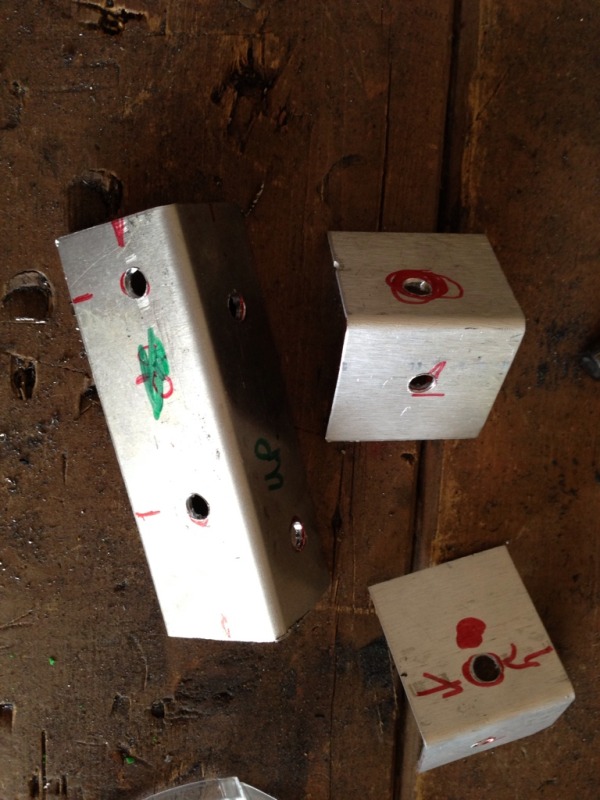
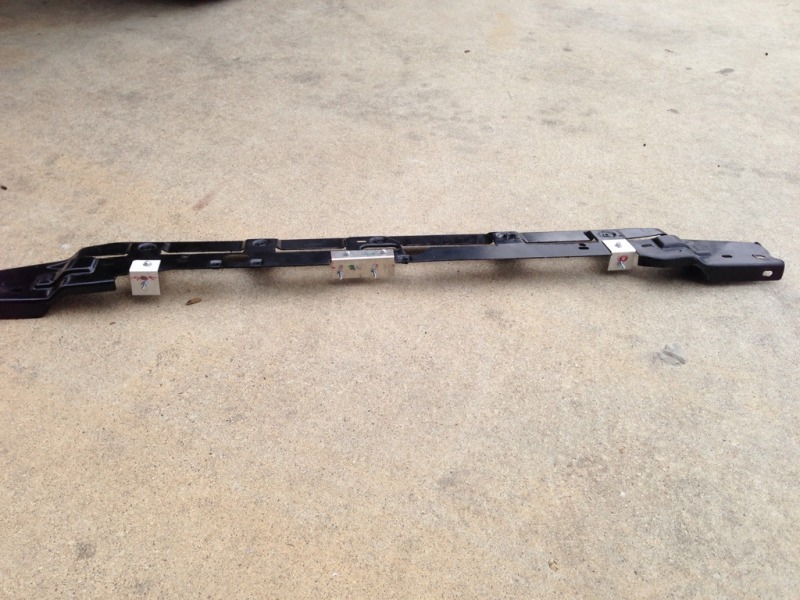
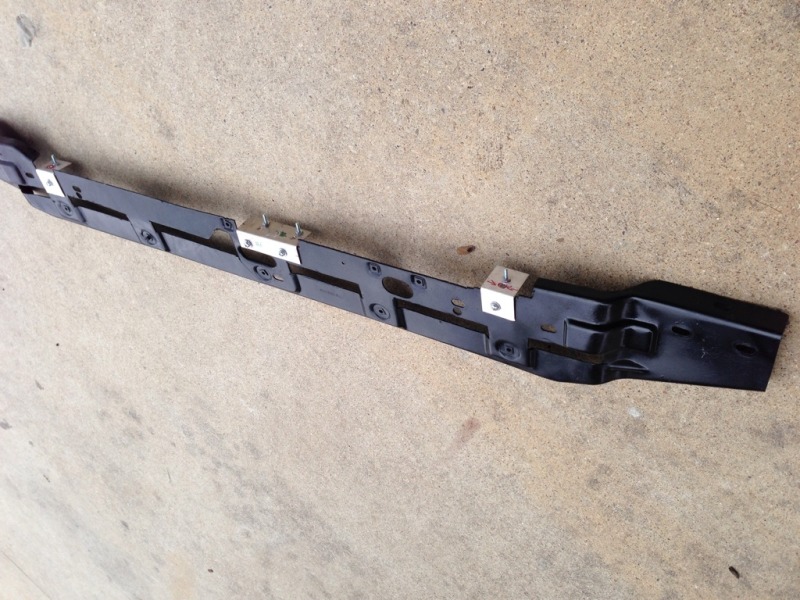
However I just wanted to be better safe than sorry. so my solution to this was to drill new holes and modify the radiator support bracket to move the whole radiator/fan shroud Assembly back about a inch.
This is how I did it. First cut out the clearance on the bracket in order to push the radiator up under it. then I made the brackets
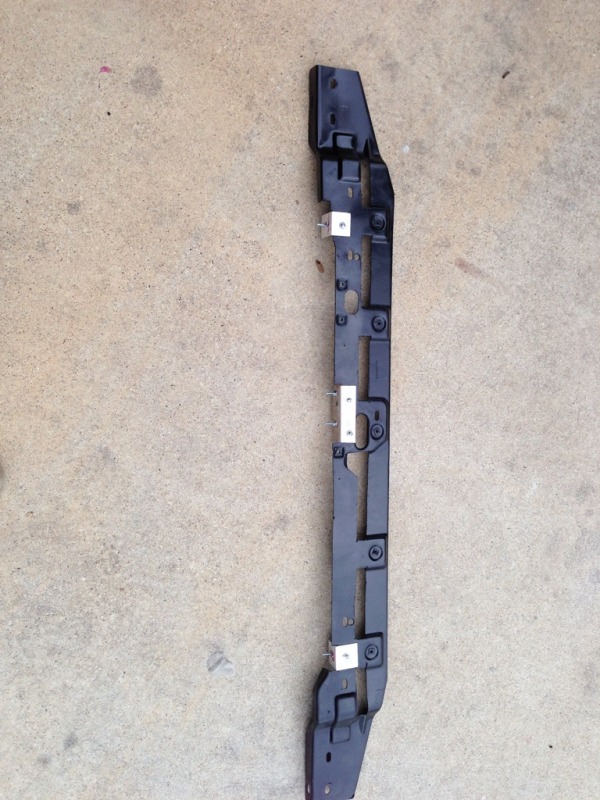
And here is the radiator support trimmed, painted, and the brackets installed on it.
However I just wanted to be better safe than sorry. so my solution to this was to drill new holes and modify the radiator support bracket to move the whole radiator/fan shroud Assembly back about a inch.
This is how I did it. First cut out the clearance on the bracket in order to push the radiator up under it. then I made the brackets
And here is the radiator support trimmed, painted, and the brackets installed on it.
10-25-2012, 04:33 PM
#67
CF Veteran
Thread Starter
Join Date: Feb 2012
Location: college station
Posts: 1,116
Likes: 0
Received 0 Likes
on
0 Posts
Year: 1988
Model: Comanche
Engine: 4.0
and this is what happened after I buttoned everything up and started it......haha opps
forgot to tighten a few things up...

forgot to tighten a few things up...
10-25-2012, 05:11 PM
#69
CF Veteran
Thread Starter
Join Date: Feb 2012
Location: college station
Posts: 1,116
Likes: 0
Received 0 Likes
on
0 Posts
Year: 1988
Model: Comanche
Engine: 4.0
so after all that it still gets kinda warm, so Im going to install the electric fan I have in addition to keeping the stock mechanical. Also Im going to install the datsun louvers soon.
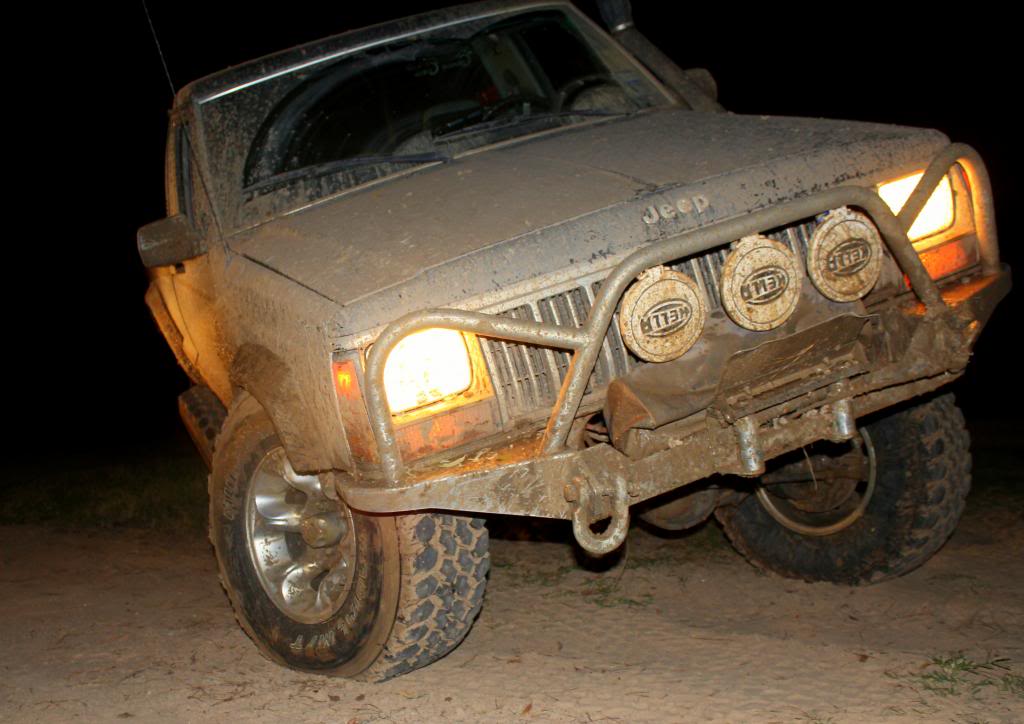
I was worried that the head gasket might be gone after it was still getting a tad bit warm but ran a pressure test and it all checked out good! so as far as it seems im just not getting enough air flow through the grill because the winch,lights,and bumper is restricting it to much.
I was worried that the head gasket might be gone after it was still getting a tad bit warm but ran a pressure test and it all checked out good! so as far as it seems im just not getting enough air flow through the grill because the winch,lights,and bumper is restricting it to much.
10-25-2012, 05:13 PM
#70
CF Veteran
Thread Starter
Join Date: Feb 2012
Location: college station
Posts: 1,116
Likes: 0
Received 0 Likes
on
0 Posts
Year: 1988
Model: Comanche
Engine: 4.0
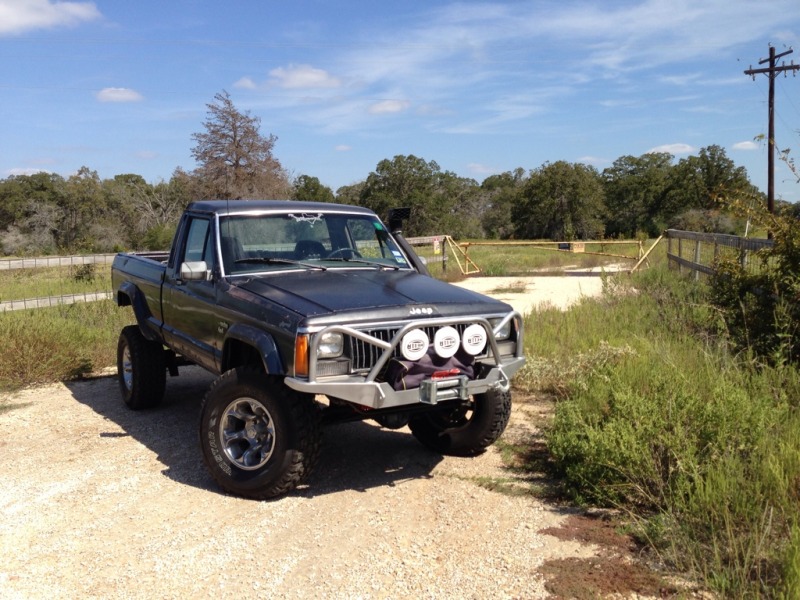
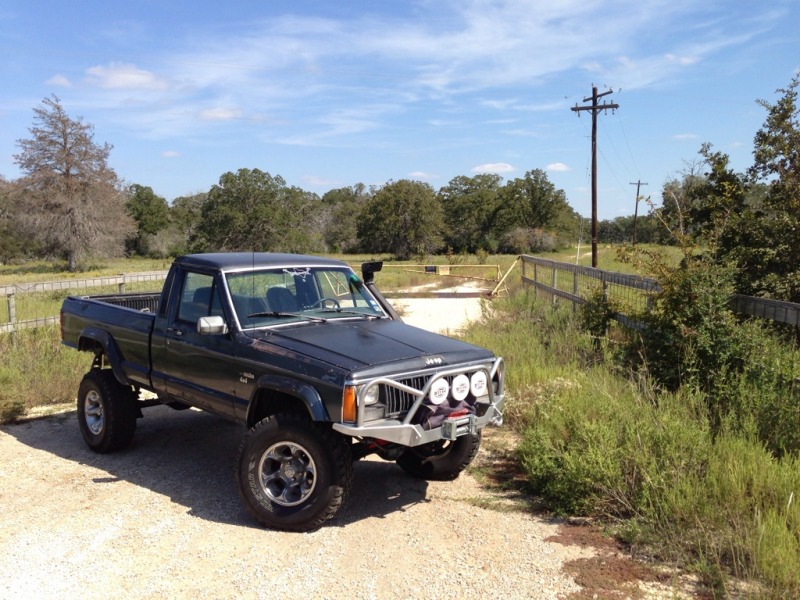
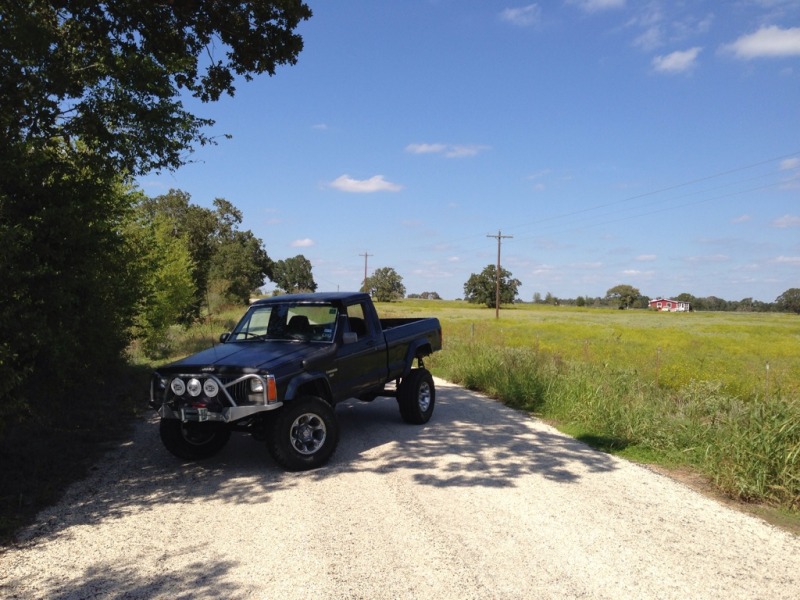
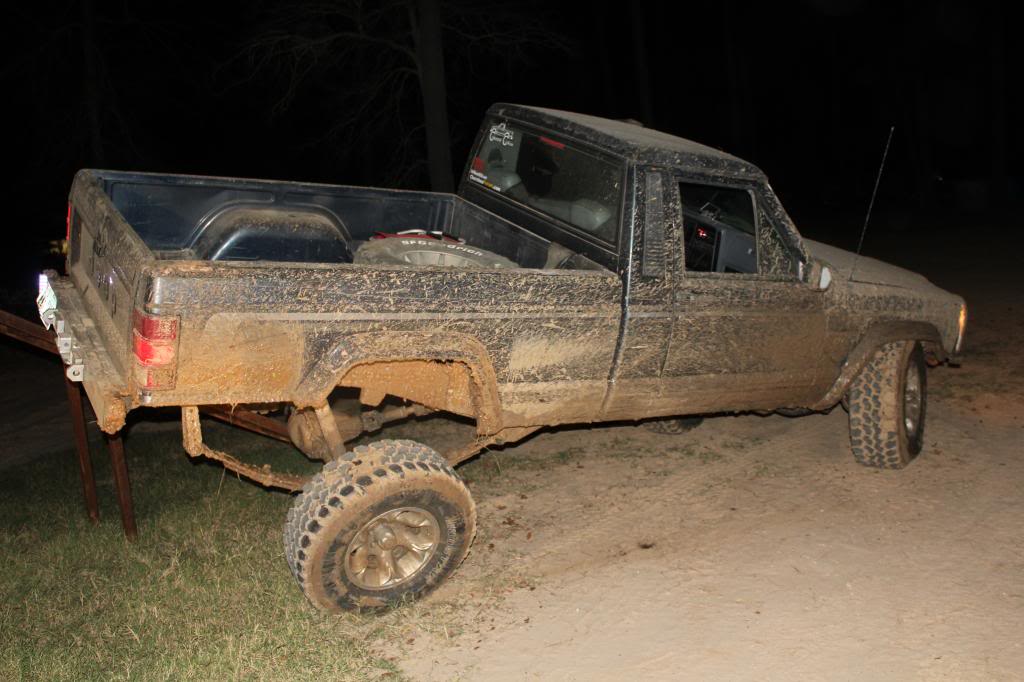
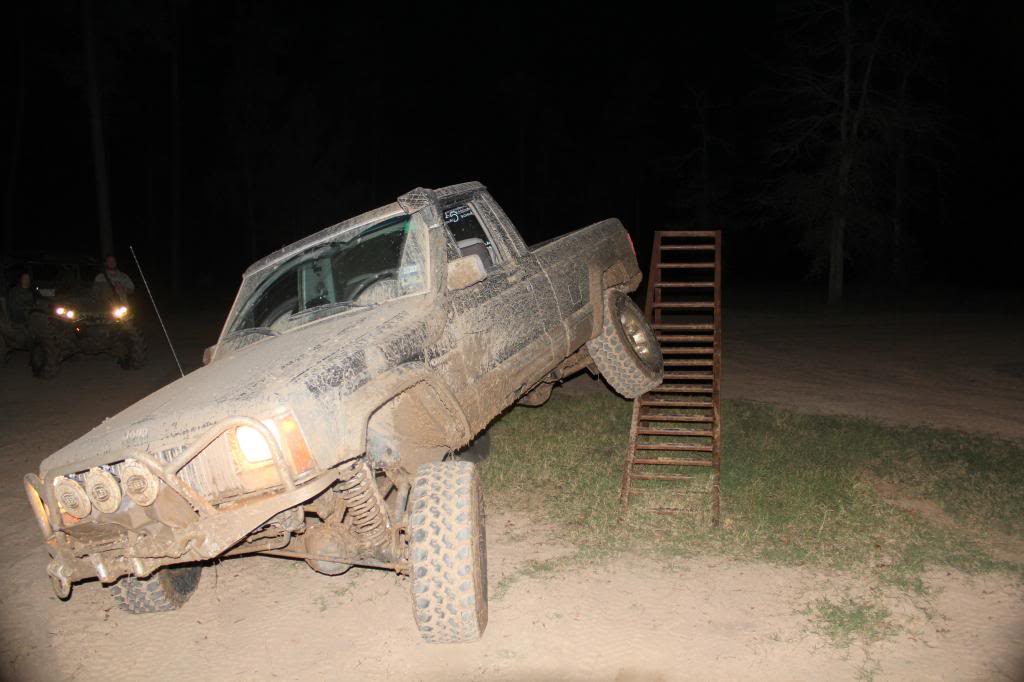
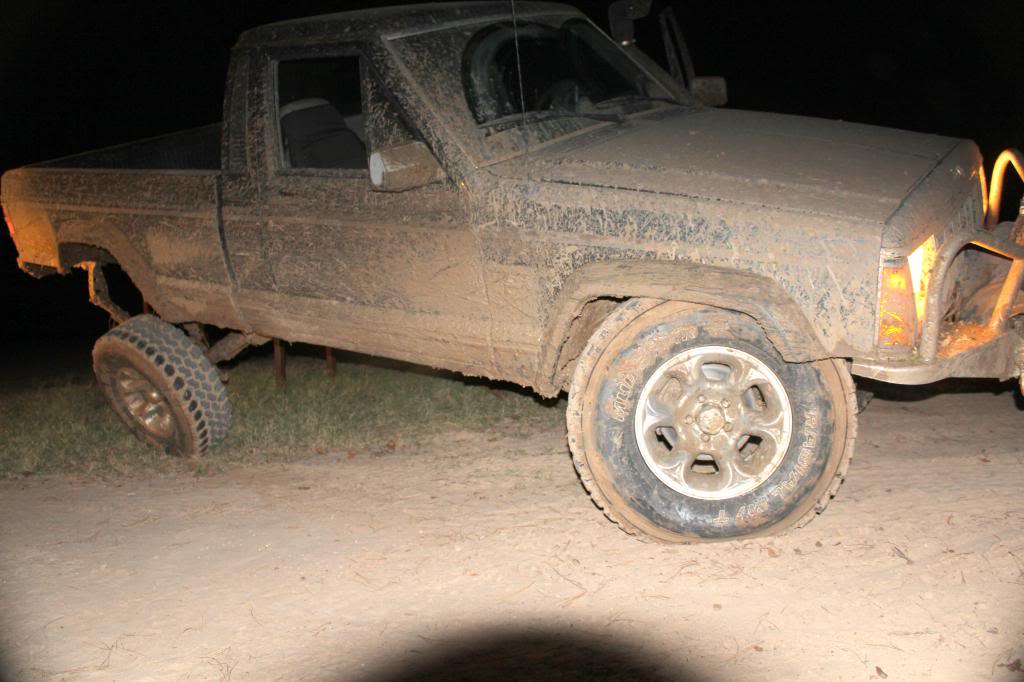
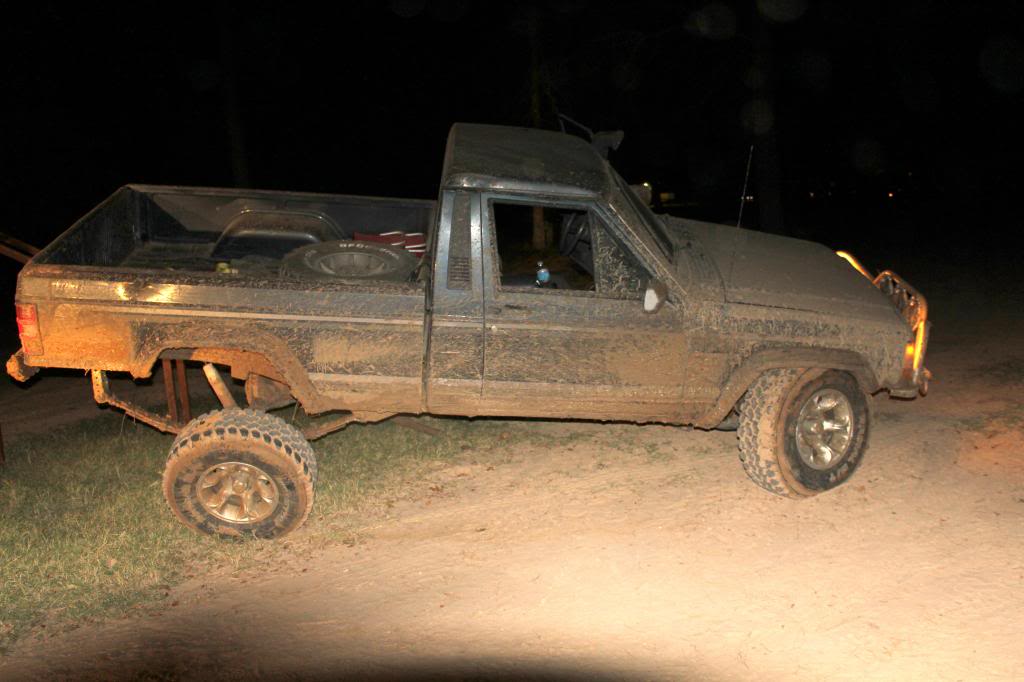
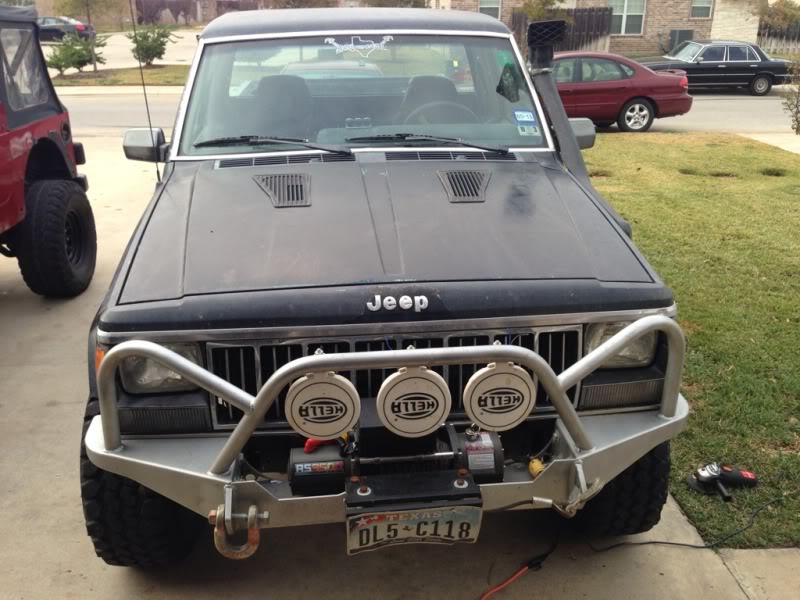
took the truck for a nice ride on a beautiful day and it did great!!!! snapped a few pictures  Man, I love this truck!!!!!

Man, I love this truck!!!!!
10-25-2012, 05:35 PM
#71
CF Veteran
Thread Starter
Join Date: Feb 2012
Location: college station
Posts: 1,116
Likes: 0
Received 0 Likes
on
0 Posts
Year: 1988
Model: Comanche
Engine: 4.0
Next to tackle, STEERING!!!!!!!!! AHHHH so much play in the wheel.
and here comes the flow of parts
steering stabilizer and bracket

99 Durango Steering gear box

JCR inner steering box brace

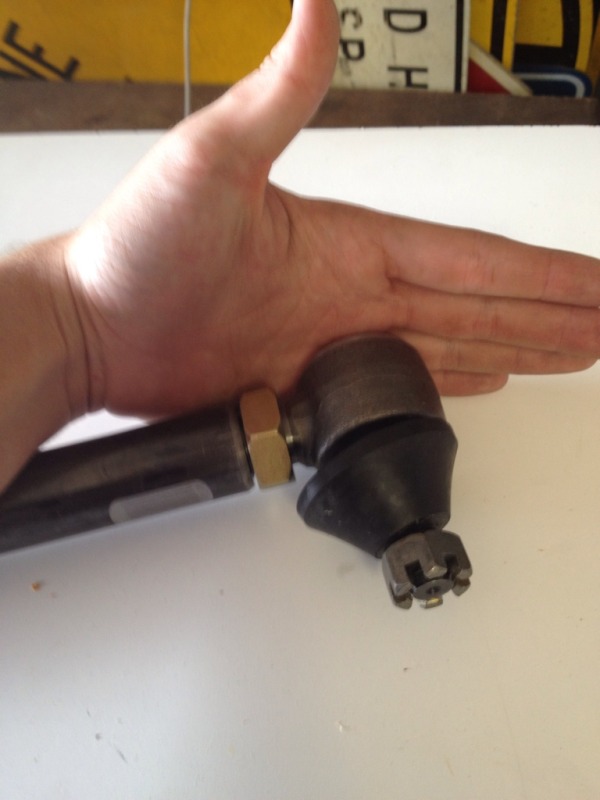
Serious Off Road Under the knuckle 1-Ton steering!!!!


and here comes the flow of parts
steering stabilizer and bracket
99 Durango Steering gear box
JCR inner steering box brace
Serious Off Road Under the knuckle 1-Ton steering!!!!

 12-18-2012, 02:07 PM
#74
CF Veteran
Thread Starter
Join Date: Feb 2012
Location: college station
Posts: 1,116
Likes: 0
Received 0 Likes
on
0 Posts
Year: 1988
Model: Comanche
Engine: 4.0
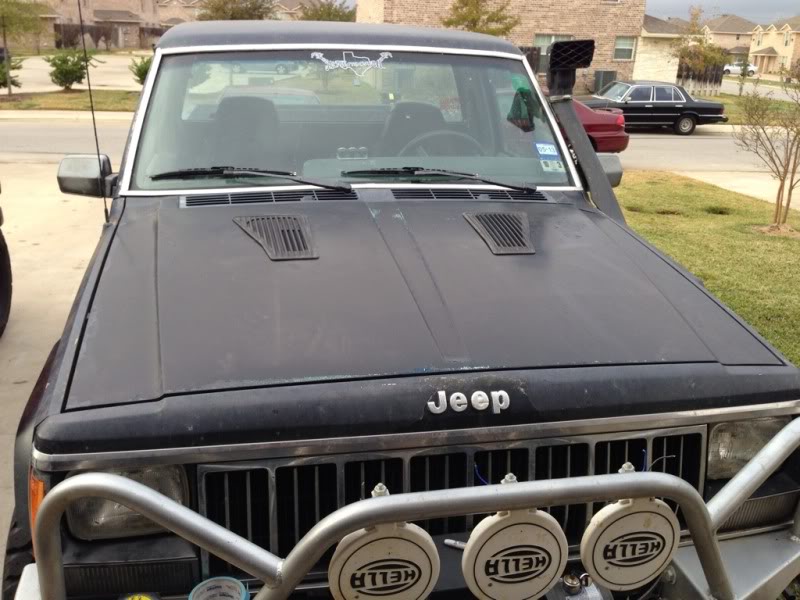
Time for a up date. I got these Datsun 280z hood vents and I had never installed them so go figured it was time.

First I made a cardboard template
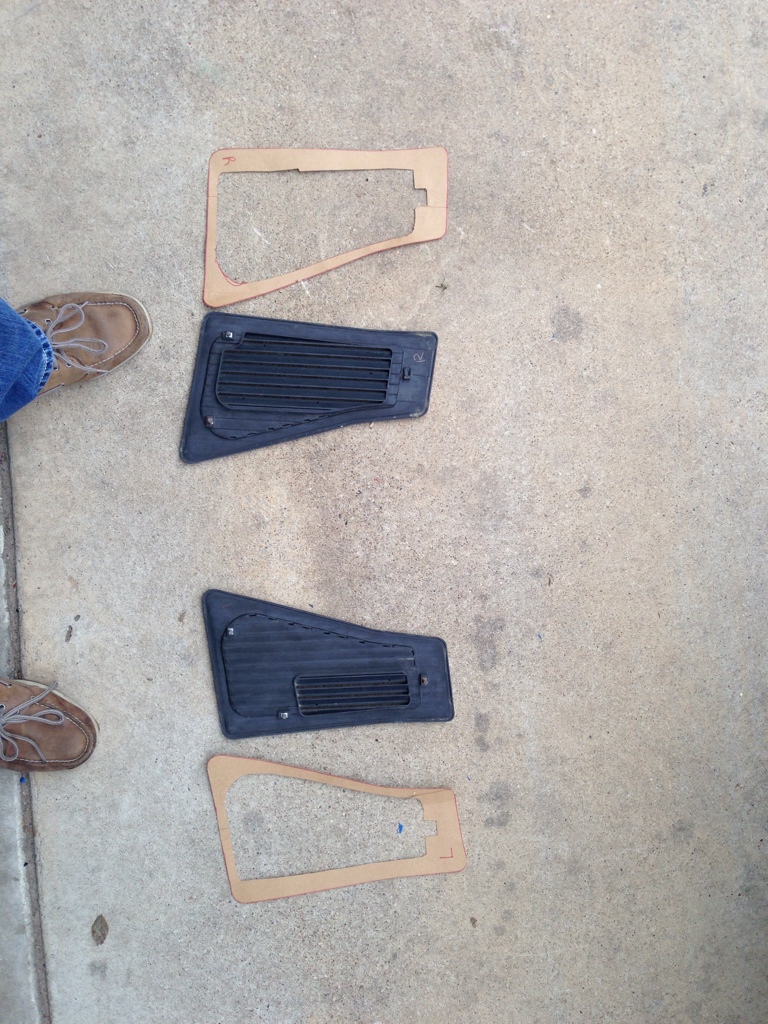
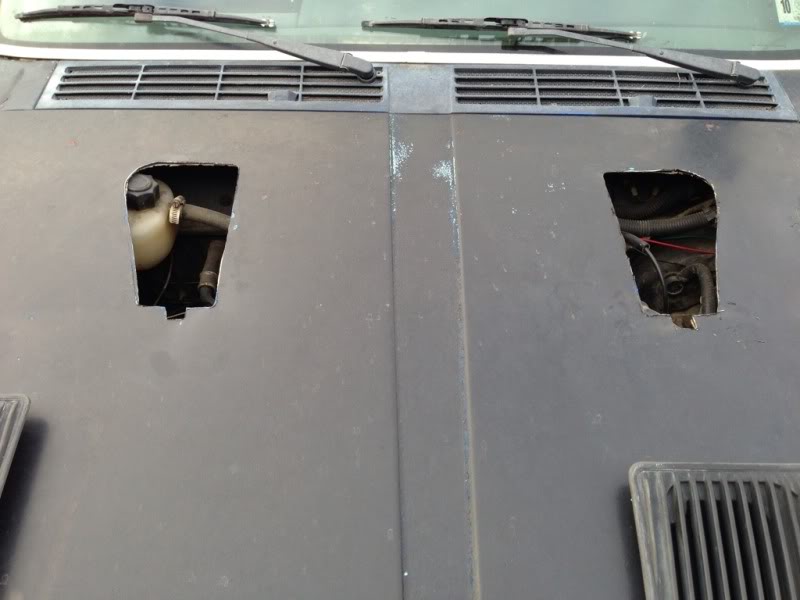
The I started cutting and the next thing I knew I had 2 big holes in the hood!!!
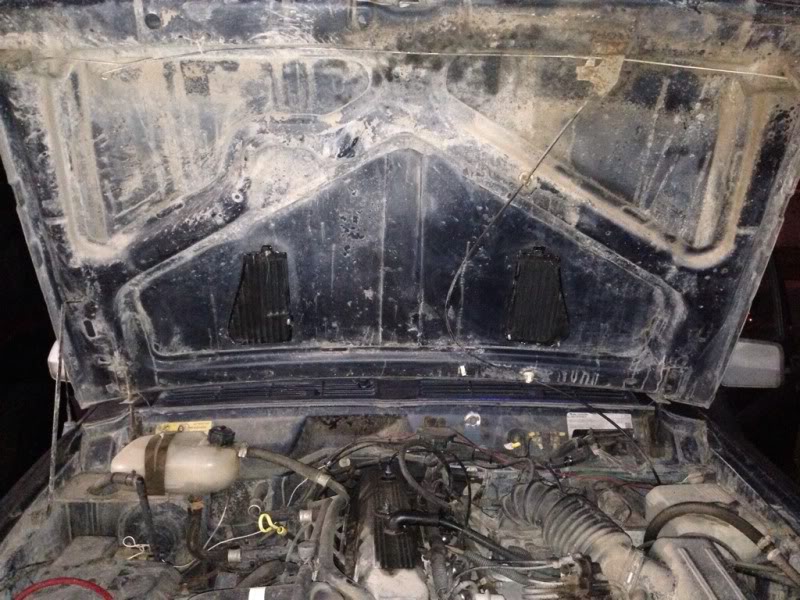
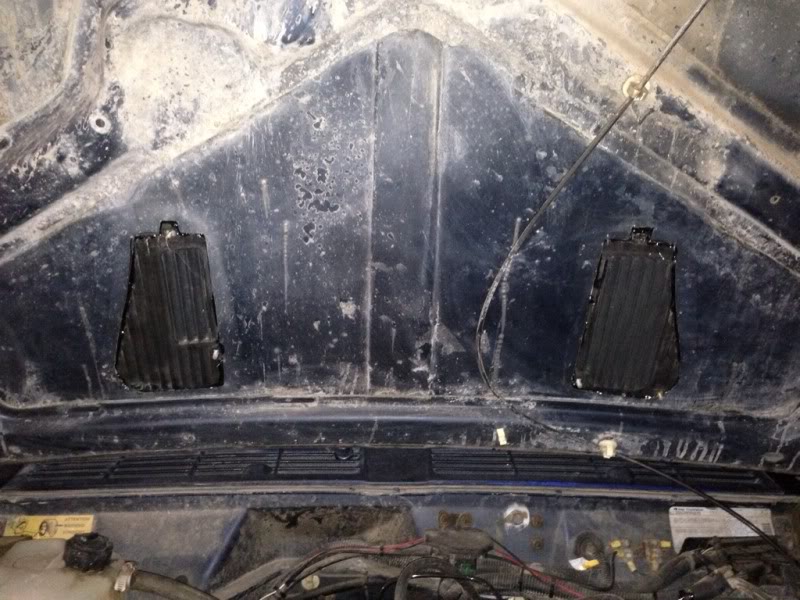
I also positioned them so that the left vent opening was not directly over the distributor cap.
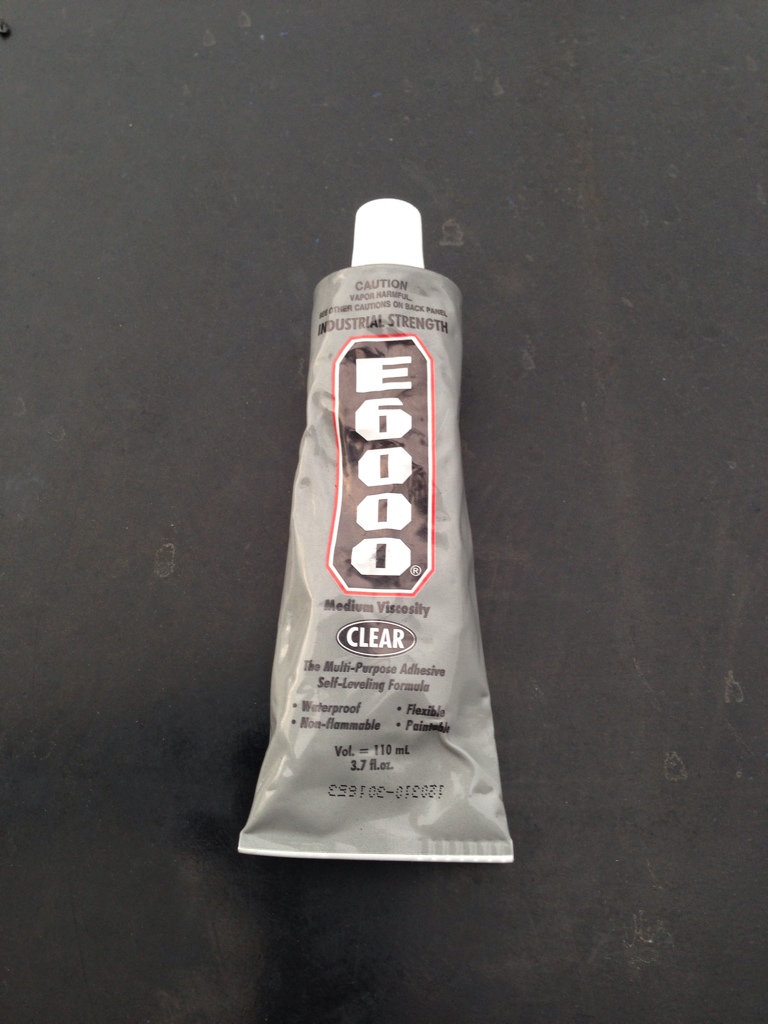
Then I used e6000 epoxy to glue them on. I don't know how we'll it will hold up but we will see.
Then it was time to dry. LOL
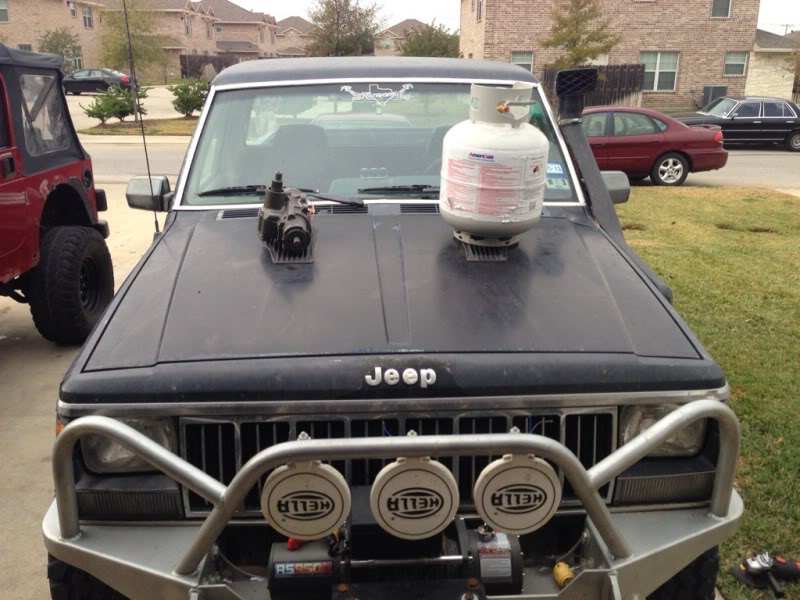
And here is the final result.

And some under hood shots.
First I made a cardboard template
The I started cutting and the next thing I knew I had 2 big holes in the hood!!!
I also positioned them so that the left vent opening was not directly over the distributor cap.
Then I used e6000 epoxy to glue them on. I don't know how we'll it will hold up but we will see.
Then it was time to dry. LOL
And here is the final result.
And some under hood shots.
02-05-2013, 01:18 PM
#75
CF Veteran
Thread Starter
Join Date: Feb 2012
Location: college station
Posts: 1,116
Likes: 0
Received 0 Likes
on
0 Posts
Year: 1988
Model: Comanche
Engine: 4.0
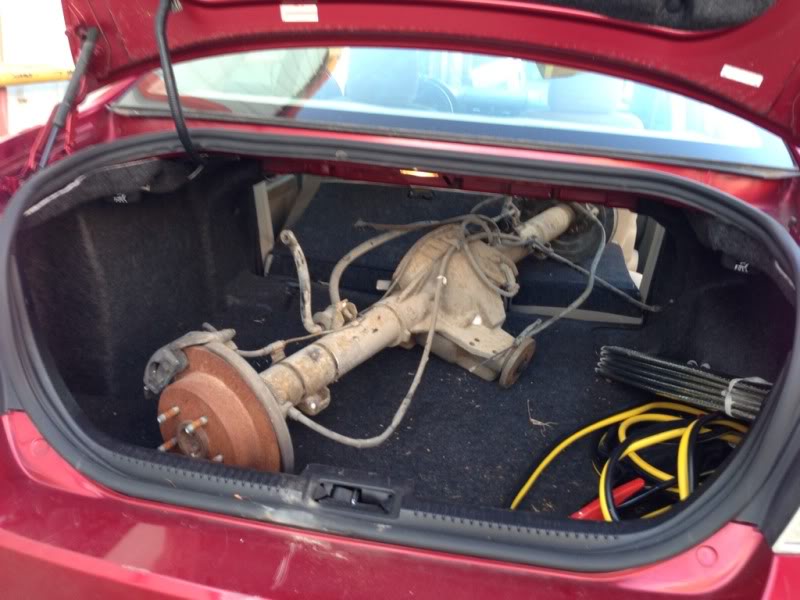
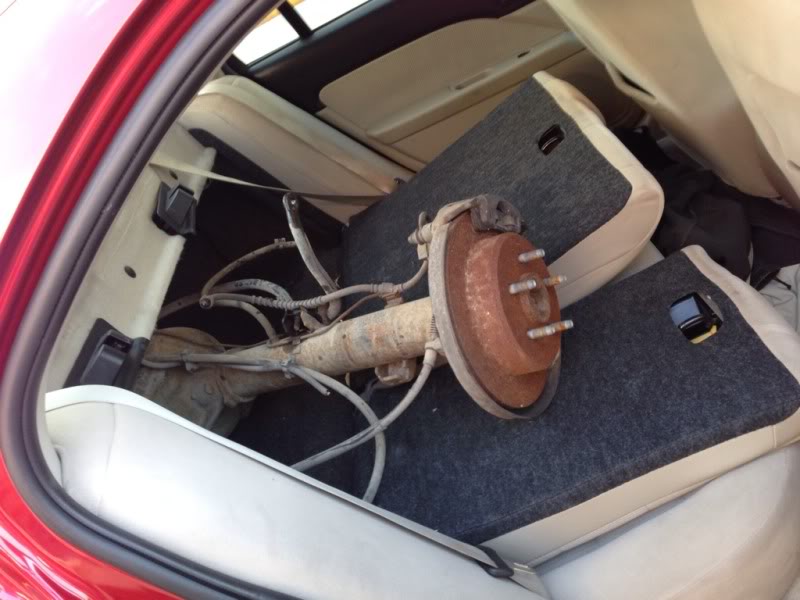
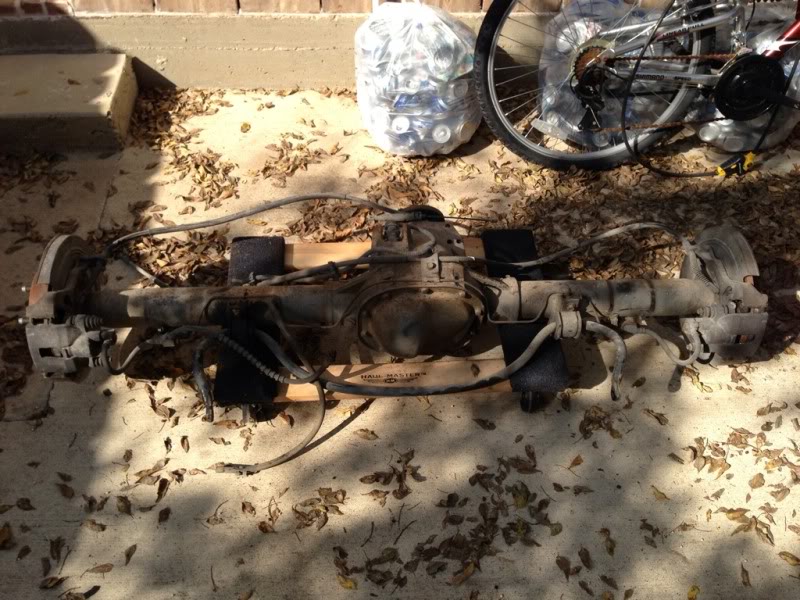
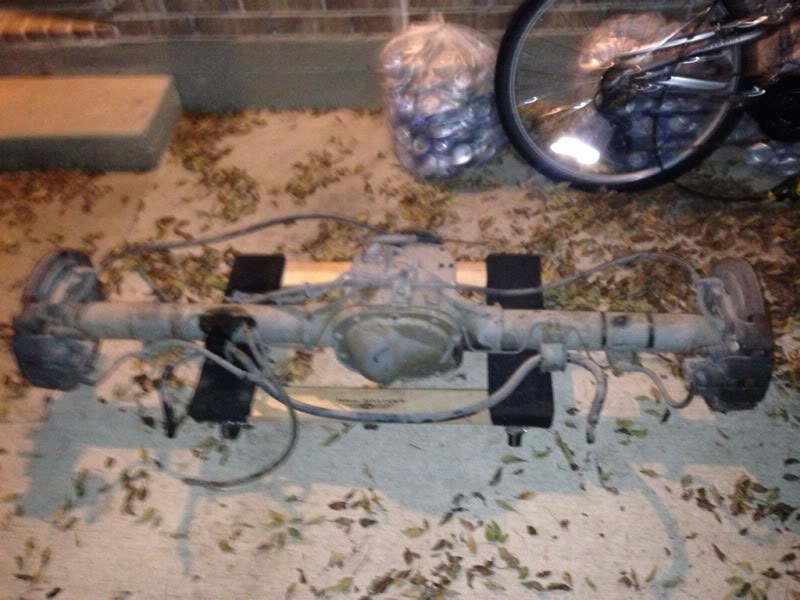
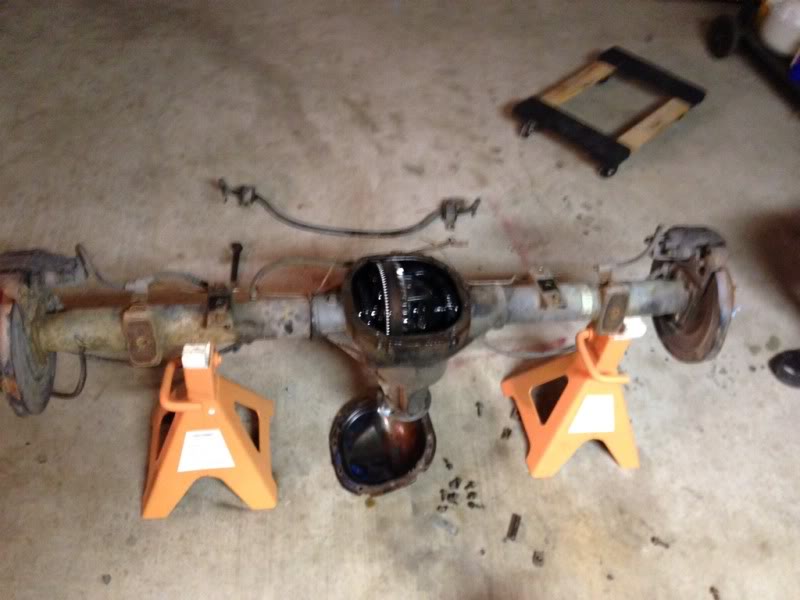
Went to the junk yard last week and scored a 97 explorer 31 spline 8.8 with disk brakes and 4.10 gears for 200$ Wahoo. Now I can get rid of the TURDYFIVE!!!
The load and unload was intresting to say the least.....
The load and unload was intresting to say the least.....