When you click on links to various merchants on this site and make a purchase, this can result in this site earning a commission. Affiliate programs and affiliations include, but are not limited to, the eBay Partner Network.
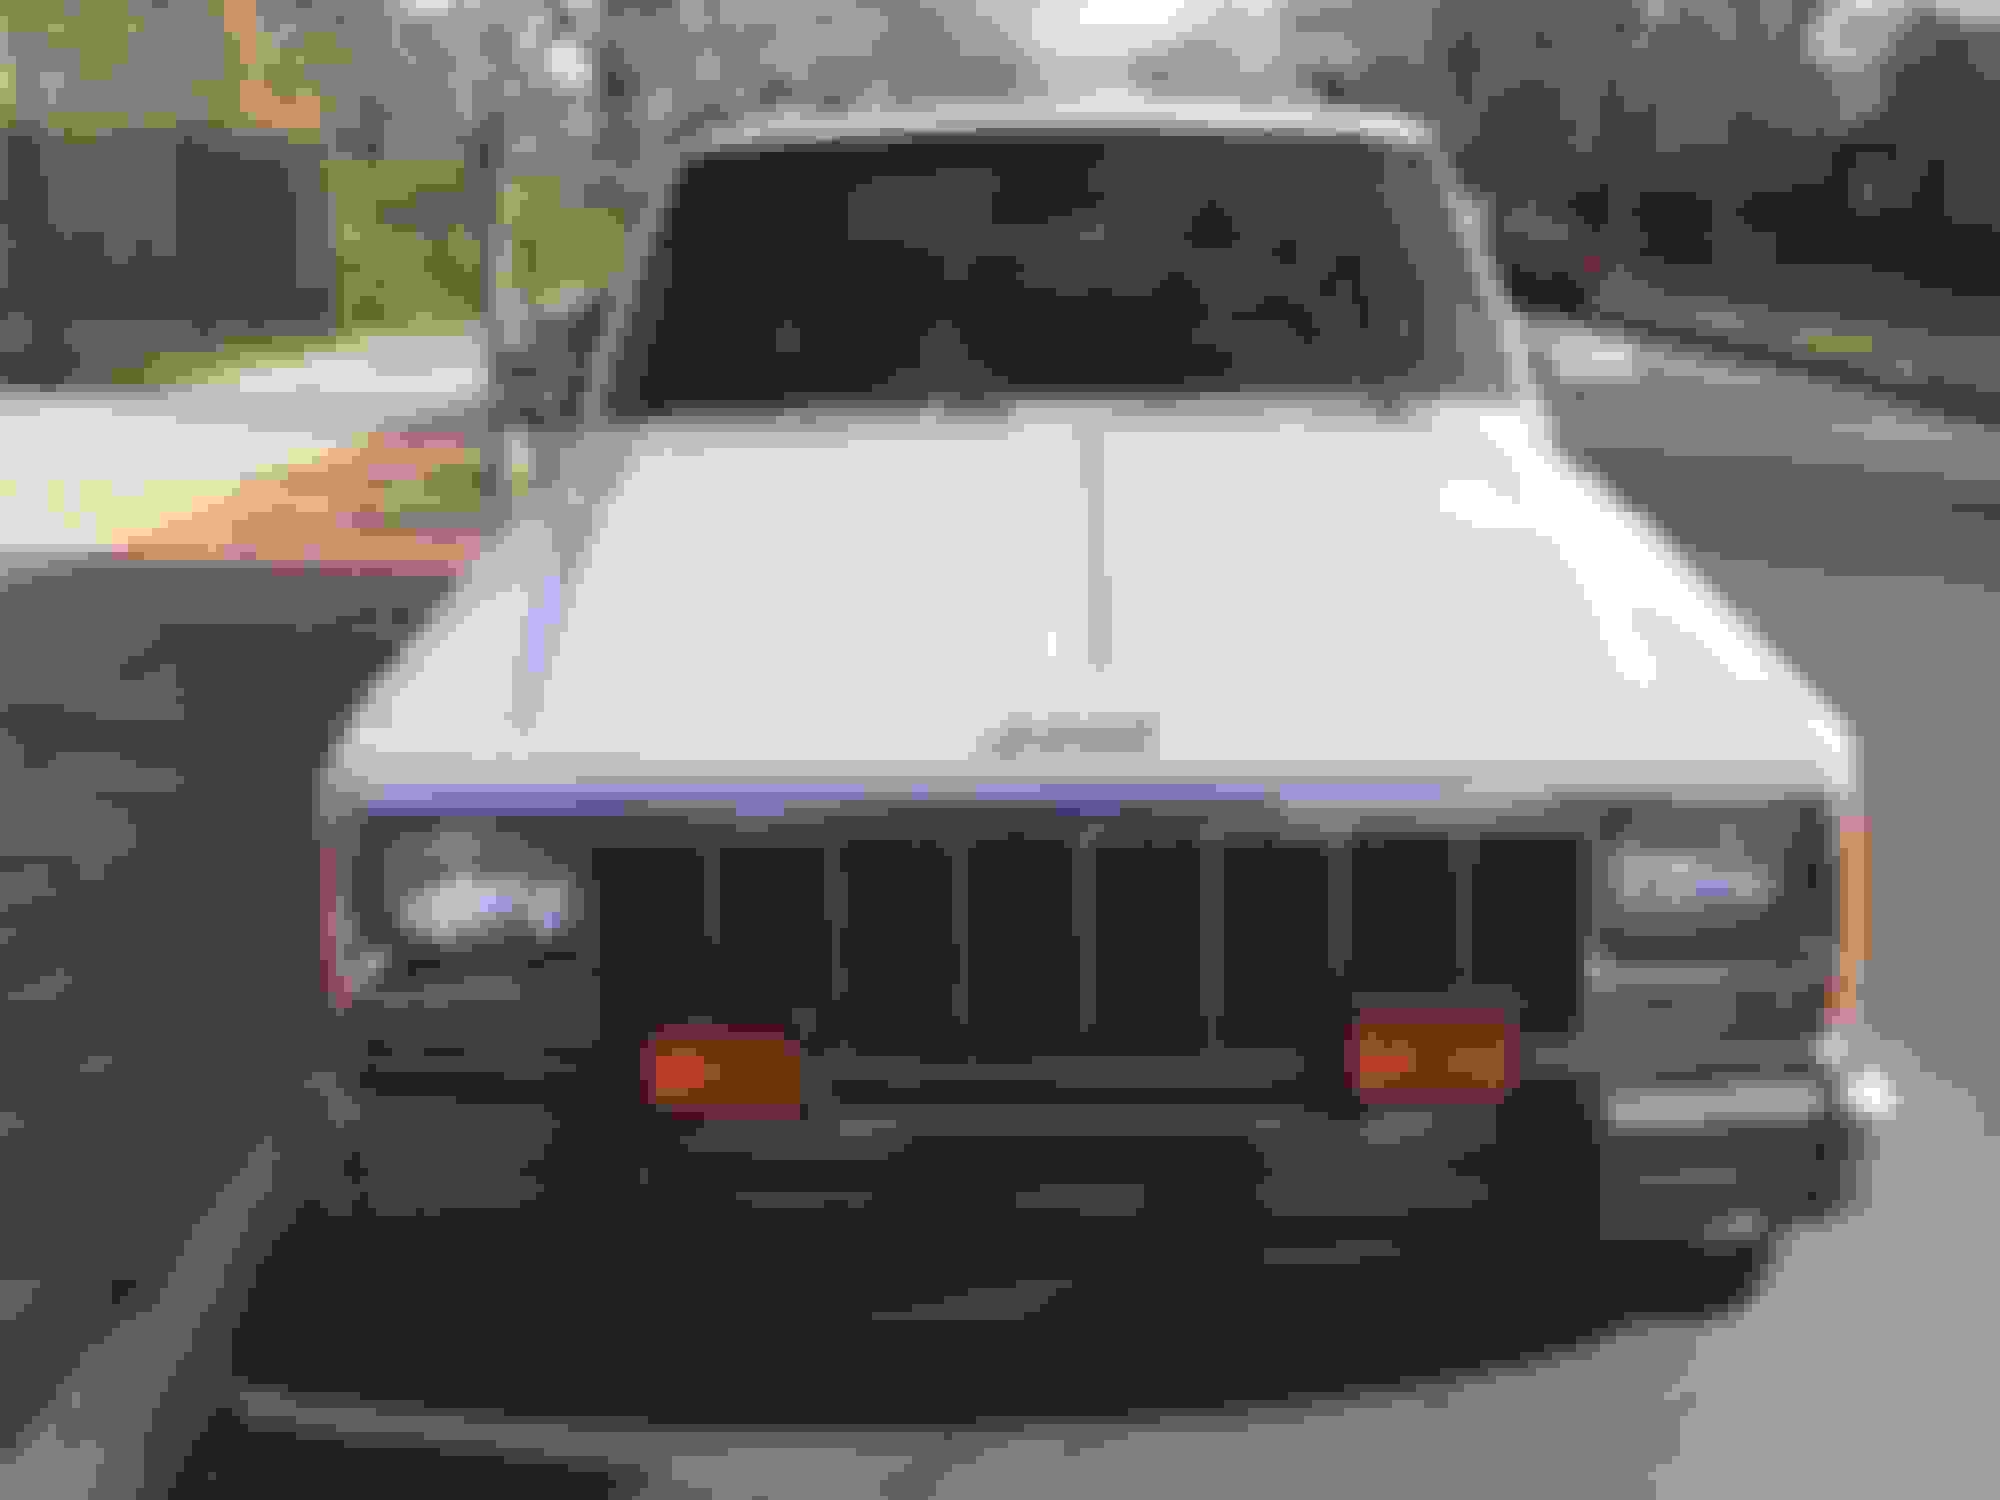
Hello everyone and thanks for having me! I'm new to XJ's, but not new to building extreme vehicles. Ever since I saw Goonies when I was 10, I just wanted a Cherokee. I came across this rust free, pretty cherry 2-dr and had to own it.
I want to keep it era appropriate so I won't be doing anything too crazy, that's what my Raptor is for. My plans are as follows:
-I'm currently fabricating a stainless 2-bar push guard and I'll have some amber fog lights on it.
-I NEED SOME TAIL LIGHT GUARDS PLEASE!! I'll sand blast them and chrome them as well to match the rest of the jeep.
-I'm going to do just a simple 2" lift, replacing all the shocks and possible the rear leaf packs if they are as saggy as I think.
-I've ordered some 15x8" American Racing Outlaw II wheels and BF Goodrich 31".
-It goes in for fresh tint next week and then I'll start replacing the door speakers since they are still factory. I'm going to keep them hidden behind the original Jensen grills.
-Other than that, it will be just maintenance to make sure this thing is a cruiser for weekends or lake trips.
Anyways, onto the pics... look at that cordovan red!
I've already replaced the missing chrome cherokee emblem. I ditched the walmart steering wheel cover and floor mats. I've got proper Cordovan burgundy floor mats coming. I also added the proper cup holder (modified to fit yeti's of course).
Welcome to the forum. That is one nice VERY clean XJ you found!
Thank you sir! I actually scored it in Denver and drove it back 8 hours @75mph without a hiccup.
Over this long weekend, I decided to fab up a push bar. I know there are several grill guards and aftermarket bumper assemblies out there, but I wanted that early 90's look to the jeep. I couldn't find one of these push bars so I fab'd one up myself. I'm going to powdercoat it chrome later this week to match the rest of the trim on the Jeep. Don't knock that powdercoat either until you see it. I hand polish wheels as a side job and this chrome powdercoat is every bit as good.
I plan on putting 3 amber fog lights in here as well. I made sure to keep the top bar just below the Jeep emblem
That's a serious push bar! The chrome ones are usually paper thin. Yours looks pretty functional if the bumper would hold behind it (not that you're worried about that).
i just got my push bumper powder coated and installed last night. It�s the exact look I was wanting!! Now I just need to find/fab some tail light guards!
Looking forward to watch the progression. I'm on the fence with lifts/tires, so I'd definitely like to see what you go with, and how it looks.
Great Find!
Nice lookin XJ and great job on the push bar but, I have to ask, why 3 lights and not just 2? Just strikes me as a little odd if you don’t mind me sayin but I said the same thing when I saw someone with just one fog / runnin light.
Looking forward to watch the progression. I'm on the fence with lifts/tires, so I'd definitely like to see what you go with, and how it looks.
Great Find!
I think I'm just going to do a 2" lift (shock spacers and shackles) along with all new shocks. I'm wanting to toss on a set of 15x8" American Racing AR62 Outlaw II wheels (really give it that early 90's "dad feel") and try to maintain the gas mileage I'm getting. I actually daily this to keep miles off my Raptor so I'd like to maintain the driveability of it. Not sure if 31x10.5 BF Goodrich KO2's will fit or if I need to run 30x9.5" KO2's. This shouldn't change the appearance or ride too much. Thoughts on that?
Originally Posted by samiam
Nice lookin XJ and great job on the push bar but, I have to ask, why 3 lights and not just 2? Just strikes me as a little odd if you don�t mind me sayin but I said the same thing when I saw someone with just one fog / runnin light.
That is a completely justified question... but I don't really have an answer other than the LED's I purchased looked too small. I wanted to keep that amber rectangle fog light look, but I really want as much light as possible WITHOUT doing giant LED bars like I have on my Raptor. I thought those 2 looked a little small in there so I said, why not 3? lol It does bother me too because I'm an OCD engineer who likes things in pairs.
Well I had a busy last few weeks. The week before I stripped all the purple bubbly tint and got it retinted with 20%. That should help keep my interior crack free. I also found a set of tail light guards so I'll get those stripped and chrome powder coated soon to match the bush bar.
As for last week, I completely pulled the the interior out to get ready for some audio upgrades and to wire in some relays. I added:
-NVX 5-1/4" component set to the front (tweeters installed in factory lower dash location with special brackets I built to fire them up
-NVX 5-1/4" rear speakers
-Pioneer bluetooth headunit (it has infinite display color options so I can match the 90's yellow dash light glow)
-NVX 5 channel amp under the rear seat to power the 5-1/4" and a NVX 12" sub that should be arriving today.
-I finally wired up my new fog lights to the factory fog light switch, but I rewired the switch so I can kick them on anytime vs only when the headlights are on.
-I installed a rocker switch for my rear bumper reverse lights which should be arriving next week. They are very slim LED lights and I'll paint them to match the bumper since they install flush.
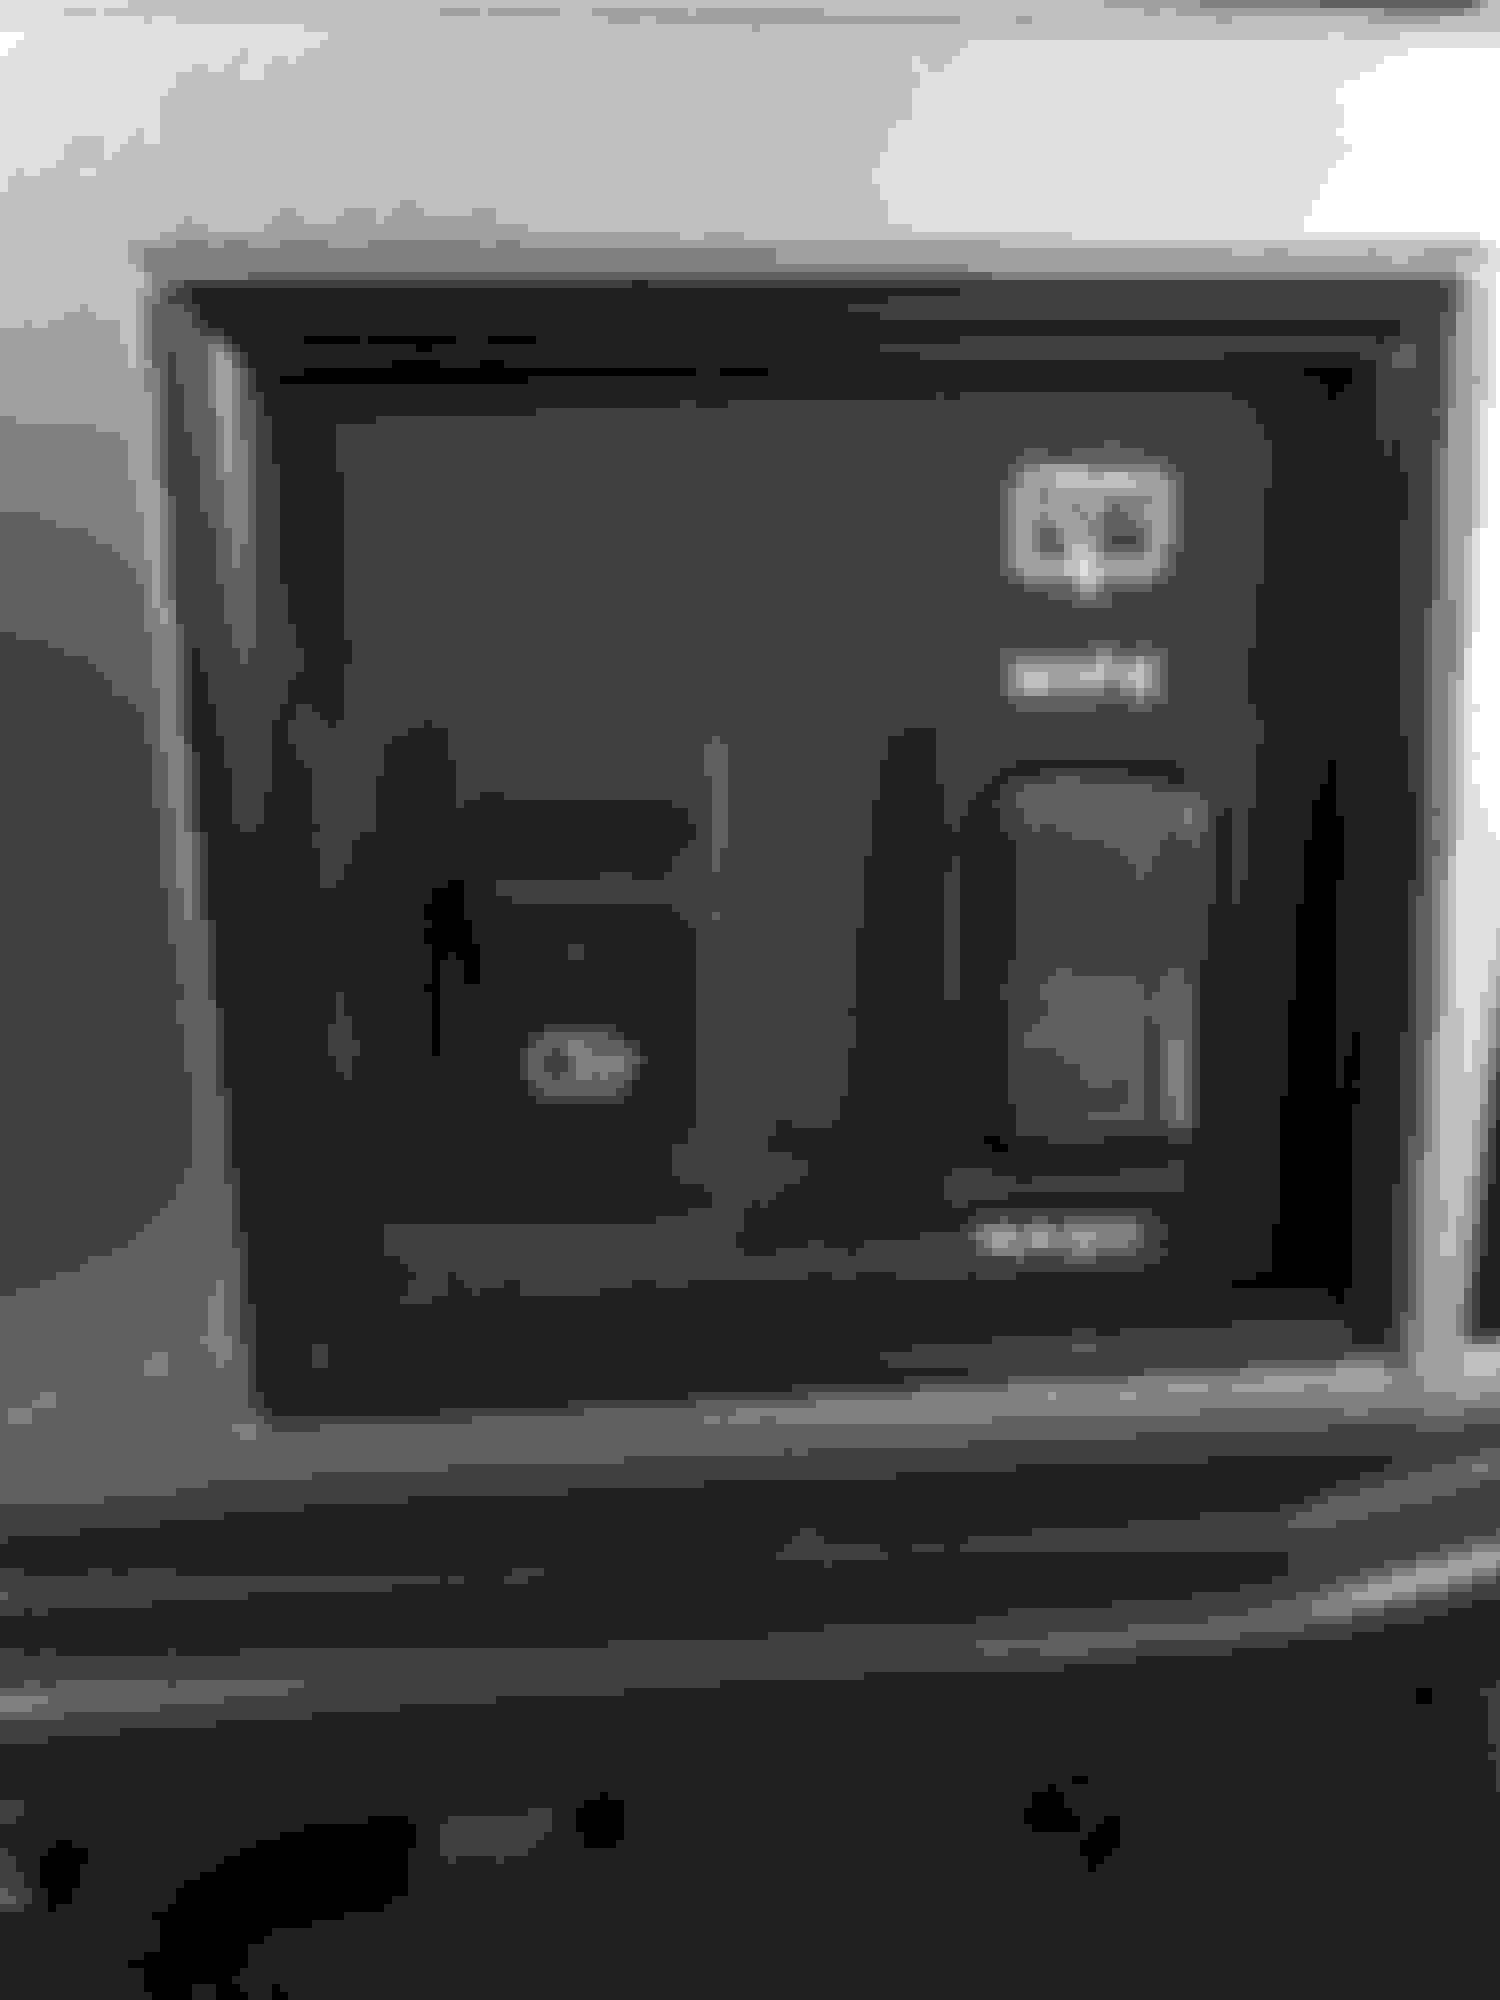
-I also installed a dual USB and digital volt meter socket on the passenger side dash. I don't care so much about the voltage, but it's nice having the two ports for my wife and I when we're on a road trip.
-I installed an oil temperature gauge, since that's about the only gauge missing. I looked forever on the interwebs at gauges that didn't look too modern and there just isn't that many. I debated using a SunPro brand temp gauge since everyone used those back in the mid 90's. Finally I came across a Datcon brand gauge with the exact same color scheme as our factory gauges. Now these are normally used in farm implements, but it's 12v and I tracked down the proper sender and light kit and it looks OEM.
-I also installed (4) relays. They power the front fog lights, the rear backup lights, one to power the low beams (I'm swapping out headlamps to H4 glass and LED bulbs soon so I want to power them directly from the battery) and the last one to power the high beams on these. I also added a diode between the high beams and the fog lights so when I kick on the high beams, the fogs turn on, but this keeps the high beams from coming on when I turn on the fogs.
-While I had the dash apart, I also replaced every single bulb in there. Those tiny T1.75 bulbs were a pain to find and apparently no one makes them in a warm LED or even an LED at all. The rest of the bulbs were replaced with the warm colored LED's for increased output and I love it.
This weekend I'm going to be building a ported enclosure for my new 12" and my plan is to have it hug the back seat as much as the depth of the sub will allow so I can maintain storage space.
I just finished building a ported box for a single 12" and it beats pretty hard. It's a side ported box that I designed and is tuned to 34htz to match the specs of the sub. I tried to make it hug the back seat as much as I can to maximize the storage space.
Always nice to see quality work in the sound department :-)
I too think a box hugging the rear seat is the best way to go, the only thing that could make your box better (imo) is adding a stepped face board to help protect the sub so when something is pushed up against the box it meets a flat area instead of the sub-surround and woofer as it moves, also gives you an easy way to mount a grill as you step the board up around the sub. In the end you might sacrifice a couple inches of space, but you'll protect your sub for as long as it lasts.
 05-25-2018, 10:39 AM