When you click on links to various merchants on this site and make a purchase, this can result in this site earning a commission. Affiliate programs and affiliations include, but are not limited to, the eBay Partner Network.
First....It won't let me remove a bunk attachment....so please disregard that. Mod...if you see this, the file attachment can be deleted.
Minor apologies...this isn't super pic heavy. Not much of a photo documentarian. I can get any photos you'd like though...so please ask.
Similarities to other options - This Bumper (and carrier) looks like it's designed extremely similarly to the JCR rear swing out bumper (and carrier). The hinge, the latching mech, etc...it's extremely similar. Can't say which one came first...but ideas were taken...big time. The biggest difference I see is that you get the integrated quarter panel guards included with ARES, where they are an extra $169 at JCR. These things are an absolute must! Prior to installing the guards, there is a ton of twisting of the bumper going on when the carrier swings out. Way too much (you can see this in Bleepin Jeeps install of the JCR bumper...he blows it off, but it's a big F'in deal). I actually called ARES prior to installing this, and he said I should not install this bumper without them, and that they were a must. I agree 100%, and am surprised to see JCR doesn't include these as a necessity.
There is so much work involved with this set up, and it's fit and finish is pretty damn fantastic. It's a lot of money (however, ARES is running 20% off until the end of this month...seems 15% off is their typical. I can't imagine buying it at their full price), but I seriously could not make anything near as nice. The time spent would just be through the roof.
Final intro wording....this was a very long install to do well. It was not a one day job for me.
Painting - I painted it before installing, but I wish I did a full install before painting. Things took some massaging, so I had quite a bit of touch up required on my rattle can work afterward. After painting it, I did say I wish I had it powder coated from ARES. There are so many parts to paint, and there are so many crevices that you just can't get to very well with paint. The inside of the swing out is the main troublesome piece. After installing it though...I would gladly take it in bare metal again to allow for a dry fit. There were too many cuts and reams required, I would not like the spend the money on powder coating, only to cut through it in a few spots. I will likely get it powder coated down the road.
Extra work/purchases required--------
Frame tie-ins - I don't think the included frame tie-ins included are adequate for the weight and leverage. I would expect to see cracks form at the stock bumper mounting locations down the road. These tie-ins are similar to the tie-ins JCR provides as well (you can see them in the foreground of my painting photo above)...attach from the main bumper mount, and uses the nut strip locations for 2 bolts to the frame. Not much to it. I ended up installing Dirt Bound Off Road bumper braces which made me feel a hell of a lot better. I bent up some extensions to them (based on nut strips I had) and welded them on, purely so I would have an extra bolt for my gas tank skid. I used an air saw to make the cut out in the rear crossmember.
Lights - On 96 and earlier, you will need to relocate your 3rd brake light along with the license light. ARES includes a cheap license light, but if you need to relocate your brake light, I'd toss it and get something more integrated. (I got
ready, but haven't yet installed them...likely going to inset them into the swing out). There are no cut outs anywhere for back-up lights on this (JCR does have cut outs).
Wiring - I tied in behind my passenger side brake light with
and basic heat shrink crimp connectors (with further waterproof heat shrink tubing on top of those). I tied the license light into the always on brake light, and the 3rd brake light into the pedal controlled brake light. On 96 and earlier...there should be a plastic cap that you can drill through to get the wires through. No need to drill any metal. Might be the case on 97+ as well.
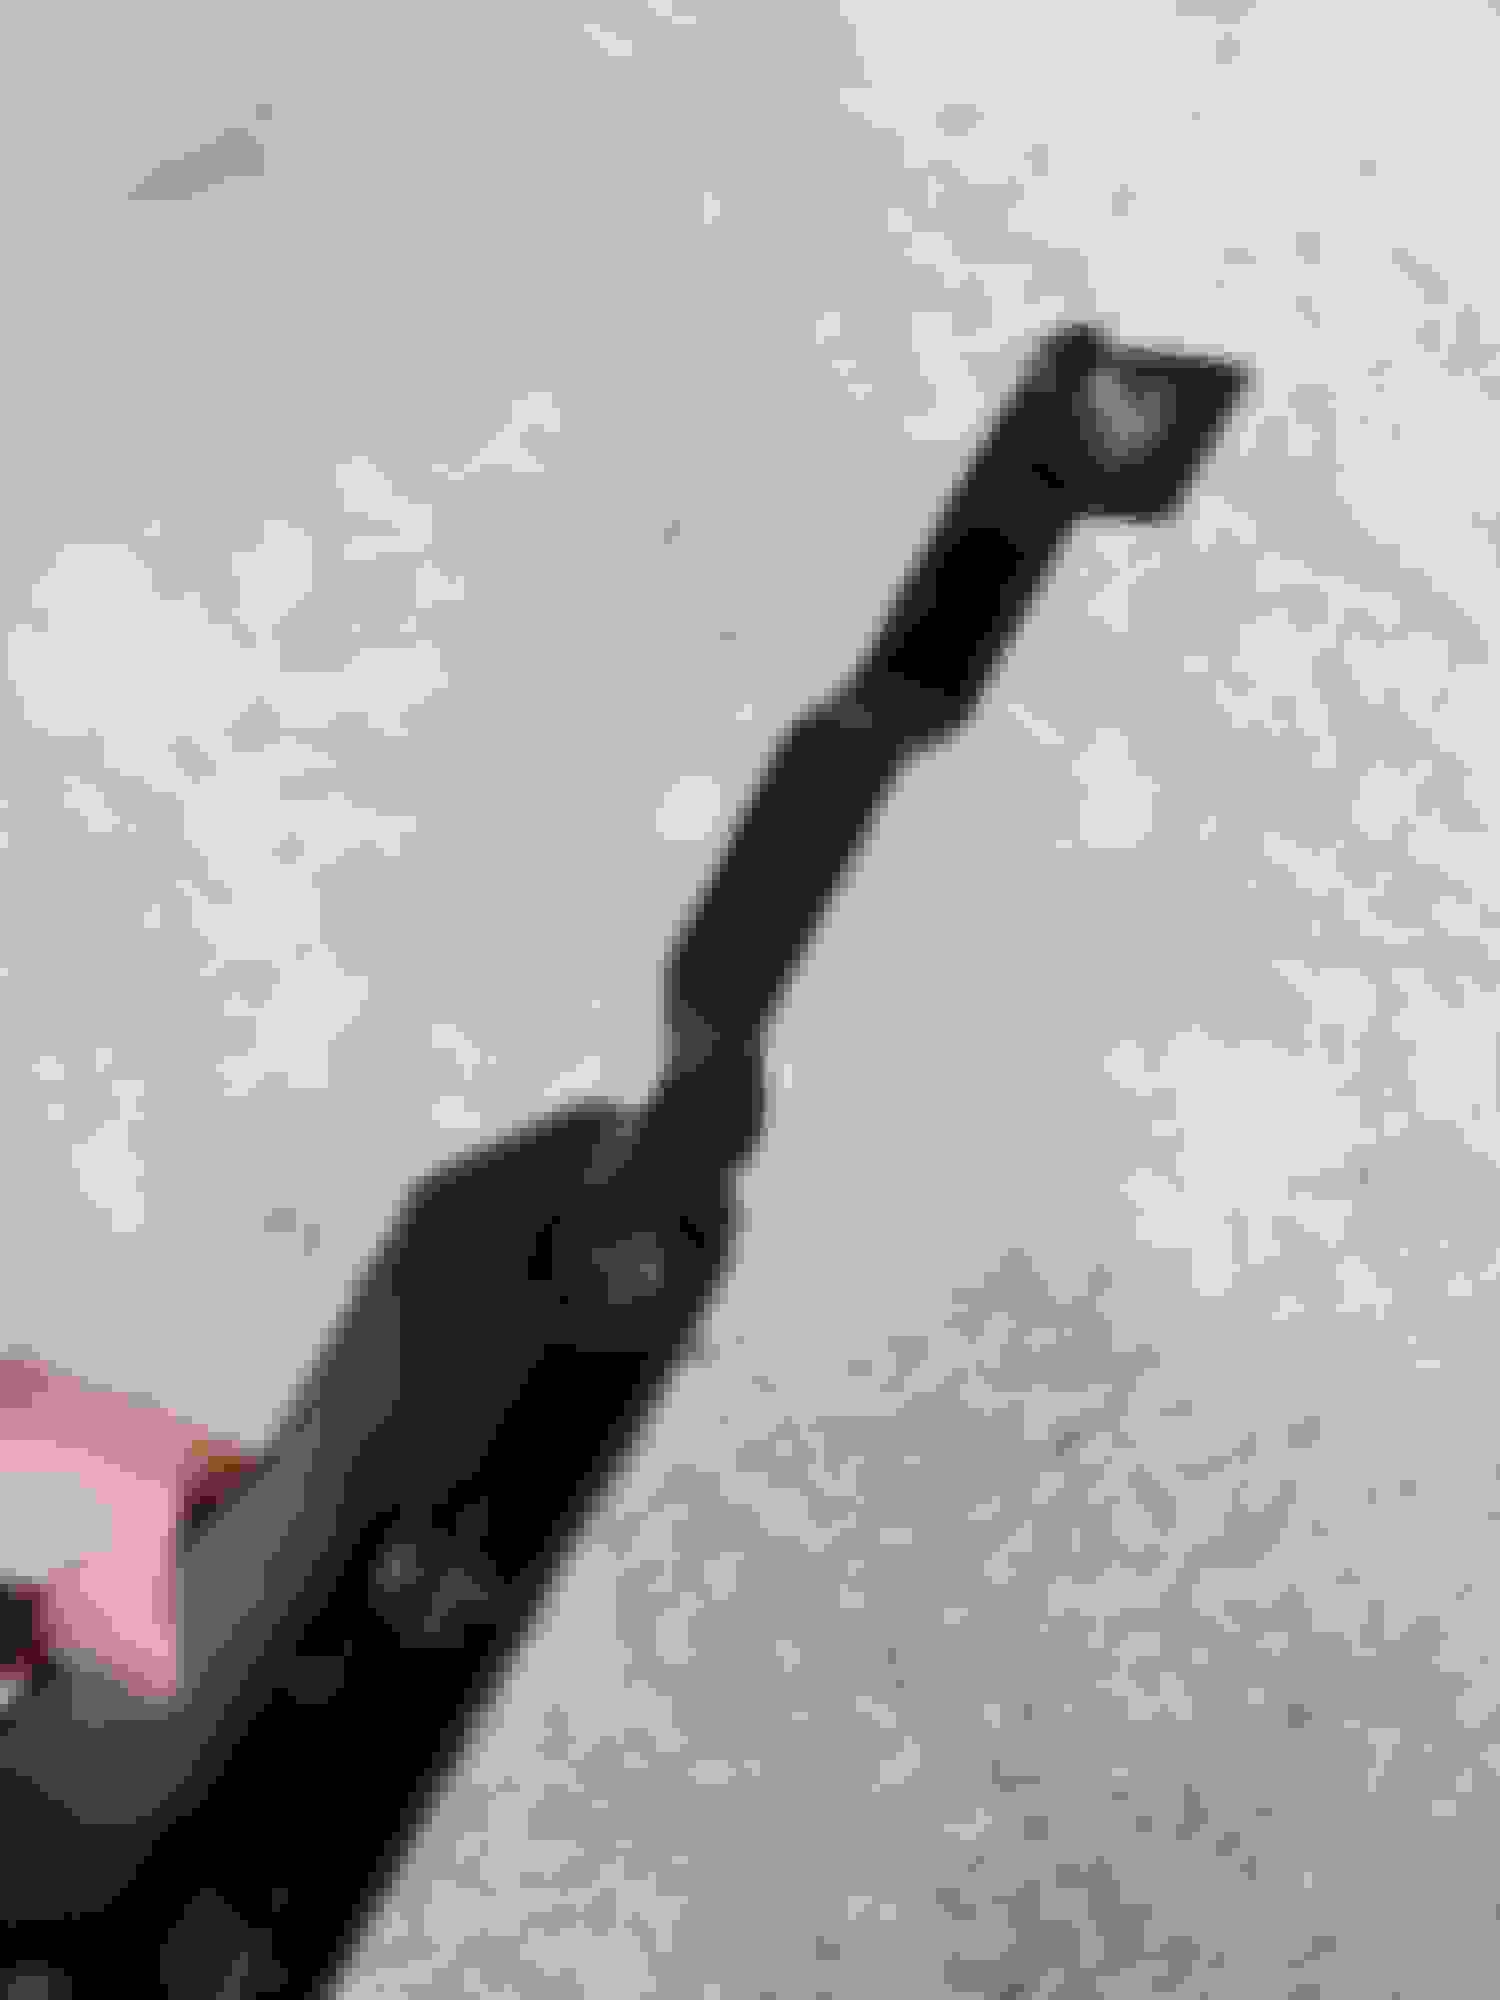
Issues - Truly...every step of the way I was cursing that nothing fit. However, it really just took time. I didn't have to do much hole reaming when all was said and done. The biggest problem maker is the quarter panel tie-ins. 1) I had to cut these down to fit stock flares. I believe they are intended for 97+ flares. Maybe there is an option when you purchase them new, but I got what I got from the seller. 2) they aren't curved to form to the body...and they're 3/16" thick. I did my best to mark the first few holes, and started adding 5/16" nutserts into the body. Nuts are included with the kit, but I have zero idea how to get them where they need to be without doing some serious cutting of the backside of the quarter panel. Once you pry and push, and pull to get all the bolts in...the quards form very nicely to the curve of the body. 2) The other issue was the pin for the swing stop was not welded in the correct spot. This was easy enough to notch a slot out instead of a perfect circular hole...but troublesome nonetheless. That's a pretty serious thing to get off when jigs are used (the blurry photo shows how far off the pin location is...it's focused at the bottom where the pin should drop into)
The swing out does not slam shut. It is required to lift it up just slightly before latching. I appreciate this, as it keeps the rubber bumper on the bottom with tight fit. I have not yet noticed any rattling.
Overall...I'm very happy with this thing. I think it looks a bit awkward with smaller tires, but I'm slowly building up what I think is most important to me first. I rockcrawled hard with an XJ 15 years ago, and feel I learned what upgrades I get the most out of...and to me, that's lockers and protection. A tire carrier is not at the top of the list, but a solid rear bumper is. The swingout bumper just fell into my lap from a local seller, and I'm happy to make use of it.
Last edited by Gearwhine; Mar 24, 2020 at 09:33 PM.
Reason: Attempting to fix photos, spelling, fixing links