When you click on links to various merchants on this site and make a purchase, this can result in this site earning a commission. Affiliate programs and affiliations include, but are not limited to, the eBay Partner Network.
I recently installed a hood lift kit that I pieced together and thought others might find the details useful, as the kits for sale seem to be fairly expensive.
My goal was to design a system that kept the hood close to the stock angle when opened and use struts that weren't too forceful/stiff but still held the hood up safely.
I ended up purchasing a set of angled ball sockets and universal struts from Amazon that fit the bill perfectly:
- I went with a 40lbs force (per strut) version from Maxpow (10.79' compressed, 18.7" extended)
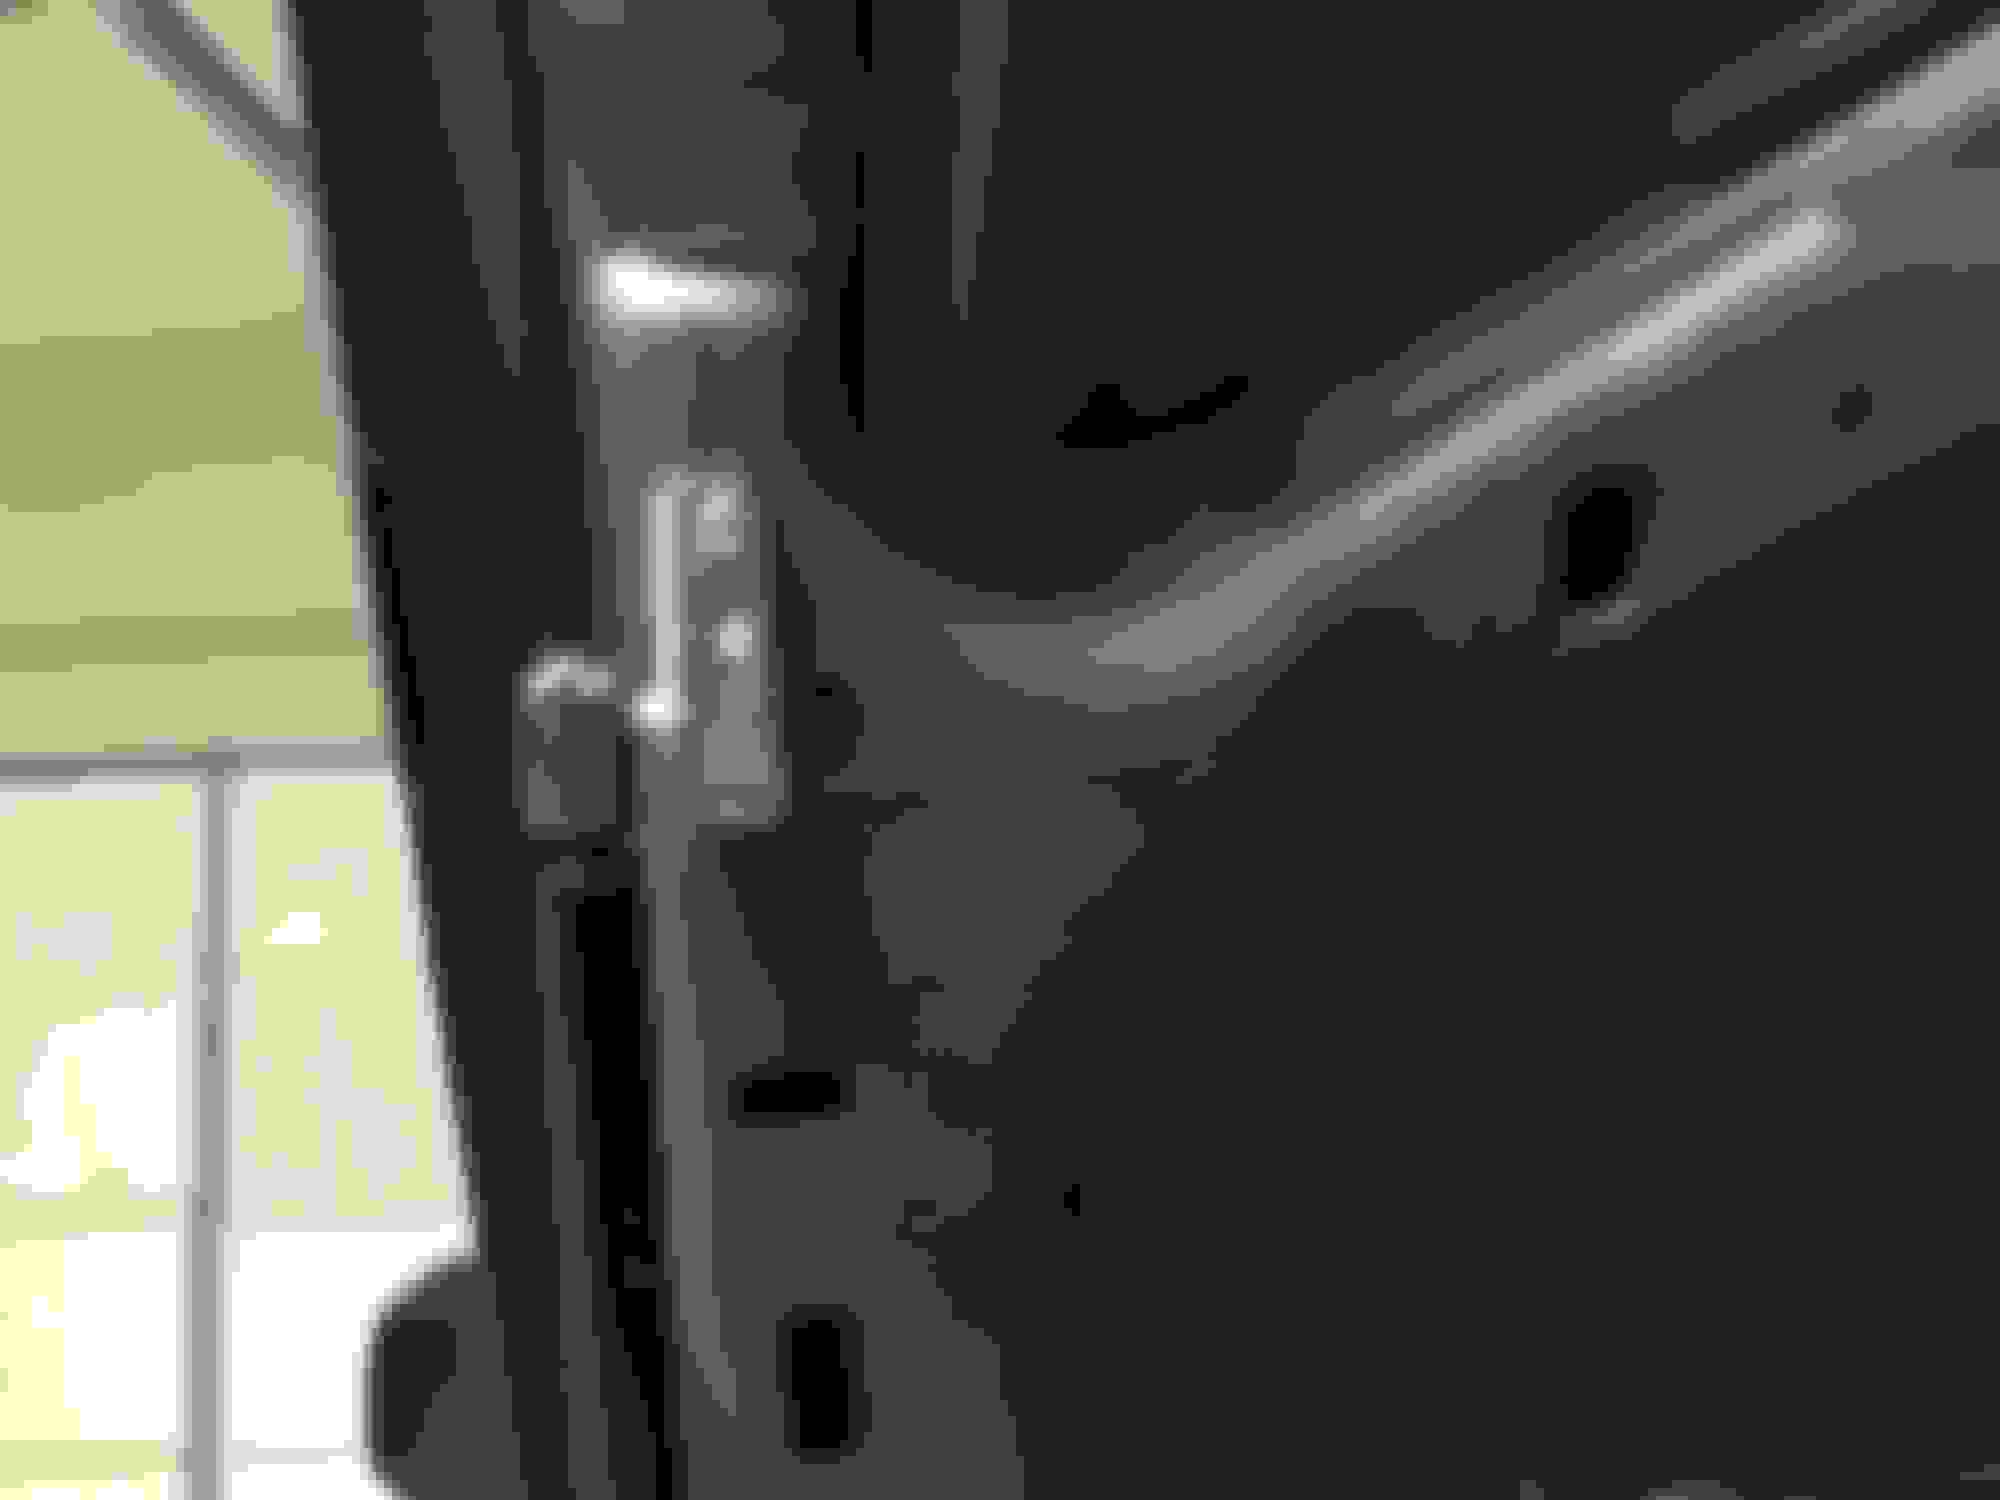
The hardest part of the install was measuring to ensure that the struts would have room to compress when closed. I mounted the brackets inside the engine bay flush with the metal flange you see in the pictures below, which helped ensure the both brackets were aligned similarly. The hood-mounted brackets were mounted near the end of a ridge in the metal (also shown in the pics below).
The install was very simple, but I realized after I started my search for components that it would've been very helpful to have more detail on the dimensions of the struts, so that sourcing a kit was simple. I hope this helps anyone looking to do the same.
The one thing I will note is that the struts seem to be at the low end of what you need to raise the hood, meaning that they "catch" and raise the hood on their own after I lift it by hand. They don't fully lift it by themselves as soon as you start to raise the hood. This is what I wanted, though, as I didn't want more force on the brackets than was necessary.
Very Nice. I see that you used a metal screw then riveted the top mounts? This is giving me some ideas for my other vehicle which I have been using a wooden dowel to hold the hood up.
Very Nice. I see that you used a metal screw then riveted the top mounts? This is giving me some ideas for my other vehicle which I have been using a wooden dowel to hold the hood up.
I used screws where the rivet gun wouldn't fit. Best of luck with yours!
Kick ***!!!
Question, if I cant find a 18.7 extended length that provide more lifting force and I go with... say 20", how would I compensate for the extra 1.3"? How would I move the brackets for 20" long ones?
Kick ***!!!
Question, if I cant find a 18.7 extended length that provide more lifting force and I go with... say 20", how would I compensate for the extra 1.3"? How would I move the brackets for 20" long ones?
I actually started with 19.7" struts (100lbs force each), but they were way too strong, so I switched to the slightly shorter ones. This setup worked perfectly with the longer struts.
I didn�t realize there already was a thread on this so here is my rendition that I did a couple days ago:Very easy project. Took me about 30 minutes start to finish.
You�ll need:
Drill with 3/16� bit (if using rivets)
3/16� rivets and appropriate rivet tool
OR self-tapping screws that will fit through the bracket holes
Tape measure
Masking tape and a marker
20� Hood struts (need two) (see link below)
10mm strut brackets (need four) (see link below)
JR Products BR-12553 10mm Angled Gas Spring Mounting Bracket $8 per two (you will need to buy two sets of two) https://a.co/d/fh7l1HE
SUSPA C16-08053 20 Gas Spring. Force of Prop is 80lbs, Made in USA $35 for set of four. https://a.co/d/1BecVEf
The prices are what I paid; they are subject the change. Note how if you buy the four-pack of struts, it�s virtually the same price as two.
Use the tape measure and masking tape to mark the hood edge 18� out and fender 5-3/4� out (see photos). Same measurements for both sides.
Place hood bracket in direction depicted in photos. The Center of the ball should correspond with the 18� mark. Use a marker or spring-punch tool to mark one of the holes. Set bracket on table.
Drill hole with 3/16� bit being CAREFUL not to �punch thru� and hit the topside of the hood.
Use a 3/16� rivet and fasten the bracket to the hood.
Drill out the other bracket hole and install rivet.
Do the same with the fender-mounted bracket. Note the direction of the ball in the photos. The Center of the ball should be at the 5-3/4� mark.
Install gas struts with the cylinder side at the top (see photos).
Remove the manual hood prop as it will be in the way of the new passenger side gas strut.
Note that on the passenger side fender mount, I had to cut away some sloppy factory foam sealant using a razor knife. Also, the rear bracket hole seemed too easy to drill thru so I actually marked the middle hole too, pre-drilled it with a self-tapping sheet metal screw, and fastened it manually. I still installed rivets in the outer bracket holes.
 10-28-2020, 02:19 PM