expedition rig build out
 06-10-2014, 10:51 AM
#196
Senior Member
Thread Starter
Join Date: Mar 2013
Location: lake stevens, wa
Posts: 639
Likes: 0
Received 2 Likes
on
2 Posts
Year: 1996
Model: Cherokee
Engine: 4.0L
the burner runs off a small fuel bottle that sits under the end cover behind the temp dial. i cut the small hinges off and trimmed it a bit to make it lift straight up to put a bottle in place.
 06-11-2014, 09:59 AM
#197
Senior Member

So now you are almost done, what is next with the storage box? After it is complete, what are your next projects? I like what you are doing so I am following your progress. Inspired by your ideas and some from other wheelers, I am trying to make mine more trail/camp/storage worthy so my family and I can have a reliable form of transportation away from the real world.
 06-11-2014, 09:01 PM
#200
Senior Member
Thread Starter
Join Date: Mar 2013
Location: lake stevens, wa
Posts: 639
Likes: 0
Received 2 Likes
on
2 Posts
Year: 1996
Model: Cherokee
Engine: 4.0L
So now you are almost done, what is next with the storage box? After it is complete, what are your next projects? I like what you are doing so I am following your progress. Inspired by your ideas and some from other wheelers, I am trying to make mine more trail/camp/storage worthy so my family and I can have a reliable form of transportation away from the real world.
thanks bud.. i've definitely got a lot of trial and error and brainstorming into this one.
just wait til i get going on my trailer build
 06-12-2014, 11:59 PM
#201
Senior Member
Thread Starter
Join Date: Mar 2013
Location: lake stevens, wa
Posts: 639
Likes: 0
Received 2 Likes
on
2 Posts
Year: 1996
Model: Cherokee
Engine: 4.0L
got a little bit of free time at work today, so took advantage of it.
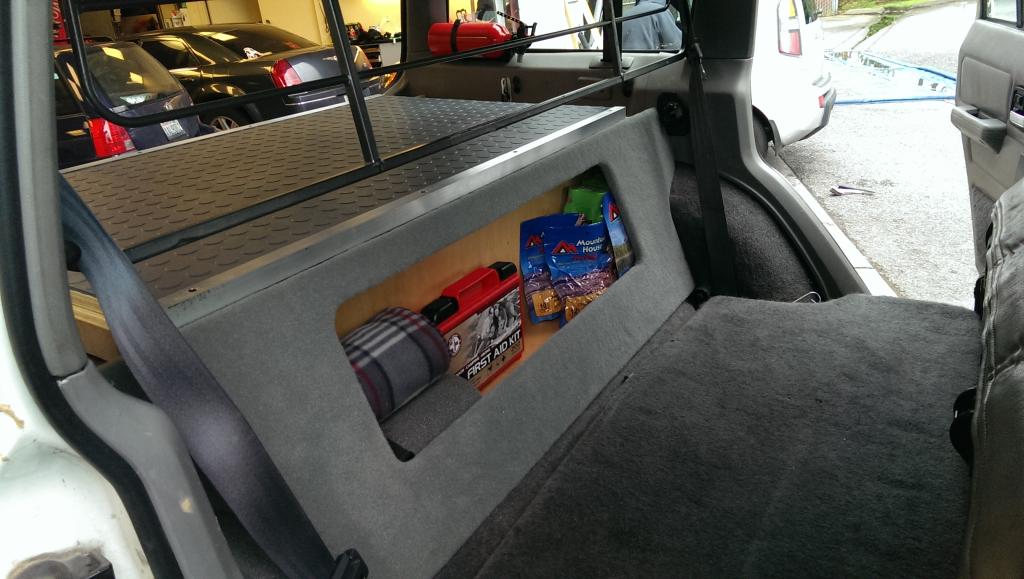
the big cubby behind the seat is going to be a catch-all of sorts for spare clothes, blankets, and a pillow or two. don't want the stuff falling out everytime i flip down the seat tho, so i came up with this.
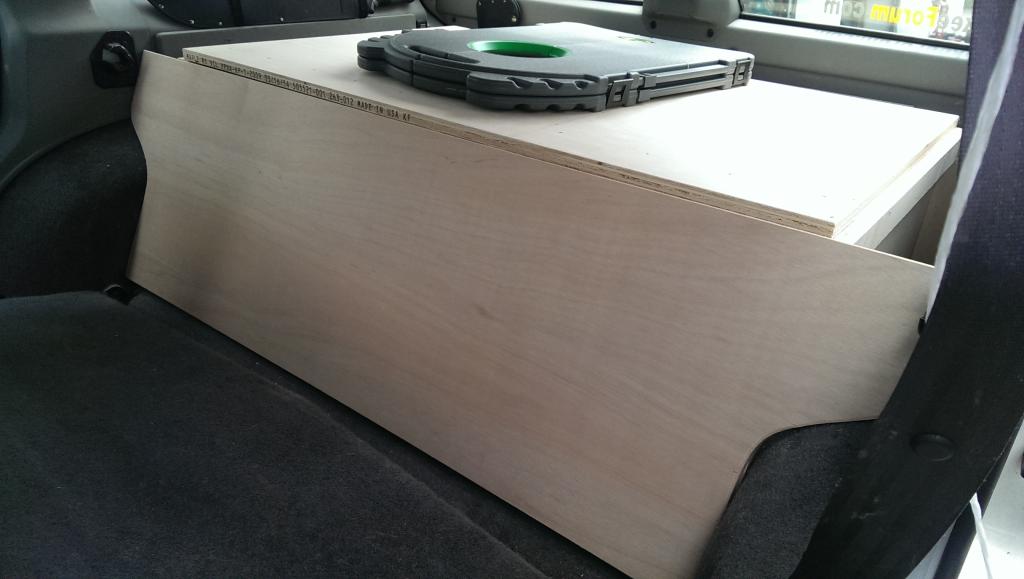
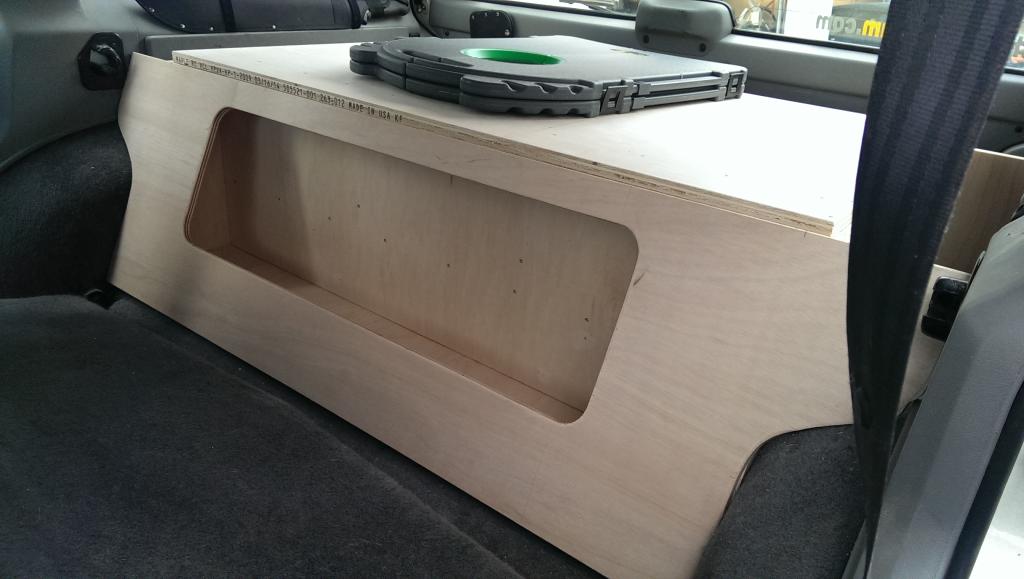
it's not attached yet, as it will make the box non-removable. still need to seal the box with polyurathane first. soon tho..
the big cubby behind the seat is going to be a catch-all of sorts for spare clothes, blankets, and a pillow or two. don't want the stuff falling out everytime i flip down the seat tho, so i came up with this.
it's not attached yet, as it will make the box non-removable. still need to seal the box with polyurathane first. soon tho..
06-13-2014, 07:22 AM
#202
Newbie

Join Date: Jul 2013
Posts: 15
Likes: 0
Received 0 Likes
on
0 Posts
Model: Cherokee
I won't pretend to critique this project, because I have nowhere near your skills. I am curious, can you attach this behind-the-seat cubby cover in a non-permanent way so the box is still removable?
06-14-2014, 07:09 PM
#204
Senior Member
I try to save pics of ideas I think are really cool. In your case for the sleeping and figuring the cargo area is still a possibility. I believe I found this pic on expeditionportal.com. It might be something worth looking into.
06-16-2014, 12:46 AM
#205
Senior Member
Thread Starter
Join Date: Mar 2013
Location: lake stevens, wa
Posts: 639
Likes: 0
Received 2 Likes
on
2 Posts
Year: 1996
Model: Cherokee
Engine: 4.0L
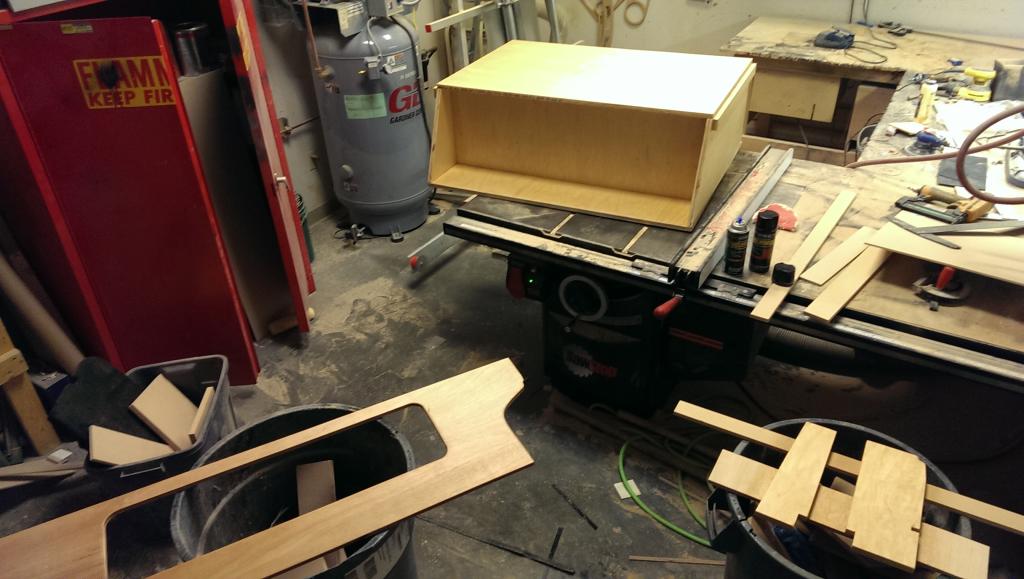
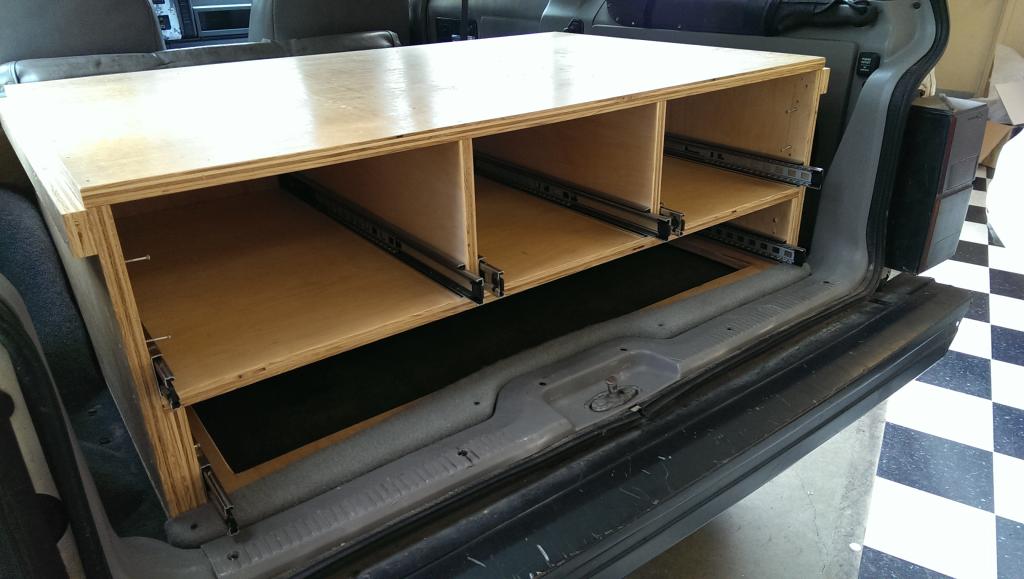
put a few more hours into this thing today. doesn't feel like i got much done just because most of my day was spent waiting for stuff to dry.
disassembled the whole thing so i could spray everything down with some spar urethane. it's pretty safe from the rain, but figured i'd play it safe anyway. waiting for this stuff to dry ssuuuuuccckkks.
once dried, carpeted the cubby trim piece
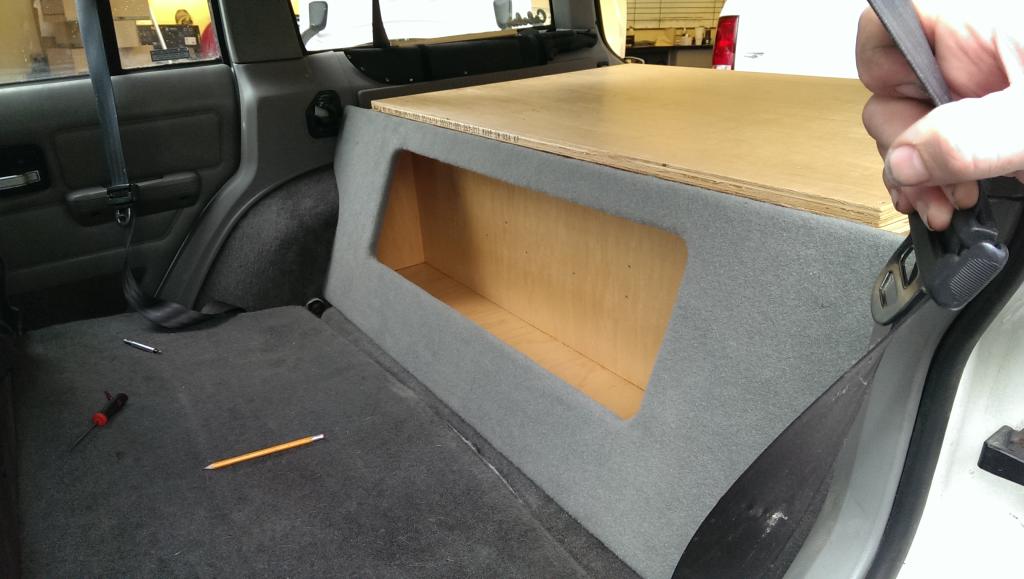
and carpeted the exposed bit under the drawers.
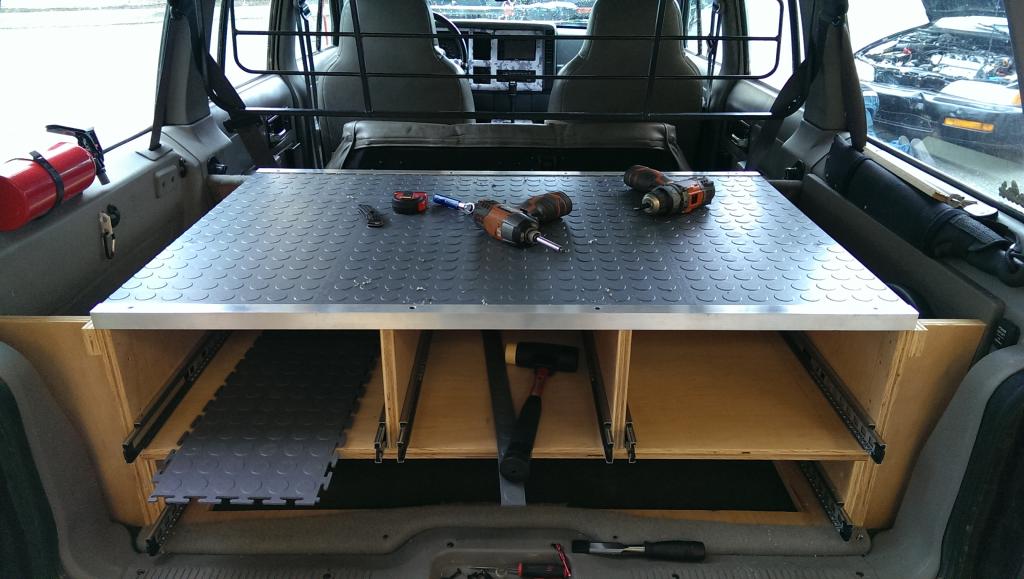
instead of the foam pad i used last time, i went with interlocking rubber tiles for the top. the foam took quite the beating, and this stuff should be a lot stronger
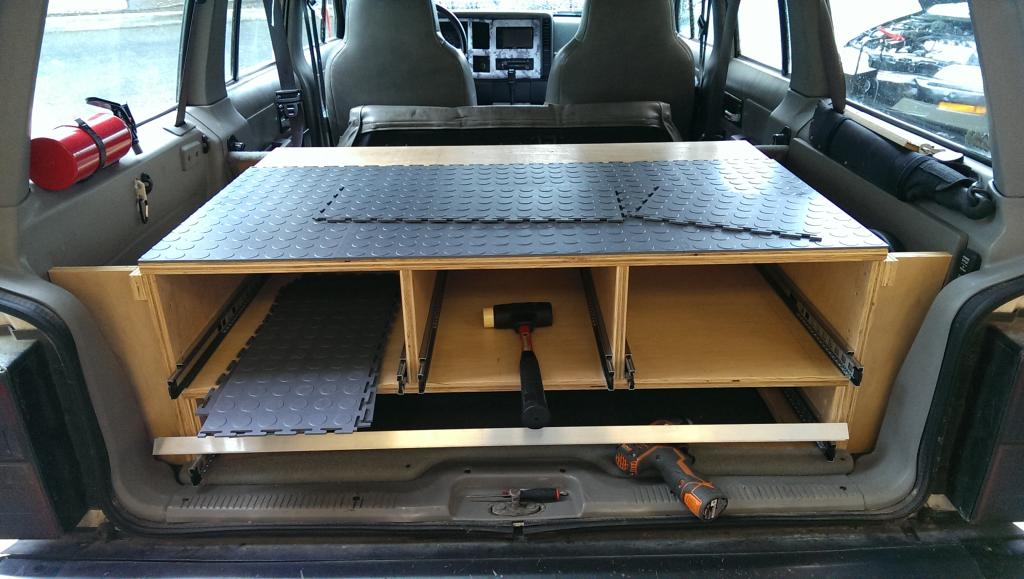
and decided to keep the same aluminum edge protector i used last time
and just for giggles, here's a cubby 'action shot' haha
now i'm just waiting for the urethane on the drawers to dry so i can put them back in and start working on their fronts.
disassembled the whole thing so i could spray everything down with some spar urethane. it's pretty safe from the rain, but figured i'd play it safe anyway. waiting for this stuff to dry ssuuuuuccckkks.
once dried, carpeted the cubby trim piece
and carpeted the exposed bit under the drawers.
instead of the foam pad i used last time, i went with interlocking rubber tiles for the top. the foam took quite the beating, and this stuff should be a lot stronger
and decided to keep the same aluminum edge protector i used last time
and just for giggles, here's a cubby 'action shot' haha
now i'm just waiting for the urethane on the drawers to dry so i can put them back in and start working on their fronts.
 06-16-2014, 10:34 AM
#208
Senior Member
Thread Starter
Join Date: Mar 2013
Location: lake stevens, wa
Posts: 639
Likes: 0
Received 2 Likes
on
2 Posts
Year: 1996
Model: Cherokee
Engine: 4.0L
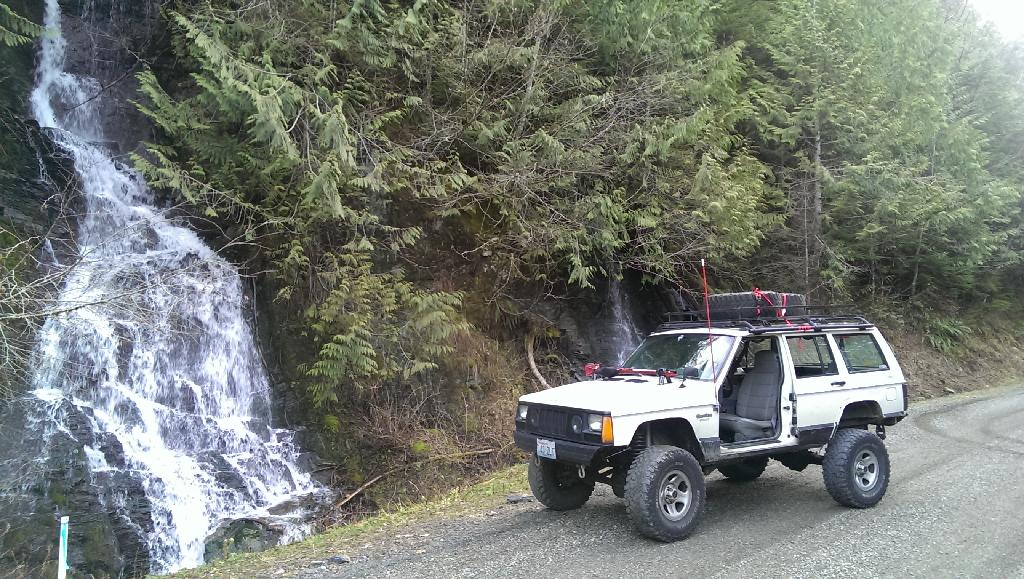
yeah, i have one of the olympic 4x4's top hat racks. plan on getting one of detour's tailbone setups eventually tho
The following users liked this post:
sleepyjim (05-21-2020)
06-22-2014, 12:52 AM
#209
Senior Member
I was thinking of getting a rear tire carrier bumper for the spare when I need the extra space. When the space isnt needed though I would carry extra water and fuel and use it as a work shelf for anything that would require it.
06-22-2014, 01:14 AM
#210
Senior Member
There is also this pic for water/fuel storage. The water tank has a neat little spout to access it without removing the container.