When you click on links to various merchants on this site and make a purchase, this can result in this site earning a commission. Affiliate programs and affiliations include, but are not limited to, the eBay Partner Network.
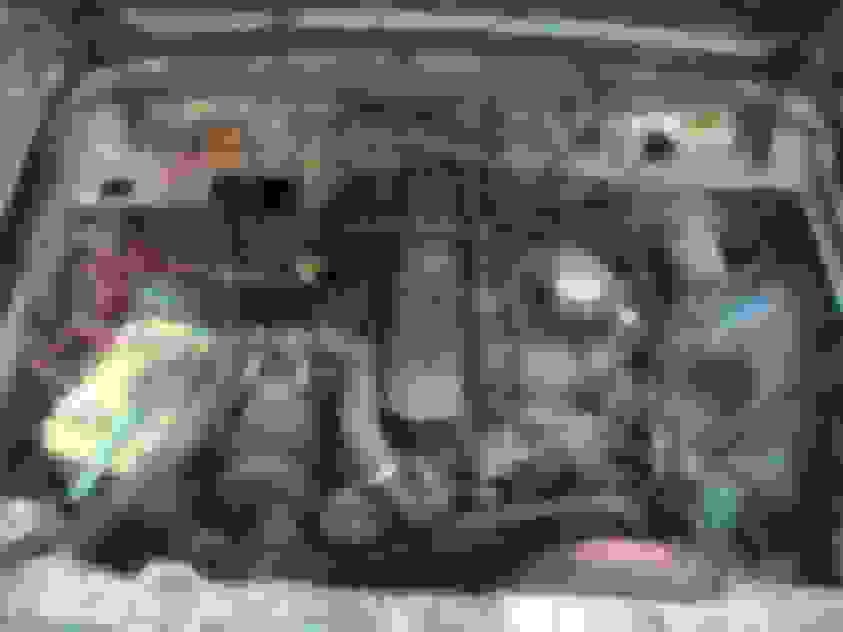
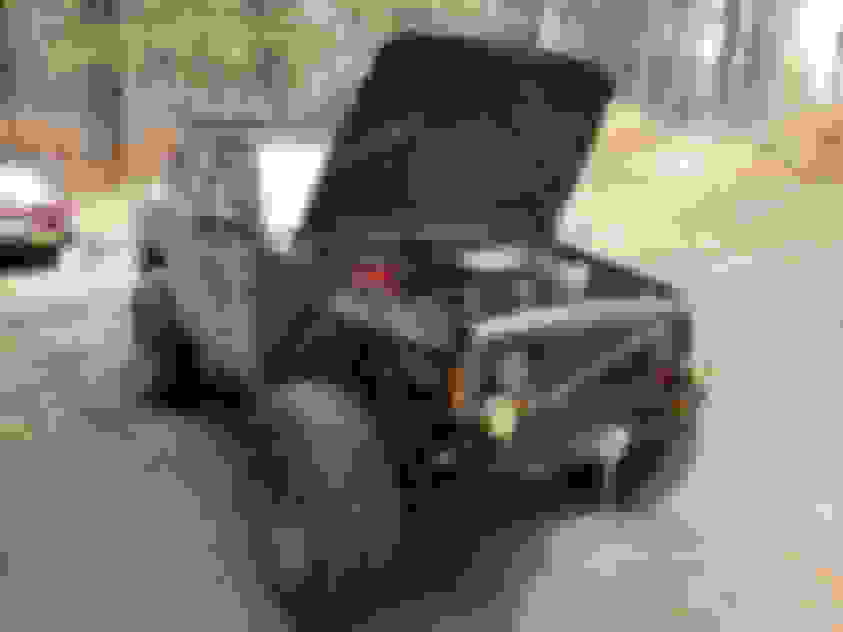
So I decided to go the diy route. I built a custom harness with just the bare bones items to run and nothing else. I thought about a painless kit til I saw the price and realized I could do that myself for free. I took the harness out of my wifes MJ since its getting swapped anyway. I'm currently running a 90 MJ manual ECU with all the 88 electronics. This is all thats required to make these engines run
CPS
TPS
Cam sensor(sync sensor)
MAP
Coil
Injectors
ASD relay (Latch)
Fuel Pump Relay
IAC (Air Stepper Motor)
CTS
IAT
Knock sensor (not critical)
o2 sensor (not critical)
Here are the resources I used along with a FSM to build this harness.
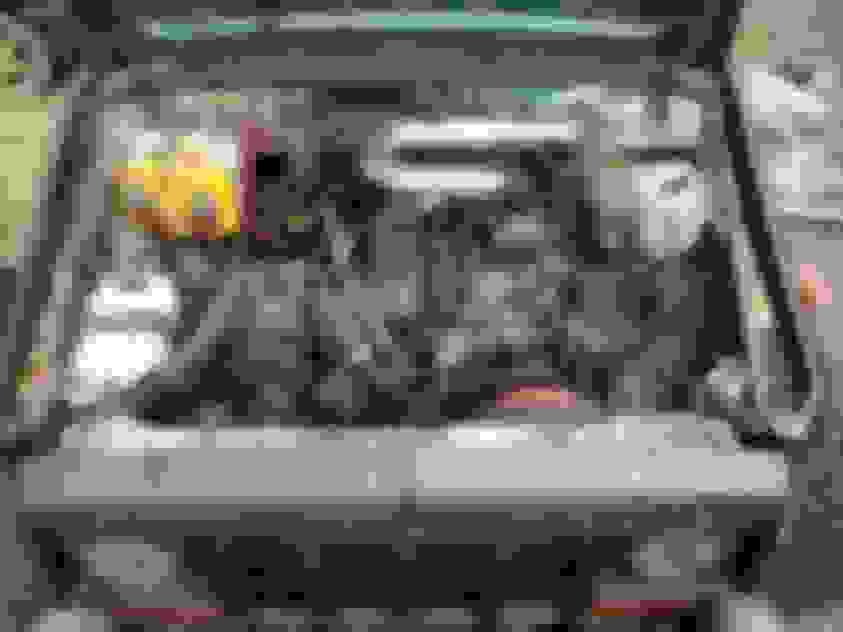
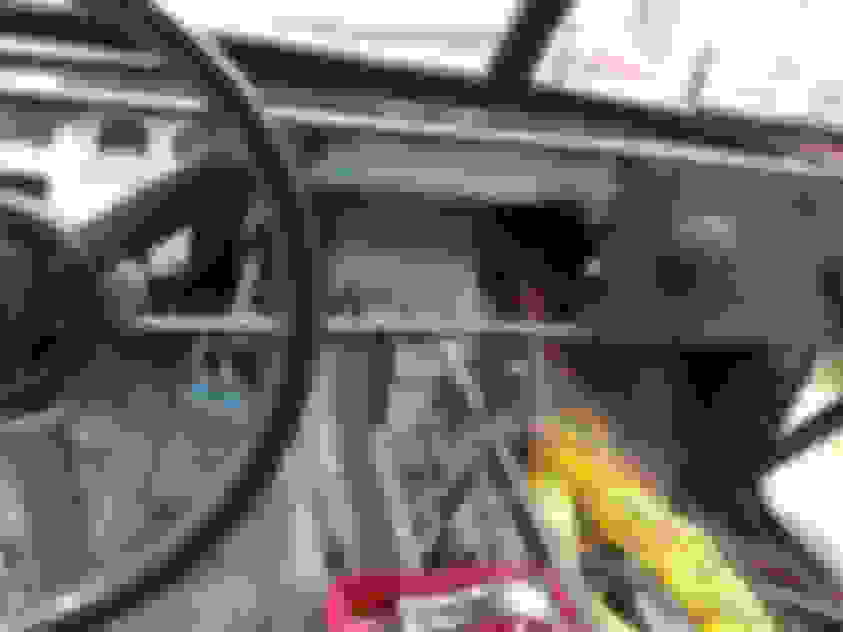
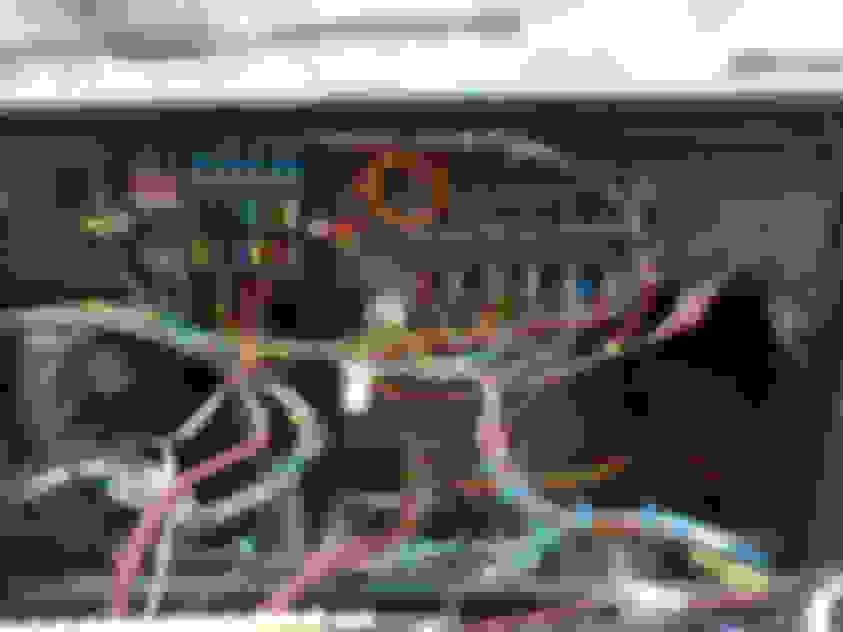
It took me about 6 hours to tear down and I have about 10 hours on rebuild and install. I have a small fuel leak on my fuel cell but it runs again. I'm in the process building the inside harness now and getting everything tied together properly but it should be up and running by next weekend. Also, don't forget that I have also bypassed the TCU for the AW4 so if you will need to eliminate that harness and work out switching gears if you have an auto. If anyone wants to tackle this project feel free to PM me. Its really not as bad as it seems. I ran out of light tonight but I'll have the engine bay done tomorrow. Interior cleanup comes next.
I'm fairly new to off roading, coming from muscle cars. Had me going for a second there. Ha. My 79 Camaro has the battery relocated to the trunk over the pass rear tire to help with traction at take off and better weight transfer to rear axle.
Battery was moved cause it has been riding on the coil since I narrowed the front end and I finally decided that its time to give it a home. The coolant bottle moved because it obviously doesn't fit in its old home and by putting it closer to the front I can minimize coolant lines as well.
To finish this, I used blue sea systems fuse panels and regular 5 pin relays to get everything cleaned up on the inside. The only problem I had on startup was the fuel pump wasn't starting from the ecu signal so I ended up hardwiring it as well. Otherwise, she runs great. This runs 100 times better than my factory setup ever did. Quick to start and simple to diagnose if I have any issues. And now that everything is simplified it should be quite easy to add a turbo like I have been planning to give it a little more get up and go. I'm looking at a 50 trim T3 .48 ar turbine which should be getting me into boost around 1400 which should be just about right in the rocks.
Wow, I did not know you could cut that much crap out of the factory harness! Mine is going it get bigger trim than I thought it would. Been doing this for years on 70's and 80's pickups to clean them up.
I have 2 questions for you, if you don't mind. If you posted about it, I couldn't find it, but I was going a little crosseyed looking thru your posts! lol
1. On your air pipe, why did you run passenger side before swinging back to driver side? Just to pick up the PCV?
2. Where does your air inlet go once it enters the firewall? Just into the cowling or do you have a snorkel?
1. The intake is made by spectre and the reason for the weird shape is it has to catch the PCV valve but it also has my airfilter in it so it needs enough length to fit that as well.
2. It just opens into the cowling. on the Renix xjs the driver side cowl is empty and works great as an intake to get cooler air and to get it up higher and out of the way. I used to have a snorkel on the jeep but when I narrowed the front end it made it pretty much impossible to get it on so this was the next best option. A turbo is in my somewhat near future so the whole intake system will have to get redesigned again at that point.
Originally Posted by Basslicks
Wow man! This sure has come a long way since "I got bored, so I started bobbing my front end"
Good stuff!
Thank you sir. Just wait. The next few things on the to do list are pretty big ones. Its going to be a whole different animal in the next couple years. Exciting stuff is coming!
Wow! that is A LOT of trimming! Due to the wiring in the XJ being alright at best, is there any benefit to creating a beefier wiring system that replicates the factory one?
Thank you sir. Just wait. The next few things on the to do list are pretty big ones. Its going to be a whole different animal in the next couple years. Exciting stuff is coming!
Hi blankdeluxe, I saw your post "Custom Minimal Wire Harness" that you did the entire wiring. Is there any circuit diagram or document you made during your rewiring journey that you wont mind sharing with me? I am currently in the process rebuilding my Jeep Cherokee XJ 2000 Automatic Sports including. I want to redo the minimal wiring in stages, 1st stage when I want to just run the engine on the stand, than 2nd stage with fully assembled engine with transmission on the stand, and 3rd stage to with enough wiring drive to drive the jeep, which means no lights, no accessories, just bare minimum. I am not sure if all these stages has any significant wiring differences but these are my logical stages. I will reuse all the existing connectors (as much as possible) from my jeep unless anything found to be broken, melted, not longer usable. I may consider any newer alternative available in the market that make things modular. Thanks in advance. sorry I am new to this forum and have learned how to PM to a post.
Welcome to the forum! Your harness is going to be COMPLETELY different and much more complicated. He is working with an 88. Things changed a lot (wiring wise) in those 12 years.
 10-29-2016, 08:17 PM