Fabrication & builders section. All fabrication posts go here.
XJ/MJ/ZJ/WJ Only projects go here. Questions belong in modified tech.

2x6 (+1”) Rocker Mod

Thread Tools
 
Search this Thread
 
Old 05-08-2018, 08:25 PM
  #31  
Seasoned Member
Thread Starter
 
Baddad's Avatar
 
Join Date: Feb 2013
Location: Seattle
Posts: 301
Received 21 Likes on 19 Posts
Year: 1990
Model: Cherokee
Engine: 4.0
Default

Painted the lower body area that’s getting covered & the back side of the boat side plate.
Used a jack to flex the plate into position.
Here you can see where the plate flexes and why the tie ins are different front and rear. Make sure to grind smooth the welds at the bottom of where the tie ins and frame meet. I also had to smooth up a couple of welds from my frame stiffeners. I wouldn’t suggest doing this whole mod until after ya put in frame stiffeners, would be a major pita to weld to the thin “frame”.
Old 05-08-2018, 11:40 PM
  #32  
Seasoned Member
Thread Starter
 
Baddad's Avatar
 
Join Date: Feb 2013
Location: Seattle
Posts: 301
Received 21 Likes on 19 Posts
Year: 1990
Model: Cherokee
Engine: 4.0
Default

This is the 1” hole I drilled to plug weld to the tie ins.
I used a jack to push the plate against the tie in
Then plug welded it. Do these first to get your plate to contour correctly.
Old 05-08-2018, 11:43 PM
  #33  
Seasoned Member
Thread Starter
 
Baddad's Avatar
 
Join Date: Feb 2013
Location: Seattle
Posts: 301
Received 21 Likes on 19 Posts
Year: 1990
Model: Cherokee
Engine: 4.0
Default

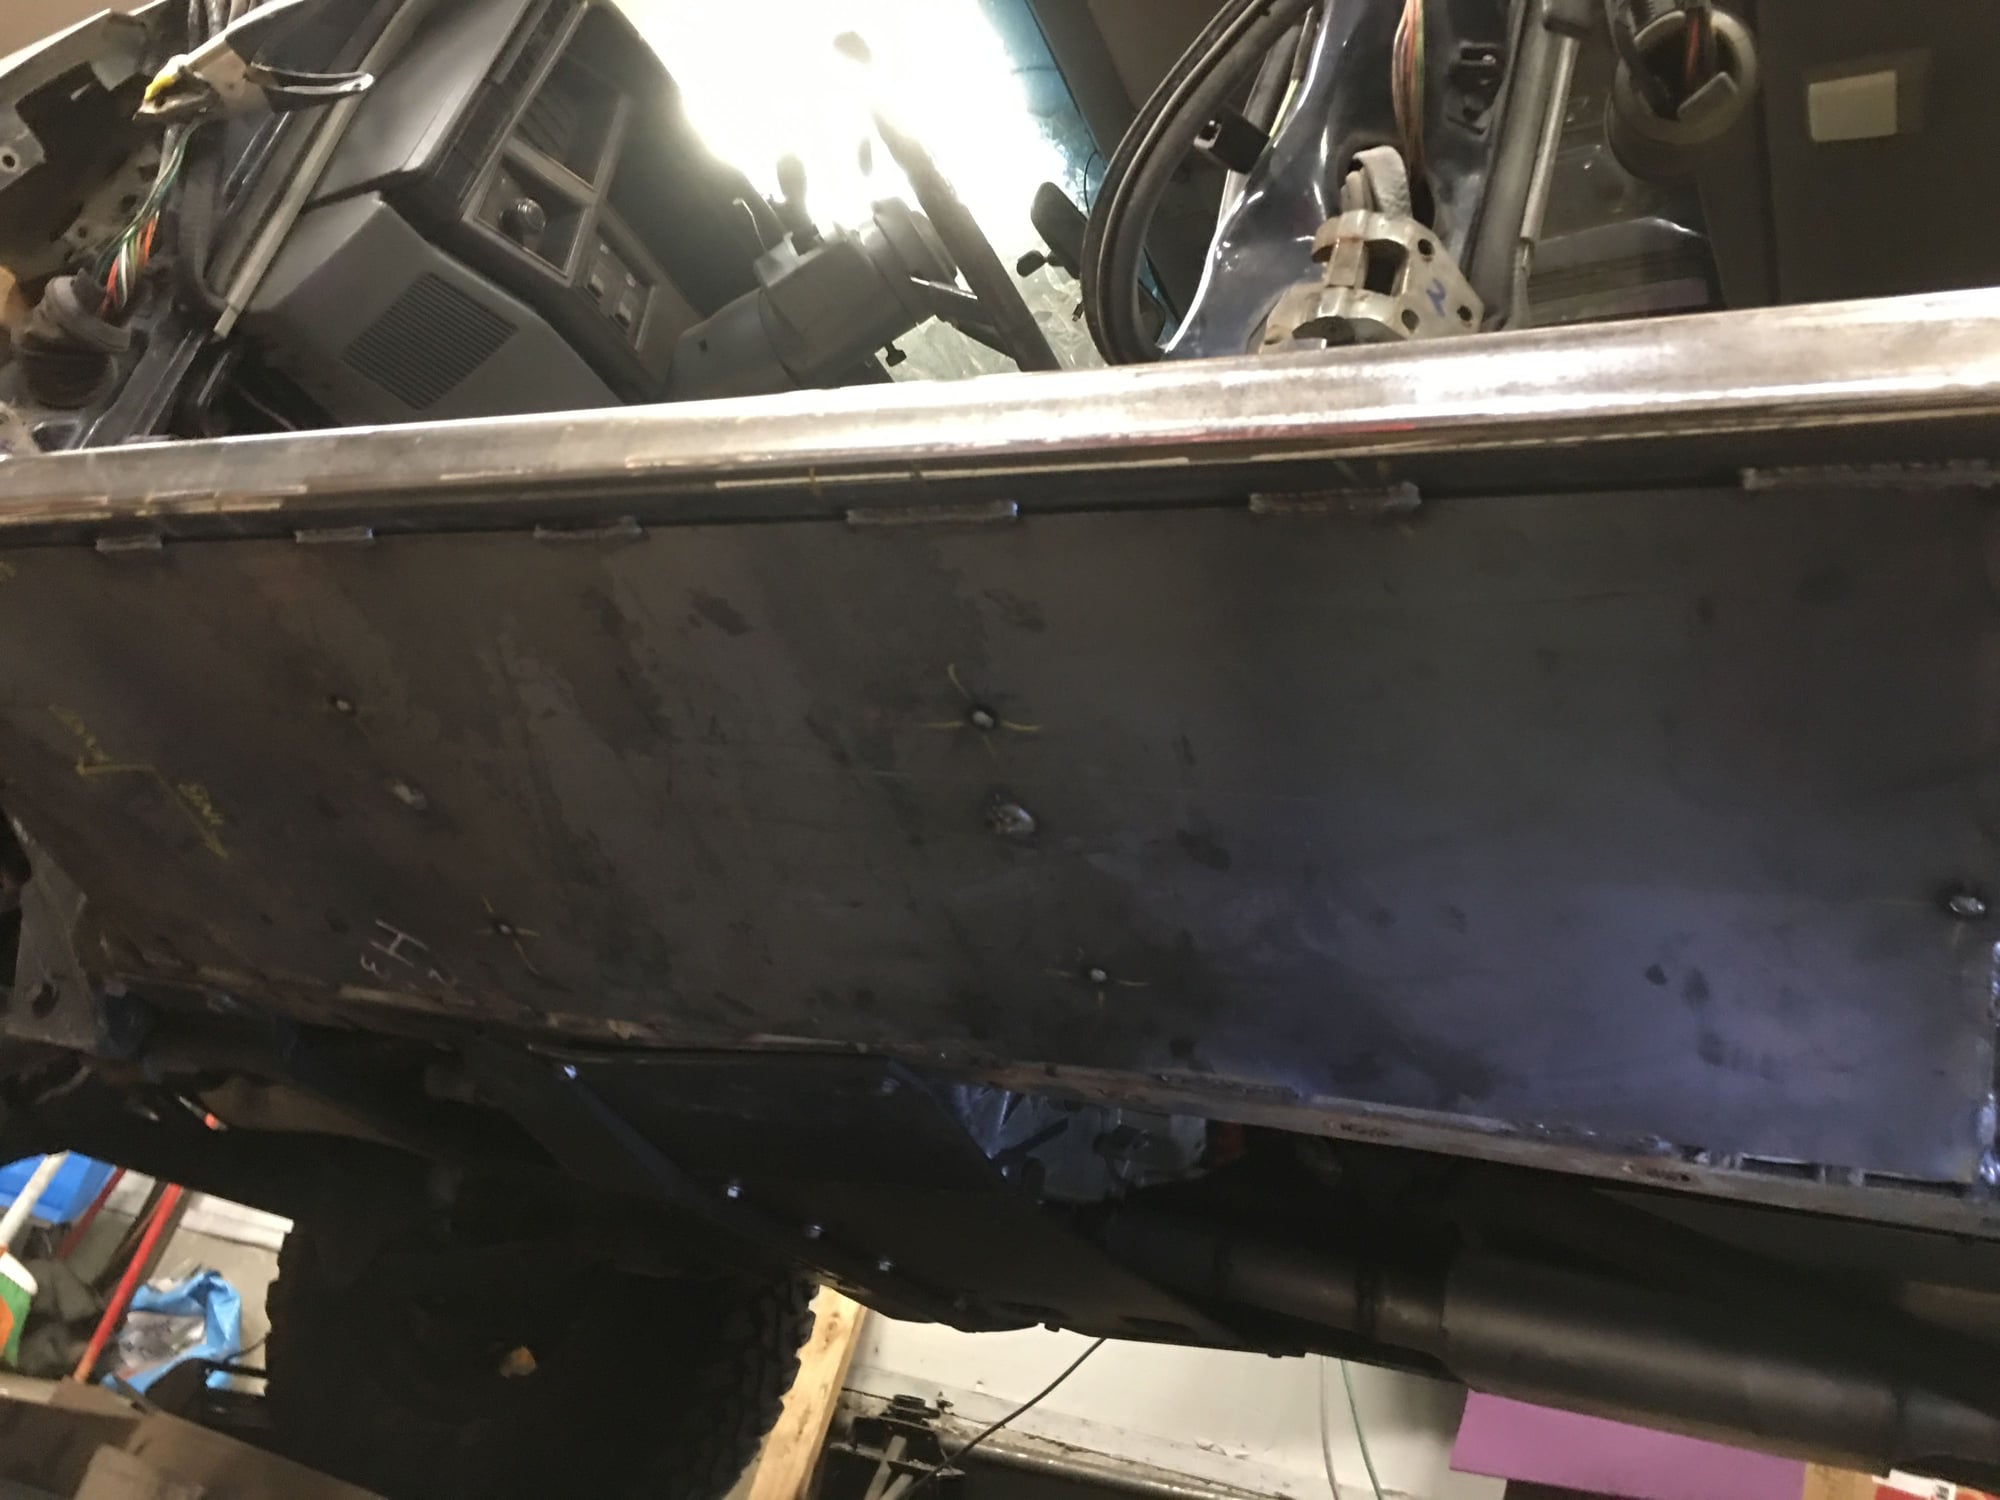
Here’s that 3/16-1/4” overlap on the frame. You can see how the frame has a beveled contour in this area. The overlap should add a tremendous amount of strength here.
And all welded in 👍
Old 05-08-2018, 11:48 PM
  #34  
Seasoned Member
Thread Starter
 
Baddad's Avatar
 
Join Date: Feb 2013
Location: Seattle
Posts: 301
Received 21 Likes on 19 Posts
Year: 1990
Model: Cherokee
Engine: 4.0
Default

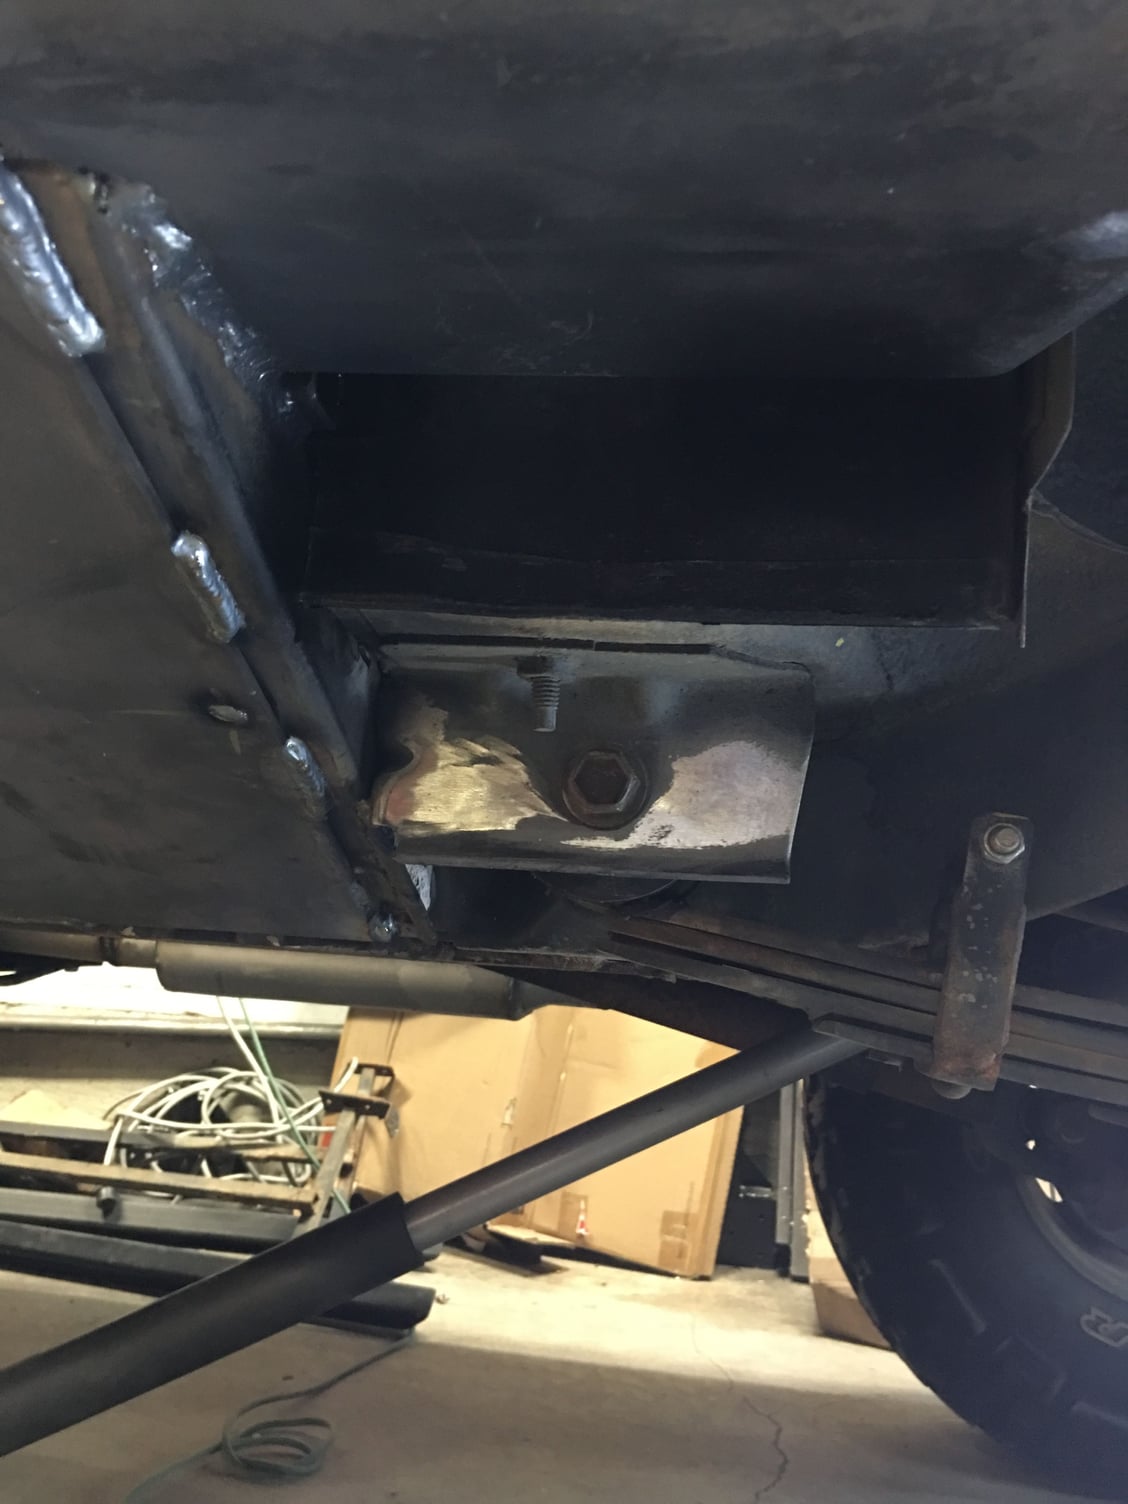
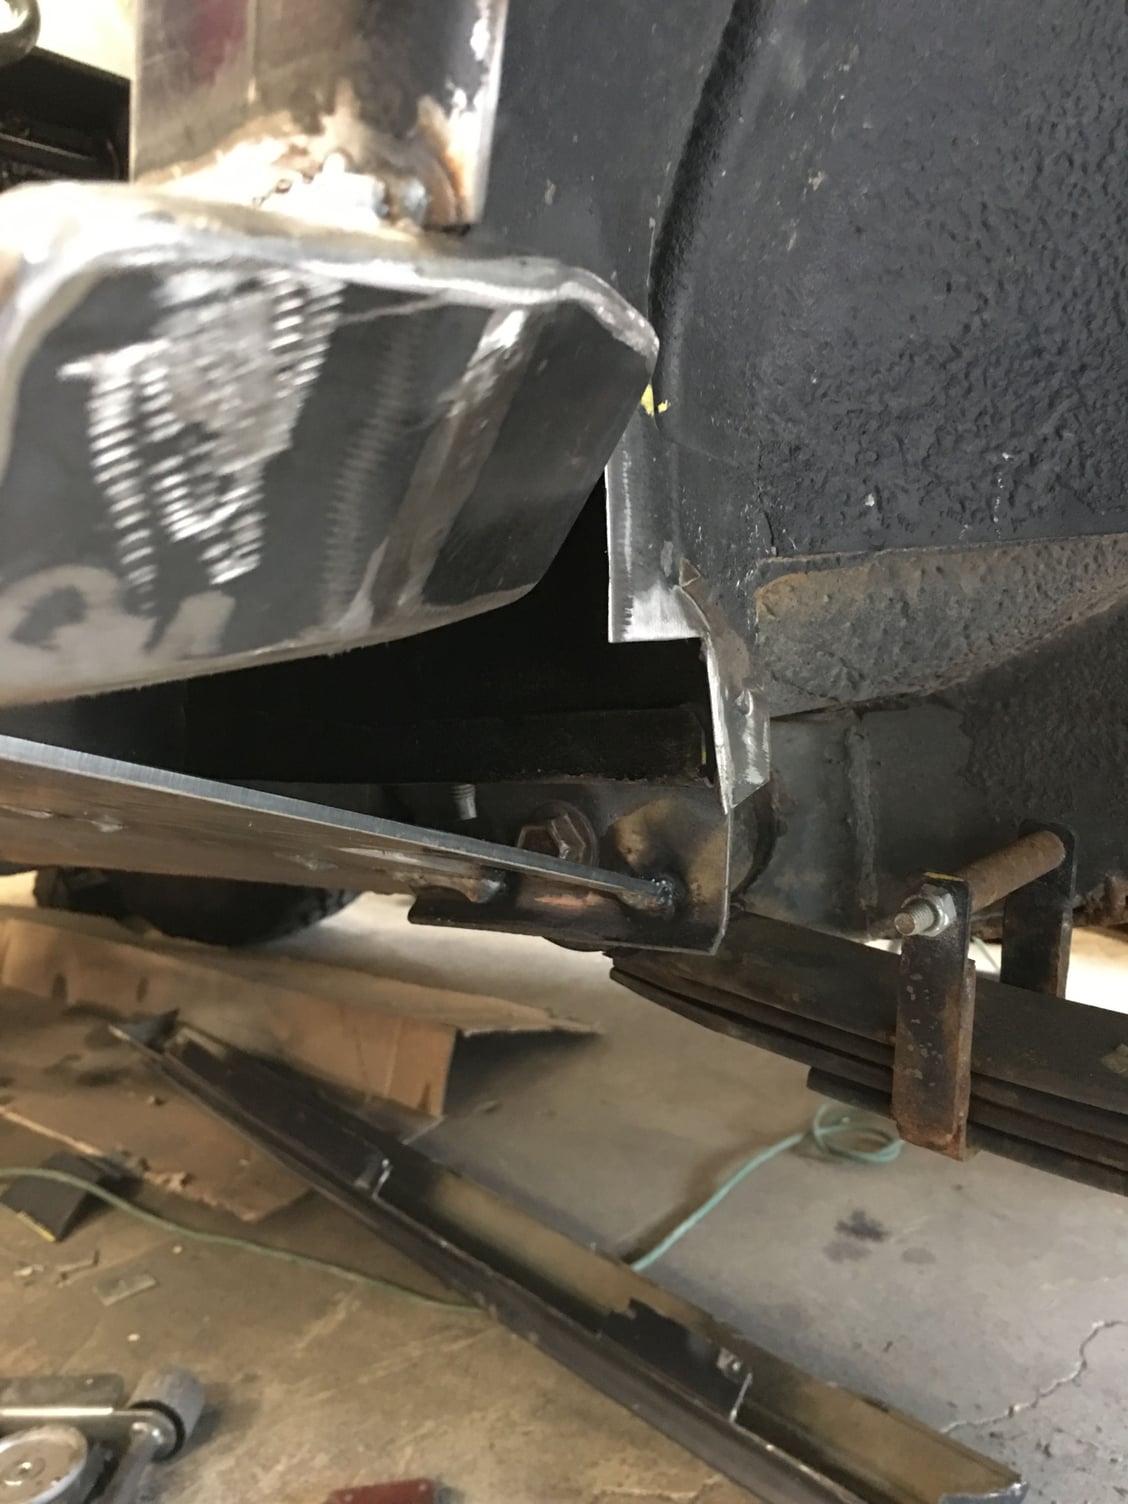
Next I didn’t like this area all open and exposed. Plus I wanted to reinforce the spring mount to.
Used the latest CAD design software 😋
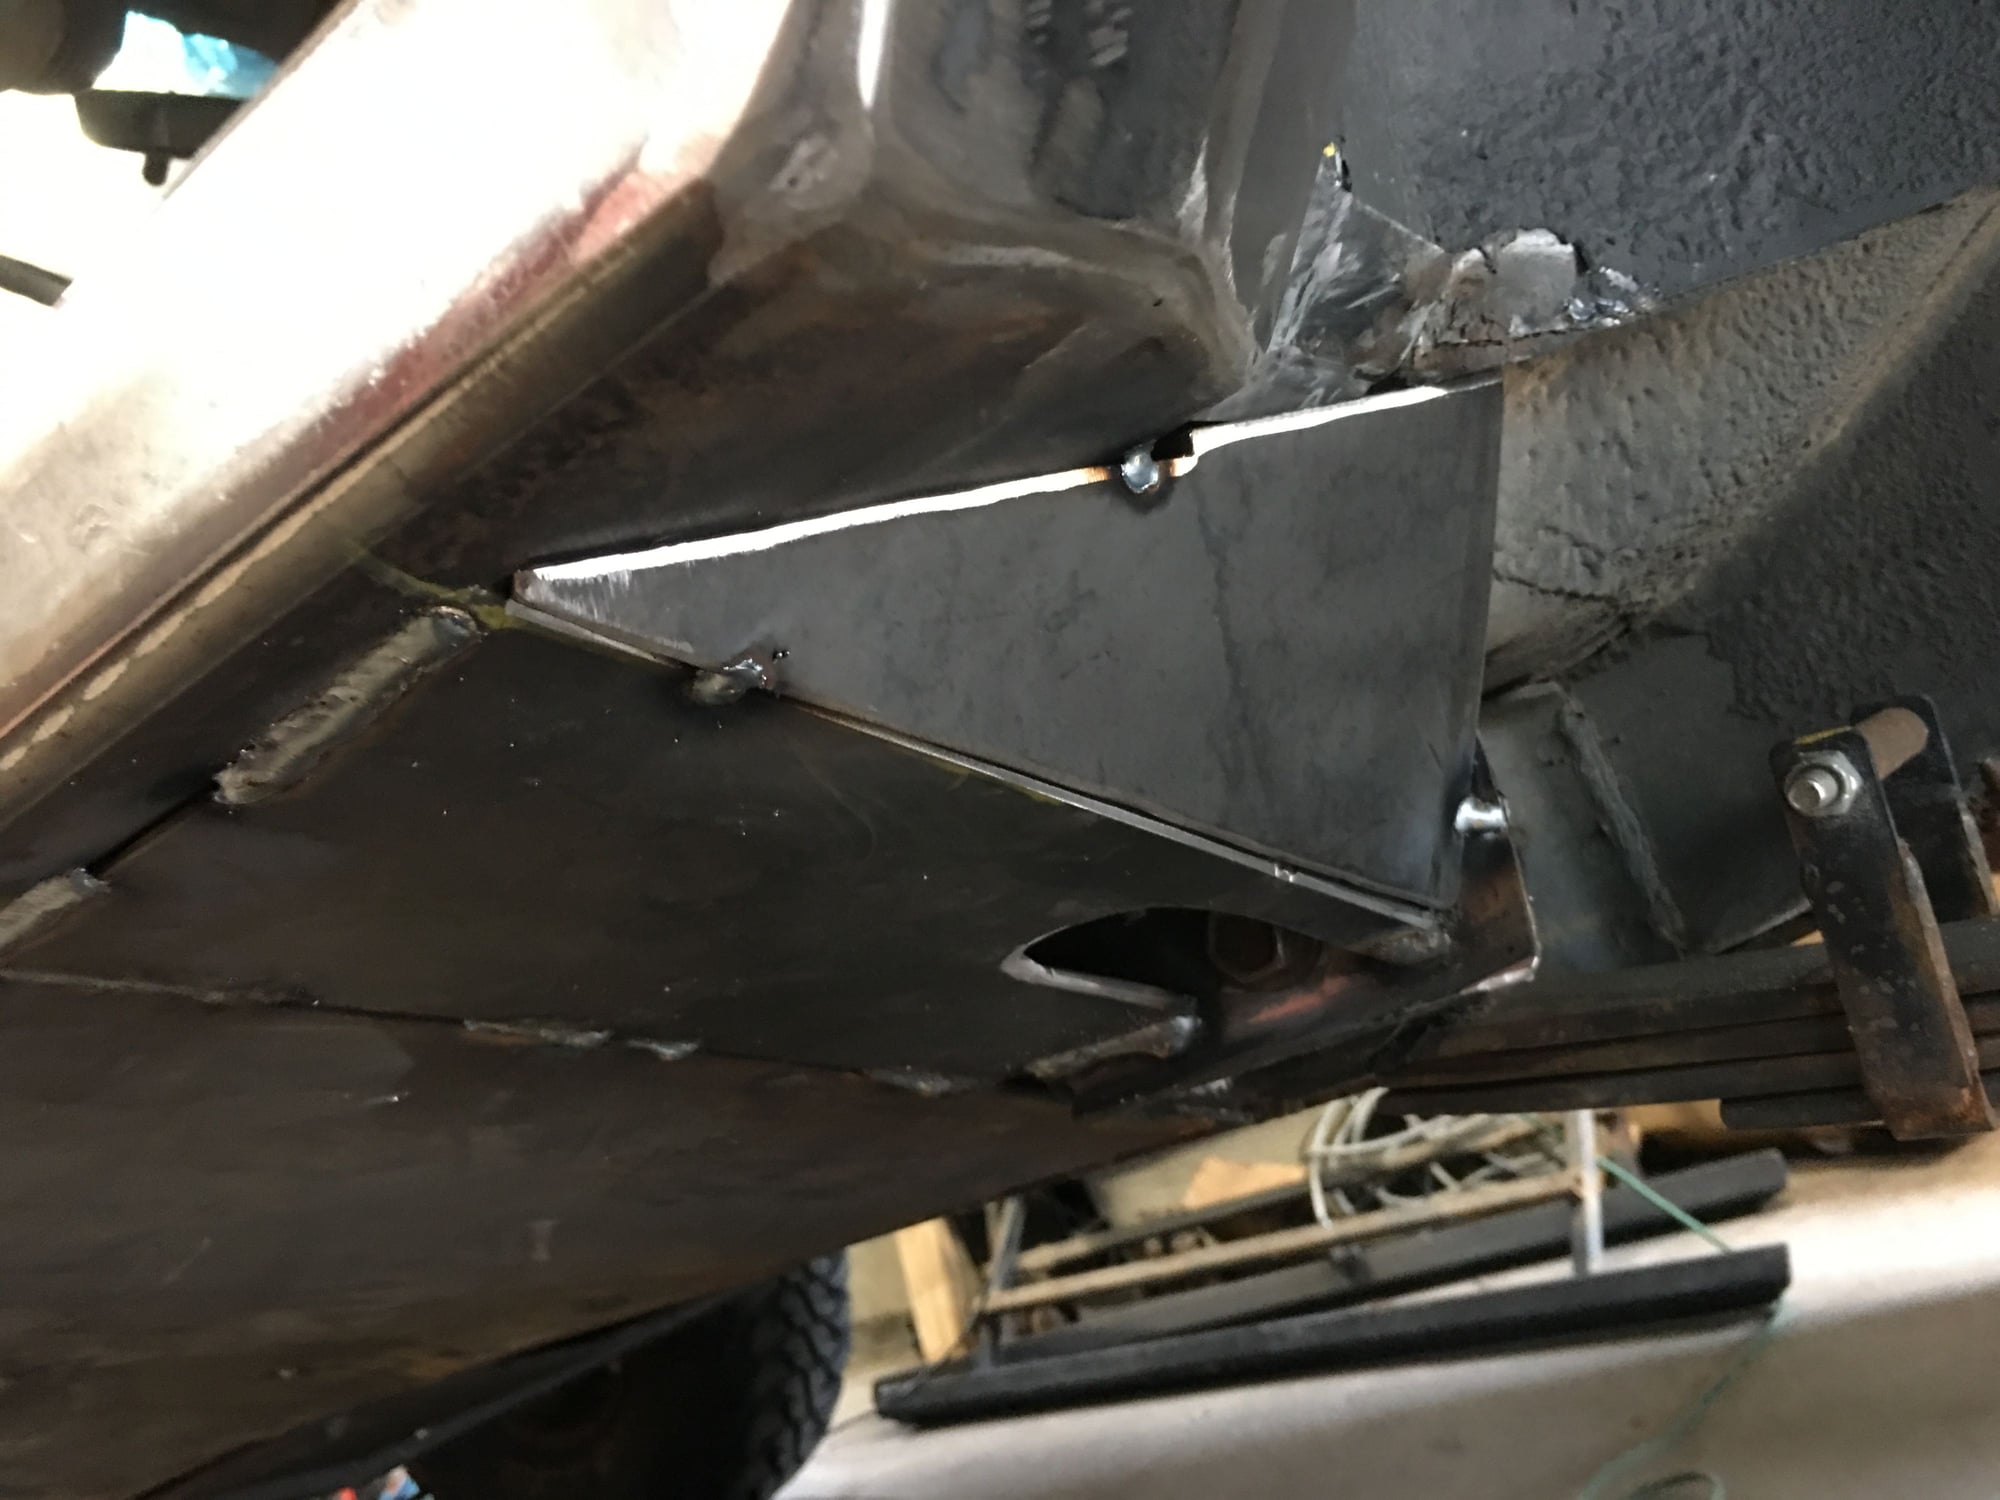
Plasma cut a 3/16” piece and tacked it in. Grab a deep 13/16” socket and make sure you can access the bolt before ya weld it in.
When welding this you’ll want to keep the spring bushing cool. I used a spray bottle before and after welding.
Old 05-09-2018, 07:18 PM
  #35  
Seasoned Member
Thread Starter
 
Baddad's Avatar
 
Join Date: Feb 2013
Location: Seattle
Posts: 301
Received 21 Likes on 19 Posts
Year: 1990
Model: Cherokee
Engine: 4.0
Default

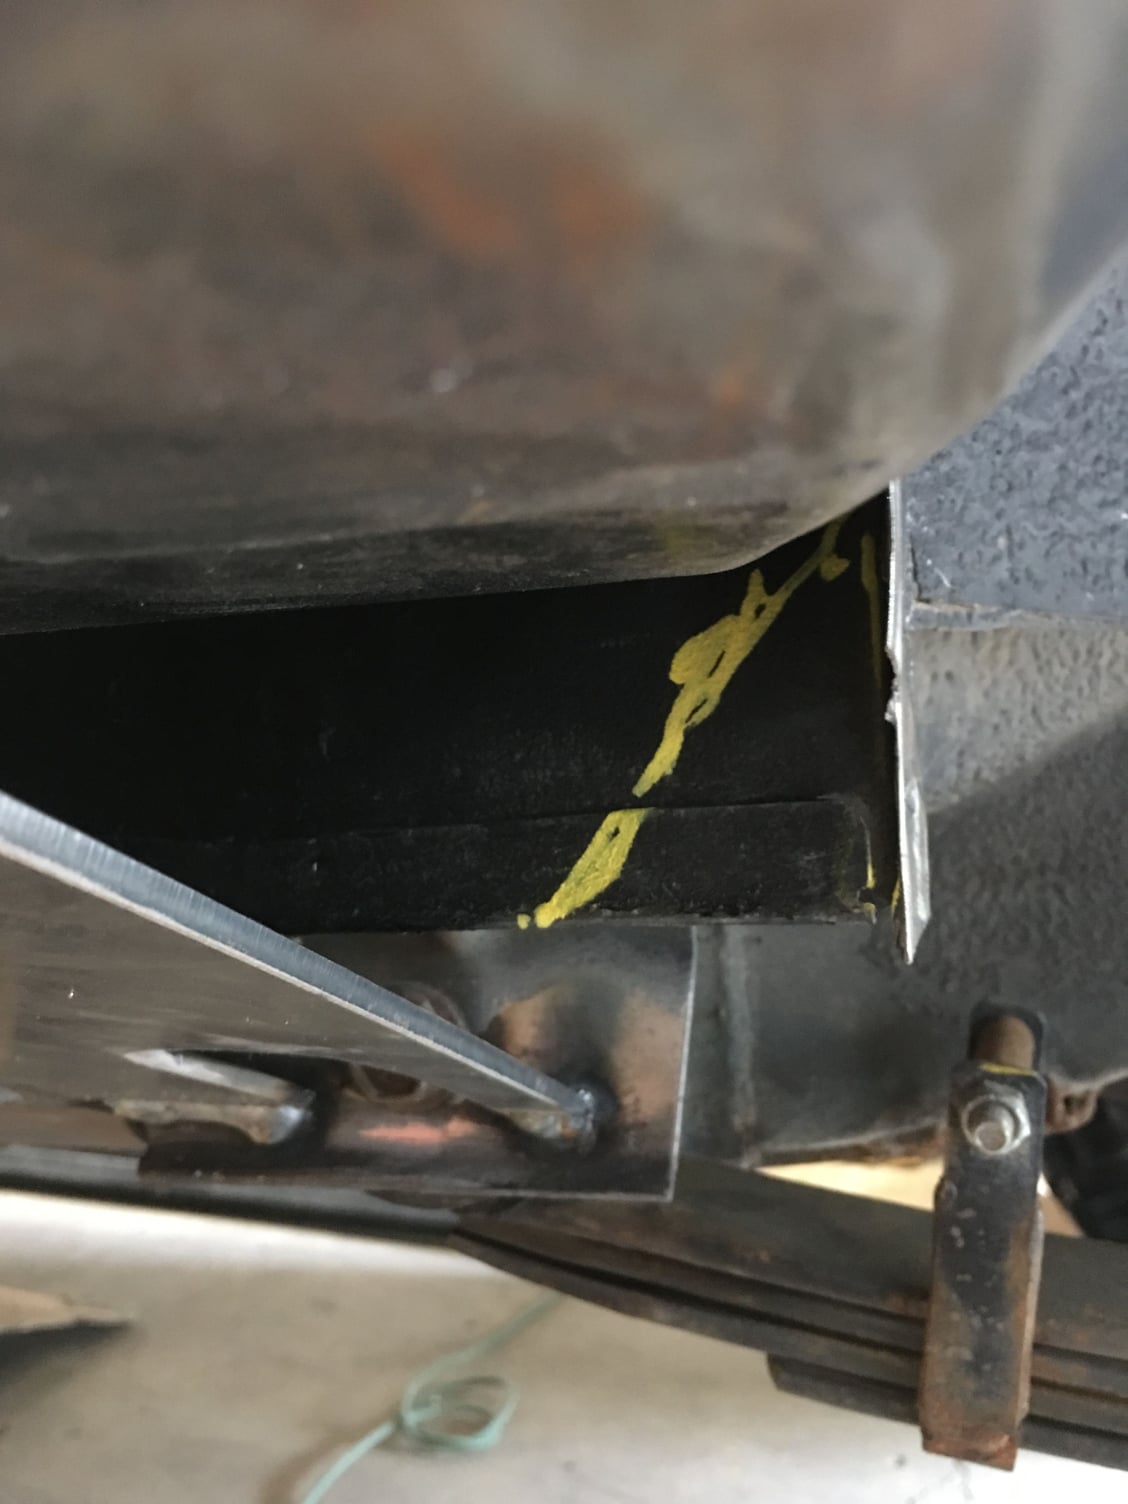
Now to fill the end gaps. Here’s the rear one.
I cut this out and folded the inner fender back.
More hi tech cad work 😋
Got it tacked in then final welded. That spring perch is fully reinforced now 👍
Up front I cut just a little lower than this line
Then folded it over.
Made a template
Pieces tacked in.
Then welded in. I used seam sealer to fill in the gaps and prep for paint.
Old 05-09-2018, 07:31 PM
  #36  
Seasoned Member
Thread Starter
 
Baddad's Avatar
 
Join Date: Feb 2013
Location: Seattle
Posts: 301
Received 21 Likes on 19 Posts
Year: 1990
Model: Cherokee
Engine: 4.0
Default

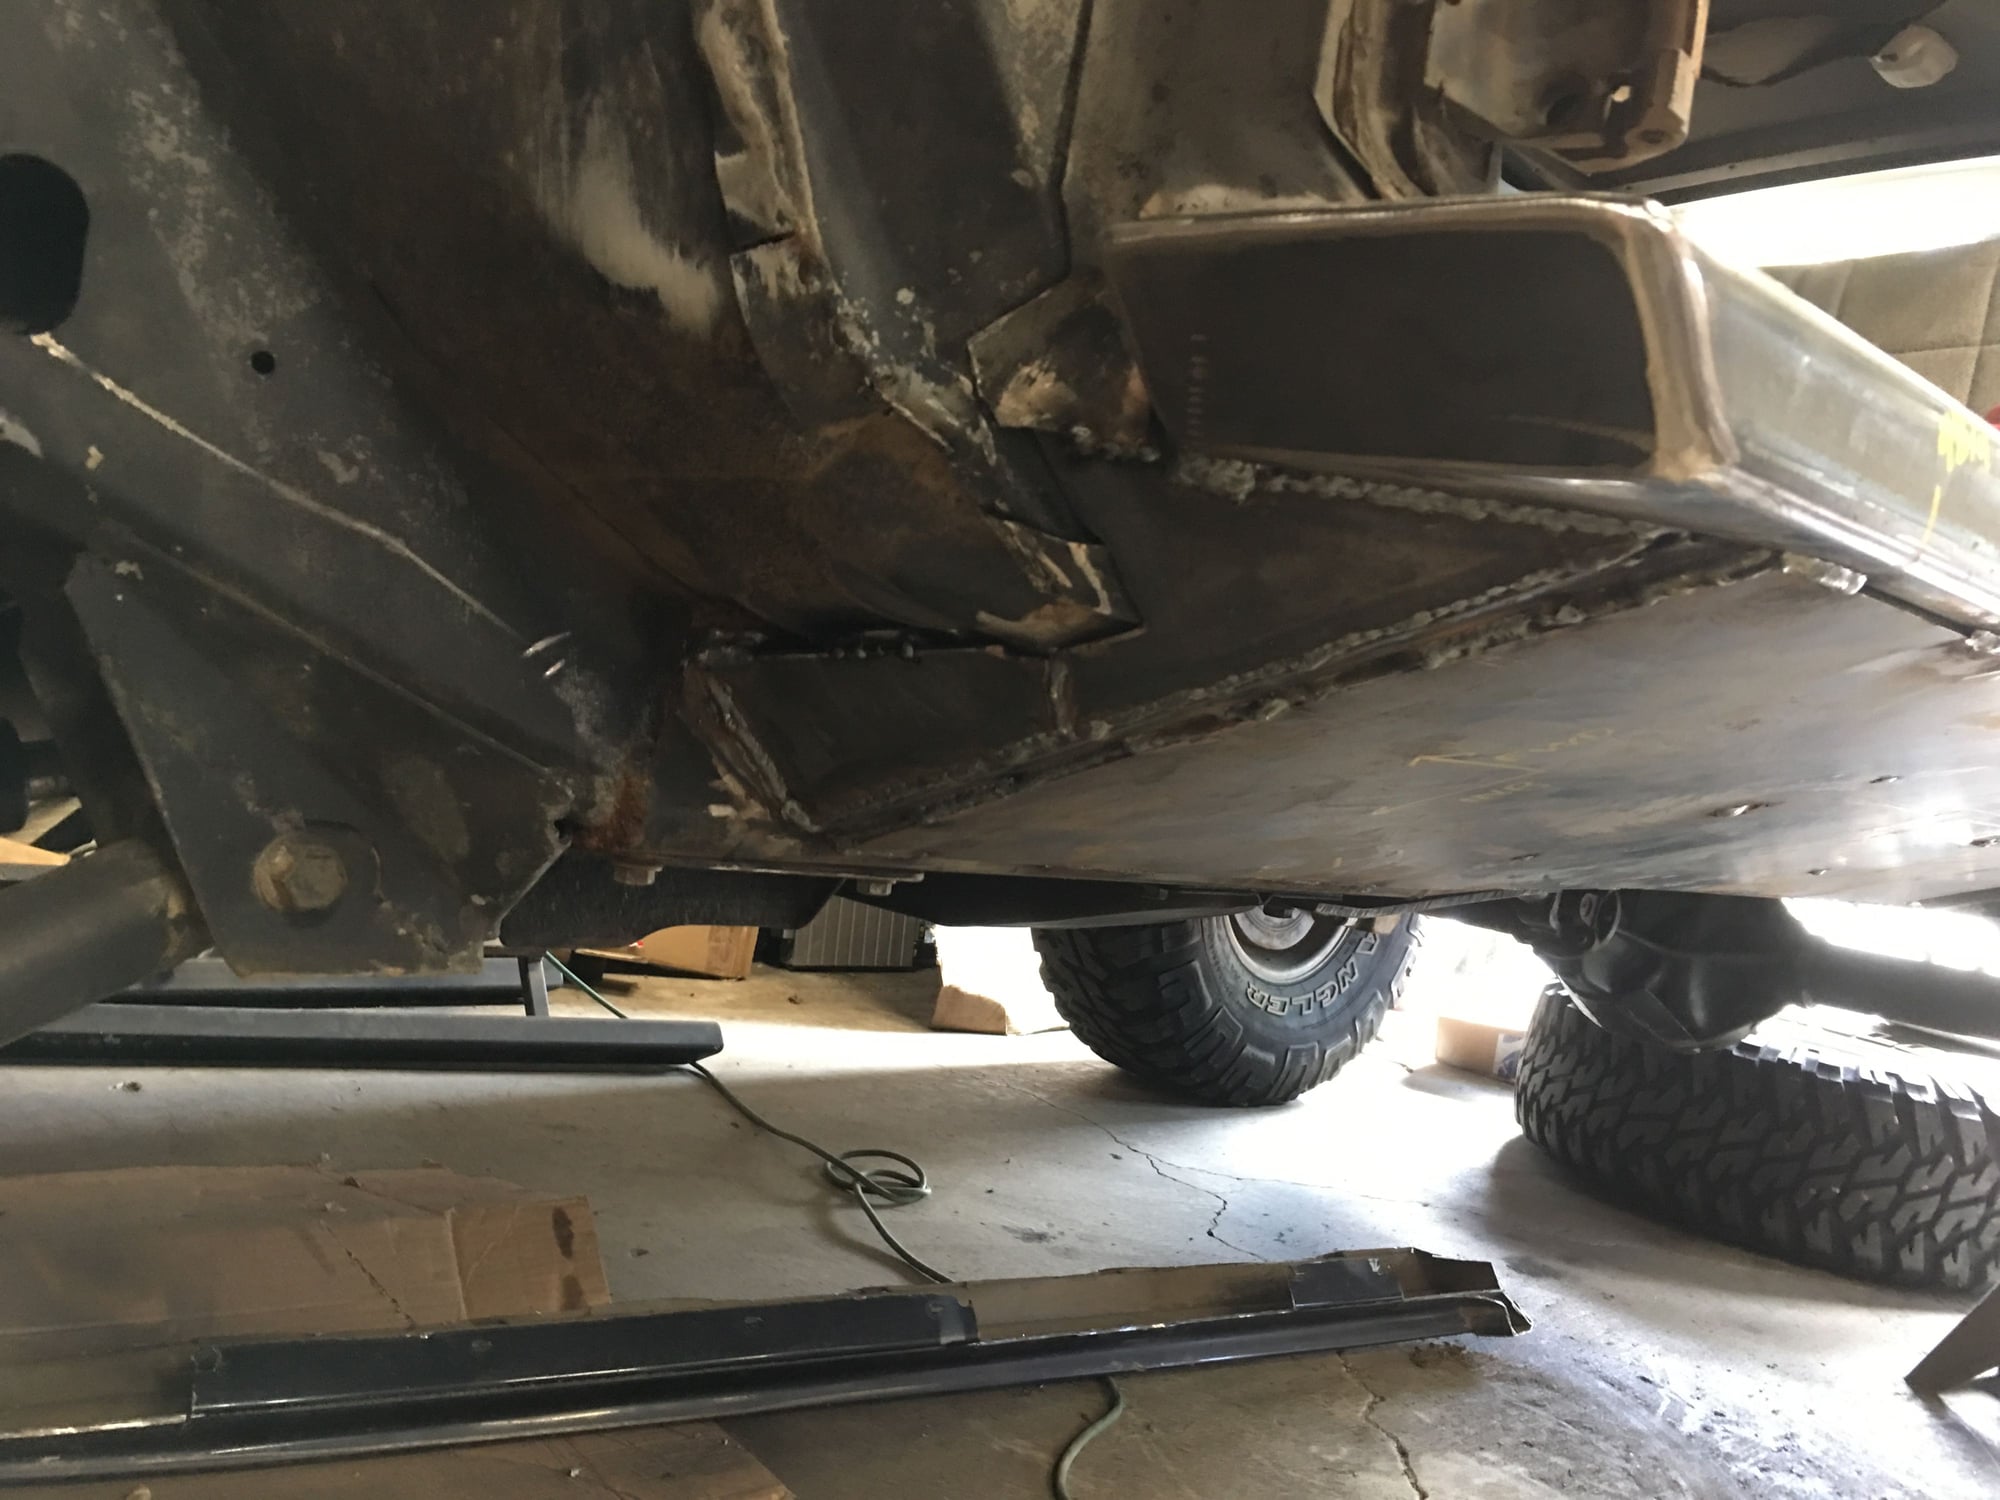
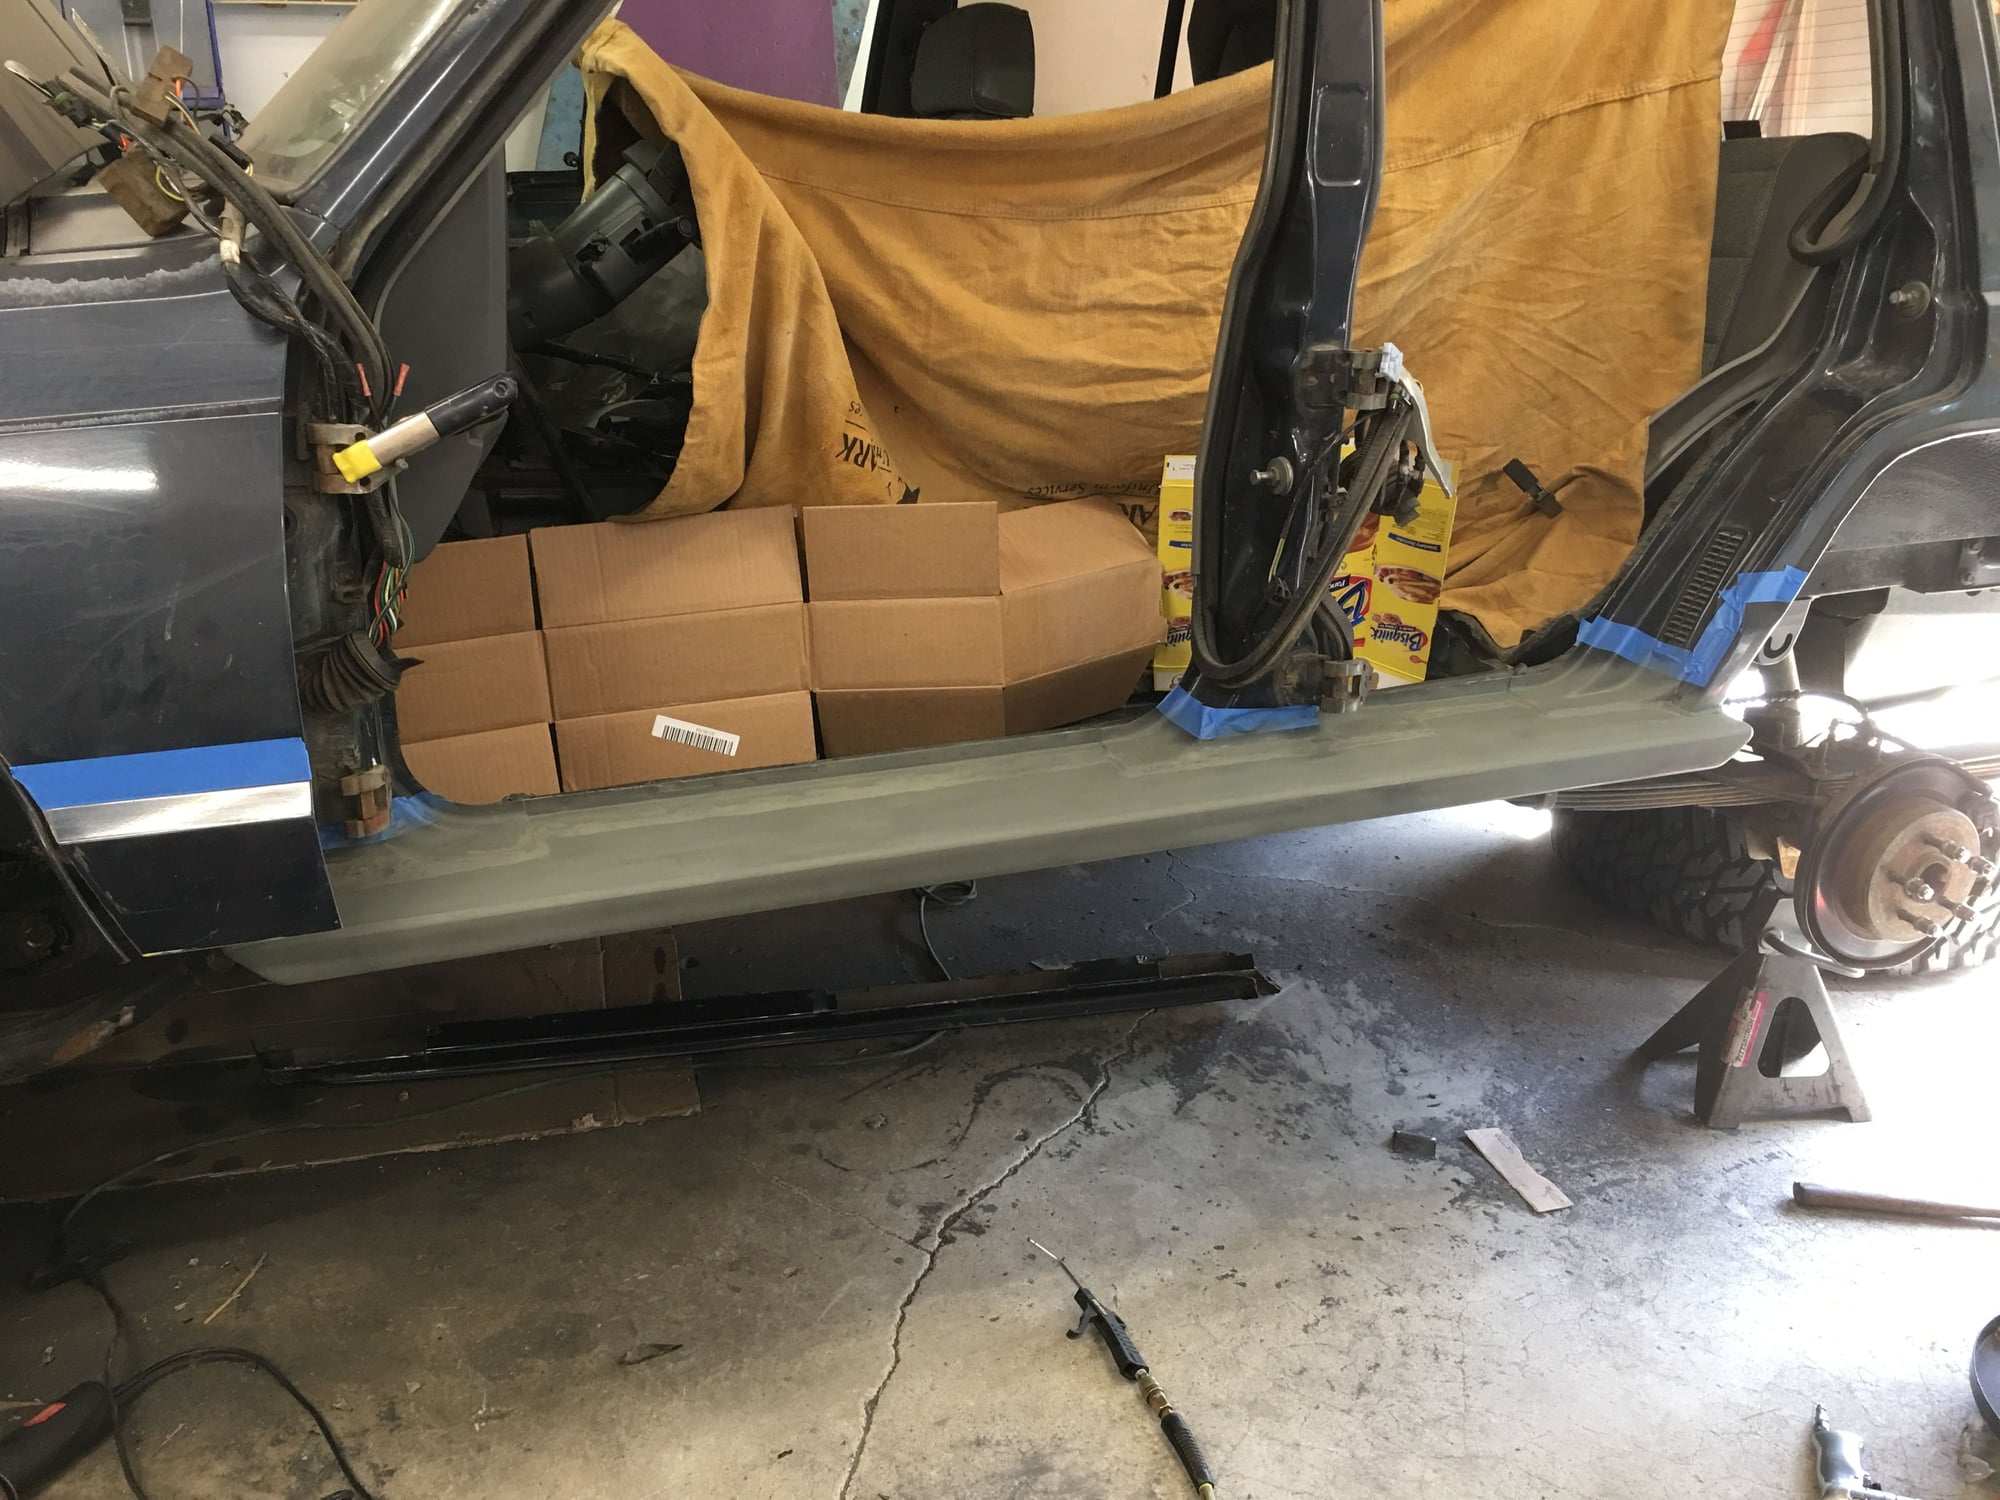
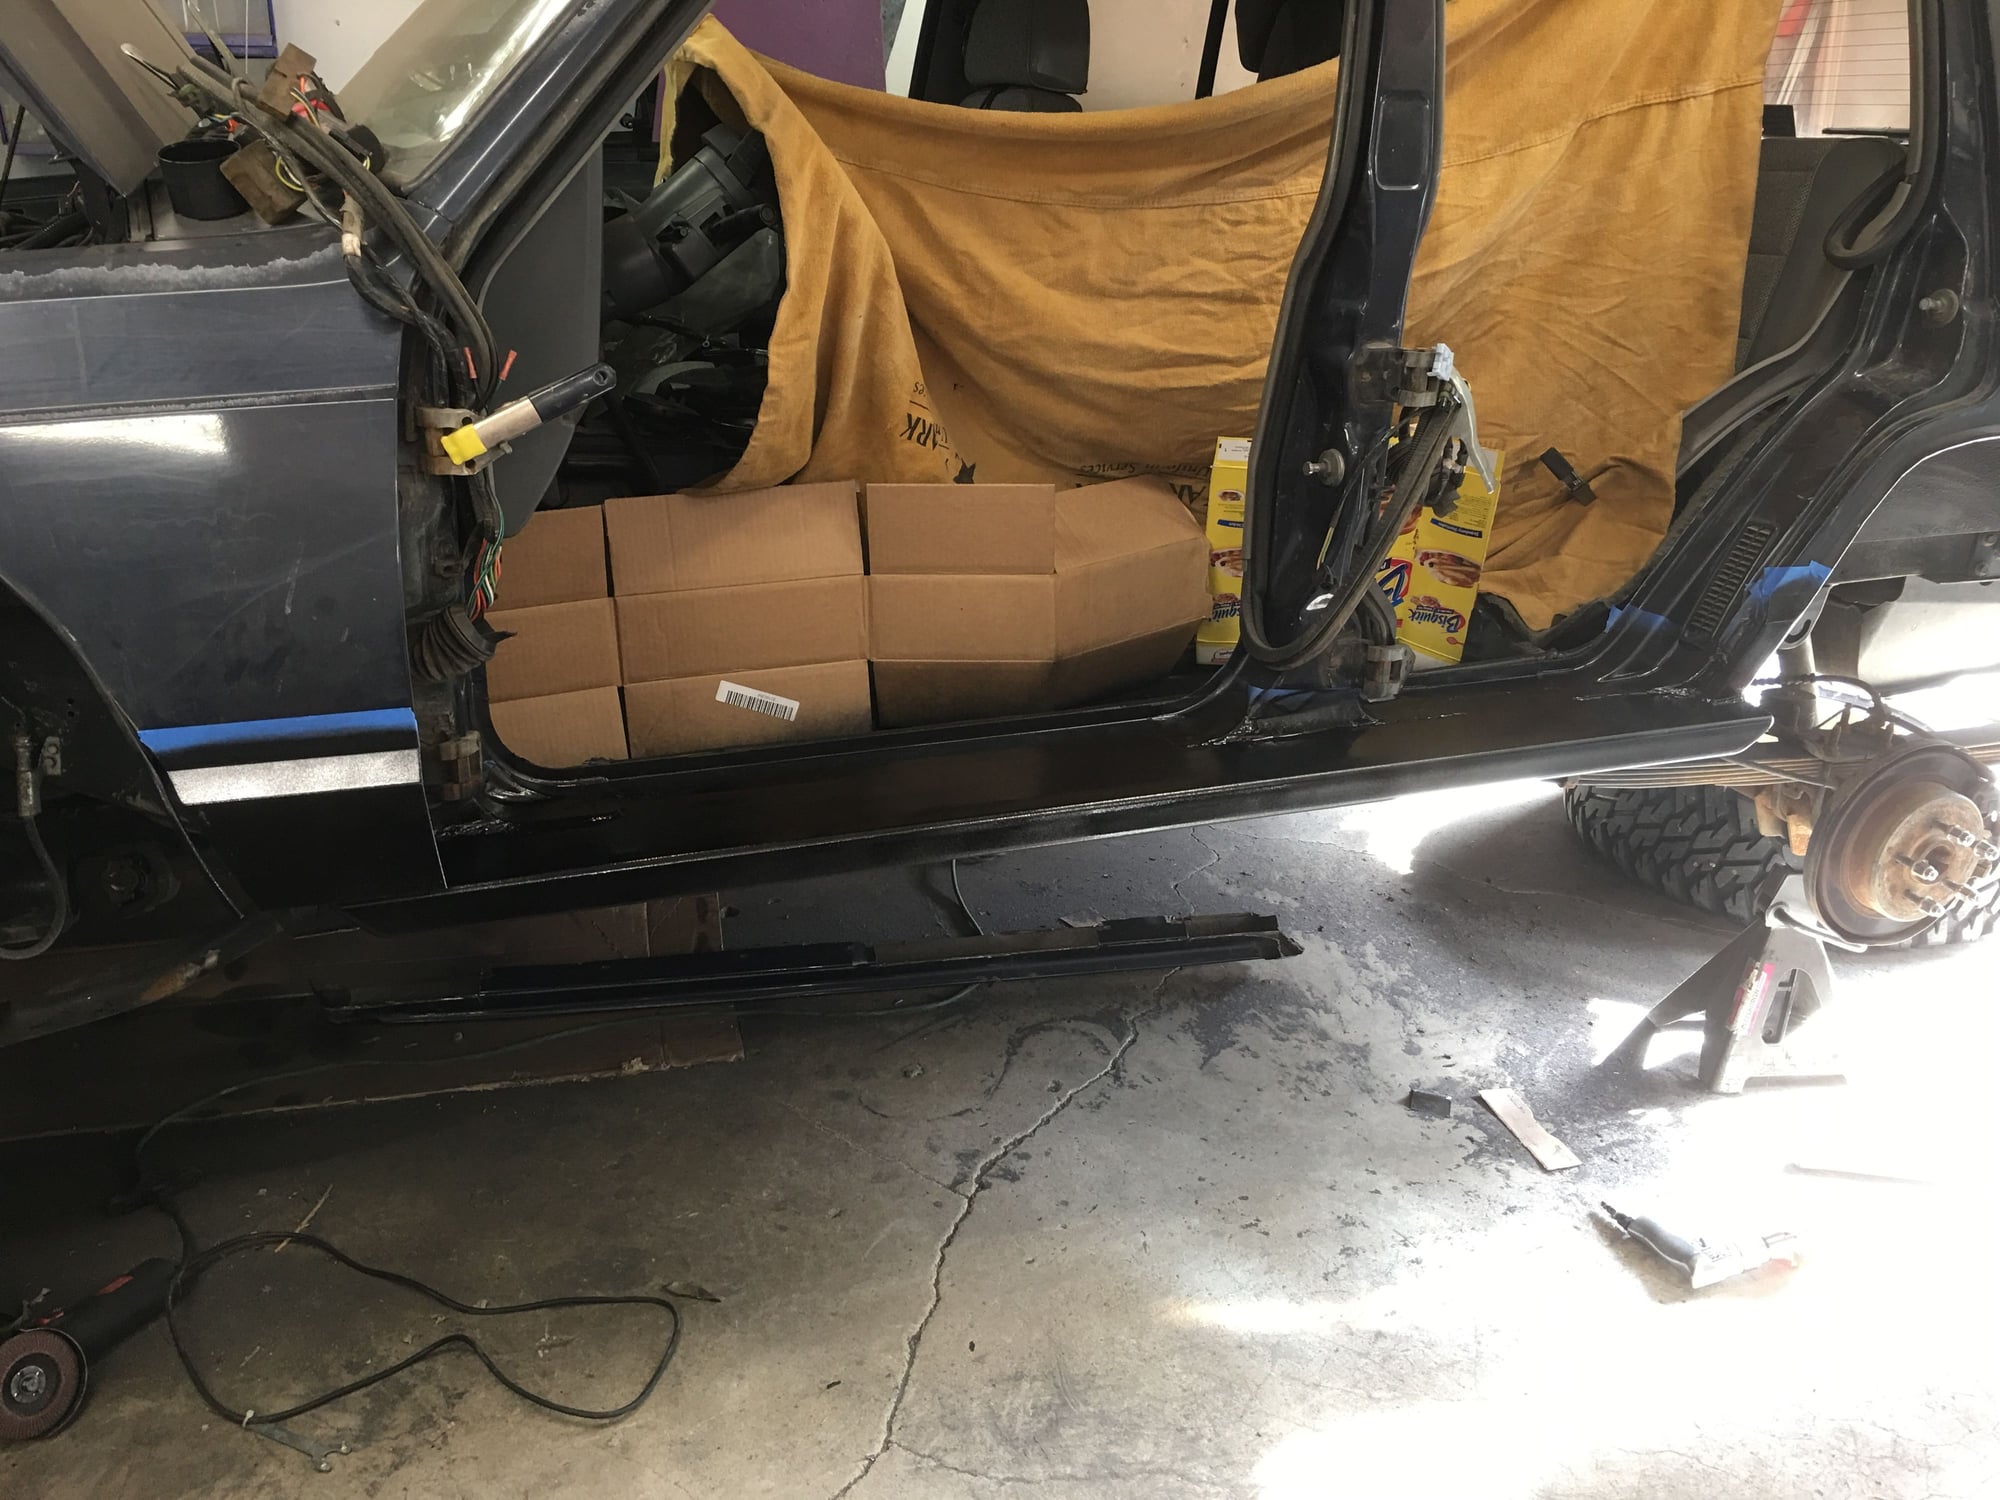
I ground the welds fairly smooth so things don’t hang up on them. Then primered the bare metal.
A couple coats of bed liner and it’s looking pretty good! I’ll probably put one more coat on while I do the doors.
How the rear turned out.
And the front. Next time I’d probably put the tie in flush with the end of the plate but this’ll work. Now to get the doors done 😋
Old 05-10-2018, 06:59 AM
  #37  
Member
 
mikebravo's Avatar
 
Join Date: Nov 2016
Location: KTUL
Posts: 217
Likes: 0
Received 5 Likes on 5 Posts
Year: 1996
Model: Cherokee
Engine: 4.0
Default

Should have made some drainage holes. Are you planning on running no doors or hacking the doors up?
Old 05-11-2018, 01:23 PM
  #38  
CF Veteran
 
unidentifiedbomb's Avatar
 
Join Date: May 2011
Location: DE
Posts: 6,098
Received 247 Likes on 206 Posts
Year: 1988
Model: Cherokee
Engine: I6 4.0
Default

****
Old 05-11-2018, 05:56 PM
  #39  
Seasoned Member
Thread Starter
 
Baddad's Avatar
 
Join Date: Feb 2013
Location: Seattle
Posts: 301
Received 21 Likes on 19 Posts
Year: 1990
Model: Cherokee
Engine: 4.0
Default

Originally Posted by mikebravo
Should have made some drainage holes. Are you planning on running no doors or hacking the doors up?
moisture will be able to drain out by the frame, not much room for it to get in. I’m running doors, just cutting the bottom. That’s next as soon as I can get some time away from work 🙄
Old 05-12-2018, 06:48 AM
  #40  
CF Veteran
 
bad_idea's Avatar
 
Join Date: Apr 2016
Location: Pasquotank, NC
Posts: 1,679
Likes: 0
Received 15 Likes on 13 Posts
Year: 1990
Model: Cherokee
Engine: 4.0
Default

Outstanding work. I like the attention to detail and the thorough documentation with good pics.

What kind of work do you do? I assume something in the fabrication industry. If I had to guess, I would say you probably work at the shipyard up there (I noticed you labeled the plate inboard on the bottom of plate).
Old 05-12-2018, 04:09 PM
  #41  
Seasoned Member
Thread Starter
 
Baddad's Avatar
 
Join Date: Feb 2013
Location: Seattle
Posts: 301
Received 21 Likes on 19 Posts
Year: 1990
Model: Cherokee
Engine: 4.0
Default

Currently I’m a locomotive engineer, but I also was an auto mechanic and worked at Boeing. So trains, planes & automobiles has been my career path 😂. Learned a lot at Boeing on fabrication and locating parts. Thanks for the kind words 👍
Old 05-15-2018, 03:36 AM
  #42  
Seasoned Member
Thread Starter
 
Baddad's Avatar
 
Join Date: Feb 2013
Location: Seattle
Posts: 301
Received 21 Likes on 19 Posts
Year: 1990
Model: Cherokee
Engine: 4.0
Default

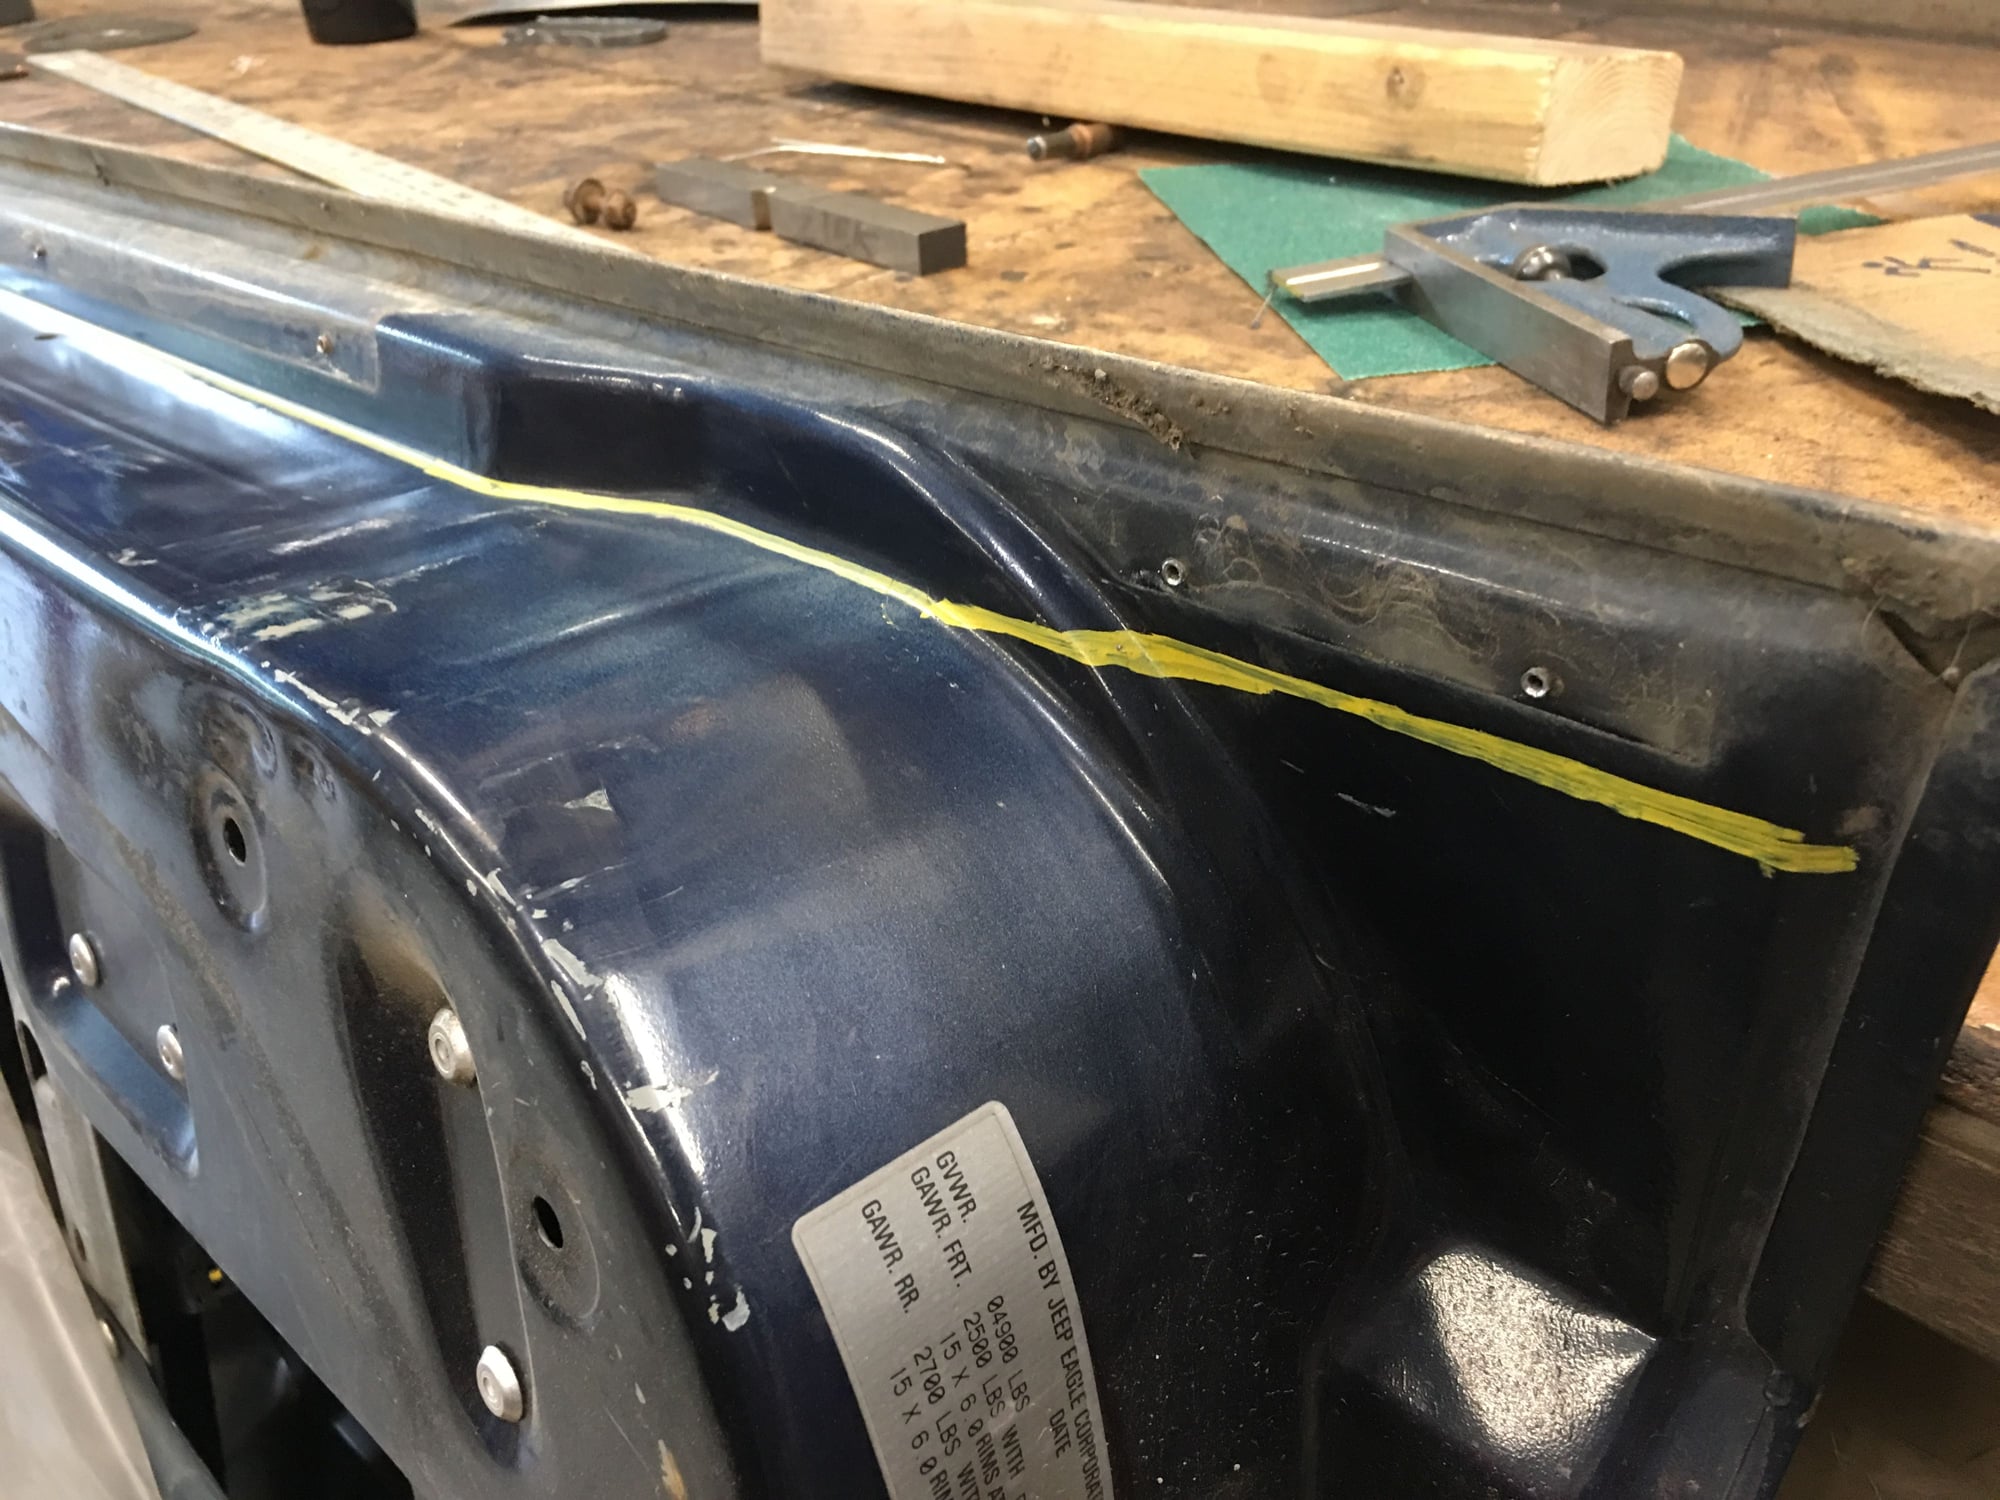
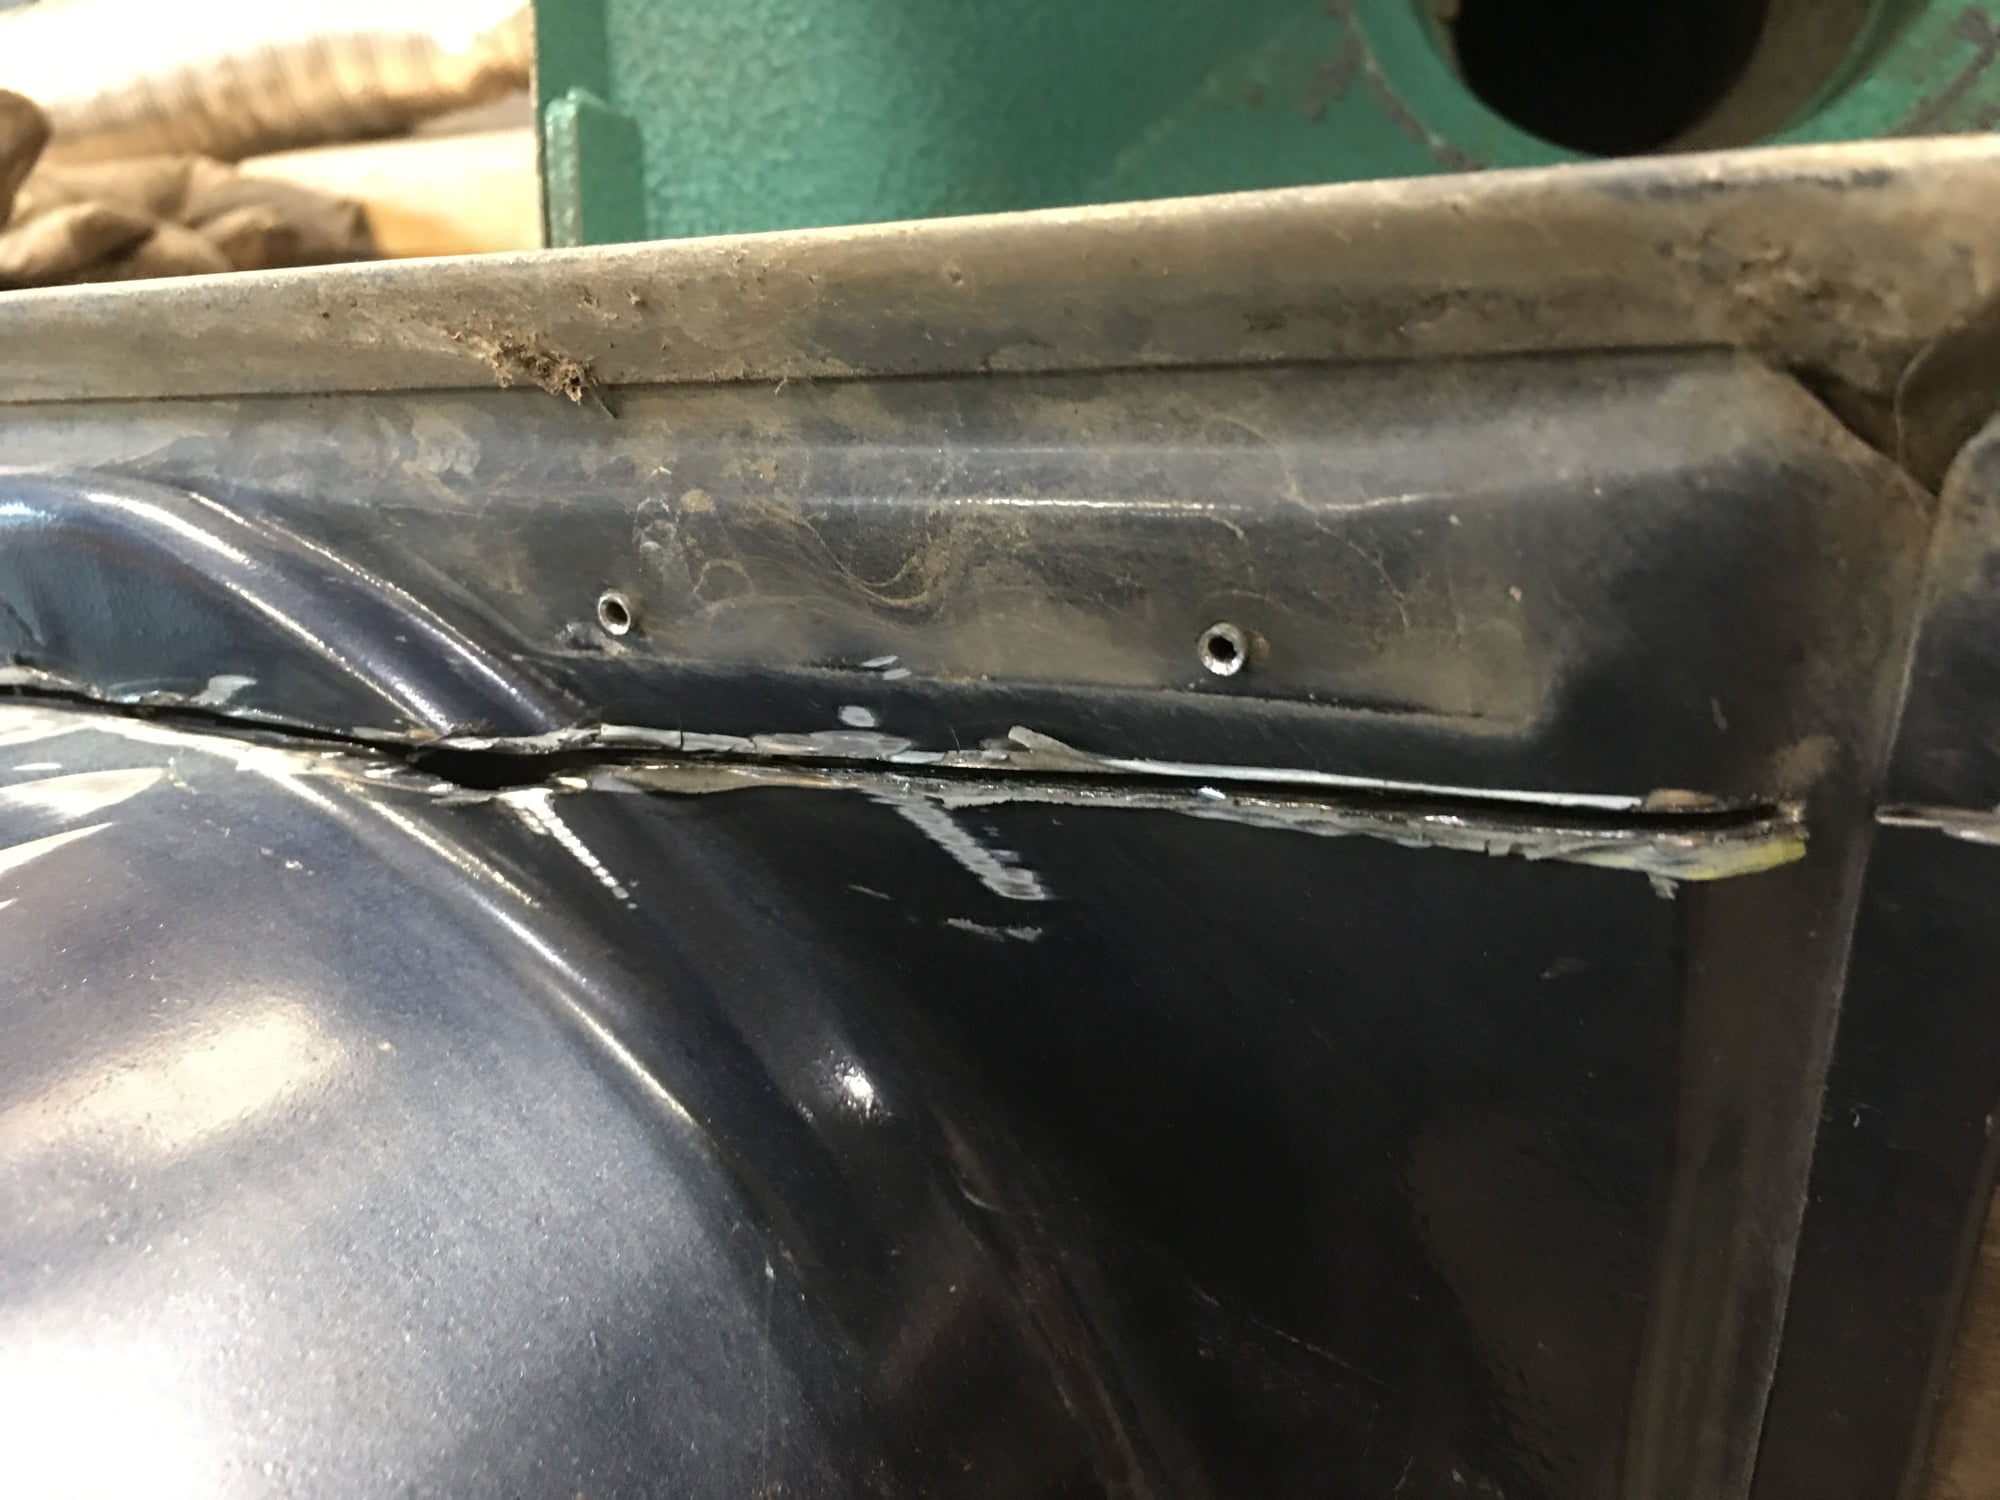
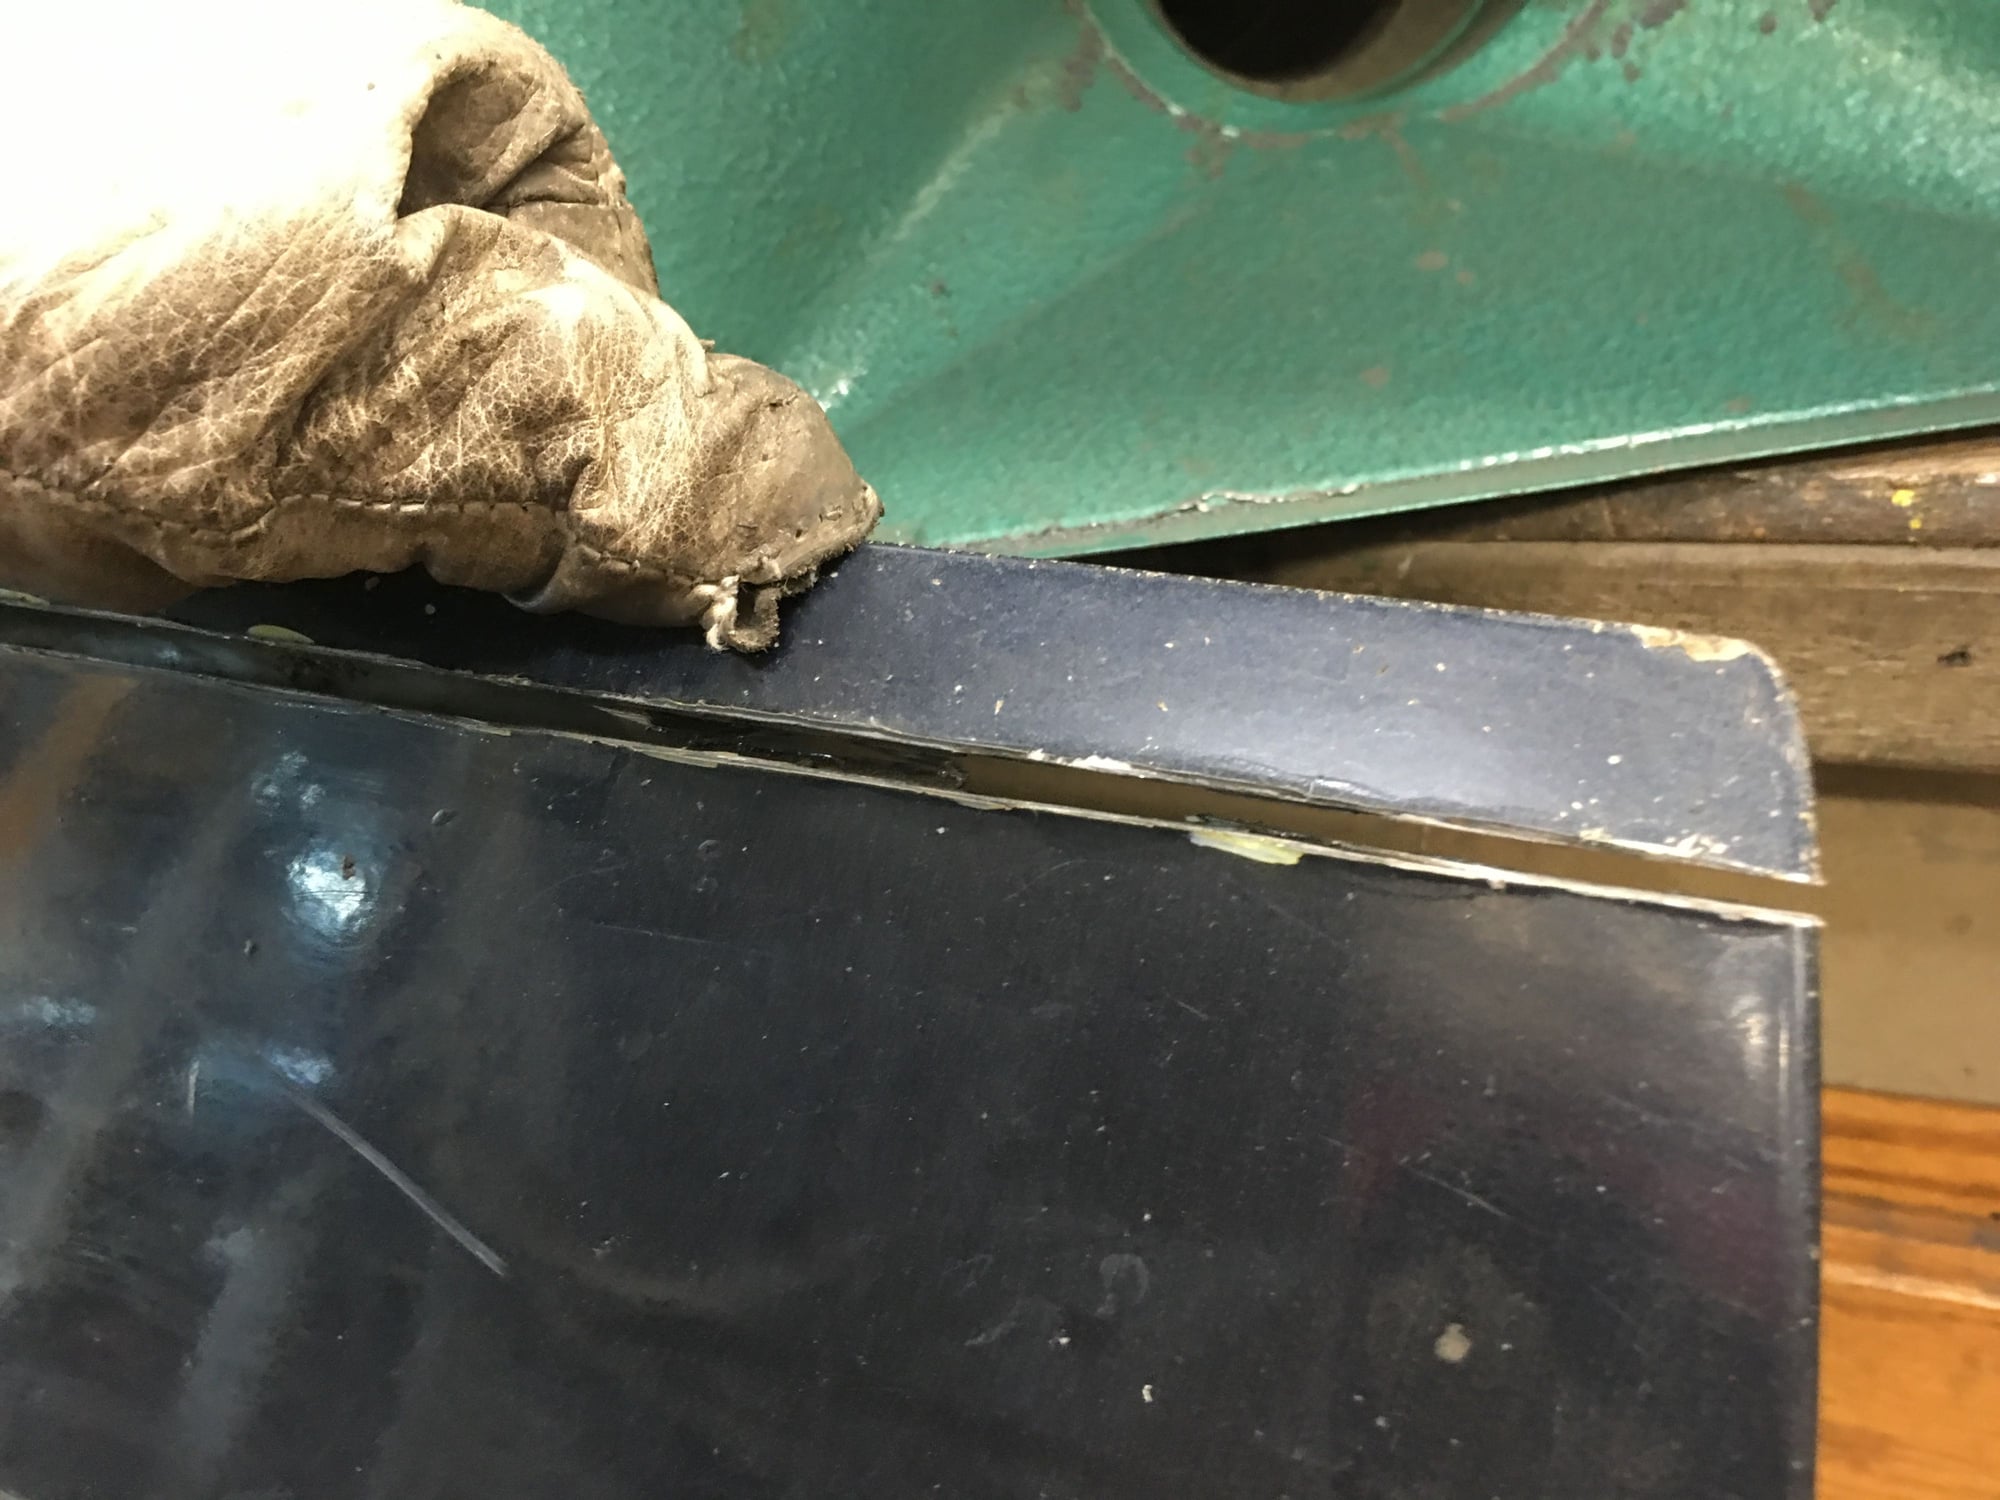
Now for the doors. I cut along the yellow line, flush with the bottom. Cut just the inside panel for now.
The ends are a pain to get the line level.

Before cutting, move the window regulator tube thingy so it doesn’t get cut.
Old 05-15-2018, 03:43 AM
  #43  
Seasoned Member
Thread Starter
 
Baddad's Avatar
 
Join Date: Feb 2013
Location: Seattle
Posts: 301
Received 21 Likes on 19 Posts
Year: 1990
Model: Cherokee
Engine: 4.0
Default

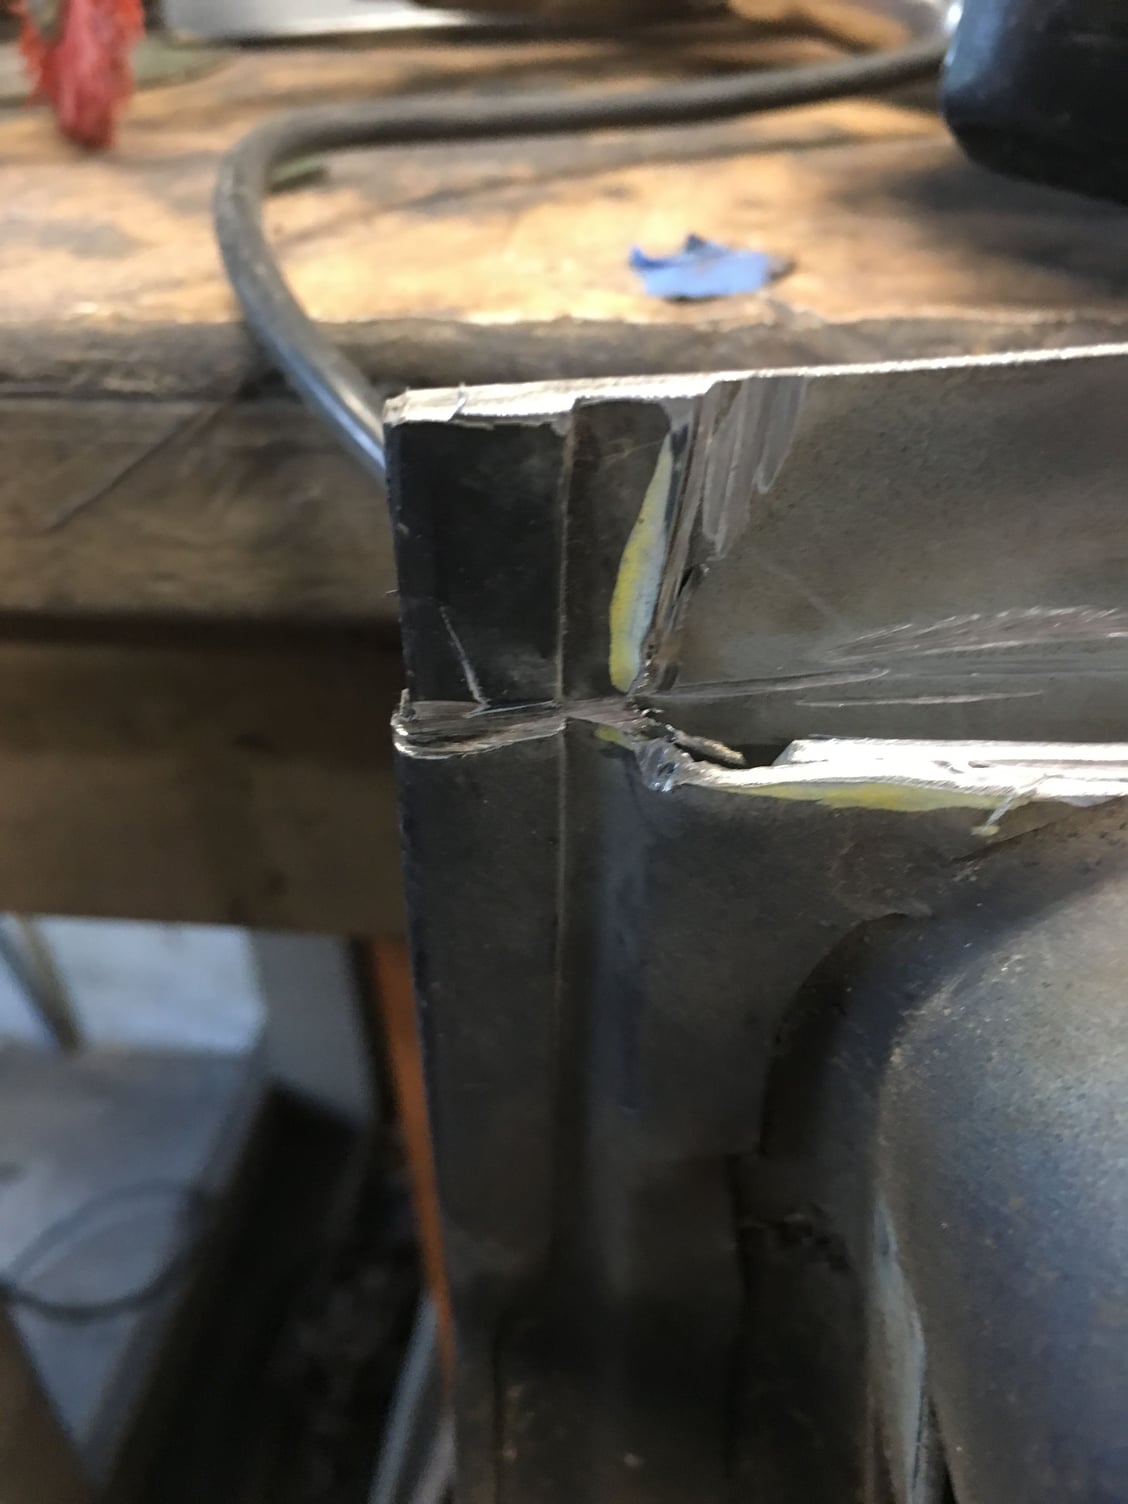
Cut the inside panel
Then along the dotted line which is the body line about an inch from the bottom of the door.
Like this. Cut thru both panels on the ends.
Then cut at the ends here and
Here.
Comes out looking like this.
Old 05-15-2018, 03:50 AM
  #44  
Seasoned Member
Thread Starter
 
Baddad's Avatar
 
Join Date: Feb 2013
Location: Seattle
Posts: 301
Received 21 Likes on 19 Posts
Year: 1990
Model: Cherokee
Engine: 4.0
Default

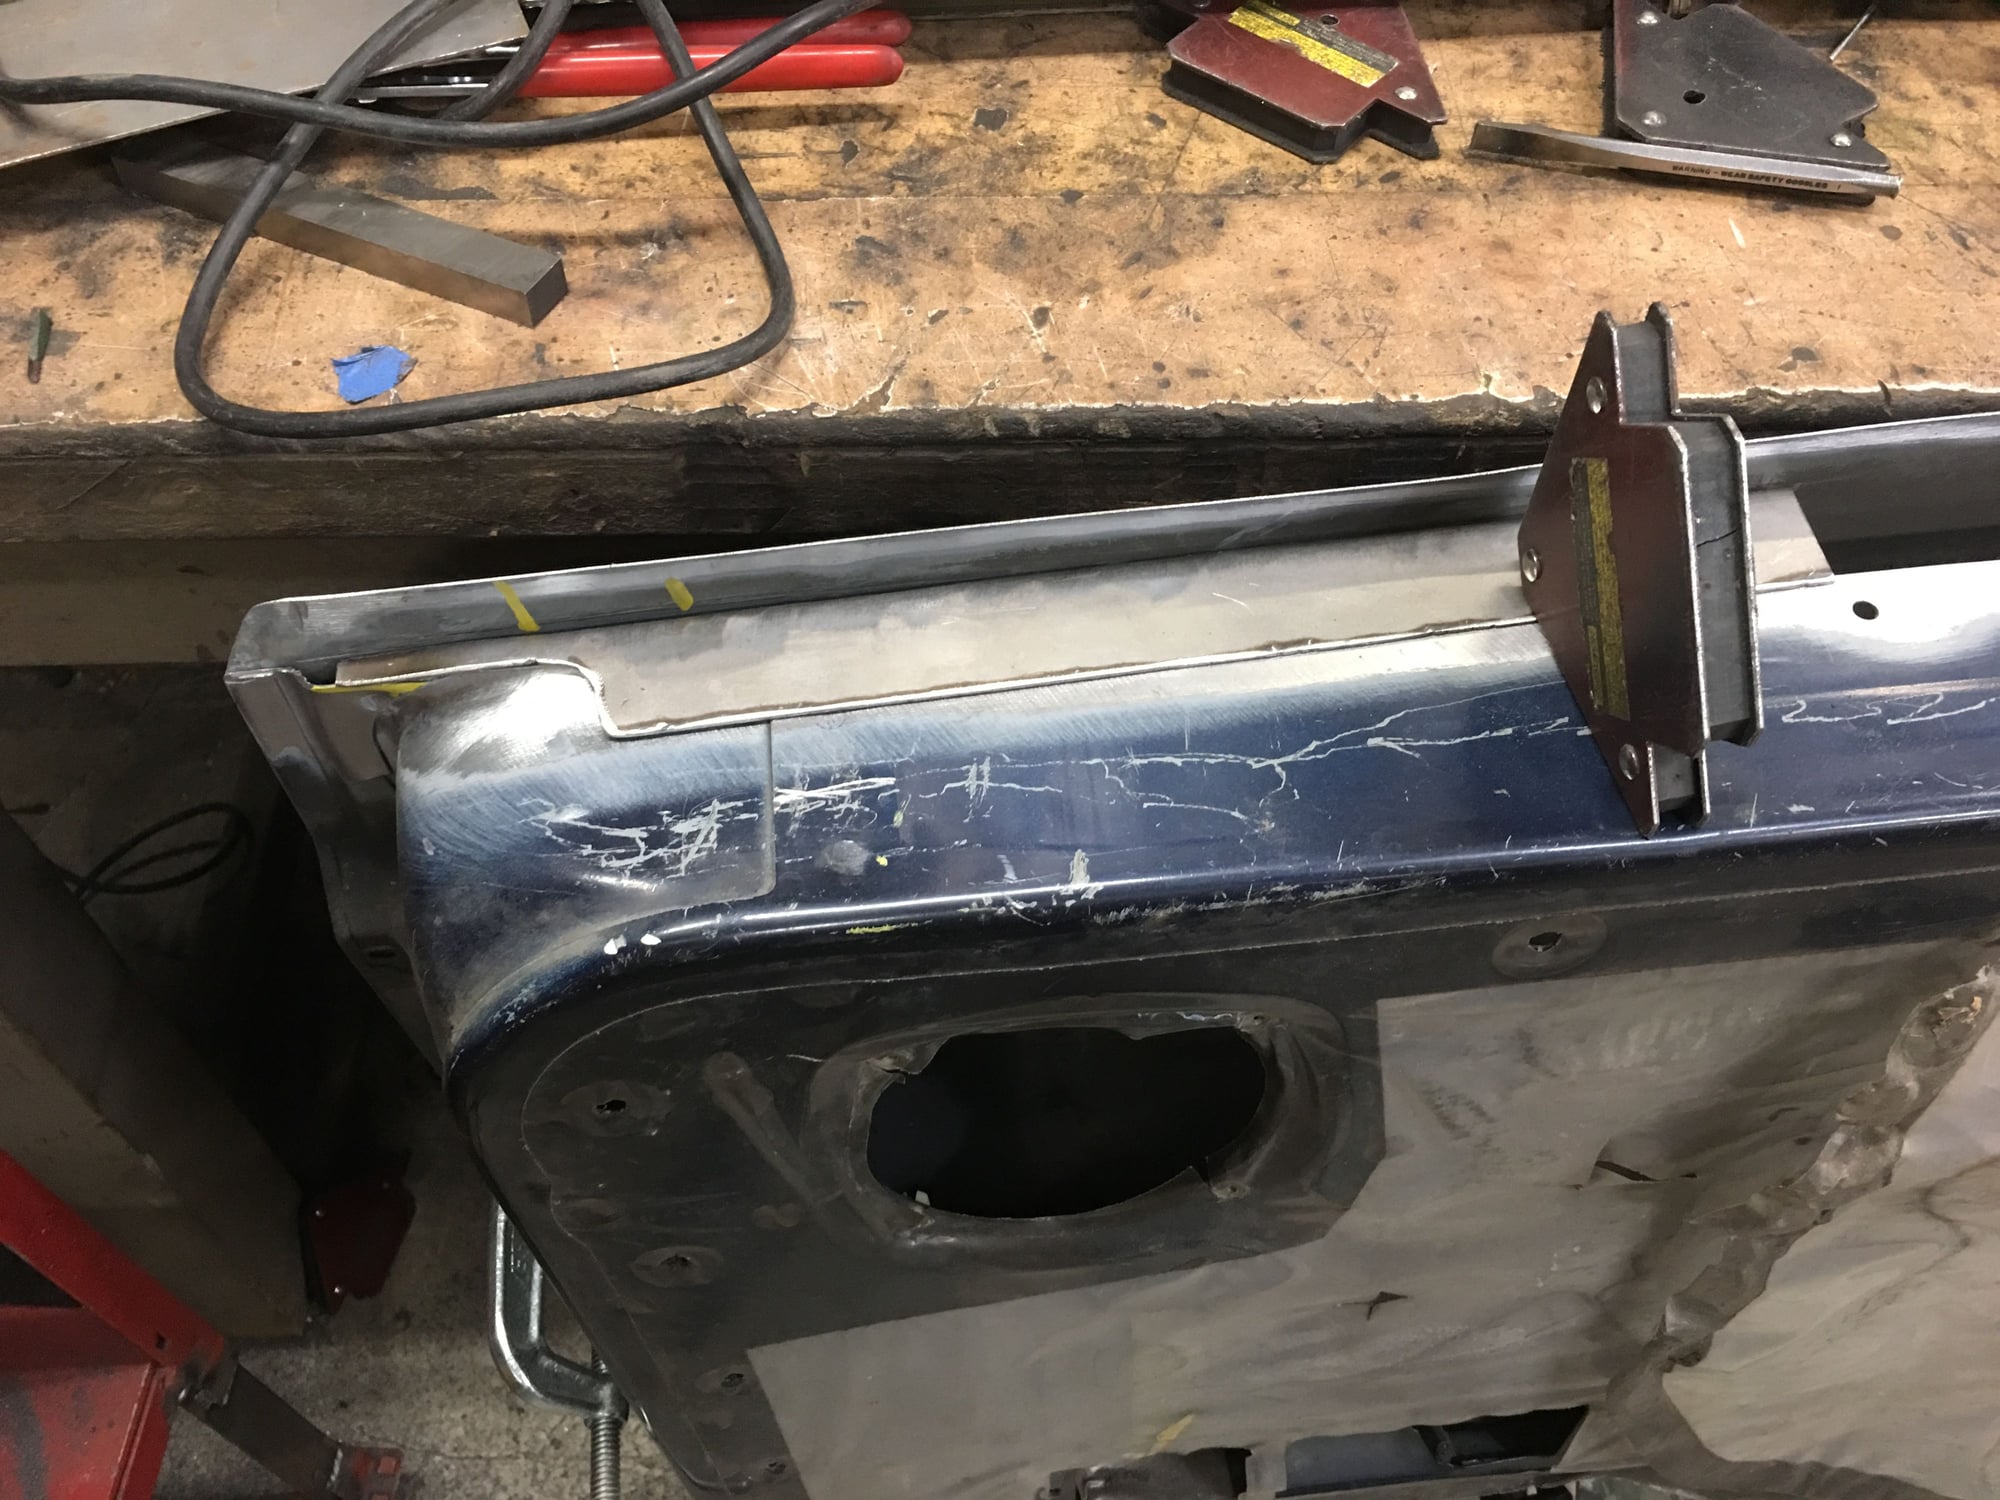
On the ends is this door edge area.
Carefully cut the inner panel.
Then clean it up like this.
I cleaned off the paint for welding.
Take your time and get the ends level with the rest.
Like this.
Old 05-15-2018, 04:04 AM
  #45  
Seasoned Member
Thread Starter
 
Baddad's Avatar
 
Join Date: Feb 2013
Location: Seattle
Posts: 301
Received 21 Likes on 19 Posts
Year: 1990
Model: Cherokee
Engine: 4.0
Default

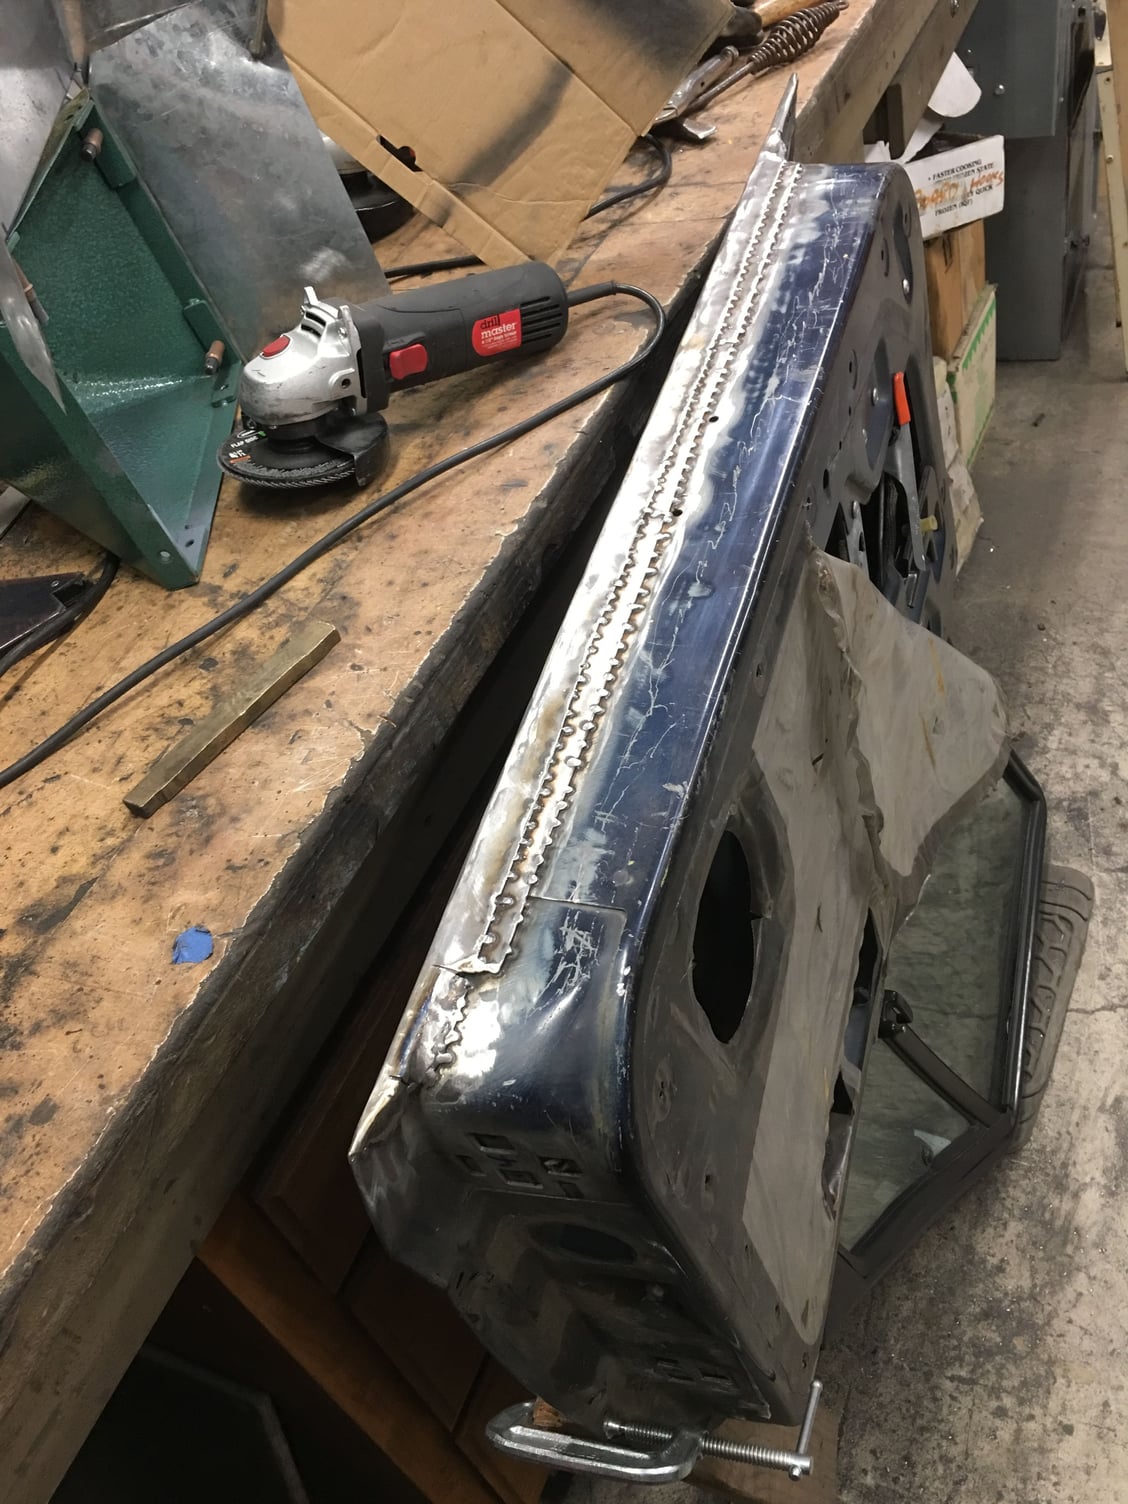
I made these patches out of heavy gauge sheet metal, 16ga I think.
Tacked then in.
A lot of tack welds 😋
Cleaned up the welds, then started bending the lip over.
Got it pretty flat.
To get a good, tight edge I heated up the sheet metal with a propane torch till it just started to turn color, then tapped it over with a hammer.

The ends I heated to and worked into shape with a sharp tipped hammer.

A bunch more tack welds.
A little clean up grinding
And a couple of coats of bedliner and it’s done 👍 Now repeat 3 more times...


Quick Reply: 2x6 (+1”) Rocker Mod


All times are GMT -5. The time now is 09:02 AM.