How To Install a Lunchbox Locker (lots of pics)
 12-03-2010, 01:58 PM
#1
CF Veteran
Thread Starter
Join Date: Mar 2010
Location: Jacksonville, FL
Posts: 6,685
Likes: 0
Received 5 Likes
on
5 Posts
Year: 92
Model: Cherokee
Engine: 4.0
One of the easiest most affordable upgrades for an axle is a "lunchbox locker". They are noisy, and the pop and click when turning. But, they work when needed . you can pick them up new for just a few hundred bucks and a novice can install them in around an hour with basic hand tools.
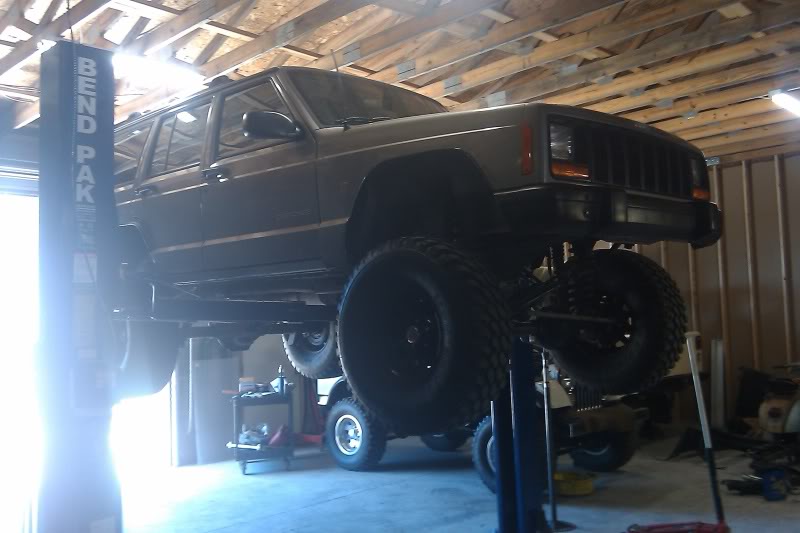
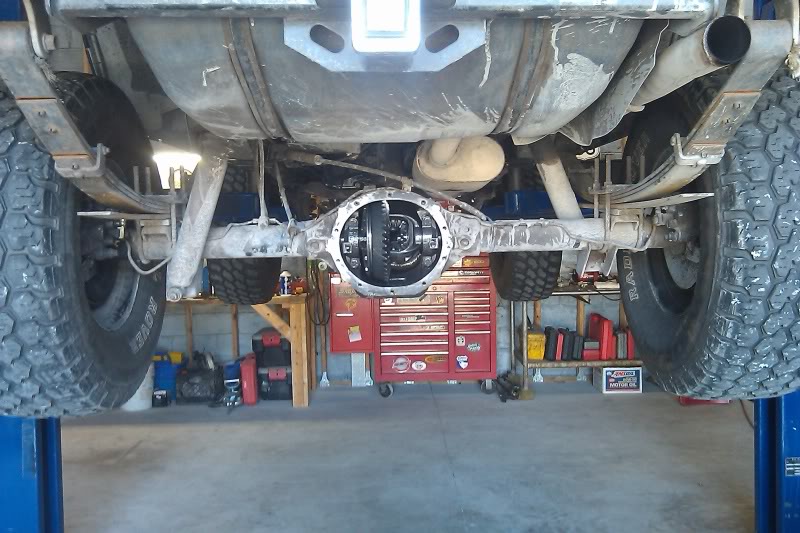
The Patient: 99 Jeep Cherokee (customers jeep)
4.0, aw4, d30, chr 8.25, front longarms, and 33's. and i recently regeared both axles to 4.56's a couple weeks ago.
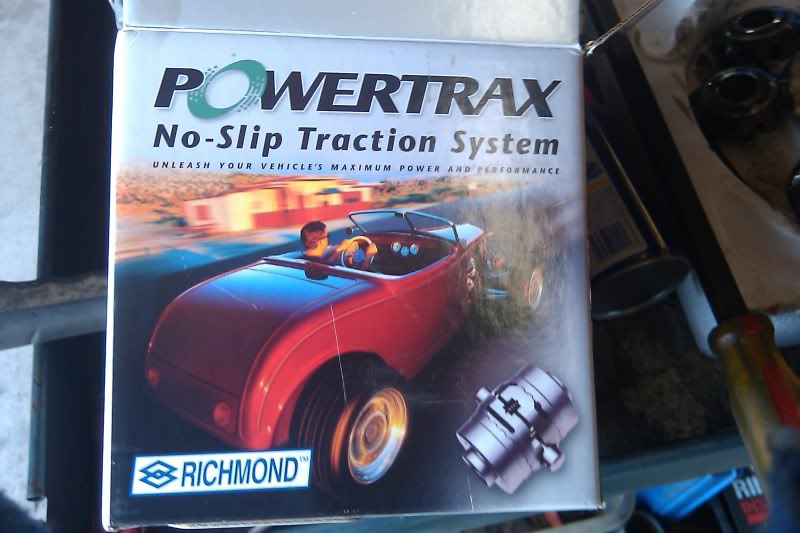
The Locker: Powertrax no-slip differential....Just like any other LB (lunchbox) locker
Now although i am installing this into a 29spline 8.25, the same steps apply to just about any axle.
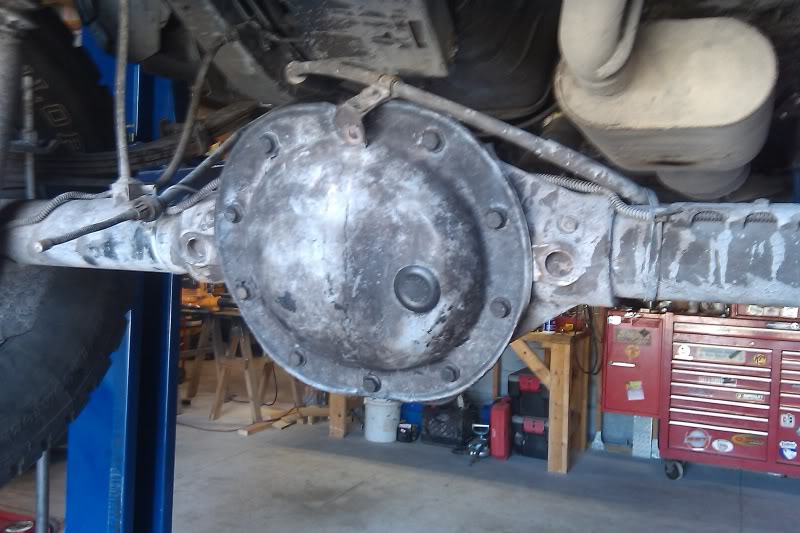
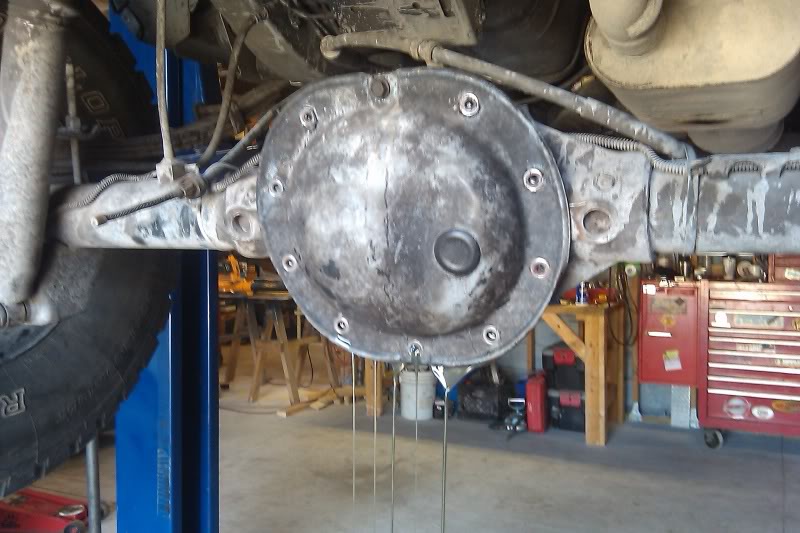
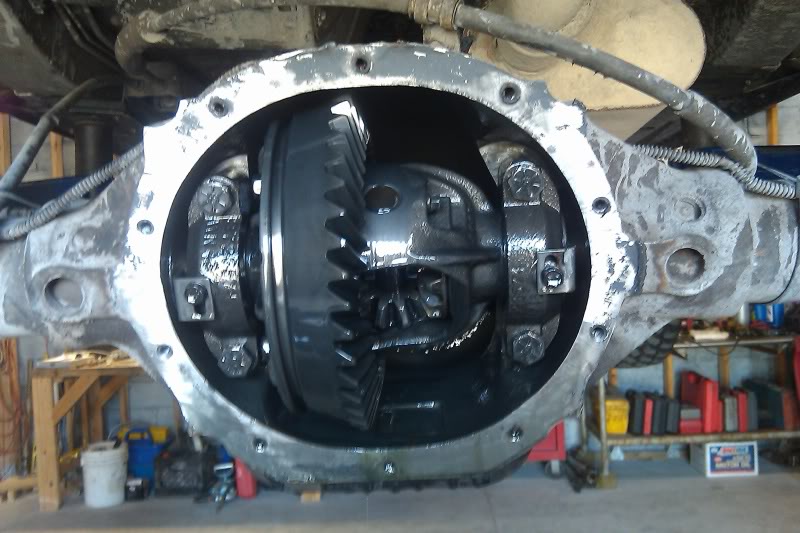
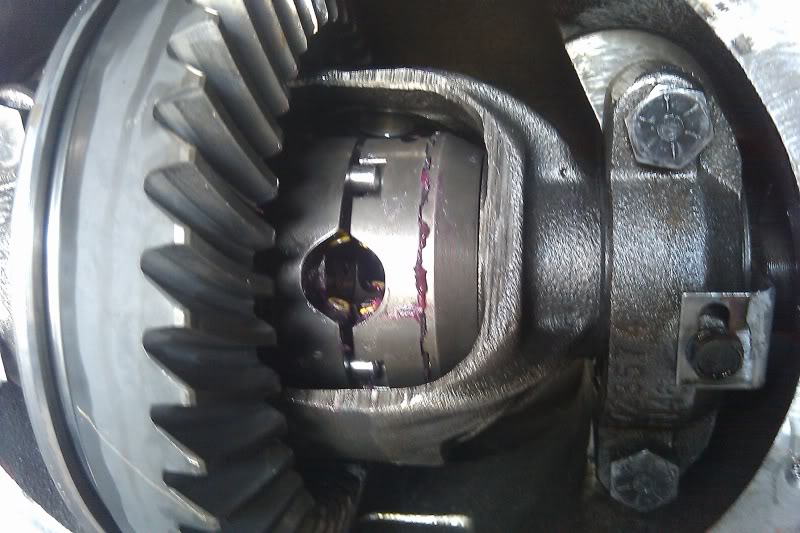
step one: safely jack up vehicle and remove the diff cover and let drain, removing the tires is not necessary for C-clip axles with drum brakes. But this axle was converted to disc brakes, so i need to remove the tires.
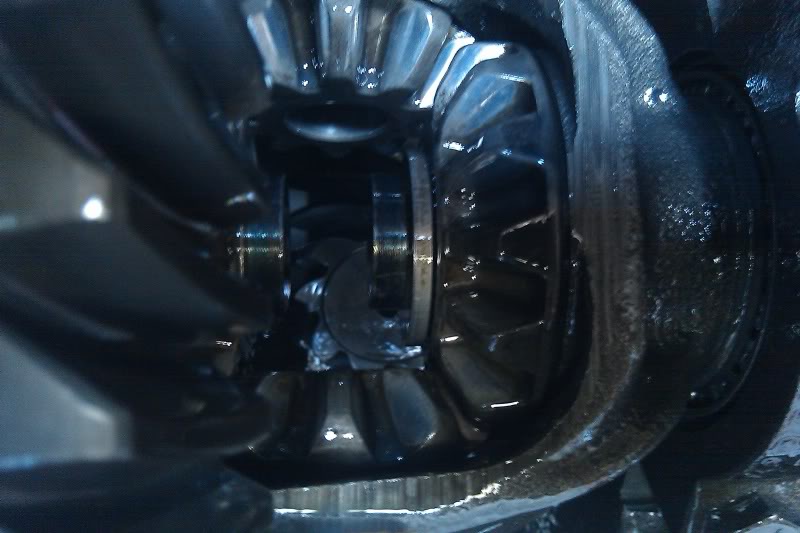
remove the 5/16th bolt that holds the centerpin
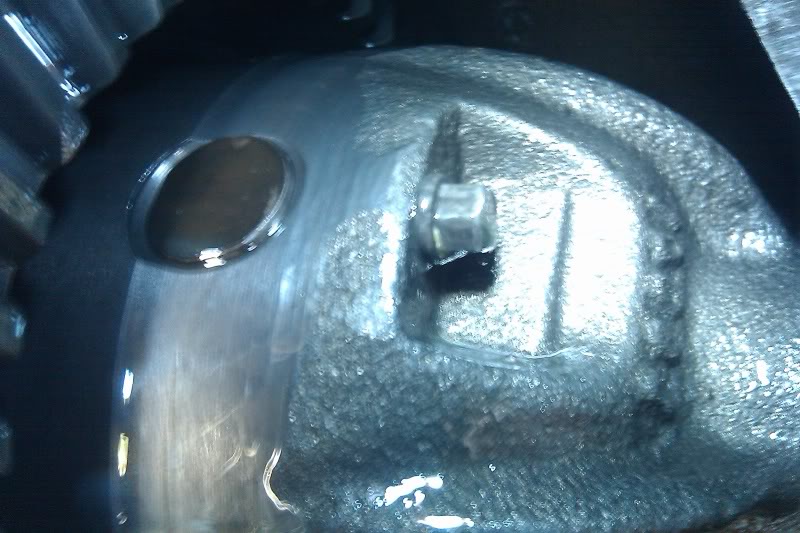
remove the center pin
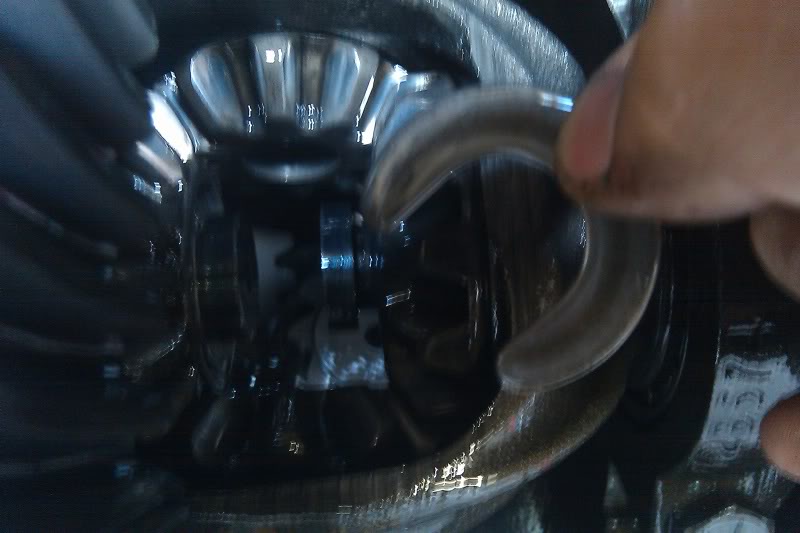
firmly push the hub of the axle inward to expose the c-clip (do both sides)
remove the c-clip
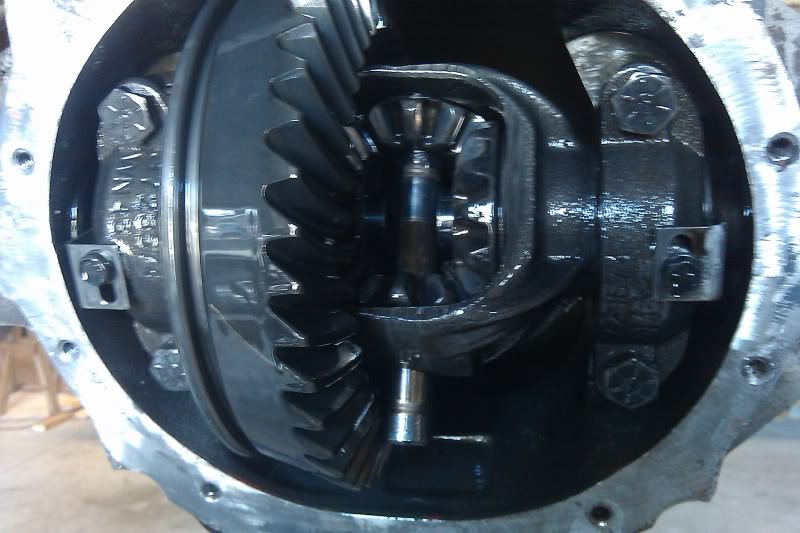
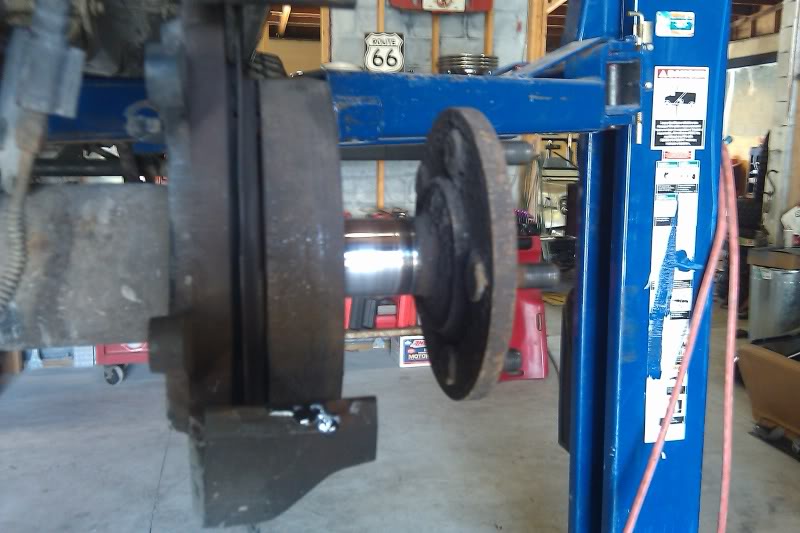
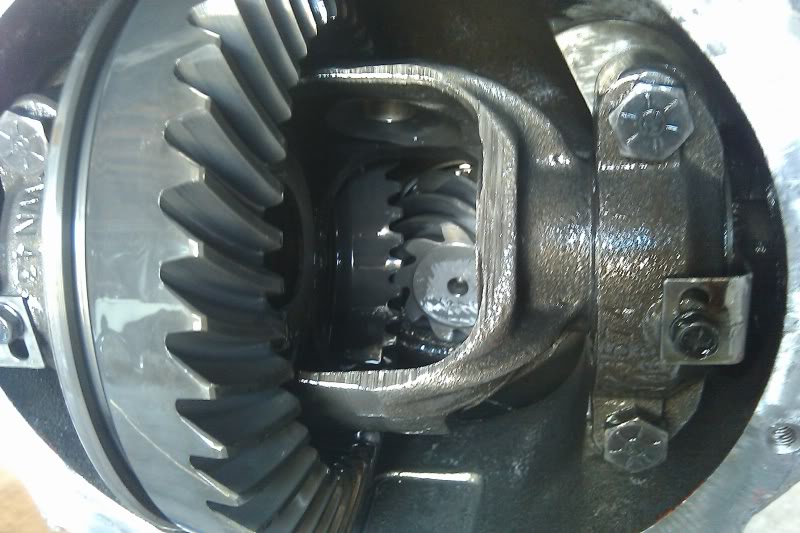
now slide the axles out about 5-6", just to get them out of the spider gears.
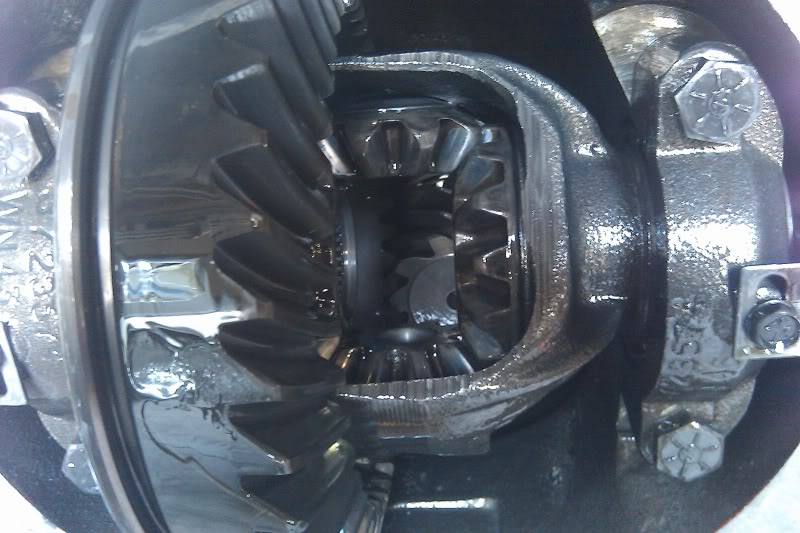
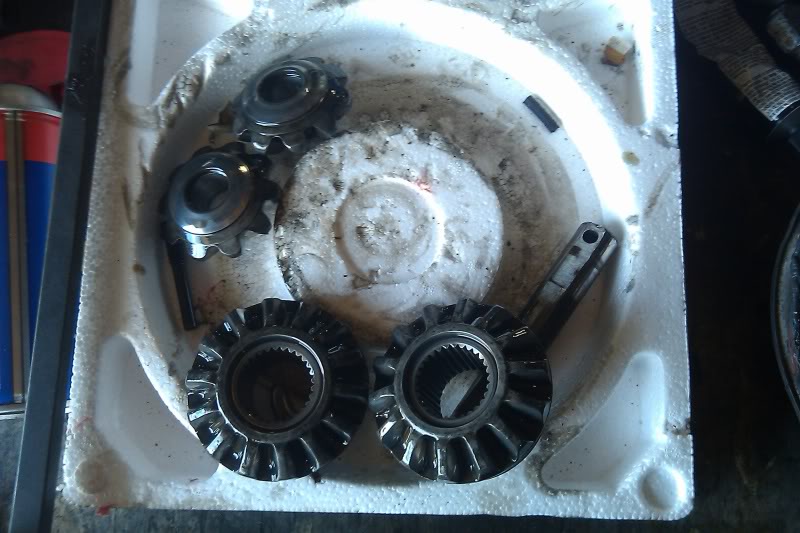
remove the spider gears, side gears, and the thrust washers.
now i suggest to go ahead the brake clean out the housing, because its always nicer and easier to work with a clean surface
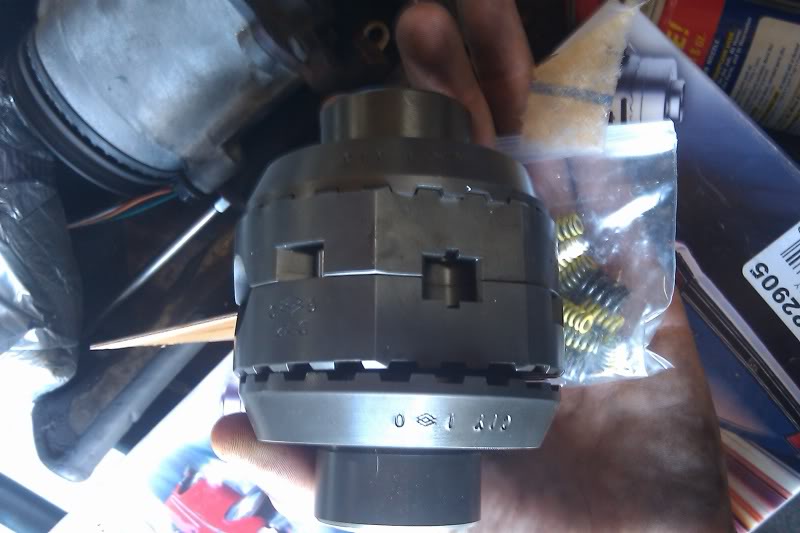
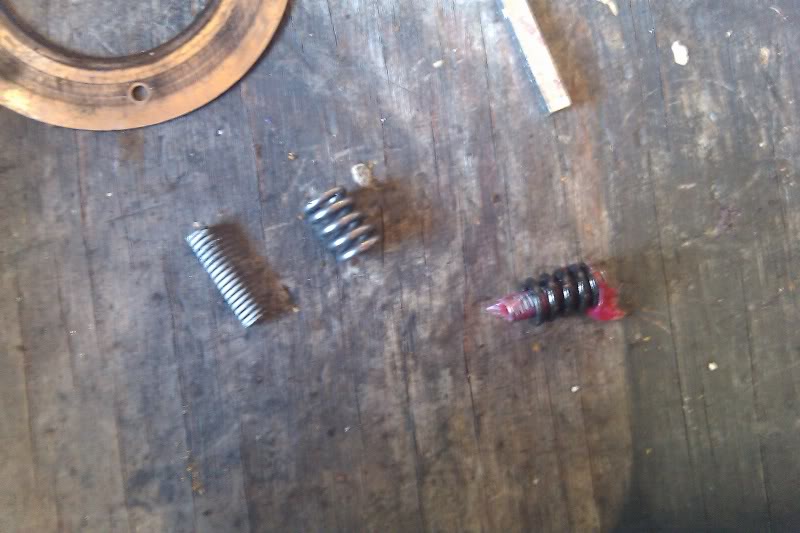
remove the contents of the locker from the box, make sure everythings there.
now line up both drivers and collars so that the tooth on the collar fits into gap on the driver and sits flush, then grease up all the teeth.(some lockers have slots in one or both of the driver/collars, so make sure that they are lined up correctly.
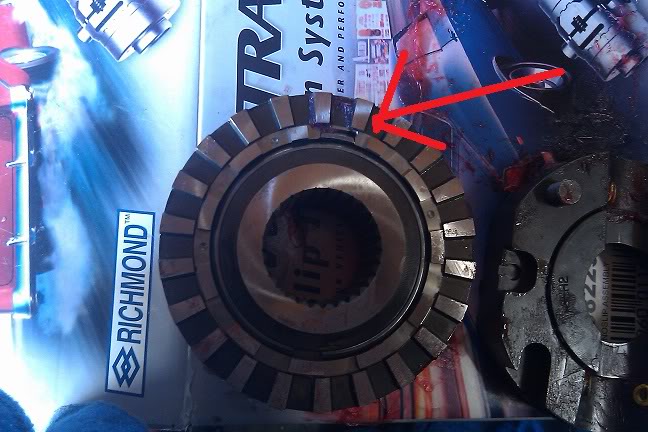
also make sure to be aware of the gap on the side gear. you will NEED to line up the gap on the side gear so that the tooth on the driver/collar assembly sits inside the gap, THIS IS VERYIMPORTANT
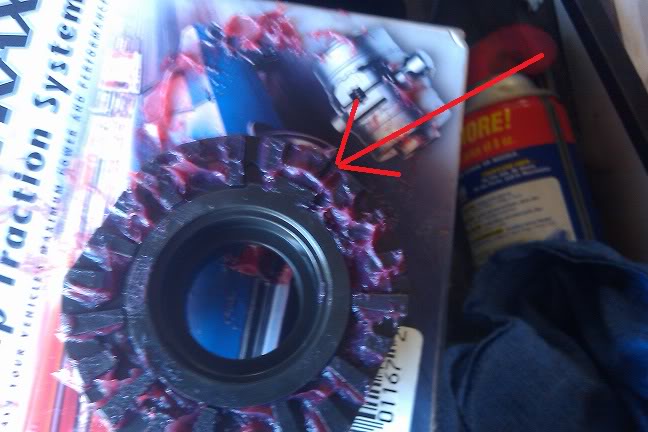
now install the new side gears, doing the left side first.
install the springs into the drivers and grease them up.(the grease helps lube and hold the pieces in place.
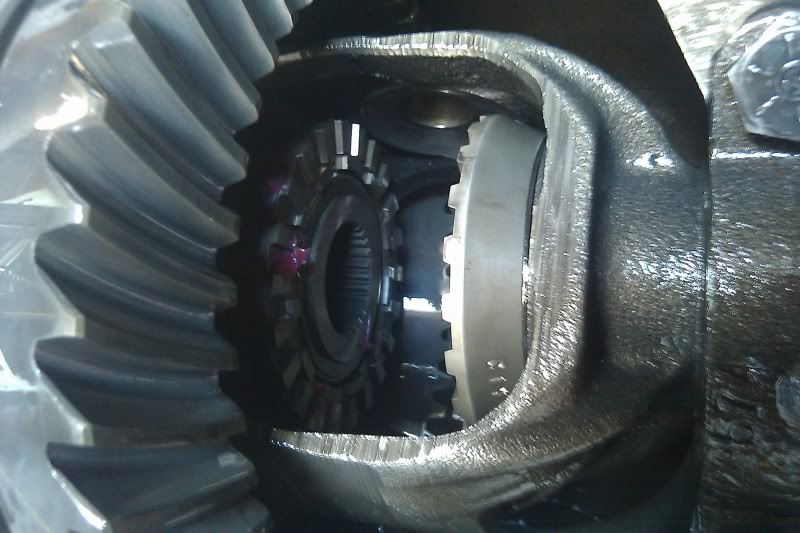
install the left side driver first, so that the two dowel pins face towards the pinion.
then slide the left side axle in through the side gear and driver, and install the left side c-clip. then pull out on the axle to hold everything in place.
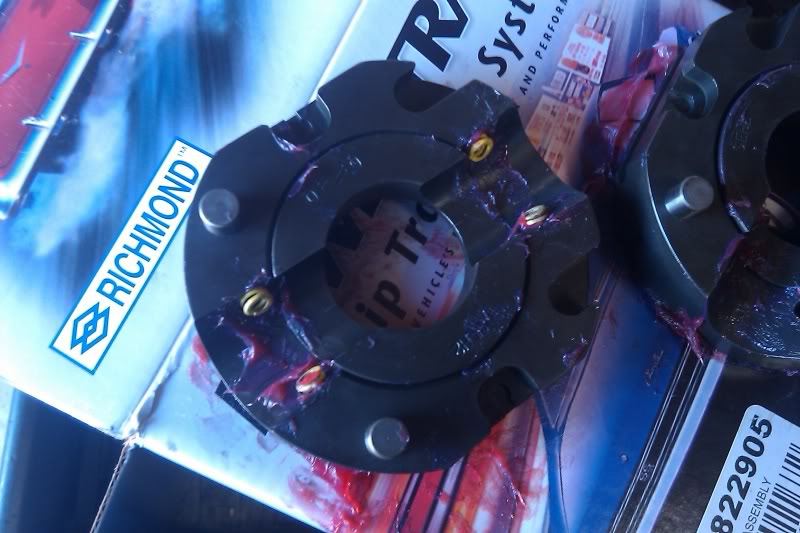
now, install the other driver/collar on the right side. make sure the two dowel pins are facing towards you
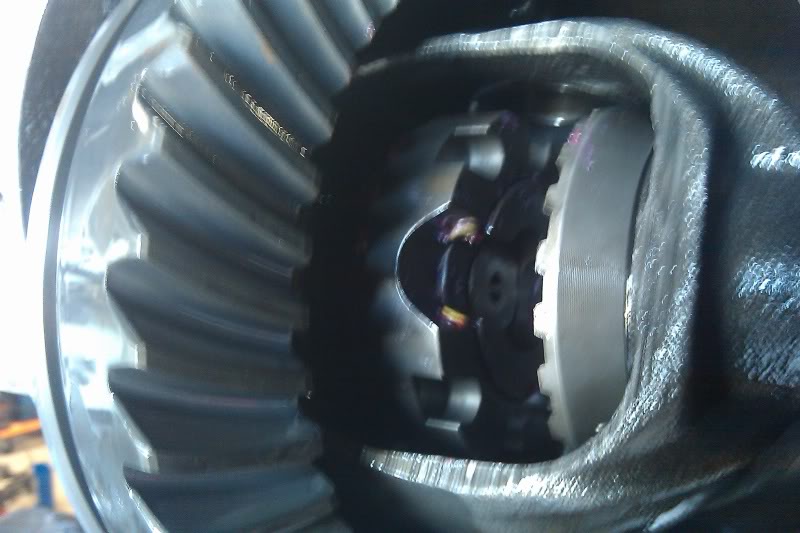
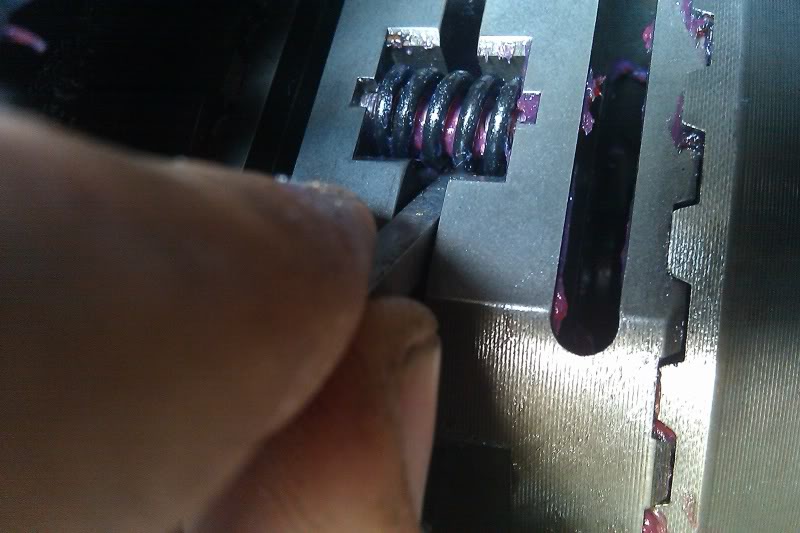
spin the locker assembly around so that the openings for the springs show.
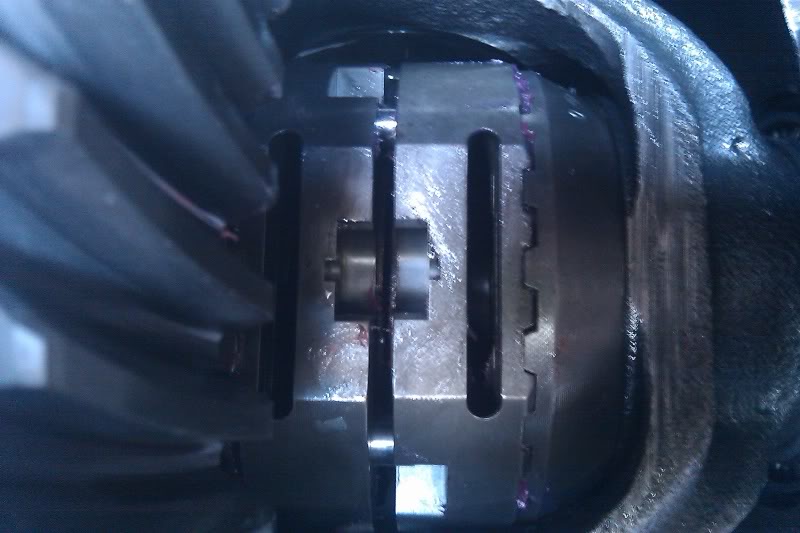
put the small spring inside the large spring and grease it up
install the spring assembly into the locker. a screwdriver help pivot it in. it should seat into the slots firmly
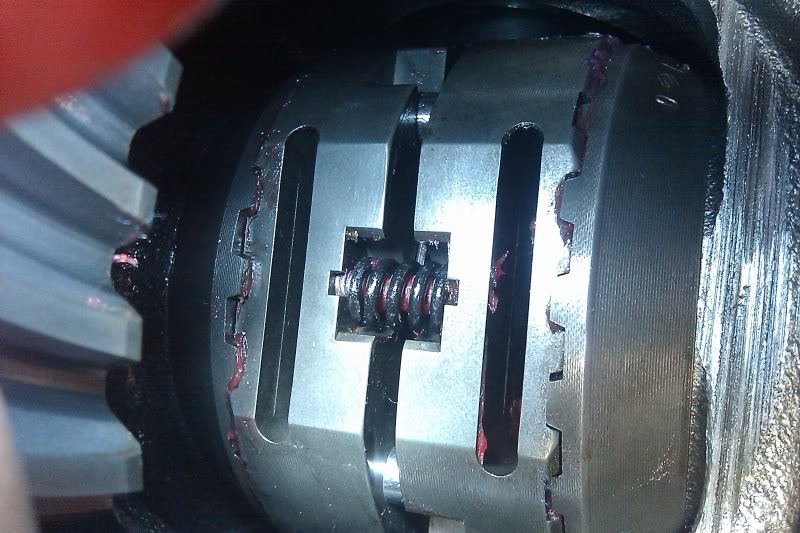
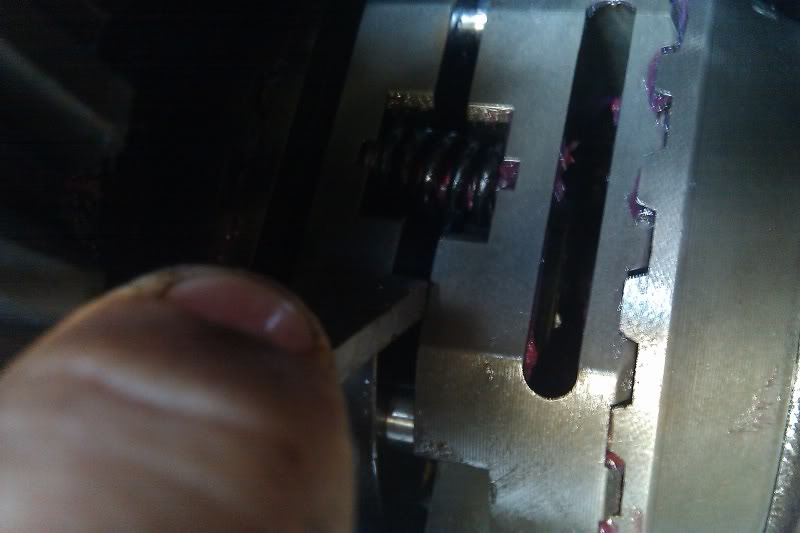
this locker came with a little tool to check the gap between the drivers
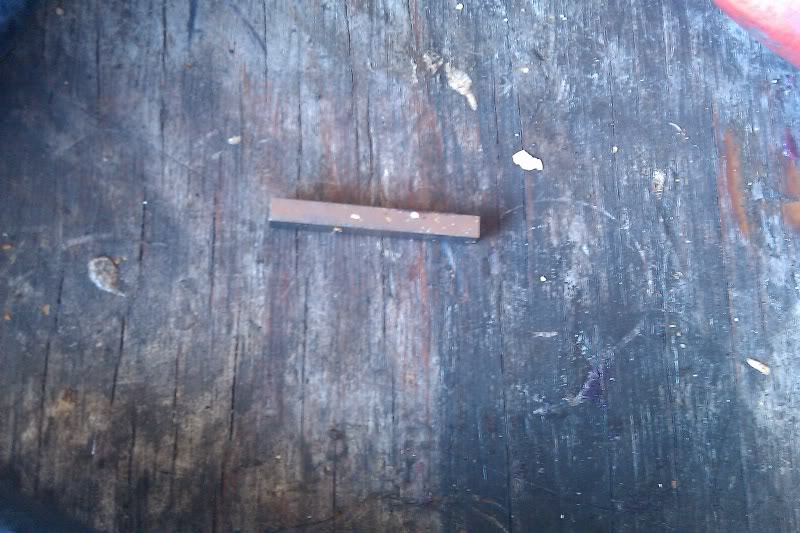
the skinny side should fit through,
and the fat side should not
now push the right side axle all the way in and install the other c-clip
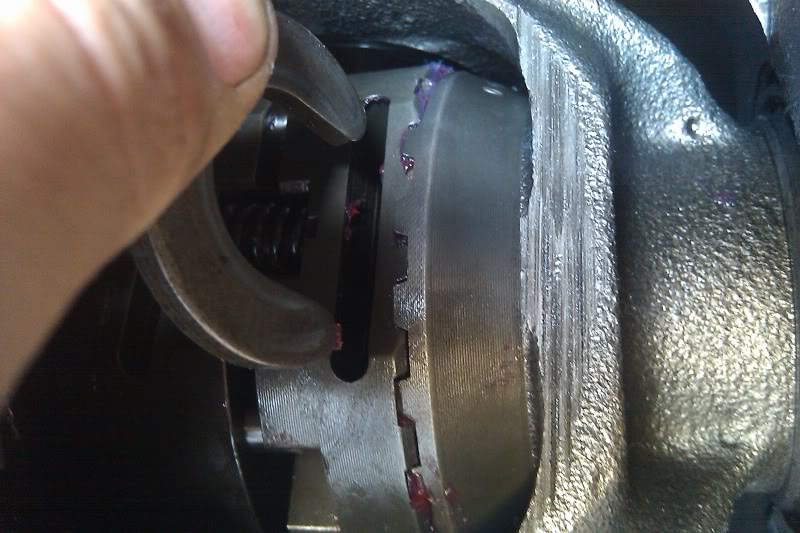
rotate carrier and locker to line up the the hole for the center pin
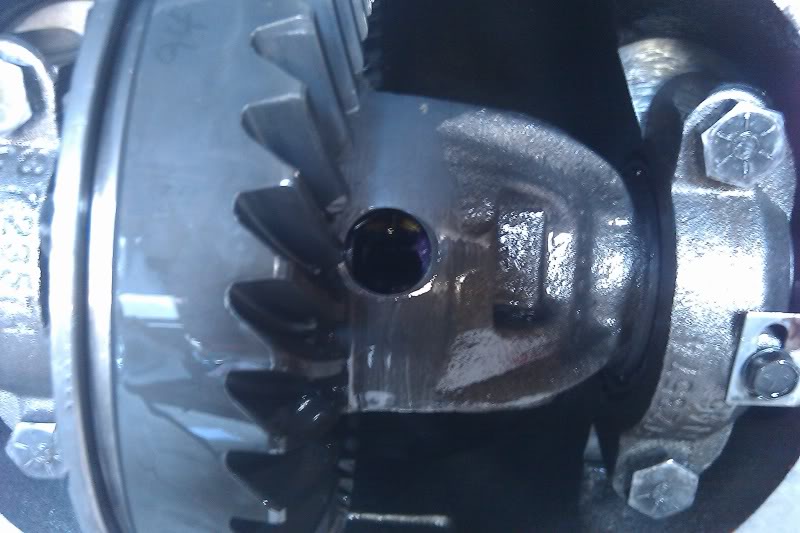
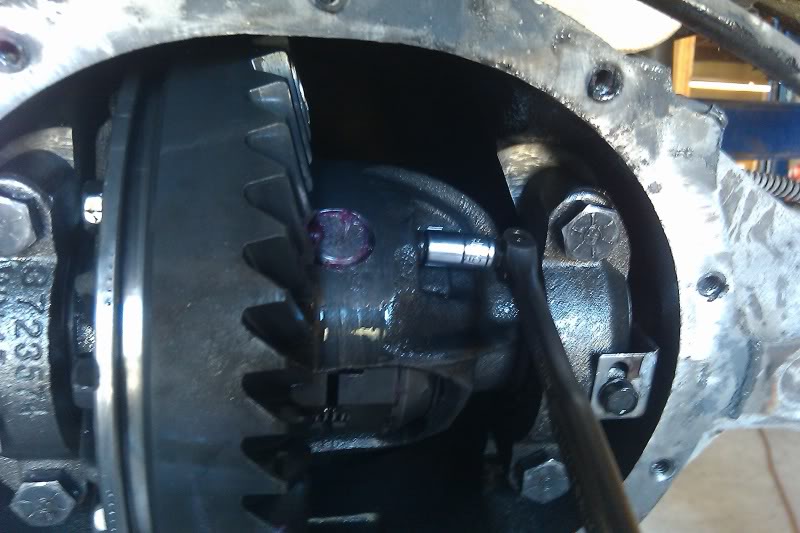
install the center pin, with the rounded edge going in first.
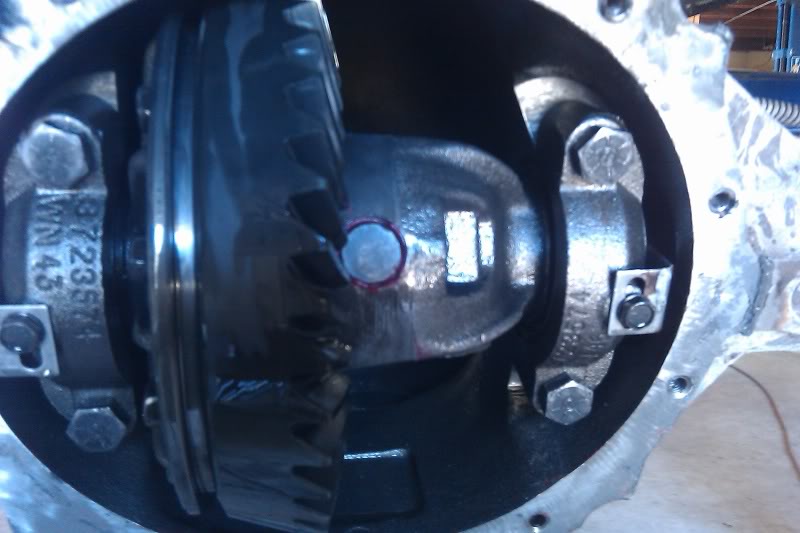
install and tighten the 5/16th bolt
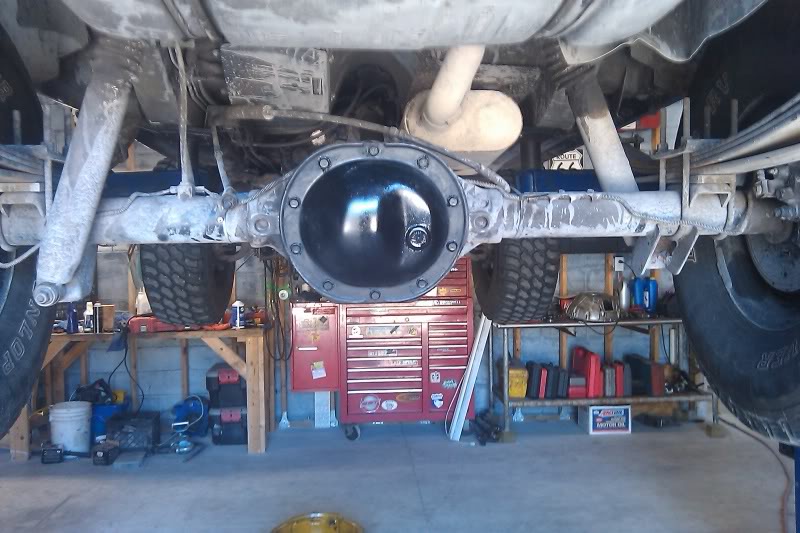
clean the cover, and lay a bead of silicone around the enge of the cover. let that sit until the silicone is tacky. then install the cover, tighten cover bolts up and let sit for about 10 minutes, (depending on temp)
then fill with fluid, and go have some fun.
The Patient: 99 Jeep Cherokee (customers jeep)
4.0, aw4, d30, chr 8.25, front longarms, and 33's. and i recently regeared both axles to 4.56's a couple weeks ago.
The Locker: Powertrax no-slip differential....Just like any other LB (lunchbox) locker
Now although i am installing this into a 29spline 8.25, the same steps apply to just about any axle.
step one: safely jack up vehicle and remove the diff cover and let drain, removing the tires is not necessary for C-clip axles with drum brakes. But this axle was converted to disc brakes, so i need to remove the tires.
remove the 5/16th bolt that holds the centerpin
remove the center pin
firmly push the hub of the axle inward to expose the c-clip (do both sides)
remove the c-clip
now slide the axles out about 5-6", just to get them out of the spider gears.
remove the spider gears, side gears, and the thrust washers.
now i suggest to go ahead the brake clean out the housing, because its always nicer and easier to work with a clean surface
remove the contents of the locker from the box, make sure everythings there.
now line up both drivers and collars so that the tooth on the collar fits into gap on the driver and sits flush, then grease up all the teeth.(some lockers have slots in one or both of the driver/collars, so make sure that they are lined up correctly.
also make sure to be aware of the gap on the side gear. you will NEED to line up the gap on the side gear so that the tooth on the driver/collar assembly sits inside the gap, THIS IS VERYIMPORTANT
now install the new side gears, doing the left side first.
install the springs into the drivers and grease them up.(the grease helps lube and hold the pieces in place.
install the left side driver first, so that the two dowel pins face towards the pinion.
then slide the left side axle in through the side gear and driver, and install the left side c-clip. then pull out on the axle to hold everything in place.
now, install the other driver/collar on the right side. make sure the two dowel pins are facing towards you
spin the locker assembly around so that the openings for the springs show.
put the small spring inside the large spring and grease it up
install the spring assembly into the locker. a screwdriver help pivot it in. it should seat into the slots firmly
this locker came with a little tool to check the gap between the drivers
the skinny side should fit through,
and the fat side should not
now push the right side axle all the way in and install the other c-clip
rotate carrier and locker to line up the the hole for the center pin
install the center pin, with the rounded edge going in first.
install and tighten the 5/16th bolt
clean the cover, and lay a bead of silicone around the enge of the cover. let that sit until the silicone is tacky. then install the cover, tighten cover bolts up and let sit for about 10 minutes, (depending on temp)
then fill with fluid, and go have some fun.


Thread
Thread Starter
Forum
Replies
Last Post
Hewittxj
Modified XJ Cherokee Tech
35
08-31-2015 04:43 PM
Jooman07
Modified XJ Cherokee Tech
25
08-28-2015 02:25 PM
XJUSMC
Modified XJ Cherokee Tech
2
08-28-2015 04:52 AM
Currently Active Users Viewing This Thread: 1 (0 members and 1 guests)