When you click on links to various merchants on this site and make a purchase, this can result in this site earning a commission. Affiliate programs and affiliations include, but are not limited to, the eBay Partner Network.
Hey all, been with the forum for awhile but haven't posted my build.... So a little back story.....I bought the truck from my uncle a year ago. Bone stock with 130k on it. The rig was in okay shape... just a few dents and some rust in the quarter panel and rockers. When I bought it I changed the oil, tranny fluid and transfer case fluid. Also flushed the antifreeze.
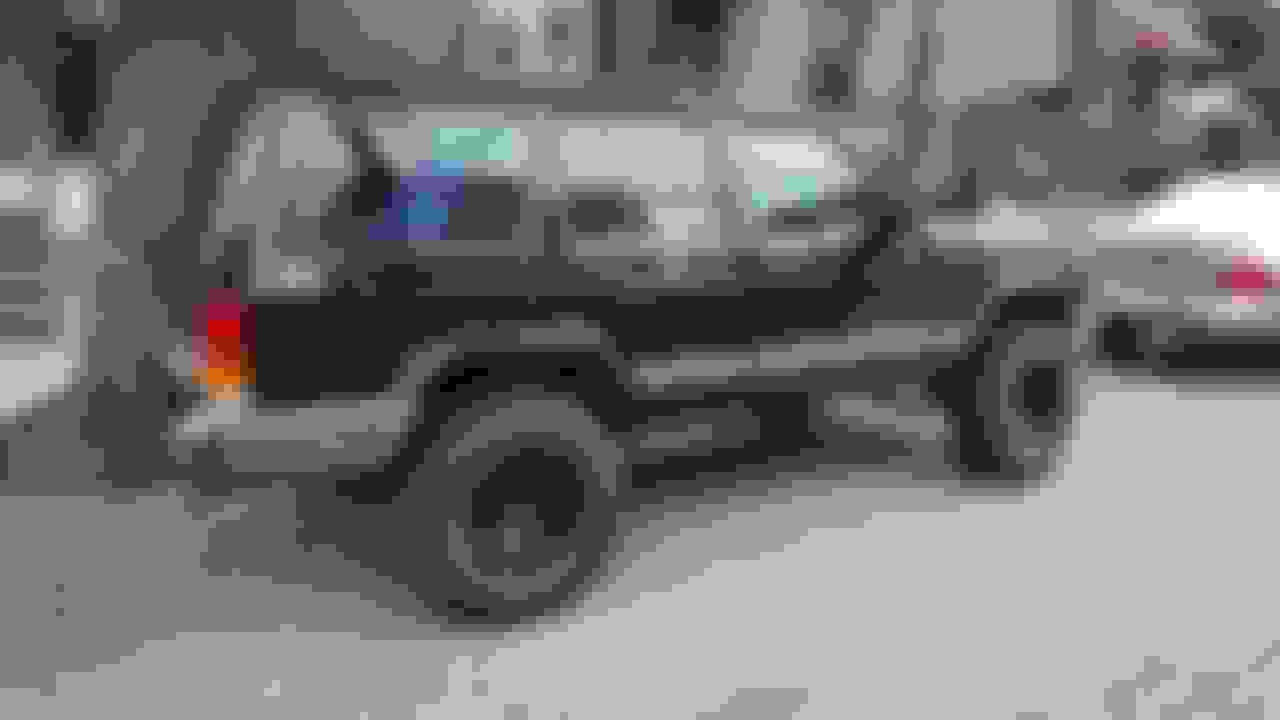
After a few weeks I decided to lift it. I went with a 3 inch rough country lift and 31x10.5x15 bfg all terrains on 15x8 soft 8 rims. Also needed extended brake lines, a rough country track bar, rear shackles and a new steering stabilizer
I used part # 05014148-aa to stop the thumping noise in the transfer case linkage. I replaced the rear drums and pads as well. I also had new exhaust hangers welded to stop the exhaust from banging around.
Should have saved your money on that light bar for other upgrades. There is a current thread in cherokee chat section explaining that a light bar above the windshield isn't a good spot as far as usefulness. For looks mostly. But even then...
Haha
I like your jeep and build so far. Subbed. I look forward to following
I actually got the bar from a buddy of mine. It's nothing special, just an eBay light. It's mostly for looks but does serve its purpose.
Okay so next I changed both front and rear bumpers with jcr crusader bumpers with smittybuilt d-rings for recovery. I ran cube lights to the holes in the bumper as well. I also cut out the rust in the quarter panel and used jcr's quarter panel armor to strengthen what was left.
I replaced the tail lights due to one being cracked into pieces.
I use my cargo area a lot to transport stuff so having the spare in the stock area was not going to work. I ended up using a tire carrier that uses the hitch.
It's made by detours usa. It has a locking system that uses a wedge that is tightened in the hitch. It is rock solid and I don't hear a thing back there. It just takes a little getting used to not seeing out the back window.
It's made by detours usa. It has a locking system that uses a wedge that is tightened in the hitch. It is rock solid and I don't hear a thing back there. It just takes a little getting used to not seeing out the back window.
For now I mounted a plate mount on the spare tire. And extended the light with a clip. Long term I may just use self tapping screws and drill the mount off to the side.
Tomorrow I am going to make the cuts for the lid and add a locking latch. Also I will probably secure it through the body although it is wedged tightly.
Incase of a rollover I don't want a hundred pounds of tools flying around the car.
Today I installed my take on a dyi cai. Filter is an airaid. All couplers and pipe were bought from eBay. All totaled cost about 90-100$ with all clamps and a 3 inch hole saw included.
 11-19-2016, 05:34 PM