When you click on links to various merchants on this site and make a purchase, this can result in this site earning a commission. Affiliate programs and affiliations include, but are not limited to, the eBay Partner Network.
i had a 96 Cherokee (hence my username) and it was on 31s with a couple inches of lift it looked good, no spacing but I’m pretty sure it could have ran the 31s without lift and cleared the fenders, now I’m sure any kind of flexing wouldn’t have worked but I’m pretty sure I also heard someone say that before so you might not even have to cut the fenders. But you probably know better than I do, anyway I look forward to seeing it.
Here is what I probably will do, take my new wheels and OEM wheels with stock tires to shop not on the Jeep. Have them remove old tires they can keep stock wheels and then mount my new 31's on the new wheels. I will then take them home and test fit before I do any cutting up of fenders. This way if I can avoid it I will but if not I will ensure I do the cut and fold method as clean as I can to make it look good.
Here is what I probably will do, take my new wheels and OEM wheels with stock tires to shop not on the Jeep. Have them remove old tires they can keep stock wheels and then mount my new 31's on the new wheels. I will then take them home and test fit before I do any cutting up of fenders. This way if I can avoid it I will but if not I will ensure I do the cut and fold method as clean as I can to make it look good.
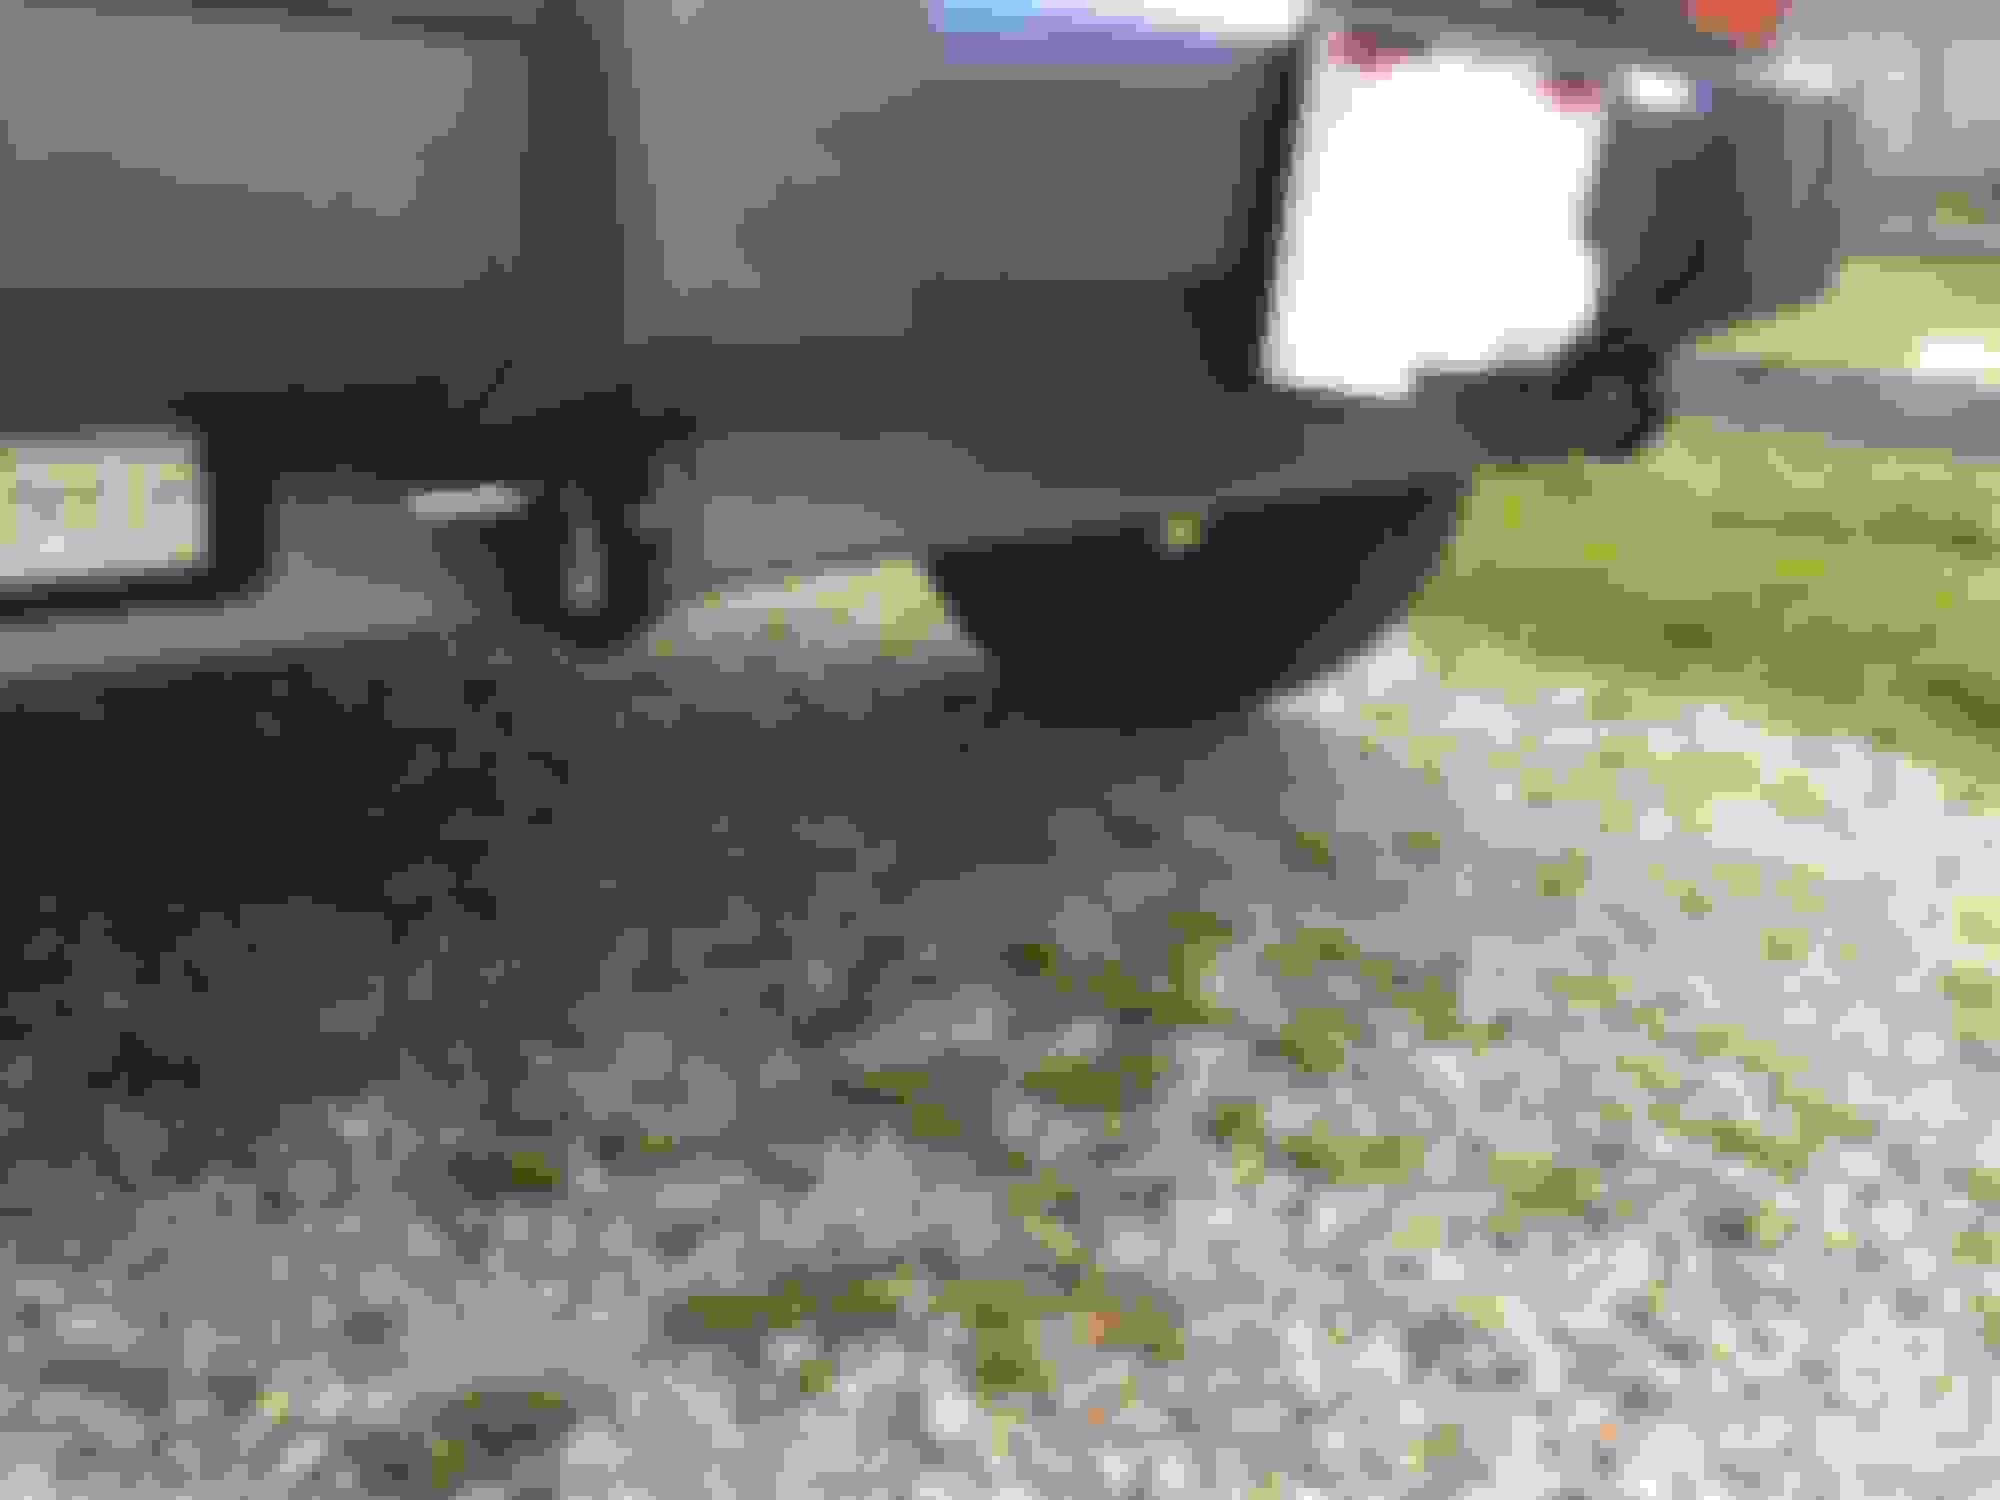
So I finally got the tow hook brackets, meaning I was able to install the tow hooks, they fit nice in the stock bumper holes. It’s nice to have a couple strong pull points in the front now. Also those brackets extend back past where the regular bumper mounts are meaning in theory they’re just as strong as any aftermarket front bumper tow points.
So ive got a couple updates on the build. A while back I replaced the suspension in the rear. Well I’ve since been having issues with the leaf shackles hitting the shackle bracket. Also the angle that the fresh springs gave the jeep (an extra 2 inches in the rear) caused problems in the front. It seemed like the shocks were bottoming out. Seeing as I wanted to replace them anyway I went ahead and bought new shocks. However I still had a problem with the shackles in the back. I did some research and ended up getting boomerang shackles from iron rock off-road. They give an extra 1” - 1 1/2” (depending on which hole you use on the shackle) so long story short, I put the shackles on and went with the 1.5” lift location. Then installed the new front shocks and put in 2” spacers on the coil springs to level it. So now the jeep sits 2” higher. I didn’t really want to lift it but it actually looks great. 2” isn’t very drastic and it give the jeep a great look.
Last edited by 96whitecherokeeguy; 06-26-2018 at 11:31 AM.
What leafs did you use? And what shocks & coils did you go with?
Jeep looks great!
I’m not sure about the leafs, they were heavy duty springs that I got from rock auto and I went to look and see what brand they were and they weren’t listed anymore. The coil springs were on the jeep when I got it but they’re in pretty good shape so I’m guessing they aren’t stock. The shocks are Gabriel front and rear, another rock auto special. And thanks I appreciate it.
A quick picture of the difference before and after.
Mine is actually sitting lower in the rear, than yours was to begin with ! I like the mild/stock builds better ! I'm going to be watching the weight too. I'm more interested in mileage and economy. So what fog lights did you use ? Did they come with brackets? So are they larger than the openings? Will sub to this'n !!! Who is whiting out the license plate?
Mine is actually sitting lower in the rear, than yours was to begin with ! I like the mild/stock builds better ! I'm going to be watching the weight too. I'm more interested in mileage and economy. So what fog lights did you use ? Did they come with brackets? So are they larger than the openings? Will sub to this'n !!! Who is whiting out the license plate?
the fog lights are DJI 4x4, I got them on amazon. Yeah they’re a little bigger than the openings. They’re 5 inches wide and 3 inches tall. They came with brackets but I had to make a little bracket that pushed them back a little bit because of the way they are they couldn’t attach to the metal part of the bumper. It’s hard to explain on here if you’re interested I can send you pictures of exactly what I did. And I whited out the plates. I’m not paranoid but you can tell what state and county I’m from just by looking and I’d just prefer not to show all that. No big deal. Anyway glad you enjoy the build! I’ll be adding updates as often as I can!
So, I’ve been a little busy with the jeep lately. Basically there were a couple places that were rusty on the jeep and I figured I should take care of it now before it gets any worse (as rust tends to do). So I removed all exterior trim, scraped all rust spots (this included inside of the doors and door frames), painted those rust spots with por-15, then I sanded, and sanded, and sanded, by hand, until it was ready to prime. There were 3 places that needed body work, one was a bubbled up spot at the front of the drivers side front fender flare. The second was a spot on the rear hatch where it had been dented before I owned it and the paint had cracked and rust was coming through. Also the clear coat in that area was a mess. And the third spot was a hole hiding behind the plastic trim piece that covers the passenger rear quarter panel. The bubbled spot turned into a hole after I started removing all rusty metal so on the two hole areas I used fiberglass cloth and resin patching and then covered it with bondo. The rear hatch section got cleaned up and bondo-ed. I work in remodeling so I’m familiar with drywall work. Bondo isn’t a far stretch from that and I’m pleased to say it all turned out very smooth (except for the quarter panel part which I didn’t work much on seeing as it gets covered up with trim). After all the prep was done I masked everything off and primed all surfaces that would get painted. After it was primed I used rustolem desert bisque multi-colored textured paint and painted from the top of the door trim piece (this line is basically the top of the bumpers all the way around the Jeep) to the pinch weld seam at the bottom of the Jeep. It then got a matte clear coat. Did I mention I took the bumpers off and did all that all over again on the trim and bumpers? Lots of work. Since the hole in the fender and the messed up part on the hatch were above the body line I was painting I got a can of spray paint that matched my Jeep (gun metal pearl). From automotive touch up I think. Then it got a high gloss clear coat on those areas. This job took me about 2 weeks from start to finish mainly because I had to paint the Jeep first then move it out to do that all over again on the trim. Big job but I’m very happy with how it turned out. Here are some pictures.
Last edited by 96whitecherokeeguy; 06-26-2018 at 11:38 AM.
 04-16-2018, 01:51 PM