The Rattle Bucket: 98 XJ build.
 05-18-2013, 11:07 PM
#1
Seasoned Member
Thread Starter
Join Date: Dec 2012
Location: Middletown, Maryland
Posts: 451
Likes: 0
Received 0 Likes
on
0 Posts
Year: 1998
Model: Cherokee
Engine: 4.0 I6
Well I started this build thread on JeepForum, but since their newest rule about uploading pics means I can't upload anything above 150 KB pretty much means that I can't upload pics this will be finished here. I'll start off by just going through everything that I've done so far.
Unfortunately for all you readers out there it'll be a slow build from here on out because of a job change (ran out of funds), going to school in the next few months, and I have all the things done that I actually needed to have this thing be trail and road worthy done now.
Feel free to comment as much as you want but please try and keep it as on topic as possible. That is another reason I am starting this thread. The old one got really cluttered.
Here's the link to the original thread... I'll move it all over here as well.
http://www.jeepforum.com/forum/f177/...build-1435890/
 05-18-2013, 11:07 PM
#2
Seasoned Member
Thread Starter
Join Date: Dec 2012
Location: Middletown, Maryland
Posts: 451
Likes: 0
Received 0 Likes
on
0 Posts
Year: 1998
Model: Cherokee
Engine: 4.0 I6
I'll make an attempt at properly dating everything here in red. It won't be exact but it'll be close enough.
I got the Jeep in august and the first post is from november. Everything here is from then to the next red type.
Well i'm starting to compile some parts for my jeep so i figured i should start my build thread. I'm just gonna go ahead and list off everything that i have recieved so far and what i've already done to the jeep. Most of it will be in no order.
This is the first day i got it... or like a week later but all it did was sit in the yard.
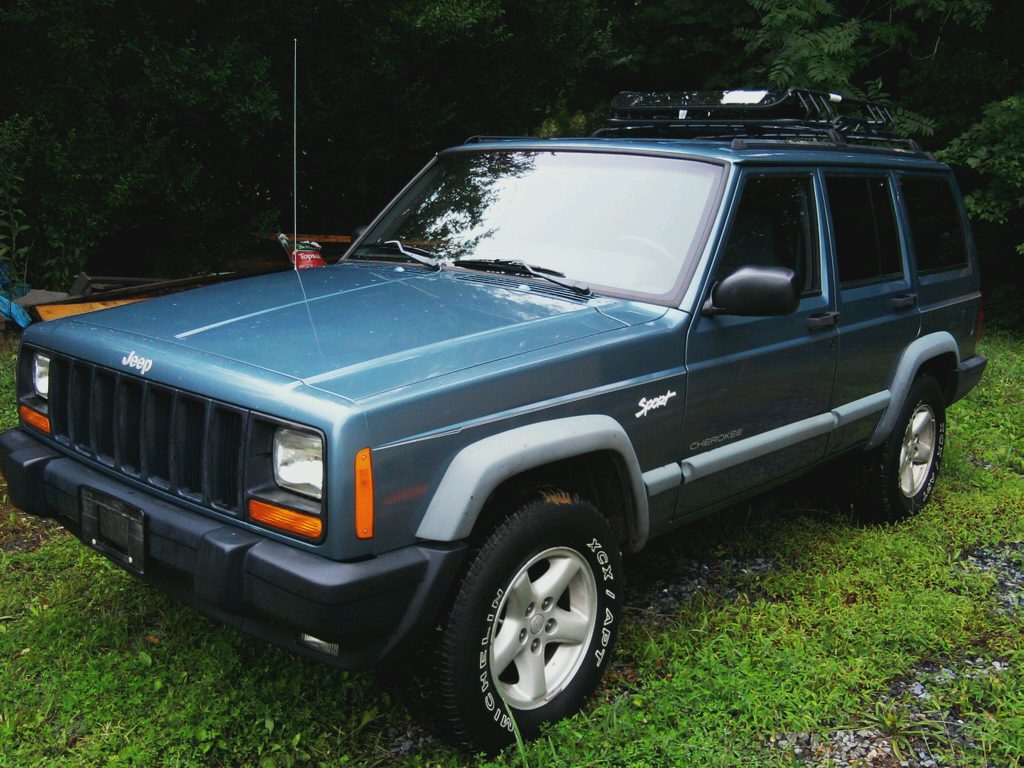
Had to take it lightly wheeling
[IMG][/IMG]
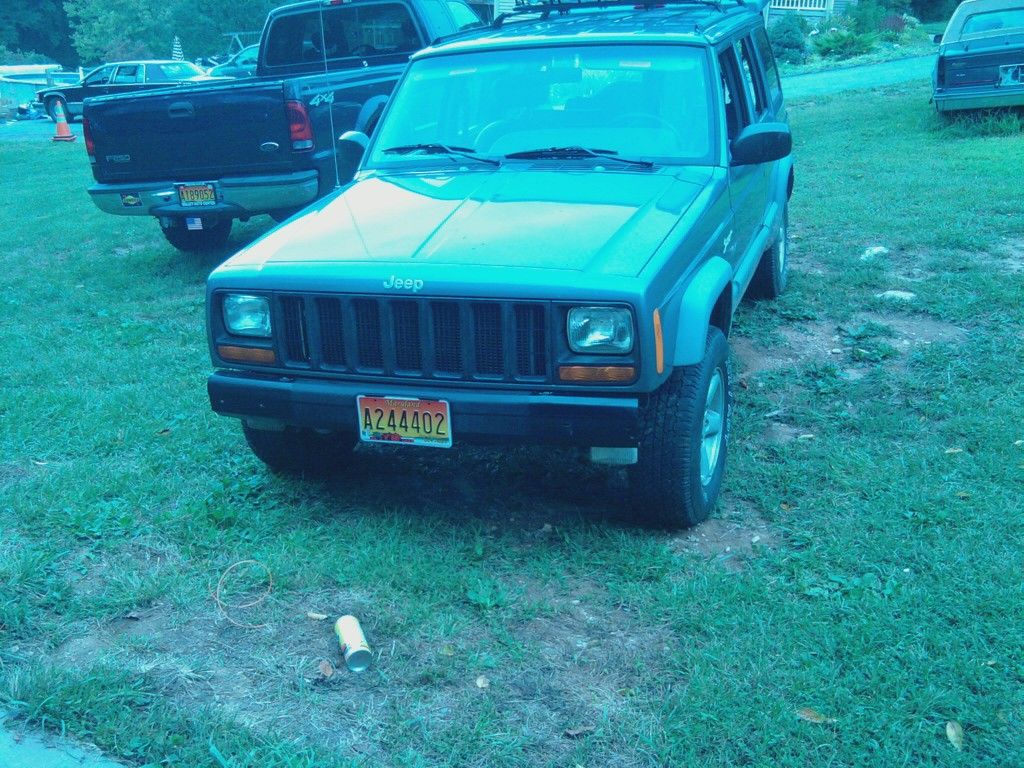
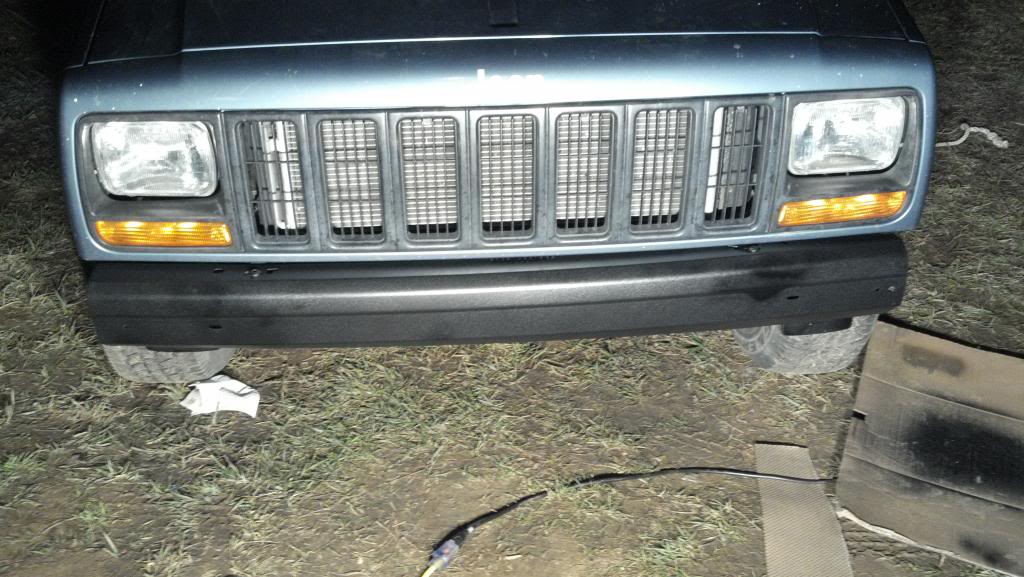
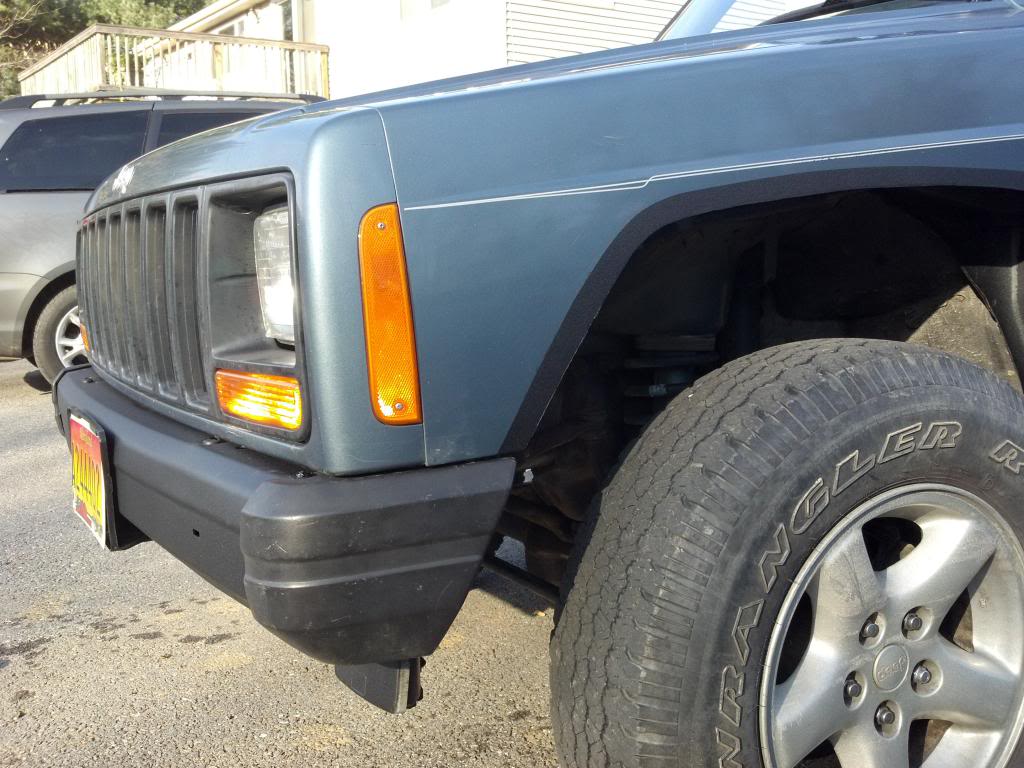
After i got it on the road i decided i didn't like the air dam.
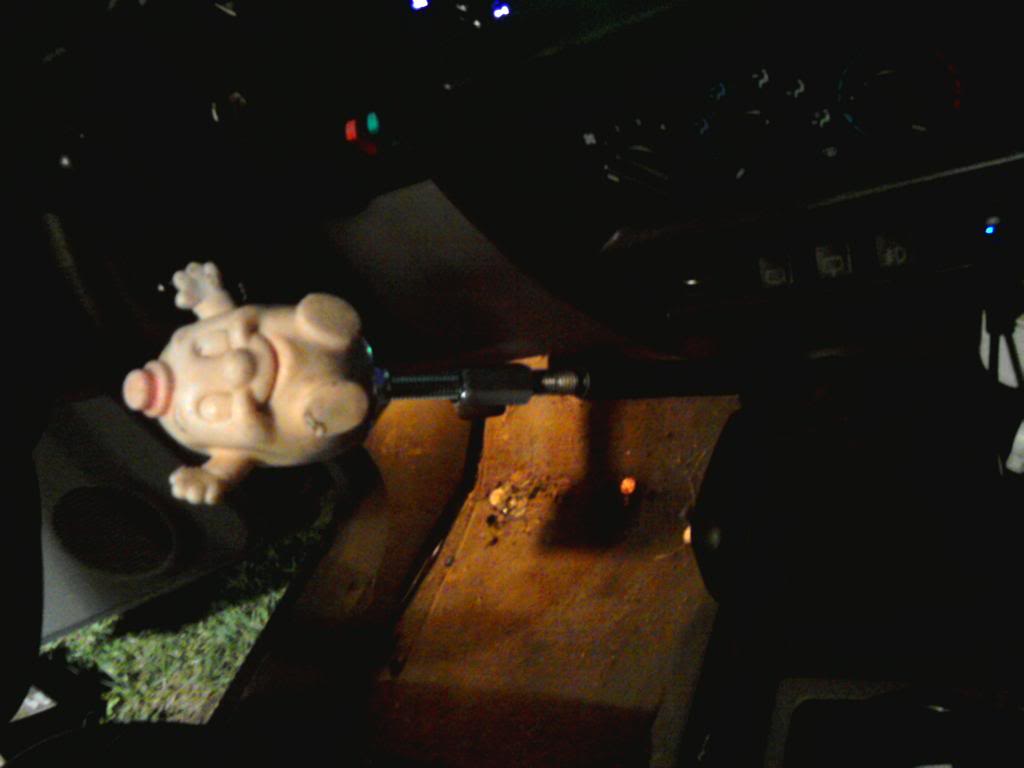
I spent a lot of time on this next decision cause i wanted a shift **** like no other. Just cause io have to be original. I finally remembered Petey. so i ripped him a new *** hole and with a few washers and some all-thread and a lock nut and viola!
Then i realised how ****ty the headlights really are. I'm a sucker for sealed beams though. so i had took apart my old caddy's headlight assembly, and with a piece of signpost and some more all-thread i had a new light bar and 2 aux lights. Will put up a pic of this soon and the other things i've done soon!
As for the name, i'm still really undecided. i was thinking Kilroy. open to any suggestions. may be painted in the future so no names based on color.
11-11-2012 --- I got the tires a little earlier than this but didn't have them till November.
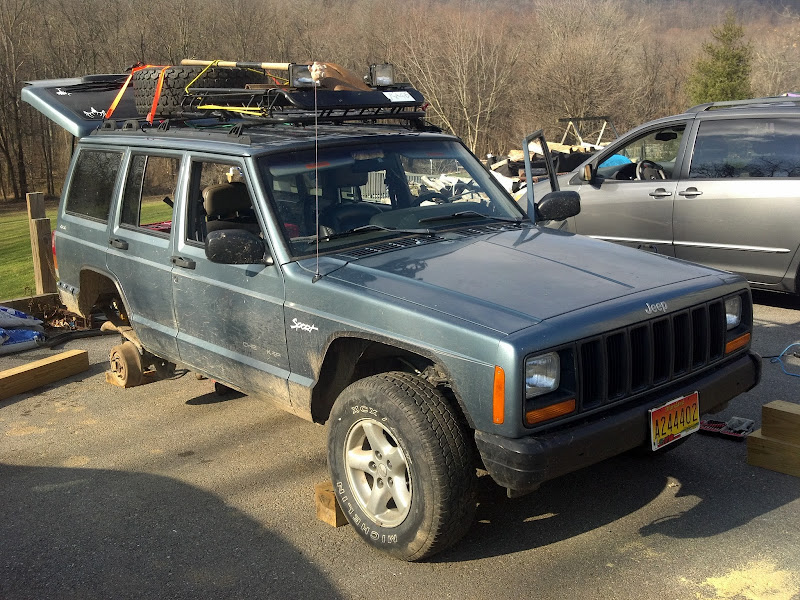
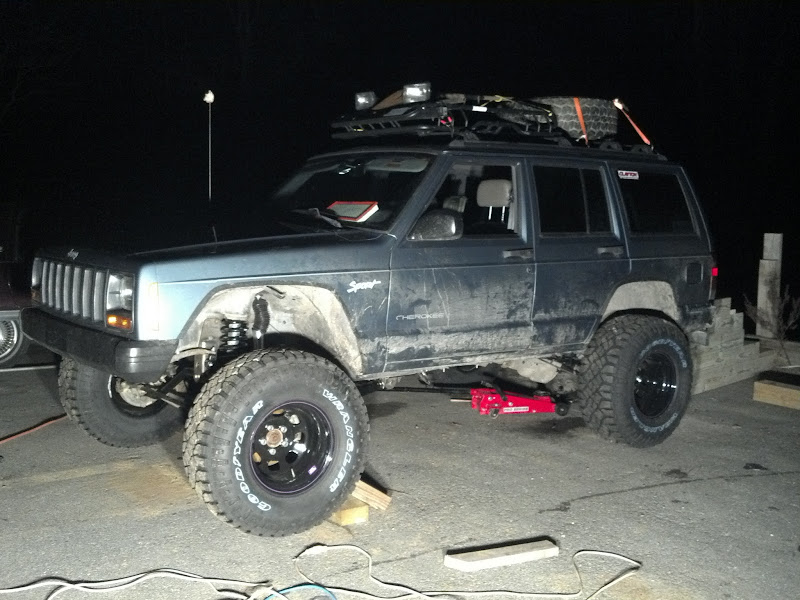
I got my tires mounted and balanced and delivered to my door the other day. put the XJ up on the jack and mockjed them up. they look pretty big in those fenders!
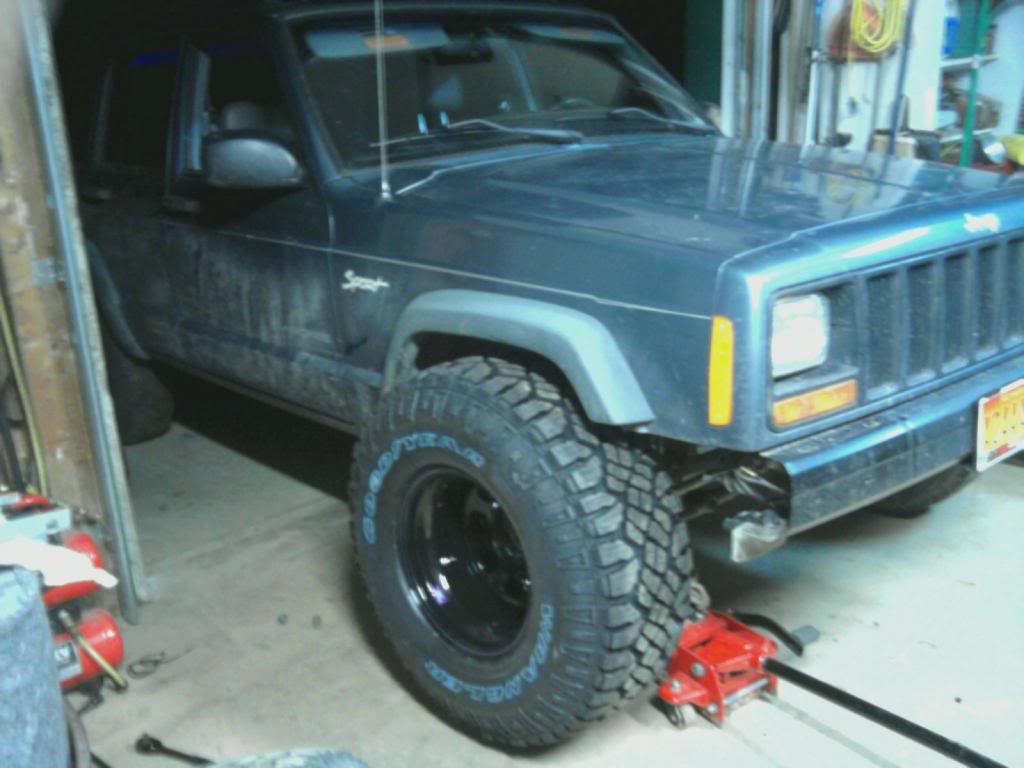
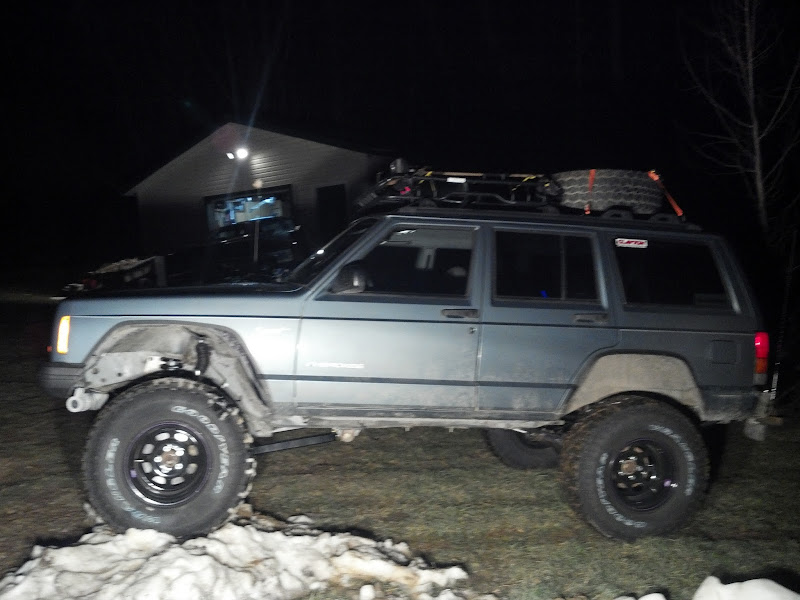
11-14-2012 --- this one was pretty scary for me. Looking back on it, it was really not that bad. I kinda wish I would have cut them a little less though.
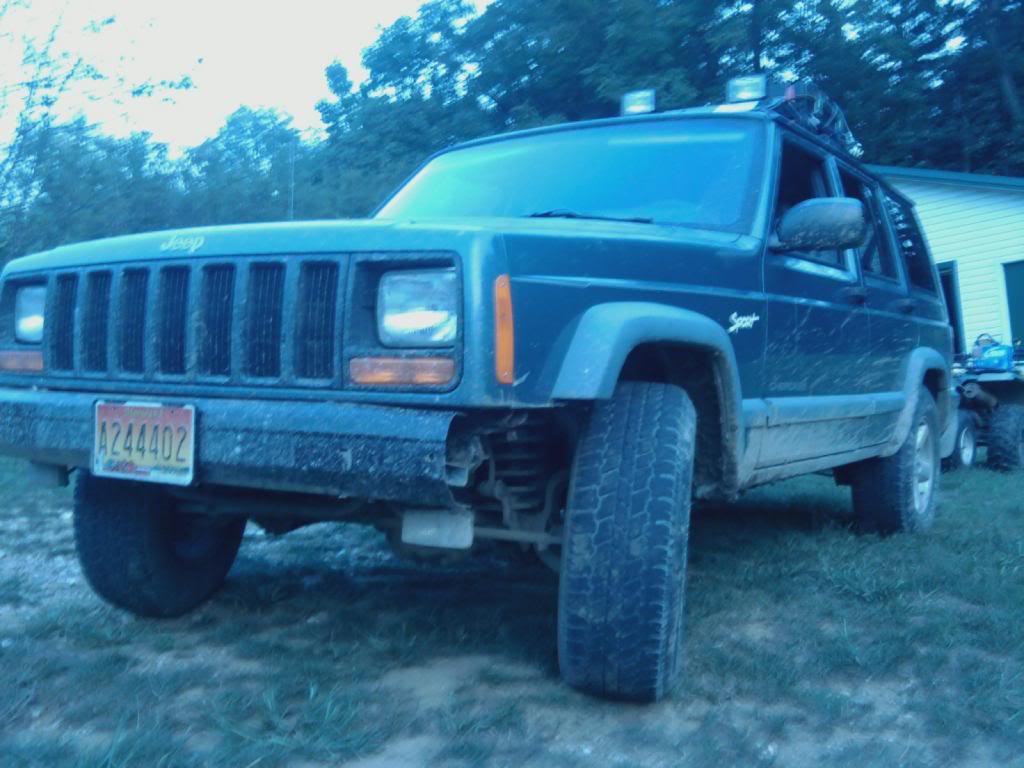
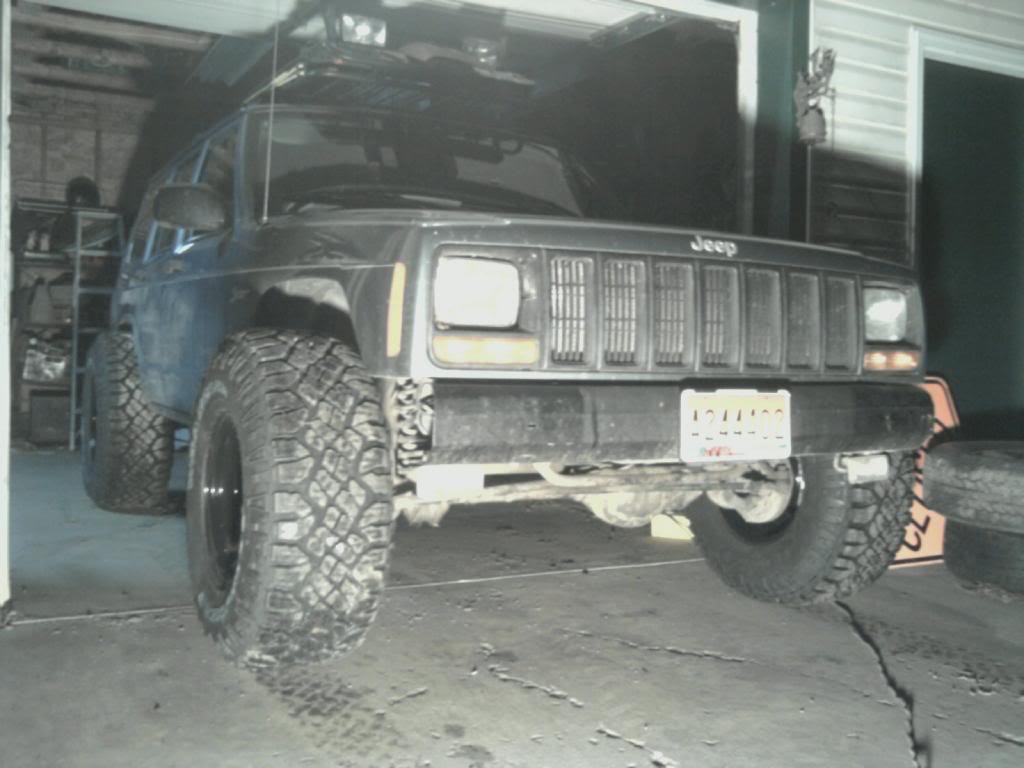
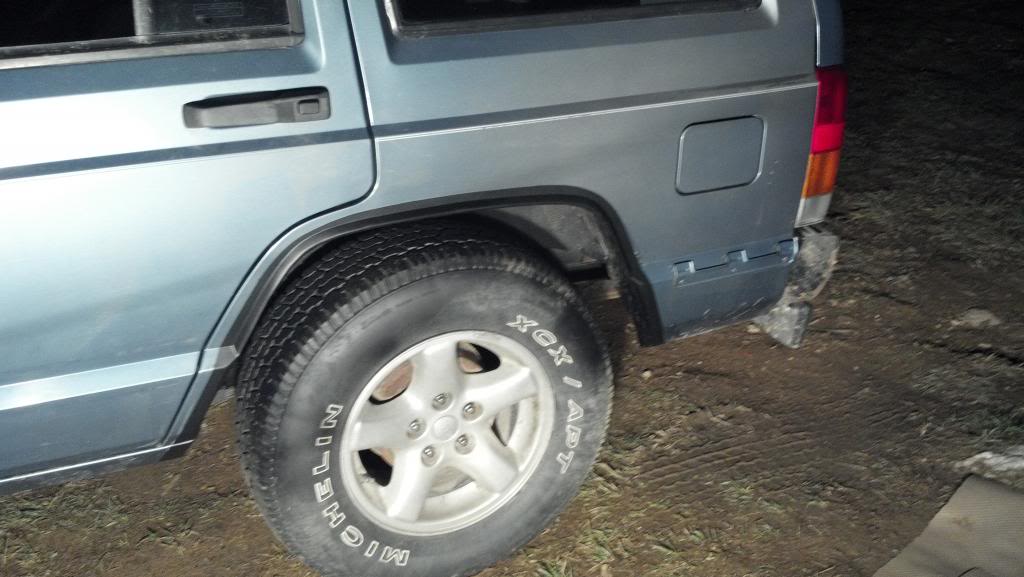
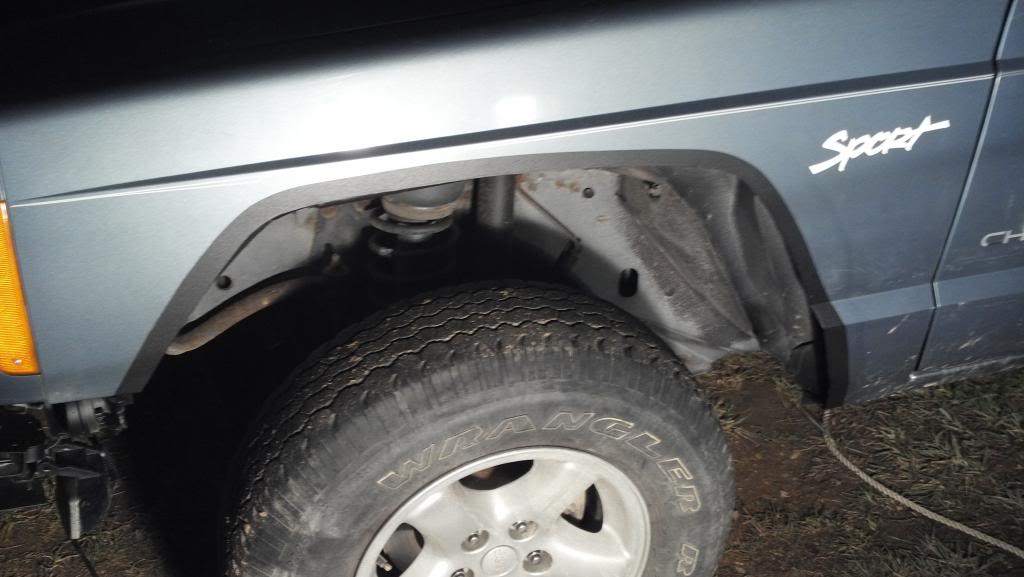
Got the Fenders cut yesterday. too much sag in the rear to drive it with the tires on though. Here are some pics. I think it turned out pretty nice other than the paint chips in the back.
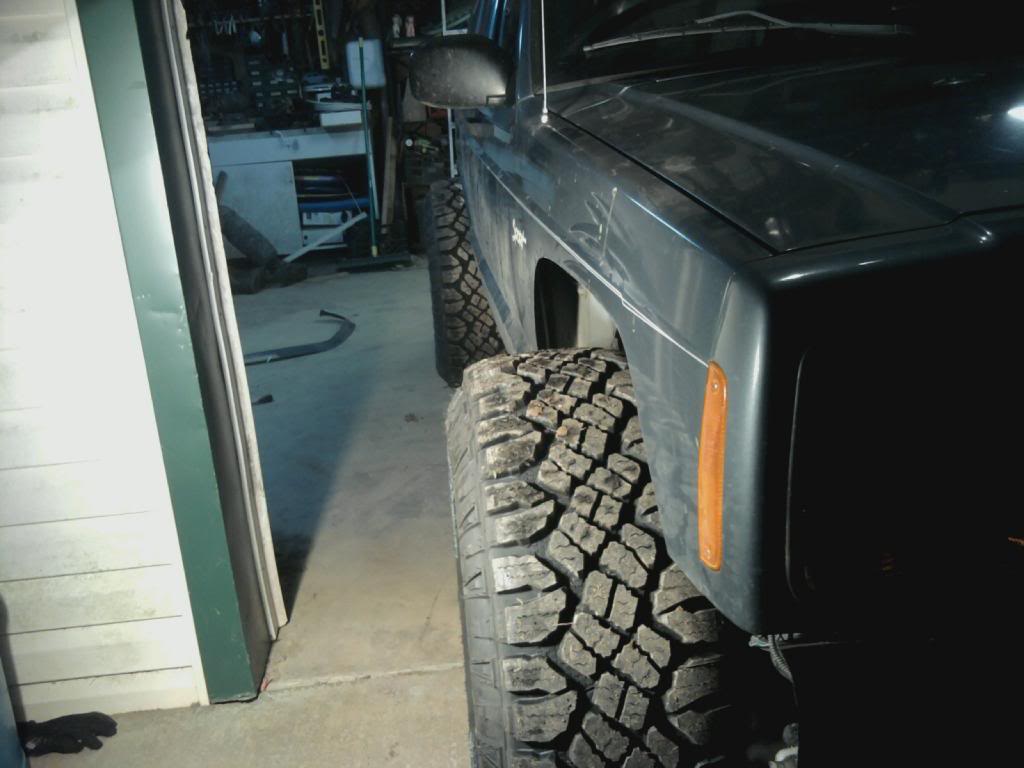
I love the way the wide stance looks on Cherokees
Plenty of space up here
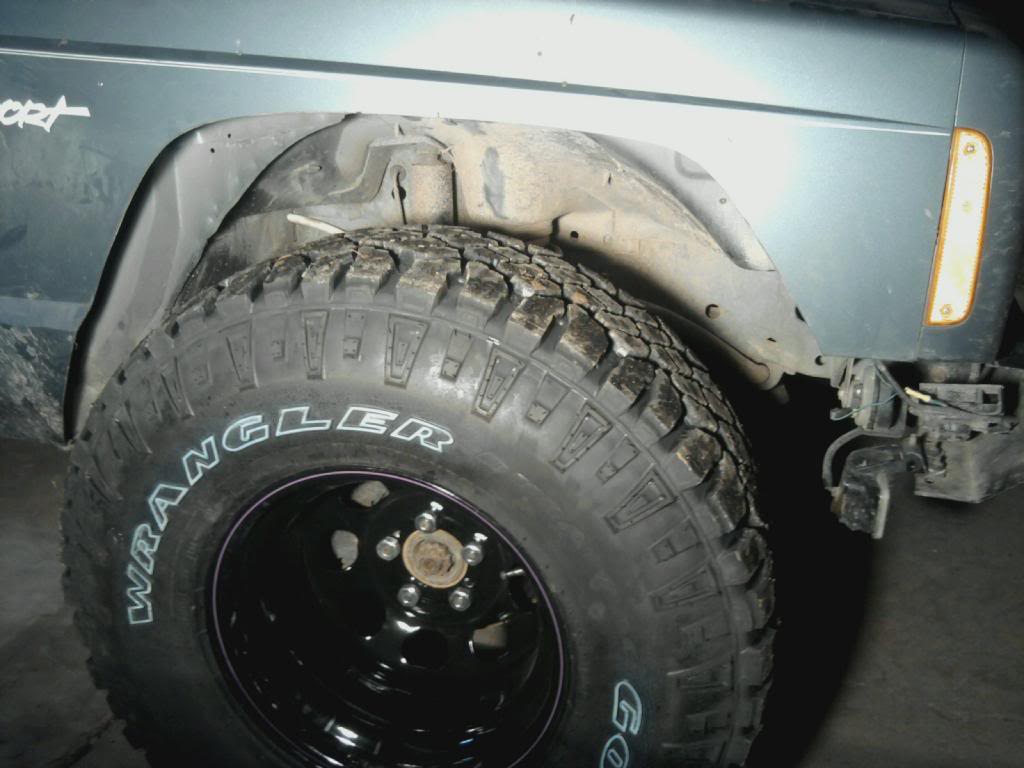
Not so much back here...
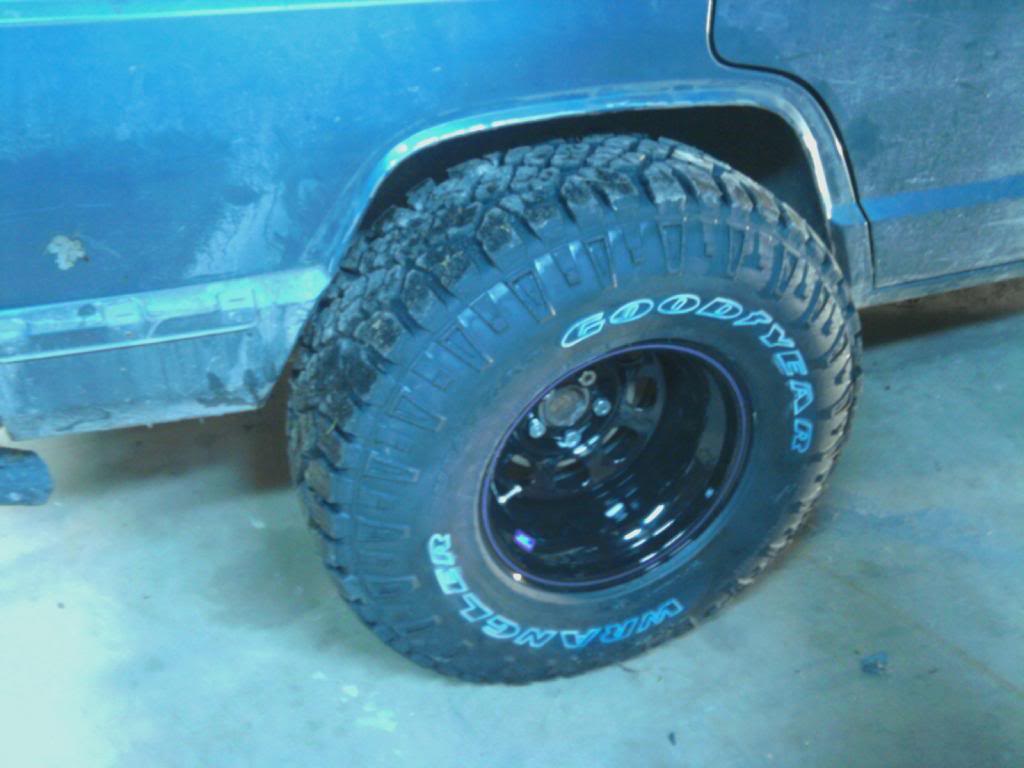
From the front
This was actually done way before I posted it. Some time around september cause that's when the gun show was that I bought the ammo can at. If you take a look at my the original thread, the parking brake was eventially fixed and is still working perfect. I don't think I have any pics of how I fixed it.
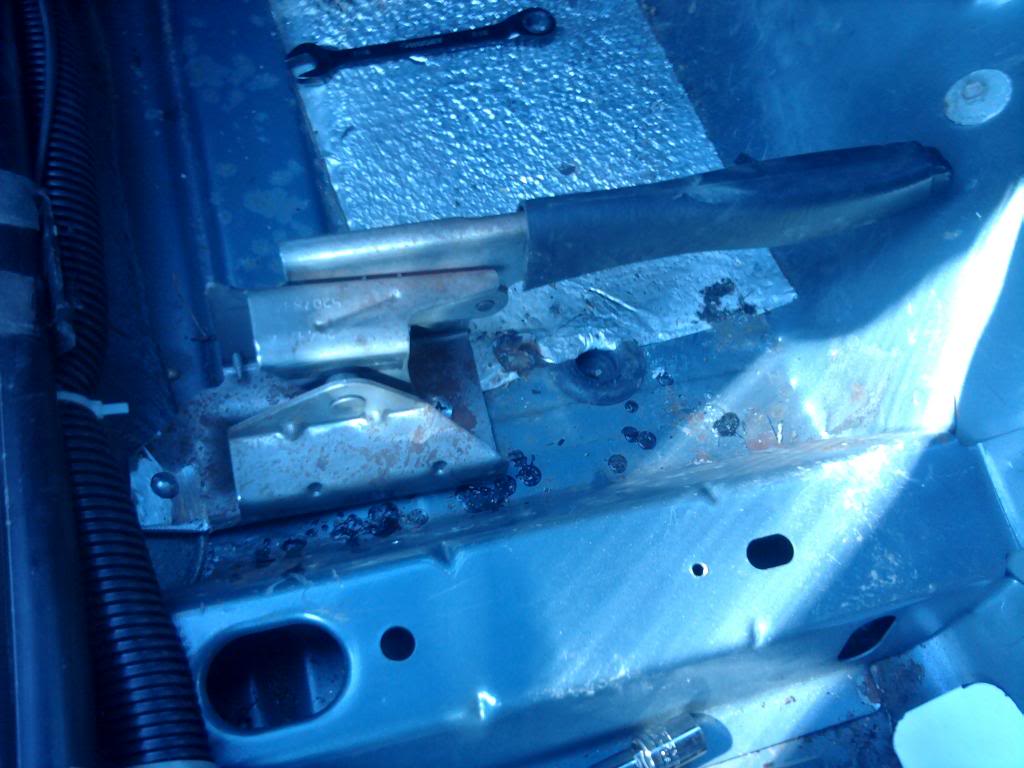
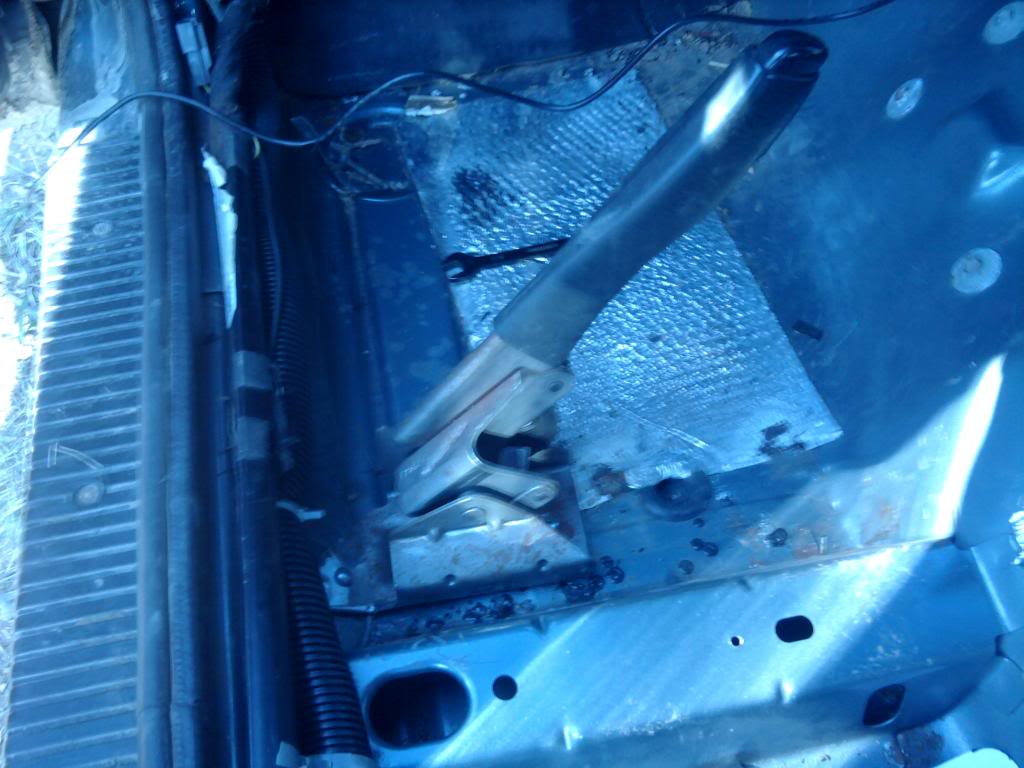
Today i started messing around with the interior. I'm relocating the parking brake to in front of the drivers seat and i shortened the lever by about 2 1/2 inches. Will be cutting a hole for it tomorrow and getting it mounted up. To get it to work i will need to lengthen the cable by about a foot.
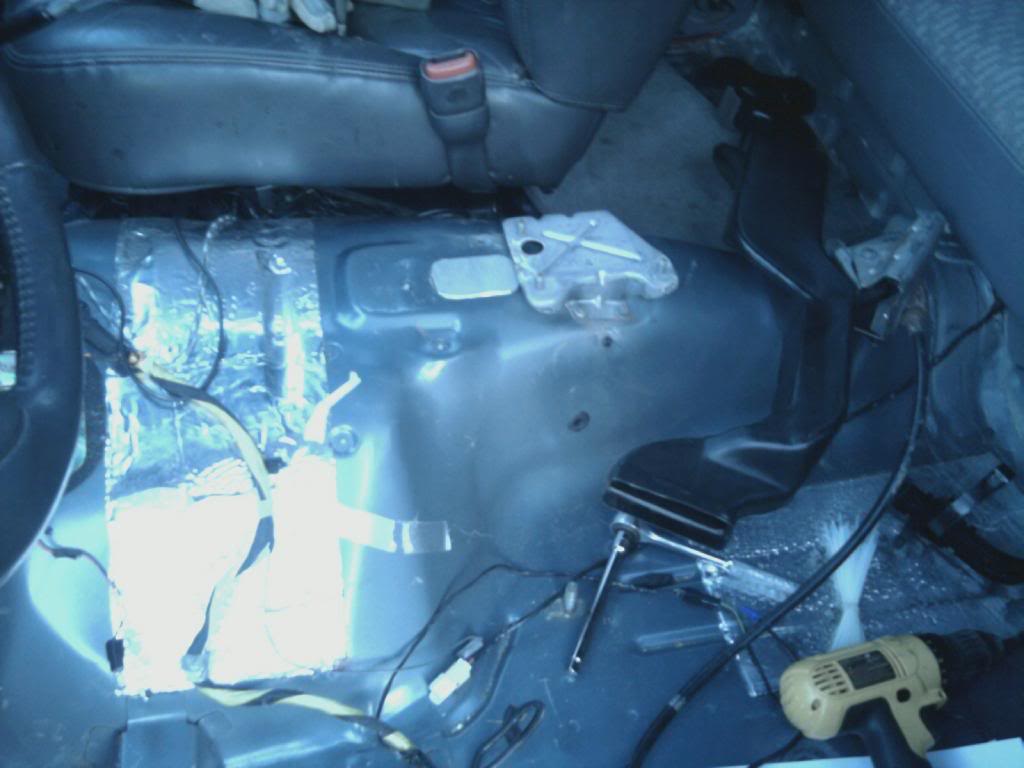
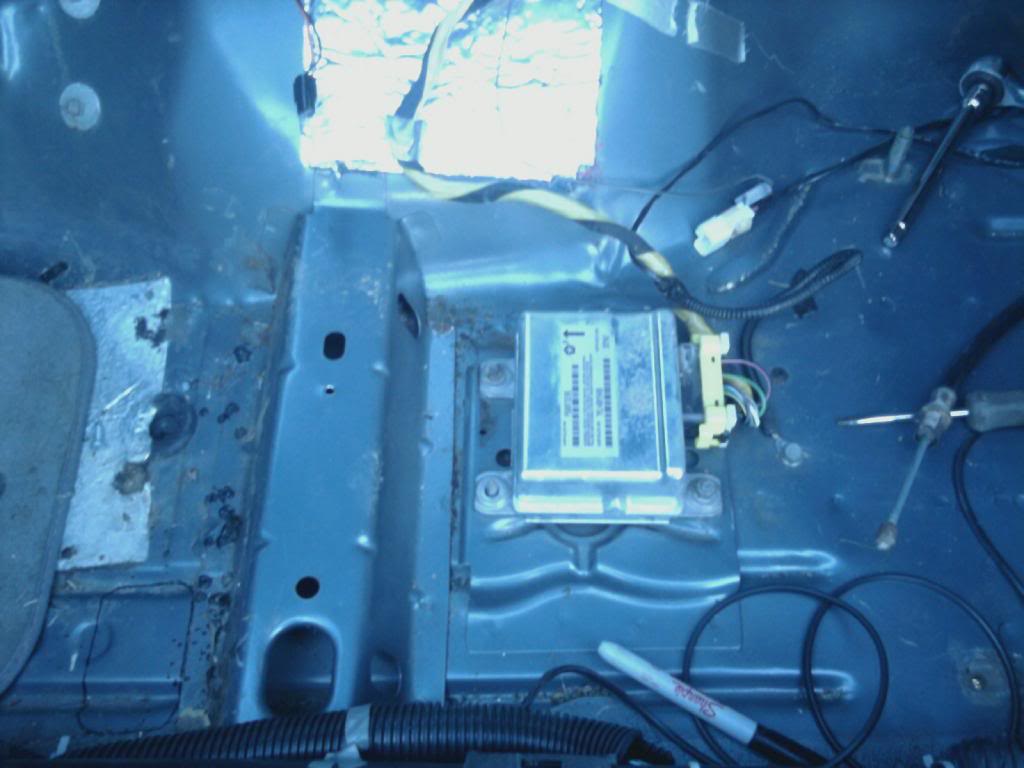
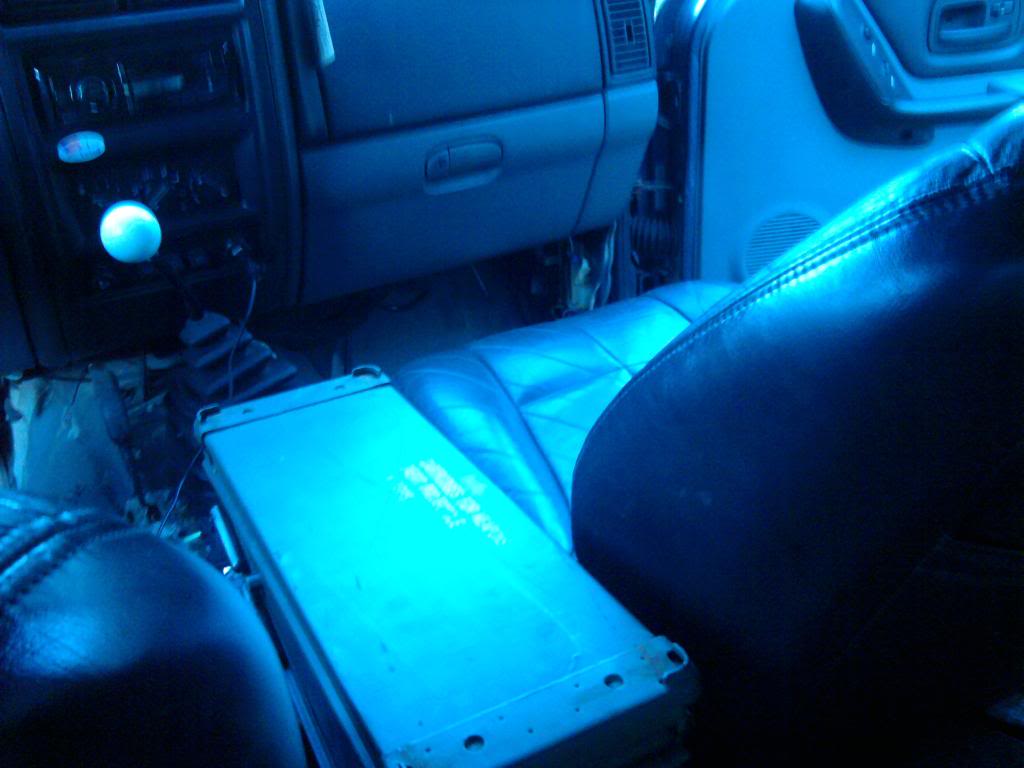
I relocated the airbag control module down to under the driver seat which i think is where they originally were in cherokees. The bolts and mounting bracket were already there.
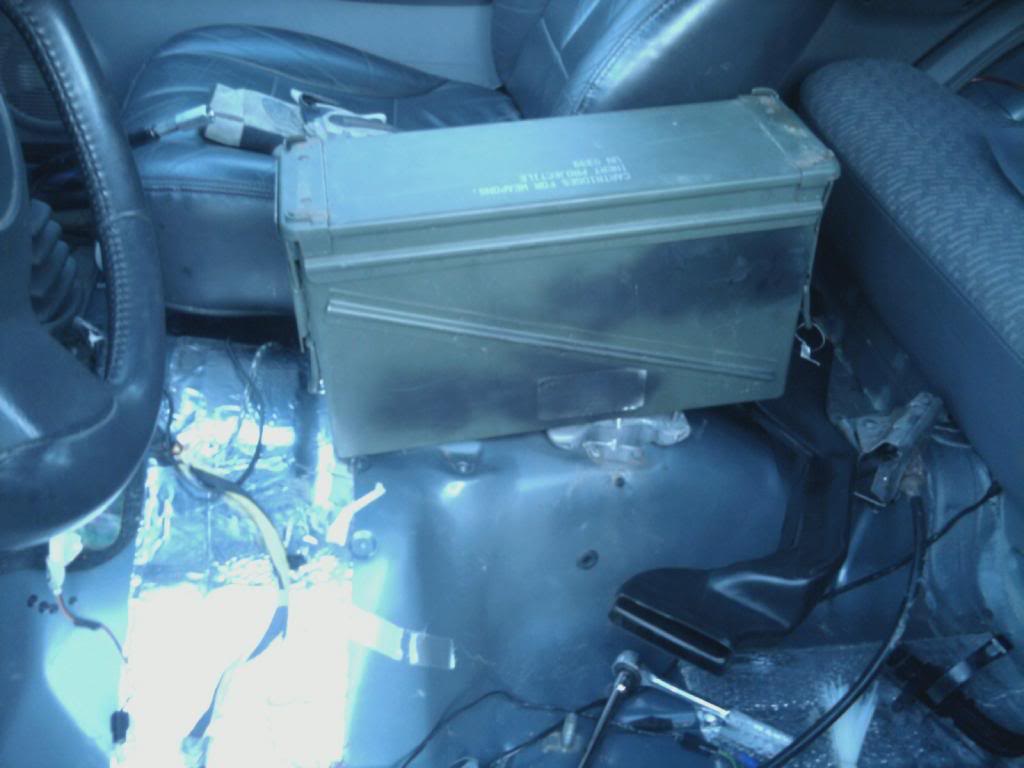
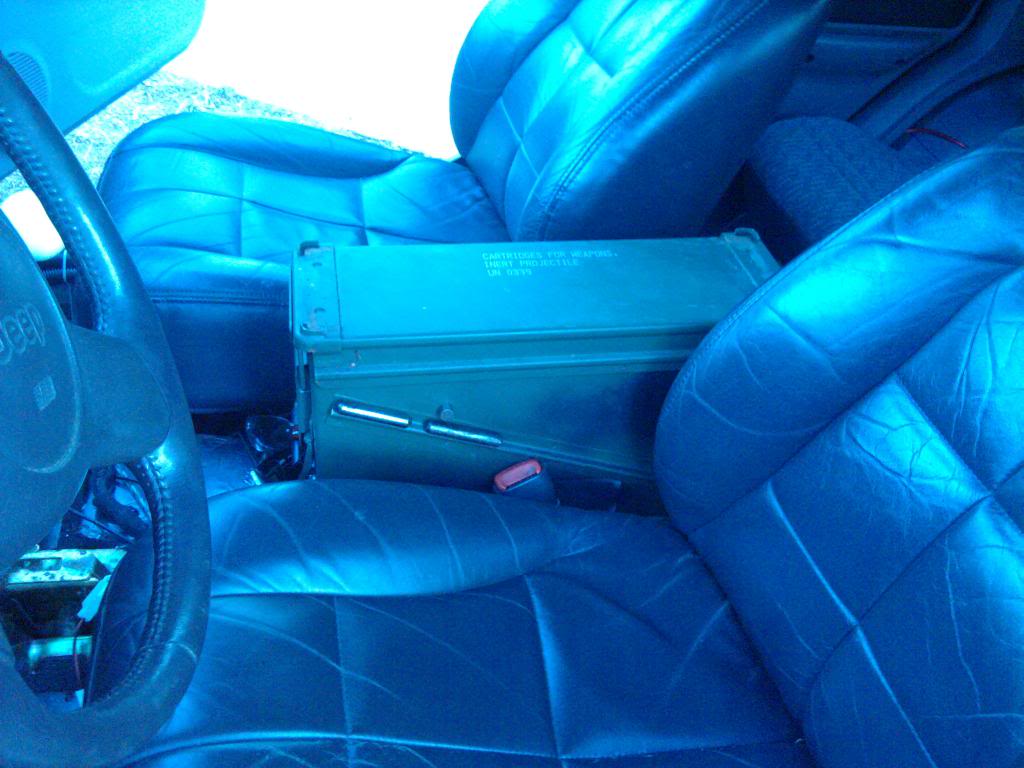
I bought a 40mm ammo can at a gun show last weekend and i started mocking up the final location. It will be a lockbox and hopefully i can get my cupholders to still be there and maybe rear cupholders at the expense of the middle seat (who really wants to ride there anyways?) I think the 40 mm can is going to be about 3X the storage of the old console which i need. It is overflowing with ****.
 I couldn't quite "integrate it" but i think it turned out alright. If you did a 7.62 ammo can you would fare better with that. I used a 4omm cause i wanted the most storage space possible.
Here are some pics of the finished inside and the relocated parking brake. I may put the shift boot and the cup holders back in but i haven't decided yet.
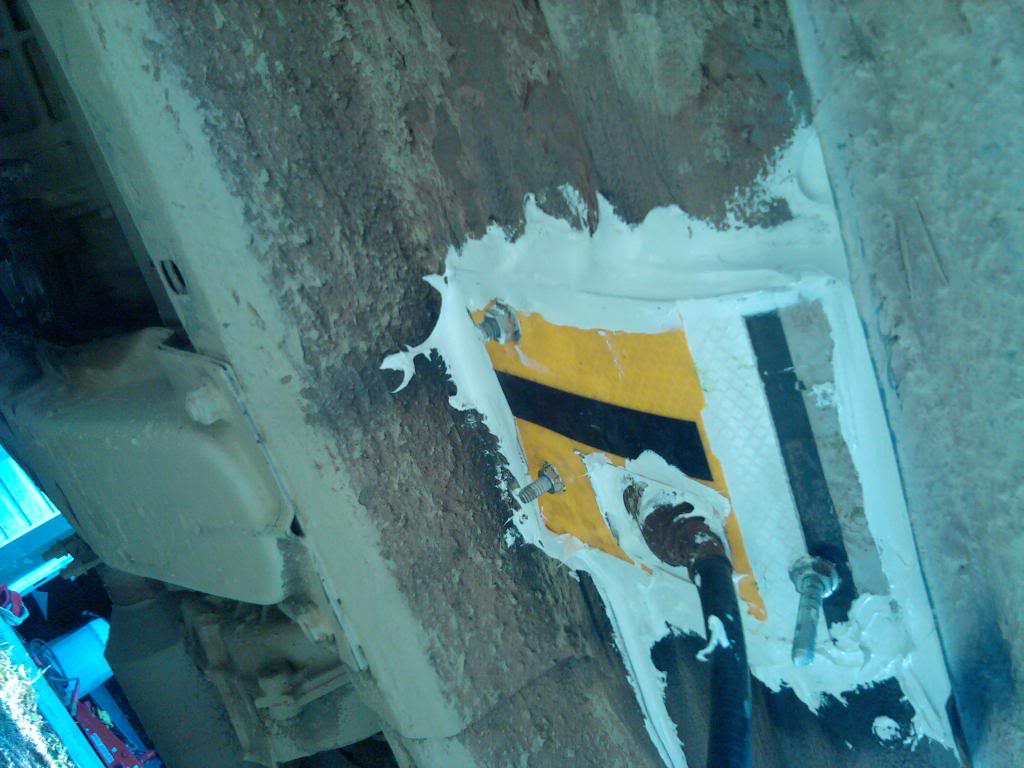
Here the brake is all sealed up and finalised. I used Rustoleum rust reformer paint to do a base coat and then outdoor extreme weather sealer to keep all the nasties out. I dunno what i would have done if it didn't work.... Those long bolts will be replaced by the way. It's all i had at the time. I used a piece of aluminum as a backing brace so that the brake lever wouldn't rip out the floor.
Here is the ammo can console all finished. It fit's really great in there and it holds a ton more stuff than the old one did. I used the existing bolts for the ACM and put one self tapping screw up front to keep it from shaking and wobbling.
Also changed my shift *** back. Petey was getting kinda bitey. I still need to do some work on the parking brake cable to get it functioning. My tension adjustor bolt is siezed and i don't want to break it so i'll be picking up one of those fence tensioner things and getting a new piece of wire to complete the line. I got a bracket mounted to the frame to hold the cable but i still need to extend the line. Pics tomorrow when it's done.
11-30-2012 --- Just painted up the fender flares to keep the corrosion off. It's held up alright but is kinda chipped in the rear. Still need to figure out some kinda home brew flares.
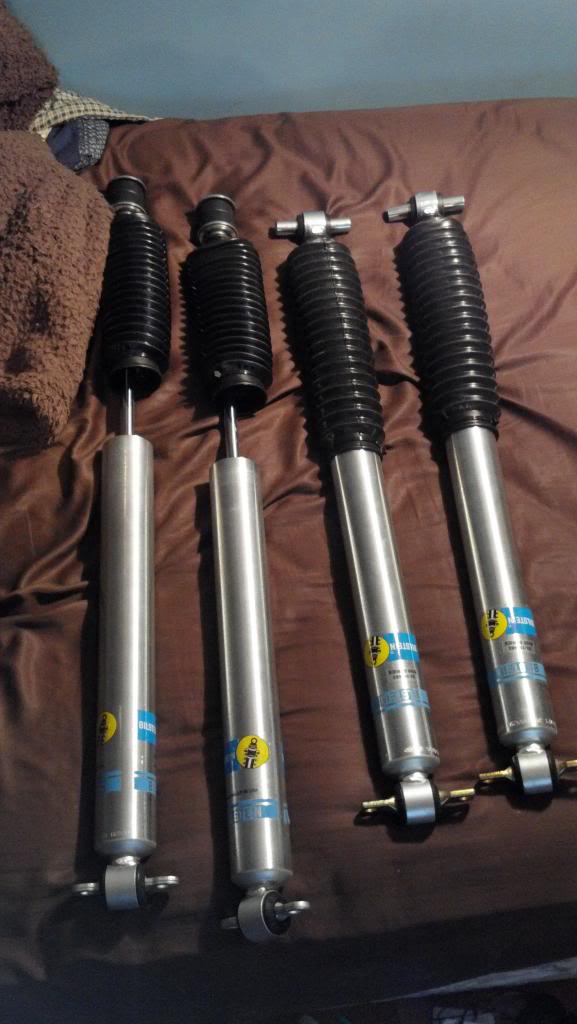
And heres the bilstiens!
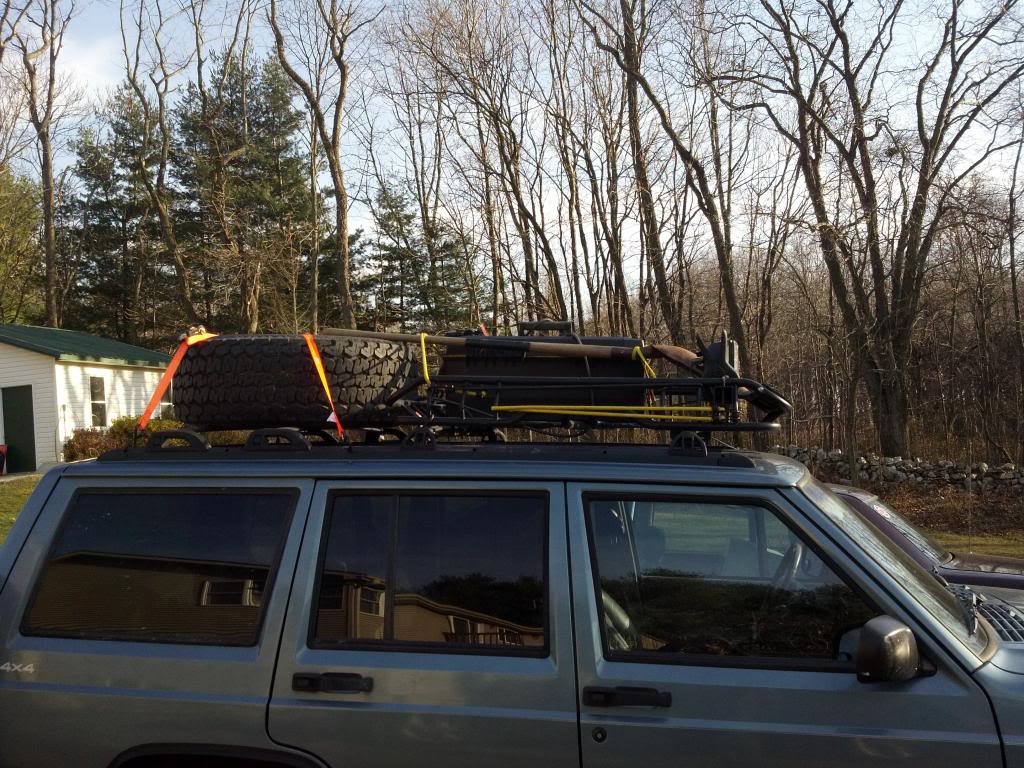
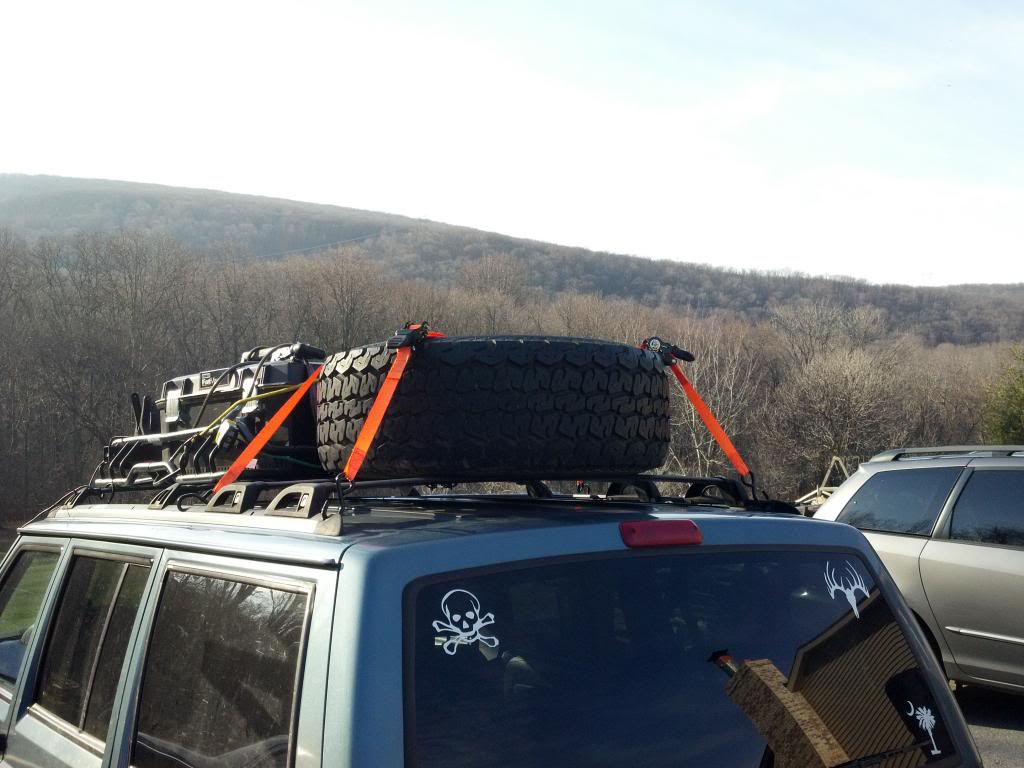
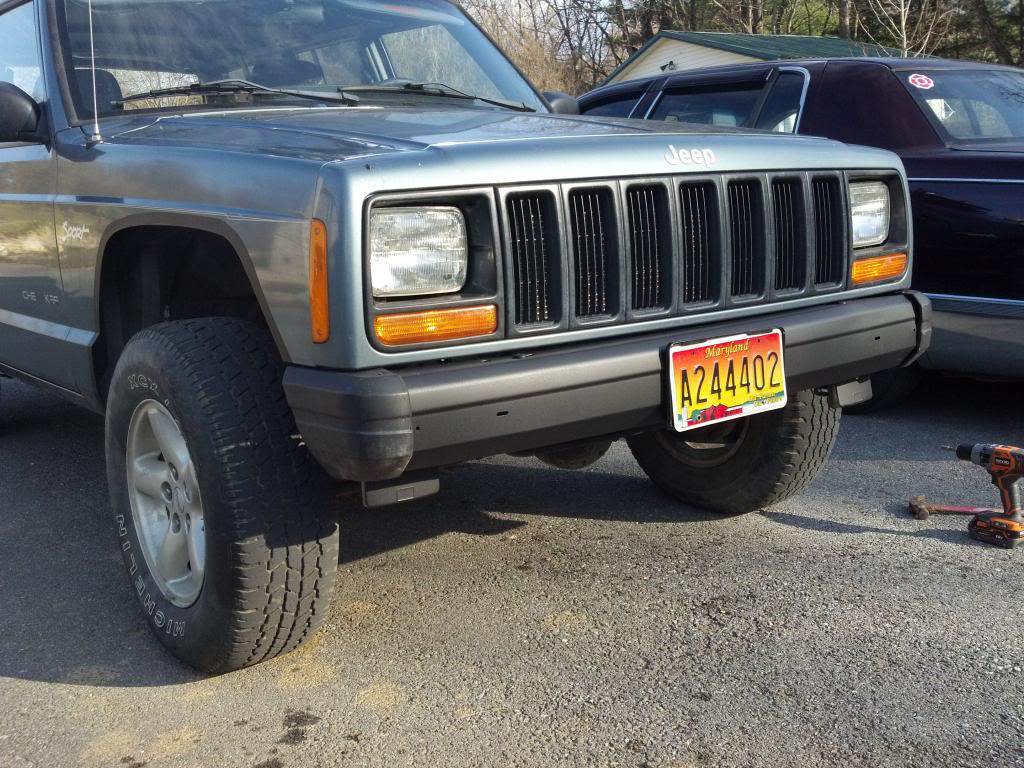
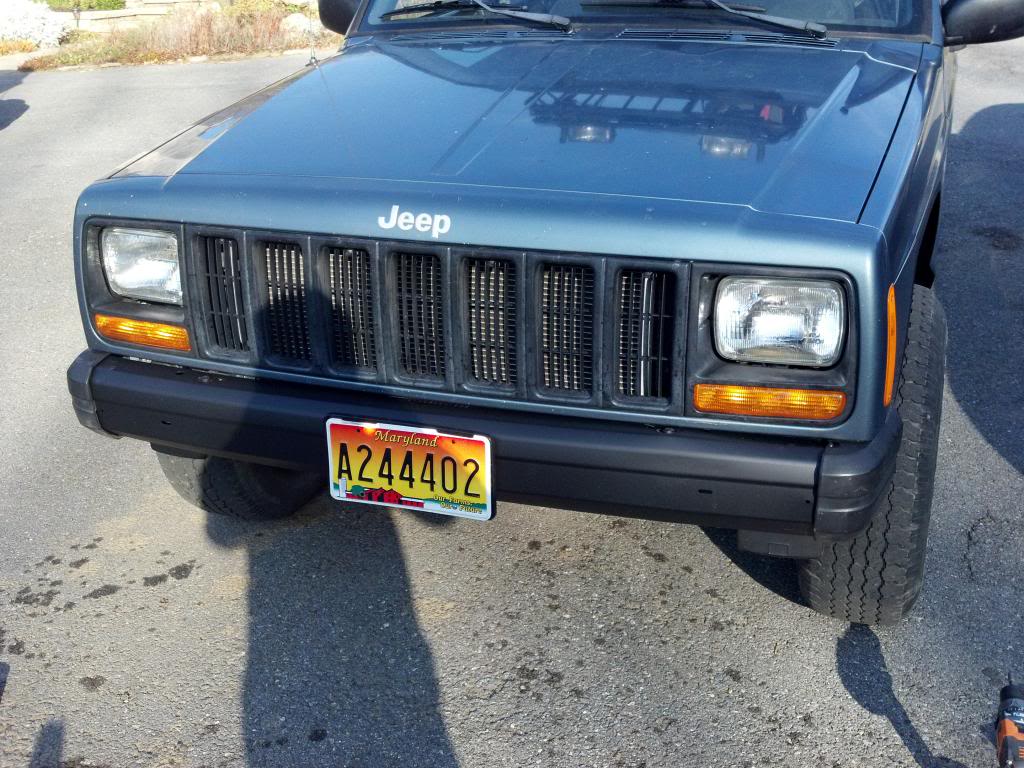
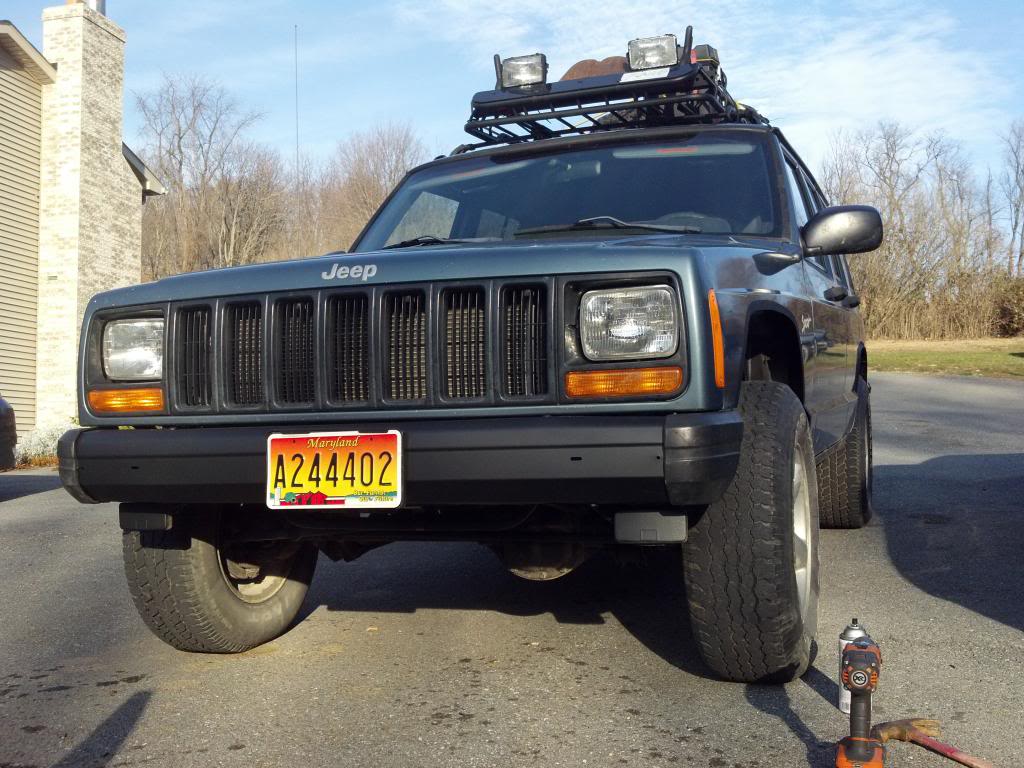
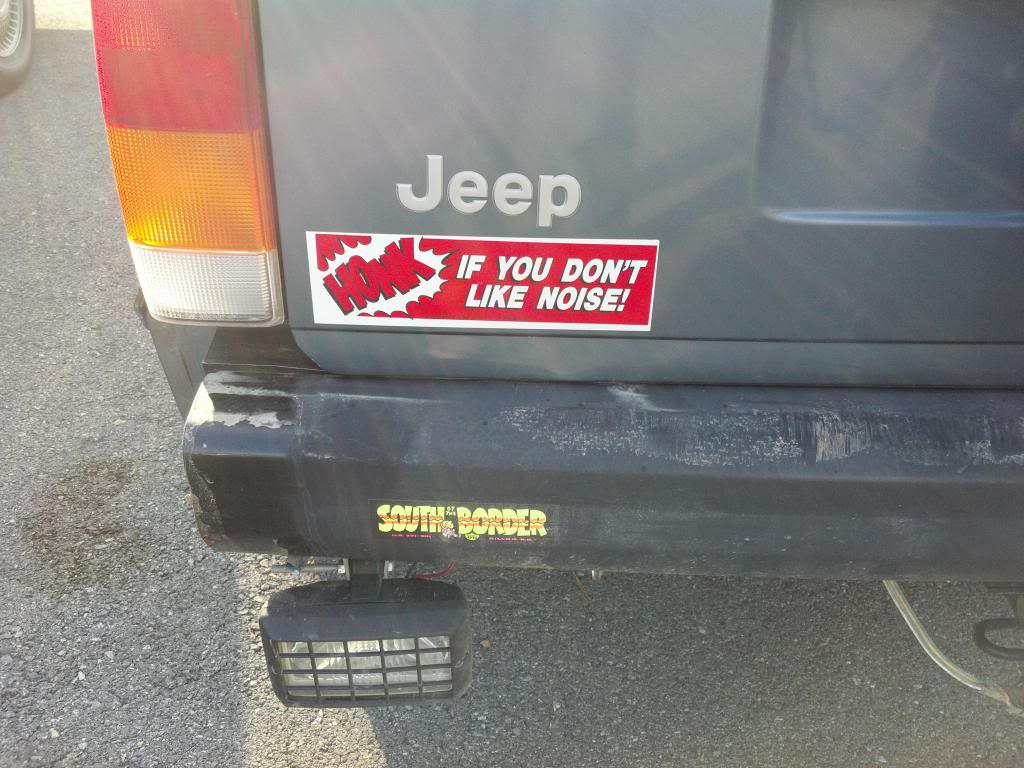
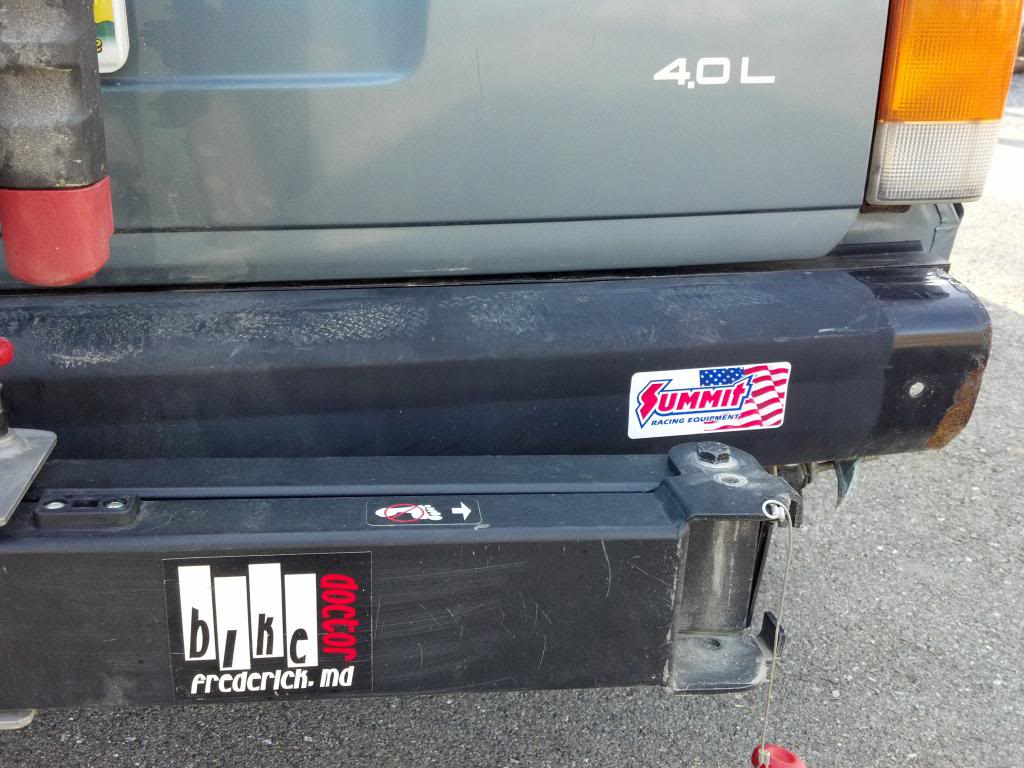
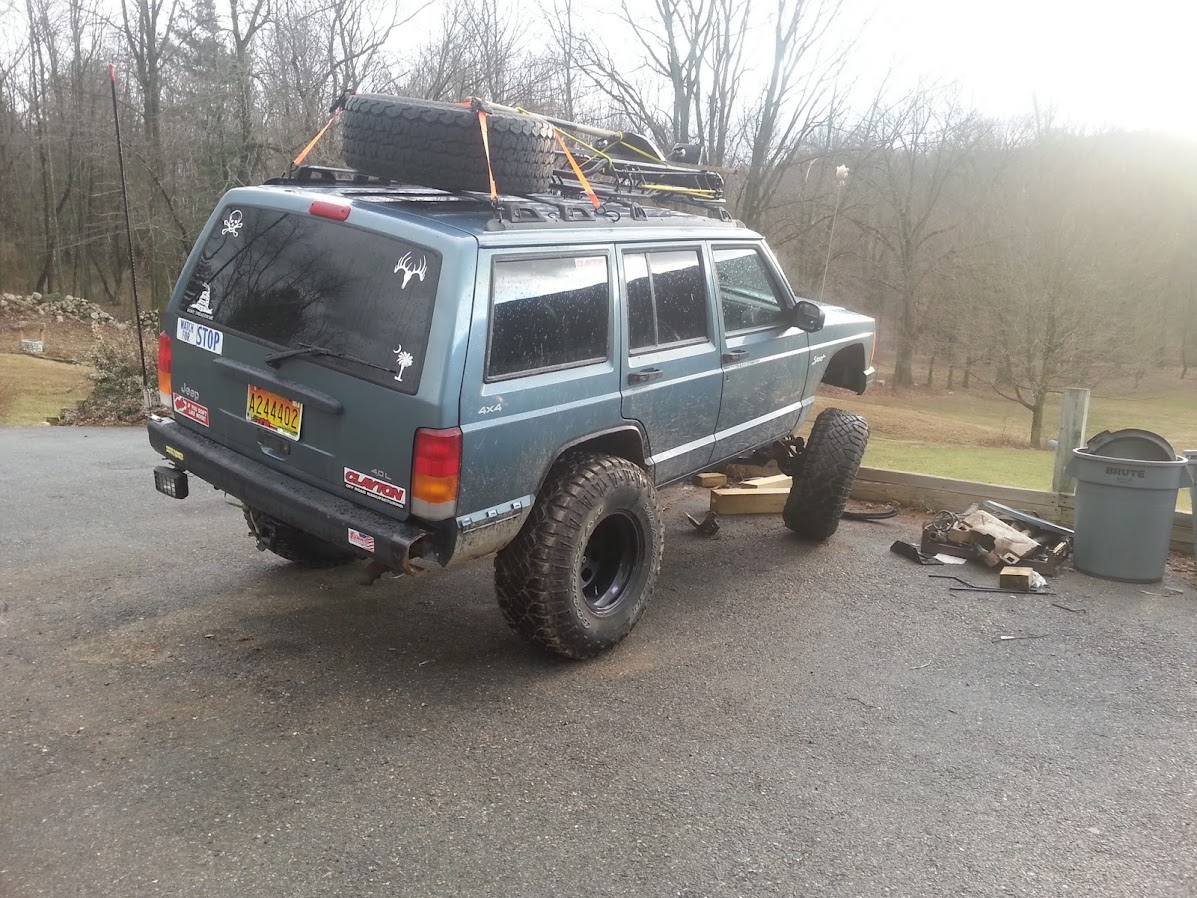
 Went to the JY today and picked up a ZJ driveshaft so i can have a longer one just in case. Also got 2 front bumper endcaps from a >96 xj and put them on, and got my spare tire mounted up on the roof, and adjusted my roof basket. and i just took some pictures of my bumper stickers cause i felt like it. (and i don't think i posted them yet)
Just posting for ****s and giggles here.
12-12-2012
Here is a pic of the new exhaust. Pretty straight forward. Doesn't seem to get in the way of anything. and seems to give a little bit more clearance.
Here is where I drove today. Just was bored and i liked the way the road looked ahead :2thumbsup:. Love this area of Frederick.

12-23-2012 --- This was the ****tiest thing I have ever done. Everything that could have been annoying, could have broken, could have ****ed up, did. Not to mention the face that is snowed 3 times rained 2 times and when I was finally done the damn Jeep couldn't drive. In the end it was OK though. I am still glad that I did the work myself.
Just getting started. DO NOT lift a vehicle like this on a hill. Bad things happen.
Here is the lift block that I made after the fall. It weighs about as much as the Jeep.

Right after being done for tonight. I still have to patch the gas tank, set the track, bleed the brakes, adjust the arms, and then take it to get an alignment. My buddy saved the day for real. It was so god damned windy and cold it was awful. If anyone reading this ever wants to do a lift alone the first time, don't. It is worth paying someone to be there with you even if all they do is hold a couple wrenches and to have someone to talk to and provide moral support.
All the pics here are from different days but they were uploadad all at once. The lift install was such a pain in the neck that I did not even want to think about taking pics.

This was done 26DEC2012. I got the CB and all for christmas.
got some pics finally.
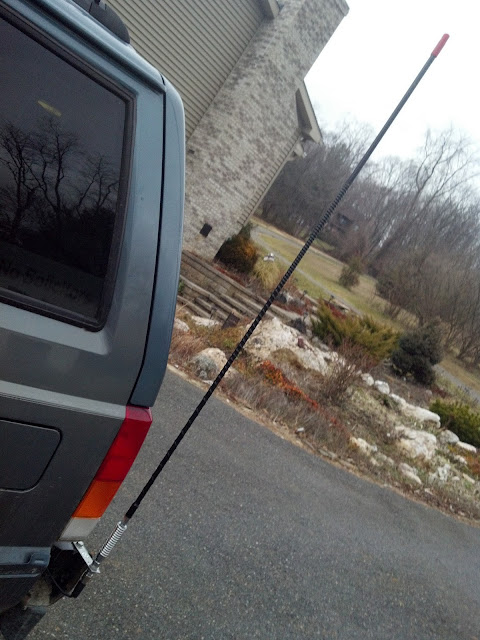
First off here's the CB its self. Mounted it under the dash just to the right of the steering wheel. Doesn't get in the way at all. I still have to figure out where to mount the PA speaker and where to mount the mic. I can't have it get in the way of the signal booster and I don't have any place it'll fit... damn compact SUVs.

Here is where I put the whip. I think it looks nice there and it doesn't get in the way. only thing I am worried about is road spray cause of my wide *** tires.
Just some extraneous pictures here. No updates just showing off.
Here's my free double shear drop track bar mount not welded up yet but will be within a couple weeks.

X member mounted up with the long arms. still need adjusted but I track down the road straight and no pull so I thing they may be fine. Those things are damn sturdy too.
Here's just a tiny bit of flex. Front sway bar attached for lack of remembering I can take it off now
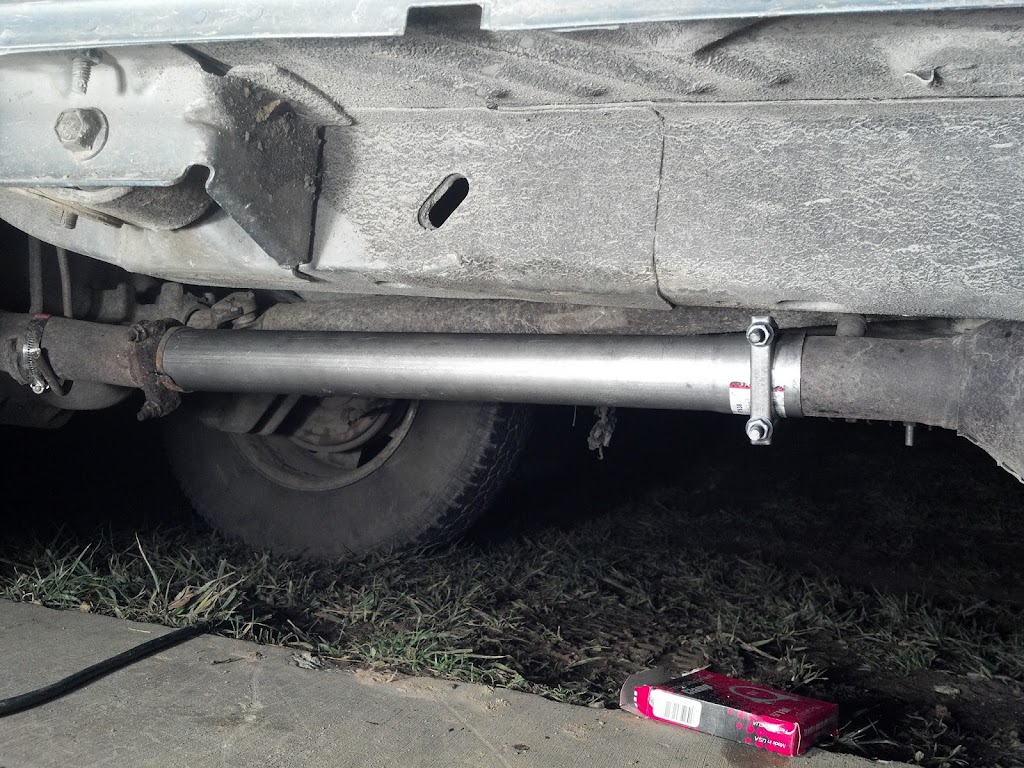
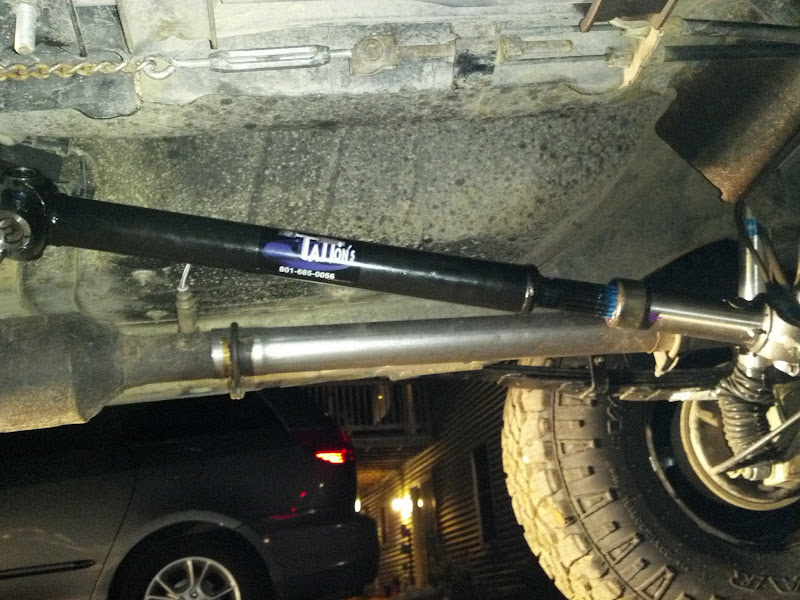
And the new drivshaft. I wish I could have gotten that Tatton's sticker off for the window. It's really sticky though! The driveshaft is REALLY robust. greasable spicer u-joints and greasable spline shaft as well. very satisfied customer I recommend him very highly. 260 shipped to my door and it took only 10 days from UT. Beats a woodie in my book!
Once I get my LCA brackets cut off (i know it's taking me forever!) and my steering built (taking it to a jeep guy up in Hagerstown that one of my buddies goes to) I'll get some real flexing pics. How bad does your guys XJs creak and moan when you flex the first time? mine sounds like it's breaking! :newbie:
I got the Jeep in august and the first post is from november. Everything here is from then to the next red type.
Well i'm starting to compile some parts for my jeep so i figured i should start my build thread. I'm just gonna go ahead and list off everything that i have recieved so far and what i've already done to the jeep. Most of it will be in no order.
This is the first day i got it... or like a week later but all it did was sit in the yard.
Had to take it lightly wheeling
[IMG][/IMG]
After i got it on the road i decided i didn't like the air dam.
I spent a lot of time on this next decision cause i wanted a shift **** like no other. Just cause io have to be original. I finally remembered Petey. so i ripped him a new *** hole and with a few washers and some all-thread and a lock nut and viola!
Then i realised how ****ty the headlights really are. I'm a sucker for sealed beams though. so i had took apart my old caddy's headlight assembly, and with a piece of signpost and some more all-thread i had a new light bar and 2 aux lights. Will put up a pic of this soon and the other things i've done soon!
As for the name, i'm still really undecided. i was thinking Kilroy. open to any suggestions. may be painted in the future so no names based on color.
11-11-2012 --- I got the tires a little earlier than this but didn't have them till November.
I got my tires mounted and balanced and delivered to my door the other day. put the XJ up on the jack and mockjed them up. they look pretty big in those fenders!
11-14-2012 --- this one was pretty scary for me. Looking back on it, it was really not that bad. I kinda wish I would have cut them a little less though.
Got the Fenders cut yesterday. too much sag in the rear to drive it with the tires on though. Here are some pics. I think it turned out pretty nice other than the paint chips in the back.
I love the way the wide stance looks on Cherokees
Plenty of space up here
Not so much back here...
From the front
This was actually done way before I posted it. Some time around september cause that's when the gun show was that I bought the ammo can at. If you take a look at my the original thread, the parking brake was eventially fixed and is still working perfect. I don't think I have any pics of how I fixed it.
Today i started messing around with the interior. I'm relocating the parking brake to in front of the drivers seat and i shortened the lever by about 2 1/2 inches. Will be cutting a hole for it tomorrow and getting it mounted up. To get it to work i will need to lengthen the cable by about a foot.
I relocated the airbag control module down to under the driver seat which i think is where they originally were in cherokees. The bolts and mounting bracket were already there.
I bought a 40mm ammo can at a gun show last weekend and i started mocking up the final location. It will be a lockbox and hopefully i can get my cupholders to still be there and maybe rear cupholders at the expense of the middle seat (who really wants to ride there anyways?) I think the 40 mm can is going to be about 3X the storage of the old console which i need. It is overflowing with ****.
I couldn't quite "integrate it" but i think it turned out alright. If you did a 7.62 ammo can you would fare better with that. I used a 4omm cause i wanted the most storage space possible. Here are some pics of the finished inside and the relocated parking brake. I may put the shift boot and the cup holders back in but i haven't decided yet.
Here the brake is all sealed up and finalised. I used Rustoleum rust reformer paint to do a base coat and then outdoor extreme weather sealer to keep all the nasties out. I dunno what i would have done if it didn't work.... Those long bolts will be replaced by the way. It's all i had at the time. I used a piece of aluminum as a backing brace so that the brake lever wouldn't rip out the floor.
Here is the ammo can console all finished. It fit's really great in there and it holds a ton more stuff than the old one did. I used the existing bolts for the ACM and put one self tapping screw up front to keep it from shaking and wobbling.
Also changed my shift *** back. Petey was getting kinda bitey. I still need to do some work on the parking brake cable to get it functioning. My tension adjustor bolt is siezed and i don't want to break it so i'll be picking up one of those fence tensioner things and getting a new piece of wire to complete the line. I got a bracket mounted to the frame to hold the cable but i still need to extend the line. Pics tomorrow when it's done.
11-30-2012 --- Just painted up the fender flares to keep the corrosion off. It's held up alright but is kinda chipped in the rear. Still need to figure out some kinda home brew flares.
And heres the bilstiens!
Went to the JY today and picked up a ZJ driveshaft so i can have a longer one just in case. Also got 2 front bumper endcaps from a >96 xj and put them on, and got my spare tire mounted up on the roof, and adjusted my roof basket. and i just took some pictures of my bumper stickers cause i felt like it. (and i don't think i posted them yet) Just posting for ****s and giggles here.
12-12-2012
Here is a pic of the new exhaust. Pretty straight forward. Doesn't seem to get in the way of anything. and seems to give a little bit more clearance.
Here is where I drove today. Just was bored and i liked the way the road looked ahead :2thumbsup:. Love this area of Frederick.
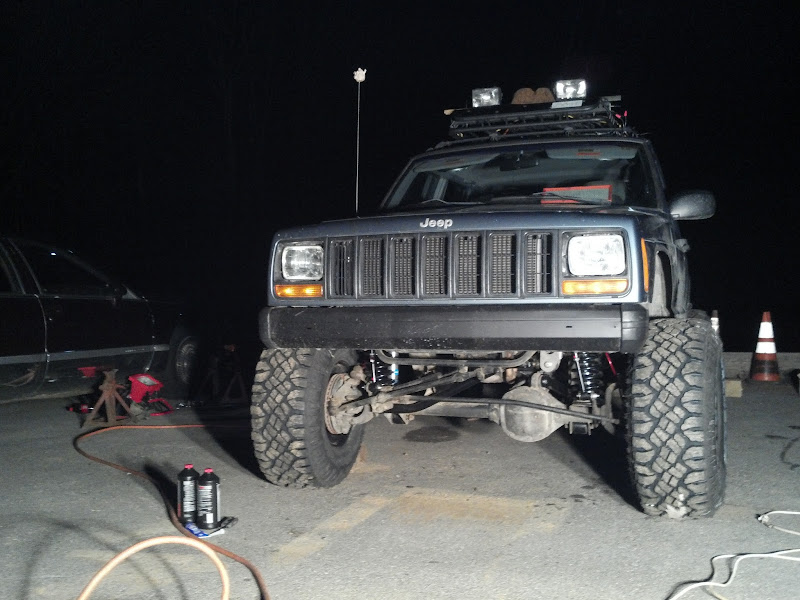
12-23-2012 --- This was the ****tiest thing I have ever done. Everything that could have been annoying, could have broken, could have ****ed up, did. Not to mention the face that is snowed 3 times rained 2 times and when I was finally done the damn Jeep couldn't drive. In the end it was OK though. I am still glad that I did the work myself.
Just getting started. DO NOT lift a vehicle like this on a hill. Bad things happen.
Here is the lift block that I made after the fall. It weighs about as much as the Jeep.
Right after being done for tonight. I still have to patch the gas tank, set the track, bleed the brakes, adjust the arms, and then take it to get an alignment. My buddy saved the day for real. It was so god damned windy and cold it was awful. If anyone reading this ever wants to do a lift alone the first time, don't. It is worth paying someone to be there with you even if all they do is hold a couple wrenches and to have someone to talk to and provide moral support.
All the pics here are from different days but they were uploadad all at once. The lift install was such a pain in the neck that I did not even want to think about taking pics.
This was done 26DEC2012. I got the CB and all for christmas.
got some pics finally.
First off here's the CB its self. Mounted it under the dash just to the right of the steering wheel. Doesn't get in the way at all. I still have to figure out where to mount the PA speaker and where to mount the mic. I can't have it get in the way of the signal booster and I don't have any place it'll fit... damn compact SUVs.
Here is where I put the whip. I think it looks nice there and it doesn't get in the way. only thing I am worried about is road spray cause of my wide *** tires.
Just some extraneous pictures here. No updates just showing off.
Here's my free double shear drop track bar mount
not welded up yet but will be within a couple weeks. X member mounted up with the long arms. still need adjusted but I track down the road straight and no pull so I thing they may be fine. Those things are damn sturdy too.
Here's just a tiny bit of flex. Front sway bar attached for lack of remembering I can take it off now
And the new drivshaft. I wish I could have gotten that Tatton's sticker off for the window. It's really sticky though! The driveshaft is REALLY robust. greasable spicer u-joints and greasable spline shaft as well. very satisfied customer
I recommend him very highly. 260 shipped to my door and it took only 10 days from UT. Beats a woodie in my book! Once I get my LCA brackets cut off (i know it's taking me forever!) and my steering built (taking it to a jeep guy up in Hagerstown that one of my buddies goes to) I'll get some real flexing pics. How bad does your guys XJs creak and moan when you flex the first time? mine sounds like it's breaking! :newbie:
Last edited by KG8893; 05-19-2013 at 12:09 AM.
05-18-2013, 11:07 PM
#3
Seasoned Member
Thread Starter
Join Date: Dec 2012
Location: Middletown, Maryland
Posts: 451
Likes: 0
Received 0 Likes
on
0 Posts
Year: 1998
Model: Cherokee
Engine: 4.0 I6
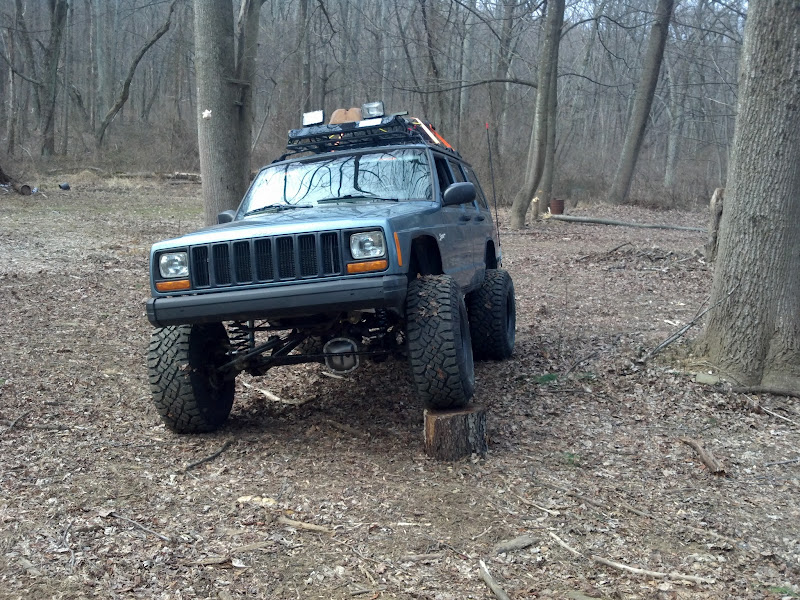
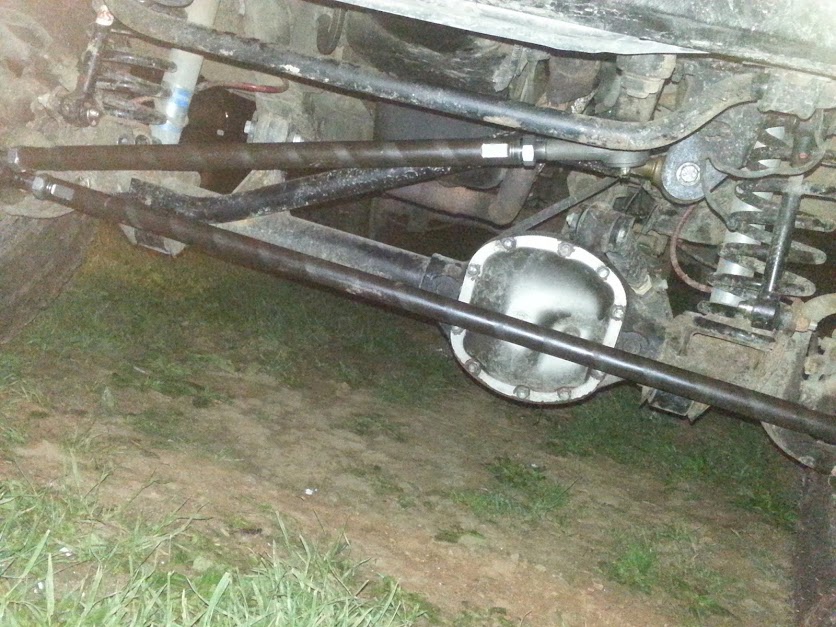
In other news... I took the Jeep on its first off road adventure. It drove over just about everything except one stump that my rear axle tube got hung up and my front was in about a foot deep muddy slop hole.
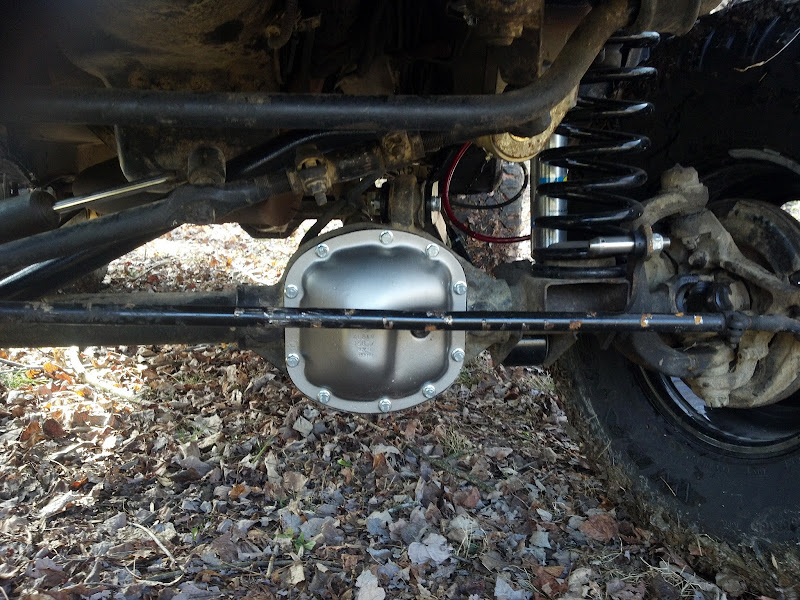
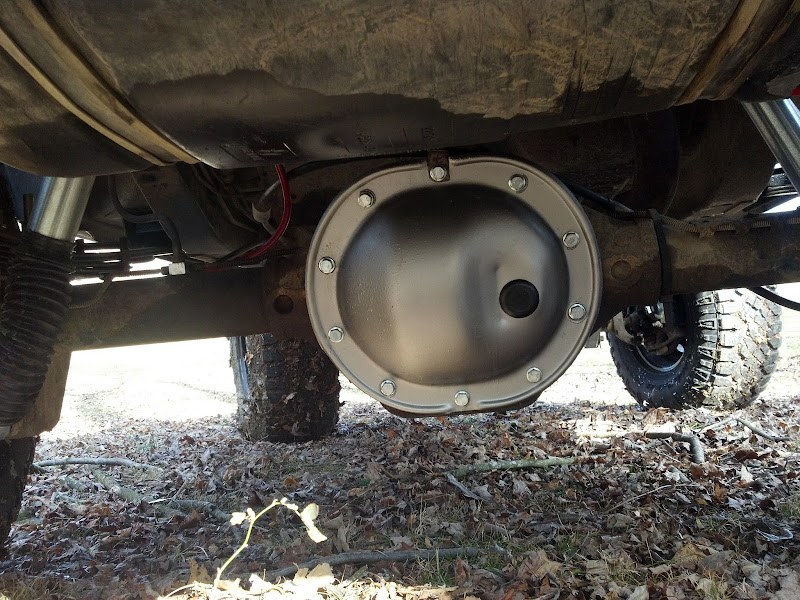
First off here are the diff covers newly painted since I said I'd put pics up...
And Here is the first try at flexing just as a test. Just a little piece of firewood. No real flex but it let me start small.
Here is a creek crossing. I was aiming for that big rock to the right side of the jeep. I dunno how the hell I ended up that far away from it. It wend through the creek bed like nothing.
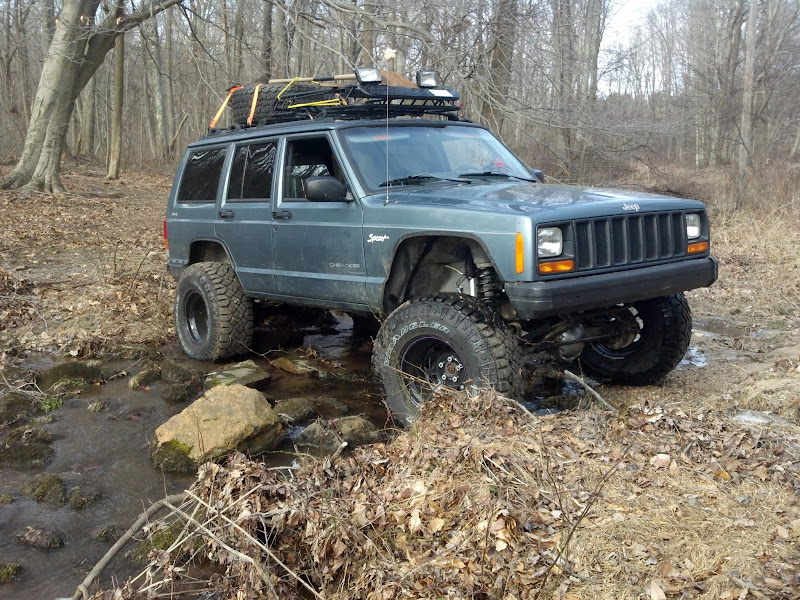
****ty picture as my phone died...

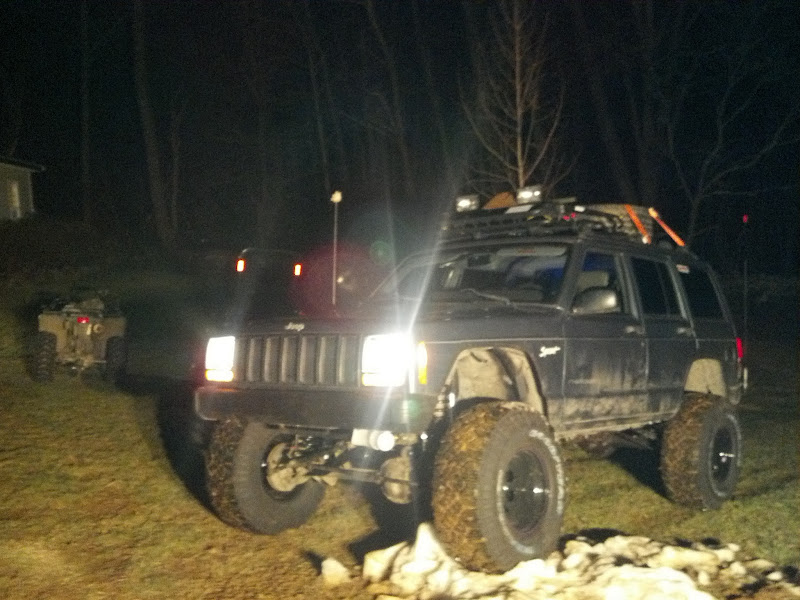
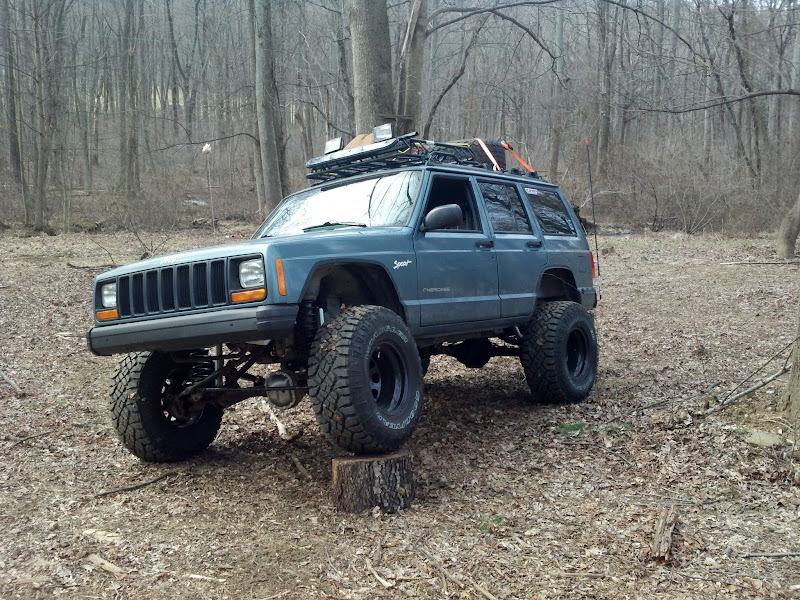
Here is some real flex. I still have a LOT more room to flex but I couldn't find any bigger rocks that I could actually get at. It felt great to finally start pushing this thing. I learned quite a bit about approaching things properly today and this rock was a fairly good teacher. Albeit nothing I couldn't have handled stock.


That's all for now. I'll be getting some more up soon. and taking this thing up some better trails this weekend. I was gonna take it down to work but I'll skip that. It's such a gas hog now it's pretty ridiculous. Oh well! Time for a big *** fuel cell. Also thinking of taking everything off the roof and putting it inside (for aerodynamics) and just getting rid of my rear seats. They are overrated anyways. Nobody likes riding back there. I'll have to get something for picking up chicks though (yeah right).
Flexed a little bit today.


First off here are the diff covers newly painted since I said I'd put pics up...
And Here is the first try at flexing just as a test. Just a little piece of firewood. No real flex but it let me start small.
Here is a creek crossing. I was aiming for that big rock to the right side of the jeep. I dunno how the hell I ended up that far away from it. It wend through the creek bed like nothing.
****ty picture as my phone died...
Here is some real flex. I still have a LOT more room to flex but I couldn't find any bigger rocks that I could actually get at. It felt great to finally start pushing this thing. I learned quite a bit about approaching things properly today and this rock was a fairly good teacher. Albeit nothing I couldn't have handled stock.
That's all for now. I'll be getting some more up soon. and taking this thing up some better trails this weekend. I was gonna take it down to work but I'll skip that. It's such a gas hog now it's pretty ridiculous. Oh well! Time for a big *** fuel cell. Also thinking of taking everything off the roof and putting it inside (for aerodynamics) and just getting rid of my rear seats. They are overrated anyways. Nobody likes riding back there. I'll have to get something for picking up chicks though (yeah right).
Flexed a little bit today.
Last edited by KG8893; 05-18-2013 at 11:41 PM.
05-18-2013, 11:42 PM
#4
Seasoned Member
Thread Starter
Join Date: Dec 2012
Location: Middletown, Maryland
Posts: 451
Likes: 0
Received 0 Likes
on
0 Posts
Year: 1998
Model: Cherokee
Engine: 4.0 I6
I'll post up pics of the rest of what I've done later. After this I started using my phone for picture uploads so I can't just copy them over unfortunately.
05-19-2013, 09:22 AM
#6
Seasoned Member
Thread Starter
Join Date: Dec 2012
Location: Middletown, Maryland
Posts: 451
Likes: 0
Received 0 Likes
on
0 Posts
Year: 1998
Model: Cherokee
Engine: 4.0 I6
 05-19-2013, 10:37 PM
#7
Seasoned Member
Thread Starter
Join Date: Dec 2012
Location: Middletown, Maryland
Posts: 451
Likes: 0
Received 0 Likes
on
0 Posts
Year: 1998
Model: Cherokee
Engine: 4.0 I6
I went to some wierd place with a facebook jeep group. It was kinda cool. I got to use an RTI ramp and got a new Yamaha decal for $3  this was april 18th IIRC.


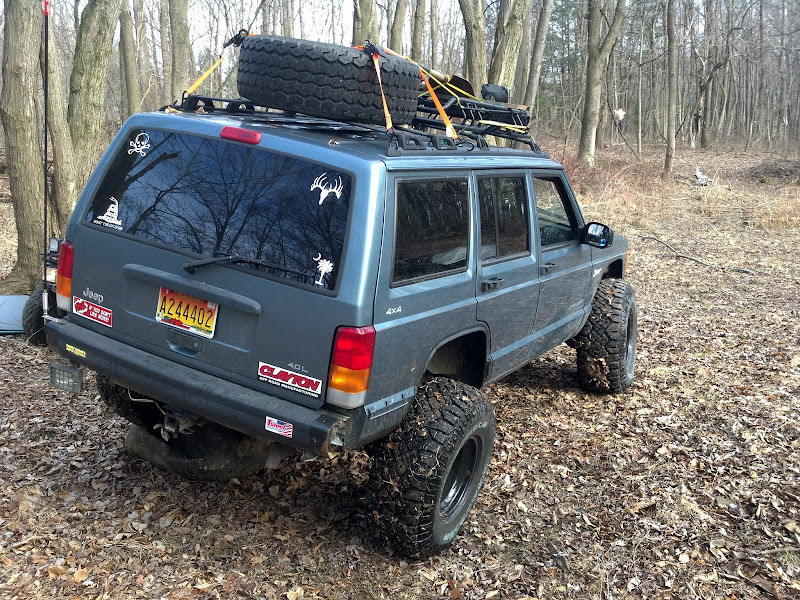
Also if you couldn't tell bu the lack of mud on them, I took the doors off not long before this. Haven't done too much driving with them off since the weather recently has been ****. but here are some pics. Also acquired an OEM tire carrier in trade for my factory leaf packs and rear bumper. It broke about 3 days after installing it. too bad too cause I think it looked good back there.
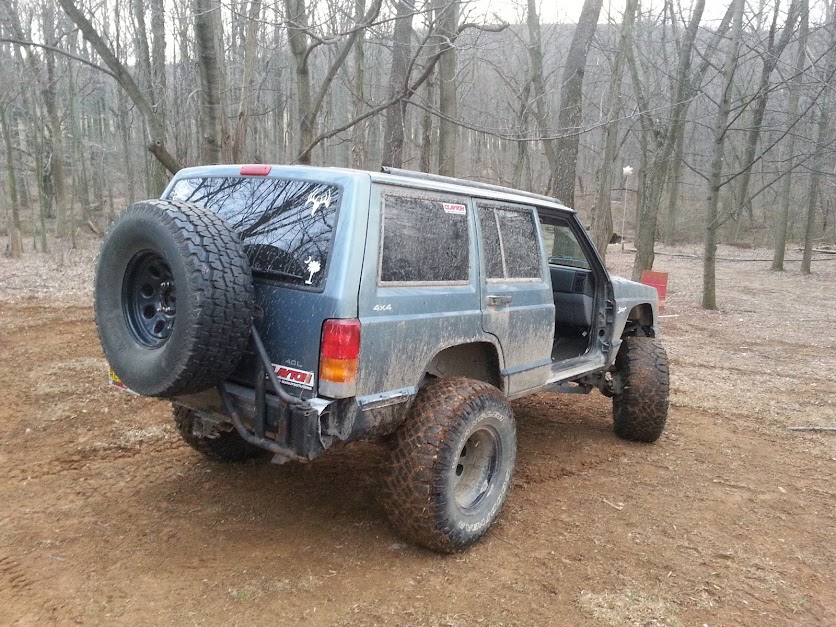

Also if you couldn't tell bu the lack of mud on them, I took the doors off not long before this. Haven't done too much driving with them off since the weather recently has been ****. but here are some pics. Also acquired an OEM tire carrier in trade for my factory leaf packs and rear bumper. It broke about 3 days after installing it. too bad too cause I think it looked good back there.
Trending Topics
05-19-2013, 10:44 PM
#8
Seasoned Member
Thread Starter
Join Date: Dec 2012
Location: Middletown, Maryland
Posts: 451
Likes: 0
Received 0 Likes
on
0 Posts
Year: 1998
Model: Cherokee
Engine: 4.0 I6
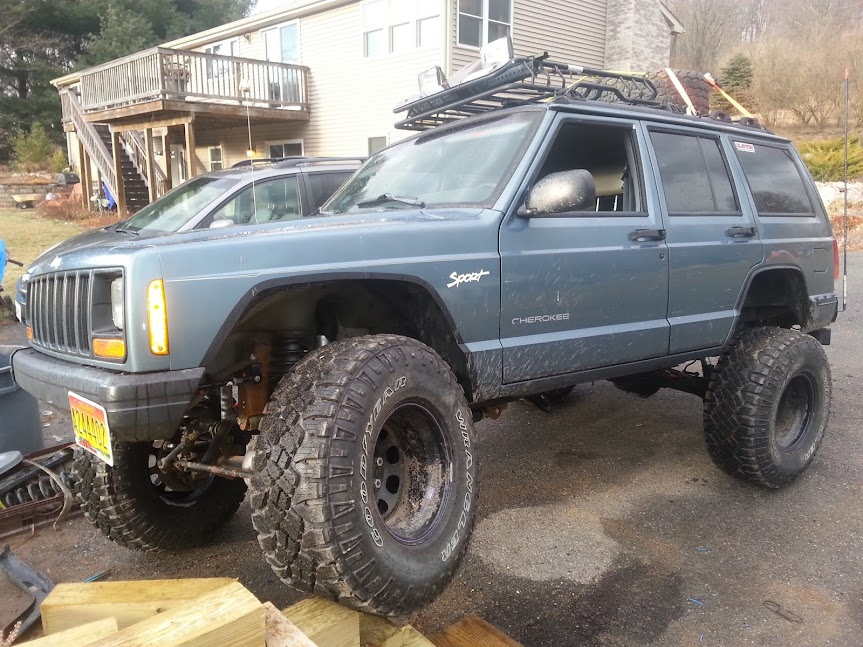
Towards the end of April I got me a set of these. Wish I would have had them for the RTI ramp but oh well. Also got some 5" RE shackles with greasable bushings.

HD offroad shackle relocation brackets. Much smoother (and quieter) ride on and off road and much better shackle angle. Also made my flex a good amount better. I could have gone further but my block pile kept falling... oh and the tree.


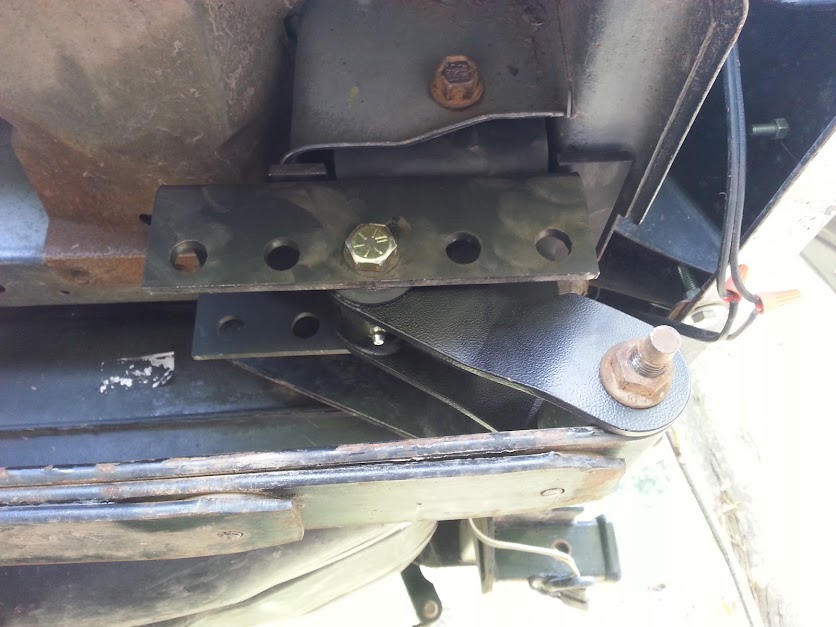

Here is the shackle angle when in flat ground.

HD offroad shackle relocation brackets. Much smoother (and quieter) ride on and off road and much better shackle angle. Also made my flex a good amount better. I could have gone further but my block pile kept falling... oh and the tree.
Here is the shackle angle when in flat ground.
05-19-2013, 10:51 PM
#9
Seasoned Member
Thread Starter
Join Date: Dec 2012
Location: Middletown, Maryland
Posts: 451
Likes: 0
Received 0 Likes
on
0 Posts
Year: 1998
Model: Cherokee
Engine: 4.0 I6
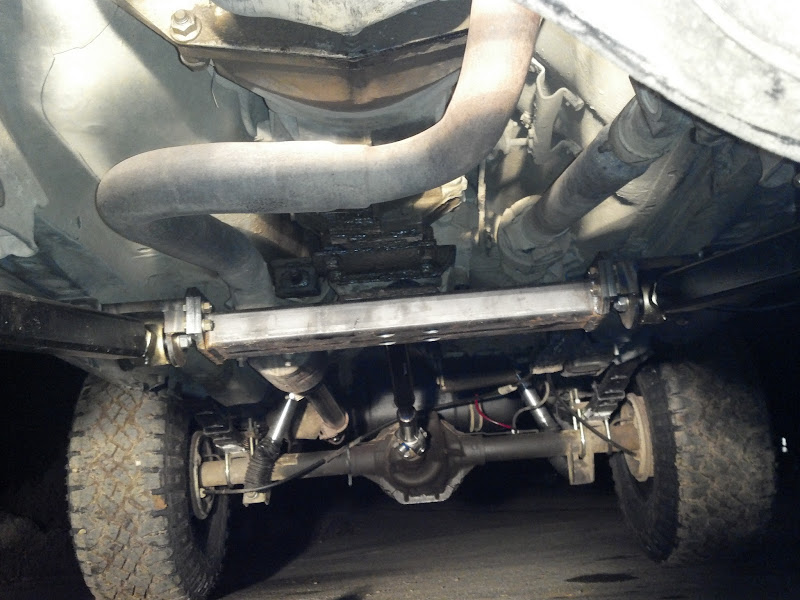
Not too long ago I started getting the front end sorted out. I upgraded to a 9/16 bolt for the track bar. for anyone wondering, the HD track bar bushing for the claytons offroad trackbar is just a ram 2500 track bar bushing. Same OD as a stock TJ one as well.
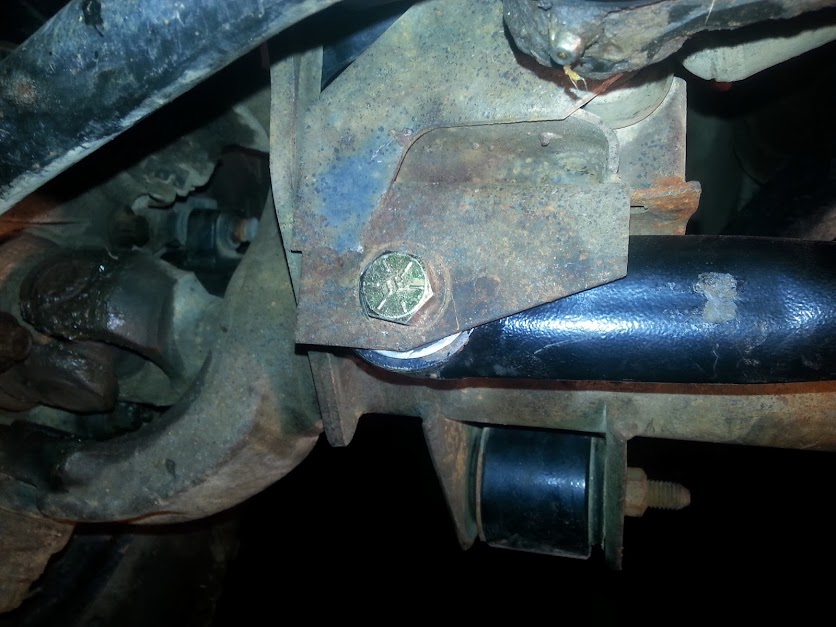
Also got my 1 ton steering done last week. Haven't been able to drive it but about a mile. Feels and sounds MUCH better than stock though. I ended up having to buy a reamer but I think owning that tool will pay off in the end. I think I'll end up painting the rods the same as the diff cover.
Also got my 1 ton steering done last week. Haven't been able to drive it but about a mile. Feels and sounds MUCH better than stock though. I ended up having to buy a reamer but I think owning that tool will pay off in the end. I think I'll end up painting the rods the same as the diff cover.
05-19-2013, 11:04 PM
#10
Seasoned Member
Thread Starter
Join Date: Dec 2012
Location: Middletown, Maryland
Posts: 451
Likes: 0
Received 0 Likes
on
0 Posts
Year: 1998
Model: Cherokee
Engine: 4.0 I6
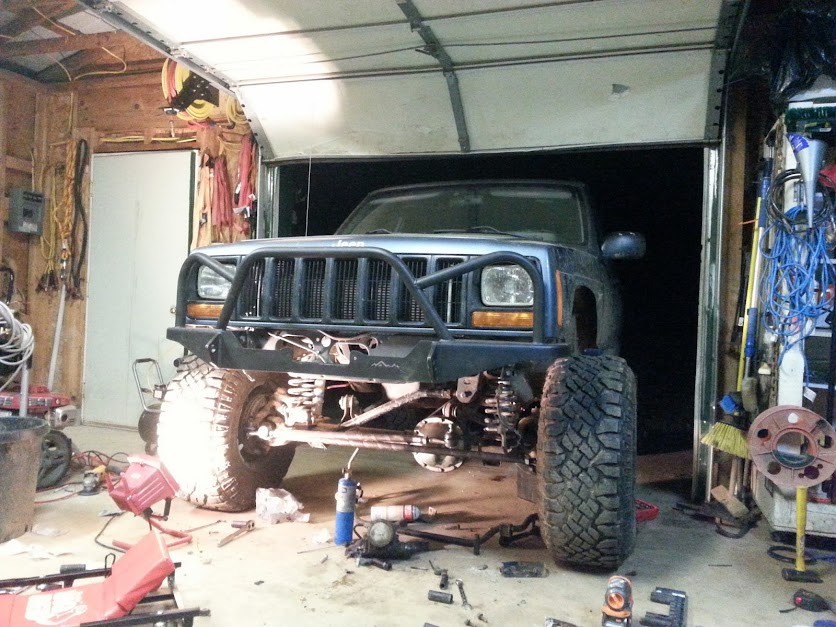
Ordered this one night out of the blue. I paid 400 for it with shipping from Dirtbound Offroad cause it was their floor model. They got it to me really quick and in good shape. I'm very happy with it. It's also not too heavy so I didn't lose any height from the lift.

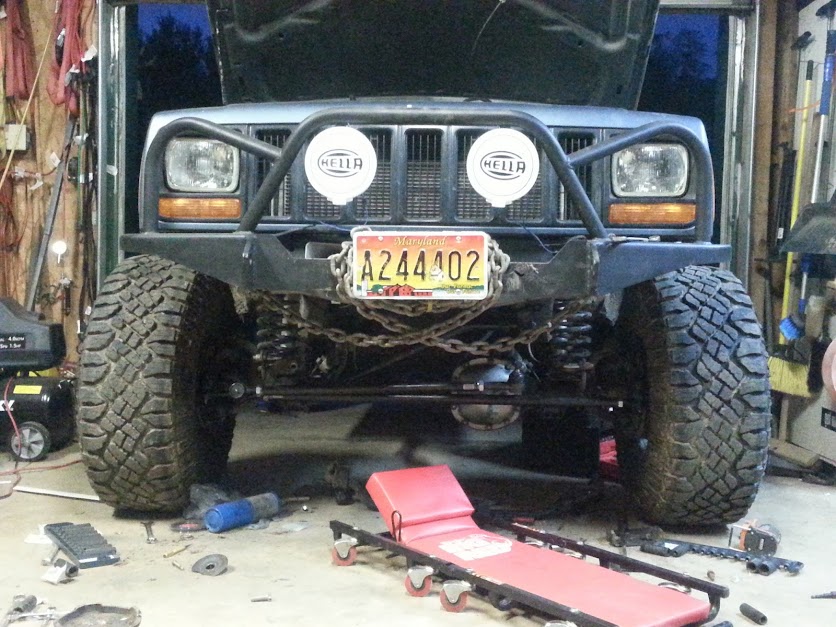
Here it is all installed. I haven't driven it since last weekend as I broke off a bolt in the steering box (which I got out after some heat) and I needed a new spacer. The dealer wanted 238 dollars for a replacement spacer so I said **** that. Ordered one from JCR for 50 bucks and it'll be here tomorrow and I can take it for a test drive. I thought about upgrading to a ZJ box but I got the bolt out and it still works so I'll stick with the stock one for now. Anyways... Pictures:

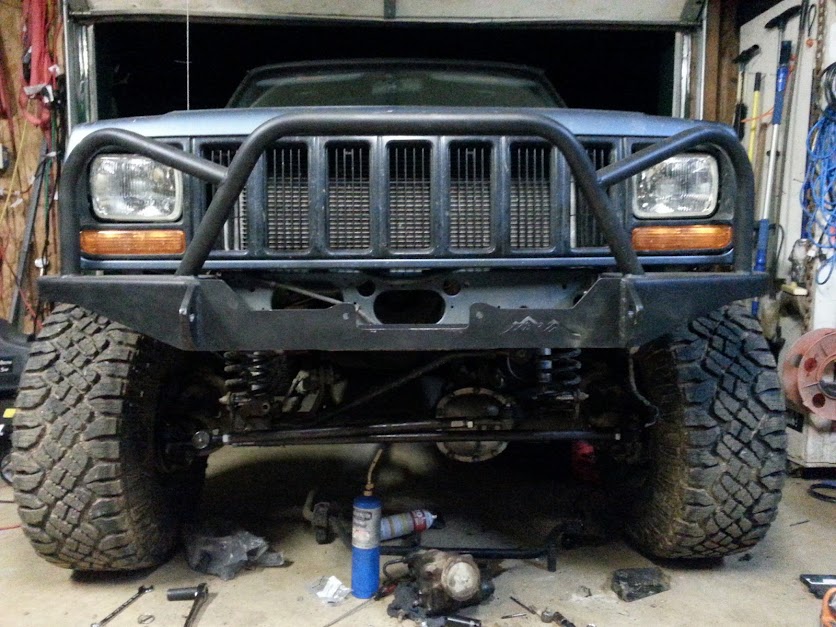
Picked up a roller fairlead with license plate cover for when I get a winch. Got it from a friend for free.
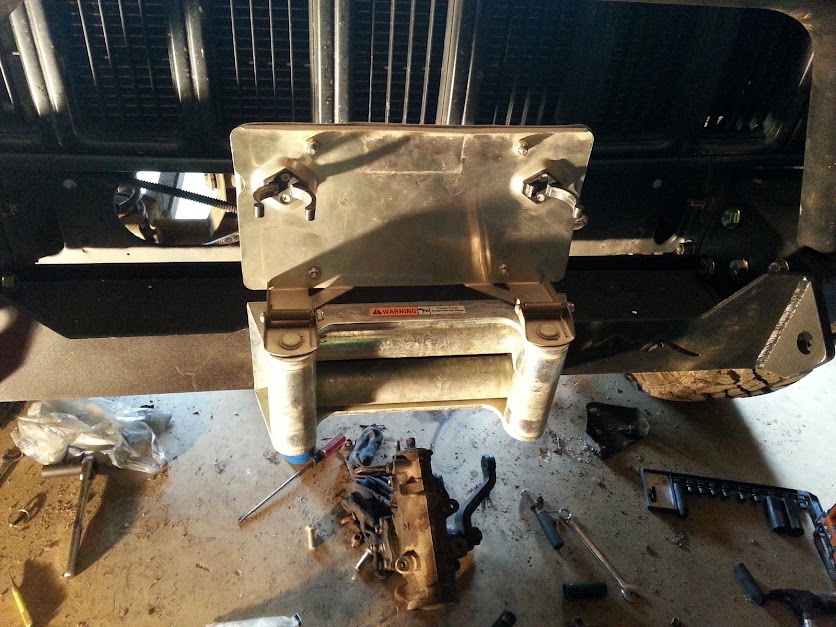
Also put some lights and a chain on there to fill the empty space till I get a winch.

My mess of a workshop...


Here it is all installed. I haven't driven it since last weekend as I broke off a bolt in the steering box (which I got out after some heat) and I needed a new spacer. The dealer wanted 238 dollars for a replacement spacer so I said **** that. Ordered one from JCR for 50 bucks and it'll be here tomorrow and I can take it for a test drive. I thought about upgrading to a ZJ box but I got the bolt out and it still works so I'll stick with the stock one for now. Anyways... Pictures:
Picked up a roller fairlead with license plate cover for when I get a winch. Got it from a friend for free.
Also put some lights and a chain on there to fill the empty space till I get a winch.
My mess of a workshop...
Last edited by KG8893; 05-19-2013 at 11:09 PM.
05-23-2013, 08:32 AM
#11
Seasoned Member
Thread Starter
Join Date: Dec 2012
Location: Middletown, Maryland
Posts: 451
Likes: 0
Received 0 Likes
on
0 Posts
Year: 1998
Model: Cherokee
Engine: 4.0 I6
I got the steering box back on. The thing drives so much better than it used to except witty the change in drag link length I have a bit of bump steer now. The only time I notice it is when I go over the top of a hill it pulls to the right. A TJ has a 1" higher pitman arm right? I think that's what I need...
05-23-2013, 10:59 AM
#12
CF Veteran
Join Date: Oct 2012
Location: Orlando/Winter Garden
Posts: 1,277
Likes: 0
Received 0 Likes
on
0 Posts
Year: 1998
Model: Cherokee
Engine: I6
really nice build man! its comin along good! how much lift did you gain with the shackles and relocation box? are those 2 RE products?
05-23-2013, 01:51 PM
#13
Seasoned Member
Thread Starter
Join Date: Dec 2012
Location: Middletown, Maryland
Posts: 451
Likes: 0
Received 0 Likes
on
0 Posts
Year: 1998
Model: Cherokee
Engine: 4.0 I6
I should have gained about 2.5 inches maybe a little more, but the reason I did them was to level out the back. With settling and the gear I keep back there I lost about an inch in the rear after lifting. Looking at it it sits about an inch higher in the back. I think it gives it a nice aggressive look though. The shackles are RE and the boxes are HD Offroad.
05-24-2013, 07:25 PM
#15
Seasoned Member
Thread Starter
Join Date: Dec 2012
Location: Middletown, Maryland
Posts: 451
Likes: 0
Received 0 Likes
on
0 Posts
Year: 1998
Model: Cherokee
Engine: 4.0 I6
Front's are done other than cutting them down and painting. Not bad Imo for 4 bucks of hardware.