Project Lean and Green
 04-09-2012, 07:31 PM
#1
Senior Member
Thread Starter
Join Date: Apr 2011
Location: Lansing, MI
Posts: 813
Likes: 0
Received 1 Like
on
1 Post
Year: 2000
Model: Cherokee
Engine: 4.0
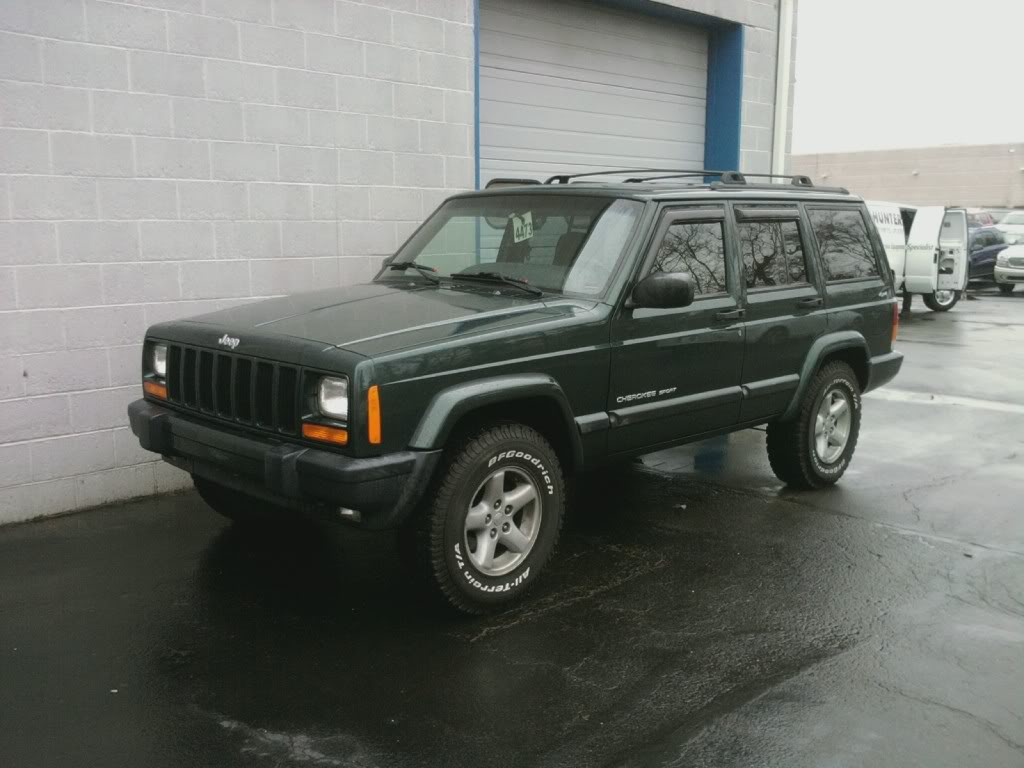
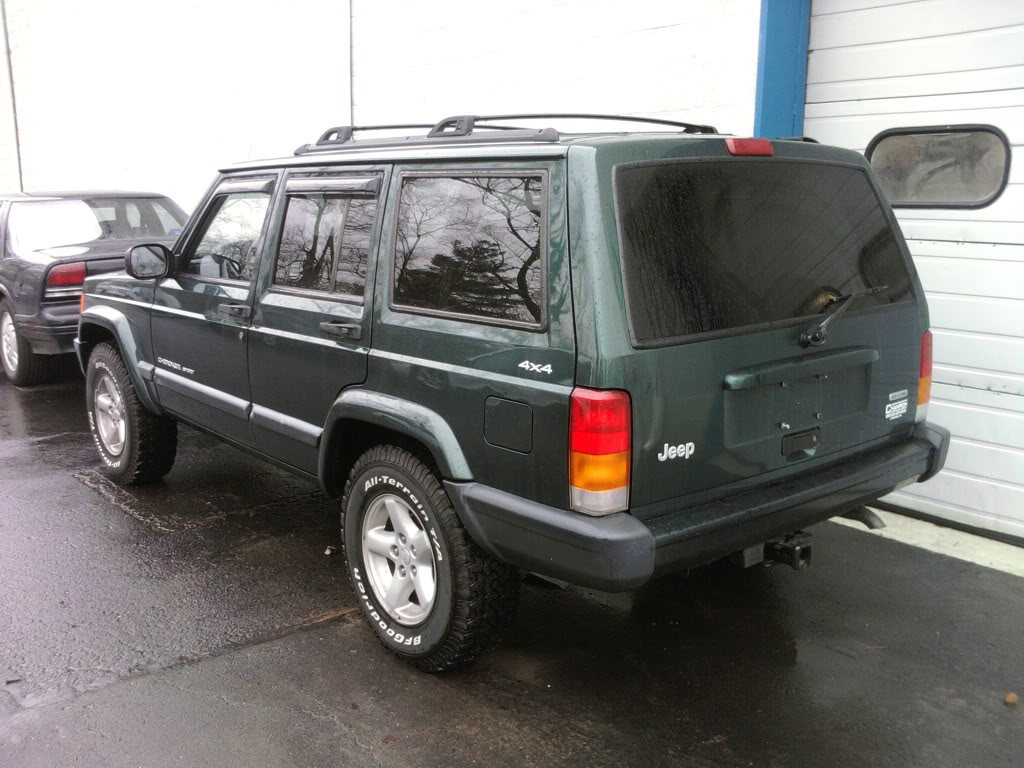
2000 Cherokee Sport, 4.0, part-time 4x4, c8.25 rear end.
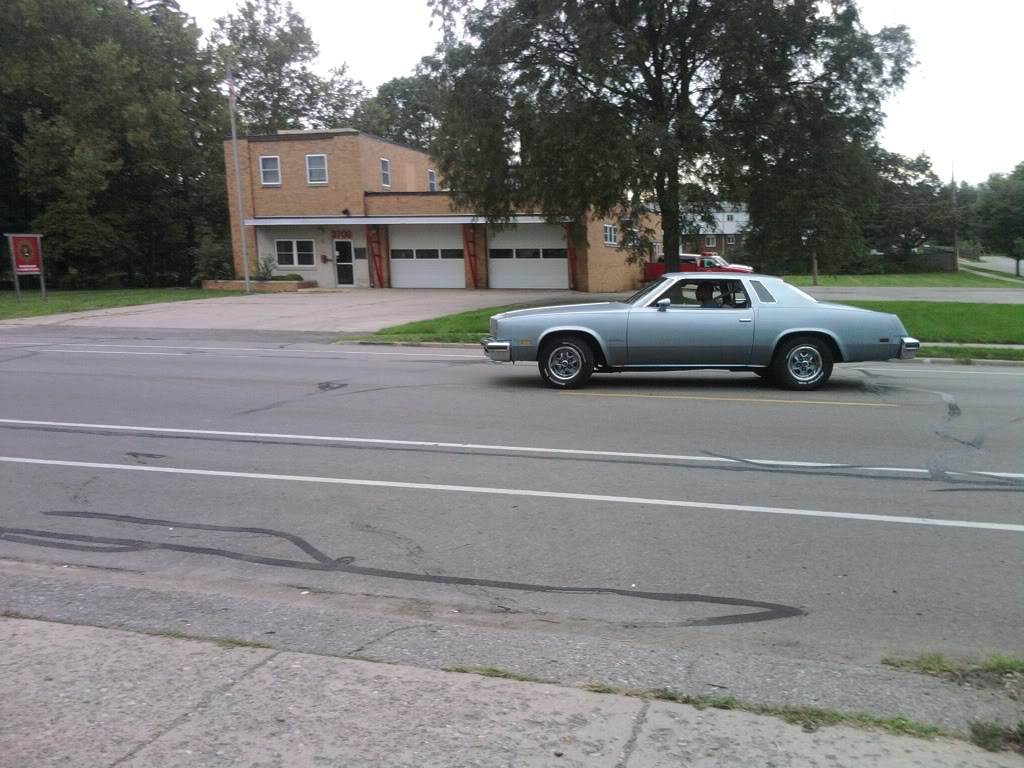
I have to admit... the XJ isn't my first love. I owned a 77 Olds Cutlass (hence my username) and loved that thing to death. Then, the XJ came in on trade at the dealership I work at, and... well, I finally started to realize that owning a car that's stored 5 months out of the year, can't be driven in rain or on dirt roads... well, it kinda made sense to let it go.
So, good bye
...and hello
With the Cutlass sold, I spent some time bonding with the Jeep, and after finding cherokeeforum, I started to realize how awesome XJ's are, and started to miss my Cutlass less. Then, I started tinkering.
First, i had to do something about all of that faded, ugly plastic.
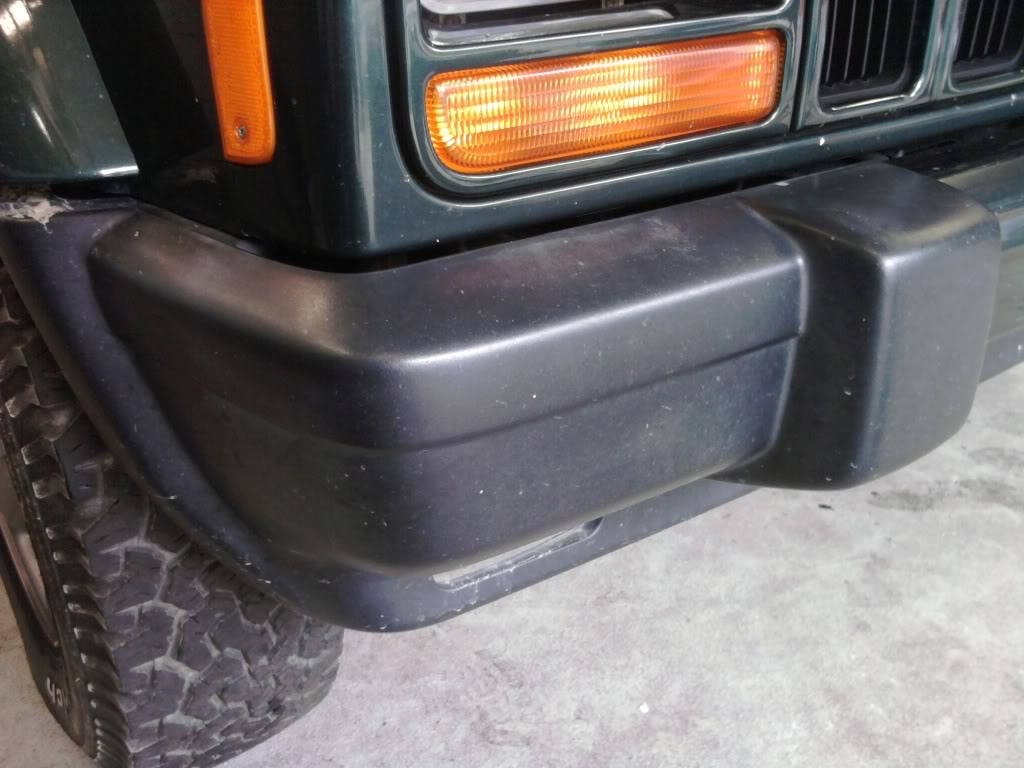
So I masked them off, scuffed them up with a scuff pad, and shot them in Duplicolor Flat Black.
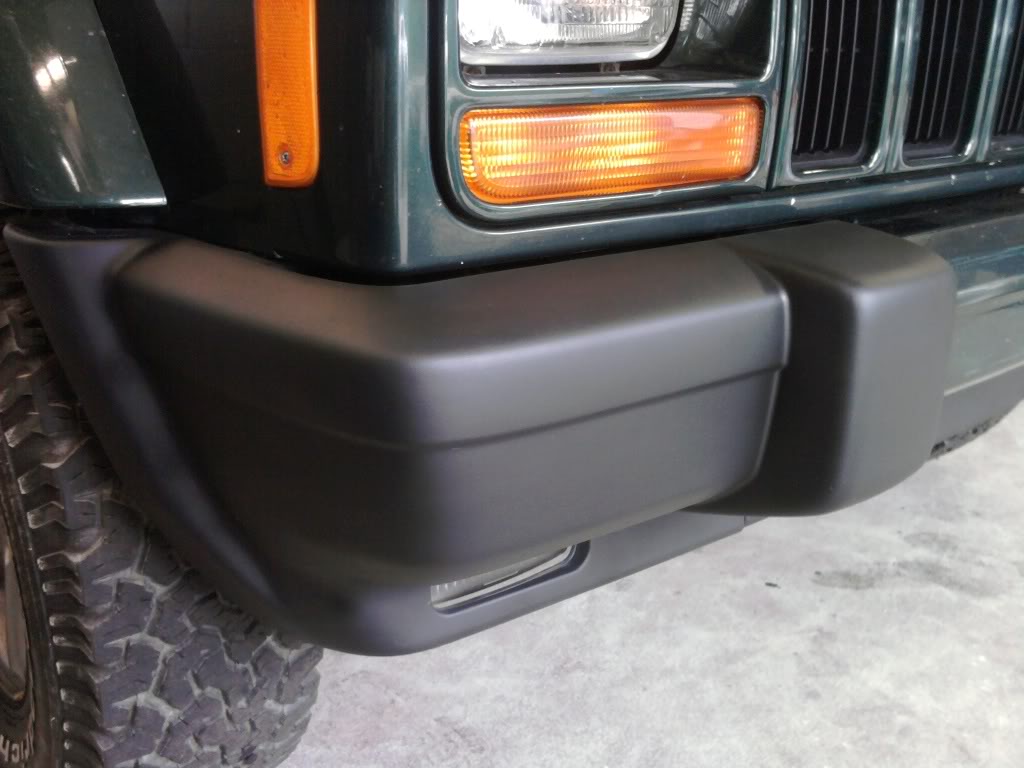
Then, after a little bit of heat and some careful prying, off came the ugly, faded body side moldings.

Much better.
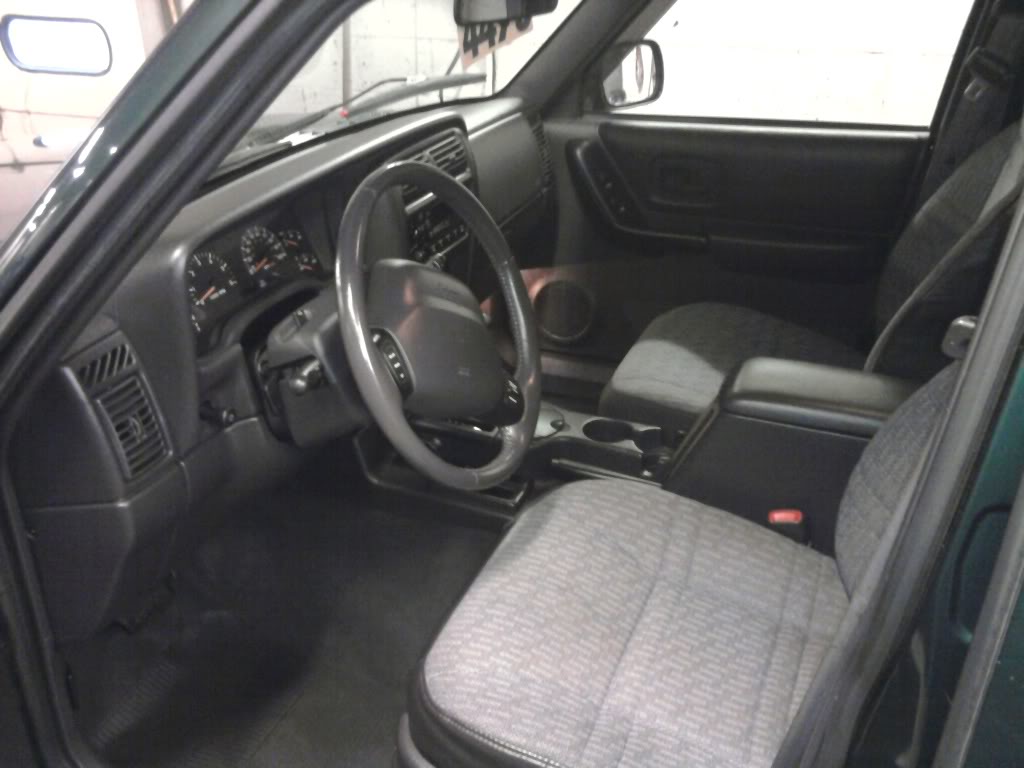
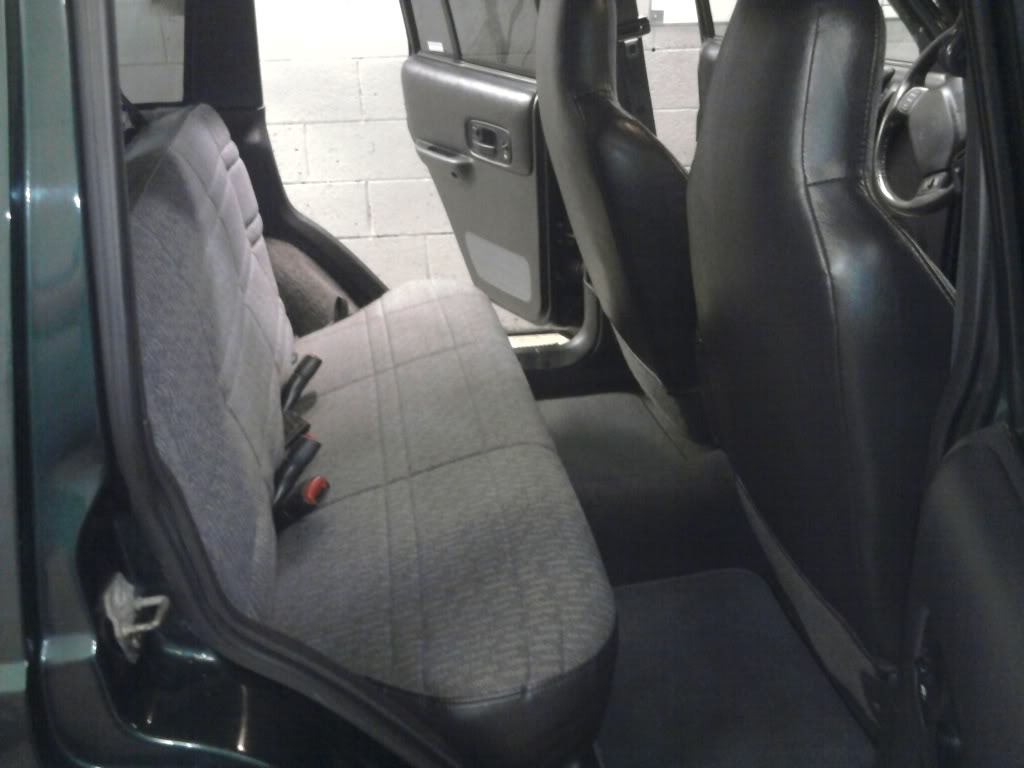
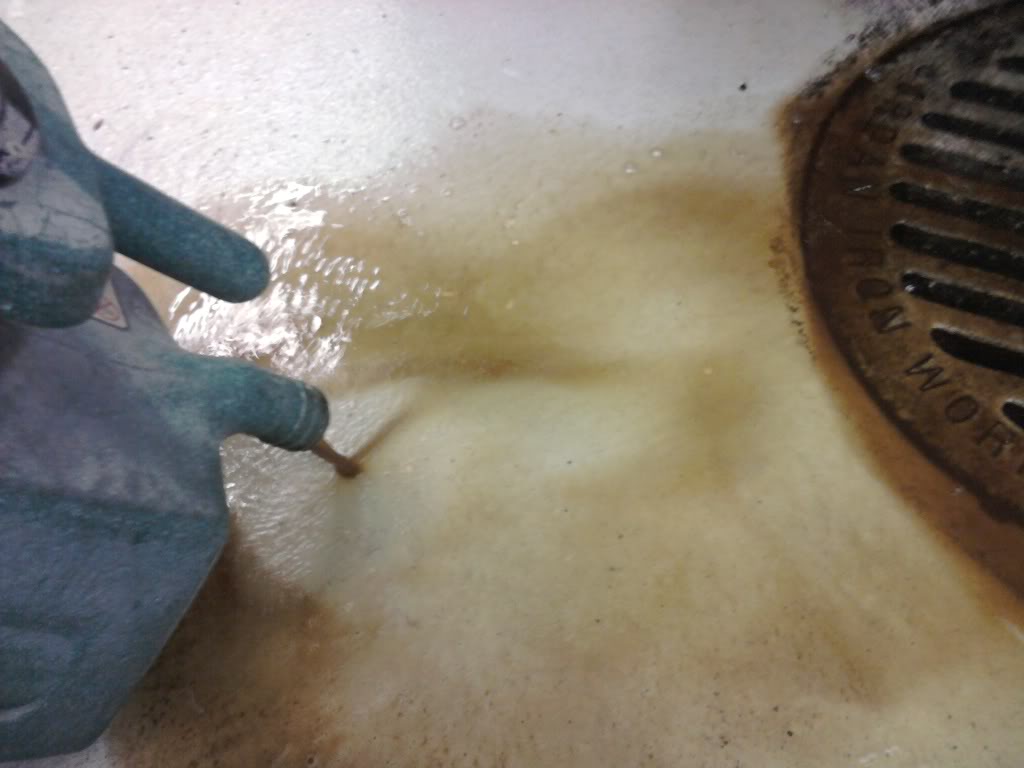
The next thing to do was tackle the stained seats. I didn't realize how bad they were until I got them wet. You can see the difference between the unclean section and the clean section, right?
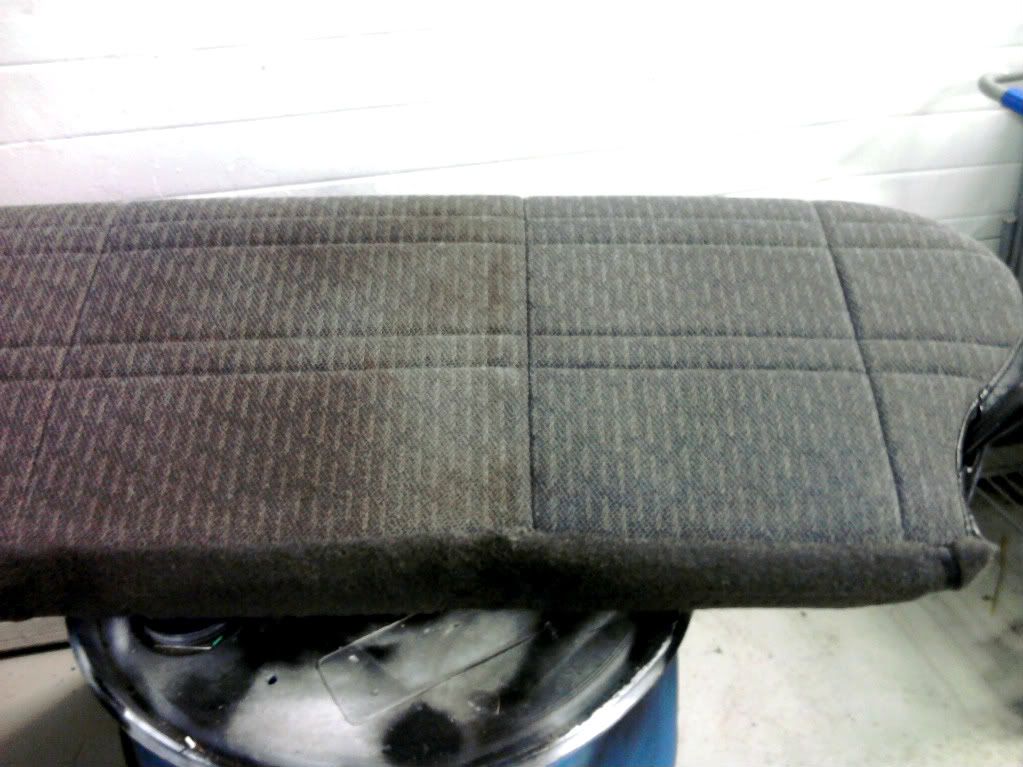
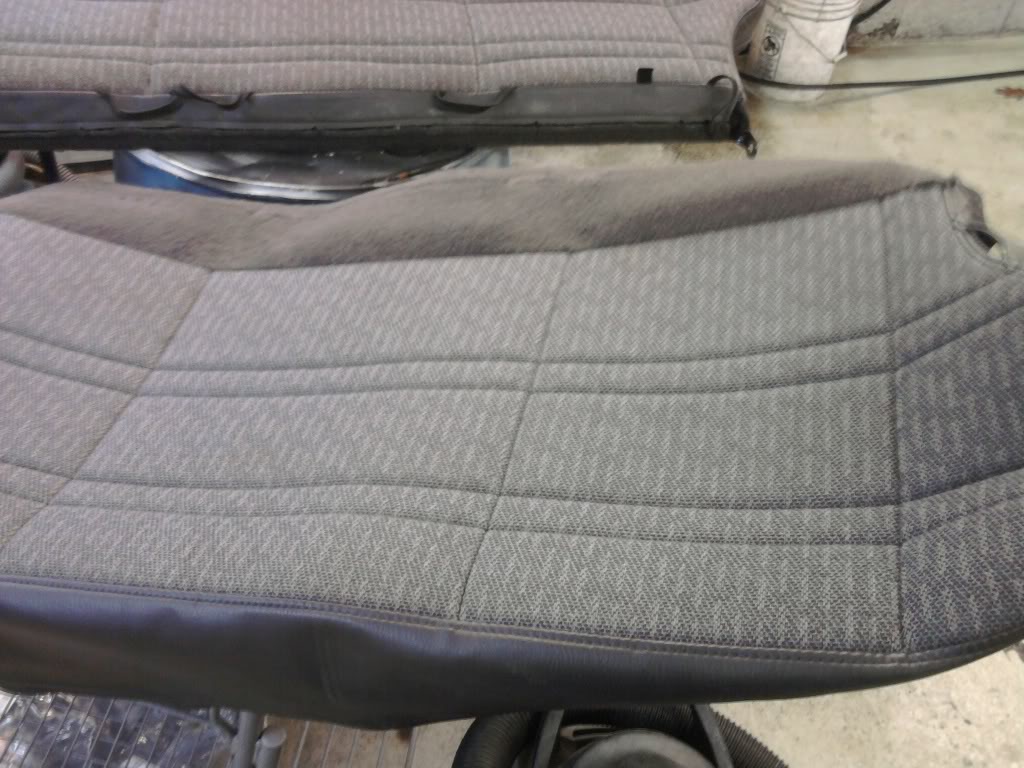
After fussing with the steam cleaner, I finally realized that the seat covers are actually designed to come right off, so I took them off, and rinsed them out with a garden hose. This is the color of the water coming out of the machine:
This was the result of just rinsing them out. No soap or scrubbing.
And the final result, after extracting the water and leaving out to dry overnight:
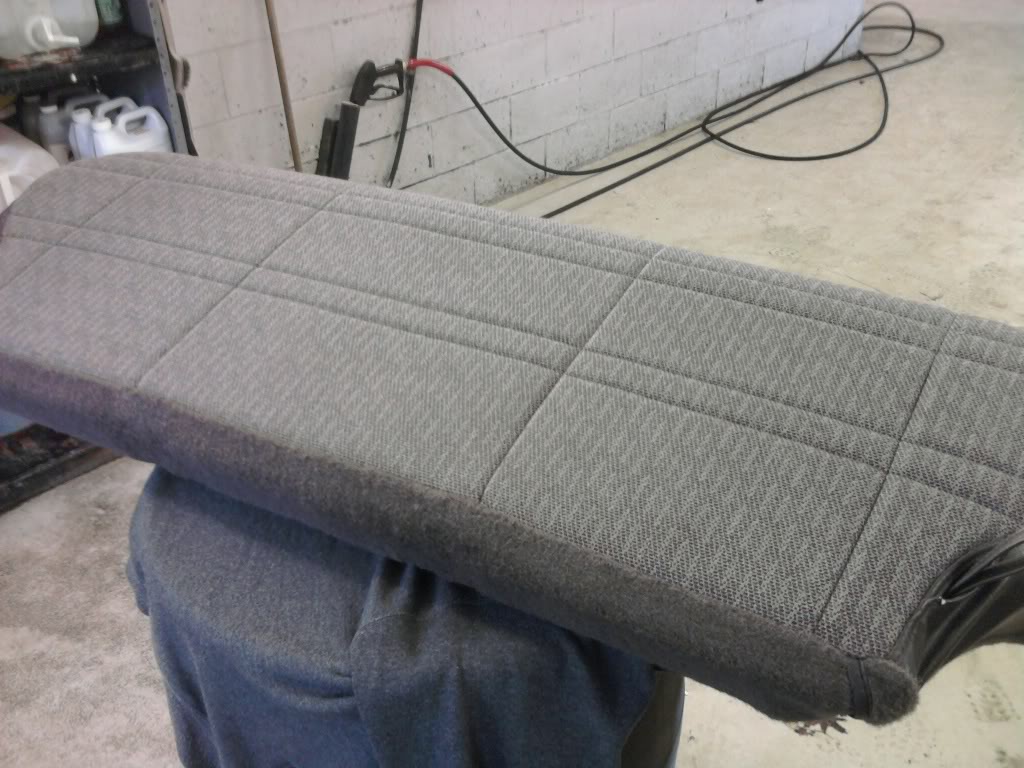
Brand new looking, wouldn't you say? Pretty impressive for just rinsing out with clean water. Sometimes that's all that's needed!
My first real upgrade came as a Christmas present. Jegs D Windows.
NewWheels.jpg?t=1321741574
Definitely the right look for my XJ.
NewWheels1.jpg?t=1322004684
So I took the advice of pretty much everyone on here and ordered a set of 984 Injectors from programbo. Good thing, too, because look at this old injector!
Injector.jpg?t=1326931104
I have definitely noticed an improvement in acceleration and idle. MPG's stayed pretty much the same. I also had to replace the front section of fuel line, as it was cracked at the tab that mounts to the intake manifold.
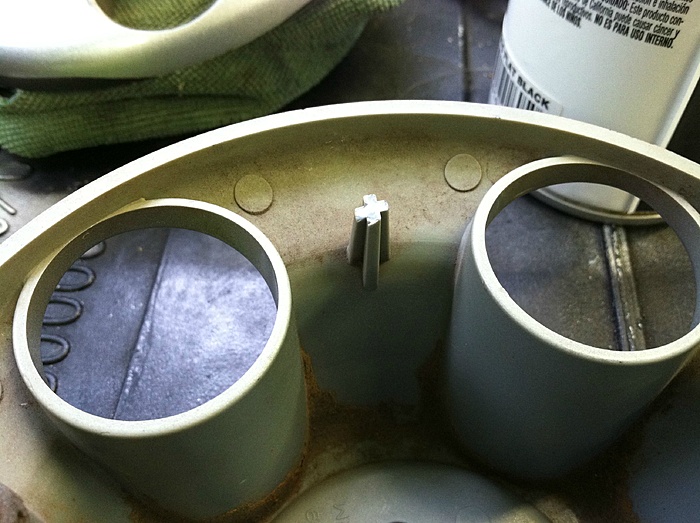
So after looking at my Jeep, I decided something was missing, and ordered a set of stock center caps from a member on this forum.
They install with screws, so some modifications had to be made.
First, the guide tab had to come off.
Now, obviously grey on black wasn't going to cut it, so I had to paint them in... what else... FLAT BLACK!
The Jeep logo pieces seem to be glued in, so I just taped them off, then scuffed the plastic with a scuff pad.

A few light dustings until it was completely covered, and here's how it looks:
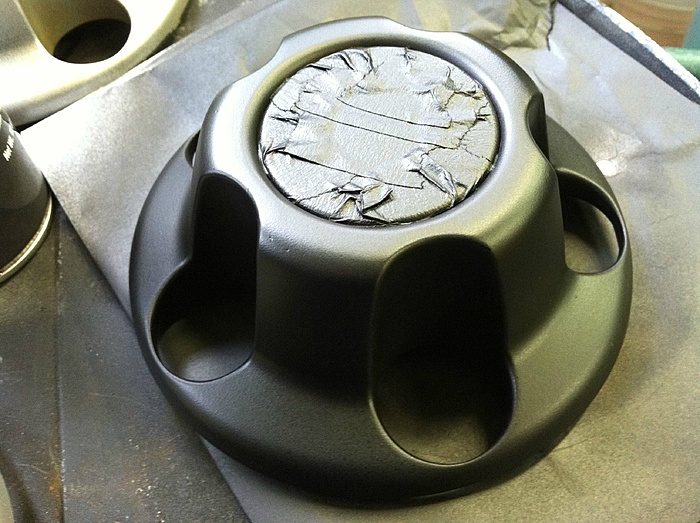
Final result:

Much, much better. Gives it that stock-ish look that I love.
So... now what? Where do I go from here?
If only i had some sort of inspiration... a sign, if you will..
That's IT! A LIFT!!!!!
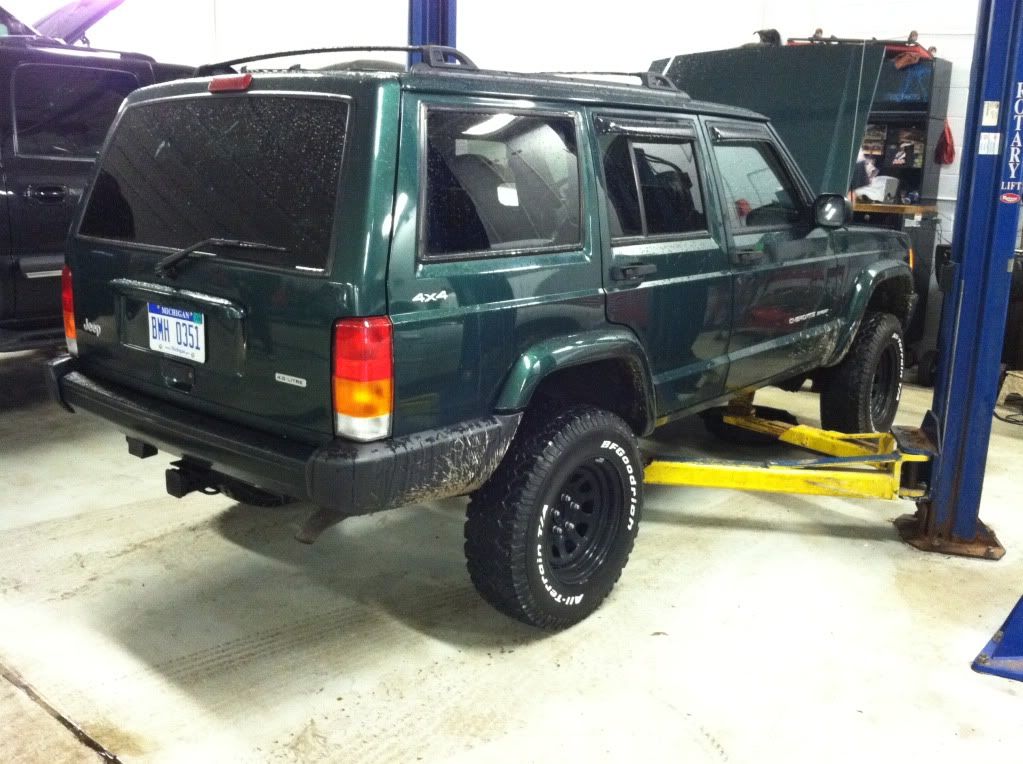
So I ordered the Rough Country 3" kit with full leaf packs. I'm sure you could tell in my other pics that the rear end is squatting... yeah, that's a problem. Especially with the different offset of the D-Windows. When I hit big bumps, the tires rub on the fender flares. Not good.
Lift kit arrived!!!!!
But... wait...
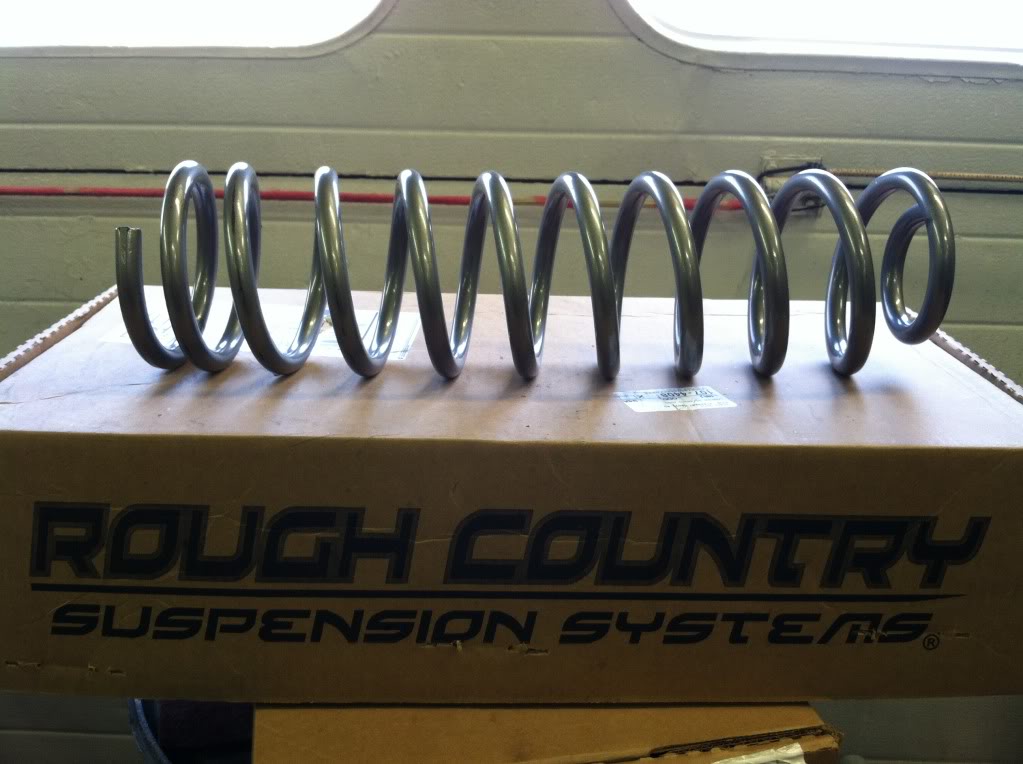
SILVER? ICK! Get it out of here!!!!!
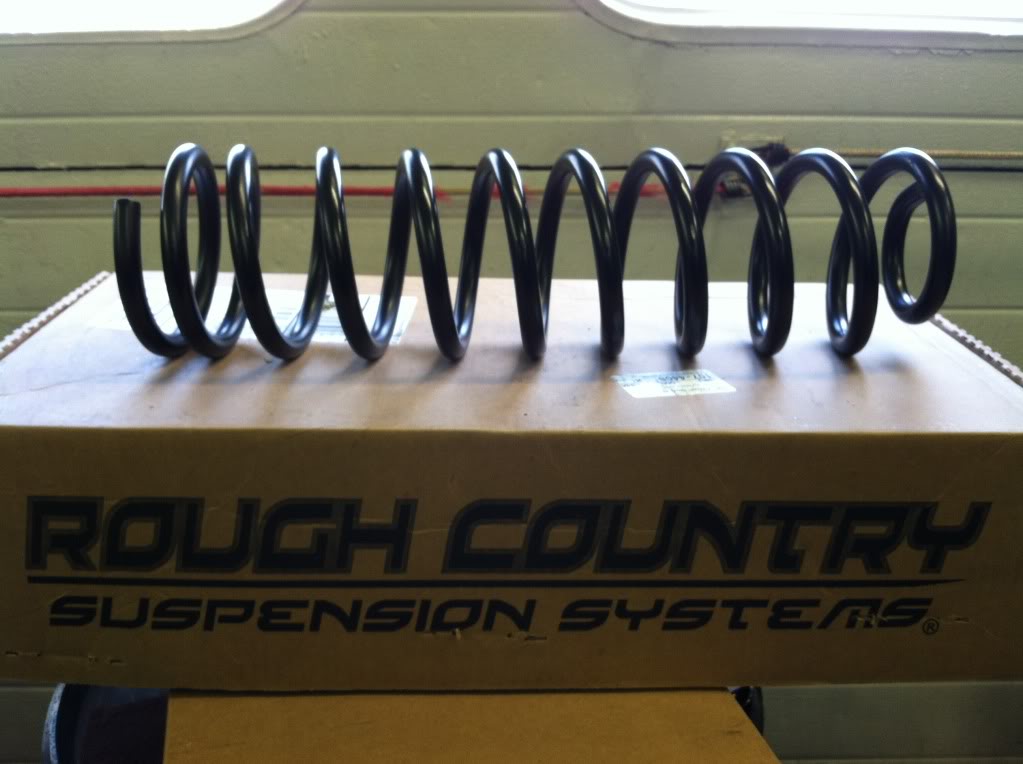
Mmmm, black. Much better.
Lift is now installed.

I wanted to take pictures of the job, but I had my hands full.
I assume that because I'd been soaking everything down with PB Blaster every couple of days for about 2 weeks, I ran into very few problems. Thankfully, the rear upper shock bolts had already been replaced by a previous owner, so there was no nut to punch out - just had to stick and end wrench up there and buzz off the nut with an impact. One of them was bent somehow and the nut got stuck, but a die grinder made short work of it.
I fed new bolts into the holes using magnet wands - Used one to feed the bolt through, and the other to "catch" it and guide it into the hole. Worked flawlessly.
The leaf spring eye bolts required some rocking back and forth with a breaker bar to free up enough for the impact to do anything. I replaced all leaf spring bolts with new ones ordered from a Dodge dealership.
One of the front lower shock bolts broke, but I had spares just in case, so it was no problem.
Squeezing the passenger side coil spring in required detaching the front of the lower control arm, and even then it was still tough - but it worked. No spring compressor needed, though it would have made things WAY easier and faster. The driver's side was a piece of cake. Just a bit of prying needed.
The JKS Adjustable Track Bar gave more trouble than anything else did. First, the castle nut and cotter pin chassis side were rusted. The pin required some screwing with to finally get it out. The nut required a torch to heat (the ONLY part I had to use the torch on), but finally it came off. A pickle fork and air hammer separated it no problem once the nut was off.
Getting the axle centered was a bit tricky until we set it down on the ground and made the adjustments there by wiggling the steering wheel to shift the weight over.
We got it as close as we could, but it turns out that it was actually dead on, according to the alignment print out I got at work the next day.
Only current problem is the need for a T-Case drop, but I'm having trouble getting the studs out. The bolts are free and easy, so I lubed them with PB Blast and put them back in until I have time to figure out a way to extract the studs.
I know a Slip Yoke Eliminator is the way to go, but I don't have the money for that right now.
It drives down the road great! A bit softer than my stock, worn out suspension, and it handles almost exactly the same. Feels a little bit more "tippy" (as it should), but it doesn't feel like a different vehicle.
I'm happy with it!
I have to admit... the XJ isn't my first love. I owned a 77 Olds Cutlass (hence my username) and loved that thing to death. Then, the XJ came in on trade at the dealership I work at, and... well, I finally started to realize that owning a car that's stored 5 months out of the year, can't be driven in rain or on dirt roads... well, it kinda made sense to let it go.
So, good bye
...and hello
With the Cutlass sold, I spent some time bonding with the Jeep, and after finding cherokeeforum, I started to realize how awesome XJ's are, and started to miss my Cutlass less. Then, I started tinkering.
First, i had to do something about all of that faded, ugly plastic.
So I masked them off, scuffed them up with a scuff pad, and shot them in Duplicolor Flat Black.
Then, after a little bit of heat and some careful prying, off came the ugly, faded body side moldings.
Much better.
The next thing to do was tackle the stained seats. I didn't realize how bad they were until I got them wet. You can see the difference between the unclean section and the clean section, right?
After fussing with the steam cleaner, I finally realized that the seat covers are actually designed to come right off, so I took them off, and rinsed them out with a garden hose. This is the color of the water coming out of the machine:
This was the result of just rinsing them out. No soap or scrubbing.
And the final result, after extracting the water and leaving out to dry overnight:
Brand new looking, wouldn't you say? Pretty impressive for just rinsing out with clean water. Sometimes that's all that's needed!
My first real upgrade came as a Christmas present. Jegs D Windows.
NewWheels.jpg?t=1321741574
Definitely the right look for my XJ.
NewWheels1.jpg?t=1322004684
So I took the advice of pretty much everyone on here and ordered a set of 984 Injectors from programbo. Good thing, too, because look at this old injector!
Injector.jpg?t=1326931104
I have definitely noticed an improvement in acceleration and idle. MPG's stayed pretty much the same. I also had to replace the front section of fuel line, as it was cracked at the tab that mounts to the intake manifold.
So after looking at my Jeep, I decided something was missing, and ordered a set of stock center caps from a member on this forum.
They install with screws, so some modifications had to be made.
First, the guide tab had to come off.
Now, obviously grey on black wasn't going to cut it, so I had to paint them in... what else... FLAT BLACK!
The Jeep logo pieces seem to be glued in, so I just taped them off, then scuffed the plastic with a scuff pad.

A few light dustings until it was completely covered, and here's how it looks:

Final result:
Much, much better. Gives it that stock-ish look that I love.
So... now what? Where do I go from here?
If only i had some sort of inspiration... a sign, if you will..
That's IT! A LIFT!!!!!
So I ordered the Rough Country 3" kit with full leaf packs. I'm sure you could tell in my other pics that the rear end is squatting... yeah, that's a problem. Especially with the different offset of the D-Windows. When I hit big bumps, the tires rub on the fender flares. Not good.
Lift kit arrived!!!!!
But... wait...
SILVER? ICK! Get it out of here!!!!!
Mmmm, black. Much better.
Lift is now installed.
I wanted to take pictures of the job, but I had my hands full.
I assume that because I'd been soaking everything down with PB Blaster every couple of days for about 2 weeks, I ran into very few problems. Thankfully, the rear upper shock bolts had already been replaced by a previous owner, so there was no nut to punch out - just had to stick and end wrench up there and buzz off the nut with an impact. One of them was bent somehow and the nut got stuck, but a die grinder made short work of it.
I fed new bolts into the holes using magnet wands - Used one to feed the bolt through, and the other to "catch" it and guide it into the hole. Worked flawlessly.
The leaf spring eye bolts required some rocking back and forth with a breaker bar to free up enough for the impact to do anything. I replaced all leaf spring bolts with new ones ordered from a Dodge dealership.
One of the front lower shock bolts broke, but I had spares just in case, so it was no problem.
Squeezing the passenger side coil spring in required detaching the front of the lower control arm, and even then it was still tough - but it worked. No spring compressor needed, though it would have made things WAY easier and faster. The driver's side was a piece of cake. Just a bit of prying needed.
The JKS Adjustable Track Bar gave more trouble than anything else did. First, the castle nut and cotter pin chassis side were rusted. The pin required some screwing with to finally get it out. The nut required a torch to heat (the ONLY part I had to use the torch on), but finally it came off. A pickle fork and air hammer separated it no problem once the nut was off.
Getting the axle centered was a bit tricky until we set it down on the ground and made the adjustments there by wiggling the steering wheel to shift the weight over.
We got it as close as we could, but it turns out that it was actually dead on, according to the alignment print out I got at work the next day.
Only current problem is the need for a T-Case drop, but I'm having trouble getting the studs out. The bolts are free and easy, so I lubed them with PB Blast and put them back in until I have time to figure out a way to extract the studs.
I know a Slip Yoke Eliminator is the way to go, but I don't have the money for that right now.
It drives down the road great! A bit softer than my stock, worn out suspension, and it handles almost exactly the same. Feels a little bit more "tippy" (as it should), but it doesn't feel like a different vehicle.
I'm happy with it!
Last edited by 77olds; 05-01-2012 at 10:49 AM.
 04-09-2012, 08:28 PM
#4
Old School CF Moderator
Join Date: May 2010
Location: Chattanooga
Posts: 9,652
Likes: 0
Received 3 Likes
on
3 Posts
Year: 2001
Model: Cherokee
Engine: 4.0
Dude, wait till i find a pic of my 76 olds, baby blue with white top. I cant believe yours is so close to looking like my old one
Trending Topics
 05-01-2012, 11:58 AM
#12
CF Veteran
Join Date: May 2010
Location: New Hampshire
Posts: 1,013
Likes: 0
Received 1 Like
on
1 Post
Year: 1997
Model: Grand Cherokee
Engine: 4.0
lol Trust me, we all miss our project cars and would also still own them both if we could. In time, you have another car AND your Jeep.

Thread
Thread Starter
Forum
Replies
Last Post
cpnwrench
Stock XJ Cherokee Tech. All XJ Non-modified/stock questions go here
13
02-15-2024 08:09 AM
Currently Active Users Viewing This Thread: 1 (0 members and 1 guests)