My XJ Rough Country 6.5" Long Arm install w/other stuff as well... The long way...
 05-19-2010, 11:06 AM
#151
CF Veteran
Join Date: Aug 2008
Location: Hollidaysburg, PA
Posts: 5,603
Likes: 0
Received 0 Likes
on
0 Posts
Year: 1990
Model: Cherokee
Engine: 4.0 lt. 242 cu.in.
Any one ever tried these techniques?
1) "another way that I heard of but have not tried is to compress one side with a ratchet strap up as high as it will go (without your shocks on) and then lift the other side up until the tire is off of the ground. Then you can get both measurements at the same time"
2) "Just take a tape measure an get the distance from the axle to the frame bump stop and the distance from the top and bottom shock mounting points at ride height. Minus the first from the second and that is the compressed shock length you need."
 05-19-2010, 02:29 PM
#152
Seasoned Member
Thread Starter
Join Date: Sep 2009
Location: MA
Posts: 377
Likes: 0
Received 1 Like
on
1 Post
Year: 2001
Model: Cherokee
Engine: 4.0
hmm no I don't
My friend says we can try his engine hoist?
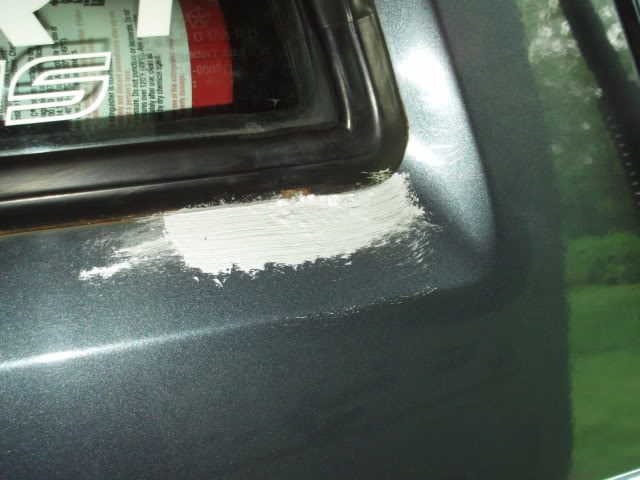
Well I figured I better get on this painting so that when i do get the new shocks its just slap them in and drive to the alignment shop.
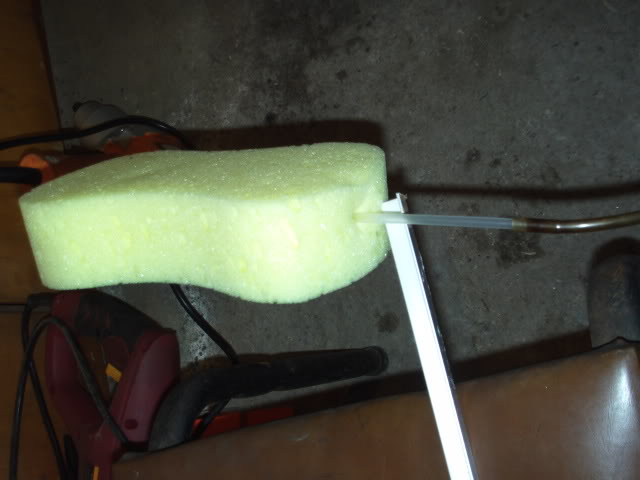
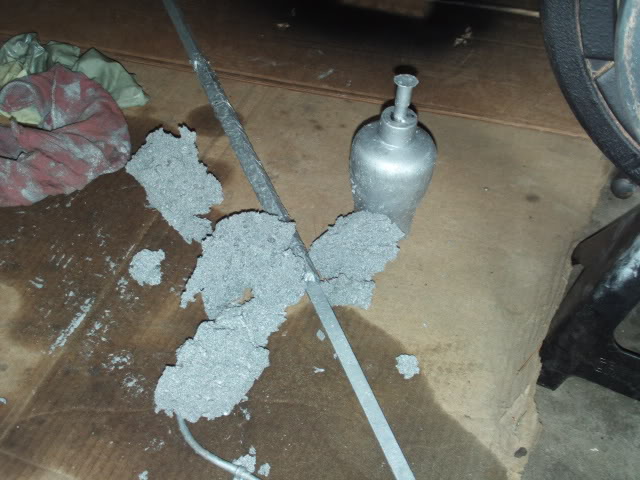
Made a little painting stick sponge jobber, but then my sponge fell apart.!
kinda sux.
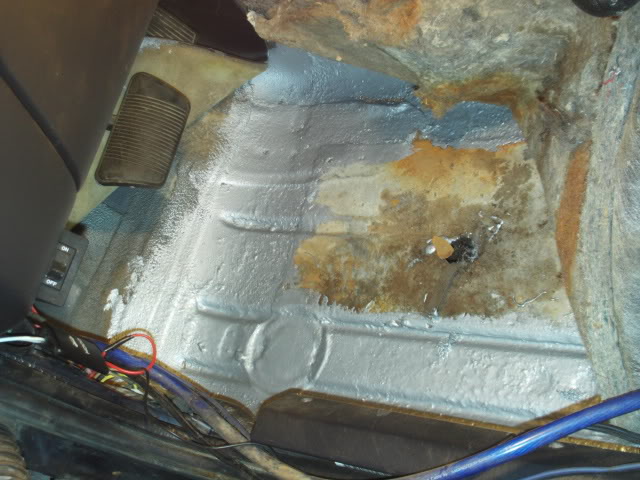
I figure any paint I got in there is better than none at all!
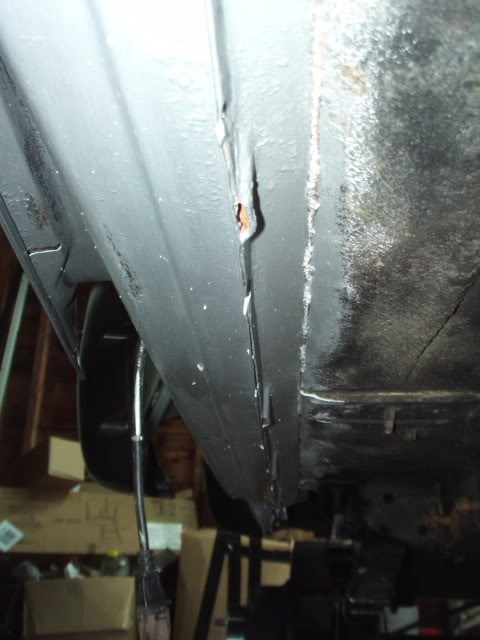
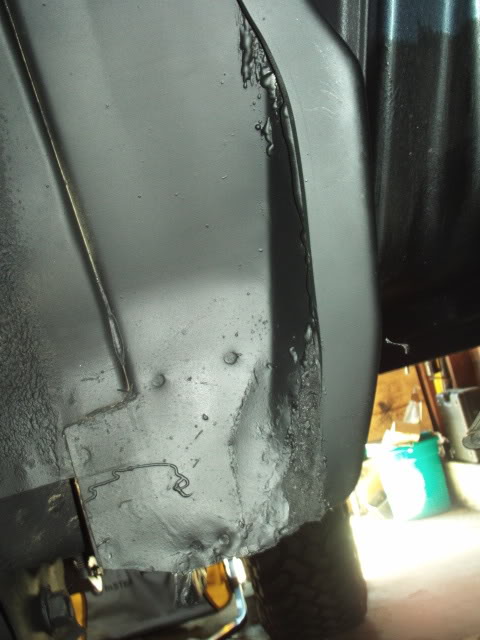
Once this dries I will bend the metal back in, then use some seam sealer Rubicon Matt got for me.
Then i will use the rest of the truck bed-liner I have on the rockers and just spray paint the gas tank black.
here are some pics.
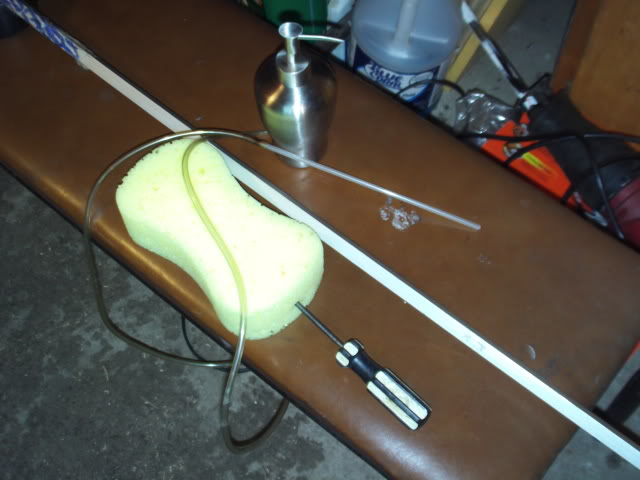
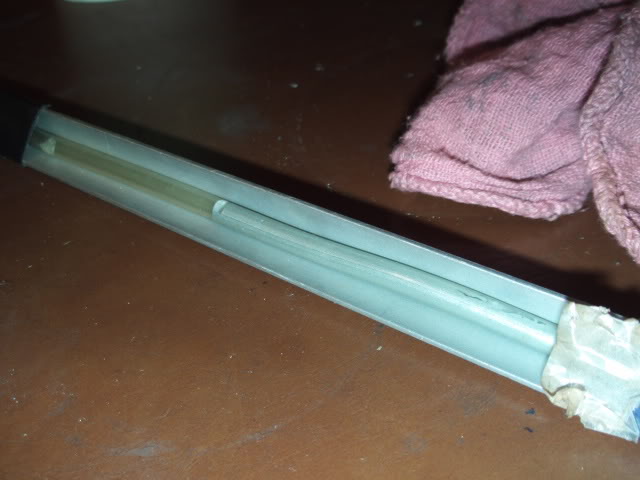
tube inside.
tie wrapped
then taped
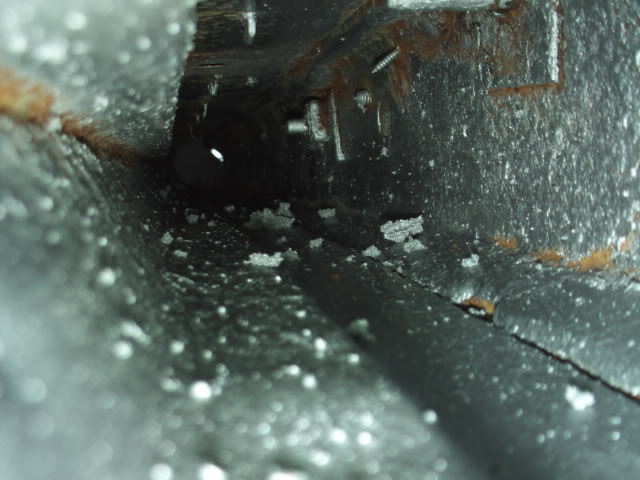
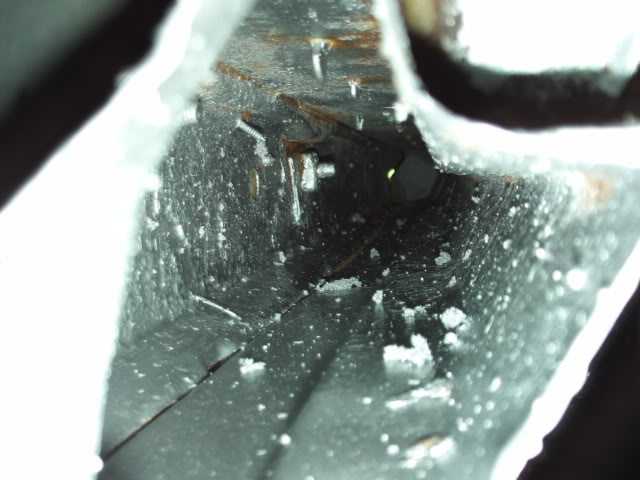
filled my pump with paint
pumped some in (worked great!)

I ended up dumping some paint into a painters tray and sticking the sponge in that anyway.
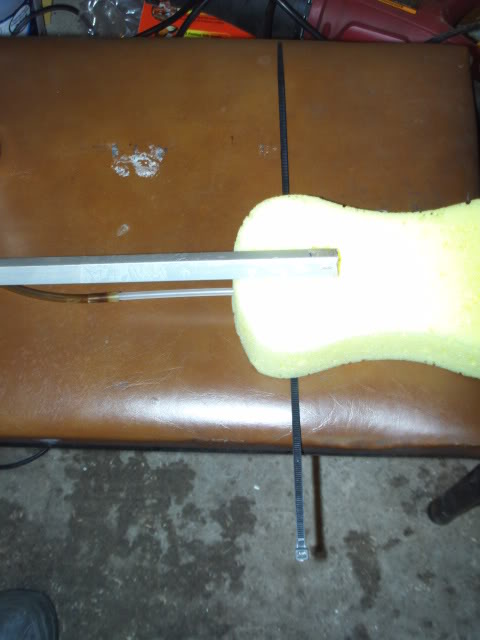
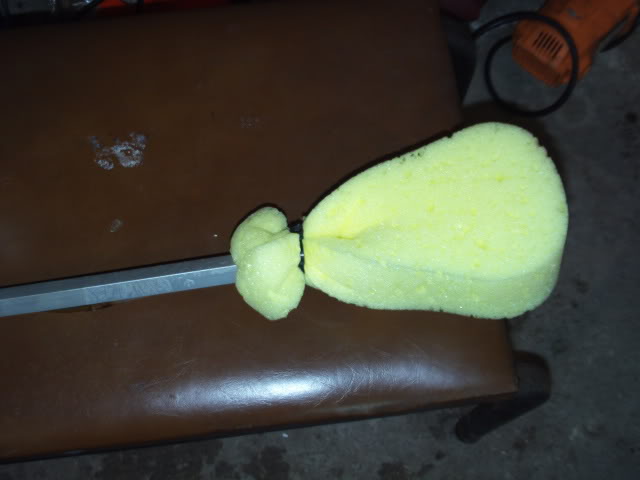
then my sponge got so shredded that I ripped the tip of it off to expose my hose that the paint came through.
then I was able to just pump some wet paint in the tube and then mop it around sort of.
not the best coverage, but it hit a lot of spots...
then I went around the Jeep like a crazy man.
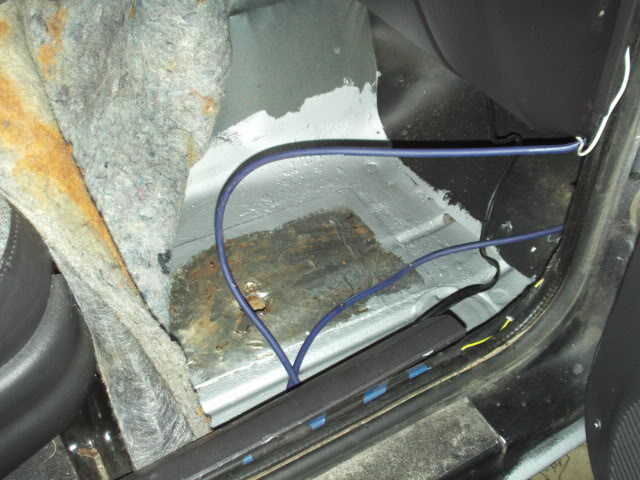
I sort of slacked on the floor boards, but I was not about to tear my whole carpet out at this time.
I need to get wheelin!
 05-19-2010, 02:29 PM
#153
Seasoned Member
Thread Starter
Join Date: Sep 2009
Location: MA
Posts: 377
Likes: 0
Received 1 Like
on
1 Post
Year: 2001
Model: Cherokee
Engine: 4.0
2 coats everywhere!

Lazy just a littel touch here, I still have left over blue from painting my whole tailgate. It will look ok once done.
next up is bed liner
Lazy just a littel touch here, I still have left over blue from painting my whole tailgate. It will look ok once done.
next up is bed liner
05-19-2010, 02:47 PM
#154
CF Veteran
Join Date: Aug 2008
Location: Hollidaysburg, PA
Posts: 5,603
Likes: 0
Received 0 Likes
on
0 Posts
Year: 1990
Model: Cherokee
Engine: 4.0 lt. 242 cu.in.
hmm no I don't
My friend says we can try his engine hoist?
Well I figured I better get on this painting so that when i do get the new shocks its just slap them in and drive to the alignment shop.
Made a little painting stick sponge jobber, but then my sponge fell apart.!
kinda sux.
I figure any paint I got in there is better than none at all!
Once this dries I will bend the metal back in, then use some seam sealer Rubicon Matt got for me.
Then i will use the rest of the truck bed-liner I have on the rockers and just spray paint the gas tank black.
here are some pics.
 lol Nice paint thing...setup too bad the sponge fell apart though.
05-19-2010, 03:02 PM
lol Nice paint thing...setup too bad the sponge fell apart though.
05-19-2010, 03:02 PM
#155
Seasoned Member
Thread Starter
Join Date: Sep 2009
Location: MA
Posts: 377
Likes: 0
Received 1 Like
on
1 Post
Year: 2001
Model: Cherokee
Engine: 4.0
All the stuff I used to paint that stuff is totally wrecked!
The funnel won't come clean, the sponge is toast! the paint brush is junk now. lol
My hands have paint on them because my gloves ripped, and my garage floor has some silver spots on it now. lol
but hey it worked! for the most part
05-19-2010, 05:25 PM
#157
Seasoned Member
Thread Starter
Join Date: Sep 2009
Location: MA
Posts: 377
Likes: 0
Received 1 Like
on
1 Post
Year: 2001
Model: Cherokee
Engine: 4.0
hey bud that paint is expensive rust inhibitor paint.
It's called "Rust Bullet".
It stops rust for up to 10 years and adds strength to metal.
it's thick stuff!
I hear a lot of people swear by it instead of the POR-15
It's called "Rust Bullet".
It stops rust for up to 10 years and adds strength to metal.
it's thick stuff!
I hear a lot of people swear by it instead of the POR-15
05-19-2010, 05:35 PM
#158
Senior Member
Join Date: Mar 2009
Location: Levittown P.A.
Posts: 818
Likes: 0
Received 0 Likes
on
0 Posts
Year: 1992
Model: Cherokee
Engine: 4.0L H/O
thanks!
also im thinking about getting some of those wheel spacers...run them on my stock wheels with a 2 in BB untill i save up enough for a real lift/wheels/tires. how do they do? they strong enough? and ive also heard they put extra stress on wheel bearings, but i guess anything that pushes the wheels out would do that.
awesome build!! looks awesome and your not taking any shortcuts.
 05-19-2010, 07:06 PM
#160
Seasoned Member
Thread Starter
Join Date: Sep 2009
Location: MA
Posts: 377
Likes: 0
Received 1 Like
on
1 Post
Year: 2001
Model: Cherokee
Engine: 4.0
i might have to do my rear floors with that, and some stuff under my jeep as well.
thanks!
also im thinking about getting some of those wheel spacers...run them on my stock wheels with a 2 in BB untill i save up enough for a real lift/wheels/tires. how do they do? they strong enough? and ive also heard they put extra stress on wheel bearings, but i guess anything that pushes the wheels out would do that.
awesome build!! looks awesome and your not taking any shortcuts.
The wheel spacers look good so far, I have not driven any where with them yet.

I heard that as well about the extra stress but as you said its a given.
I was thinking I will cross that bridge when I get to it.
If I need something new or replaced I will work on it then.
I don't really even need the wheel spacers, just bought them to see how they looked. I may take them back off someday not sure....
I saw a XJ with my tires and the same rims but they where the 10" wide ones and not the 8" wide ones I have. It looked great, so I got the spacers to check it out.
I am so used to the way the jeep looked before, so getting used to the "wider" look may take some time.
Will see.
I will say this, when I hang out the window to look at where my tire is its tough to see because of the BW flares. but with these spacers there I can actually see the tire easier so it may make it easier to drive offroad.
Last edited by Brian; 05-19-2010 at 07:09 PM.
05-20-2010, 06:50 AM
#162
CF Veteran
Join Date: Aug 2008
Location: Hollidaysburg, PA
Posts: 5,603
Likes: 0
Received 0 Likes
on
0 Posts
Year: 1990
Model: Cherokee
Engine: 4.0 lt. 242 cu.in.
oh ok then cool, then worst case scenario my friend is bringing one by this weekend.
All the stuff I used to paint that stuff is totally wrecked!
The funnel won't come clean, the sponge is toast! the paint brush is junk now. lol
My hands have paint on them because my gloves ripped, and my garage floor has some silver spots on it now. lol
but hey it worked! for the most part
All the stuff I used to paint that stuff is totally wrecked!
The funnel won't come clean, the sponge is toast! the paint brush is junk now. lol
My hands have paint on them because my gloves ripped, and my garage floor has some silver spots on it now. lol
but hey it worked! for the most part
05-20-2010, 01:13 PM
#163
Senior Member
Join Date: Sep 2008
Location: Nashville, TN
Posts: 688
Likes: 0
Received 1 Like
on
1 Post
Year: 2000
Model: Cherokee
Engine: 4.0L HO
thanks man!
The wheel spacers look good so far, I have not driven any where with them yet.
I heard that as well about the extra stress but as you said its a given.
I was thinking I will cross that bridge when I get to it.
If I need something new or replaced I will work on it then.
I don't really even need the wheel spacers, just bought them to see how they looked. I may take them back off someday not sure....
I saw a XJ with my tires and the same rims but they where the 10" wide ones and not the 8" wide ones I have. It looked great, so I got the spacers to check it out.
I am so used to the way the jeep looked before, so getting used to the "wider" look may take some time.
Will see.
I will say this, when I hang out the window to look at where my tire is its tough to see because of the BW flares. but with these spacers there I can actually see the tire easier so it may make it easier to drive offroad.
05-21-2010, 08:32 PM
#164
Seasoned Member
Thread Starter
Join Date: Sep 2009
Location: MA
Posts: 377
Likes: 0
Received 1 Like
on
1 Post
Year: 2001
Model: Cherokee
Engine: 4.0
Hi dudes!
I have been busy these last few days, check it out!
I don't want to write a long book, I will let the pictures tell most of the story.
I have lots of pics so it will take multiple posts.
Be patient.
Things I completed;
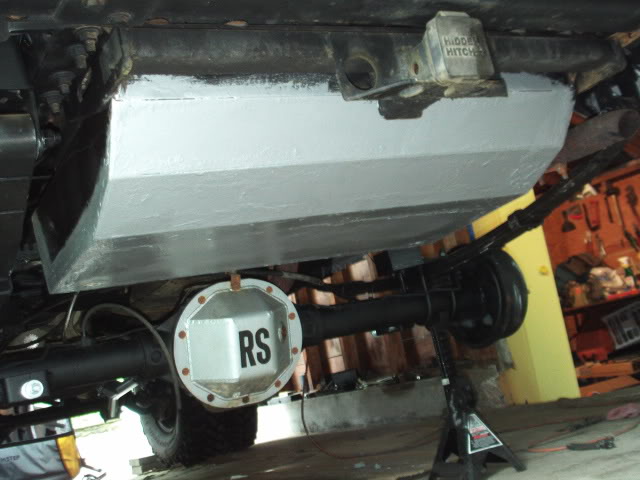
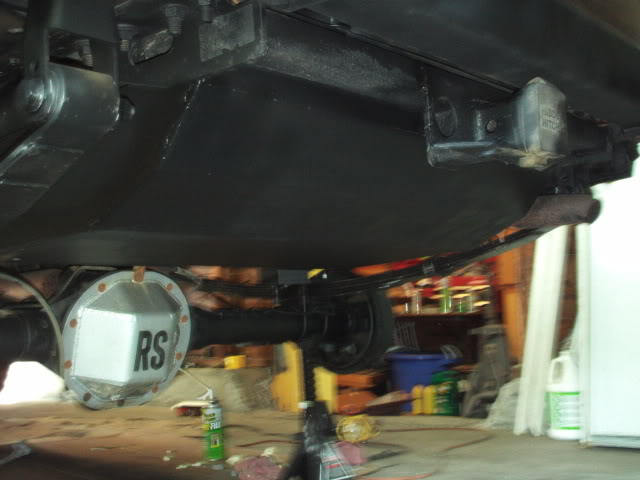
Bed liner over the rust bullet everywhere.
Extended my rear diff breather.
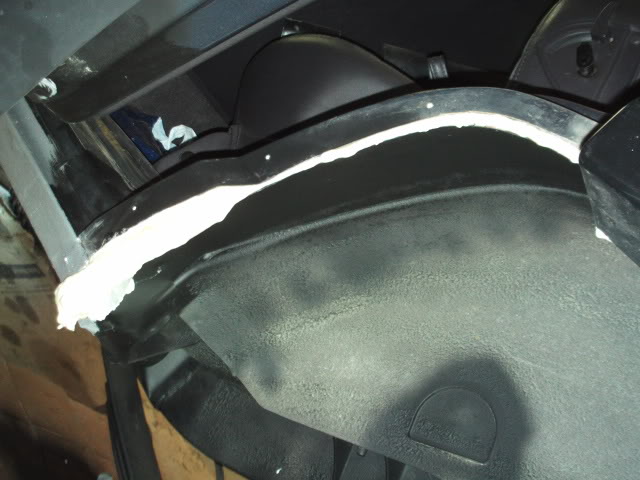
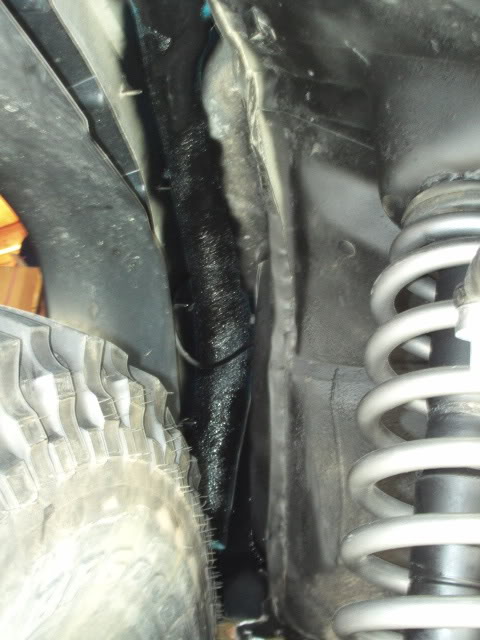
Used some expanding foam to seal off area's that should have been sealed the first time the Bushwackers where installed!
More black paint....
Adjusted steering wheel to be straight using drag link.
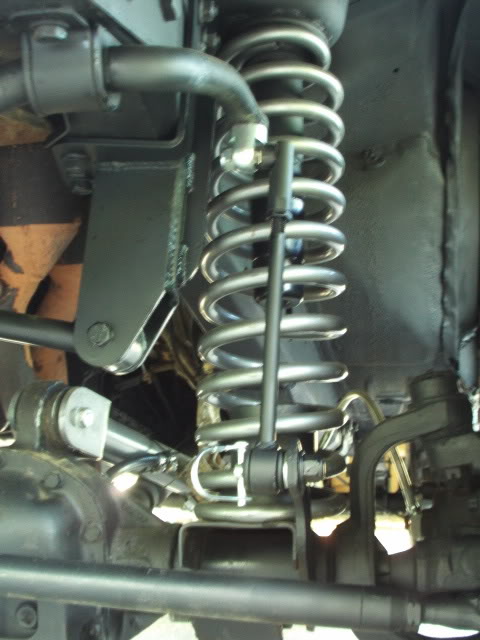
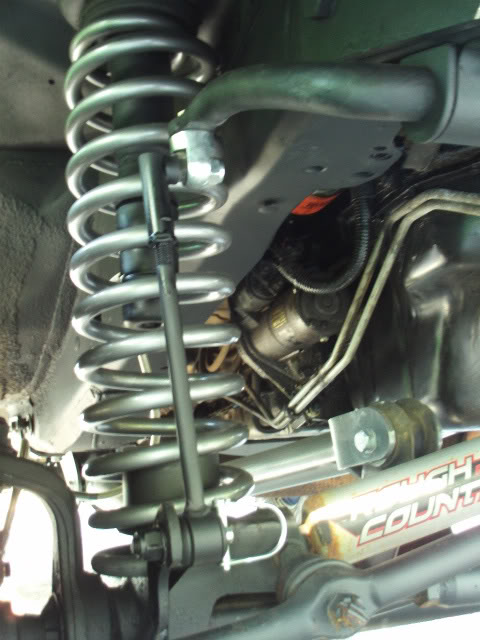
Installed sway bar disconnects
Flexed and measured for rear shocks.
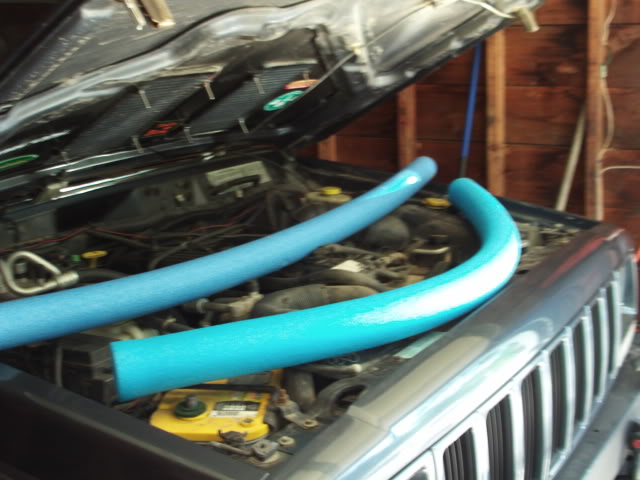
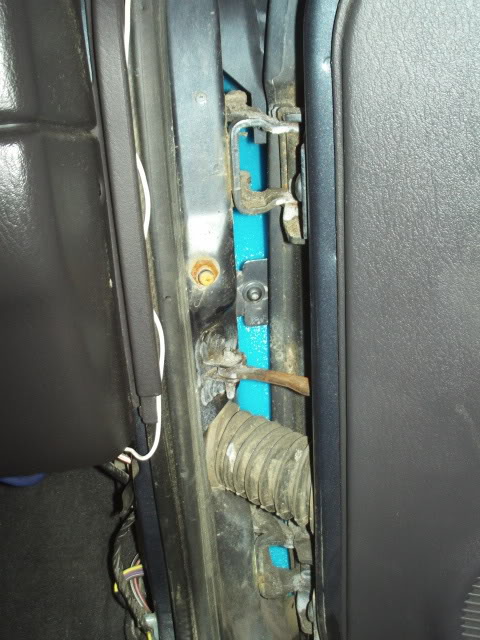
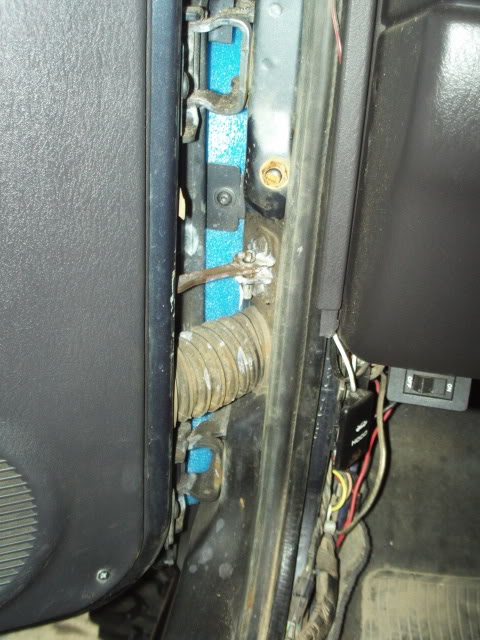
Used pool noodle to seal up door jam.
Had a exhaust rattle noise after lift, found out it was coming from the new cross member. I jacked up under the exhaust and bent up a hanger to take care of that.
Before I start, let me say that you should always wear gloves when the directions tell you to!
I used "Rust Bullet", then bed liner, then expanding foam with no gloves and my hands where BLACK! They still are!
I am still trying to wash this crap off, it is coming off but slowly....
ok so here are some pics.
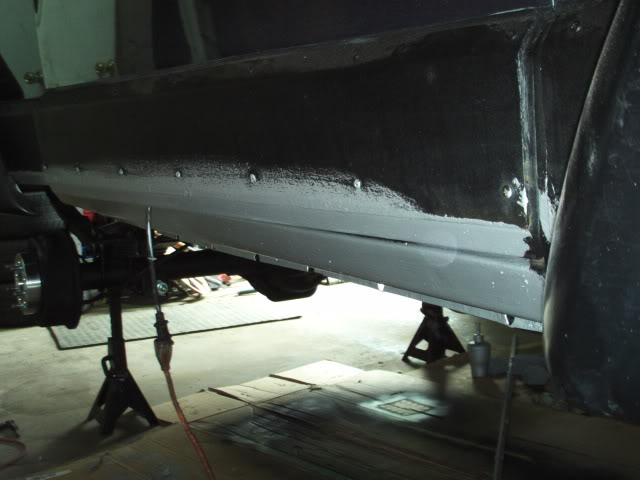
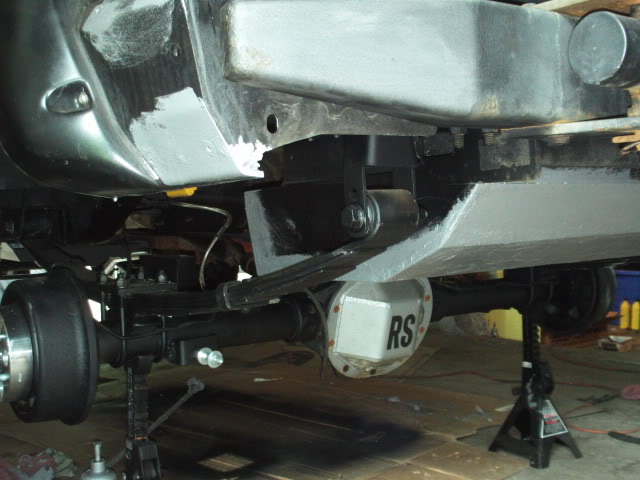
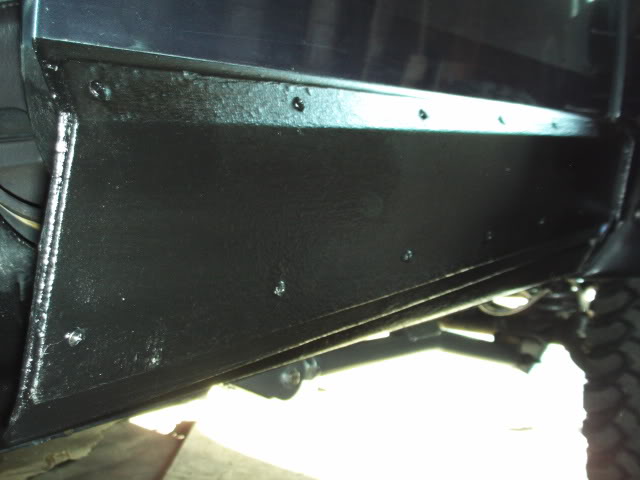
Painted.
Masked
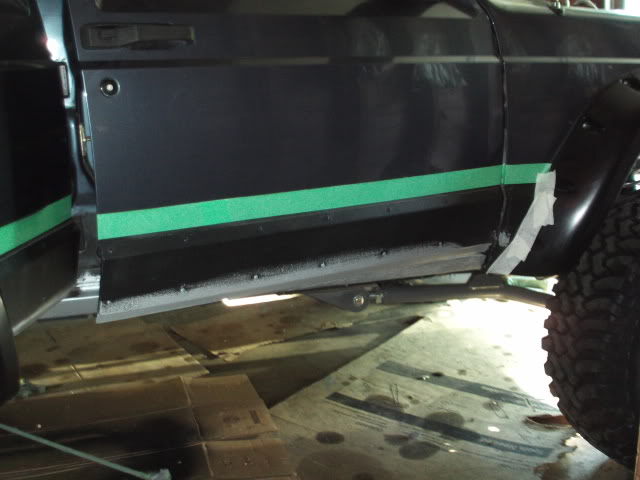
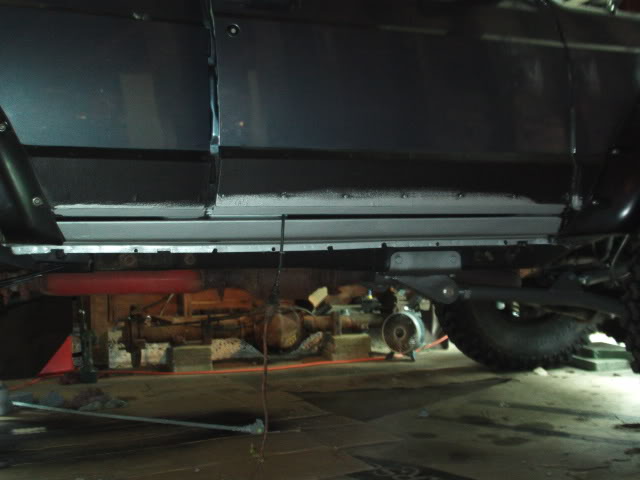
Bed lined (for the 4th time. I did this in the past a few times)
Still wet in these pics.
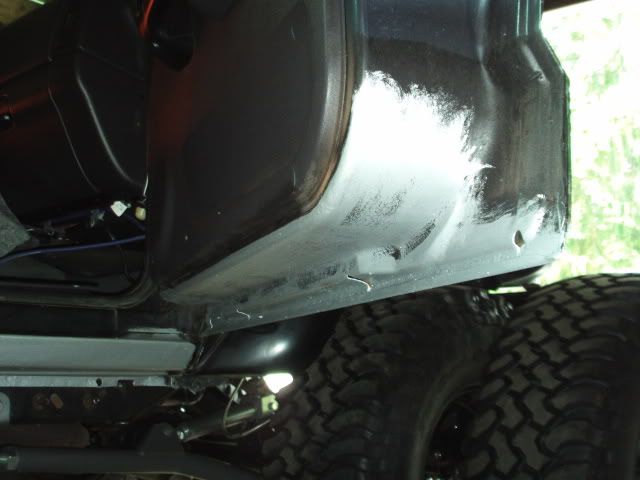
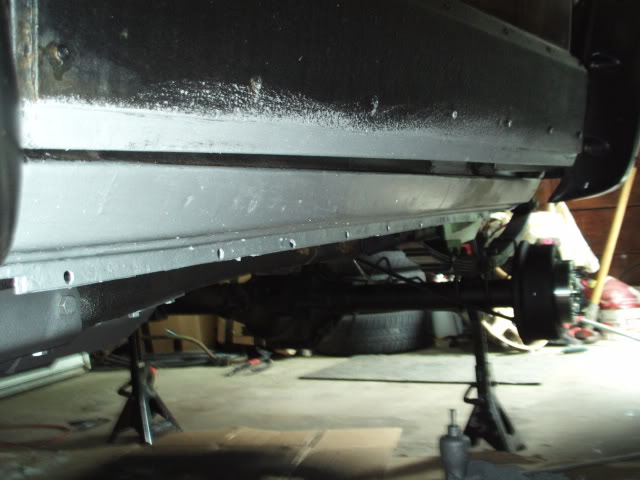
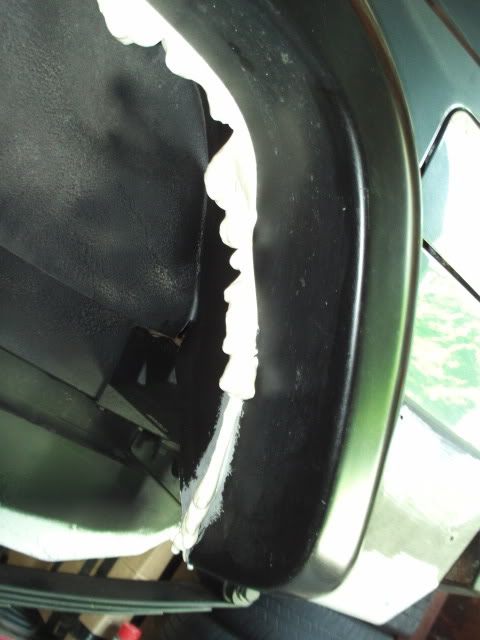
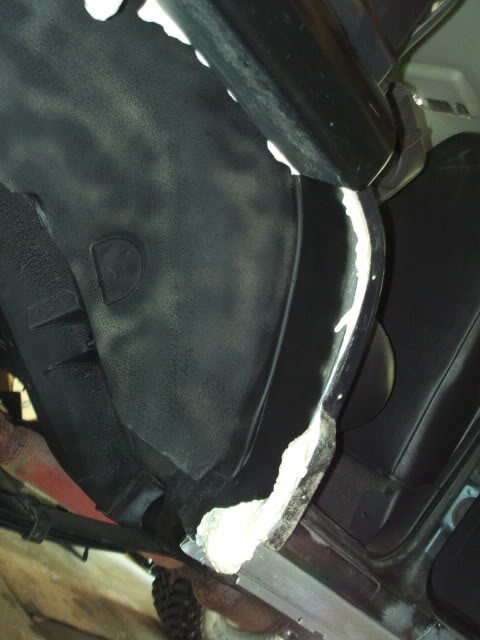
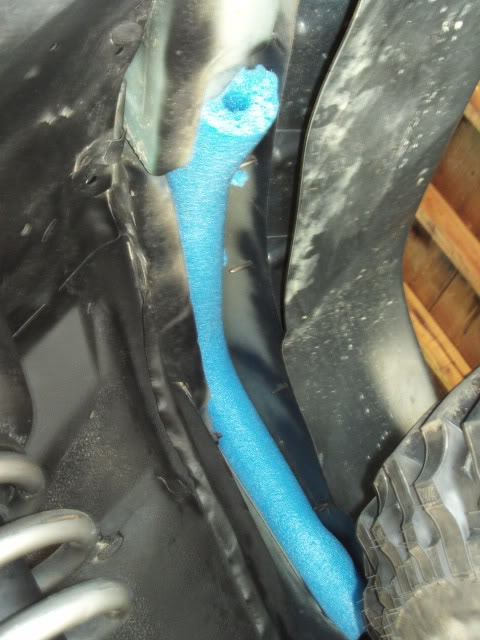
Shaved foam with brush and knife.
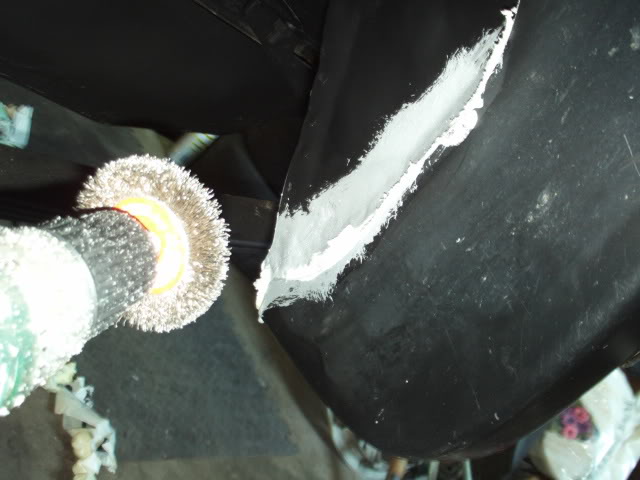
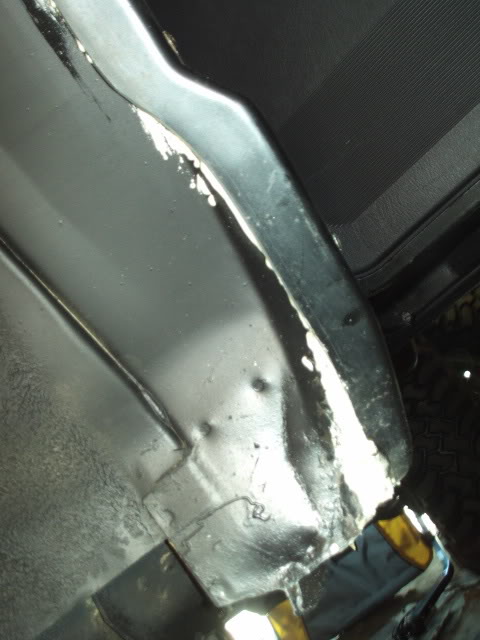
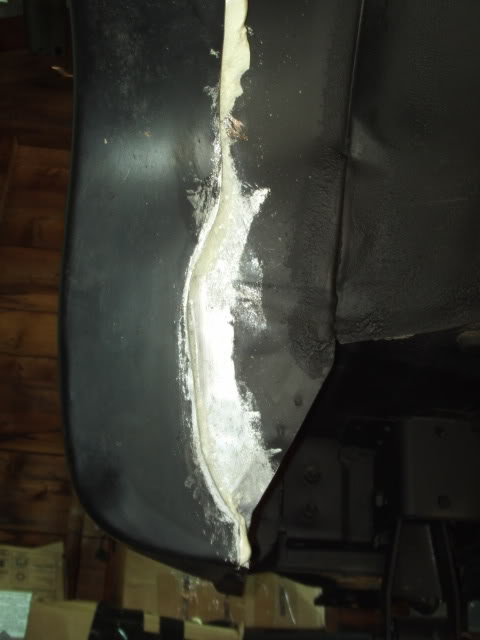
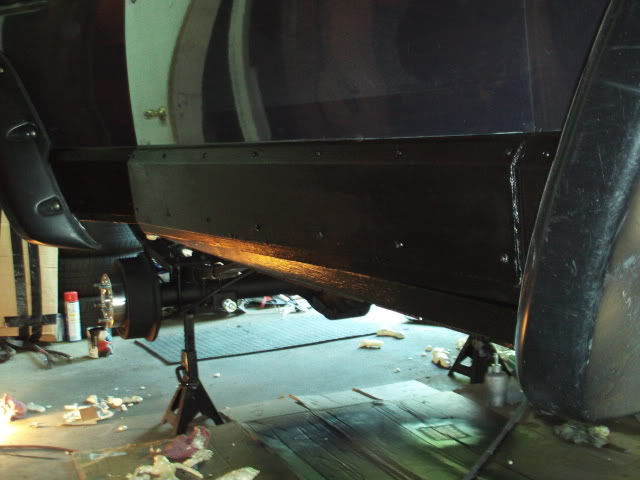
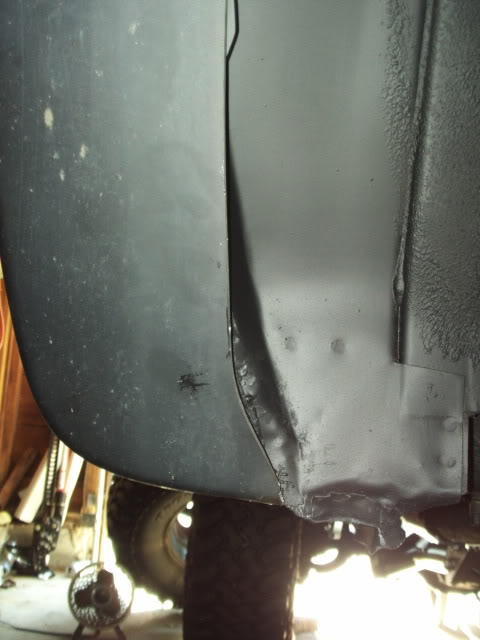
Finished product. Sealed up now really good. No water or sand is getting in those rockers ever again!
Door shut.
Door open.

back side of Bushwackers towards trunk space.

I have been busy these last few days, check it out!
I don't want to write a long book, I will let the pictures tell most of the story.
I have lots of pics so it will take multiple posts.
Be patient.
Things I completed;
Bed liner over the rust bullet everywhere.
Extended my rear diff breather.
Used some expanding foam to seal off area's that should have been sealed the first time the Bushwackers where installed!
More black paint....
Adjusted steering wheel to be straight using drag link.
Installed sway bar disconnects
Flexed and measured for rear shocks.
Used pool noodle to seal up door jam.
Had a exhaust rattle noise after lift, found out it was coming from the new cross member. I jacked up under the exhaust and bent up a hanger to take care of that.
Before I start, let me say that you should always wear gloves when the directions tell you to!
I used "Rust Bullet", then bed liner, then expanding foam with no gloves and my hands where BLACK! They still are!
I am still trying to wash this crap off, it is coming off but slowly....
ok so here are some pics.
Painted.
Masked
Bed lined (for the 4th time. I did this in the past a few times)
Still wet in these pics.
Shaved foam with brush and knife.
Finished product. Sealed up now really good. No water or sand is getting in those rockers ever again!
Door shut.
Door open.
back side of Bushwackers towards trunk space.
05-21-2010, 08:42 PM
#165
Seasoned Member
Thread Starter
Join Date: Sep 2009
Location: MA
Posts: 377
Likes: 0
Received 1 Like
on
1 Post
Year: 2001
Model: Cherokee
Engine: 4.0
POOL NOODLES!!!
I Thought one would be enough until I realized I could utilize almost the whole noodle!
lil stuff here and a little there.
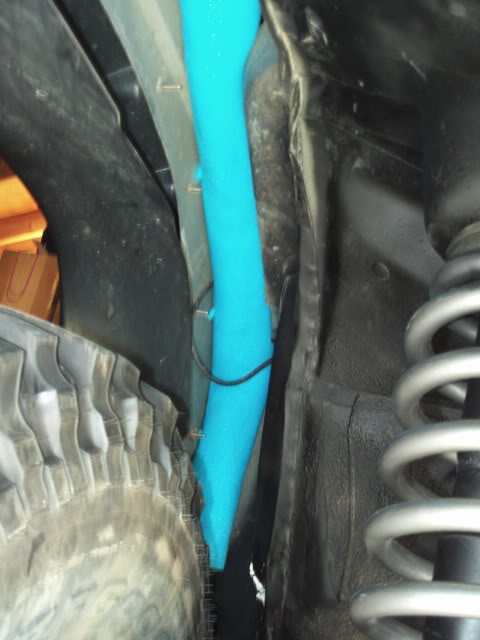
left this side blue.
painted inner side.. Still wet here its flat black not gloss
other side, same deal..
This should keep my door jam cleaner, thanks guys for the tip!.
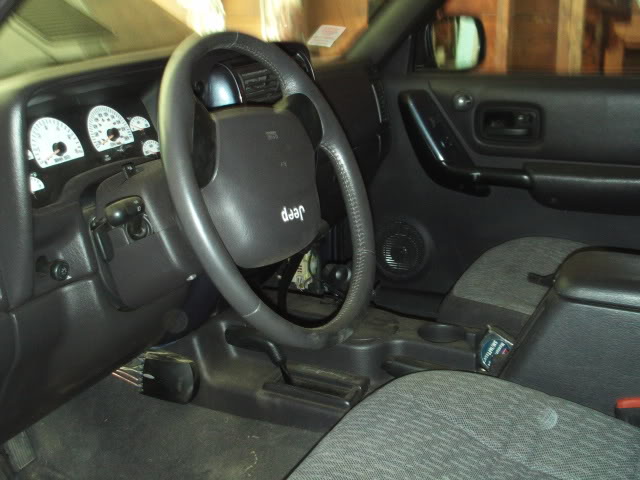
Steering wheel upside down after lift.
Adjusted
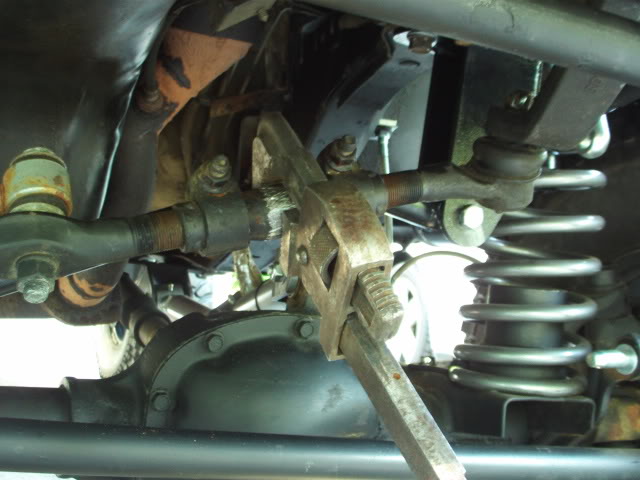
Painted after this of coarse... My pipe wrench sucked, it kept slipping teeth on the adjuster! its old hand me down stuff. haha
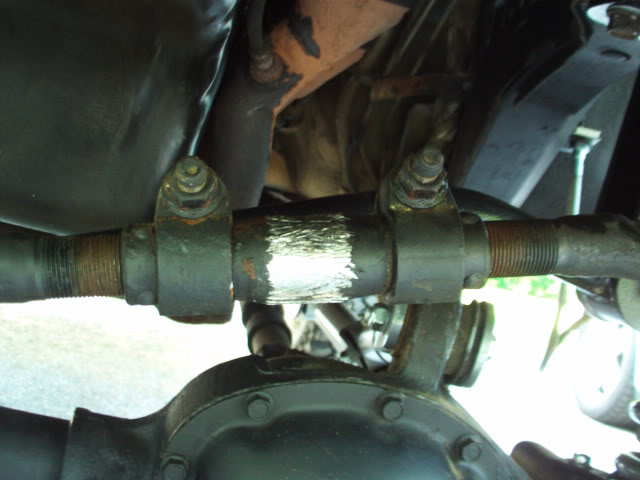
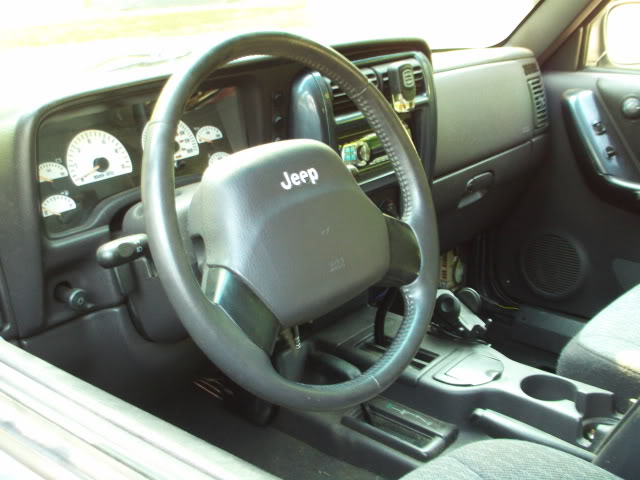
After adjusting!!!
Much better. all though I took it down my street and its off a bit the other direction. like I went 1.5 turns to much. haha
I will fix tomorrow. (my wife is soo upset I been spending so much time on this project. lol cool 4x4 chit comes with a cost man haha)
Installed sway bar links. It was tough to get the pins in the hole! I can only imagine it is going to be just as tough to get them out of there when I want to disconnect them. I will keep my hammer and pliers handy.
I Thought one would be enough until I realized I could utilize almost the whole noodle!
lil stuff here and a little there.
left this side blue.
painted inner side.. Still wet here its flat black not gloss
other side, same deal..
This should keep my door jam cleaner, thanks guys for the tip!.
Steering wheel upside down after lift.
Adjusted
Painted after this of coarse... My pipe wrench sucked, it kept slipping teeth on the adjuster! its old hand me down stuff. haha
After adjusting!!!
Much better. all though I took it down my street and its off a bit the other direction. like I went 1.5 turns to much. haha
I will fix tomorrow. (my wife is soo upset I been spending so much time on this project. lol cool 4x4 chit comes with a cost man haha)
Installed sway bar links. It was tough to get the pins in the hole! I can only imagine it is going to be just as tough to get them out of there when I want to disconnect them. I will keep my hammer and pliers handy.