My Shattered Dreams


 06-01-2011, 09:07 PM
#18
CF Veteran
Join Date: Jan 2011
Location: Ohio
Posts: 11,176
Likes: 0
Received 1 Like
on
1 Post
Year: 1995
Model: Cherokee
Engine: 4.0
Originally Posted by gaboy1911
Alright so today I realized I am not going to be as good as some with build threads cause I getter dun and do not stop to take pictures. That said today I installe my bumper and winch. THe only picture I have of the progress is the finished one, lol.
06-03-2011, 12:33 PM
#19
Member
Thread Starter
Join Date: Apr 2011
Location: Duluth GA
Posts: 166
Likes: 0
Received 0 Likes
on
0 Posts
Year: 1994
Model: Cherokee
Engine: 4.0
Rebuilding the double cardin Joint
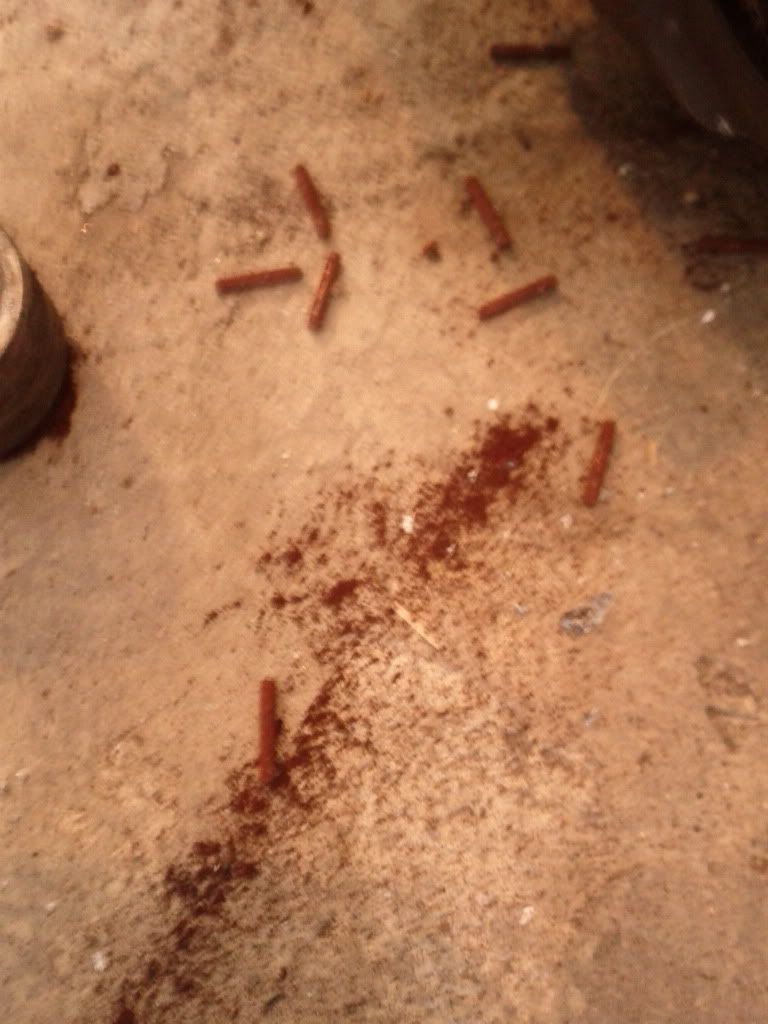
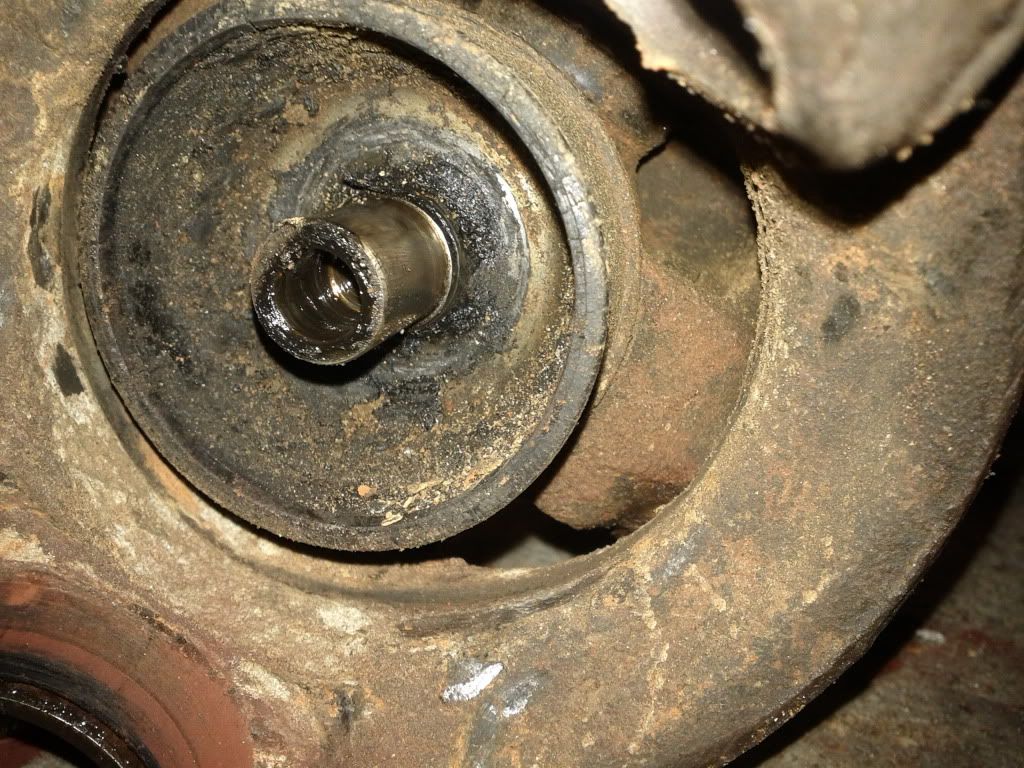
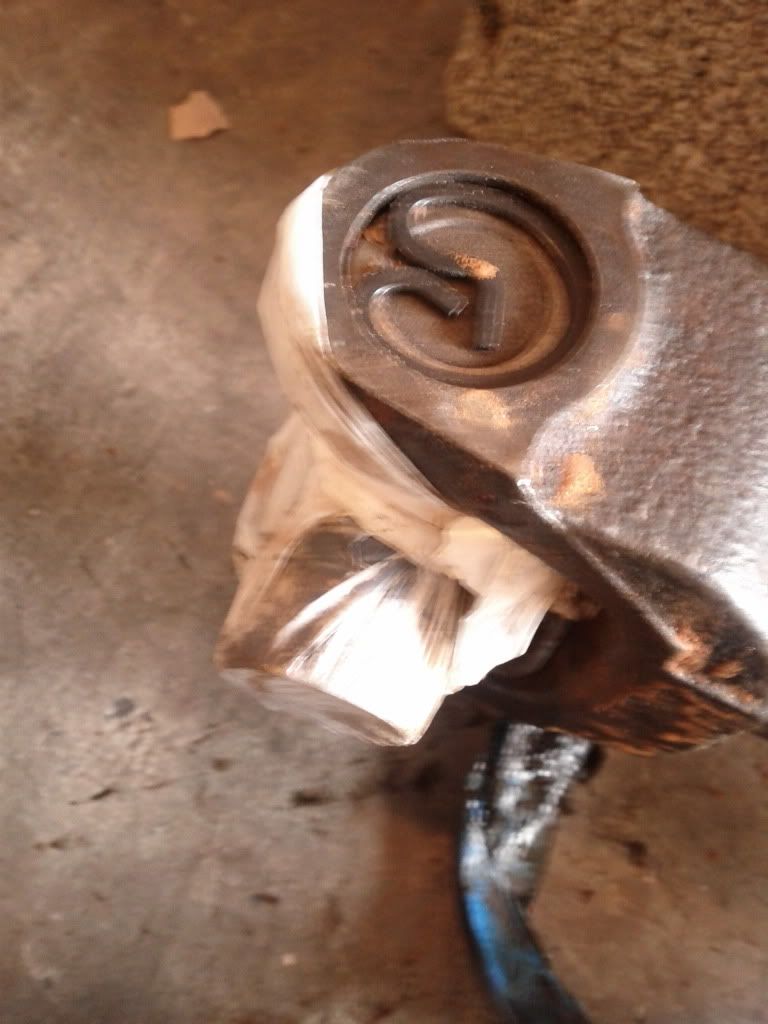
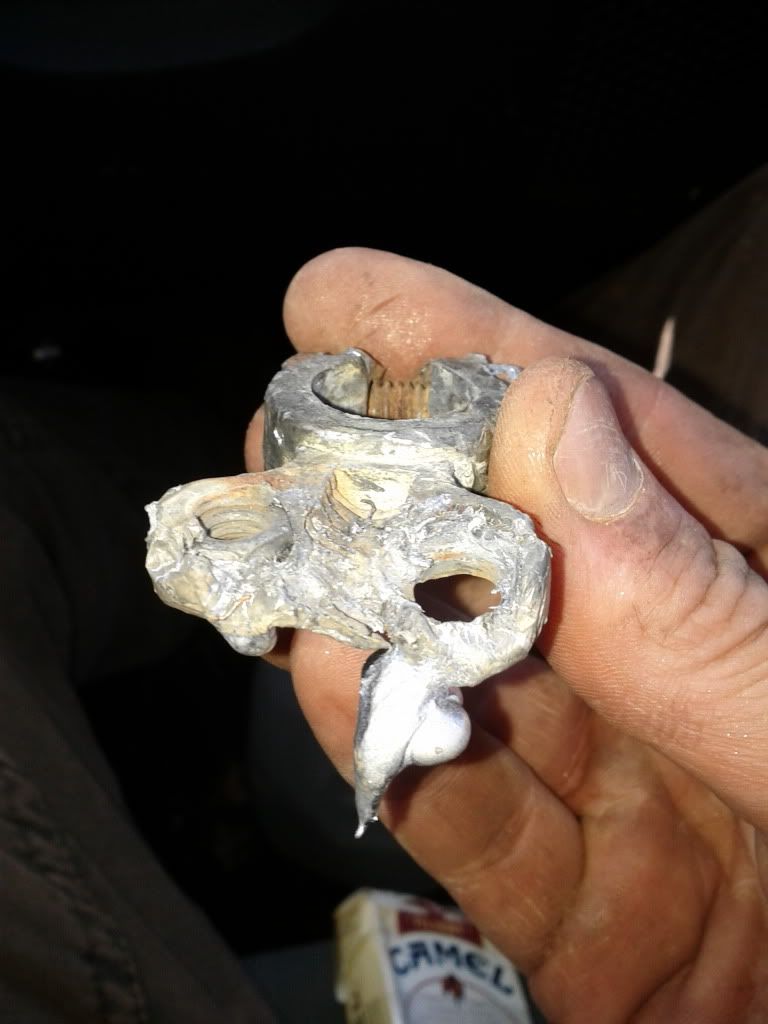
So i had a feeeling I needed to rebuild my front shaft so I got the cv centering yolk and u joints. To say this the best way it was hammered. There was no grease in hte caps that had the needle bearings. Can you guess what I found in there. DUST, piles of dust
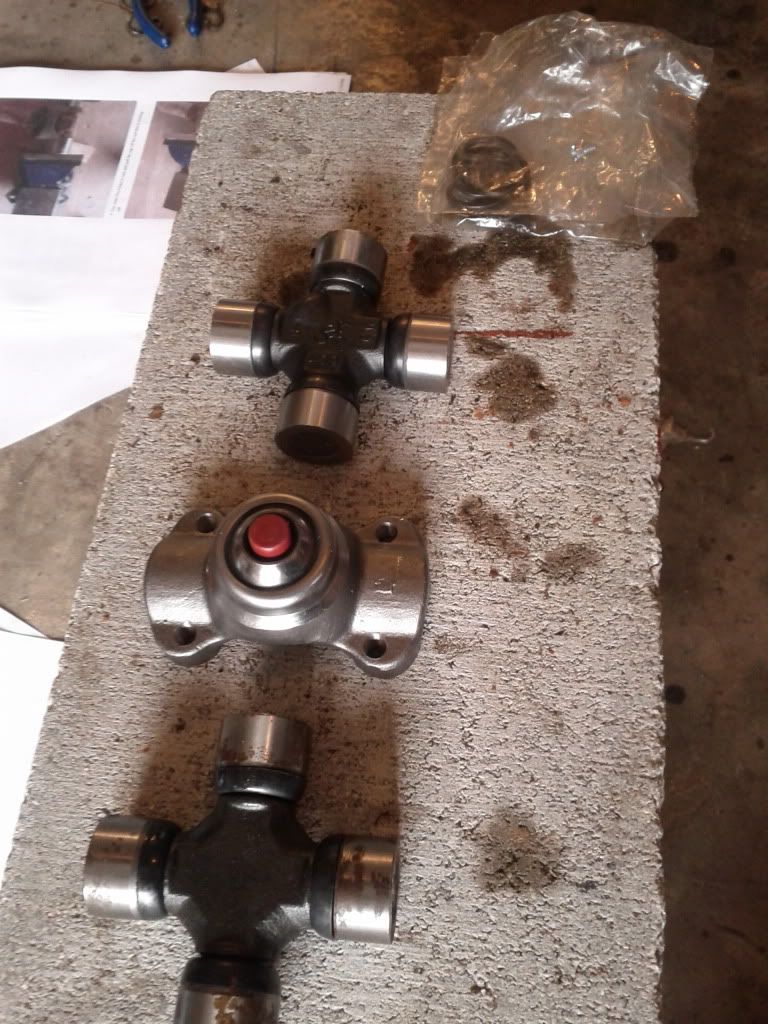
Here is the parts you are going to need.
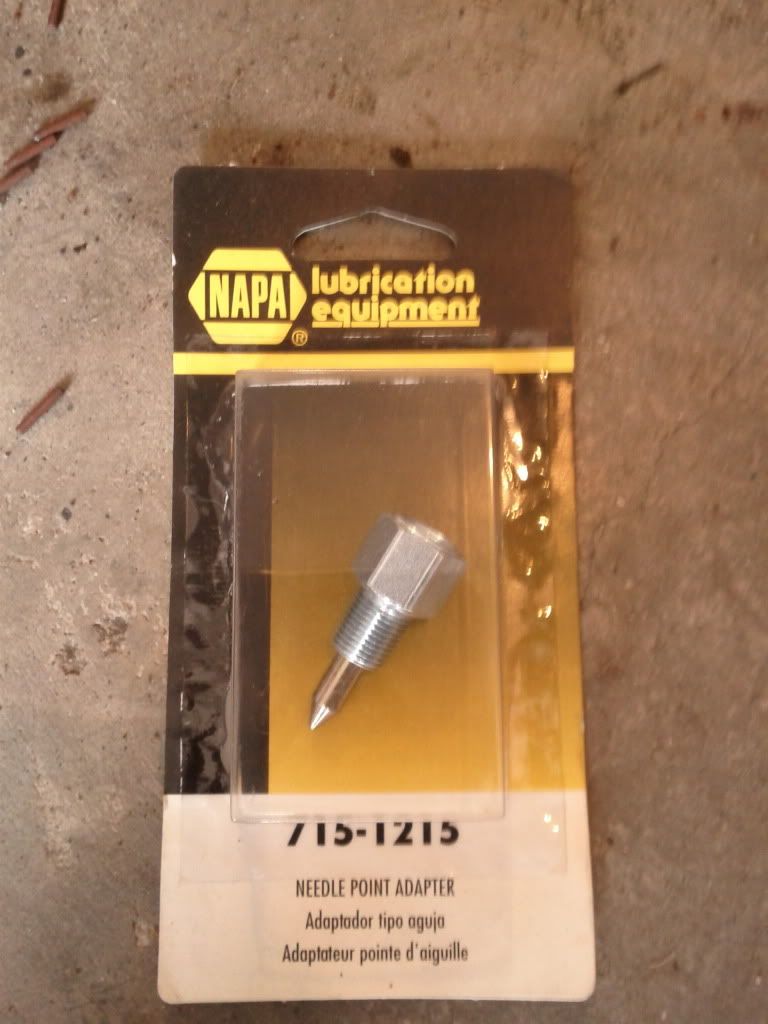
And the tools

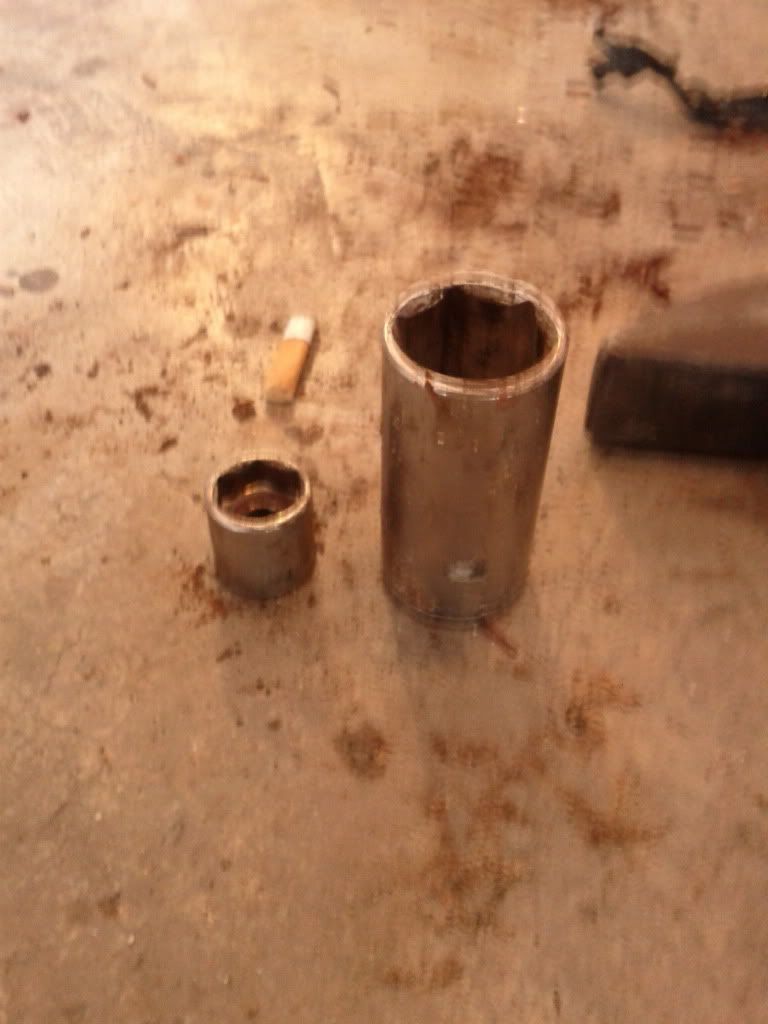
Do not forget the q tips.
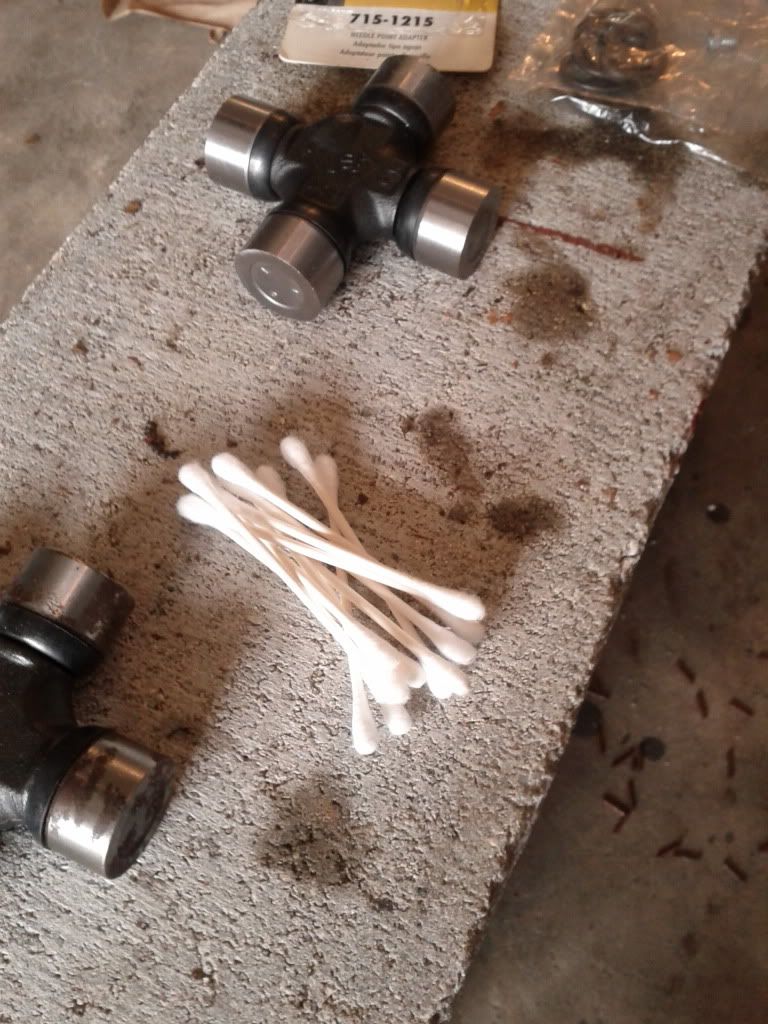
I really didn't take pictures of me doing any work only the progress. So if you nee help holler, and I will walk you through it. ANd you'll need to mark the position of the "H" by scribing it and The shaft.
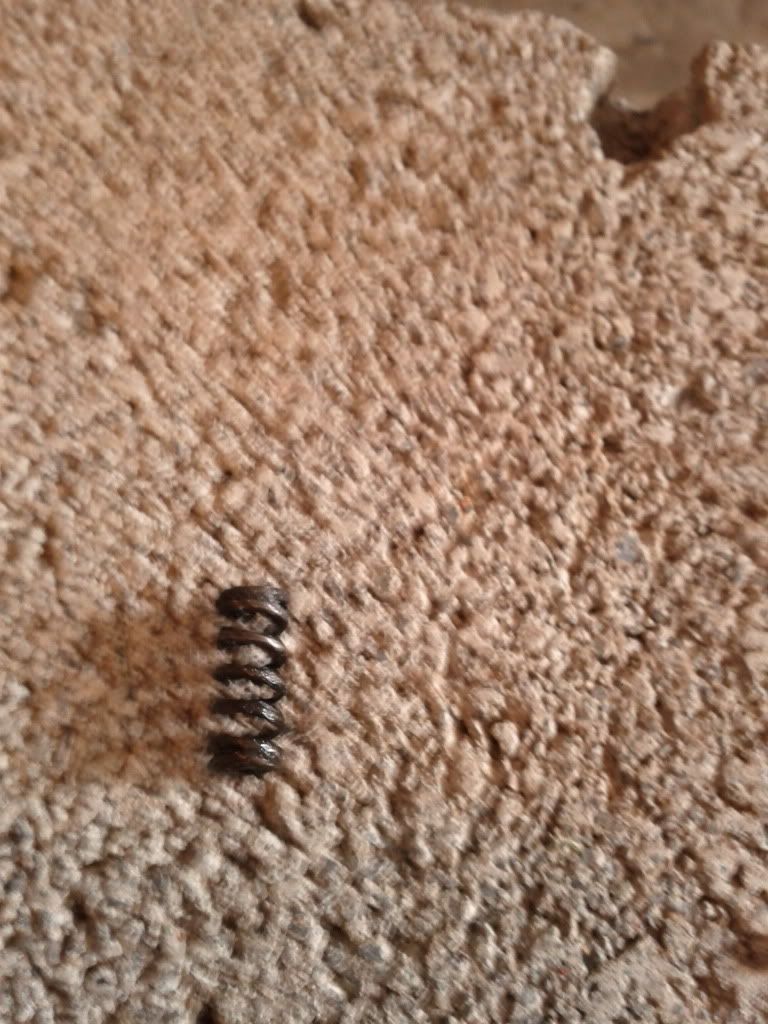
And remember to not lose the lil spring
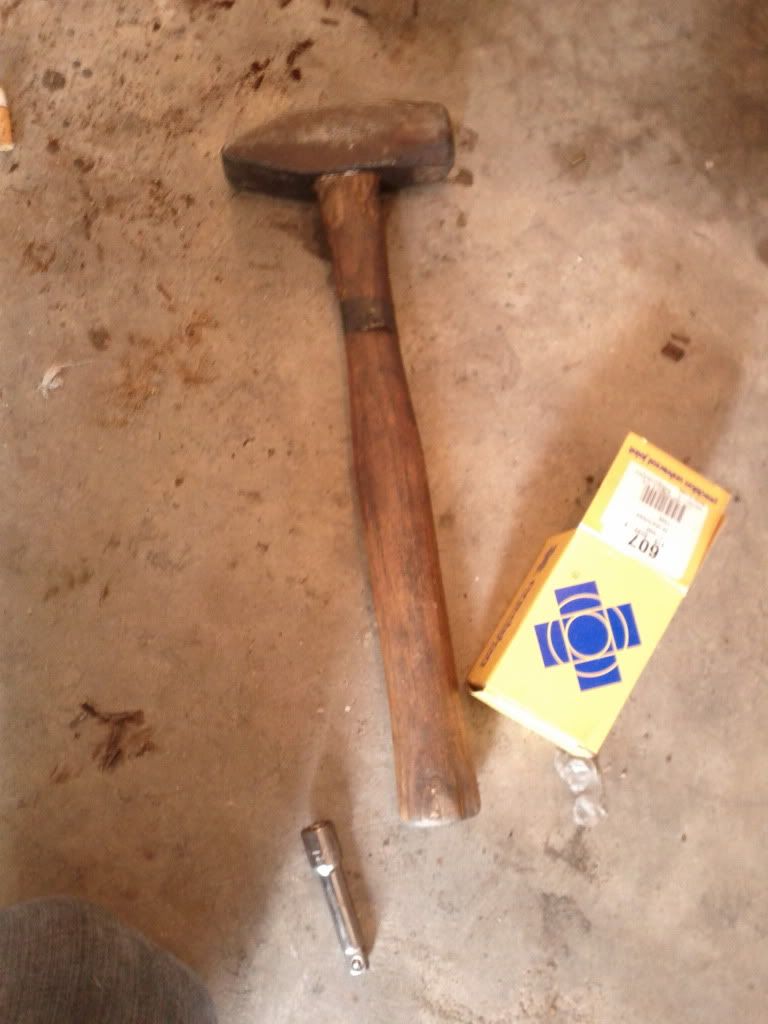
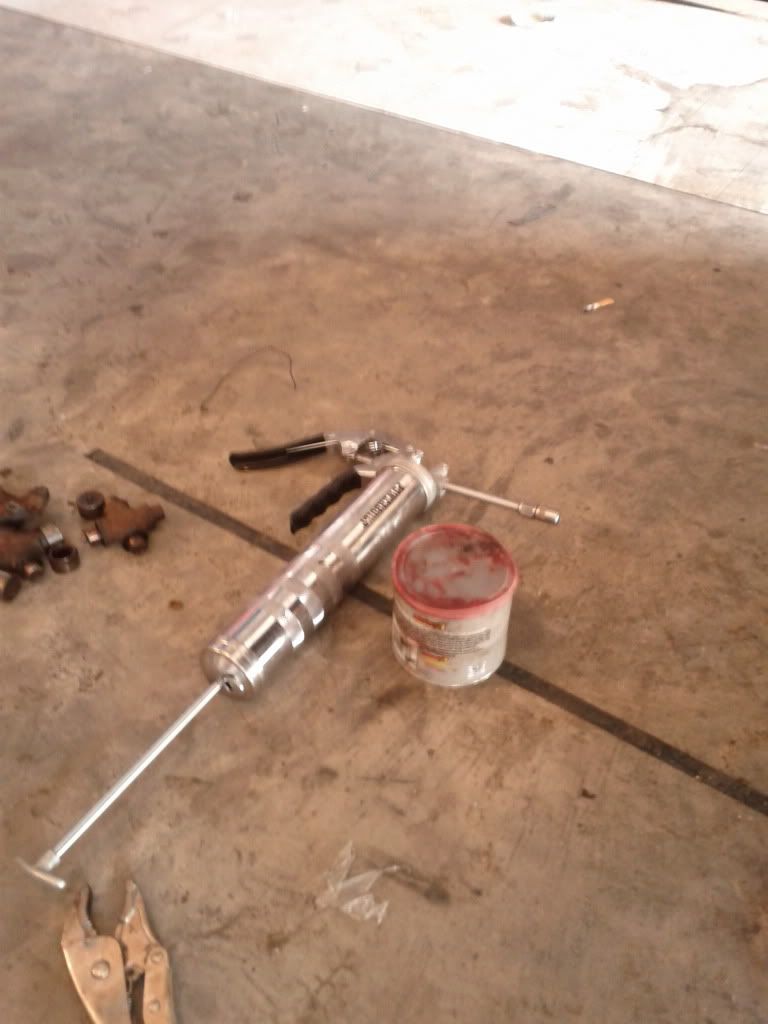
Here is how I used the Sockets
[IMG]http://i1089.photobucket.com/albums/i346/gaboy1911/IMG_20110602_165307.jpg
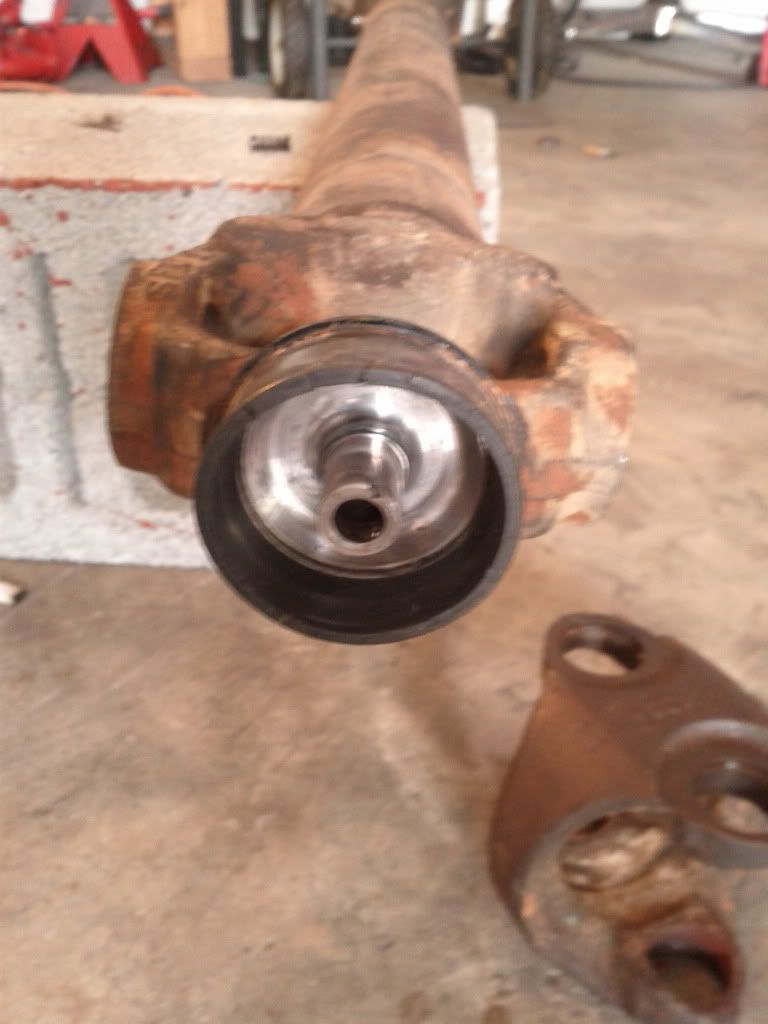
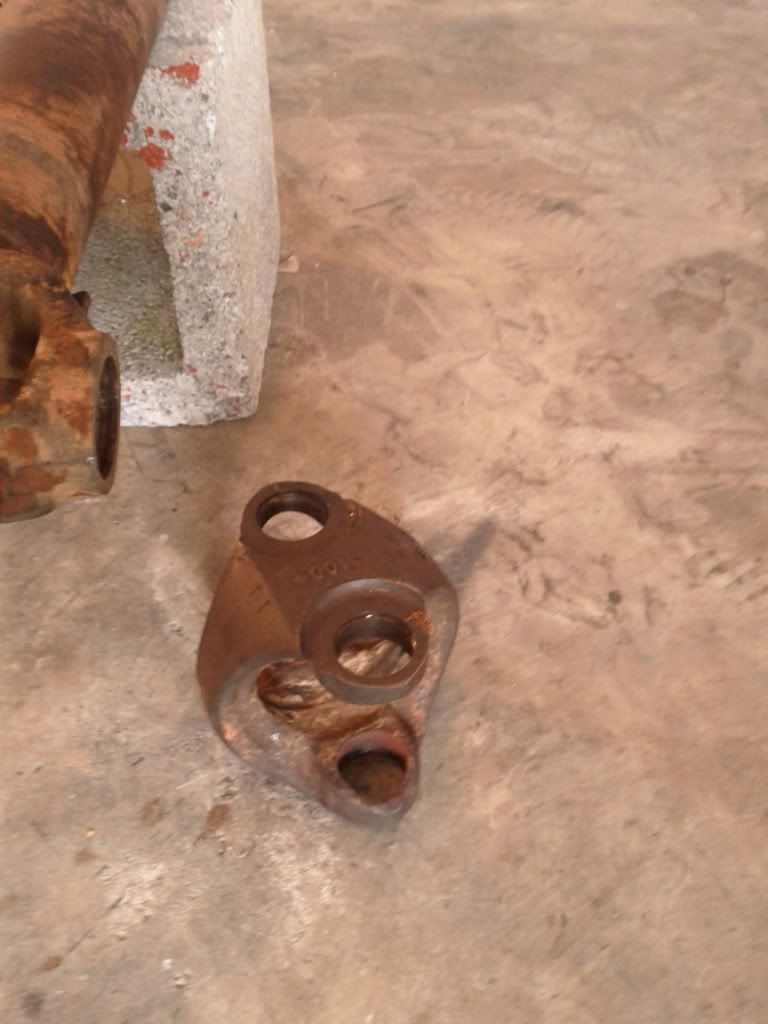
And remeber to clean everything after you break it down
A tip. wrap the front u joint if it is good ( should really replace it though with the others, unless you just did like me ) in a plastic bag so you do not lose the needle bearings and caps
Still have to replace steering box, hubs, bushings, and I lost my list, but I will keep this updated
So i had a feeeling I needed to rebuild my front shaft so I got the cv centering yolk and u joints. To say this the best way it was hammered. There was no grease in hte caps that had the needle bearings. Can you guess what I found in there. DUST, piles of dust
Here is the parts you are going to need.
And the tools
Do not forget the q tips.
I really didn't take pictures of me doing any work only the progress. So if you nee help holler, and I will walk you through it. ANd you'll need to mark the position of the "H" by scribing it and The shaft.
And remember to not lose the lil spring
Here is how I used the Sockets
[IMG]http://i1089.photobucket.com/albums/i346/gaboy1911/IMG_20110602_165307.jpg
And remeber to clean everything after you break it down
A tip. wrap the front u joint if it is good ( should really replace it though with the others, unless you just did like me ) in a plastic bag so you do not lose the needle bearings and caps
Still have to replace steering box, hubs, bushings, and I lost my list, but I will keep this updated
06-03-2011, 02:17 PM
#21
Junior Member
Join Date: Aug 2010
Location: DFW
Posts: 33
Likes: 0
Received 0 Likes
on
0 Posts
Year: 1998
Model: Cherokee
Engine: 4.0
LOL I love the pic with the vise-grips and bottle of Newcastle (that's goood stuff). Gotta have SOMETHING to get the bottle caps off 
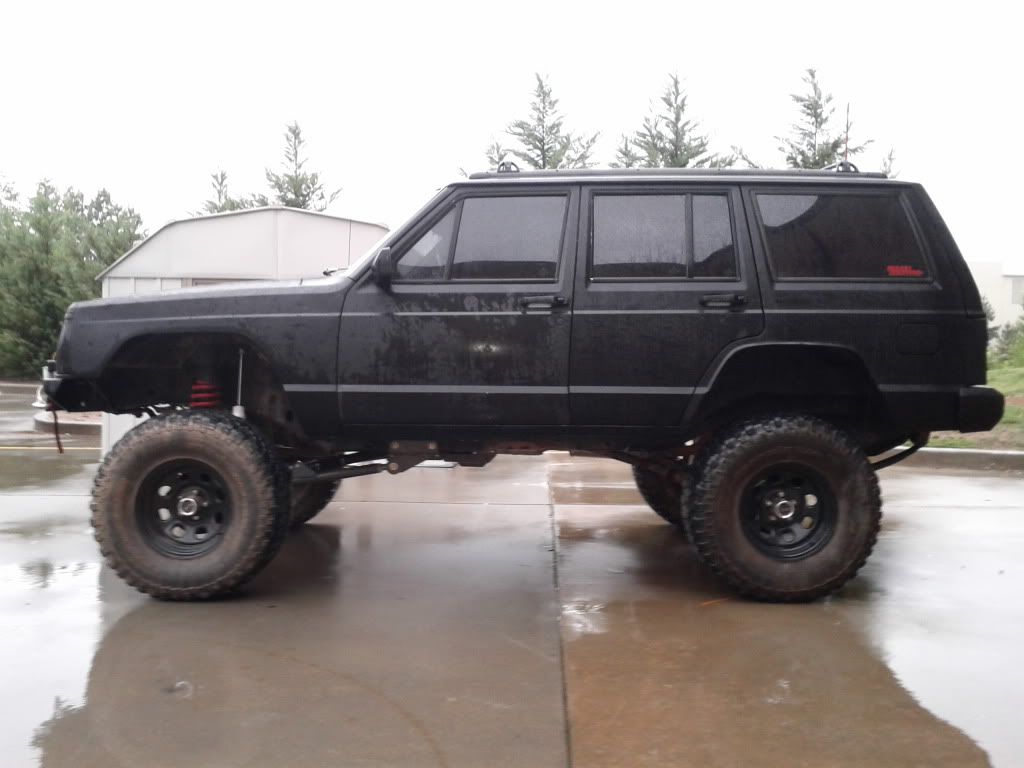
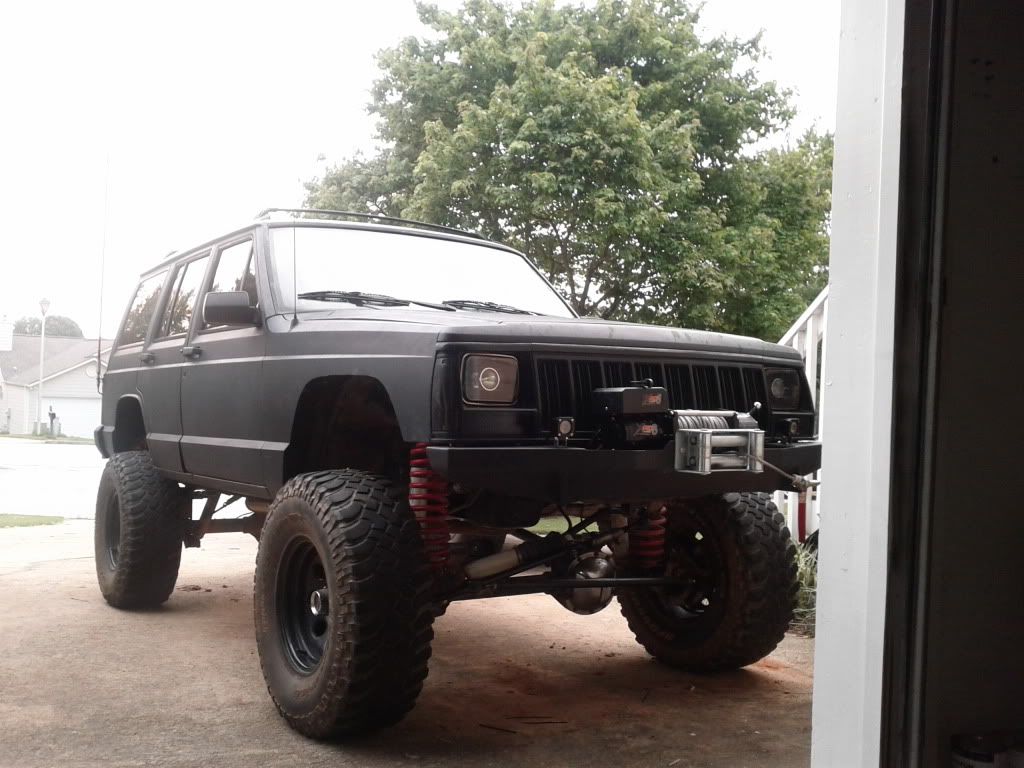
That's one of the coolest murdered-out XJs I've seen man. I'll keep watching this thread, because I'm just starting to replace parts in mine. Same as yours, it's all maintenance that the previous owner didn't keep up with.
That's one of the coolest murdered-out XJs I've seen man. I'll keep watching this thread, because I'm just starting to replace parts in mine. Same as yours, it's all maintenance that the previous owner didn't keep up with.
06-03-2011, 02:30 PM
#22
Member
Thread Starter
Join Date: Apr 2011
Location: Duluth GA
Posts: 166
Likes: 0
Received 0 Likes
on
0 Posts
Year: 1994
Model: Cherokee
Engine: 4.0
LOL I love the pic with the vise-grips and bottle of Newcastle (that's goood stuff). Gotta have SOMETHING to get the bottle caps off
That's one of the coolest murdered-out XJs I've seen man. I'll keep watching this thread, because I'm just starting to replace parts in mine. Same as yours, it's all maintenance that the previous owner didn't keep up with.
That's one of the coolest murdered-out XJs I've seen man. I'll keep watching this thread, because I'm just starting to replace parts in mine. Same as yours, it's all maintenance that the previous owner didn't keep up with.
And the vice grips are for pulling the capss off the u joints. Beacuse of the cv centering yolk you can't quite get the cap out so you kinda have to yank it.
The New Castle is to keep the sanity. You are gonna need lots of beer.
06-03-2011, 03:52 PM
#23
Senior Member
Join Date: Mar 2010
Location: Eugene, OR
Posts: 812
Likes: 0
Received 1 Like
on
1 Post
Year: 1989
Model: Cherokee
Engine: 4.7 Stroker I6
wow youve done 10x as much as I've done in 2 months than I have in over a year.
Looks awesome though!
I would be super proud to own something like this and hopefully soon I will.
That sucks about all the major stuff wrong with it at first, hope you didnt pay too much. Thats why you take aloong time test driving a car and let it sit idling for along time while you look over EVERYTHING. I usually spend a few hours when I'm seriously looking at a car to buy.
I only paid $240 for mine and its never leaked anything and only broke once cause the u joints snapped. I could probably still be driving it without replacing everything I have, but I just want to know everything is new.
Anyway keep up the good work!
07-21-2011, 10:28 AM
#24
Member
Thread Starter
Join Date: Apr 2011
Location: Duluth GA
Posts: 166
Likes: 0
Received 0 Likes
on
0 Posts
Year: 1994
Model: Cherokee
Engine: 4.0
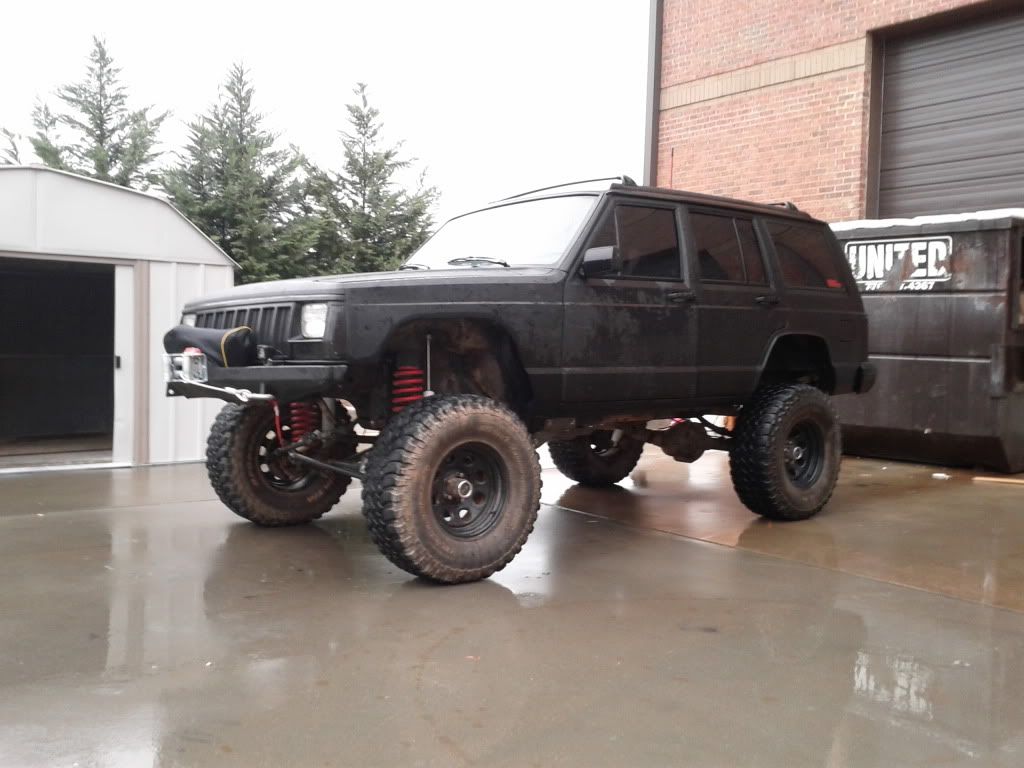
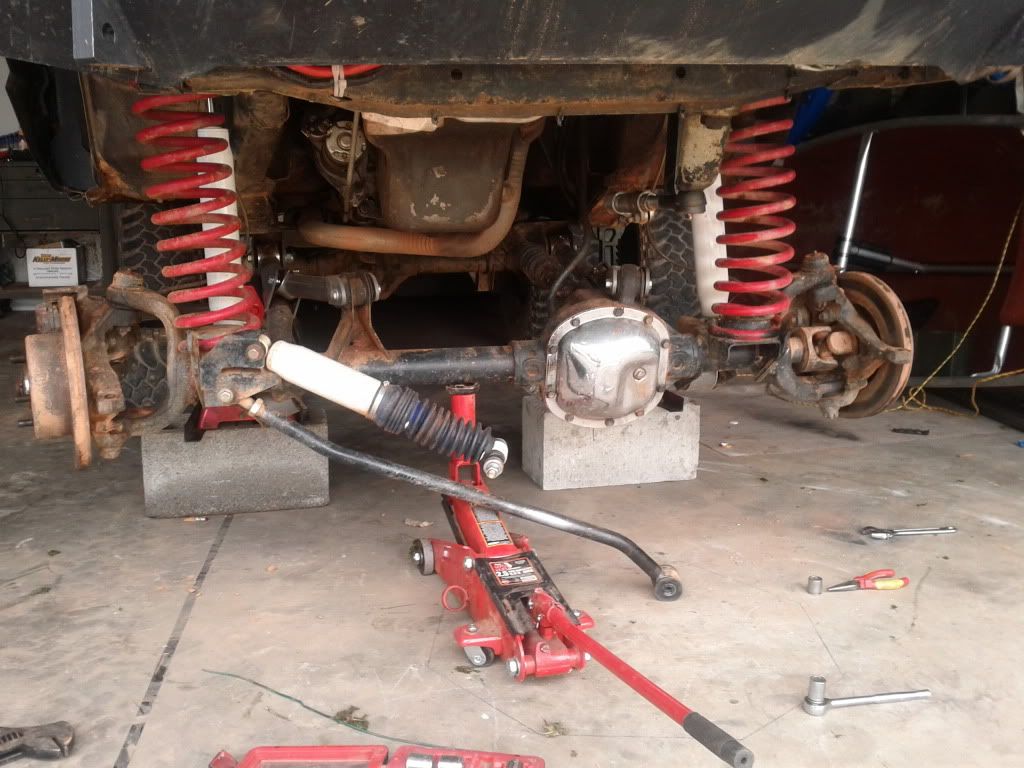
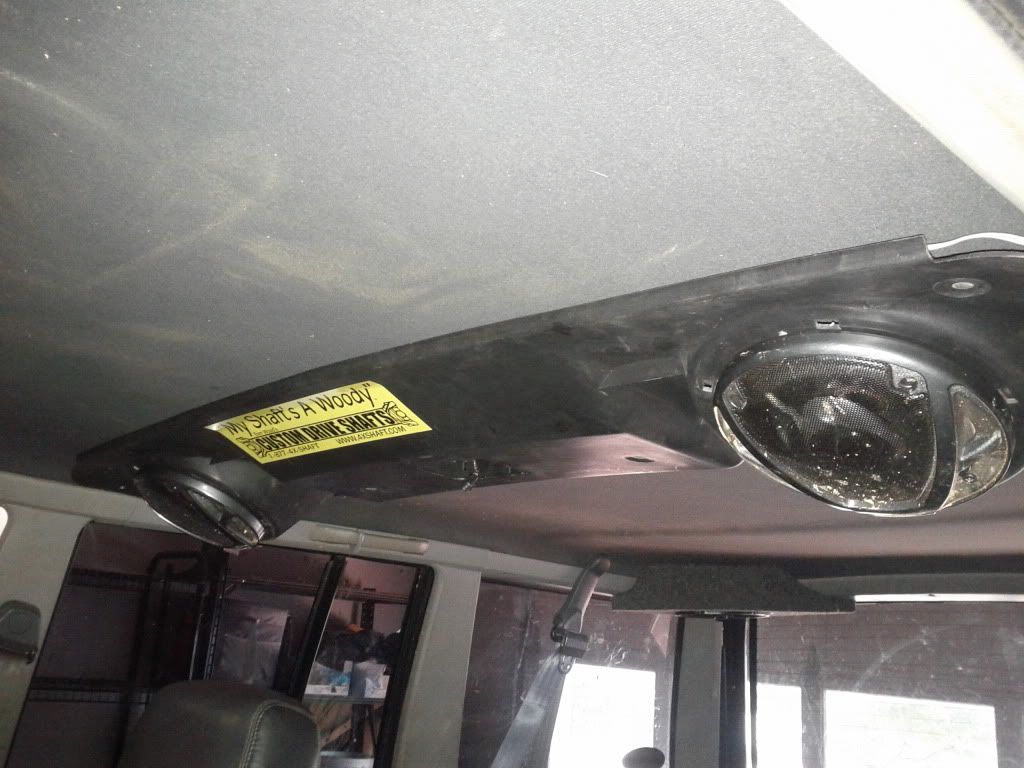
So I haven't posted up in awhile with all the new work I have done. So here is a quick run down. I replaced all the steering ( drag link/tie rod ends), new hubs, New shocks From RC, removed the blocks in the rear and put actual lift springs in, put the LED flood lites on the front bumper, Relayed them. Relayed the pusher fan, replaced the battery terminals, Repaired all hte trail rash as best it could get from last weekend. I put thicker tabs on the rear light housings, replaced the back brakes, made a sturdier ant. bracket. put on a Tom Woods drive shaft, a new custom front bumper, winch, cleaned up some more wires, replaced the ignition (forgot to hook back up blinkers),
Have to rest my fingers for a sec...........
Changed the headlights, some relays. And I think that is it since last time.
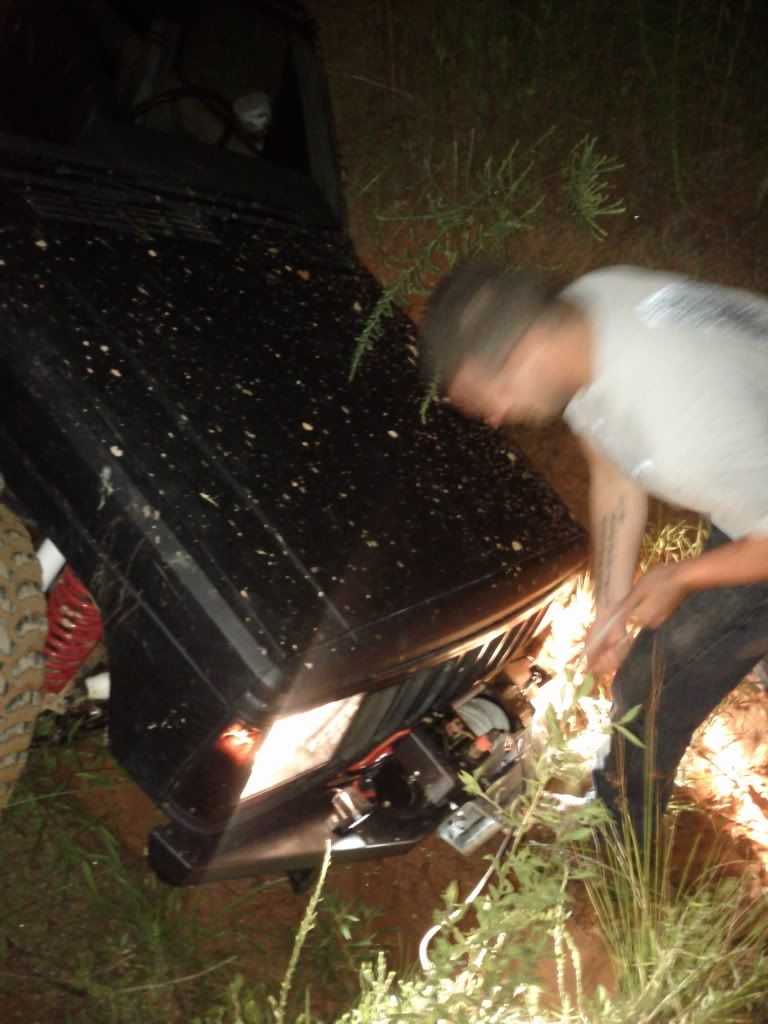
What I have left is to replace the front axle (picking up saturday. I busted a shaft yolk last weekend and tore everything up), new drag link (sitting on my tool bench) rebuild the rear (most likely hide the purchase of a Tom Woods shaft from my wife all new bearings in the rear axle, new tires, LOTS OF ARMOUR (I beat the holy hell out of my rig last weekend) weld up some tube doors for the rear, tube fenders, rockers, more lights, tranny cooler, tranny temp gauge, I need to find a sound bar I can put the front speakers in (right now they are under the front seats). And tehre is a ton more, oh yah fab up a plate steel rear bumper, that I am sure I am forgetting. Anyways here are some updated pictures

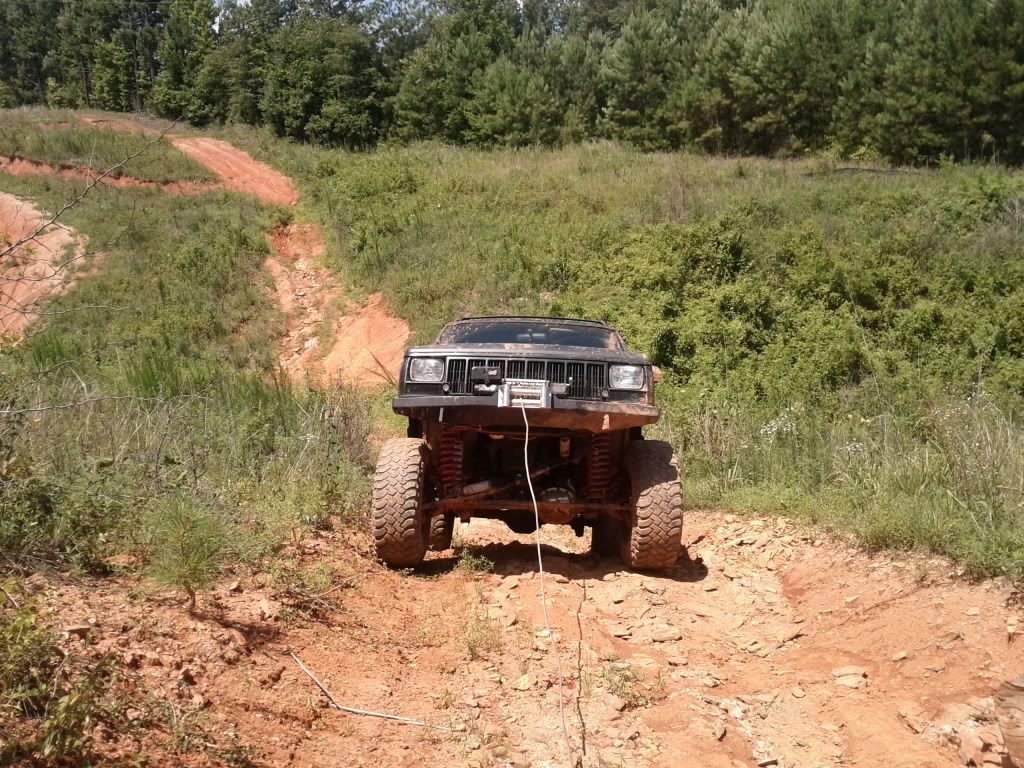
Not me in the picture. But I was headlight deep in the mud.
Have to rest my fingers for a sec...........
Changed the headlights, some relays. And I think that is it since last time.
What I have left is to replace the front axle (picking up saturday. I busted a shaft yolk last weekend and tore everything up), new drag link (sitting on my tool bench) rebuild the rear (most likely hide the purchase of a Tom Woods shaft from my wife
all new bearings in the rear axle, new tires, LOTS OF ARMOUR (I beat the holy hell out of my rig last weekend) weld up some tube doors for the rear, tube fenders, rockers, more lights, tranny cooler, tranny temp gauge, I need to find a sound bar I can put the front speakers in (right now they are under the front seats). And tehre is a ton more, oh yah fab up a plate steel rear bumper, that I am sure I am forgetting. Anyways here are some updated picturesNot me in the picture. But I was headlight deep in the mud.
Last edited by gaboy1911; 07-21-2011 at 10:30 AM.
08-02-2011, 02:49 PM
#25
Member
Thread Starter
Join Date: Apr 2011
Location: Duluth GA
Posts: 166
Likes: 0
Received 0 Likes
on
0 Posts
Year: 1994
Model: Cherokee
Engine: 4.0
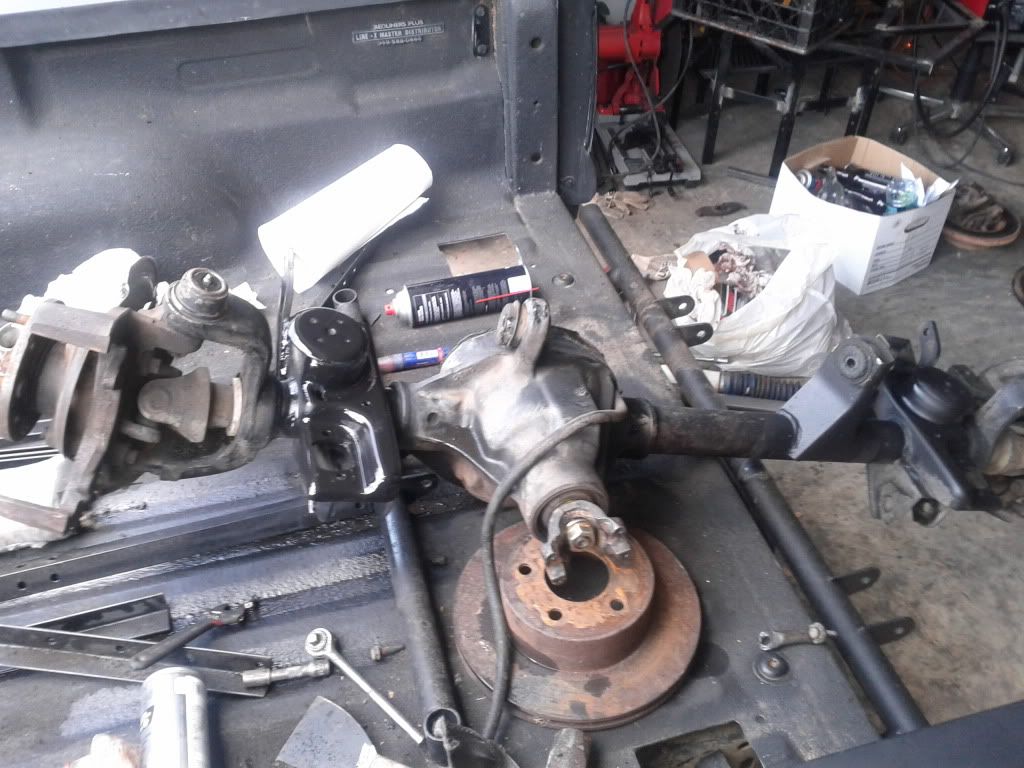
There have been some updates. I found an Axle and I got it. Thanks villegas_alexander
Was pretty stocked about the condition. It needed a couple things, like a pinion, new bushings, and some general love and TLC. There was some peeling paint and a few small spots of rust.
Took me about 3 hours to go through it all and make it purty again. And about 8 total to remove the old one and place this rebuilt one All by my self. These effing things are heavy to lug around with no help.
Braking down the old one
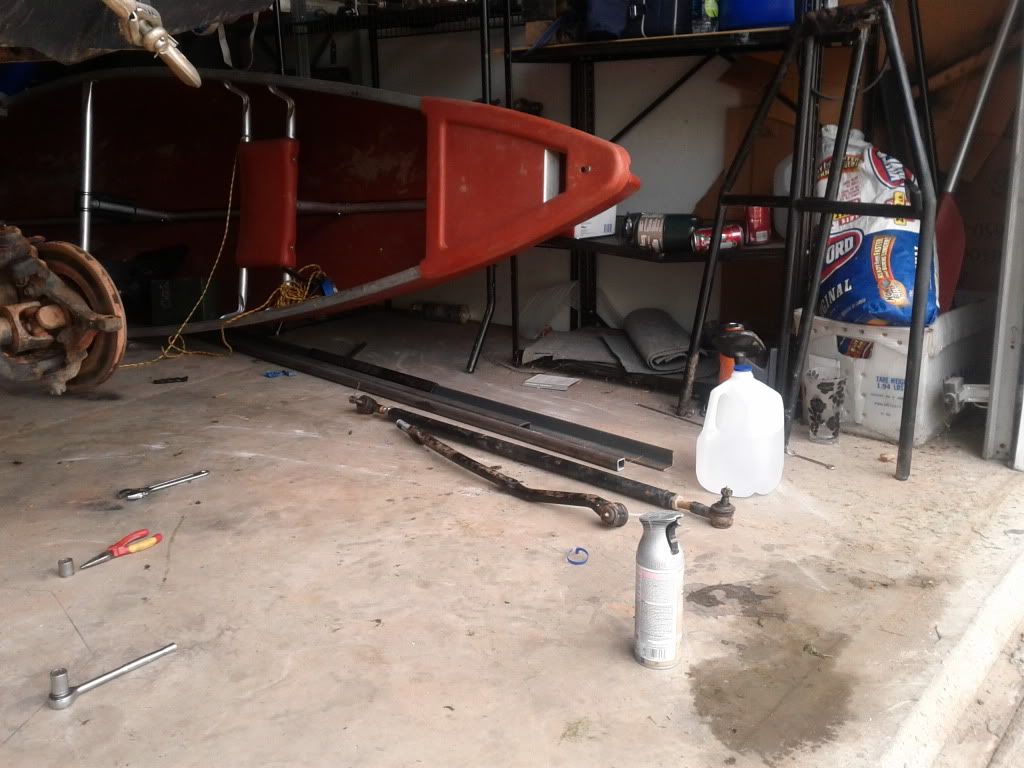
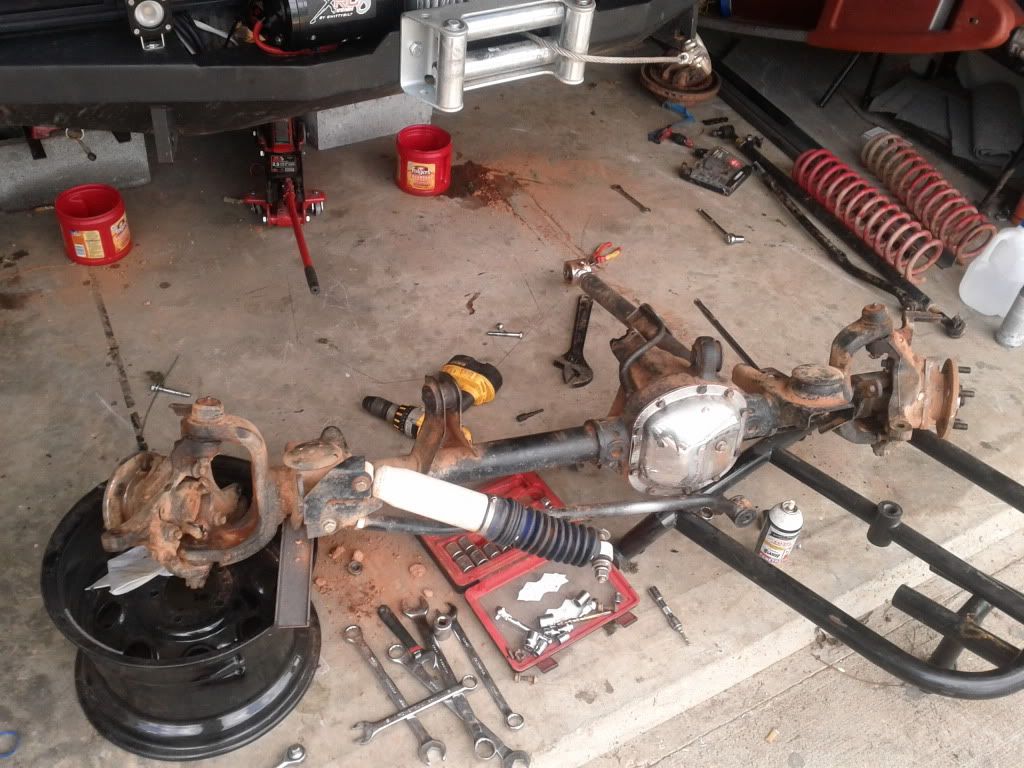
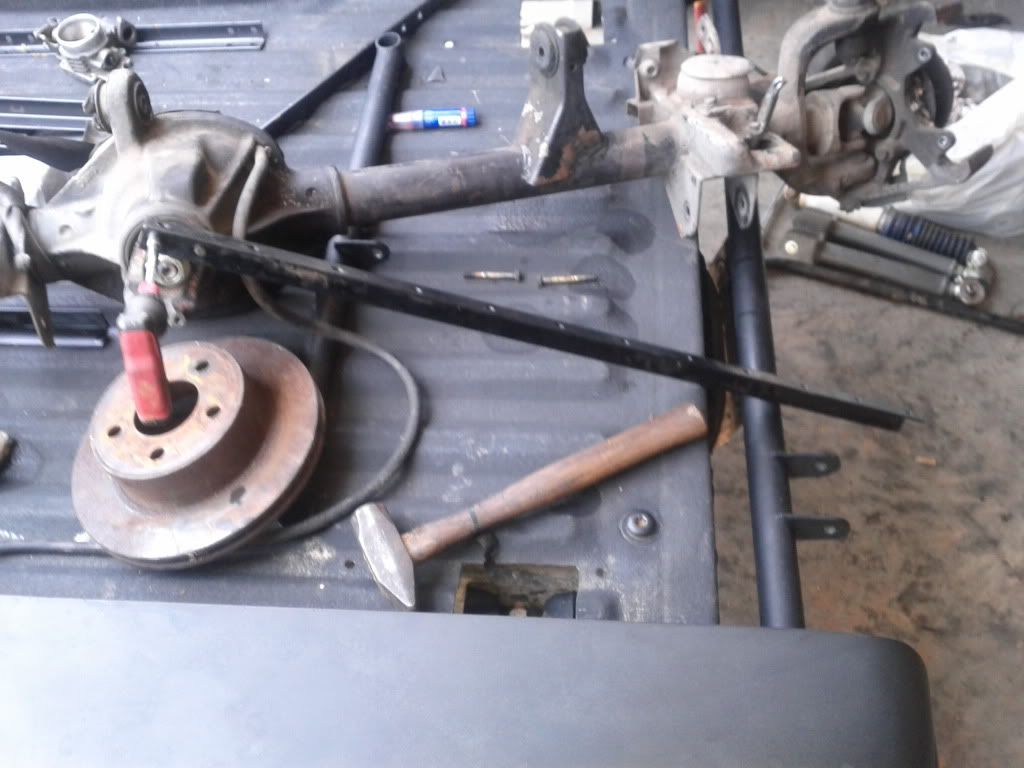
Here is the new to me one. I tore it down in the bed of my truck and did the bushings and breaks there. Seemed like the most logical place to do it since I couldn't move it.
My fancy pinion tool to keep the pinion in place while I torque it down.
I don't have pictures of this but I rachet strpped one hub to a recovery point and through the other over my shoulder and monkeyed it out of the bed.
I also found a speaker bar and installed that. Which is freaking awesome btw. It means I can hear my music with the doors off and not worry about mud and water getting all up in and ruining my speakers. I still ave to take it down and make it pretty. But for camping sakes I just through it up so I could ride doorless
 .
.
I still have to remove the front spacers and replace with smaller ones.
Was pretty stocked about the condition. It needed a couple things, like a pinion, new bushings, and some general love and TLC. There was some peeling paint and a few small spots of rust.
Took me about 3 hours to go through it all and make it purty again. And about 8 total to remove the old one and place this rebuilt one All by my self. These effing things are heavy to lug around with no help.
Braking down the old one
Here is the new to me one. I tore it down in the bed of my truck and did the bushings and breaks there. Seemed like the most logical place to do it since I couldn't move it.
My fancy pinion tool to keep the pinion in place while I torque it down.
I don't have pictures of this but I rachet strpped one hub to a recovery point and through the other over my shoulder and monkeyed it out of the bed.
I also found a speaker bar and installed that. Which is freaking awesome btw. It means I can hear my music with the doors off and not worry about mud and water getting all up in and ruining my speakers. I still ave to take it down and make it pretty. But for camping sakes I just through it up so I could ride doorless
.I still have to remove the front spacers and replace with smaller ones.
Last edited by gaboy1911; 08-02-2011 at 03:30 PM. Reason: spelling
08-02-2011, 06:40 PM
#30
Member
Thread Starter
Join Date: Apr 2011
Location: Duluth GA
Posts: 166
Likes: 0
Received 0 Likes
on
0 Posts
Year: 1994
Model: Cherokee
Engine: 4.0
Yah Man I am glad you dropped the 'y' I guess being from cali you are adjusted to always seeing "GAY"
Just playing man! I am from Petaluma California, moved out here two years ago. And my buddy lives up is sac. you are not to far from rubicon!
Just playing man! I am from Petaluma California, moved out here two years ago. And my buddy lives up is sac. you are not to far from rubicon!