When you click on links to various merchants on this site and make a purchase, this can result in this site earning a commission. Affiliate programs and affiliations include, but are not limited to, the eBay Partner Network.
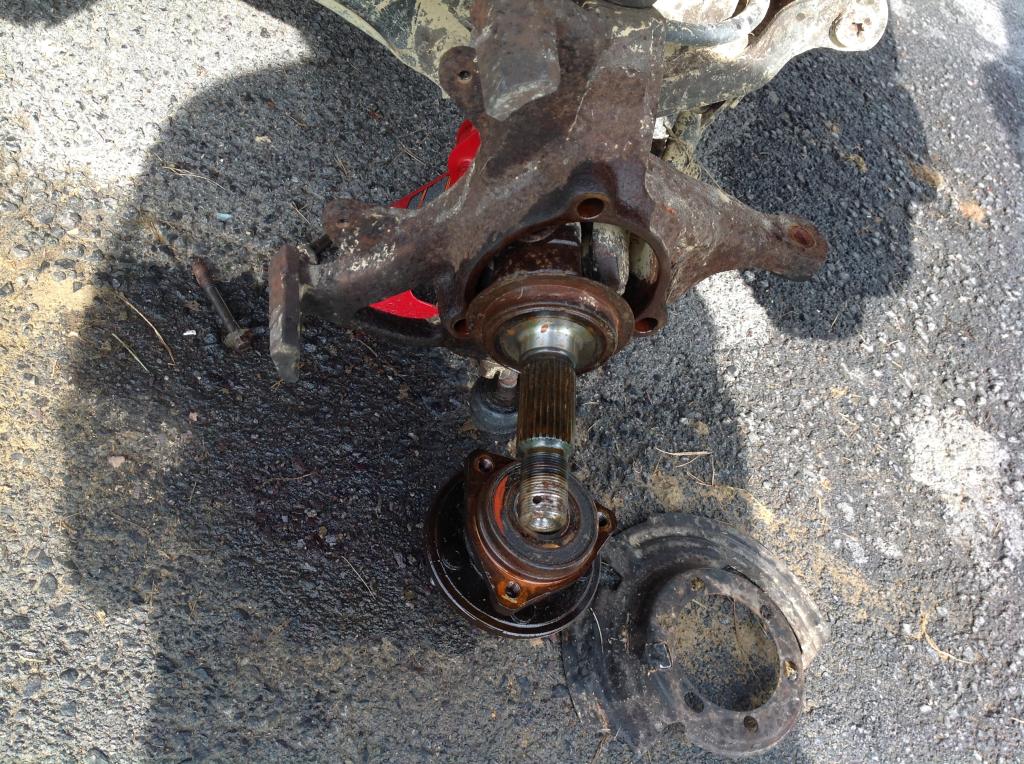
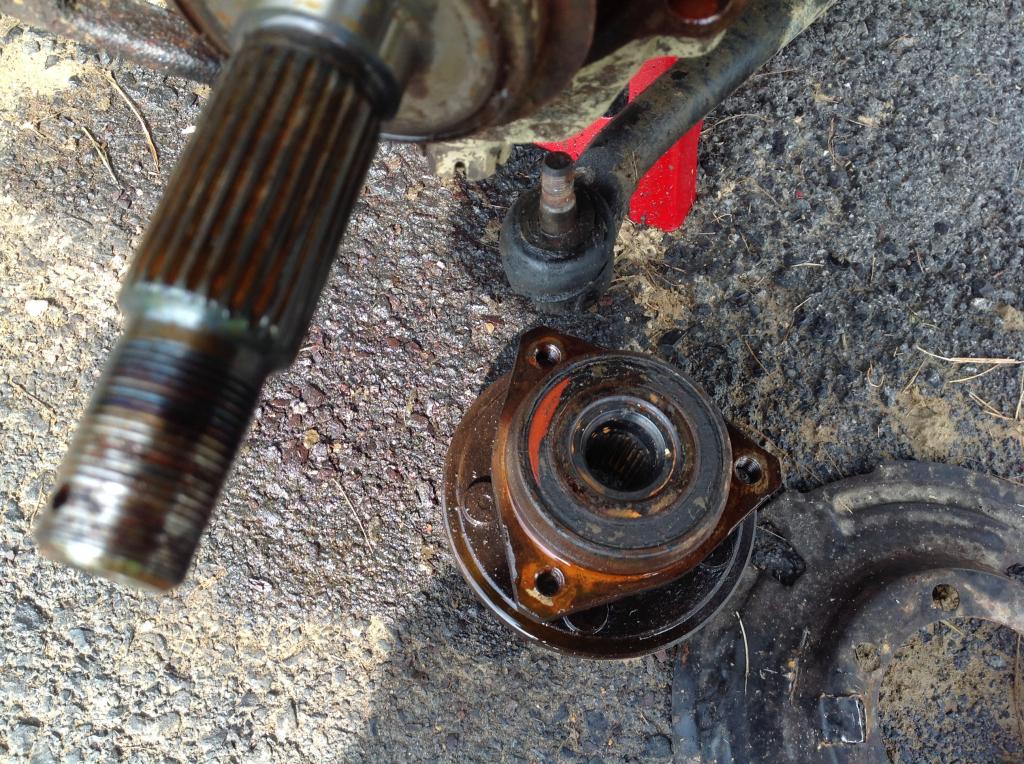
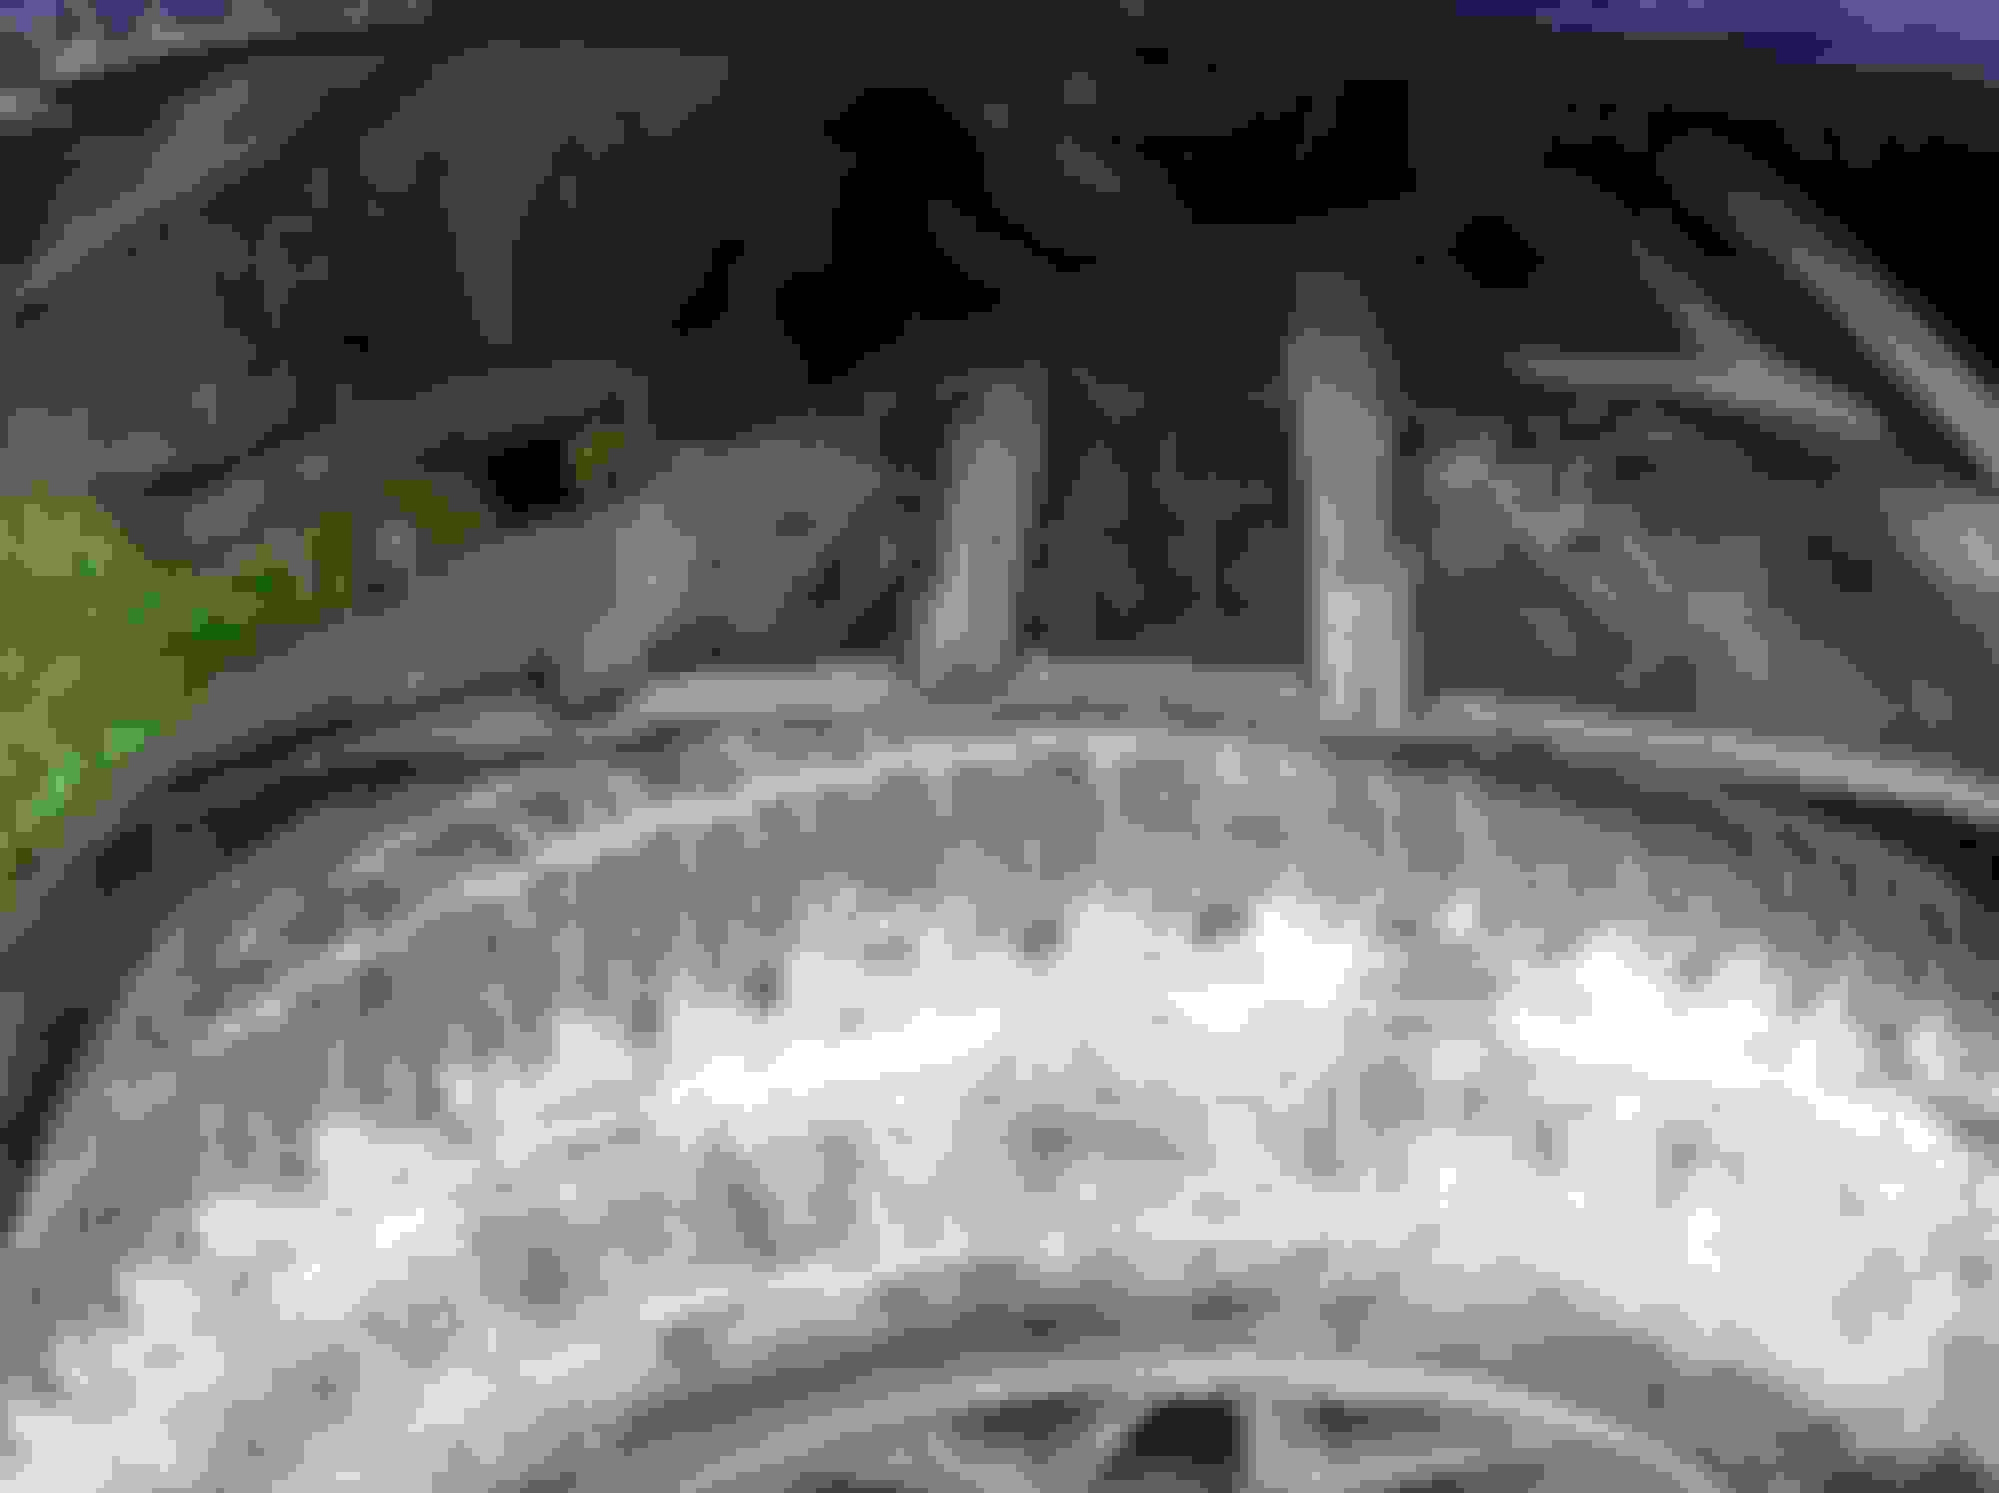
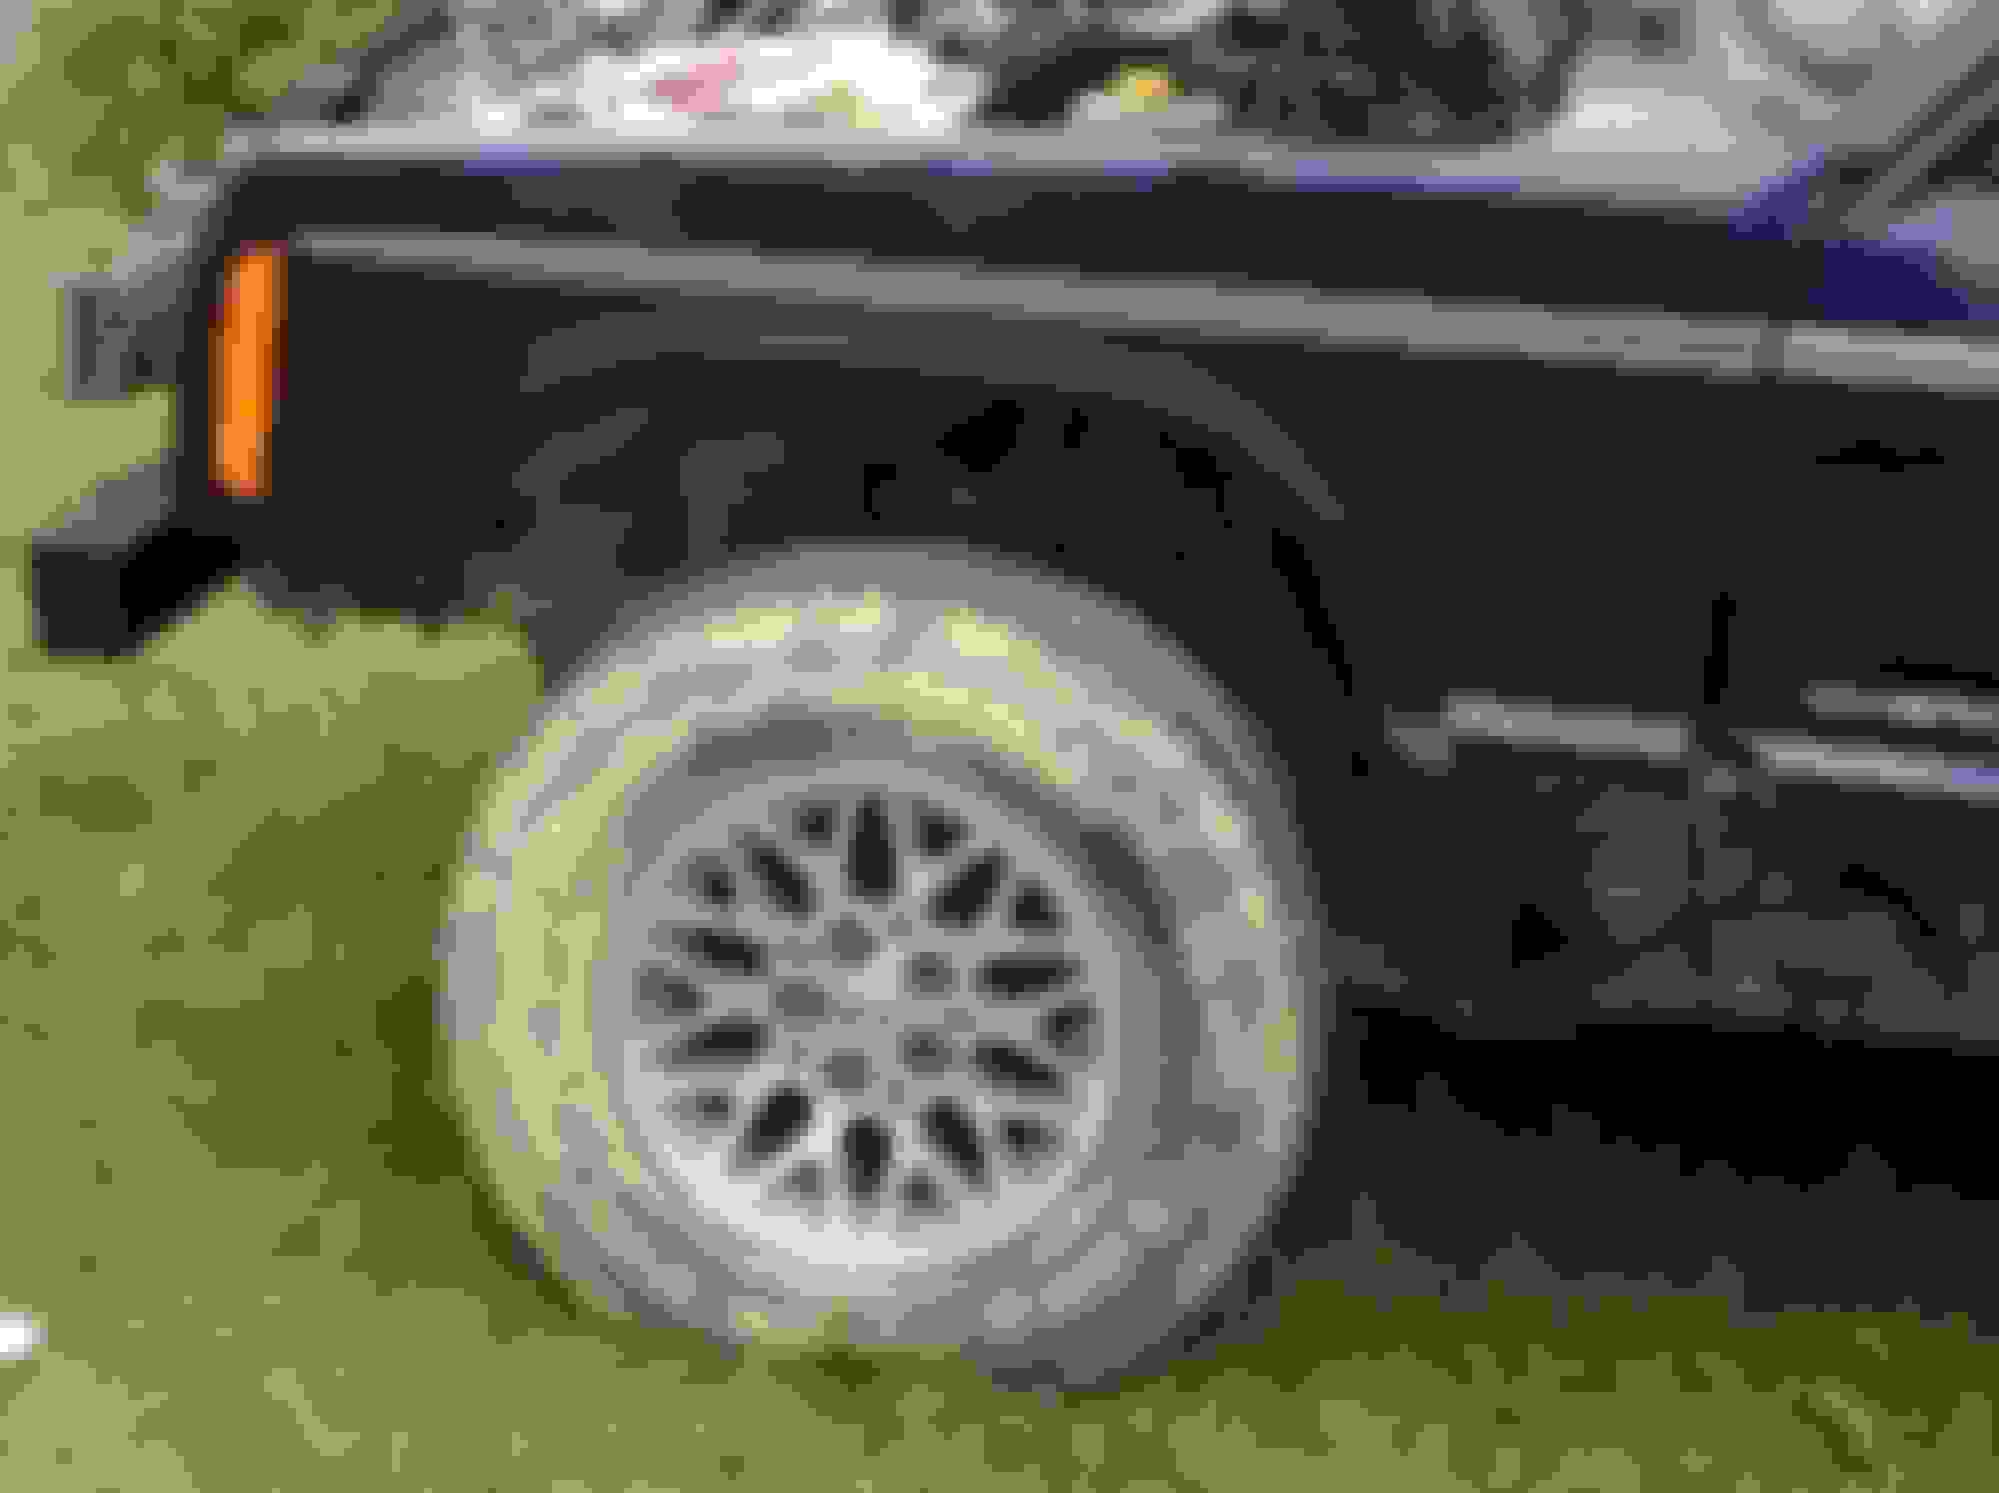
Got a few more pics. I'm still waiting on the ball joint tool, which should be here tomorrow. So, I did what I could. got the wheels and am looking at the muddy suspension.
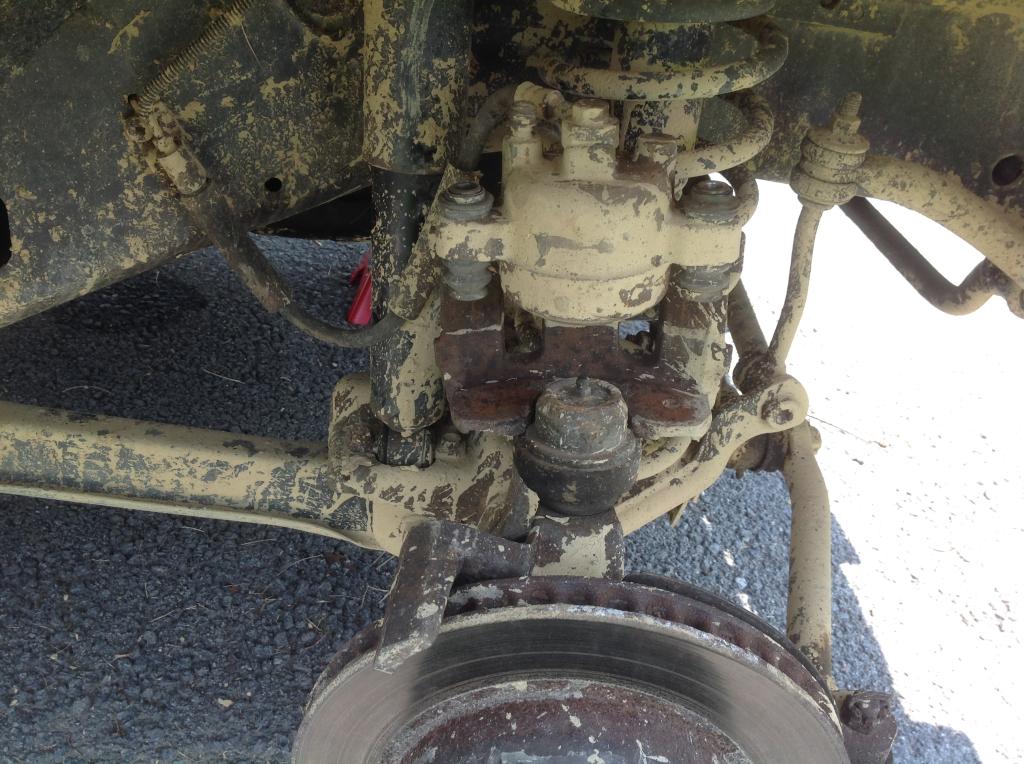
Looking at the rotor. Discovered that one of the rotors had been put on over the axle nut,one(correctly) on behind the axle nut. No wonder one of the rotors had grooves the depth of a pencil on it.
Got a few more pics. I'm still waiting on the ball joint tool, which should be here tomorrow. So, I did what I could. got the wheels and am looking at the muddy suspension.
Looking at the rotor. Discovered that one of the rotors had been put on over the axle nut,one(correctly) on behind the axle nut. No wonder one of the rotors had grooves the depth of a pencil on it.
No autozone near your house to rent the ball joint puller for free for a couple days?
Yes, there is, but here's my logic(wink, wink) for getting my own.
I'm watching all these Youtube videos on changing the ball joints, right? And everyone says, "You can get these cheapo ball joint tools that may not be complete from your local auto parts store."
Ok, I'm thinking, they may work, they may not, and I'm already saving tons of money by doing the work myself, so why not check out what's available? I do, and find one where the review says, "Worked perfectly on my 1999 Jeep Cherokee XJ." Aha! That's exactly what I've got, so I spend the $60 and the tool is out for delivery today. Perfect weather for working on my ball joints(did that sound weird?).
Hopefully I'll have everything put back together this afternoon and then I can start trying to figure out how to get the bumpers off so I can install my new Roxolid bumpers. Sheesh, I guess I knew what I was taking on when I signed up for this XJ project in the first place
Well, spent the afternoons working on the ball joints. Thedriver side top ball joint came apart while still pressed in, so I still haven't got it out, pretty tricky. Finally decided to try the passenger side top ball joint, spent ten minutes working and got it about a quarter out. Yoohoo!
Then decided to call it a day. I'm hoping to find a piece of steel to use as a spacer on the driver side top one. Managed to borrow some plate steel from a neighbor sonhopefully tomorrow I'll get the old ones out.
I got a piece of steel plate to try and use as a spacer on the driver side ball joint. It's not as thick as I wanted, but I'll give it a try this afternoon and see what happens. This is work!
We'll, let me say this. Ball joints are not the easiest thing to replace. So far I've got the passenger side top one off, the driver side top one has a broken bolt that fell out, the passenger side lower is a bugger,defying all attempts to remove it, and the driver side lower is waiting on the top. Whew!
I'll feel a sense of accomplishment if and when I make it.
Whoo hoo! Spent a few hours this weekend working on getting ball joints in(dang, that's hard). Got the last one Saturday afternoon and now I'm thinking it'll be easy to get everything together and the wheel back on.
Nope. Somehow I bunged up part of the threads on the upper ball joint, driver's side. The castle nut would go part of the way on, then the whole bolt arm things would just spin around. Doggone it!
I try using a needle file to straighten out the threads. Looked a little better, but the nut still would hang up. Finally took the old castle nut and some vise grips and started working the nut on and off multiple times. Still seemed pretty hard to put on. Finally got too hot and decided to call it a day.
Okay, it's almost dark, but I'm feeling rested so I head out with a file to try taking the threads off completely. It must have seen me coming, because as soon as I put on the nut, it went right on without a hitch! What the heck? Anyway, got the hub and axle put back on and then it was too dark to finish up the brake pads and rotor so I called it a night.
Next morning finished putting the new brake pads and rotor on and remounted the wheel. Now keep in mind, I've been working on this new ball joints, brake pads and rotors job for about 3 weeks now, so I'm feeling a little punch drunk. Did I get everything put back on? Is it all in the right place? I don't have any left over parts, nothing's hanging down underneath so hopefully it'll all be good. Cross my fingers.
I remove the jack stand, lower the jack and clear the runway. It starts perfectly(which it should since I didn't do anything with the engine). I roll forward slooowwwly, so far, so good. I apply the brakes, they work, much better, actually. Steering seems ok. I head down the gravel road behind my house. Feels good, get up some speed, slam on the brakes. Lock up the brakes and skid. Didn't do that before. Head on down the road, up to 35 mph. Apply the brakes normally, slows quickly to a stop. Everything looking good.
I eventually get it out on the blacktop road and get up to 45 mph, also trying a panic stop. Stops so much quicker than before it's amazing. No problem with steering or driveability. Looks like it is ready for the safety inspection again, hopefully this time it will pass. Cross your fingers!
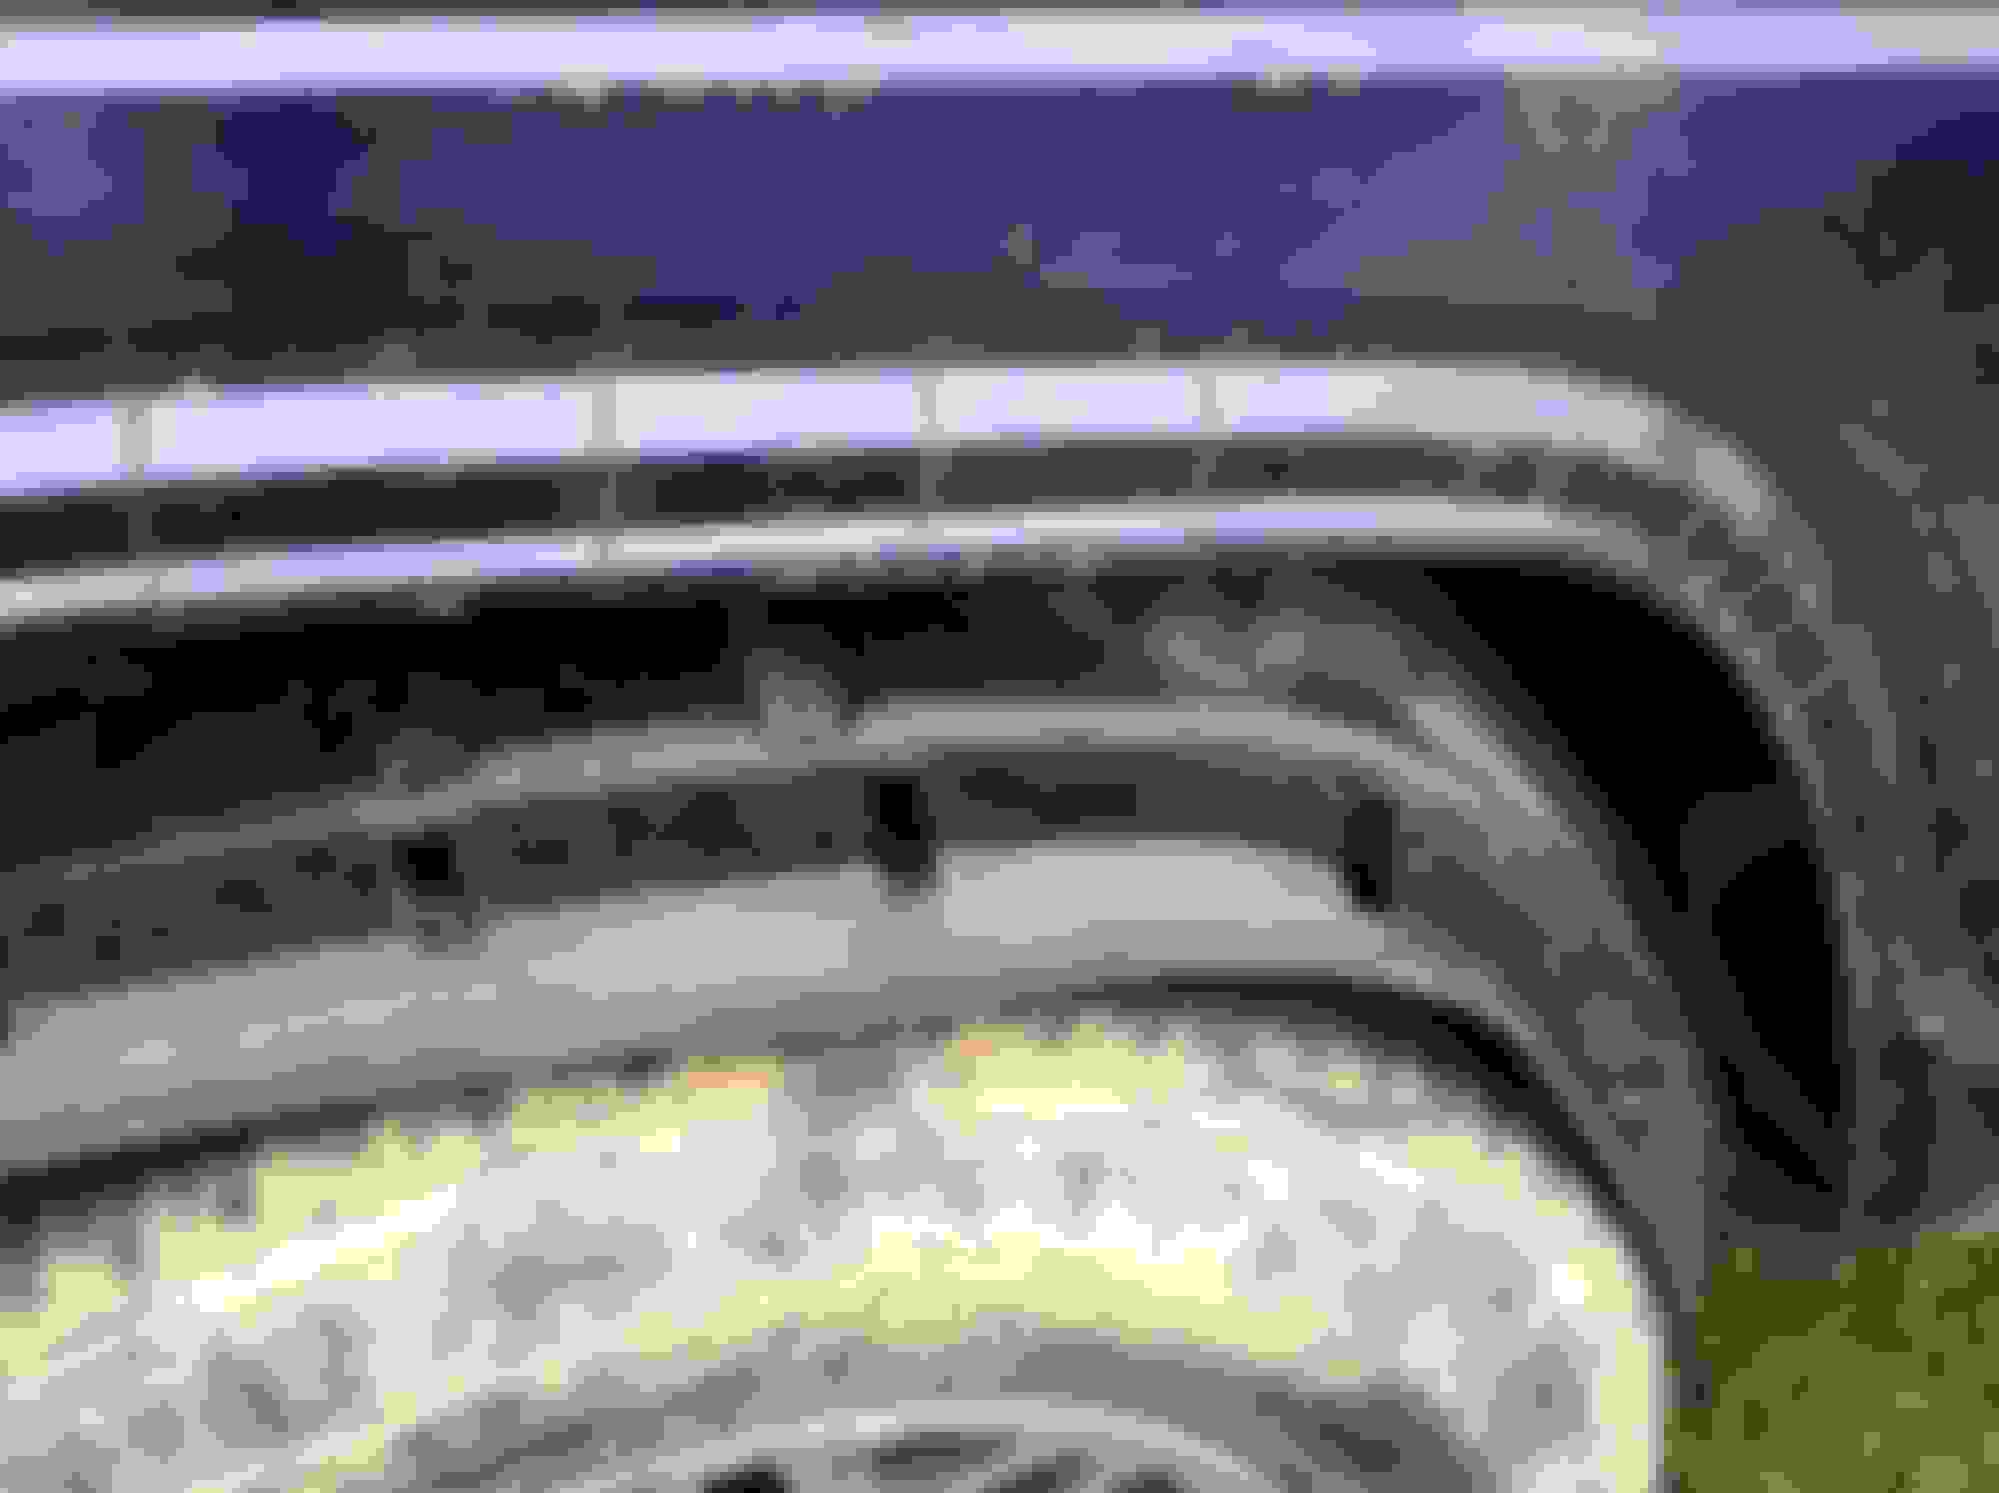
As I've mentioned before, it passed the safety inspection this week so I decided to work on the front bumper. I had ordered the Roxolid bumpers(front and rear) along with a Badlands 12000 lb winch several weeks ago. It had been sitting in my entryway for several weeks.
Anyway, this morning I started working on taking the front bumper off. I have the Limited so a little more complicated than the Sport bumper. Took some time to get it if, mostly because I couldn't find my air ratchet
Finally decided to take off the end caps and then it was easy to get to the bumper bolts. Removed the bumper and had easy access to the bumper mounts so then it was easy to remove.
Took a quick break and had a drink of water and then decided to try putting the new Roxolid bumper on. That thing is heavy, so it definitely helped to have a second set of hands. Also found out that there is another bolt that didn't attach the bumper mounts that goes through the new bumper. Got them in with help from my son and then headed back to the house.
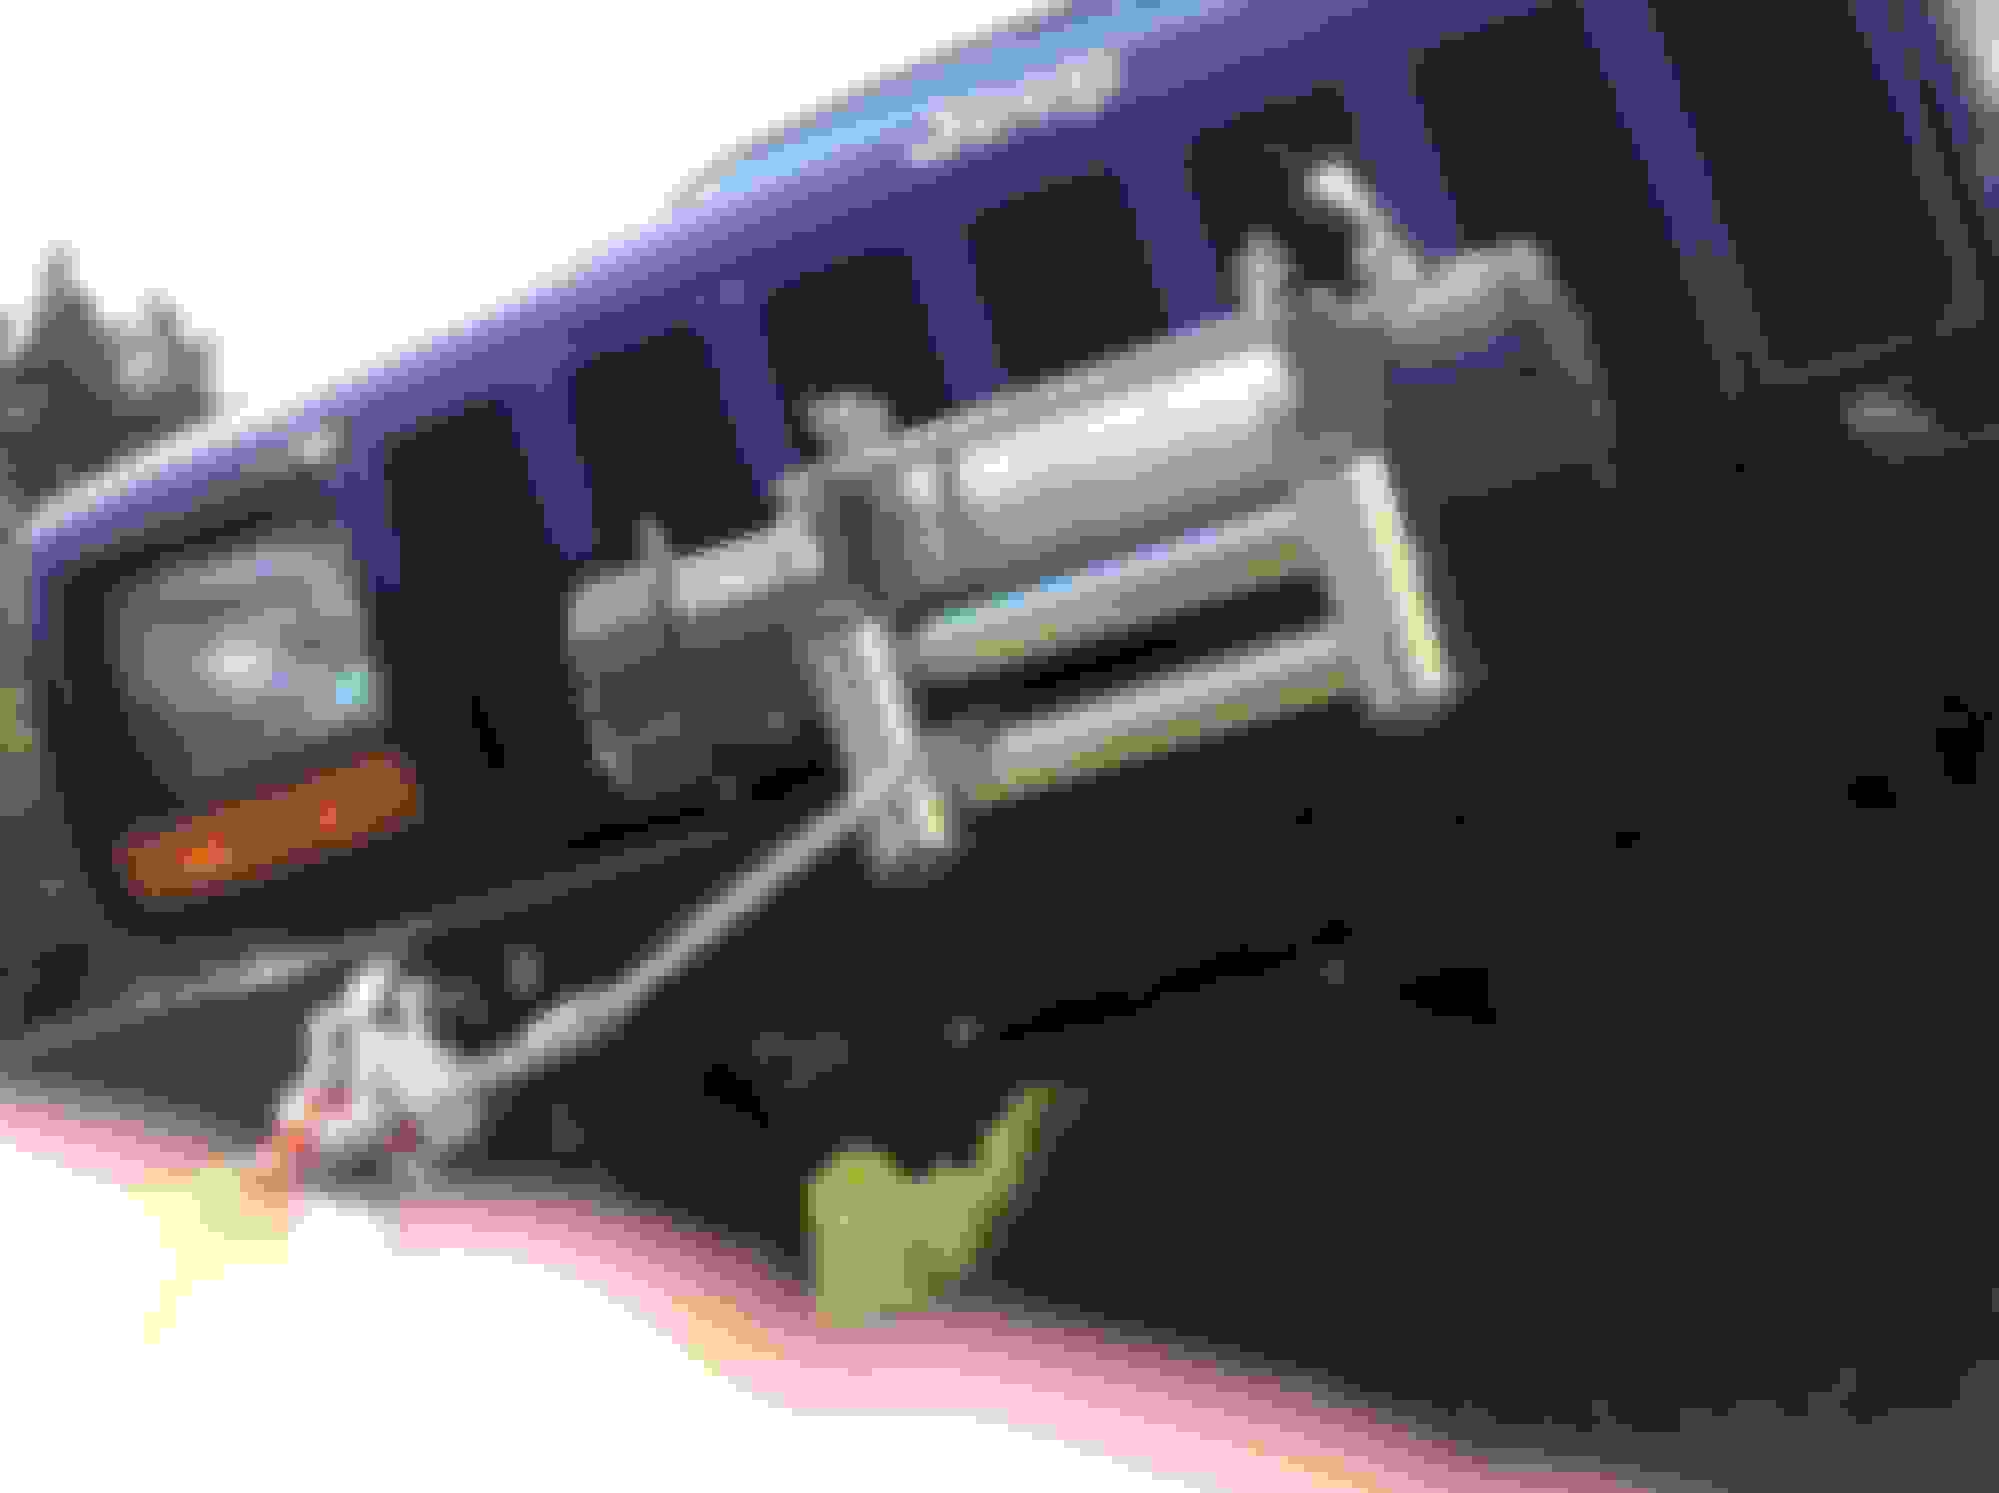
Started looking at the big winch and decided to try and get it mounted on the winch plate. It mounted pretty easy and I have the pics to show it. I still didn't get it wired but didn't have enough energy to finish it.
I love the look of the Roxolid bumper, tough but very Spartan. Instill need to trim some of the plastic that was behind the bumper trim on the passenger side to clean that look up.
Spent this week removing the fender flares, front and rear. Trying to make decisions about things that I'm going to do. Decided I wanted to keep the inside rubber fender wells with some modifications. I decided to do a cut and fold on the front to use the folded in tabs to help secure the rubber fender well.
I start making the cuts around the fender and the radius turns to make the tabs.
I then trimmed the rubber fender well so that it would fit behind the tabs that I folded in.
I then folded the tabs and placed the rubber fender wells behind them along with the body screws that attach the rest of it to the body.
I then sanded down the chipped paint and a couple of the rust spots, taped it off and sprayed the metal with matte black paint. I think it looks good. Just three more to go!
At least when I get done I can get the 31s on without the lift.
Nice build. I'm thinking of cutting and folding my fenders and adding flares, but still not sure until I finish the lift and drive it around. Yours looks good with that bumper.
I gotta say, i dont think id have the heart to cut the fenders on mine. I get way to attached to stuff.
You have your mind made up which tires you want?
I did wince a little on the first cut, but it was so easy with just a jigsaw that I just kind of git into it. Finished up the last rear fender today. Should have some more pics tomorrow.
I'm going to go with some 31s for tires. They should be here tomorrow as we'll, so hopefully I'll have pics with new tires and wheels this time tomorrow.
Nice build. I'm thinking of cutting and folding my fenders and adding flares, but still not sure until I finish the lift and drive it around. Yours looks good with that bumper.
Since I want to try running a little bigger without the lift at the moment, I pretty much had to do the cut. I really like the way it turned out. After I get the new tires on I'll see whether or not I need to add flares back.
We'll I got the fenders, front and rear cut and folded just in time for my new shoes. When I started to put the hockey pucks on the front the bump stops were actually longer than I thought. Two hockey pucks would have filled the gap so I left them off for now. I haven't put rear stops on either because I'm still thinking about what I want to do. Here are some pics of the cut fenders and the new wheels and tires. I really like the look.
 07-28-2014, 06:01 PM

 got the wheels and am looking at the muddy suspension.
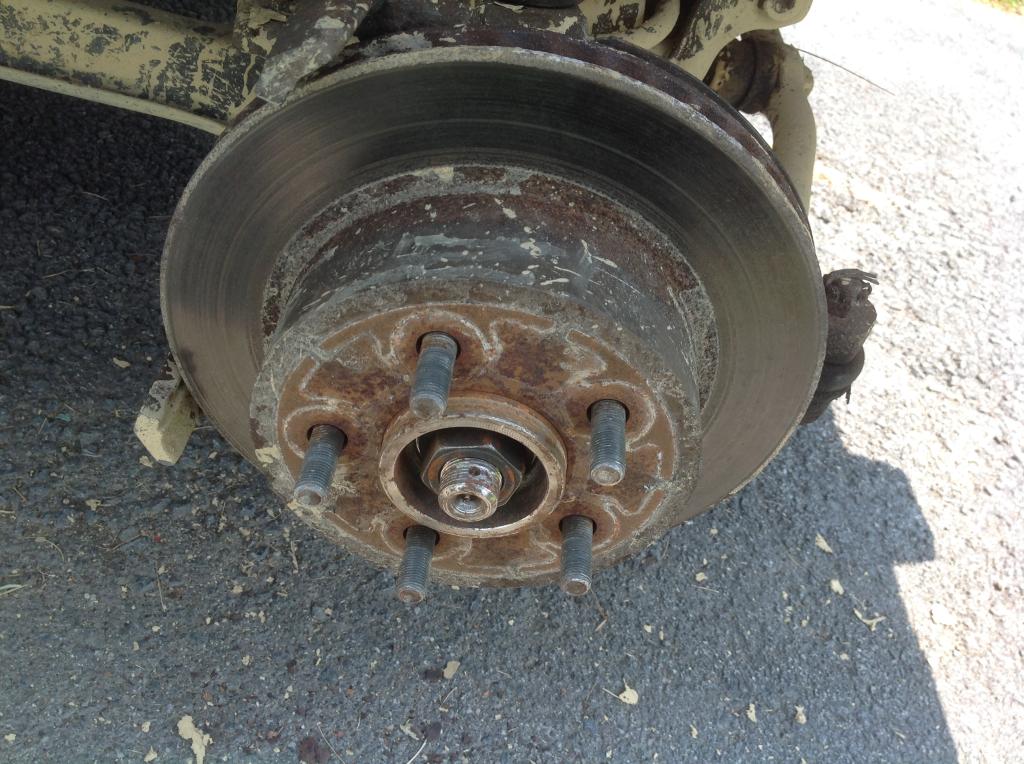

 got the wheels and am looking at the muddy suspension.