Almost done with these. Just a bit more blending and grinding to pretty it up. Jeep feels super rigid now. Also found a LS1 out of a 2001 Trans Am WS6 for the wife's Comanche.
Jeez, that Comanche is gonna really move with that LS1 in it. That Trans Am had like 300hp from the factory. I look forward to the finished project with that motor in it.
Thanks guys, it's moving along now. And yeah it should be a rocket as it's rated at 325hp in the Trans Am but after a little looking it seems that it may be 350hp as it's the exact same as the Corvette had minus the EGR, which will be removed. Either way it'll be quick.
So I finally finished the IRO frame stiffeners and they turned out pretty good. I do however have a couple grievances with them but I didn't take pictures so I'll make another post about it later.
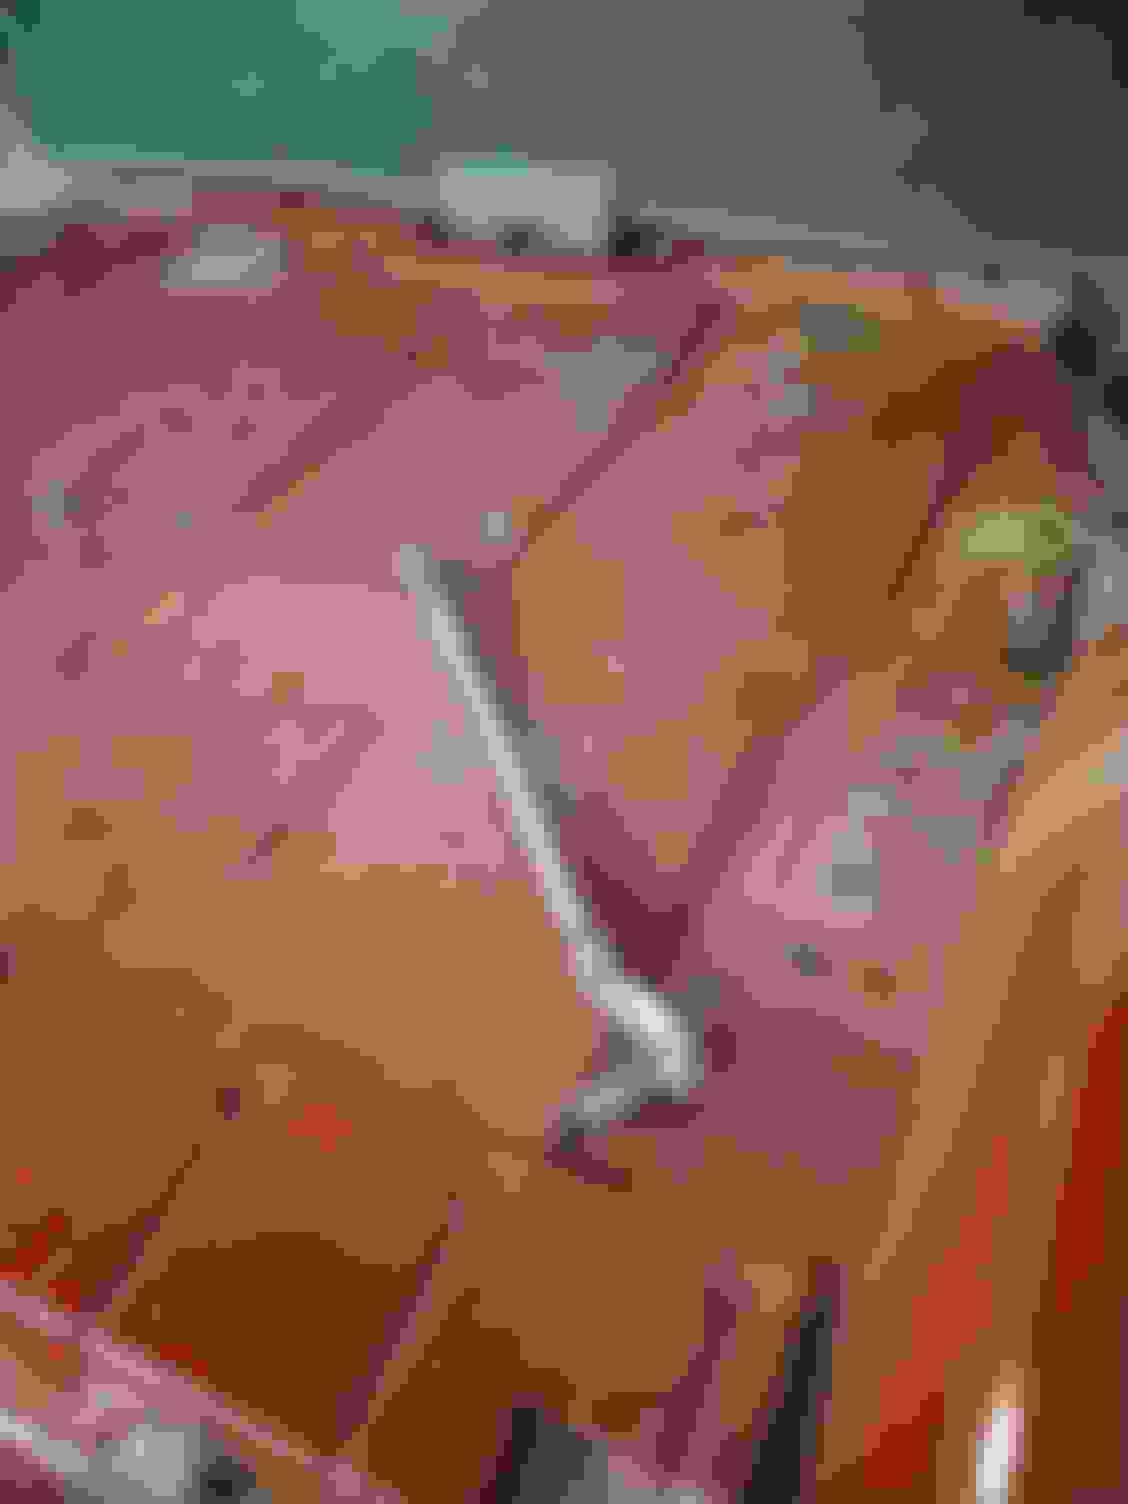
Moved onto pulling the interior and repairing the floor. For a 29 year old XJ I was pleasantly surprised, especially for a Jeep that's lived in Canada most of its life. There were some holes but nothing so bad to warrant full pan replacement. I wire wheeled all the rust out and will cut out the bad sections and patch what's needed but luckily most is in good shape. The worst spot Most of the rust was around the floor plugs. Seeing how this Jeep won't be forging any rivers, I'm removing most of them. Needs a bit more grinding. I'll post some finished pics when I grind it all.
The largest piece of floor repair. Minor pitting in the buffed areas which will be filled with short strand fibreglass body filler. Seeing as I don't plan on forging any rivers in this Jeep I ended up welding **** all of the floor drain plugs. I was going to leave a couple but if it ever gets that wet inside I'll promptly pull the interior and dry it out properly. Also don't know why Jeep thought it needed so many of them, took some serious time. The passenger side E-brake cable mount in the tunnel had a small tear near the spot weld so I welded on a plate to stiffen it up So this is my issue with the IRO center stiffener. The top edge extends past the "frame" rolled piece and would need to be welded to the floor pan. Now we all know how thick and sturdy XJ floors pans are... Just wasn't going to be possible seeing the pan I'm working with is roughly .060" thick. This is how they ended up going on. The pan would of ended up failing at the weld and it would of been impossible to get it right. Cut back and welded to the "frame" is the way to go if you buy these. Dyna-glass Sanded. Filling the welds on the bottom side so that when it's painted it'll be hard to even tell it has frame stiffeners. One of the deleted drains after filler.
Been trying to put in work on the Jeep but I've got sidetracked a couple times with some other purchases. Picked up a 1965 Volvo 122s that I've been cruising this summer and came across a 1974 Mazda Repu. It needs a bunch of work but these things are so hard to find I couldn't say no. Sat in a field with a seized engine for 15 years So damn cool that it said that from the factory
Some body filler to smooth out the floors
Finished filling all the irregularities from the frame stiffeners
Cut out the rusted lower quarter on the right side. Thankfully the left side is ok.
Installed Ironman Fab no lift relocation boxes but modified them so that they didn't put holes in the floor. Drilled the top inside and welded on bosses onto the frame to bolt them on with M12 hardware. Welded the nuts so they'd be easier to take off if need be
Fabricated a new inner panel. Wish you could buy these. Mostly installed. Dealing with some super thin .020 metal is tricky. To save cutting out more I build up some weld in the thin areas and ground down. More Dyna-glass to fill it. Inside Inside view Will have to try and match these curves Looks decent tho. Will finish installing next time around and smooth out the body filler
Those are some nice looking new toys.
I just "finished" getting my floors and underside painted and sealed and I have to say again how much I respect the amazing job you're doing on yours.
I also love the work you have done on the body, especially the rear quarters. I was nervous that my Jeep would need work, but fortunately, the body is immaculate. I can do mechanical work all day long, but body work is a skill I have not mastered yet.
Yeah the bodywork is new to me but I'm just trying to take my time with it and think each step through. Helps that this jeep wasn't in too bad of shape.
Primed and a coat of red to somewhat match. Bent the panel by hand to match the curve of the quarter panel Dyna-glass fibreglass filler Liberal amount on the inside as it'll never be seen Almost there, gotta fill and finish the outside.
2K primer sanded, ready for sealer and paint Sealer Sealer Bikini pearl PPT, for the engine bay. I'm going to repaint the exterior after I finish the Comanche After the 2nd coat of base Pre clear