High Mile Red XJ
 08-13-2015, 09:31 AM
#1
Junior Member
Thread Starter
Join Date: Sep 2014
Location: CT
Posts: 58
Likes: 0
Received 0 Likes
on
0 Posts
Year: 2000
Engine: 4.0
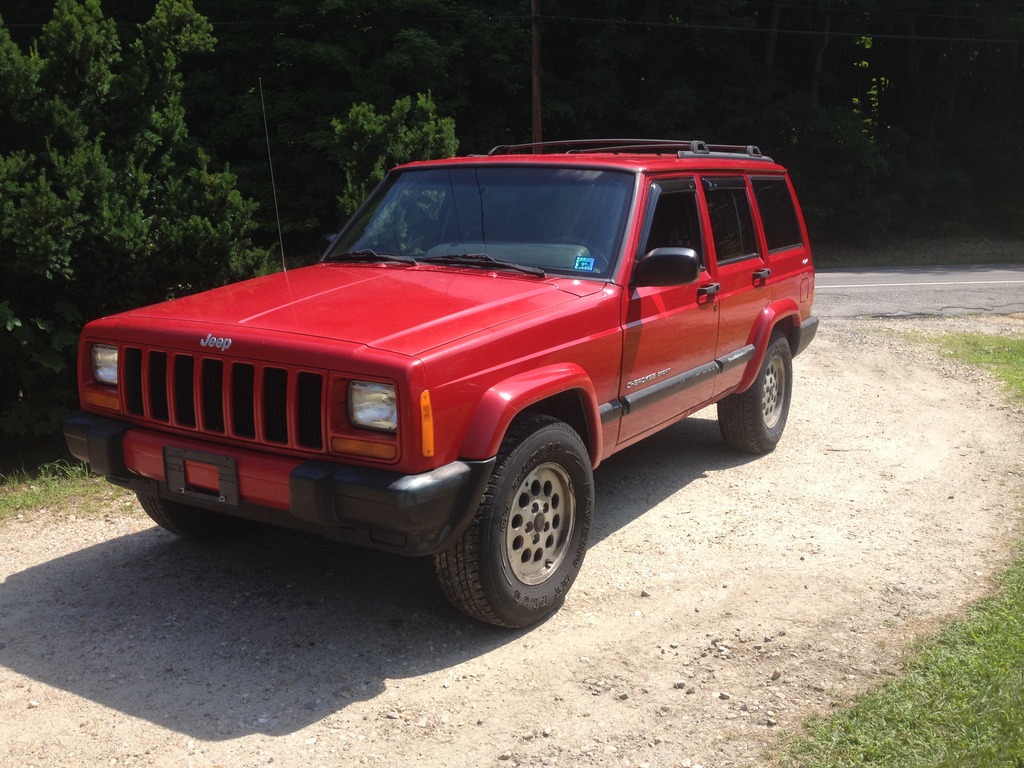
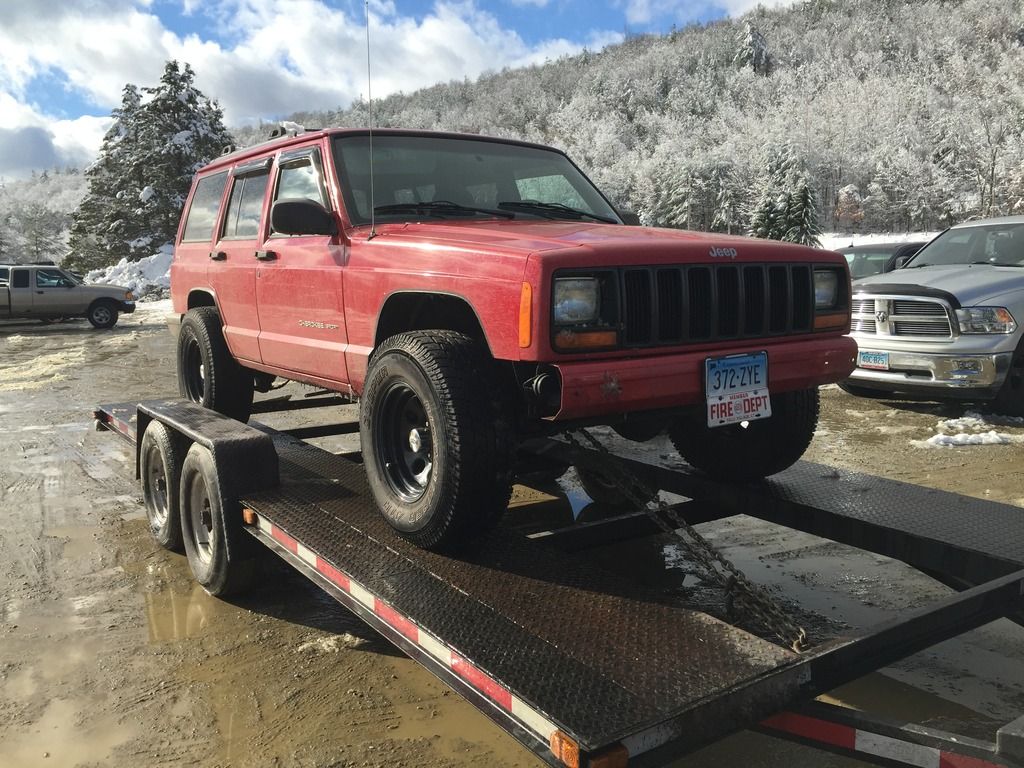
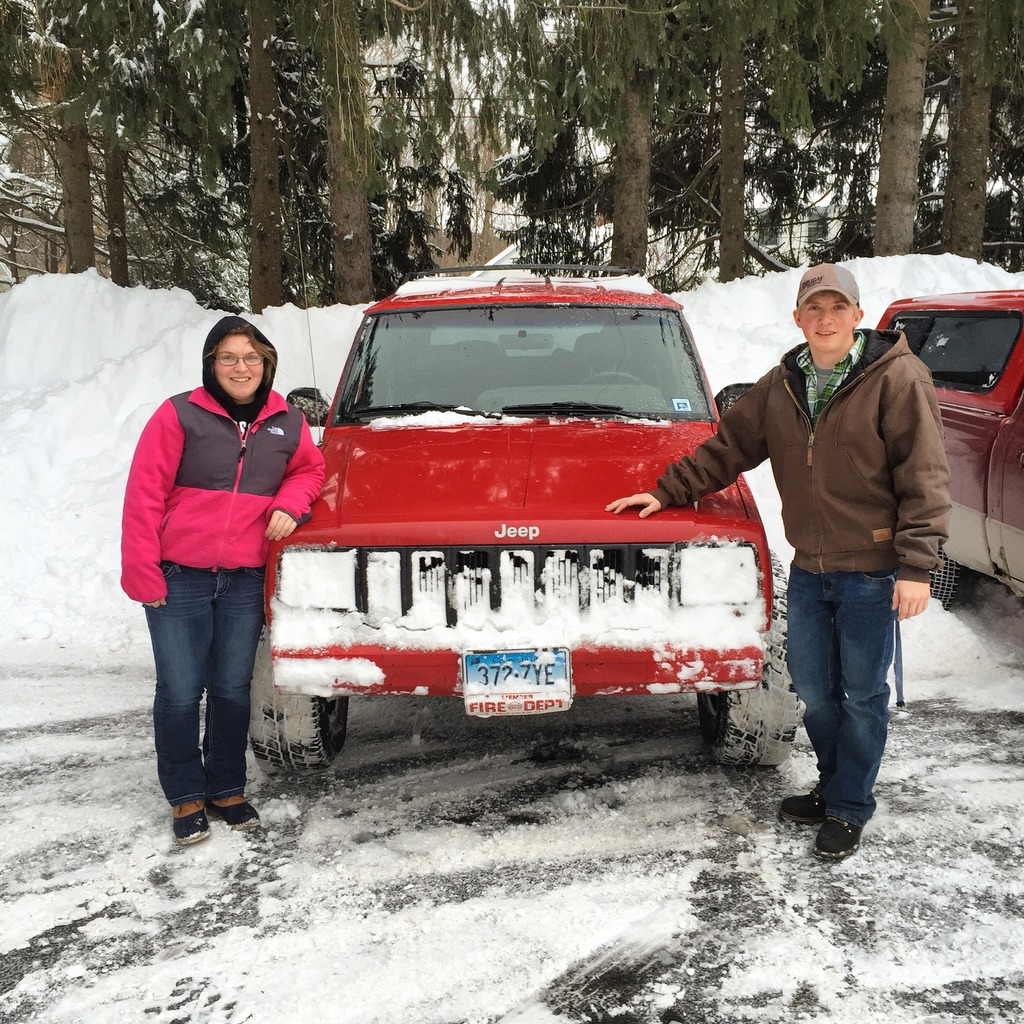
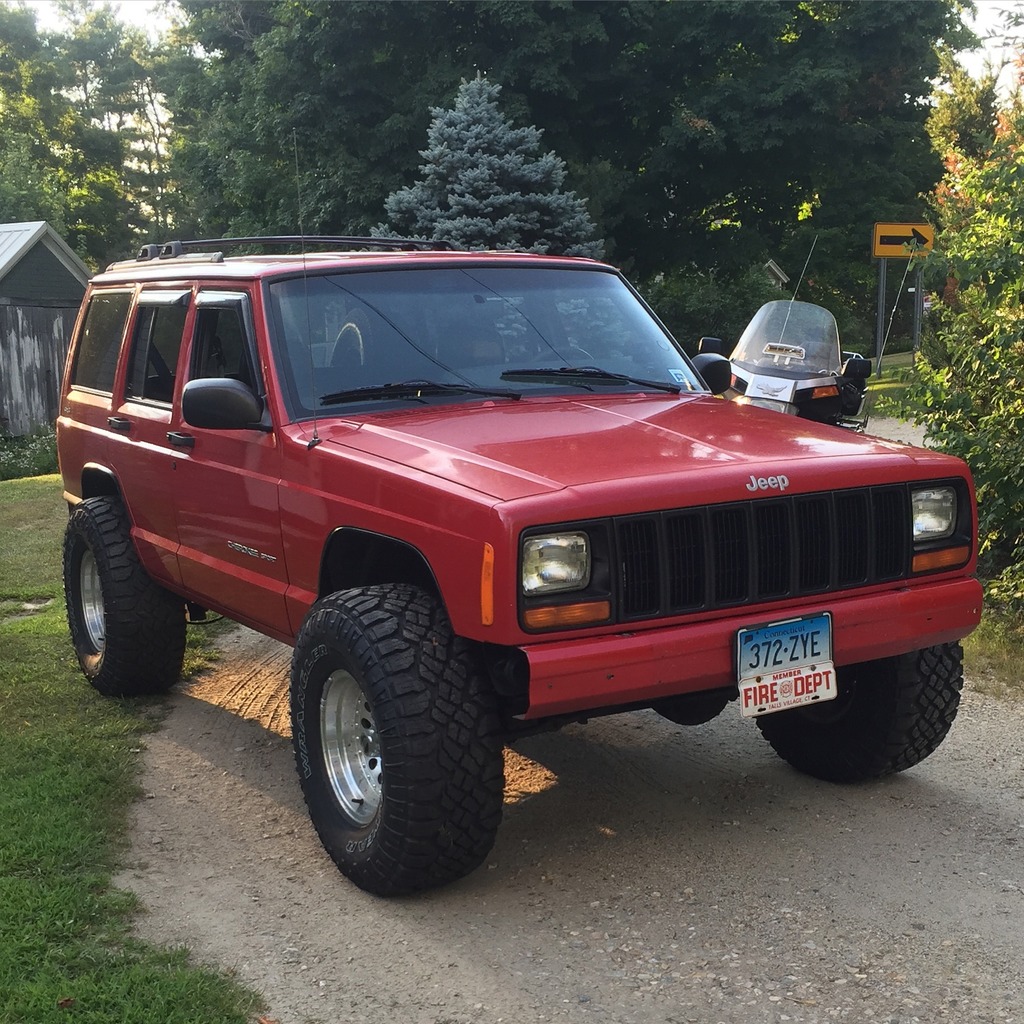
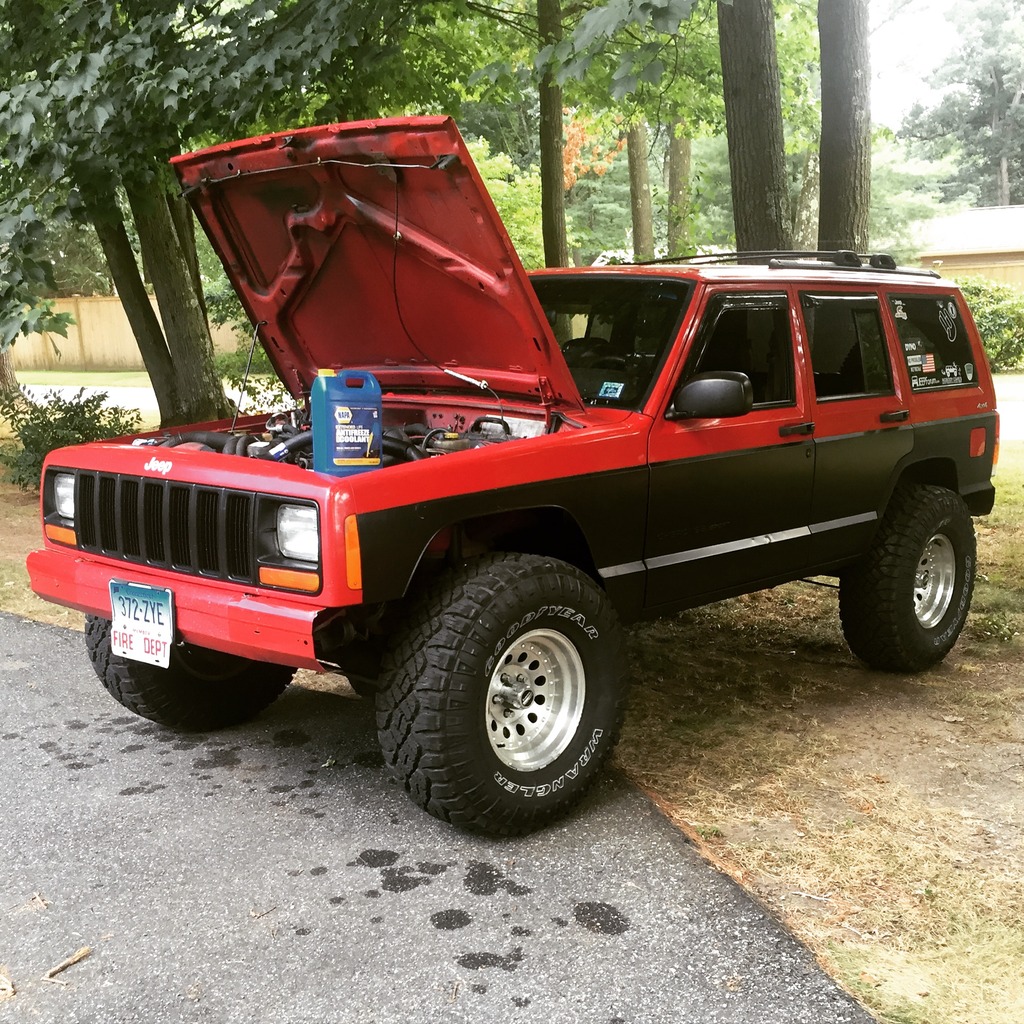
This is my first Cherokee, certainly not my first Jeep. Bought it with 317k miles, drove it on the trailer and brought it home. Got a newer engine at 274k when the first one finally gave up the ghose, newer engine had 130k on it then. Jeep was a bone stock, 2000 Cherokee Sport 4.0 NP231 with an 8.25 rear. Bald highway tires on all 4 corners (dont know what brand, I took them off after the first week) and only had minor rust. Factory AC no longer worked and the muffler was starting to leak. Here she is the day I brought her home.
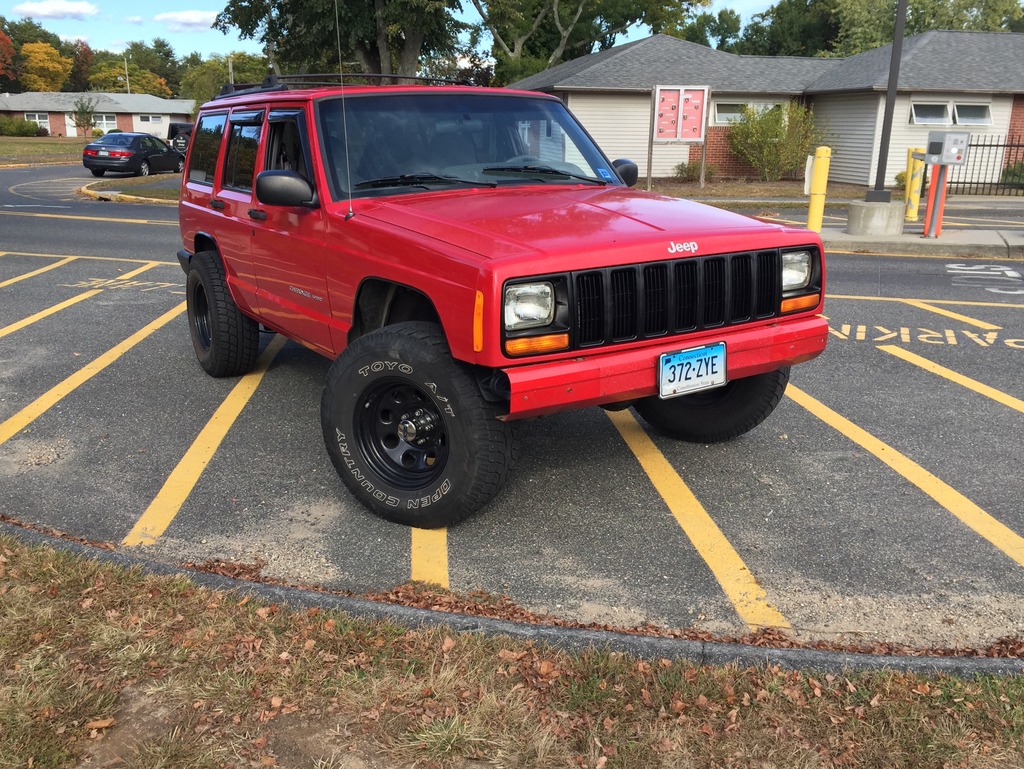
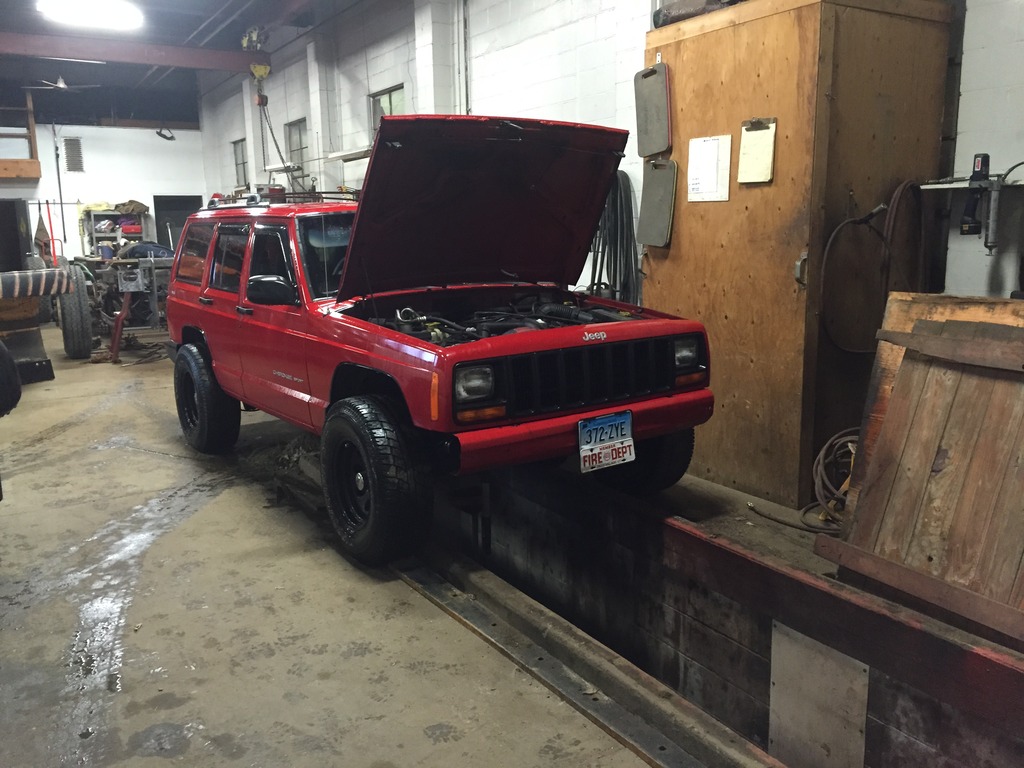
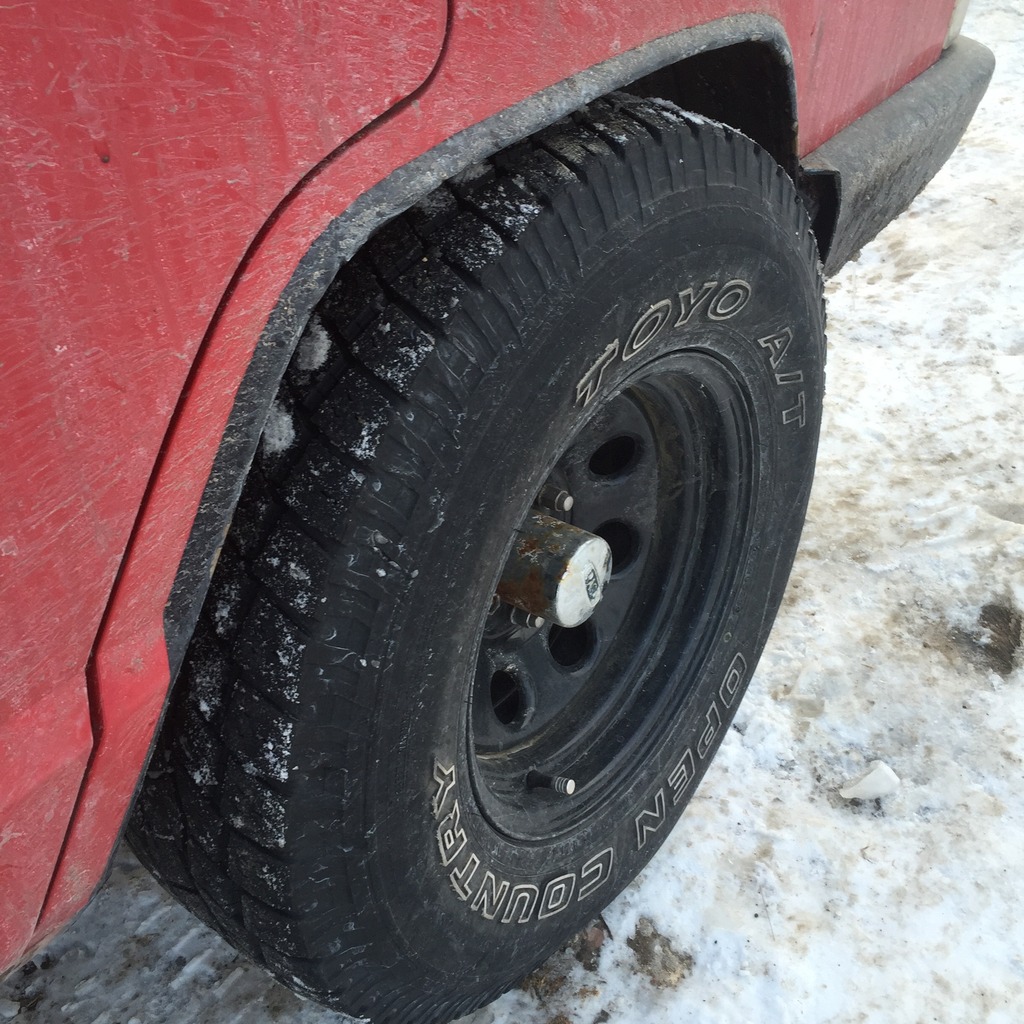
First thing I did was ditch the plastics, cut the fenders, and stuff my 31's under it. One of the origional wheels actually had to be cut off the Jeep. I have a feeling those tires had been on there a long time.
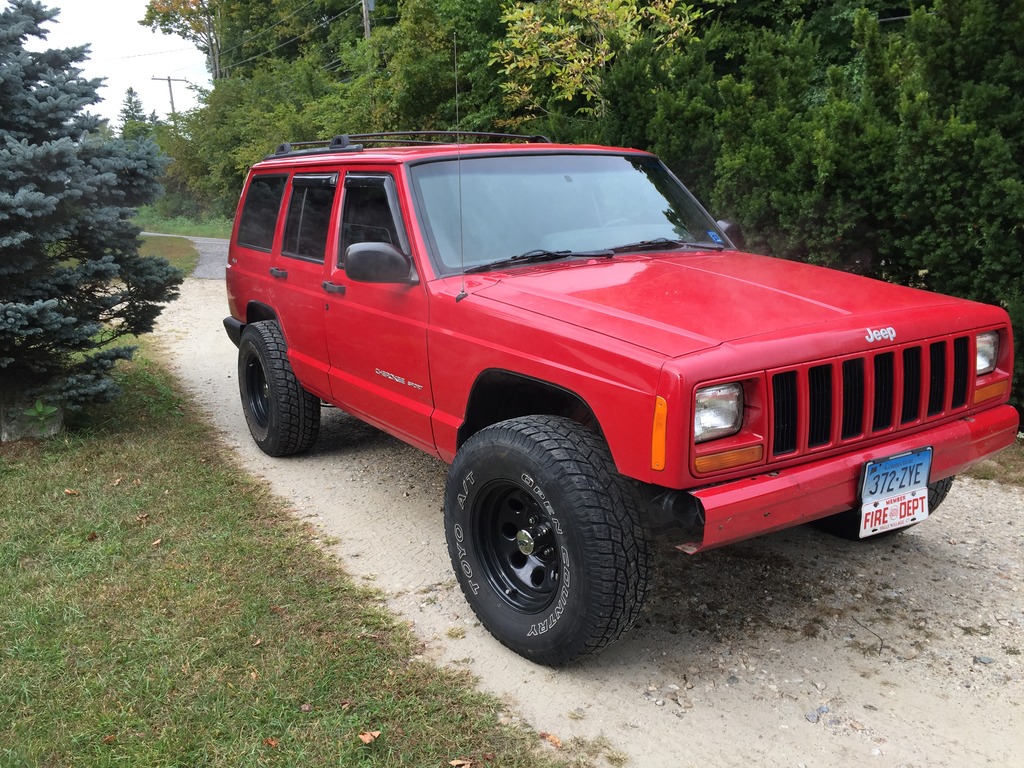
I didn't have any real trouble with tire clearance even with no lift. If I got the Jeep really flexed out then it would rub pretty bad in the back. The saggy springs weren't awful yet though so as long as I didn't carry too much stuff in the trunk, the rubbing wasn't an issue with daily driving. Once I went back to school, I wanted a little contrast so I painted the grill insert black.
Next issue I faced was wheel bearings. 3 of the 4 were bad. Both rears were replaced, and one of the fronts. The other front had been replaced by the previous owner. Didn't really do much else until winter break from school. Driving my girlfriend to work one day and I lost all of my oil pressure. I had had a knock for a month or so and I figured this was the end. Turned out to be a bad oil pressure sensor, but since I was home on winter break, I decided that I would pull the engine apart and see what was going on. Turns out, I had a bad rod bearing on the first connecting rod. The journal was within tolerance, so I got all new main and rod bearings and replaced them. Also got a new rear main seal, oil pan gasket and oil pump while I had the engine apart. Seemed like I should just do it while I was in there anyway.
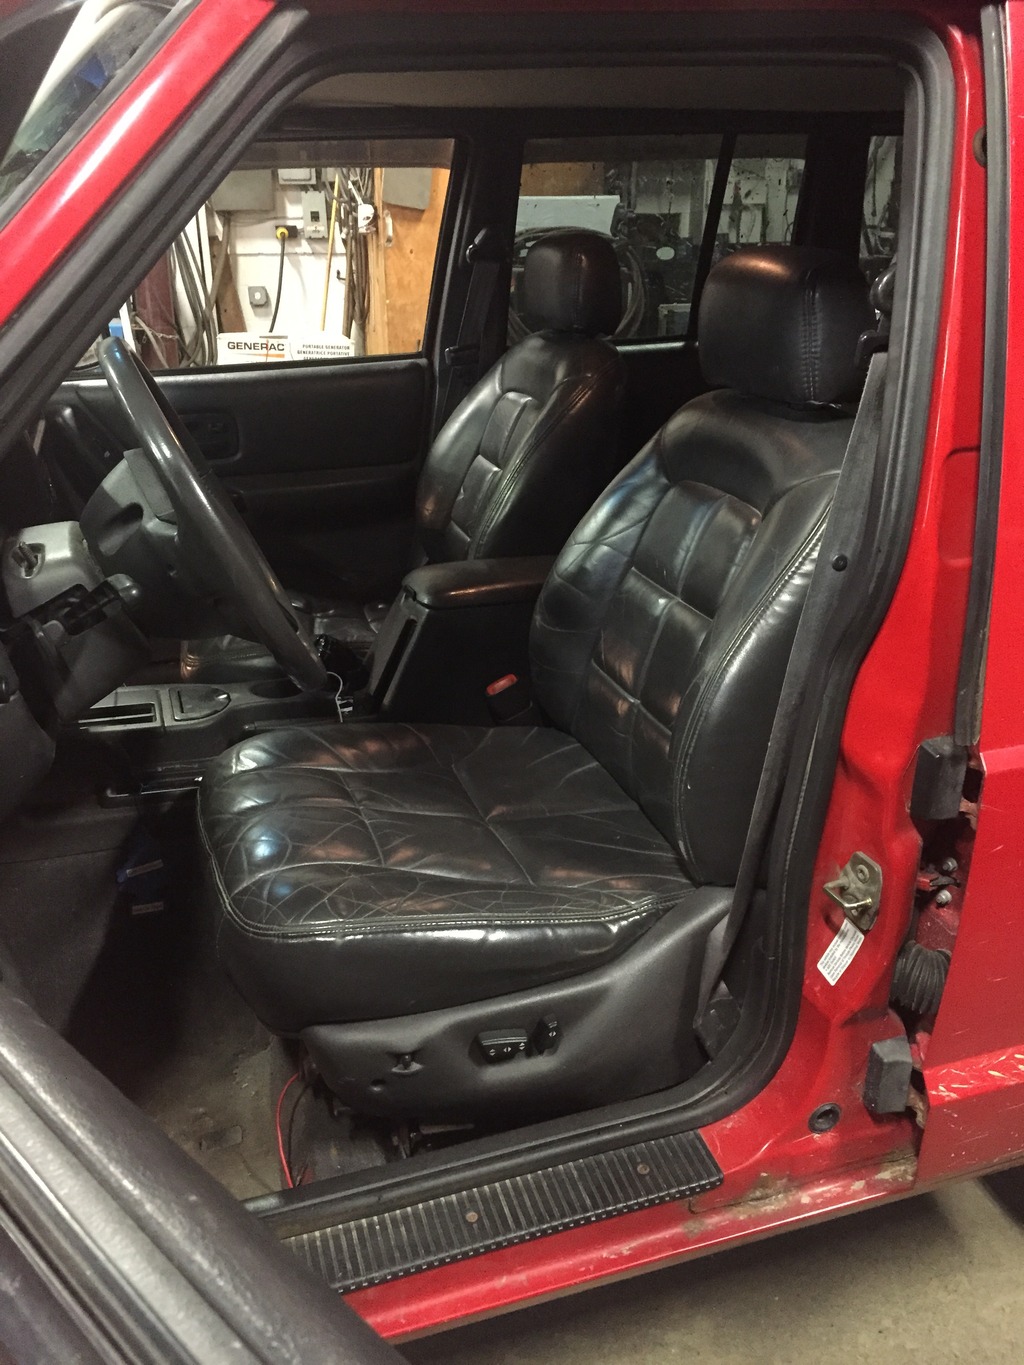
New bearings and an oil pressure sensor fixed my knock and my low pressure light. I also picked up some leather seats out of a ZJ while I was home and installed those. 10 way electric, they are pretty nice. I can tell you now though that since it got warmer, they get pretty sticky in the summer. Regardless, they are pretty comfortable and match the interior better than the stock seats did.
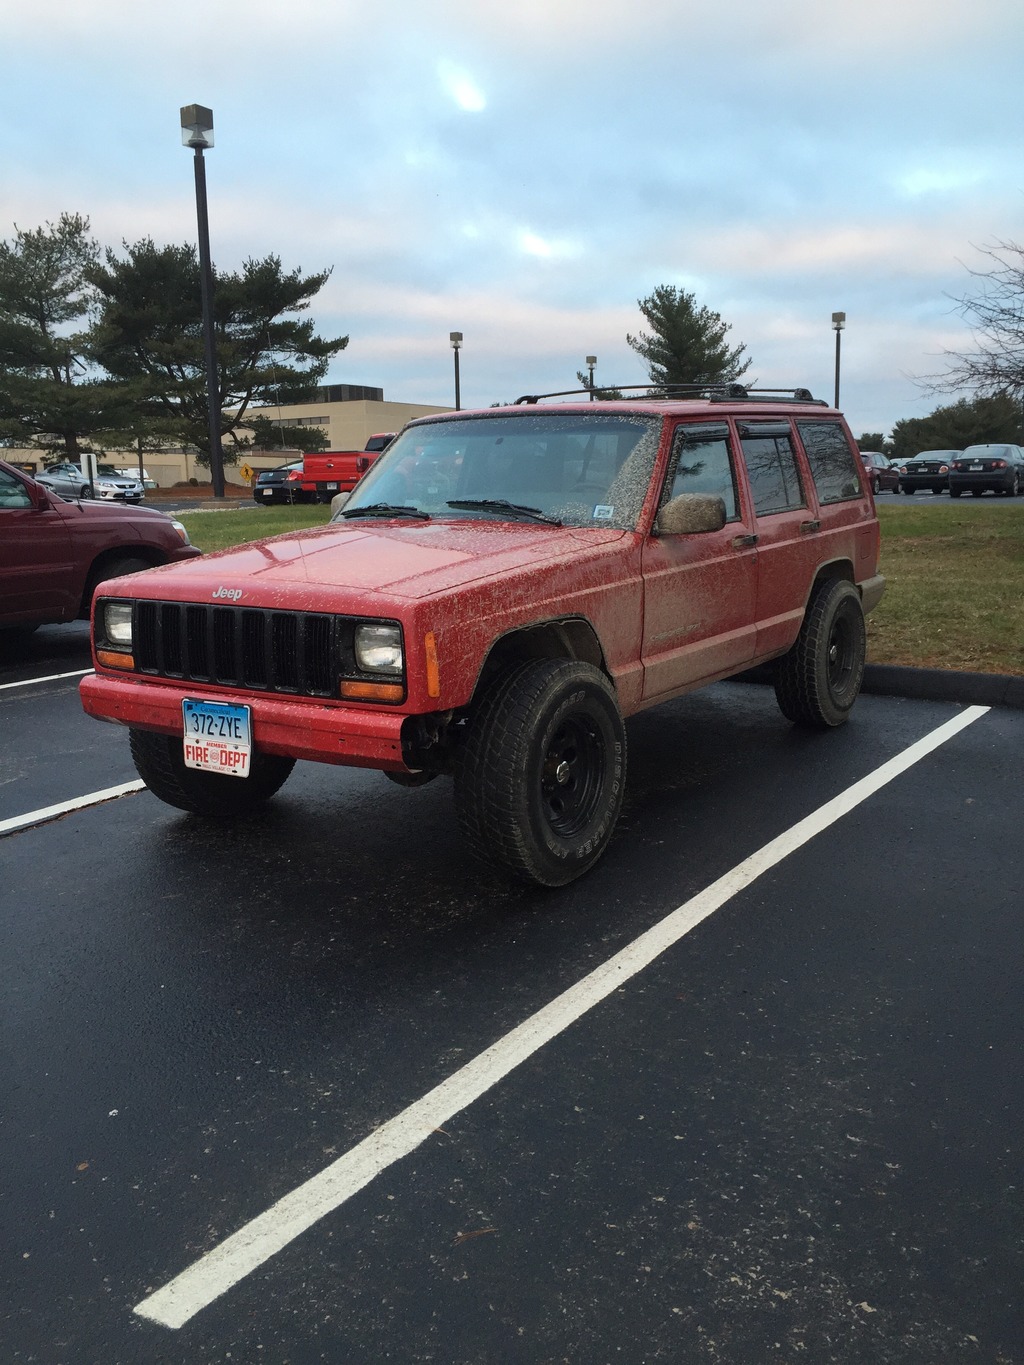
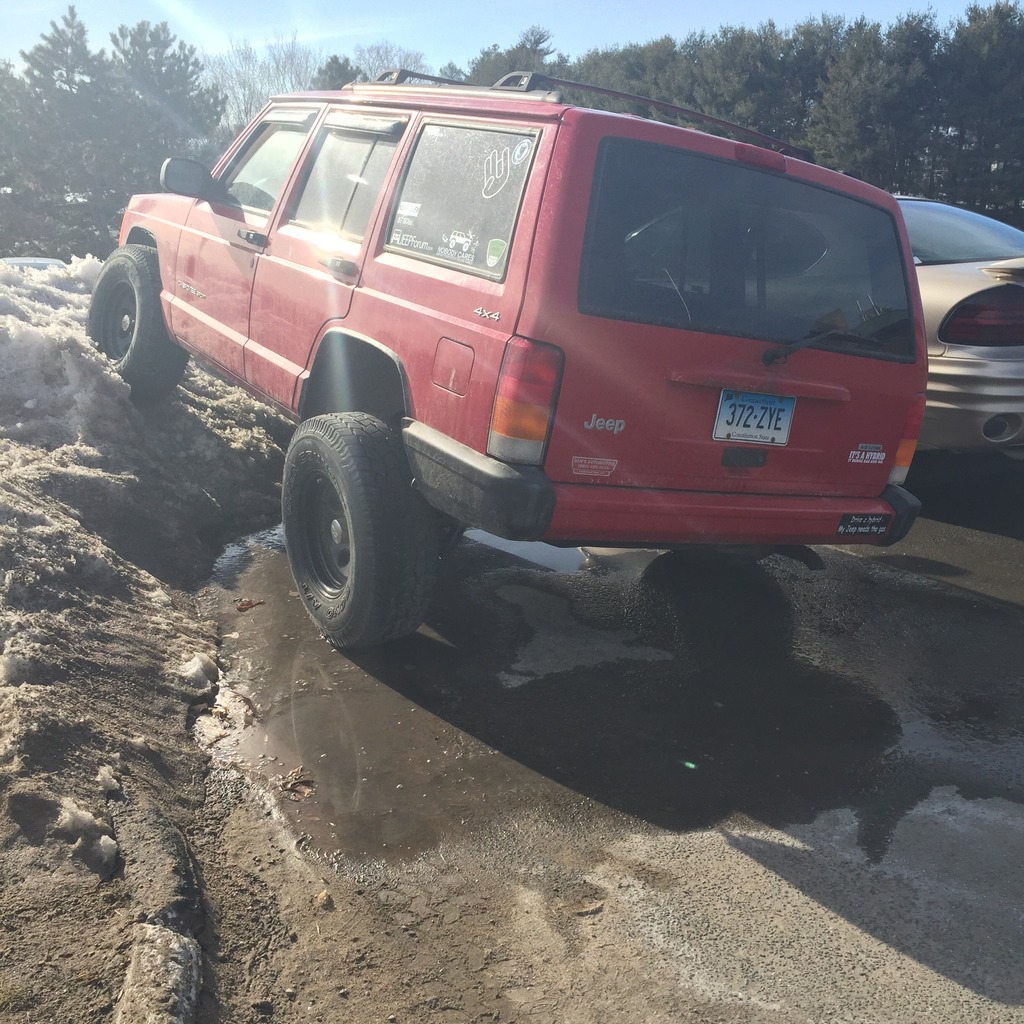
I picked up the back split bench seat at the same time which would be installed later. Here is the XJ after I got back to school after winter break. This is when I realized how bad my rear leafs were getting. I decided that I would get new leafs in the summer, when it was warmer.
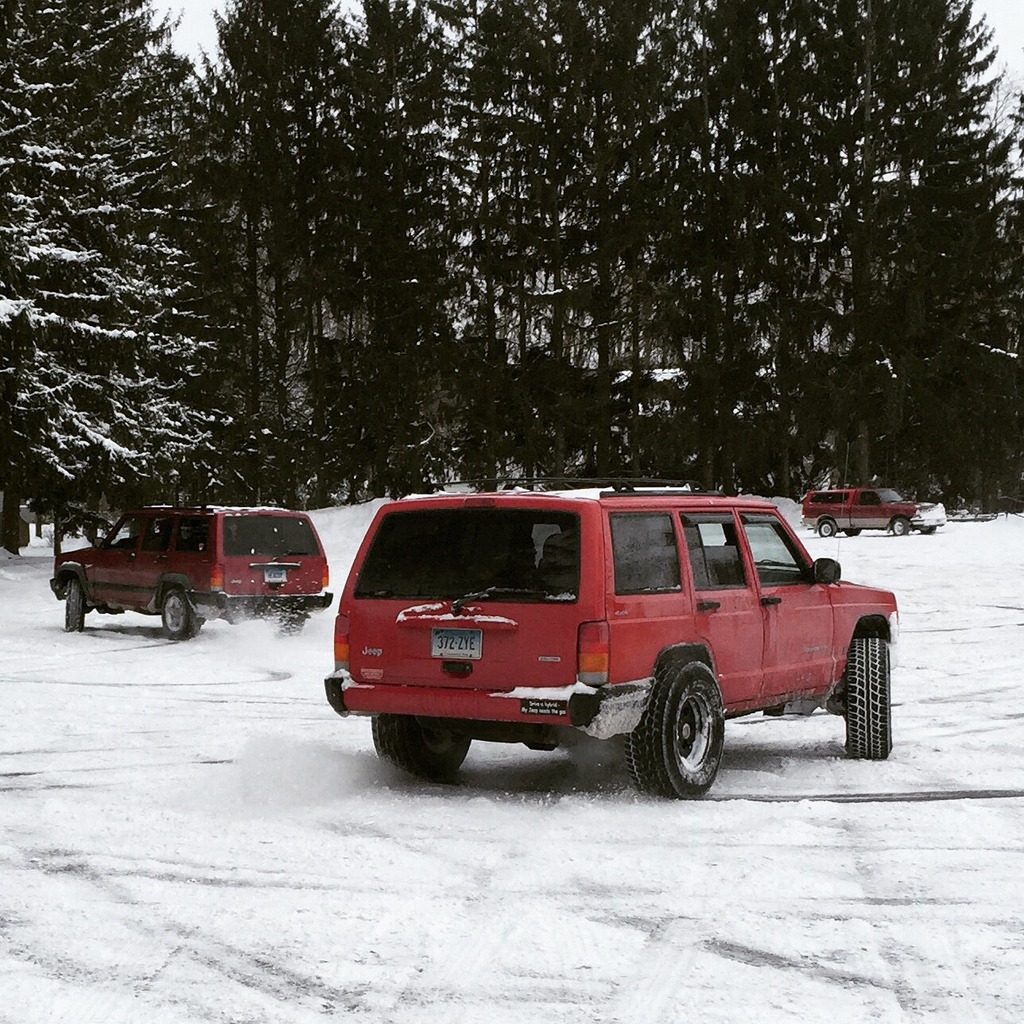
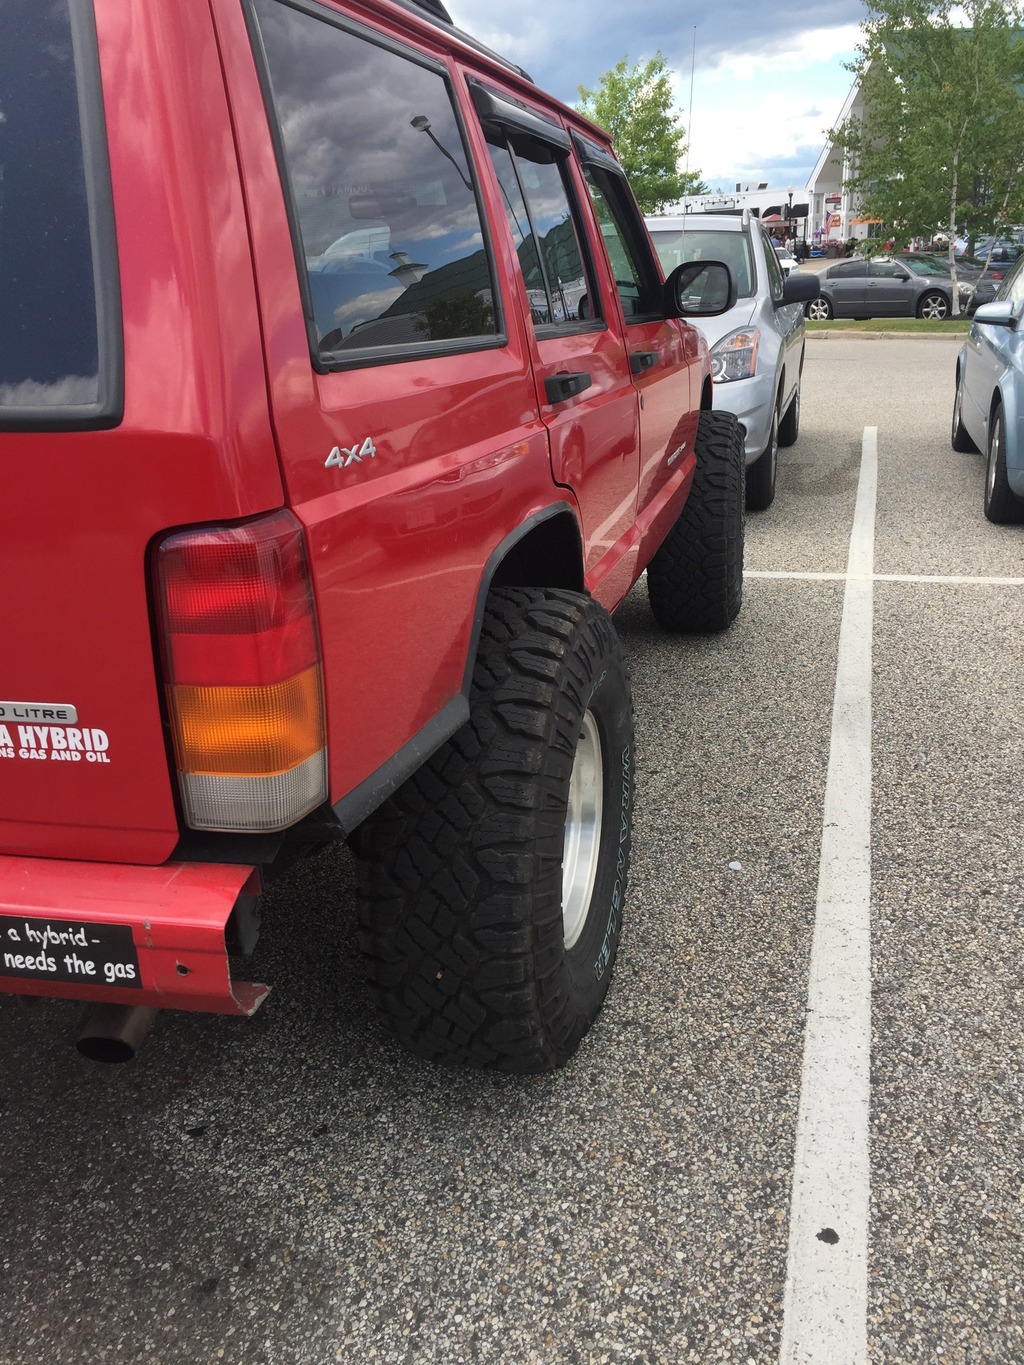
With a couple people in the back seat, there was basically no room left over the back tires.
I purposly left the sway bars in to limit the travel and help with teh rubbing situation. My other rear tire in this picture is totally stuffed into the wheel well and rubbing away the paint. It was the last parking spot though, so at least I didn't have to walk
When it got warmer, I cut and folded the rear quarter panels to get rid of some rust and increase my clearance for when I wen't to bigger tires. I think they came out pretty well, and they allowed me to get rid of the last bit of plastic on the Jeep.
And here it is with the cut and fold done.

First thing I did was ditch the plastics, cut the fenders, and stuff my 31's under it. One of the origional wheels actually had to be cut off the Jeep. I have a feeling those tires had been on there a long time.

I didn't have any real trouble with tire clearance even with no lift. If I got the Jeep really flexed out then it would rub pretty bad in the back. The saggy springs weren't awful yet though so as long as I didn't carry too much stuff in the trunk, the rubbing wasn't an issue with daily driving. Once I went back to school, I wanted a little contrast so I painted the grill insert black.


Next issue I faced was wheel bearings. 3 of the 4 were bad. Both rears were replaced, and one of the fronts. The other front had been replaced by the previous owner. Didn't really do much else until winter break from school. Driving my girlfriend to work one day and I lost all of my oil pressure. I had had a knock for a month or so and I figured this was the end. Turned out to be a bad oil pressure sensor, but since I was home on winter break, I decided that I would pull the engine apart and see what was going on. Turns out, I had a bad rod bearing on the first connecting rod. The journal was within tolerance, so I got all new main and rod bearings and replaced them. Also got a new rear main seal, oil pan gasket and oil pump while I had the engine apart. Seemed like I should just do it while I was in there anyway.


New bearings and an oil pressure sensor fixed my knock and my low pressure light. I also picked up some leather seats out of a ZJ while I was home and installed those. 10 way electric, they are pretty nice. I can tell you now though that since it got warmer, they get pretty sticky in the summer. Regardless, they are pretty comfortable and match the interior better than the stock seats did.

I picked up the back split bench seat at the same time which would be installed later. Here is the XJ after I got back to school after winter break. This is when I realized how bad my rear leafs were getting. I decided that I would get new leafs in the summer, when it was warmer.


With a couple people in the back seat, there was basically no room left over the back tires.

I purposly left the sway bars in to limit the travel and help with teh rubbing situation. My other rear tire in this picture is totally stuffed into the wheel well and rubbing away the paint. It was the last parking spot though, so at least I didn't have to walk
When it got warmer, I cut and folded the rear quarter panels to get rid of some rust and increase my clearance for when I wen't to bigger tires. I think they came out pretty well, and they allowed me to get rid of the last bit of plastic on the Jeep.


And here it is with the cut and fold done.

 08-13-2015, 09:54 AM
#2
Junior Member
Thread Starter
Join Date: Sep 2014
Location: CT
Posts: 58
Likes: 0
Received 0 Likes
on
0 Posts
Year: 2000
Engine: 4.0
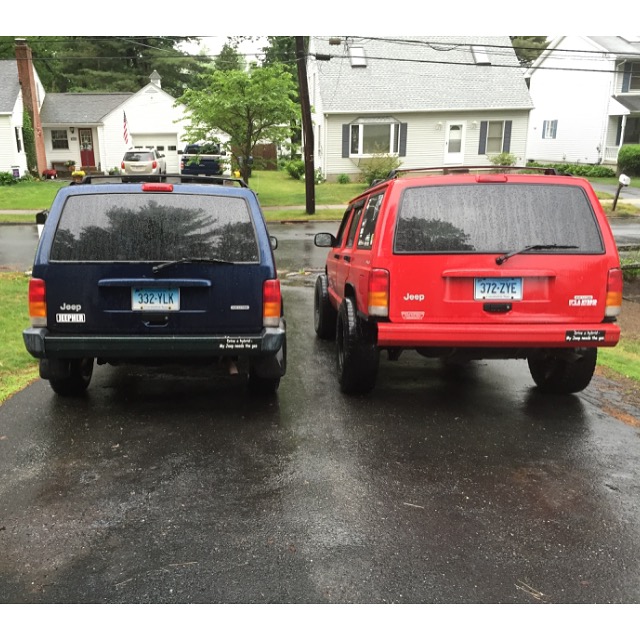
School got out and my girlfriend and I moved into an off campus apartment. Here are the Jeeps parked in the driveway of the new place.
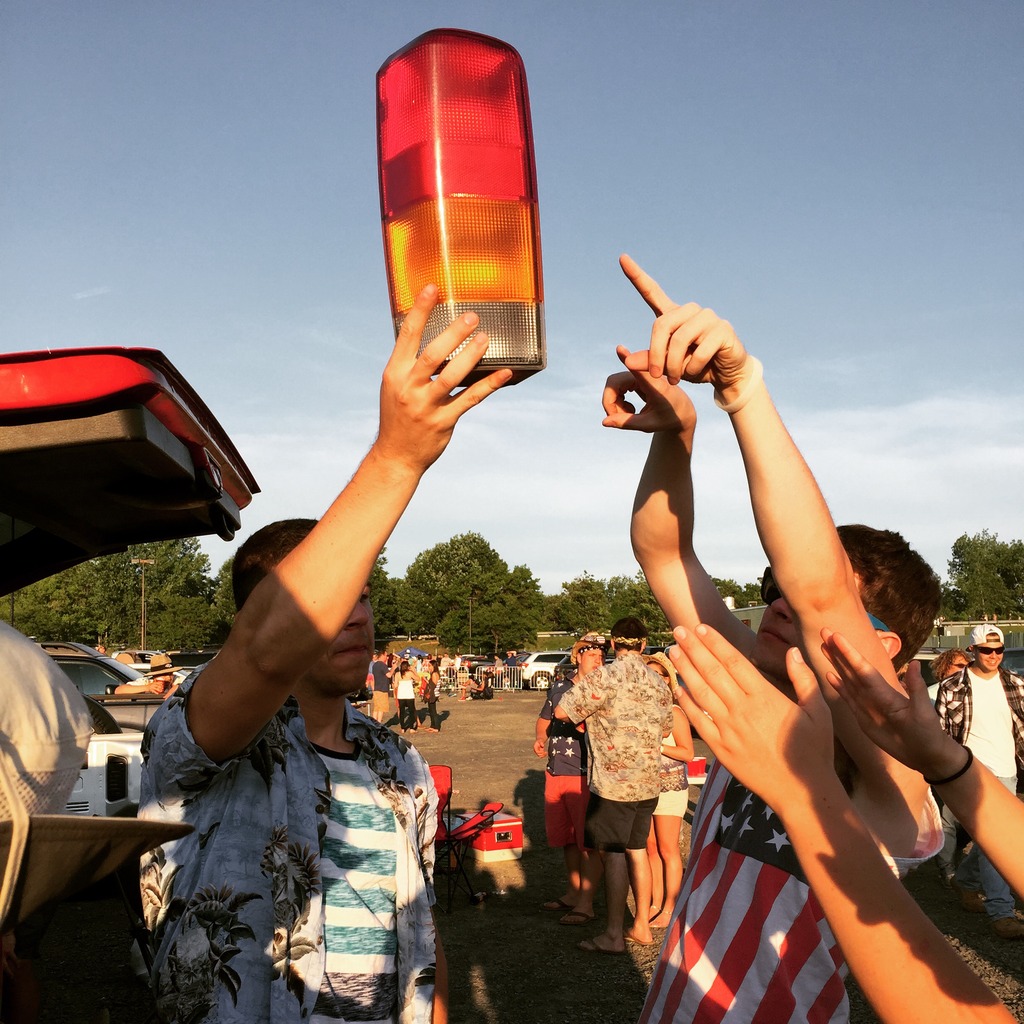
First concert of the summer had a small casualty. Someone used my tail light as a step and it broke off. It was pretty funny really. And I had a spare at home so I really didn't care.
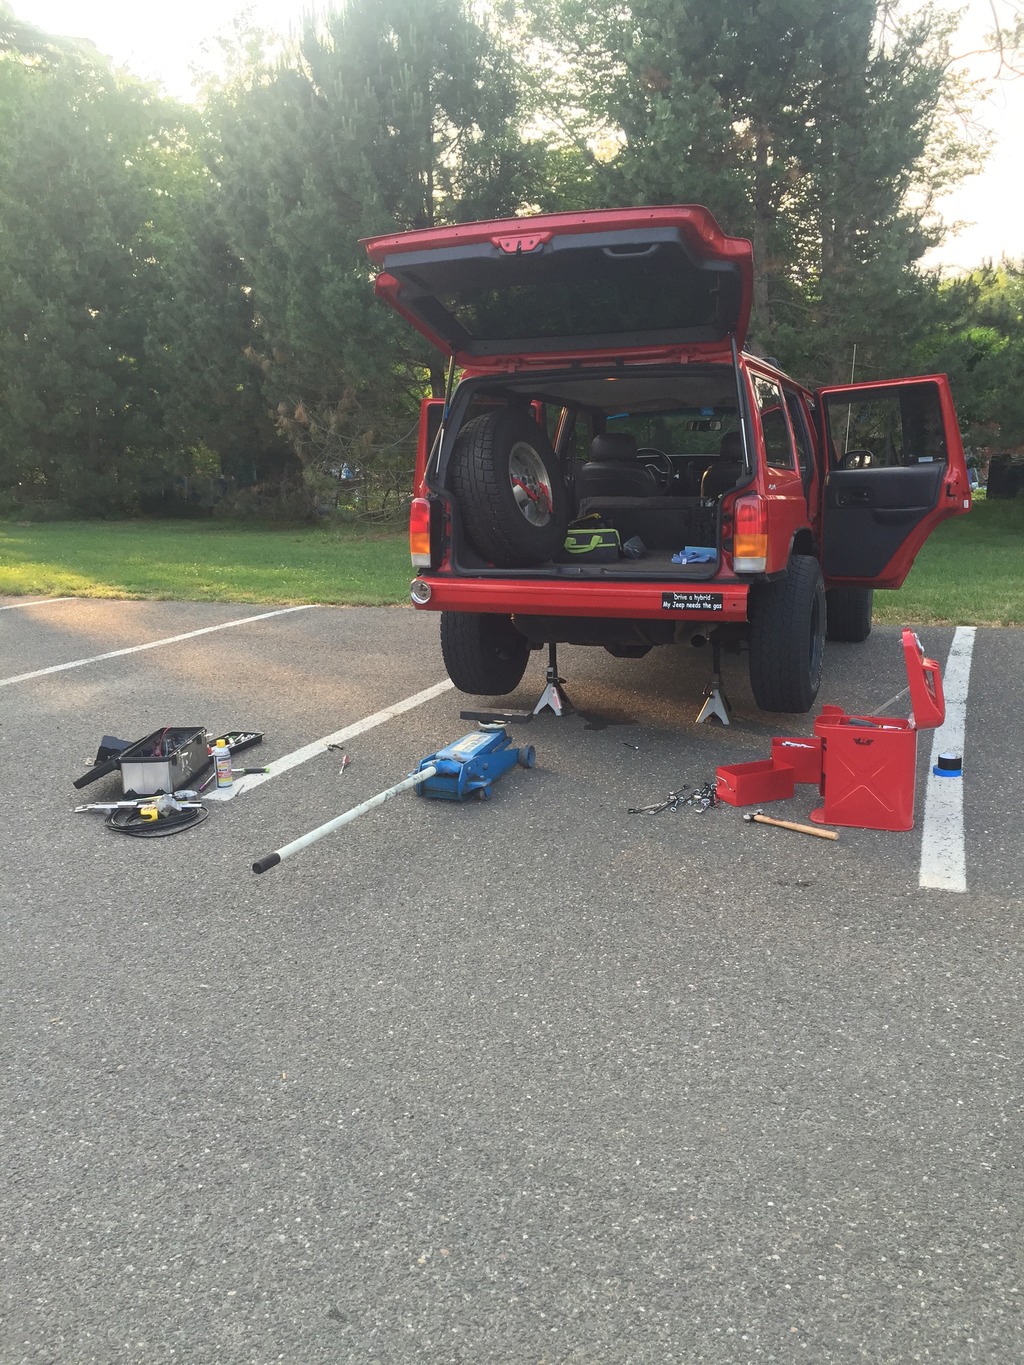
Not long after that I lost my fuel pump. Had a spare in the extra xj at my girlfriends house, so I took mine out and replaced it. Didn't seat the large gasket correctly so I had to do it again after I was getting an evap code. Here it is getting put back together in the school parking lot, since the driveway at the house is slanted and isn't very useful for working on your car.
Since it was warm out, I finally installed the lift. Here is the rear springs. I decided to go with Crown HD leafs and new shackles. My shocks were new from last winter so I left them in. I got rid of my rear track bar so I will use the ends for TRE's and get a little more down travel from the rear. Here is the Jeep with just the rear done.
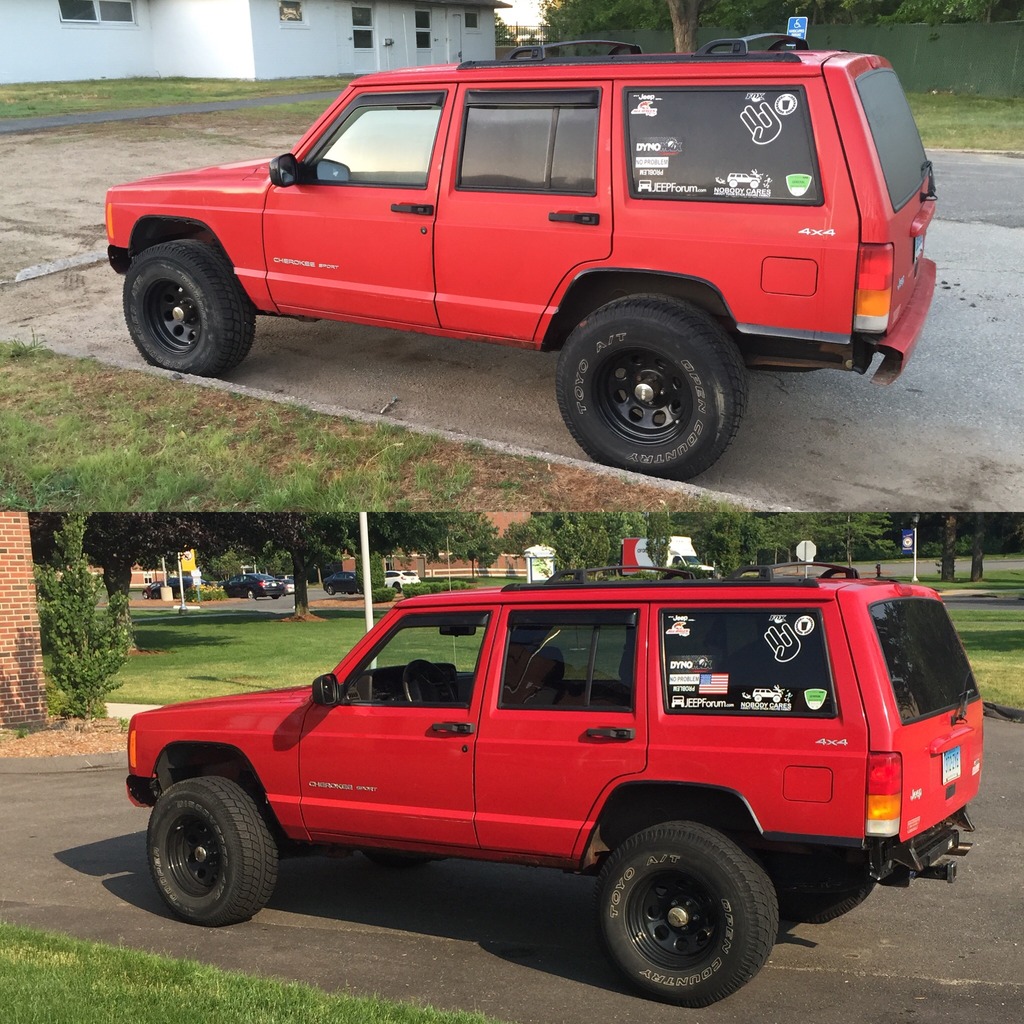
And here it is with the whole lift. I used spacers in the front to level everything since I am on a pretty tight college budget. They worked out well and still give me a soft ride. I ended up with about 1.5" lift over stock. The rear raised 2.5" over the old sagged springs, but about 1.5" over what they were supposed to be from the factory. Pretty happy with the result.

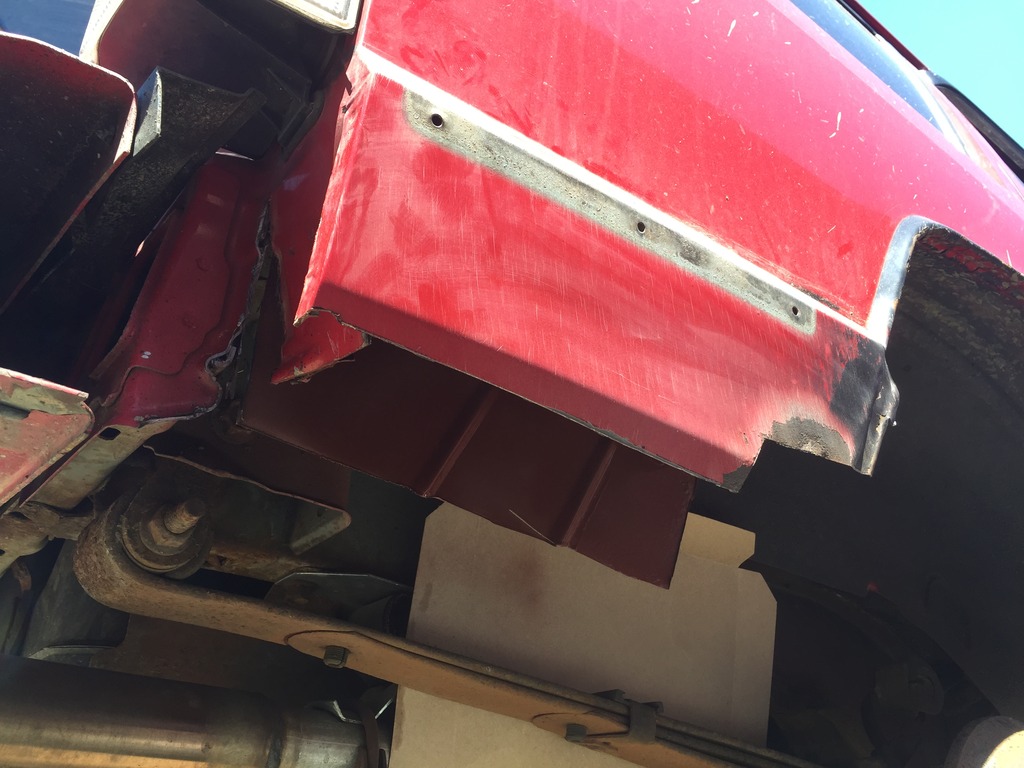
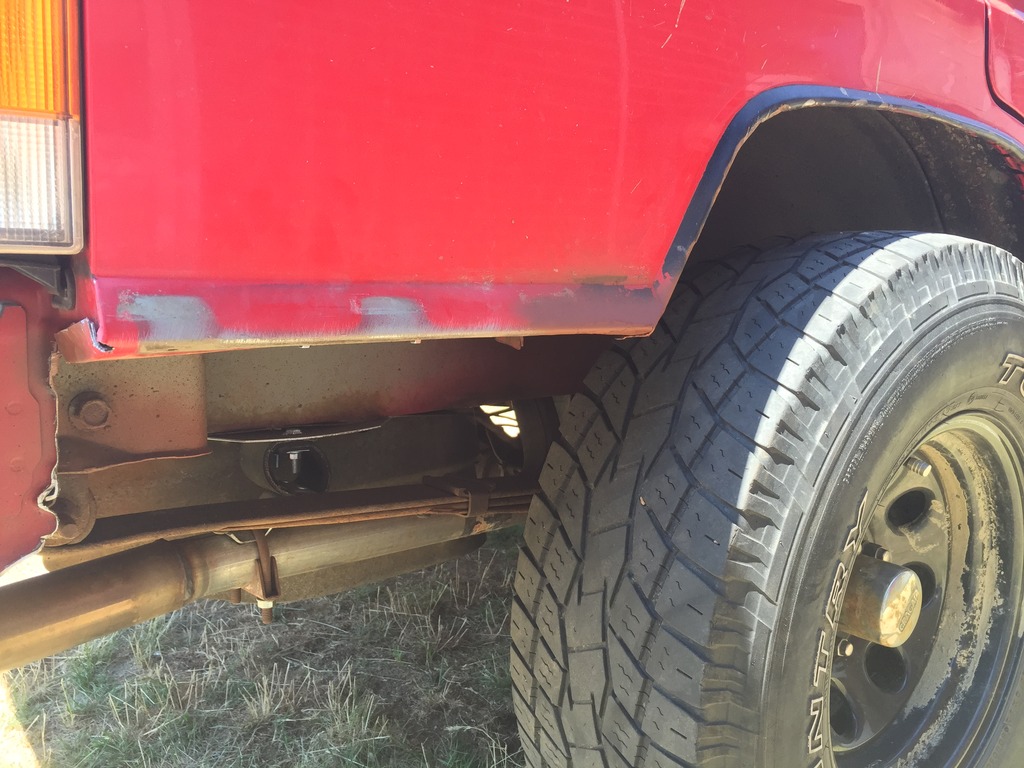
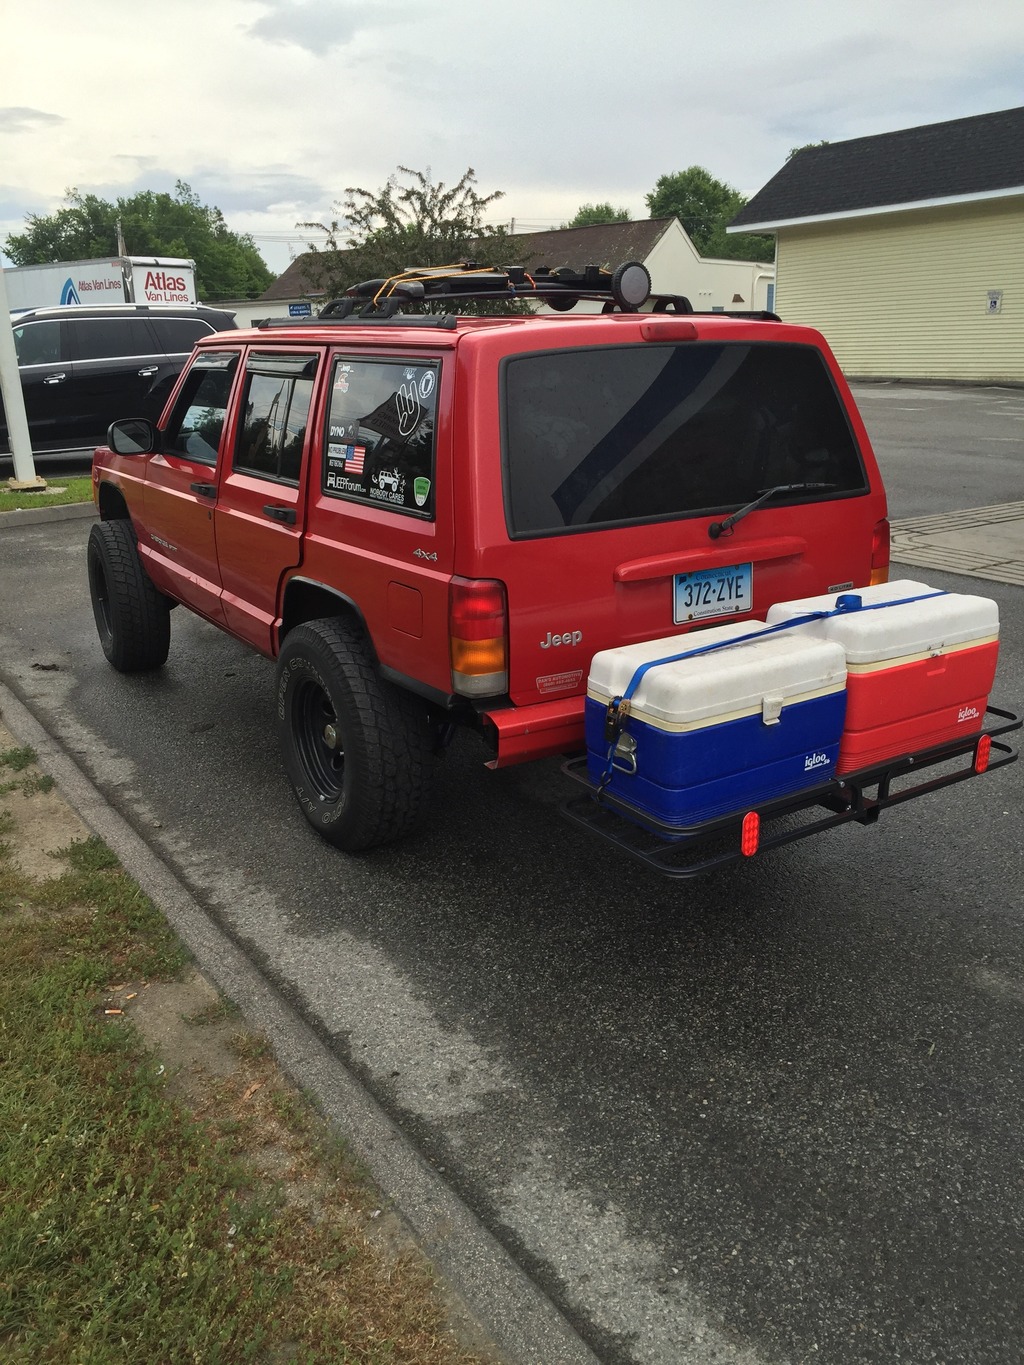
Next thing I did was a trailer hitch. I picked one up on craigslist for $50 and made my own hardware for it. I ended up going with 1/2" bolts and made my own nut strips out of 3/8"x1" flat stock, drilled and tapped for the 1/2" bolts. I also sanded and painted the rear cross member while the bumper was off and installed all new hardware when I reinstalled it.
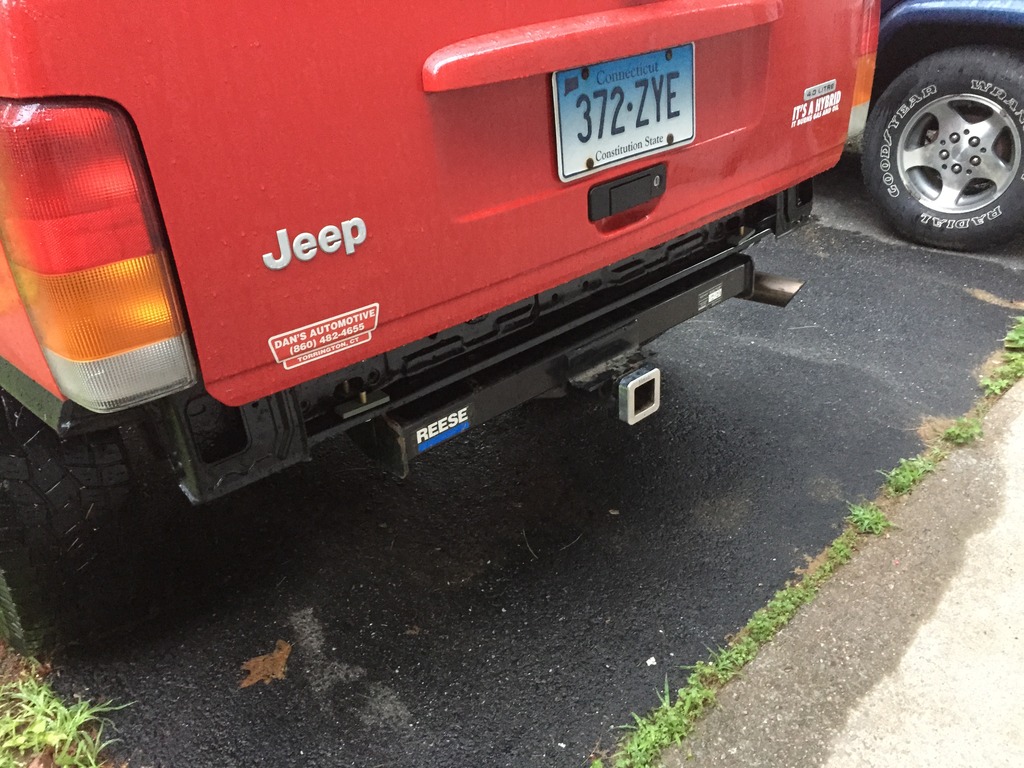
You can also see my exhaust tip, which is from when I installed my new cat back system a month or two earlier. My muffler had finally rusted to the point that it was getting too loud. Went with a dynomax system due to price, and am very happy with the outcome. Good sound and supposedly better performance, although I really couldn't feel a difference.
Tried out the trailer hitch a couple days later and it worked great. Towed about 400 miles with no issues whatsoever. Kept the Jeep in 3rd most of the time and it towed at 70 mph with no issues. Got about 14 mpg with the trailer, which isnt horrible.
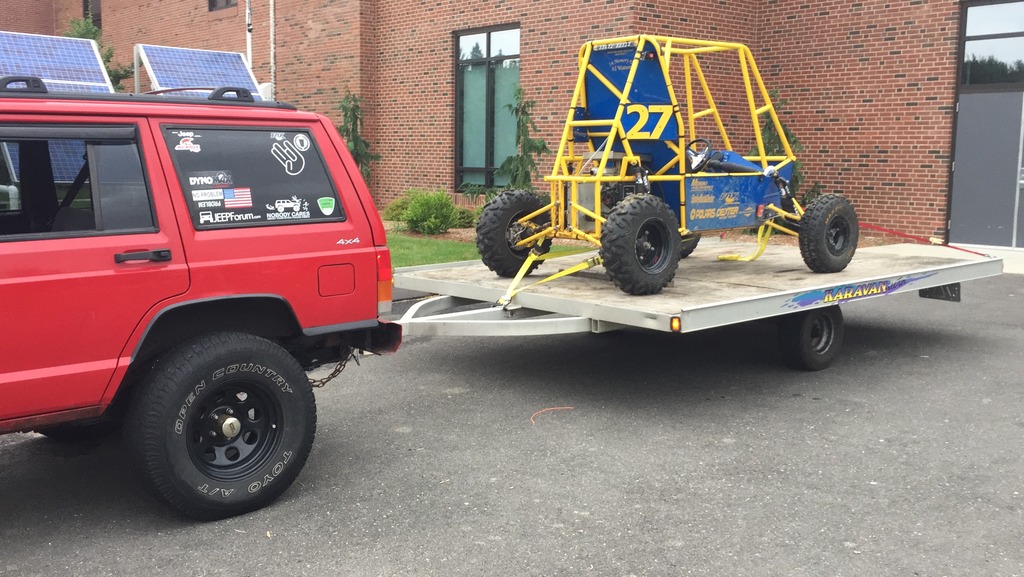
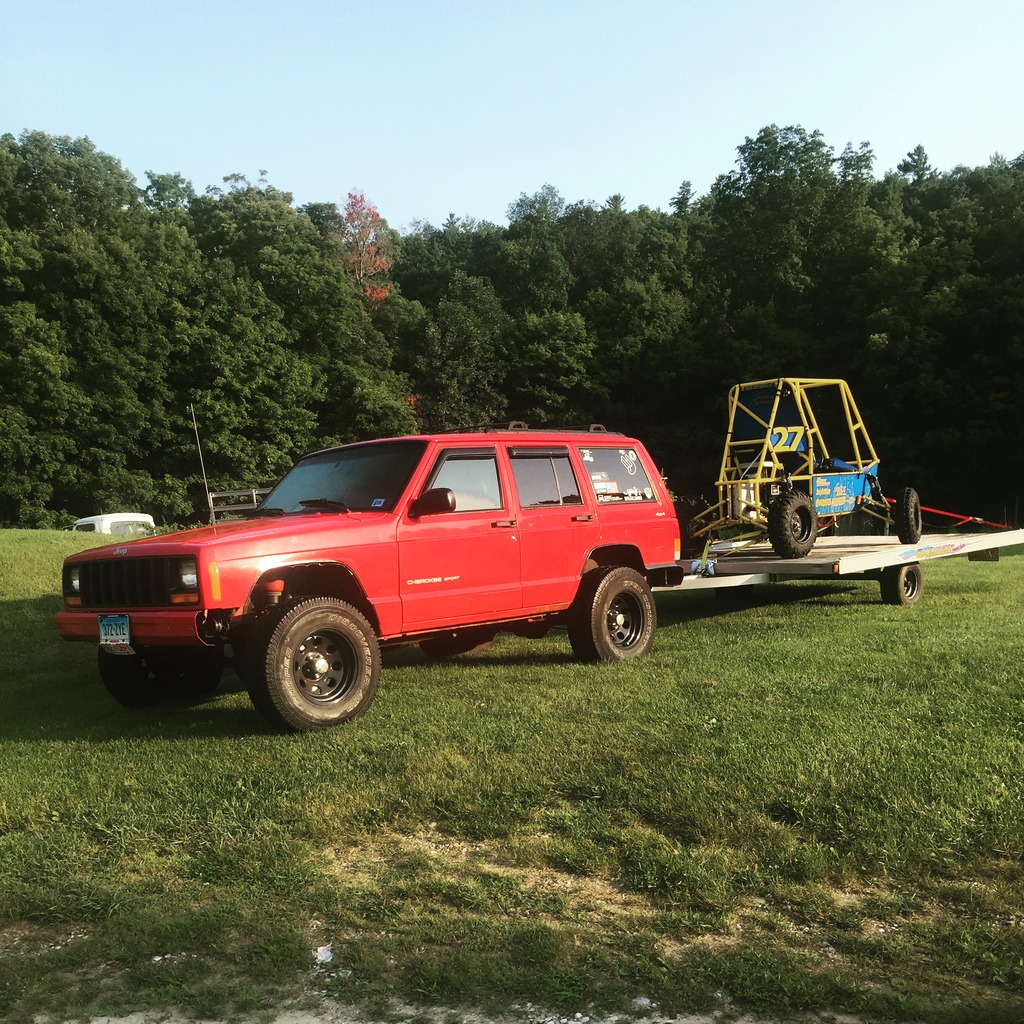
Also used the hitch when I went camping a couple weeks ago, and again it worked perfectly. I am now very confident in the mounting system I used. I wasn't too worried, but since it was homemade, I am glad it has now proven itself.

First concert of the summer had a small casualty. Someone used my tail light as a step and it broke off. It was pretty funny really. And I had a spare at home so I really didn't care.

Not long after that I lost my fuel pump. Had a spare in the extra xj at my girlfriends house, so I took mine out and replaced it. Didn't seat the large gasket correctly so I had to do it again after I was getting an evap code. Here it is getting put back together in the school parking lot, since the driveway at the house is slanted and isn't very useful for working on your car.

Since it was warm out, I finally installed the lift. Here is the rear springs. I decided to go with Crown HD leafs and new shackles. My shocks were new from last winter so I left them in. I got rid of my rear track bar so I will use the ends for TRE's and get a little more down travel from the rear. Here is the Jeep with just the rear done.

And here it is with the whole lift. I used spacers in the front to level everything since I am on a pretty tight college budget. They worked out well and still give me a soft ride. I ended up with about 1.5" lift over stock. The rear raised 2.5" over the old sagged springs, but about 1.5" over what they were supposed to be from the factory. Pretty happy with the result.


Next thing I did was a trailer hitch. I picked one up on craigslist for $50 and made my own hardware for it. I ended up going with 1/2" bolts and made my own nut strips out of 3/8"x1" flat stock, drilled and tapped for the 1/2" bolts. I also sanded and painted the rear cross member while the bumper was off and installed all new hardware when I reinstalled it.

You can also see my exhaust tip, which is from when I installed my new cat back system a month or two earlier. My muffler had finally rusted to the point that it was getting too loud. Went with a dynomax system due to price, and am very happy with the outcome. Good sound and supposedly better performance, although I really couldn't feel a difference.
Tried out the trailer hitch a couple days later and it worked great. Towed about 400 miles with no issues whatsoever. Kept the Jeep in 3rd most of the time and it towed at 70 mph with no issues. Got about 14 mpg with the trailer, which isnt horrible.


Also used the hitch when I went camping a couple weeks ago, and again it worked perfectly. I am now very confident in the mounting system I used. I wasn't too worried, but since it was homemade, I am glad it has now proven itself.
 08-13-2015, 10:07 AM
#3
Junior Member
Thread Starter
Join Date: Sep 2014
Location: CT
Posts: 58
Likes: 0
Received 0 Likes
on
0 Posts
Year: 2000
Engine: 4.0
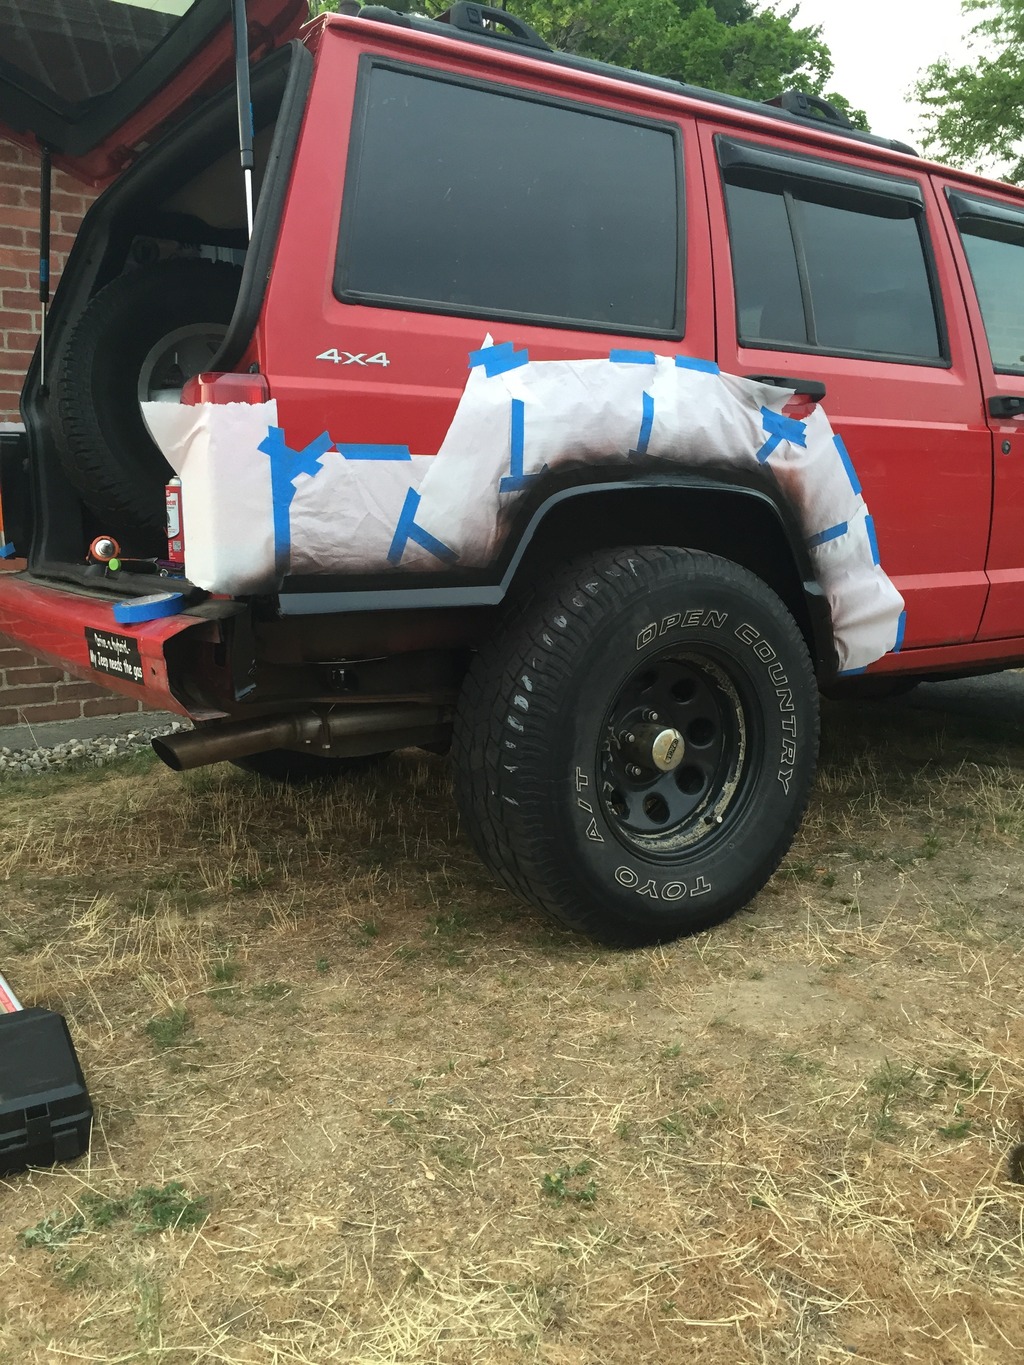
Most recently I have been playing with the idea of two tone. I used plastidip because I didn't know if I was going to like it, but I think it came out pretty well.
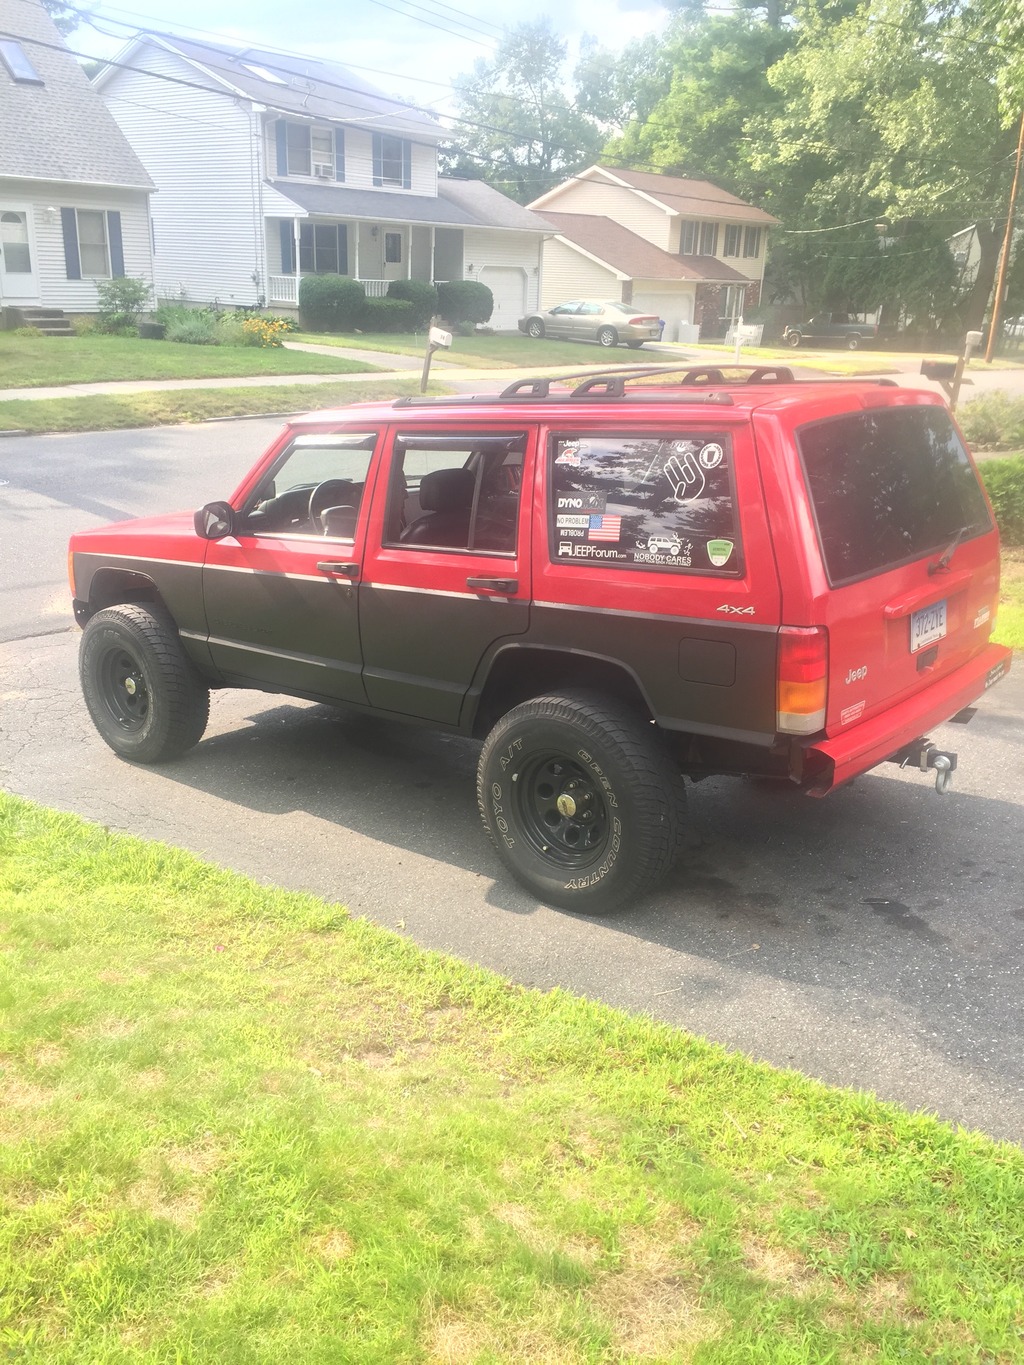
The first time, I waited too long between coats and it didn't come out great, but I like the look so I redid the panels, one at a time.


And I also decided that since my rear tires were pretty much shot and I can't afford new ones at the moment, I grabbed the brand new 33's from my YJ and am going to run them for the winter. These have been on my other Jeep for about a year now but I haven't been home to drive it, so they have been sitting. There isn't even 1000 miles on them, and as it turns out, they fit. I have some minor rubbing, but not bad enough that I am going to put the 31's back on and get two new tires.
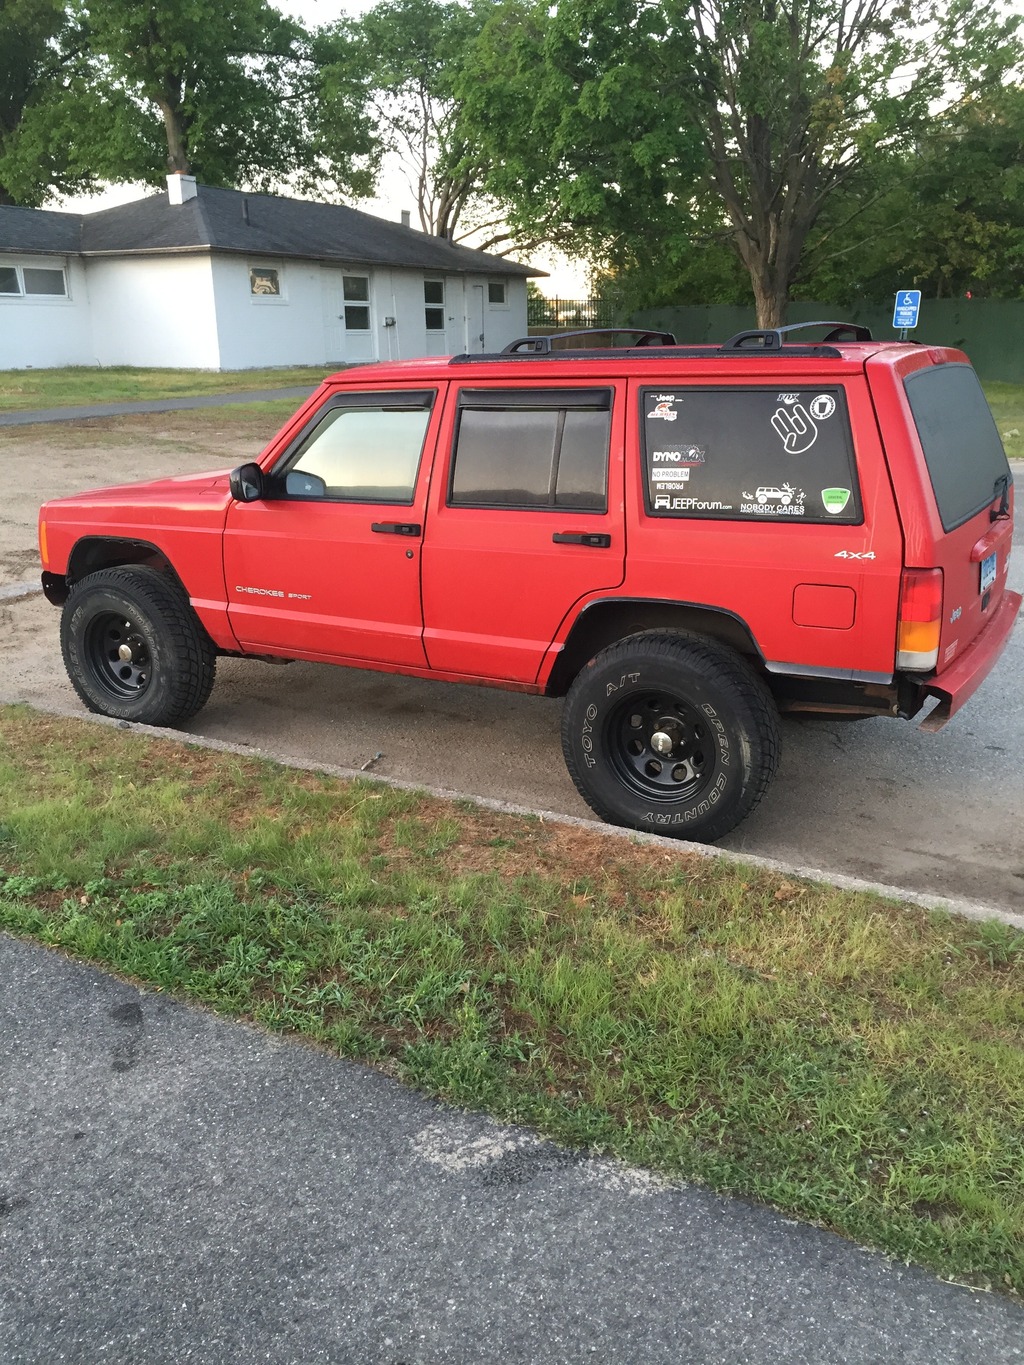
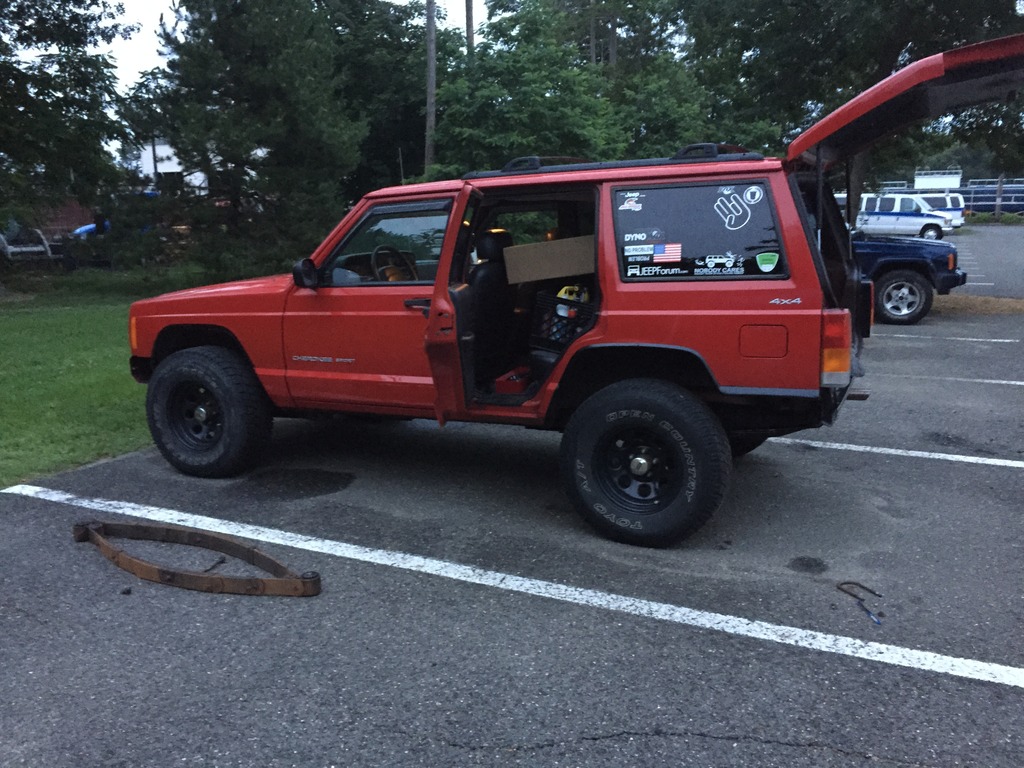
And here it is two days ago with the two tone and the 33's. I blew a radiator hose and needed a pair of pliers, so I took this picture while I was waiting for my buddy to show up so I could change the hose out. I am pretty happy with the way it sits now. The gearing is not ideal, but it is more than usable. I can maintain 75 on the highway locked into OD and downshift to 3rd on big hills so I don't create too much heat with the torque converter. I am keeping it in 3rd around town now also since it won't lock into OD until over 50 mph.
Moving forward, I would like to lift the front of the vehicle another inch or two, just to help with the clearance of the tires on full lock. At full lock, I just slightly rub the inner fender, even after I trimmed the inner fenders father than I had done before. Jeep is currently sitting at 1.5", so I could either go with Moog HD progressive coils and keep my spacers, or I could get some 3" coil springs and lift it up. Whichever I end up doing, I will get RC shackle relocation brackets at the same time to lift the rear another inch or so and keep things level.
I would also like to reagear in the future if I decide to keep the 33's. The gearing isn't awful, but it is far from ideal. It will really suck if I have to pull a trailer also, and I would like to keep this Jeep more practical as a mostly street Jeep than a hardcore offroader. At least for now until I graduate from school.
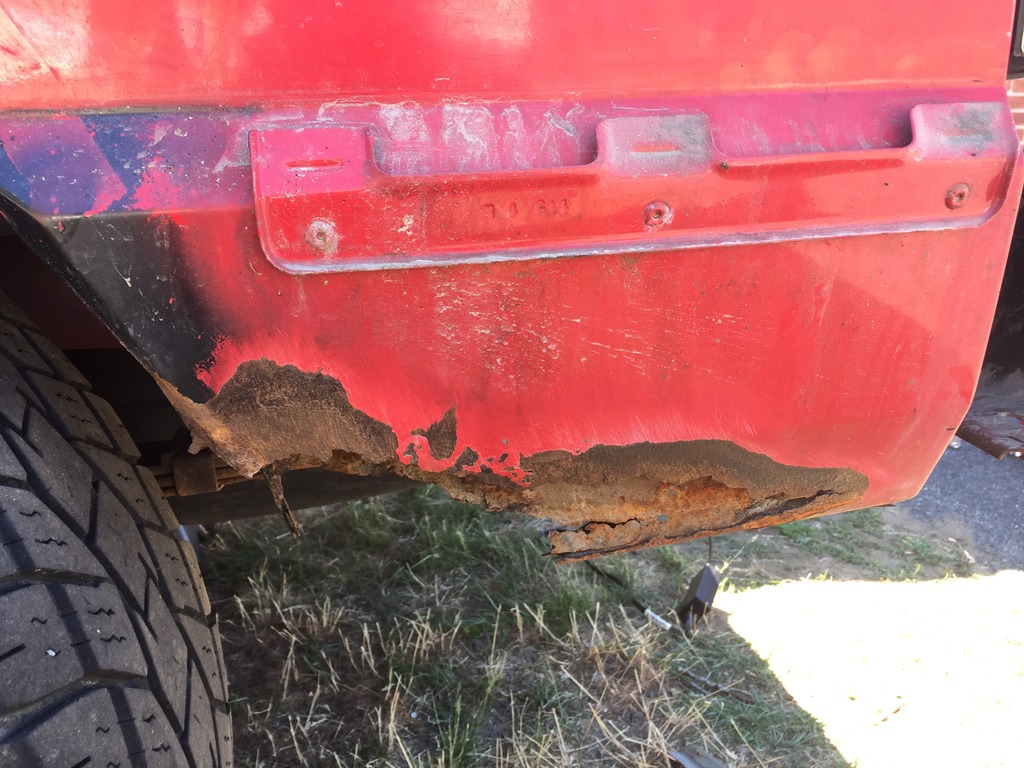
As it currently sits, Jeep is lifted 1.5" on 33" Goodyear Wrangler Duratrec's. Stock drivetrain except for the NP242 that I installed with I blew up my 231 this winter. That happened right around the same time I replaced my engine bearings. Mechanically the Jeep is fantastic. No issues whatsoever (except for my evap leak). Rust on the rockers is starting to get bad and should be replaced soon. Just got my first hole all the way through, not too pleased about that. I have almost 330k miles on the Jeep. Should hit that number within the next week.

The first time, I waited too long between coats and it didn't come out great, but I like the look so I redid the panels, one at a time.


And I also decided that since my rear tires were pretty much shot and I can't afford new ones at the moment, I grabbed the brand new 33's from my YJ and am going to run them for the winter. These have been on my other Jeep for about a year now but I haven't been home to drive it, so they have been sitting. There isn't even 1000 miles on them, and as it turns out, they fit. I have some minor rubbing, but not bad enough that I am going to put the 31's back on and get two new tires.


And here it is two days ago with the two tone and the 33's. I blew a radiator hose and needed a pair of pliers, so I took this picture while I was waiting for my buddy to show up so I could change the hose out. I am pretty happy with the way it sits now. The gearing is not ideal, but it is more than usable. I can maintain 75 on the highway locked into OD and downshift to 3rd on big hills so I don't create too much heat with the torque converter. I am keeping it in 3rd around town now also since it won't lock into OD until over 50 mph.

Moving forward, I would like to lift the front of the vehicle another inch or two, just to help with the clearance of the tires on full lock. At full lock, I just slightly rub the inner fender, even after I trimmed the inner fenders father than I had done before. Jeep is currently sitting at 1.5", so I could either go with Moog HD progressive coils and keep my spacers, or I could get some 3" coil springs and lift it up. Whichever I end up doing, I will get RC shackle relocation brackets at the same time to lift the rear another inch or so and keep things level.
I would also like to reagear in the future if I decide to keep the 33's. The gearing isn't awful, but it is far from ideal. It will really suck if I have to pull a trailer also, and I would like to keep this Jeep more practical as a mostly street Jeep than a hardcore offroader. At least for now until I graduate from school.
As it currently sits, Jeep is lifted 1.5" on 33" Goodyear Wrangler Duratrec's. Stock drivetrain except for the NP242 that I installed with I blew up my 231 this winter. That happened right around the same time I replaced my engine bearings. Mechanically the Jeep is fantastic. No issues whatsoever (except for my evap leak). Rust on the rockers is starting to get bad and should be replaced soon. Just got my first hole all the way through, not too pleased about that. I have almost 330k miles on the Jeep. Should hit that number within the next week.
10-11-2015, 05:27 PM
#4
Junior Member
Thread Starter
Join Date: Sep 2014
Location: CT
Posts: 58
Likes: 0
Received 0 Likes
on
0 Posts
Year: 2000
Engine: 4.0
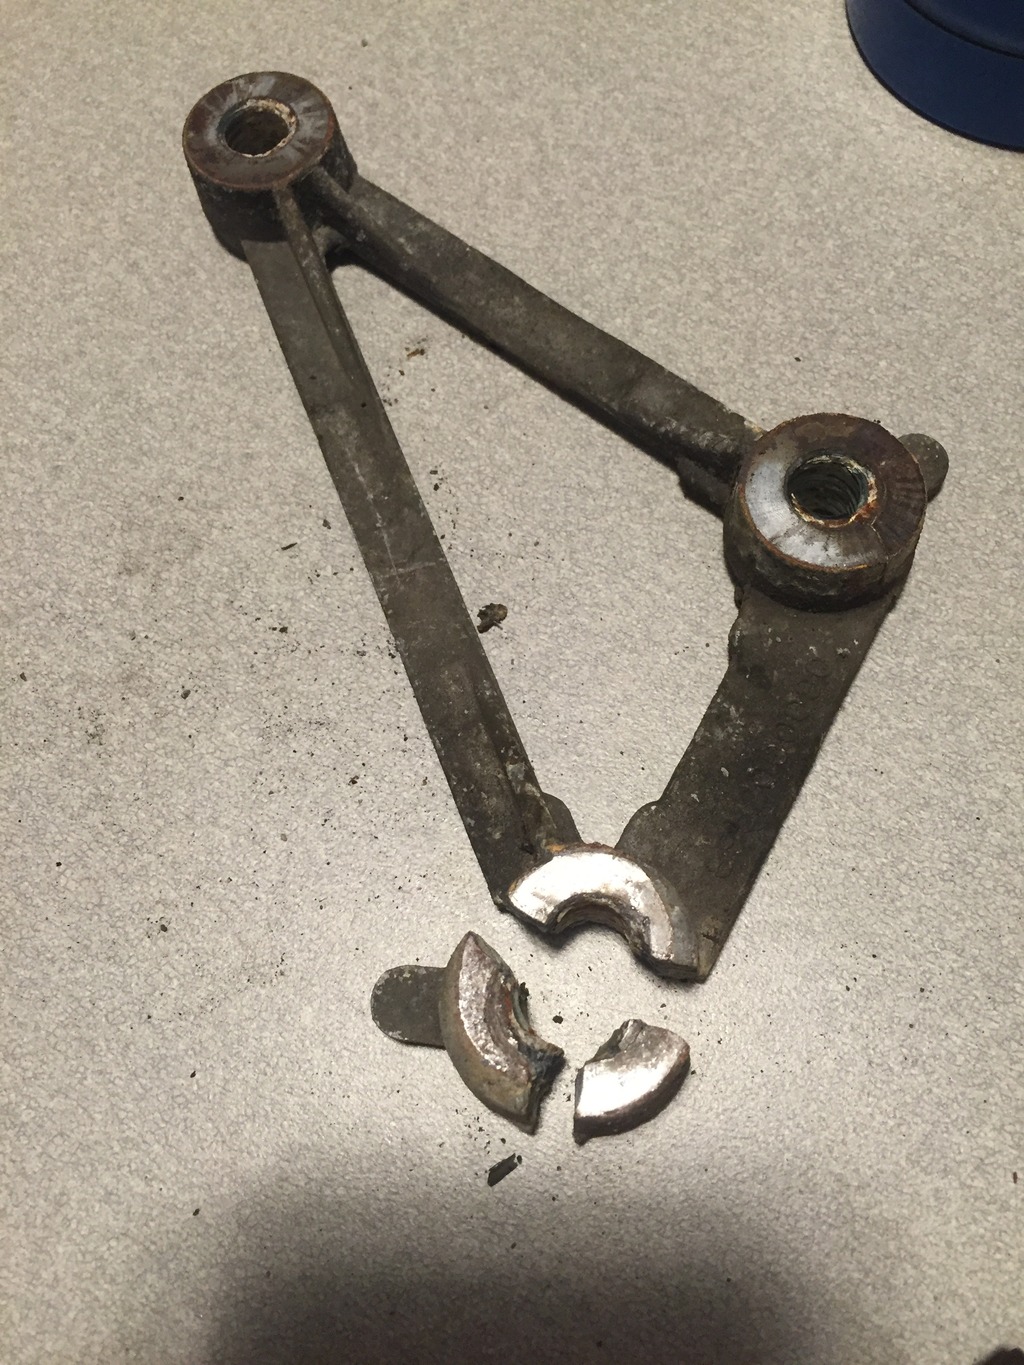
Finally have some updates for the Cherokee. Had some time this weekend since it's a long weekend so I finally got to work on it a little. First thing is I fixed my steering box spacer. The whole process took me less than an hour. I tried to move the bolts at first but the heads were moving and the other side wasn't. So as soon as I saw that they didn't want to budge, I heated them up and they all came right out. Spacer came out in 3 pieces and a lot of dust.
Replaced the spacer with a fat stack of washers on each bolt. And the best part is the washers were even free. I pulled them off my parts xj back home which apparently had the same repair done who knows how long ago.

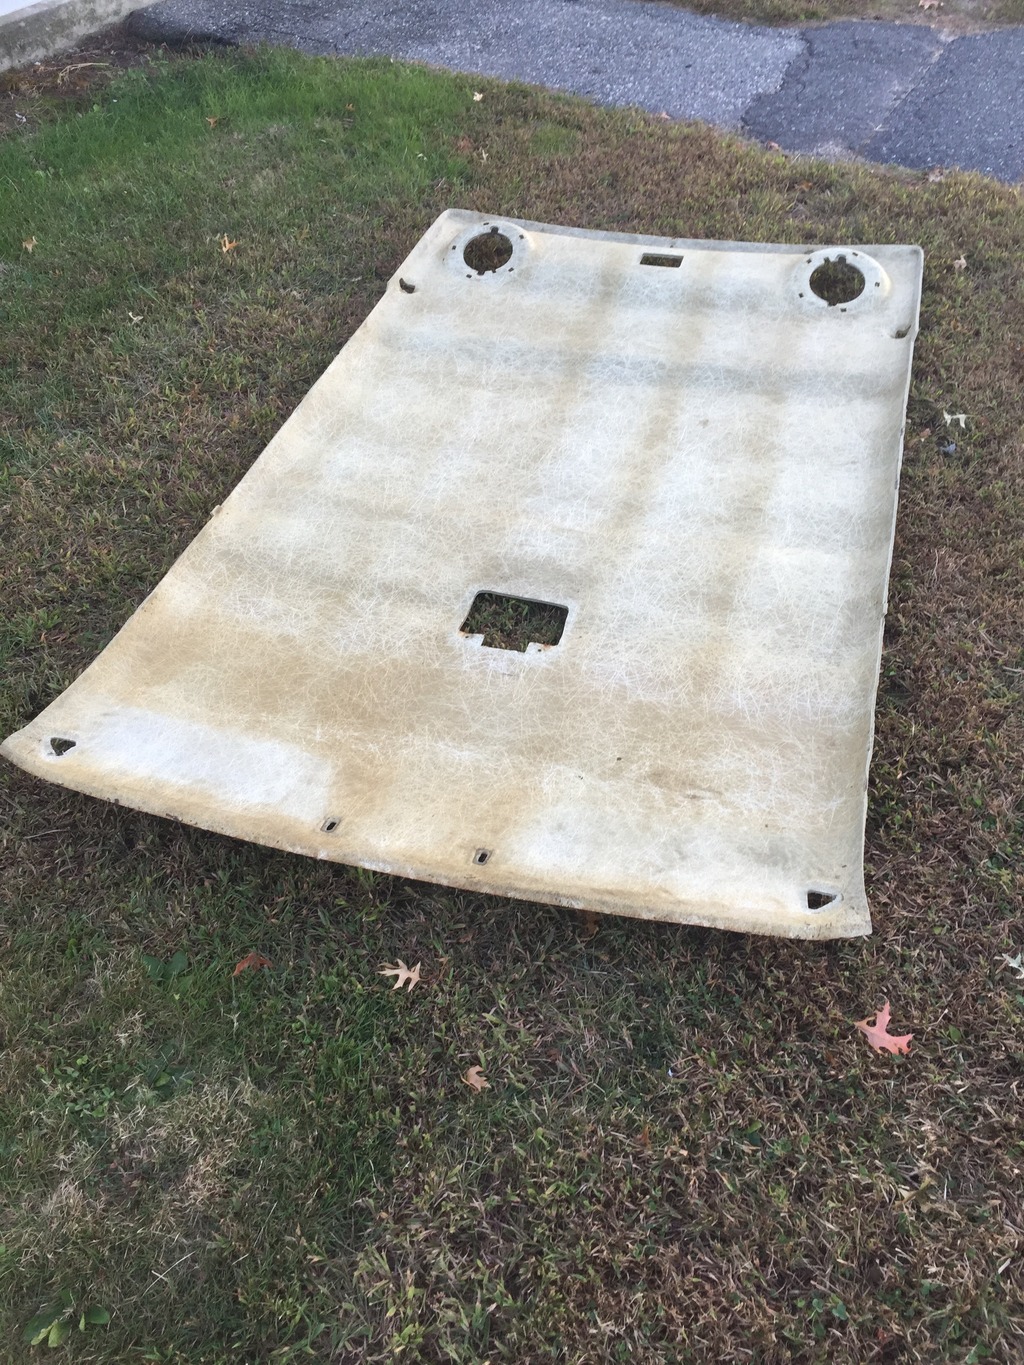
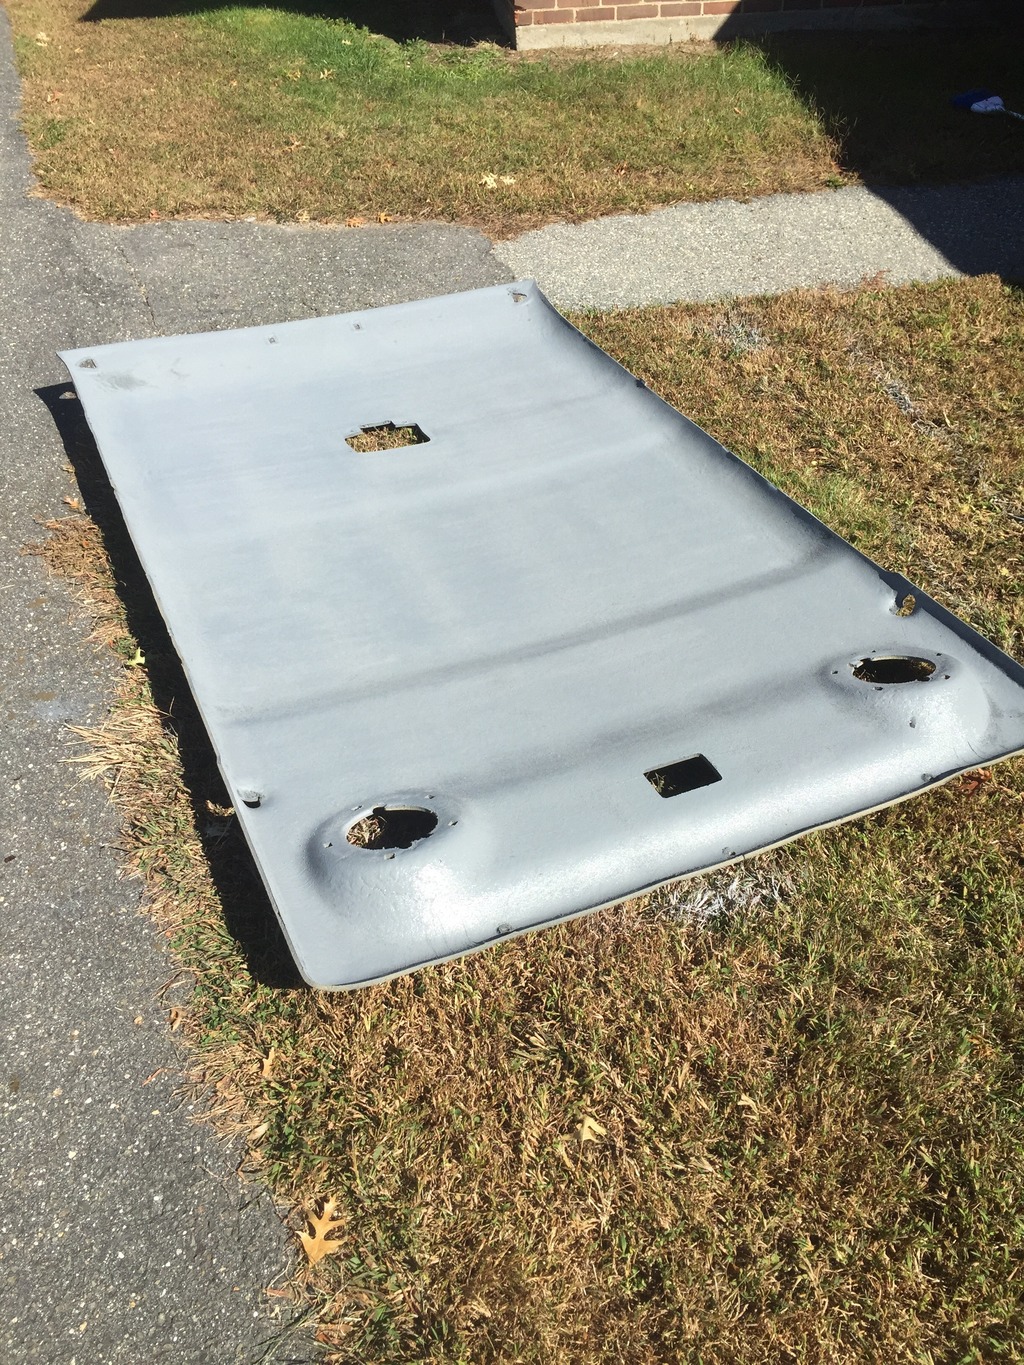
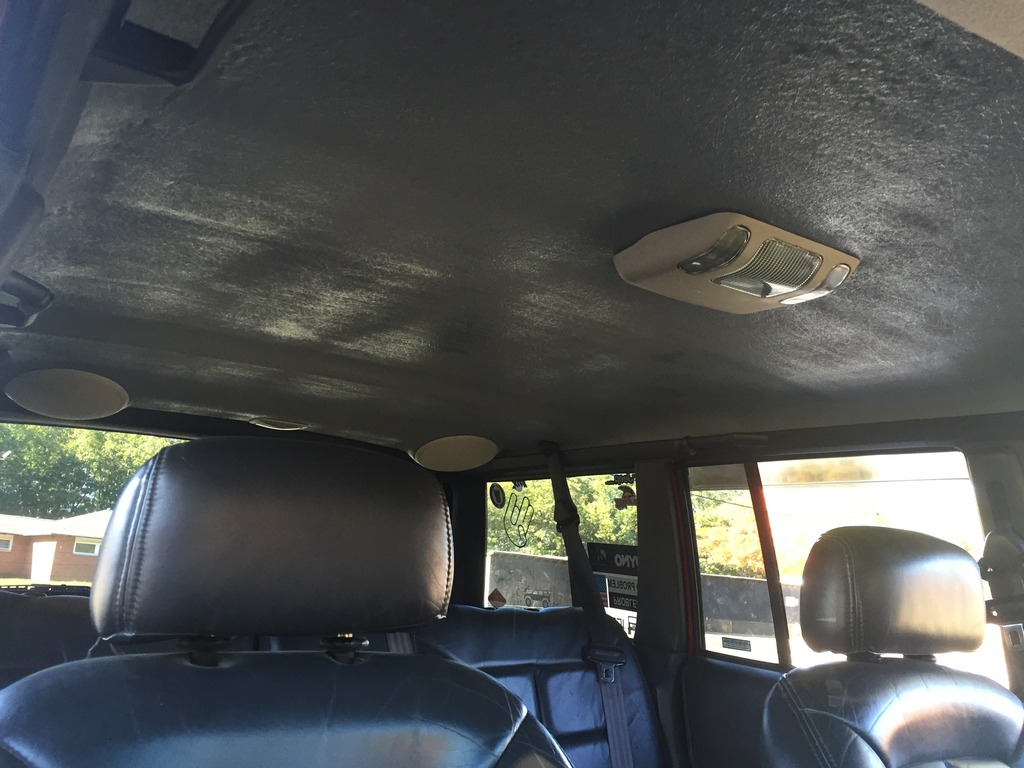
Spacing wasn't quite the same so I adjusted the drag link and now the steering wheel is centered for the first time since I lifted the Jeep. I also decided that I was finally fed up with my headliner falling down so far that it was hitting me on the head while I was driving. Pulled it out, got all the fabric and foam off of it and just painted it. Put it back in and I feel like my Jeep is huge now. It honestly didn't come out as well as I would have liked but I may try something else later on. For now, it is very functional. Also, for anyone else considering doing something like this. I found that a broom works very well at taking the old foam off. I picked a new one up at the dollar store with nice stiff brissles and it took the foam right off. Much more time effective than using a wire wheel.
I also upgraded my head unit to another one I had lying around. Ordered the wiring kit for it and soldered it up so it plugs right into the factory harness. Totally worth taking the time to do it right. Now if I ever sell the Jeep, I can unplug this radio and throw a different one in there without having to mess with the wiring again.

Replaced the spacer with a fat stack of washers on each bolt. And the best part is the washers were even free. I pulled them off my parts xj back home which apparently had the same repair done who knows how long ago.

Spacing wasn't quite the same so I adjusted the drag link and now the steering wheel is centered for the first time since I lifted the Jeep. I also decided that I was finally fed up with my headliner falling down so far that it was hitting me on the head while I was driving. Pulled it out, got all the fabric and foam off of it and just painted it. Put it back in and I feel like my Jeep is huge now. It honestly didn't come out as well as I would have liked but I may try something else later on. For now, it is very functional. Also, for anyone else considering doing something like this. I found that a broom works very well at taking the old foam off. I picked a new one up at the dollar store with nice stiff brissles and it took the foam right off. Much more time effective than using a wire wheel.


I also upgraded my head unit to another one I had lying around. Ordered the wiring kit for it and soldered it up so it plugs right into the factory harness. Totally worth taking the time to do it right. Now if I ever sell the Jeep, I can unplug this radio and throw a different one in there without having to mess with the wiring again.
04-03-2018, 12:27 PM
#5
Junior Member
Thread Starter
Join Date: Sep 2014
Location: CT
Posts: 58
Likes: 0
Received 0 Likes
on
0 Posts
Year: 2000
Engine: 4.0
Wow, didn't even remember I had started a build thread here. This Jeep is long gone, but used as a donor for my current build. Pulled the drive train out at 357k miles and threw it all in my new XJ. Now sitting at 5" on 35's with a fully stiffened Jeep, long arms, DOM steering and track bar, locked rear, winch, lots of custom touches. I'll see if I can post a pic on here. It's the silver one, although those are all mine.

Thread
Thread Starter
Forum
Replies
Last Post
southfloridajeeps
Modified XJ Cherokee Tech
32
03-04-2023 01:10 PM
WTT[NorAtl]: Looking for a cabover truck, 1980s through 1990s
Cherokee_Laredo
Wanted
0
09-02-2015 01:00 AM
Currently Active Users Viewing This Thread: 1 (0 members and 1 guests)