Blacked Out 99
 05-23-2014, 12:52 AM
#1
Seasoned Member
Thread Starter
Join Date: Jul 2012
Location: Western, Pa (5 mins away from ohio border)
Posts: 405
Likes: 0
Received 0 Likes
on
0 Posts
Year: 1999
Model: Cherokee
Engine: straight 6 (4.0L)
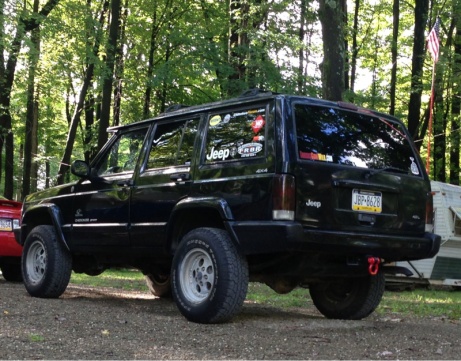
After two years of owning my 1999 jeep Cherokee i've finally come to a point where I feel worthy of starting a build thread. Here's where I am today:

I have a lot of time to cover so I'll do it in chunks, so here it goes:
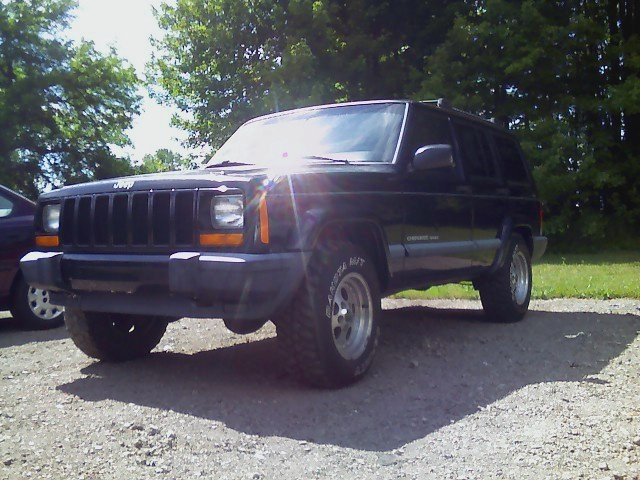
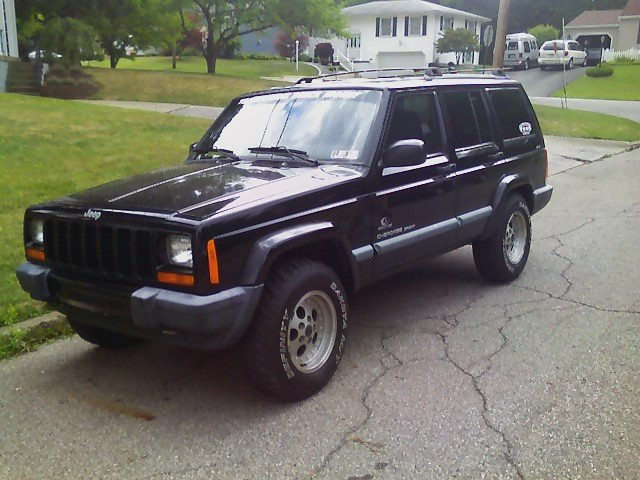
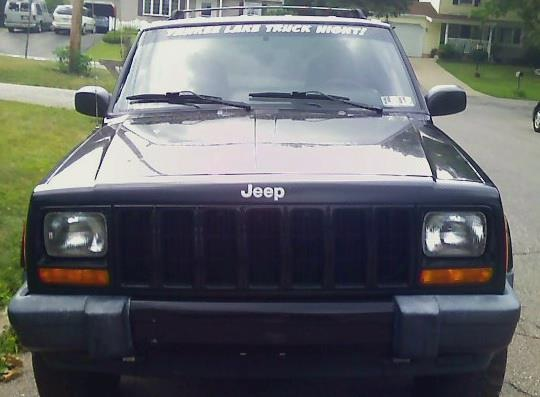
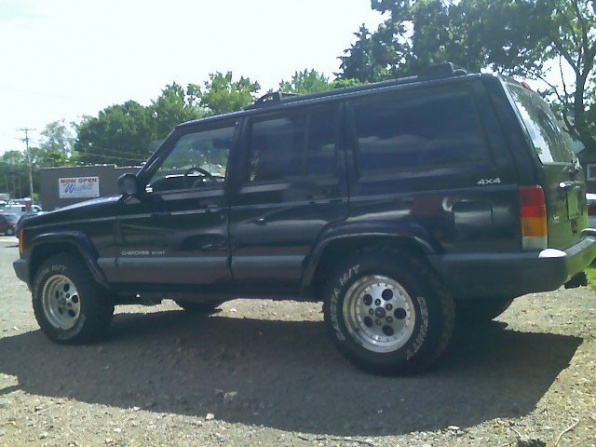
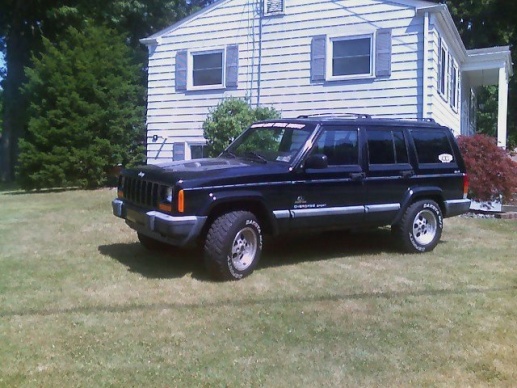
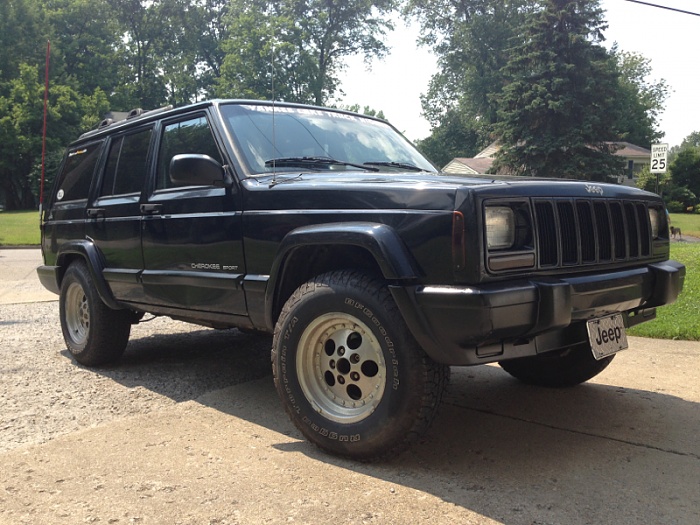
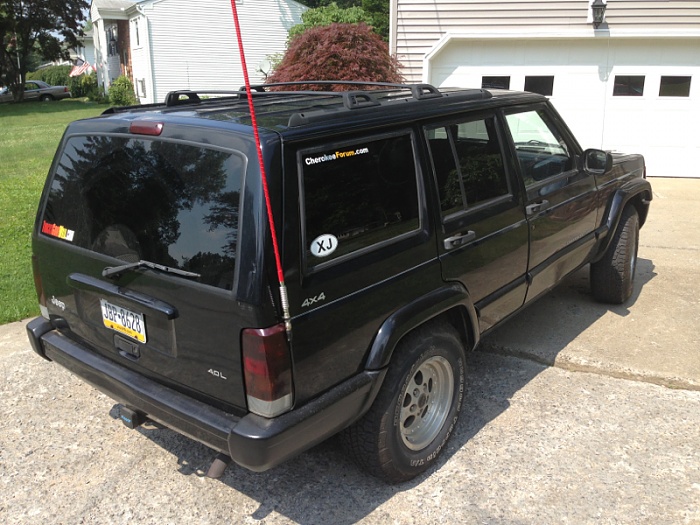
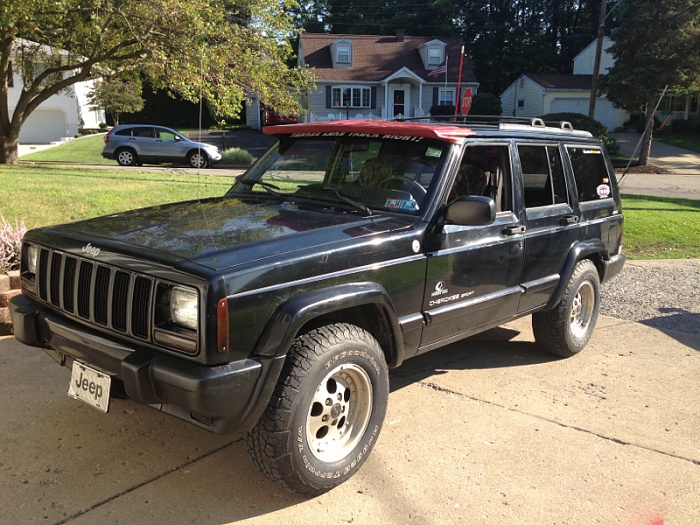
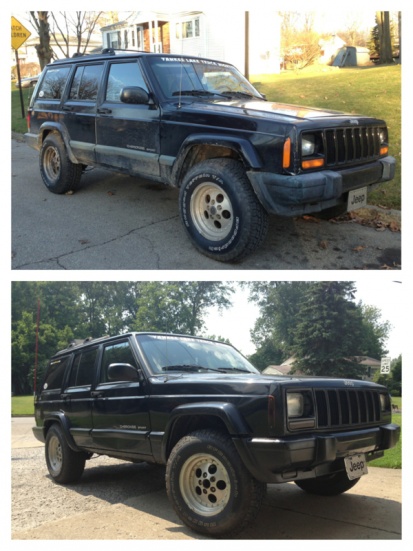
I bought my cherokee in the summer of 2012 from a small dealership less than a mile away from where I worked. It was a '99 sport with 131,000 miles on it, it was sagging in the rear end and a little beat up but all in all it was in good shape and had absolutely no rust. Having always wanted a jeep I was sold, and instantly fell in love.
Here is it at the dealership:
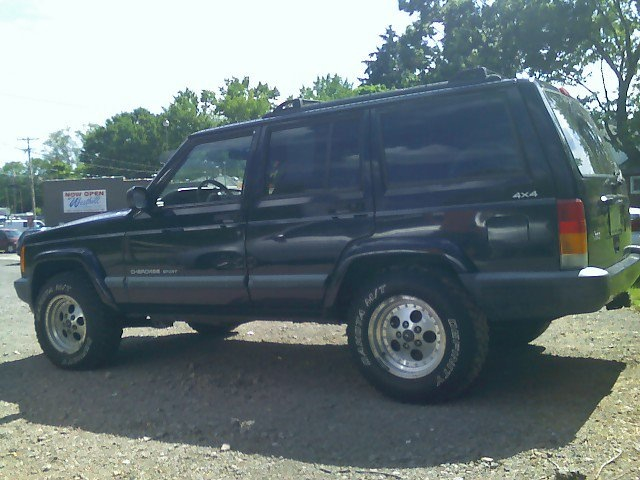
And at my house:

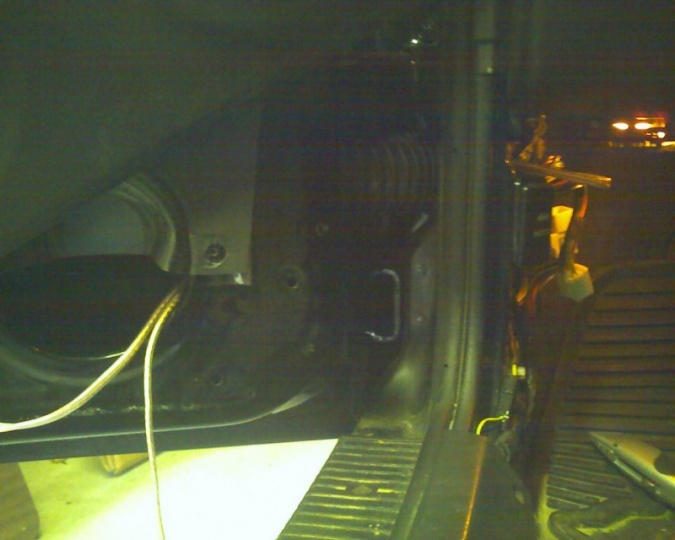
So first things first, time to sort out the demons. It had some common xj issues, had to replace a leaky high pressure power steering hose, also had to re-wire my drivers side door speaker. Child lock for the windows was stuck on as well so decided to bypass it.
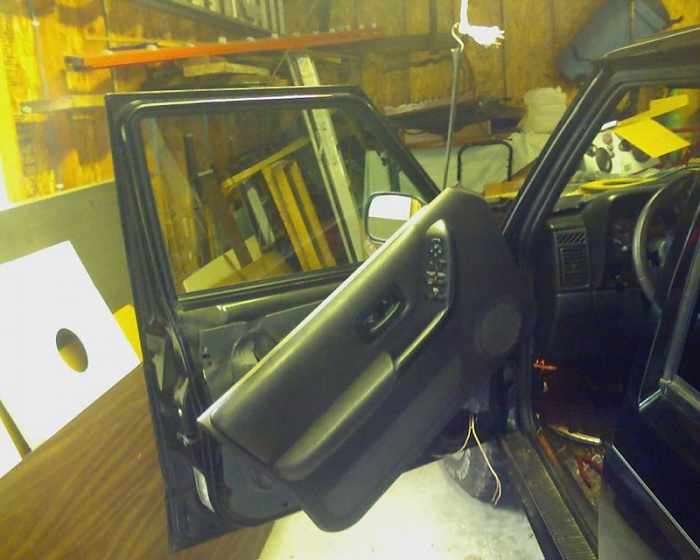

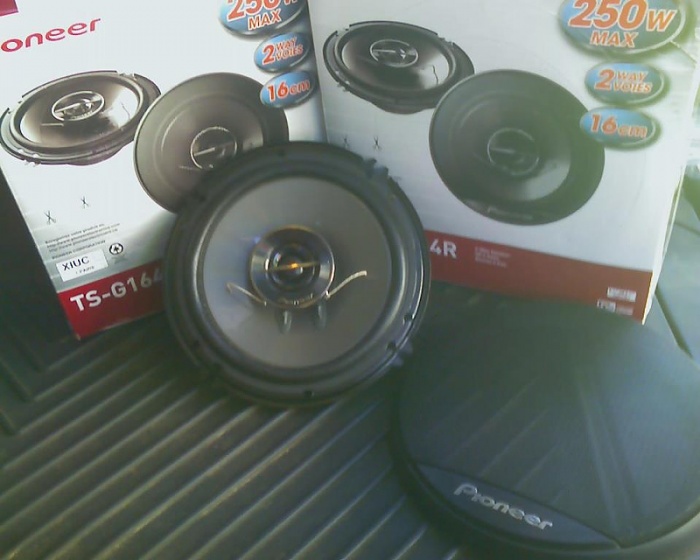
Figured, what the hell, might as well put in new speakers while I was in there, and already sticking to the cherokee moto "upgrade don't replace," I installed a size up on speakers, they fit well and only required new mounting holes.
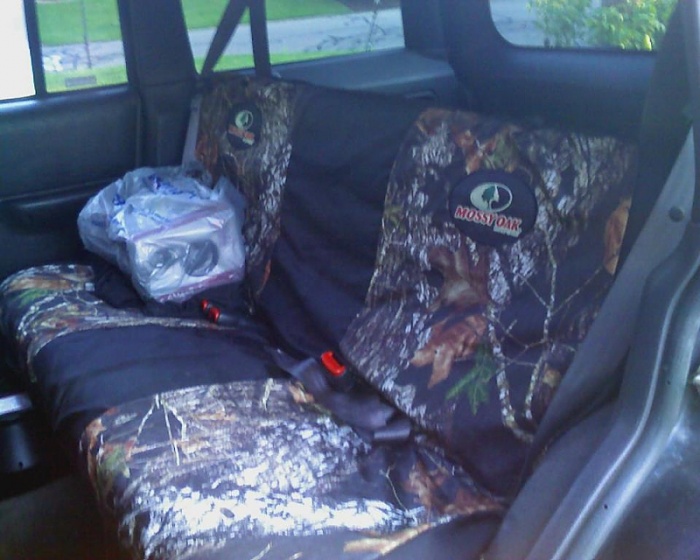
Next up was some dashing new seat covers and floor mats to protect the interior from my destructive nature.

(Ignore this pic)

I have a lot of time to cover so I'll do it in chunks, so here it goes:
I bought my cherokee in the summer of 2012 from a small dealership less than a mile away from where I worked. It was a '99 sport with 131,000 miles on it, it was sagging in the rear end and a little beat up but all in all it was in good shape and had absolutely no rust. Having always wanted a jeep I was sold, and instantly fell in love.
Here is it at the dealership:

And at my house:


So first things first, time to sort out the demons. It had some common xj issues, had to replace a leaky high pressure power steering hose, also had to re-wire my drivers side door speaker. Child lock for the windows was stuck on as well so decided to bypass it.

Figured, what the hell, might as well put in new speakers while I was in there, and already sticking to the cherokee moto "upgrade don't replace," I installed a size up on speakers, they fit well and only required new mounting holes.

Next up was some dashing new seat covers and floor mats to protect the interior from my destructive nature.


(Ignore this pic)
Last edited by jeeper jason; 11-16-2014 at 11:50 AM.
 05-23-2014, 01:24 AM
#2
Seasoned Member
Thread Starter
Join Date: Jul 2012
Location: Western, Pa (5 mins away from ohio border)
Posts: 405
Likes: 0
Received 0 Likes
on
0 Posts
Year: 1999
Model: Cherokee
Engine: straight 6 (4.0L)
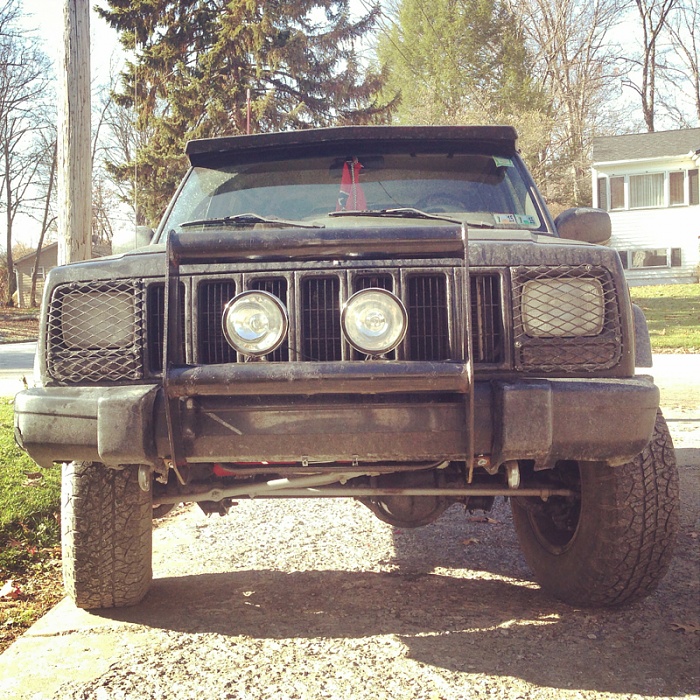
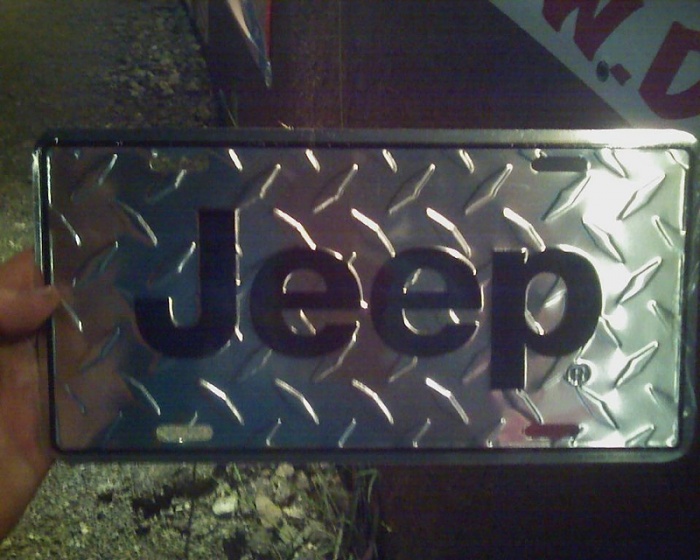
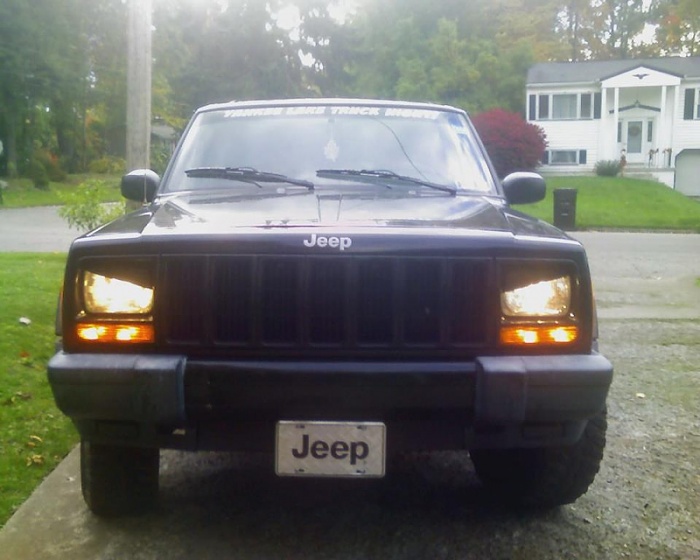
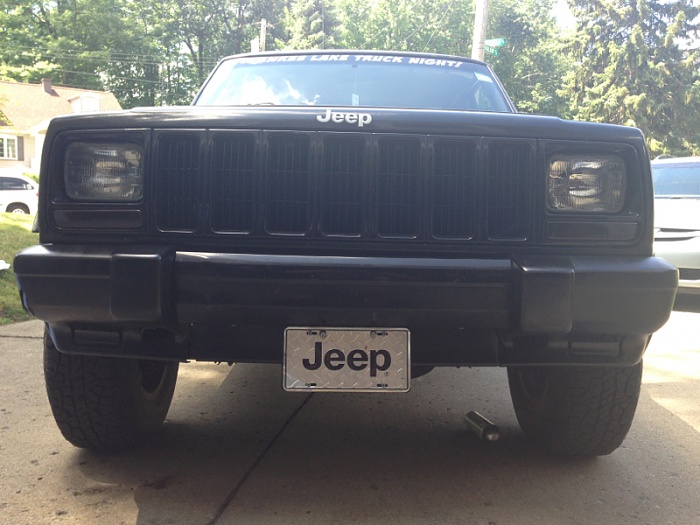
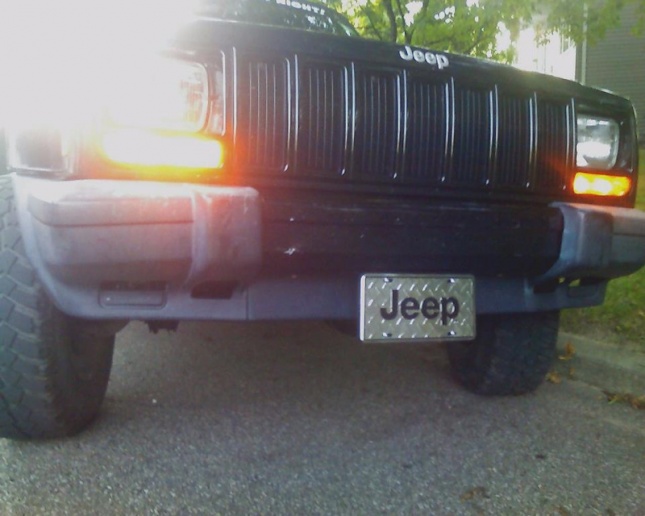
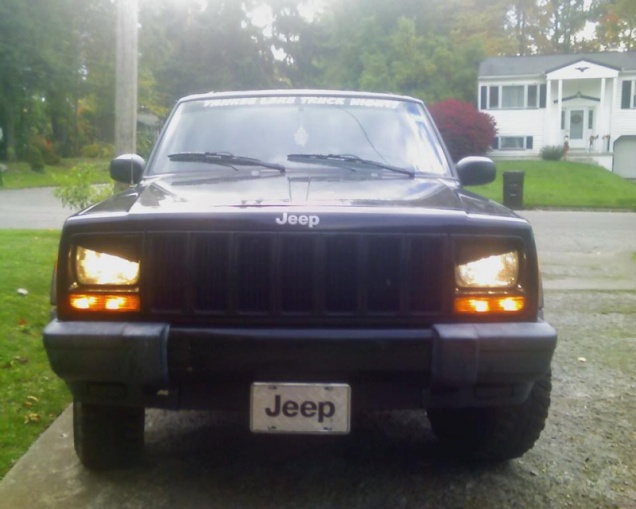
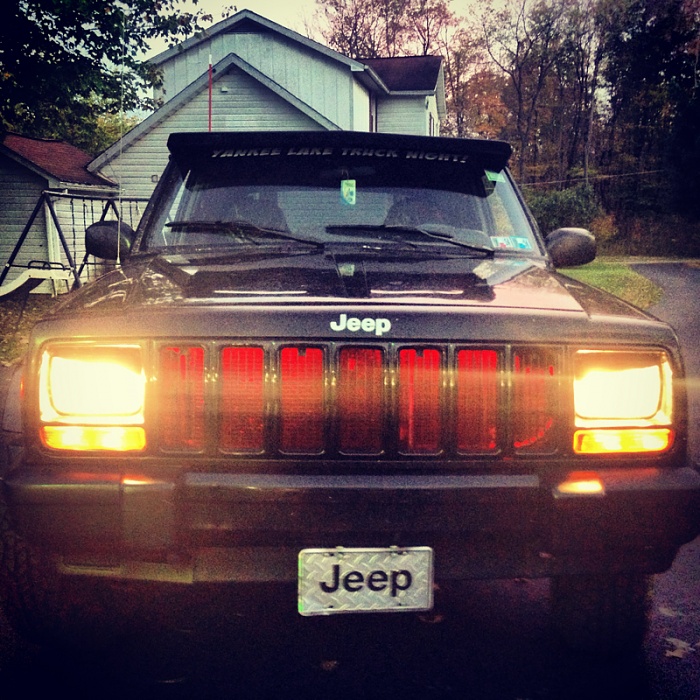
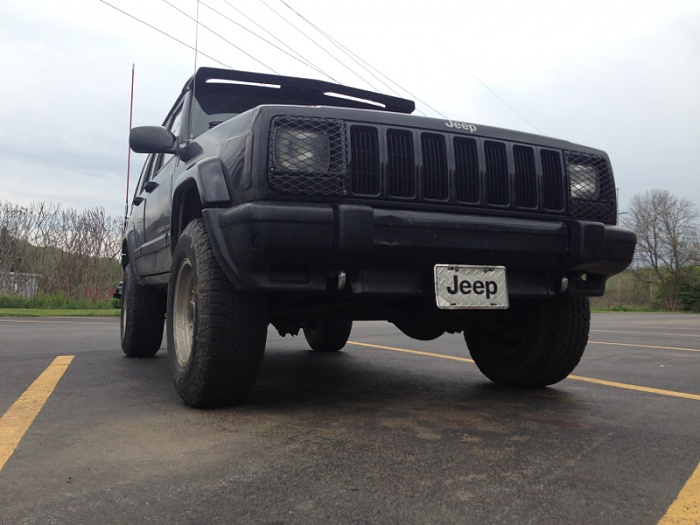
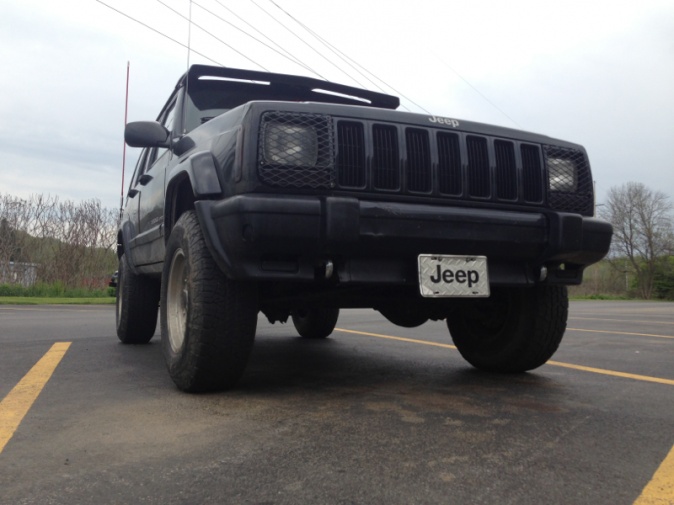
Not much goes on the first summer I own my jeep, i get a fancy license plate for the front of my jeep and get creative with a way to mount it.


I go through the angry eye phase (don't judge it was a phase, it's over now)
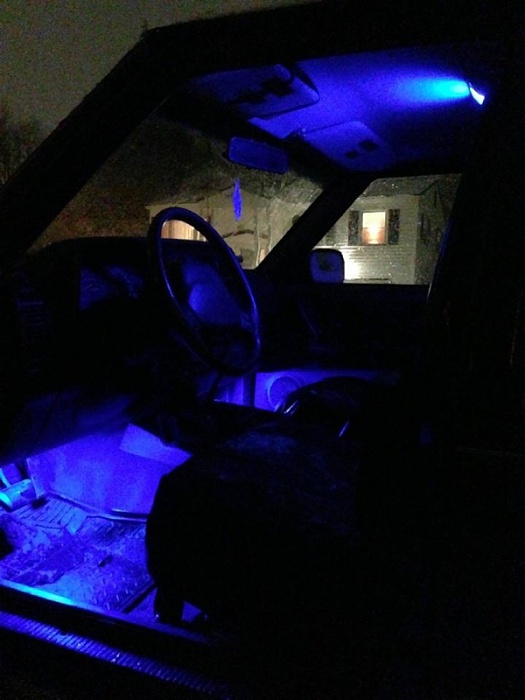
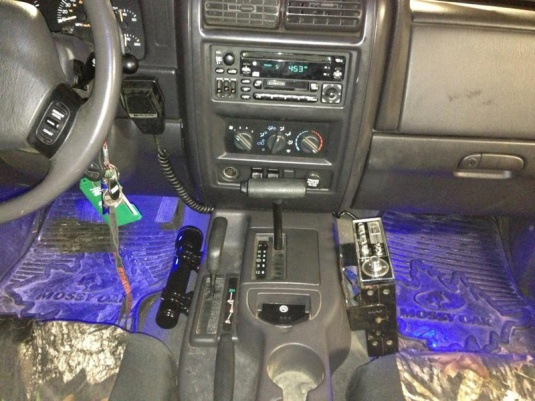
Sometime that winter I convert my interior lights to blue LED's
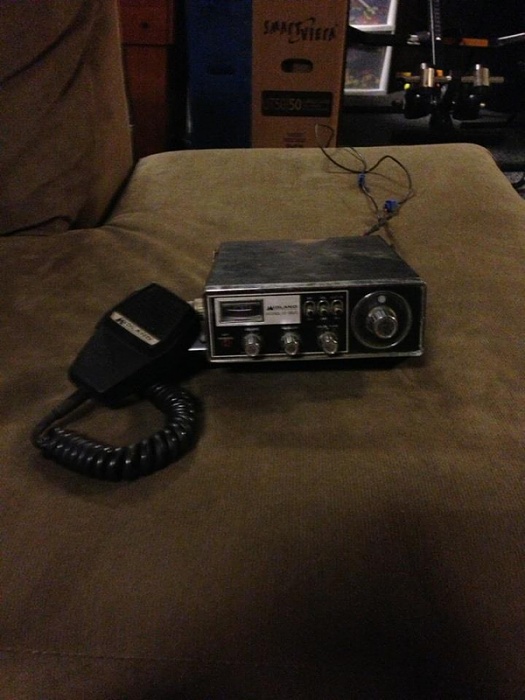
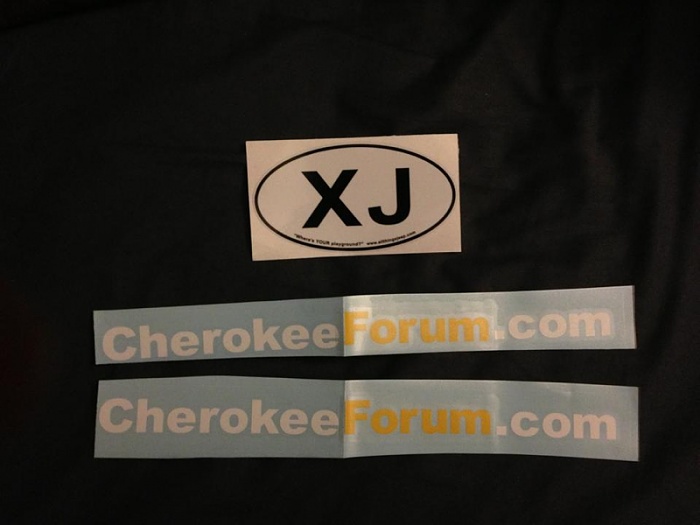
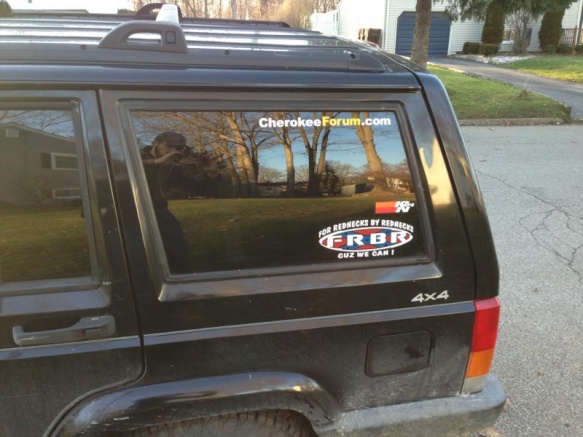
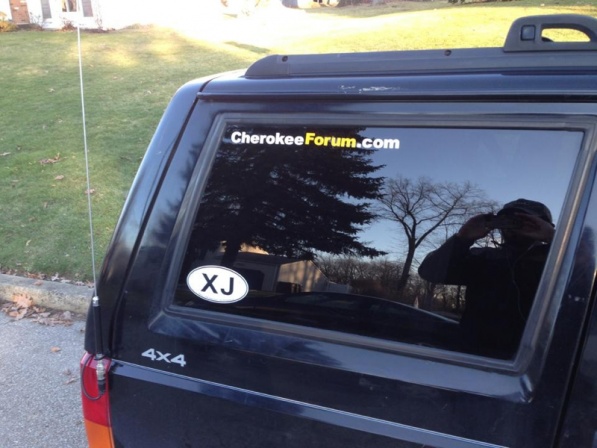
And that's about it, then Christmas came. Got my grandpas old CB radio, along with some forum decals and an XJ one
Along with a mag light and a mag light mount (not shown).
So begins the instal
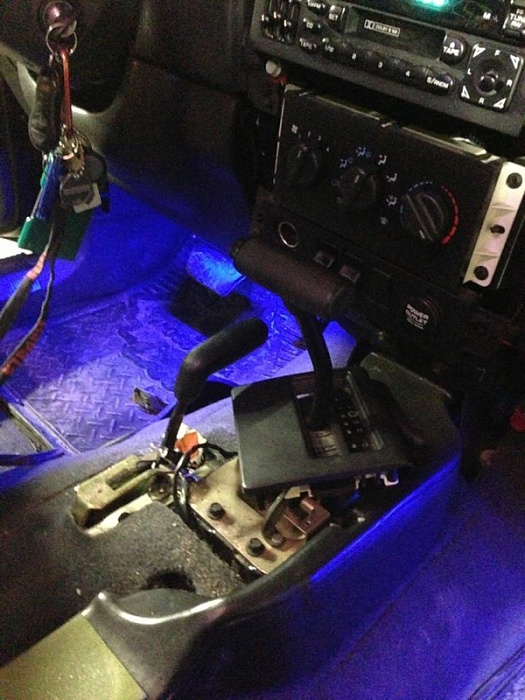
Ended up drilling through the center console to mount both the CB and mag light, ran the bolts through the console and into some thin plate on the other side that helped act as a giant washer and distribute the weight. Came out pretty awesome in my opinion.

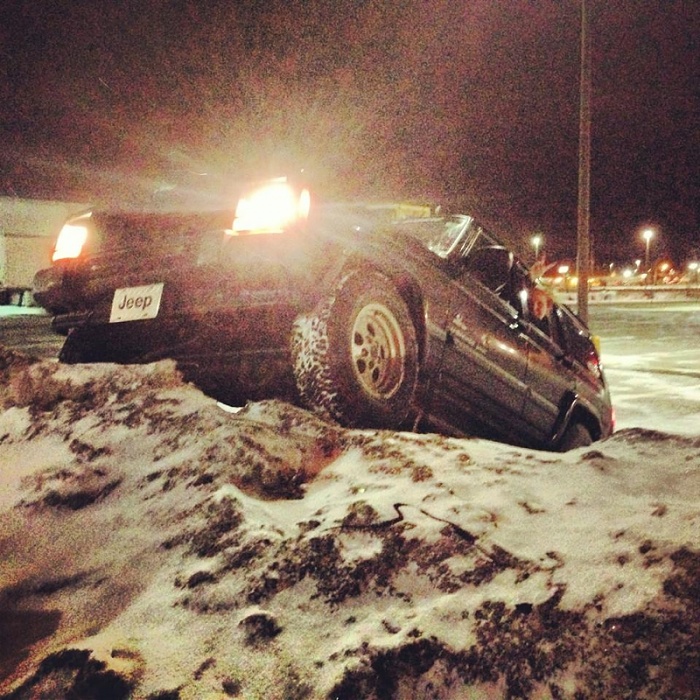
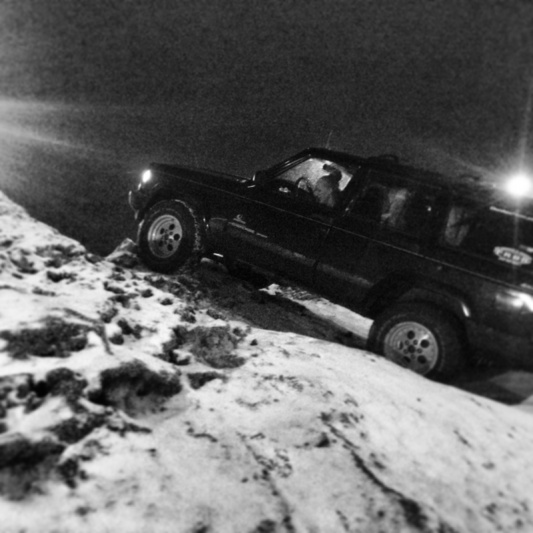
Another boring span of jeep-mod-less time passes, filled with some extreme winter mall crawling.

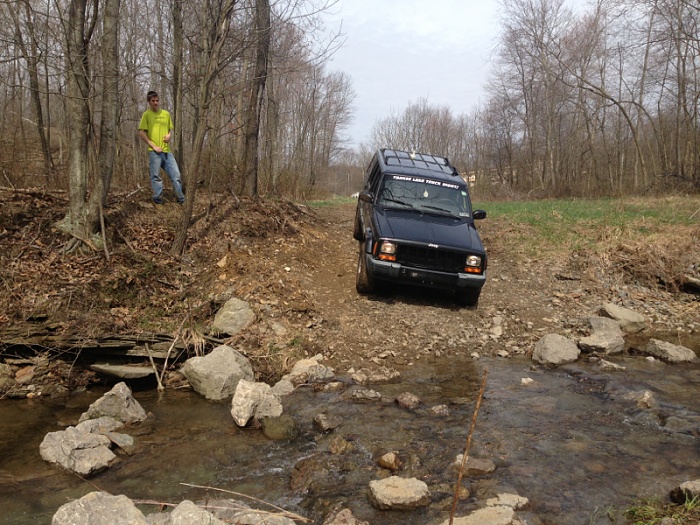
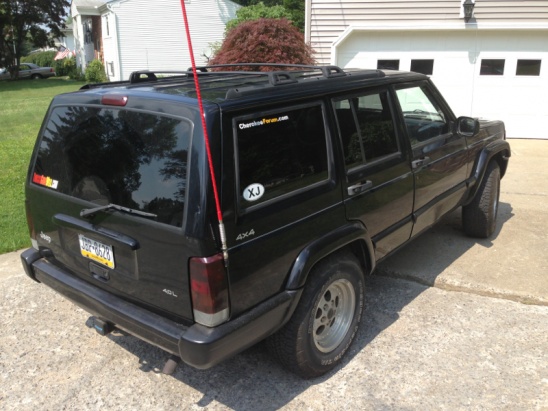
Spring brakes here in Pennsylvania which meant it was time to slap on my decals.


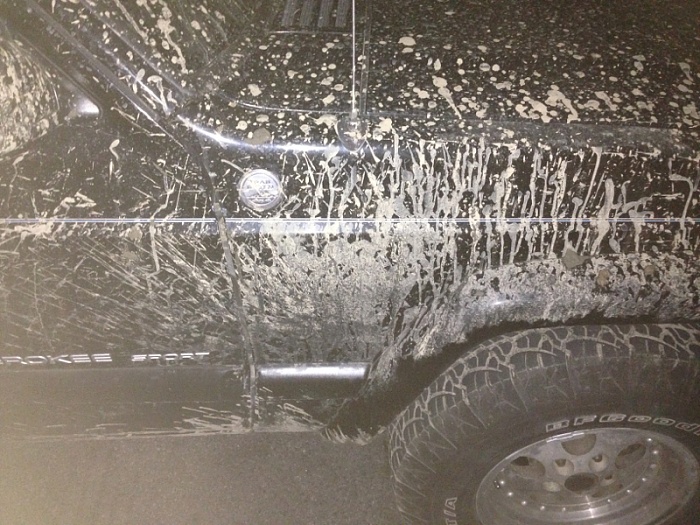
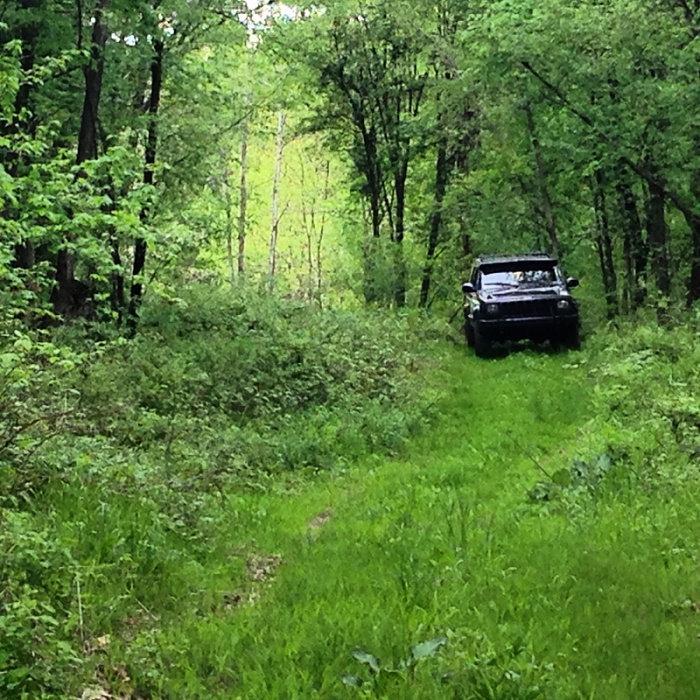
And it also meant it was time to take my baby wheeling for the first time.
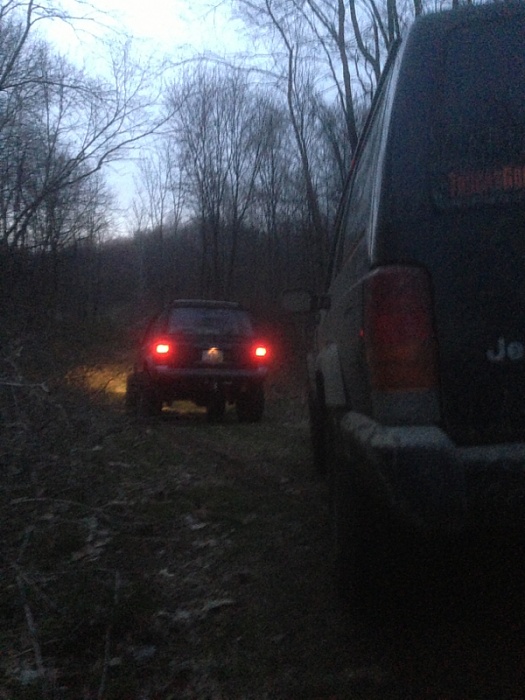
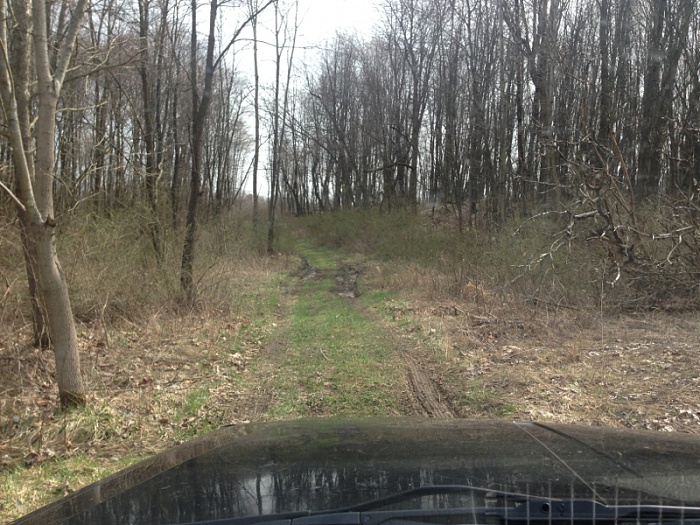

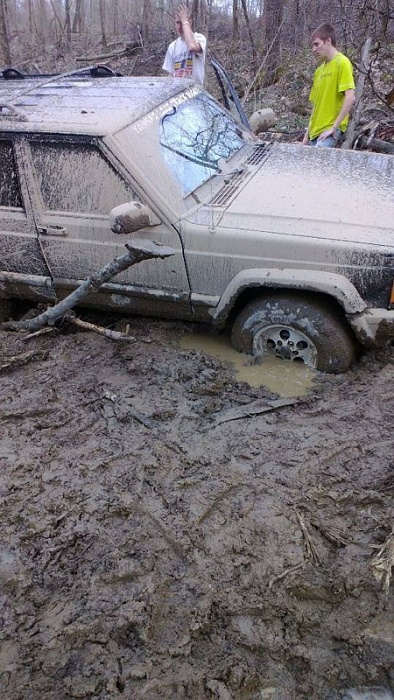
My inexperience shows as I managed to get stuck but hey it was my first time.
Some after math:
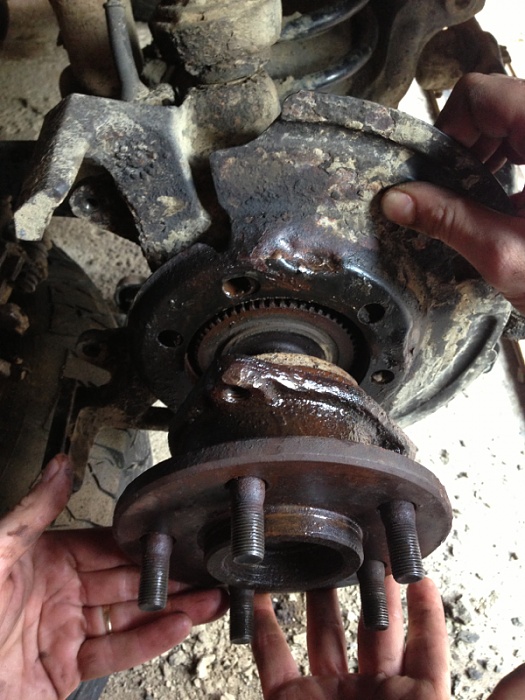
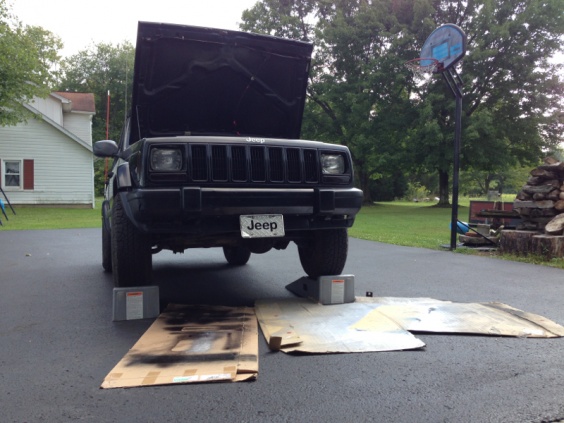
After several months of more wheeling trips the mud began to take it's toll. Despite my best efforts to clean the underside of my jeep it had managed to find it's way in my wheel hubs and u-joints which meant my Dana 30 needed an overhaul. My 13 year old untouched axle but chose to differ.
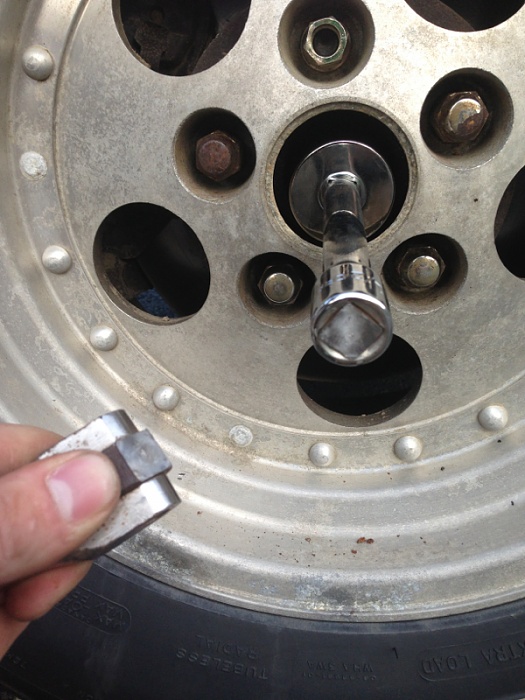

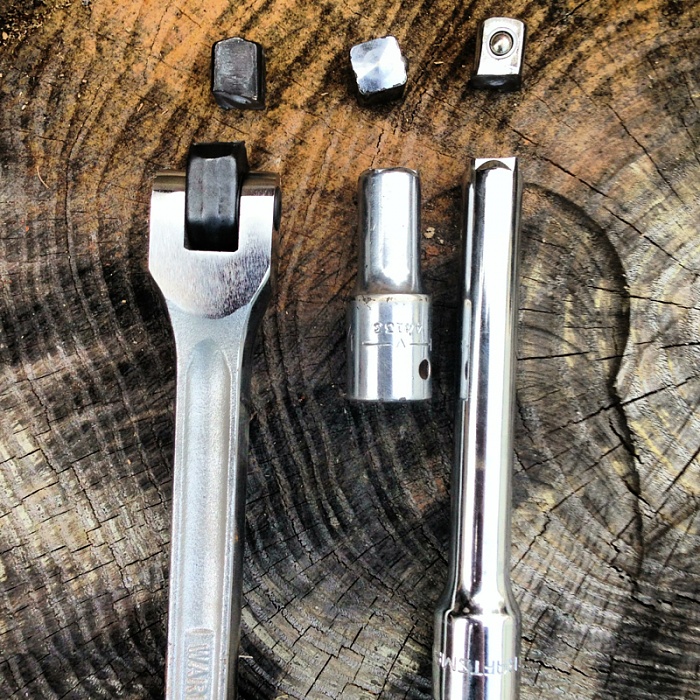
7 half inch extension and breaker bars later I have my buddy a visit. He was a farmers son and had a 3/4's breaker bar and socket to fit, a big pipe later and we were in business.

(Ur welcome ladies )
)
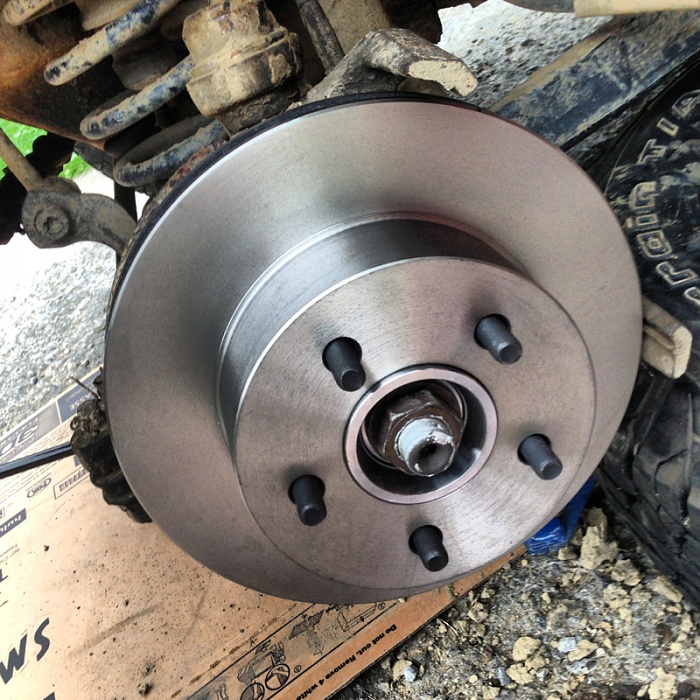
All finished, even changed brakes.
So now to do something with my beaten ugly exterior.

My solution involved some paint, old newspapers and some lens tint.
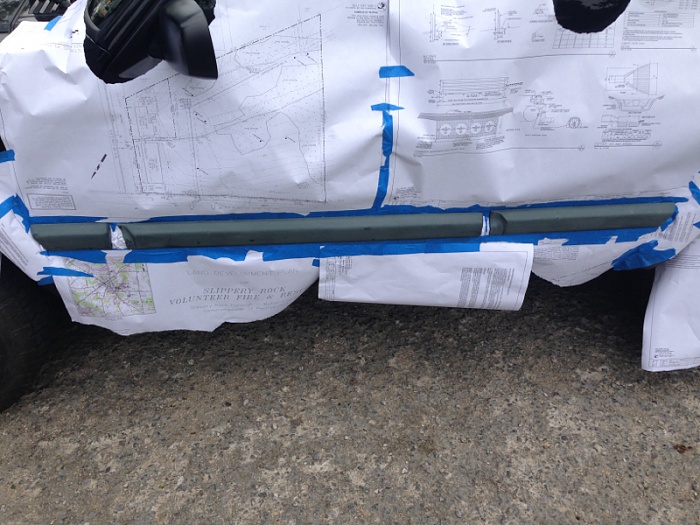
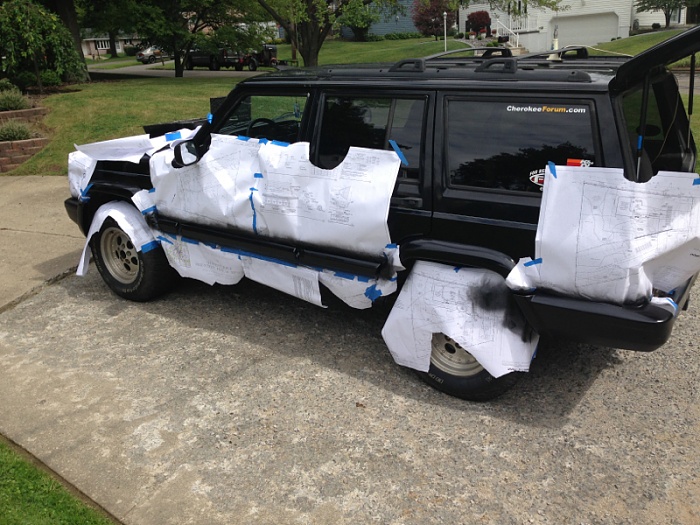
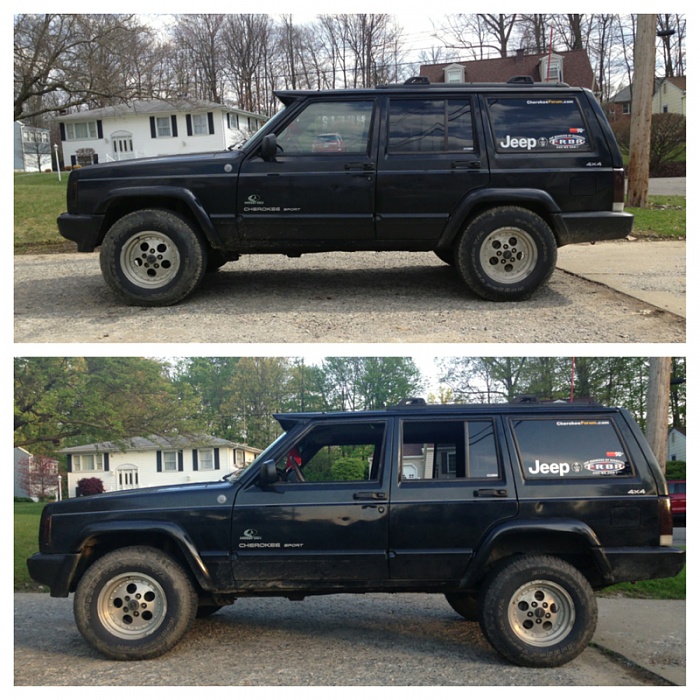
Before:
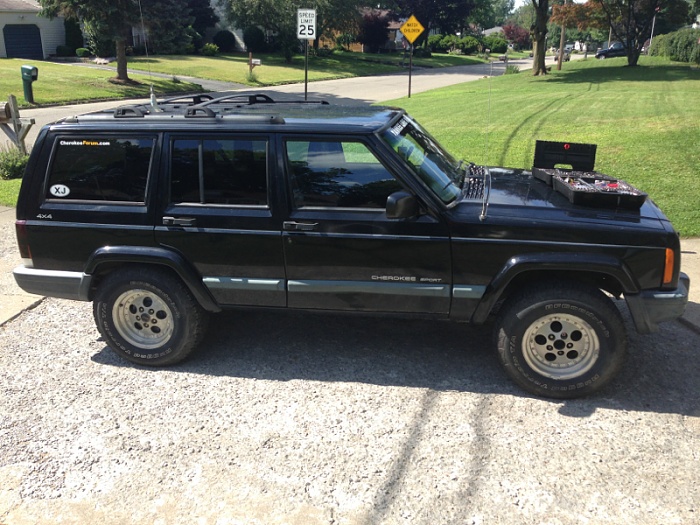
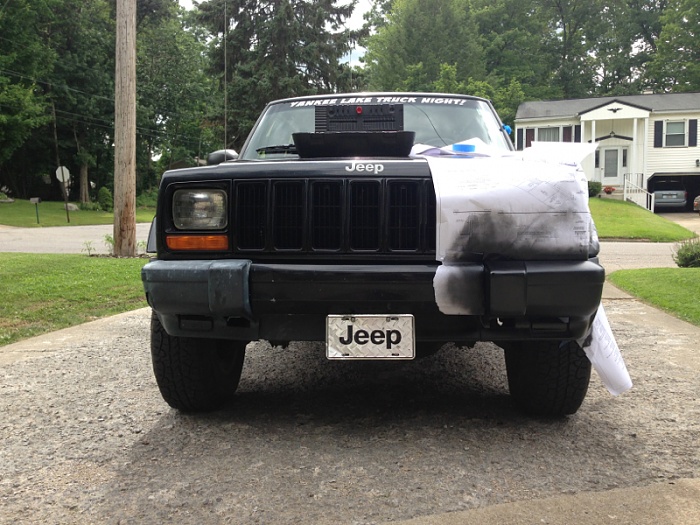
After:

More to come, keep reading!

I go through the angry eye phase (don't judge it was a phase, it's over now)
Sometime that winter I convert my interior lights to blue LED's

And that's about it, then Christmas came. Got my grandpas old CB radio, along with some forum decals and an XJ one


Along with a mag light and a mag light mount (not shown).
So begins the instal

Ended up drilling through the center console to mount both the CB and mag light, ran the bolts through the console and into some thin plate on the other side that helped act as a giant washer and distribute the weight. Came out pretty awesome in my opinion.
Another boring span of jeep-mod-less time passes, filled with some extreme winter mall crawling.

Spring brakes here in Pennsylvania which meant it was time to slap on my decals.
And it also meant it was time to take my baby wheeling for the first time.


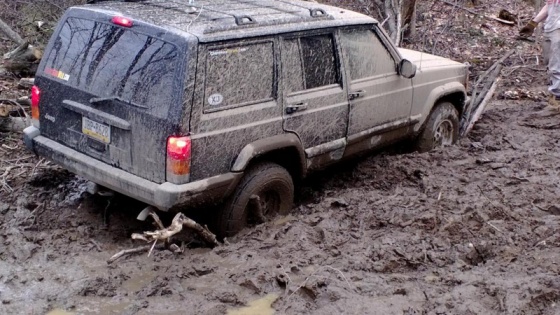
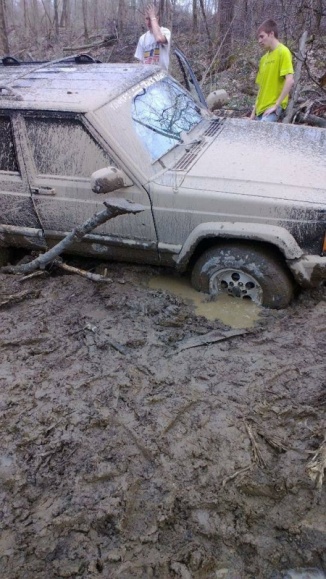
My inexperience shows as I managed to get stuck but hey it was my first time.
Some after math:

After several months of more wheeling trips the mud began to take it's toll. Despite my best efforts to clean the underside of my jeep it had managed to find it's way in my wheel hubs and u-joints which meant my Dana 30 needed an overhaul. My 13 year old untouched axle but chose to differ.


7 half inch extension and breaker bars later I have my buddy a visit. He was a farmers son and had a 3/4's breaker bar and socket to fit, a big pipe later and we were in business.


(Ur welcome ladies
)
All finished, even changed brakes.
So now to do something with my beaten ugly exterior.

My solution involved some paint, old newspapers and some lens tint.

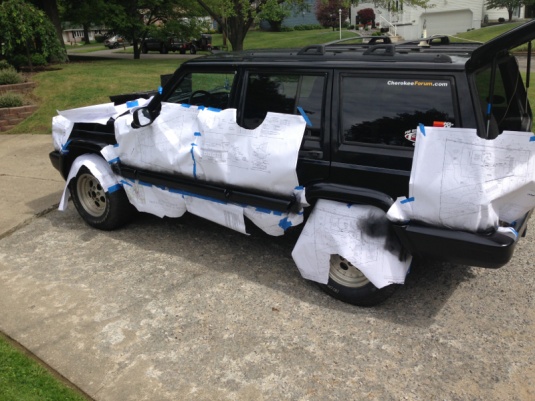

Before:

After:


More to come, keep reading!
05-23-2014, 01:49 AM
#3
Seasoned Member
Thread Starter
Join Date: Jul 2012
Location: Western, Pa (5 mins away from ohio border)
Posts: 405
Likes: 0
Received 0 Likes
on
0 Posts
Year: 1999
Model: Cherokee
Engine: straight 6 (4.0L)
Sorry for all the typos, my phones auto correct likes to change perfectly spelled words to other properly spelled words, and it's 2:30am.
ANYWAYS! Back to xj talk!
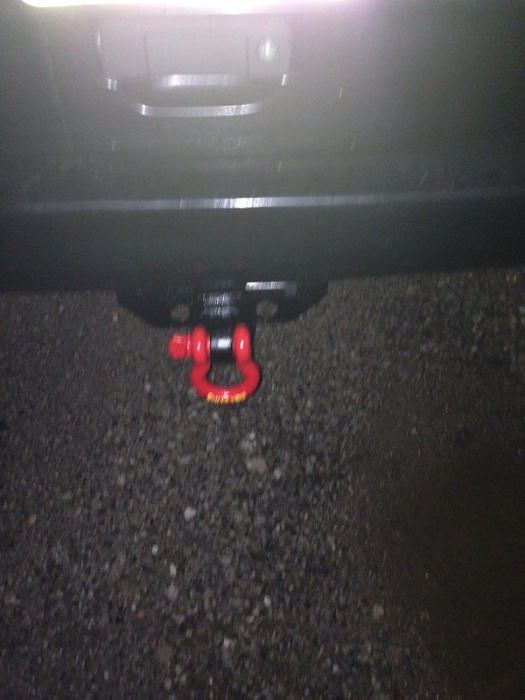
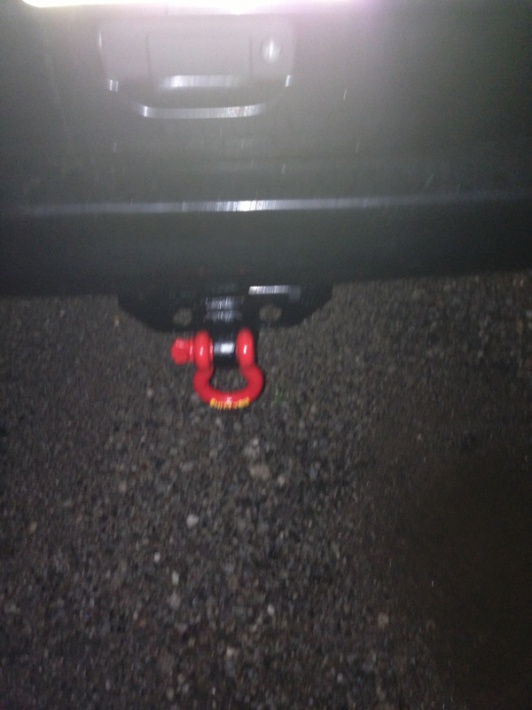
Picked up a D-ring tab for my hitch at 4wd hardware
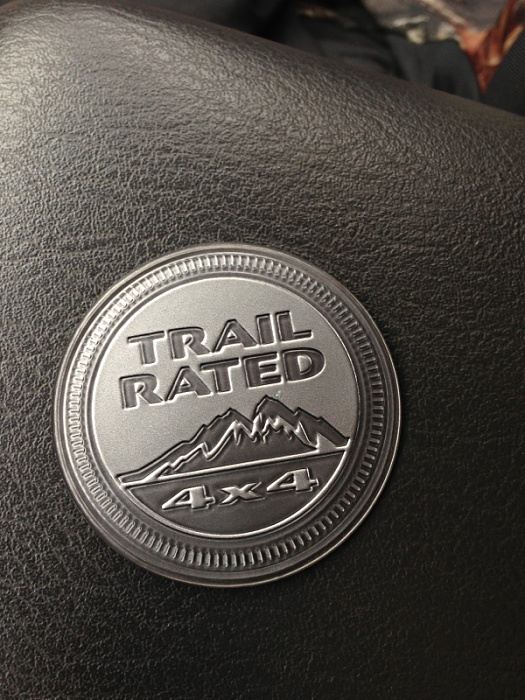
And got myself a trail rated badge.
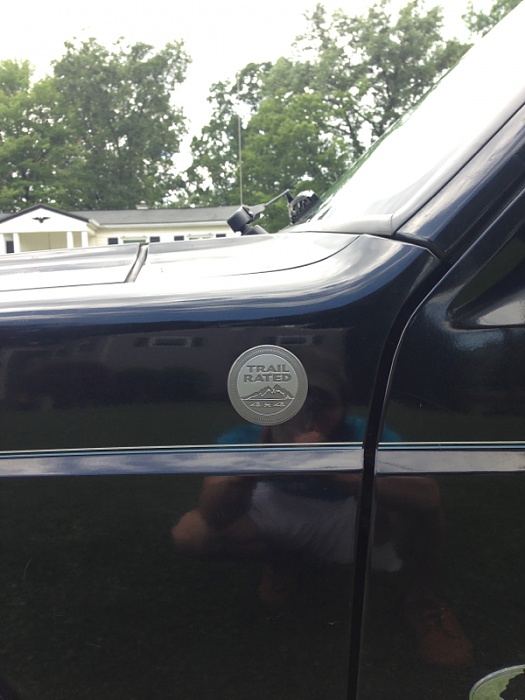
Made a before and after.

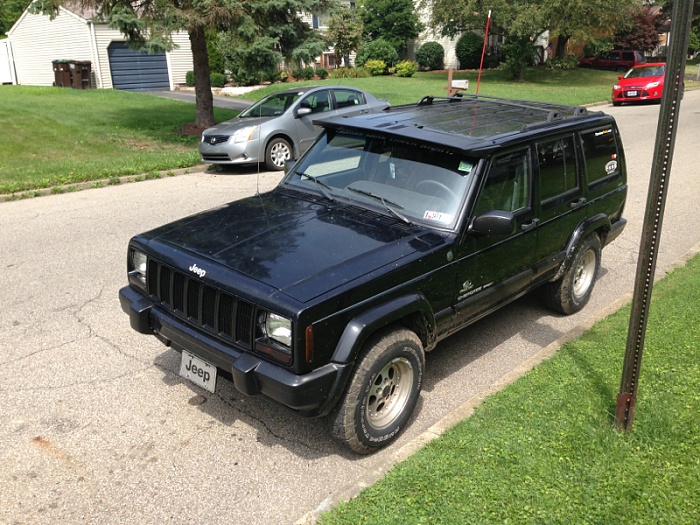
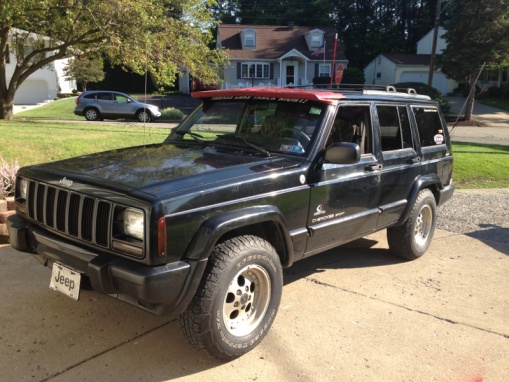
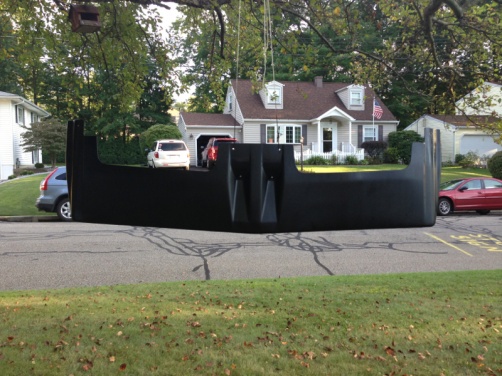
Then I found a jem! A Lund sun visor!!!!
A little paint:

And bam! It's ready to go (ignore my ex)
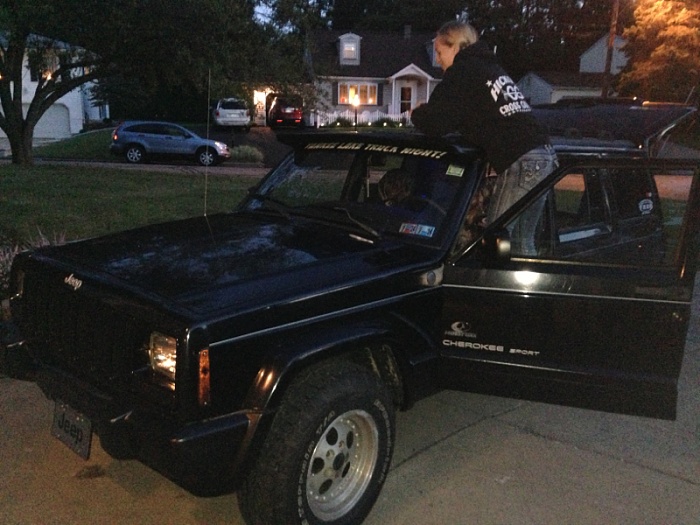
Looks great

So now to turn my attention to something important, protecting my alternator, I grabbed some heat shield from the junkyard, took the tin snips to it, did some test fits and trimming and some paint and next thing you know:

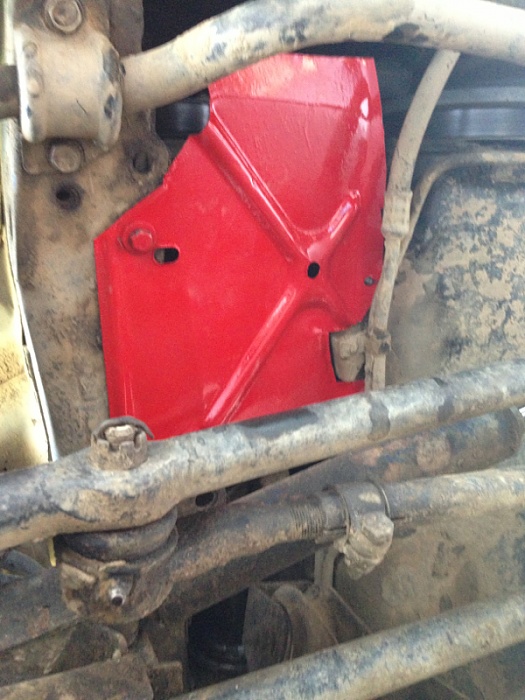
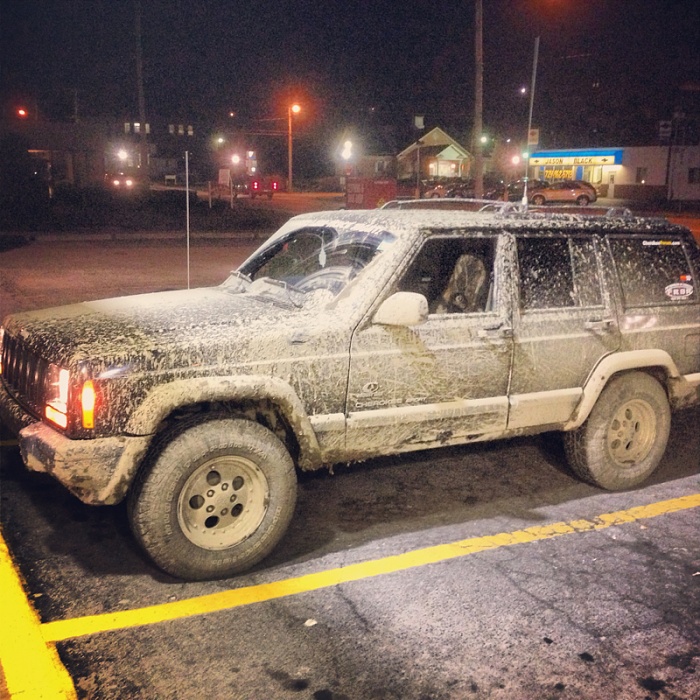
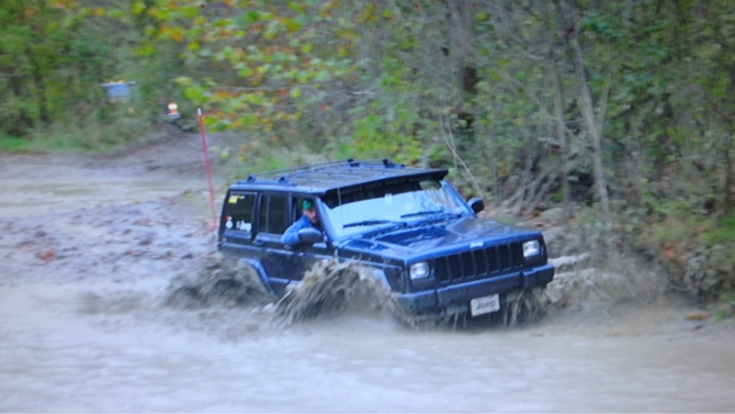
An alternator splash guard is made, so time to test it out:
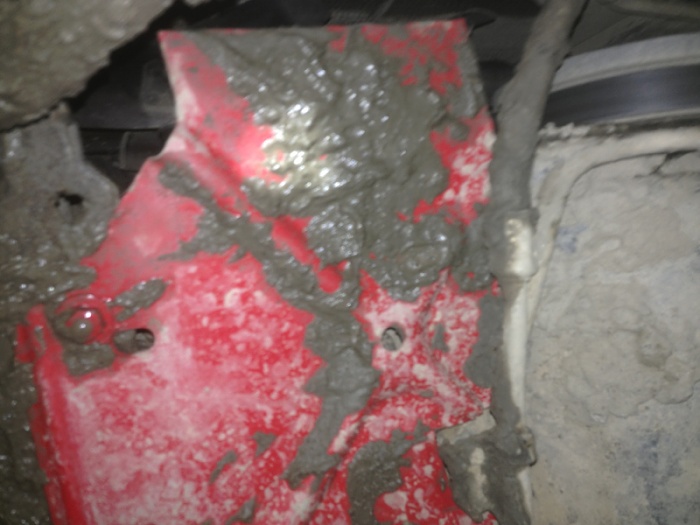
Good news, it works and I got some mud on the trail rated badge.
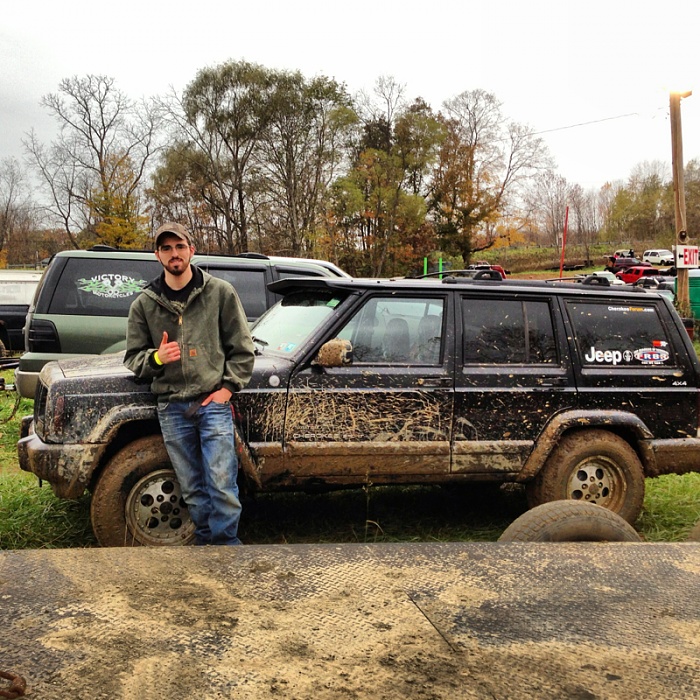
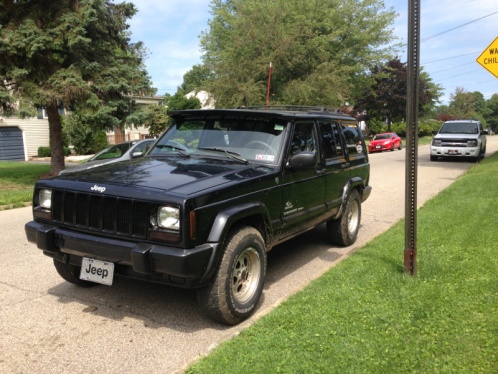
Also got some cool shots of the jeep:

And me with it
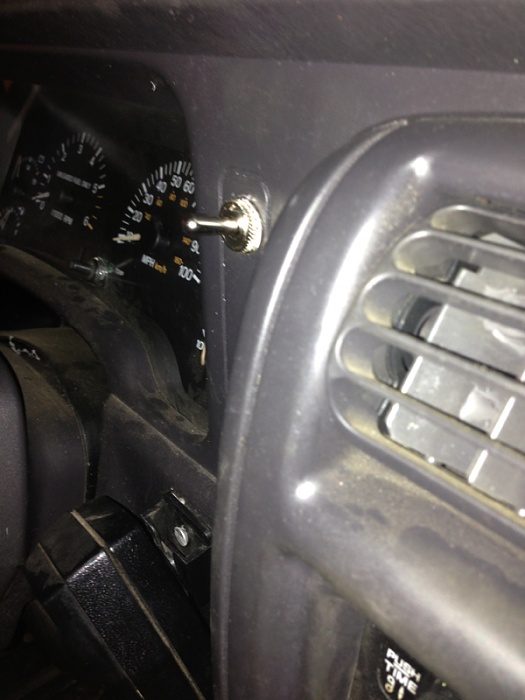
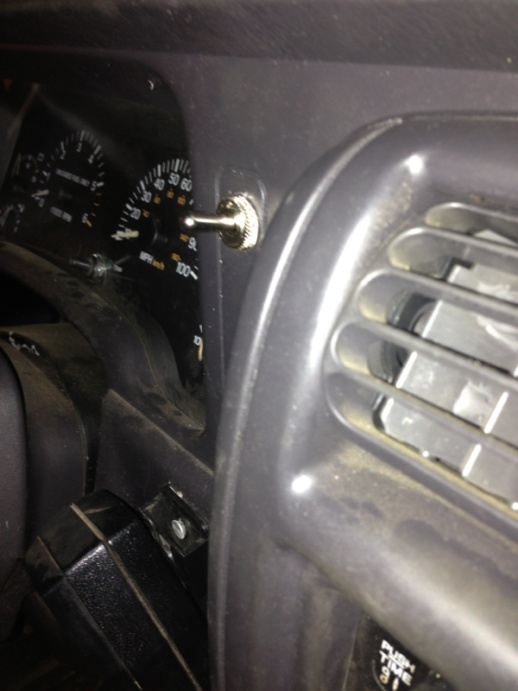
Got this great idea to make some badass looking lights in the grill wired to a switch in my dash, so I did
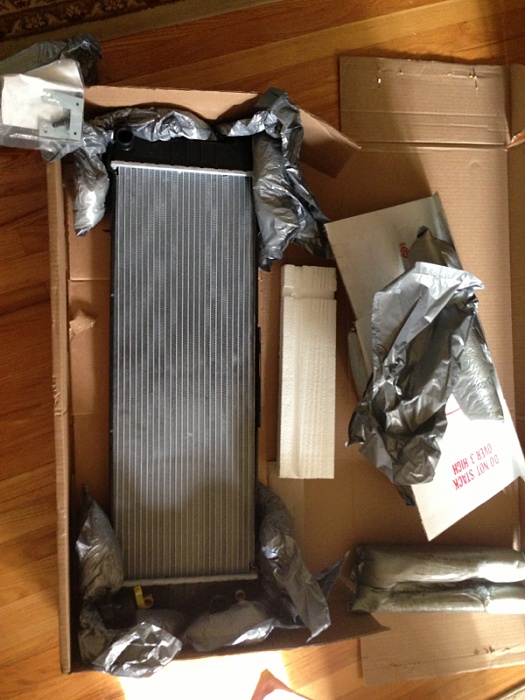
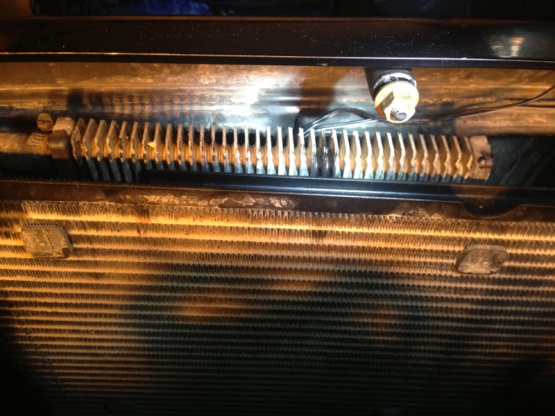
Cracked the tank on the side of my radiator so got a replacement from DPGoffroad
All the old junk.

Turns out I had an aftermarket tranny cooler

There is plenty more to go including even some real mods (not just bells, whistles, LED lights and decals) but I'll do more tomorrow, night ya'll
ANYWAYS! Back to xj talk!
Picked up a D-ring tab for my hitch at 4wd hardware
And got myself a trail rated badge.


Made a before and after.
Then I found a jem! A Lund sun visor!!!!
A little paint:
And bam! It's ready to go (ignore my ex)

Looks great

So now to turn my attention to something important, protecting my alternator, I grabbed some heat shield from the junkyard, took the tin snips to it, did some test fits and trimming and some paint and next thing you know:

An alternator splash guard is made, so time to test it out:

Good news, it works
and I got some mud on the trail rated badge.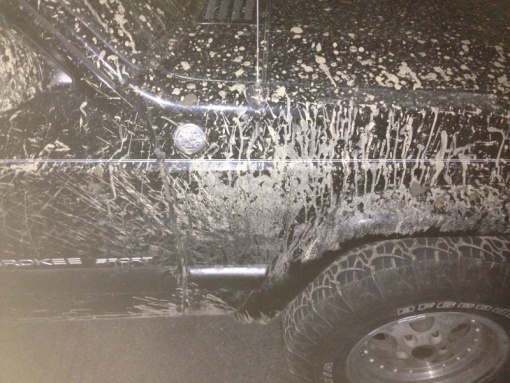
Also got some cool shots of the jeep:
And me with it

Got this great idea to make some badass looking lights in the grill wired to a switch in my dash, so I did

Cracked the tank on the side of my radiator so got a replacement from DPGoffroad

All the old junk.
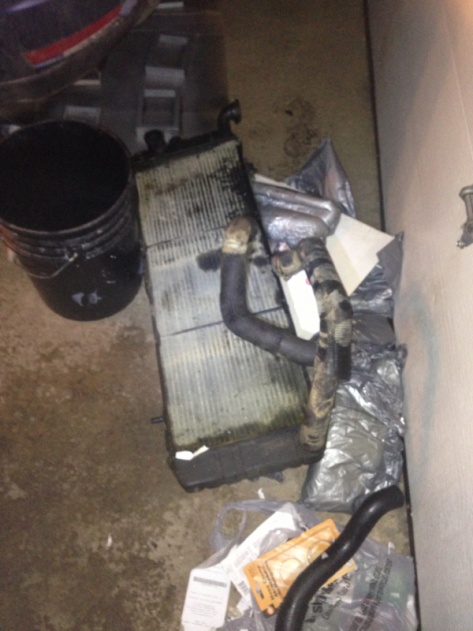
Turns out I had an aftermarket tranny cooler
There is plenty more to go including even some real mods (not just bells, whistles, LED lights and decals) but I'll do more tomorrow, night ya'll
05-23-2014, 01:52 AM
#4
Seasoned Member
Thread Starter
Join Date: Jul 2012
Location: Western, Pa (5 mins away from ohio border)
Posts: 405
Likes: 0
Received 0 Likes
on
0 Posts
Year: 1999
Model: Cherokee
Engine: straight 6 (4.0L)
I know it's long and boring at this point but progress and some more in depth mods are up ahead!!!
Last edited by jeeper jason; 10-19-2014 at 09:35 PM.
05-28-2014, 08:27 AM
#5
Seasoned Member
Thread Starter
Join Date: Jul 2012
Location: Western, Pa (5 mins away from ohio border)
Posts: 405
Likes: 0
Received 0 Likes
on
0 Posts
Year: 1999
Model: Cherokee
Engine: straight 6 (4.0L)
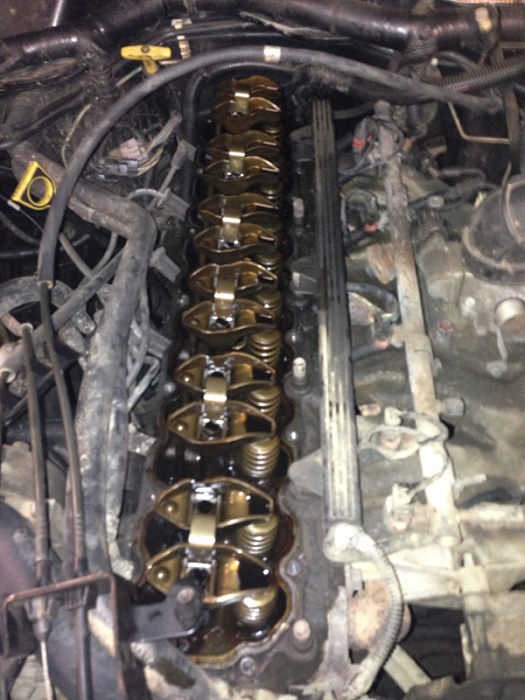
Even more maintenance on the jeep.
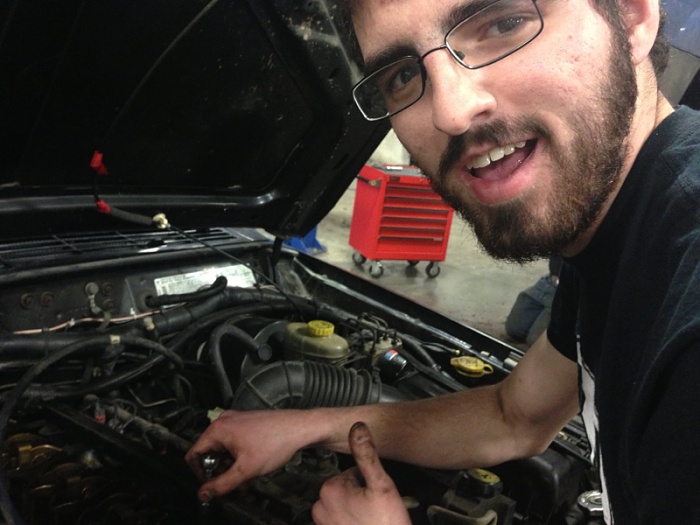
Valve cover gasket.
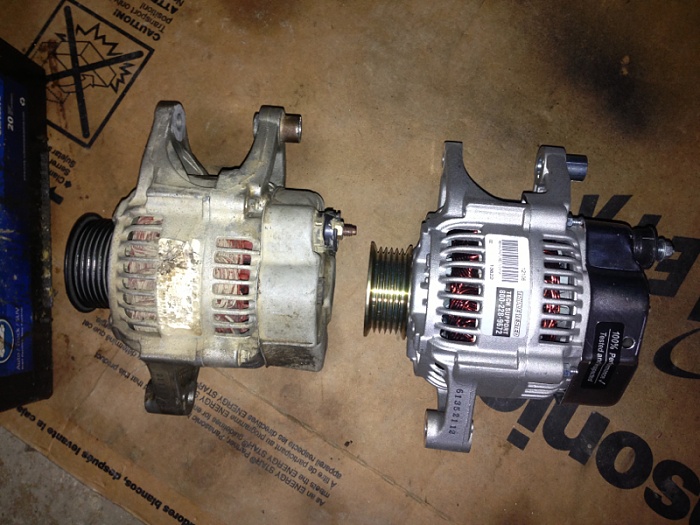
Alternator
So one day while mindlessly scrolling through Facebook, I saw these awesome home made headlight guards, so naturally I jumped on it and came up with this:
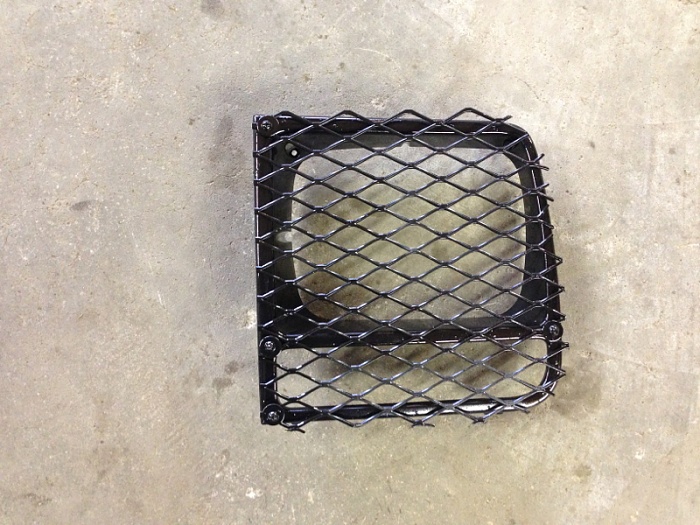
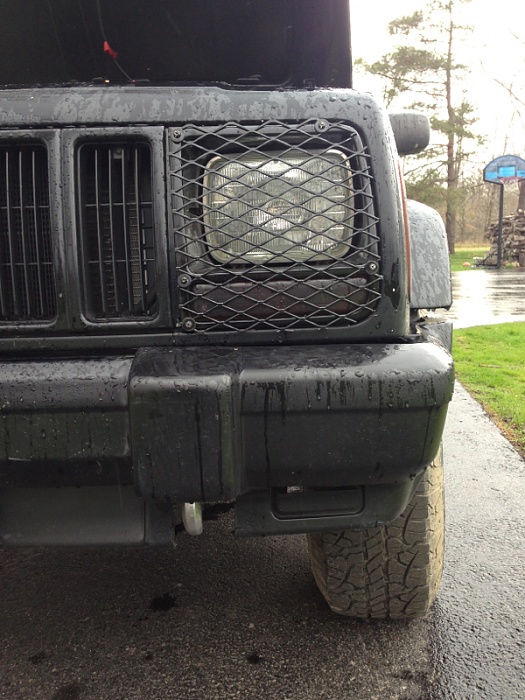
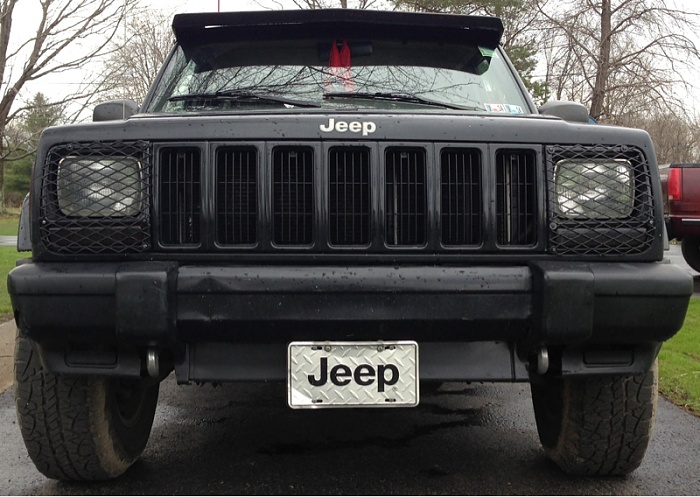
I personally love the look and they're pretty strong, granted it was a bit of a waste to try and protect $15 headlights but if I ever upgrade then it will help ensure their safety.... Plus it looks good.
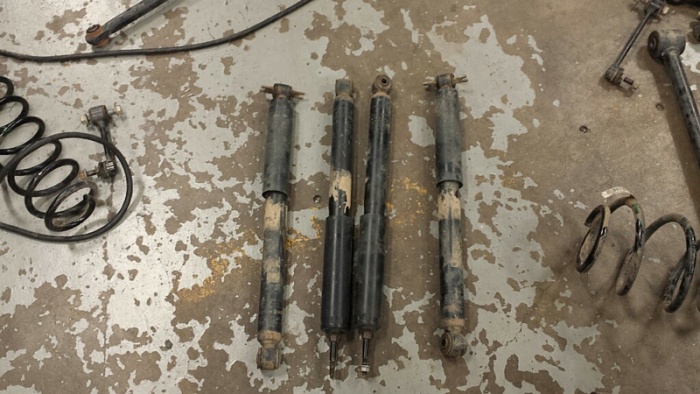
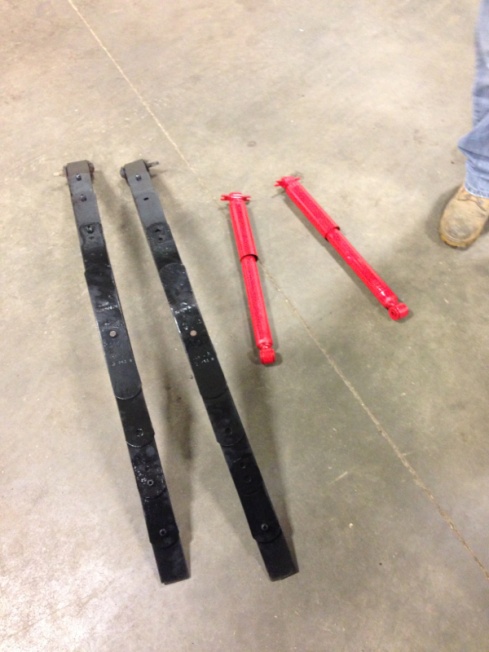
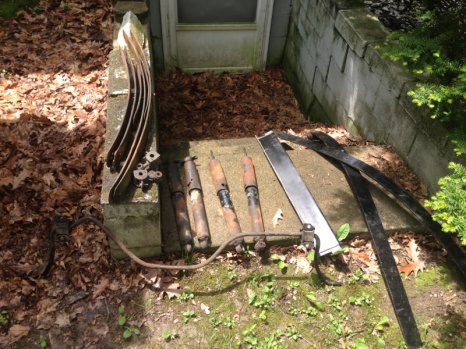
So after awhile of searching I start piecing together my lift, first some shocks from a JKU, unfortunately not a rubicon, but they only have 15,000mls and I got them for next to nothing so they'll work.
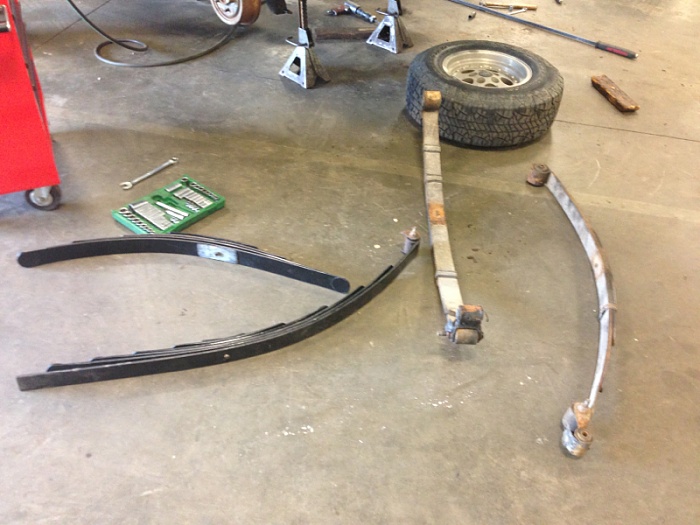
Then leaf springs from a dodge Dakota, most people use S-10 leafs but in PA rust tends to take over at the junkyards pretty quick and after several weeks of searching Durango springs were the only good set I could find, so I pulled them.
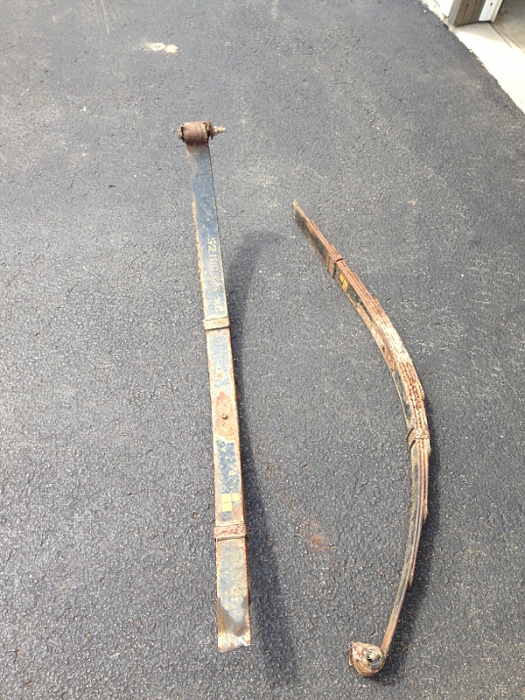
A bit of paint and rust removal.
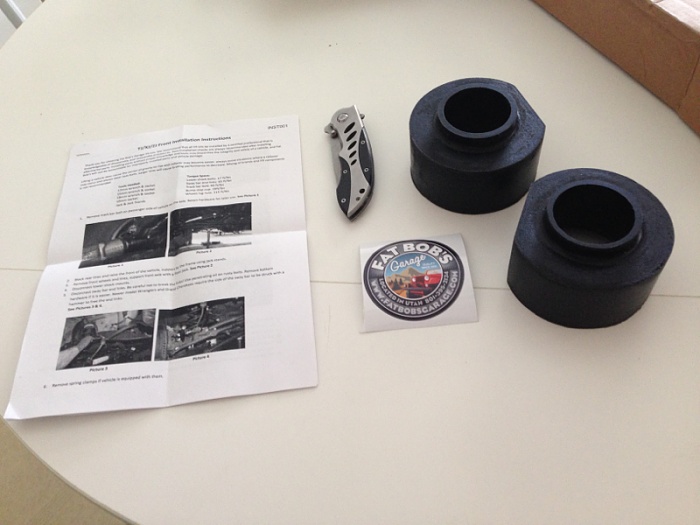
For the front I decided on some 2" coil spacers from Fat Bob's Garage, good price and amazing shipping speed! Seems like great stuff as well and easy to follow instructions (I didn't use them because I had had researched this for awhile and new how to install them but I read them clean through and they were great)
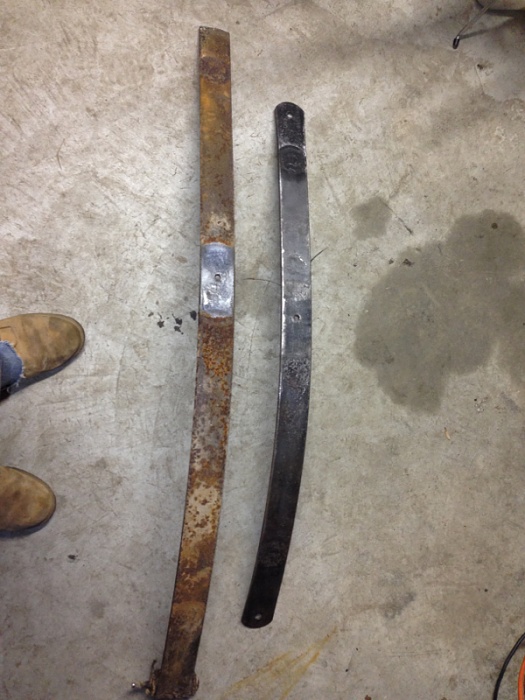
So with all the parts assembled I began the instal. First I removed the leaf springs so I can try and figure out how to handle the different sized center pins. At first I was gonna drill through the xj main but after reading some more on the interweb I got mixed reviews on drilling leaf steel, a lot of people insisted it would ruin the leaf because the heat from drilling such thick steel would weaken the steel, they might be right but after several failed attempts to try alternate routs I decided to take them to a leaf spring shop, explain what I was doing and ask what they would do, so they said they would drill them with some hard bits at low speeds and keep everything lubed well, not having access to a drill press and good bits I decided to take them to the shop.
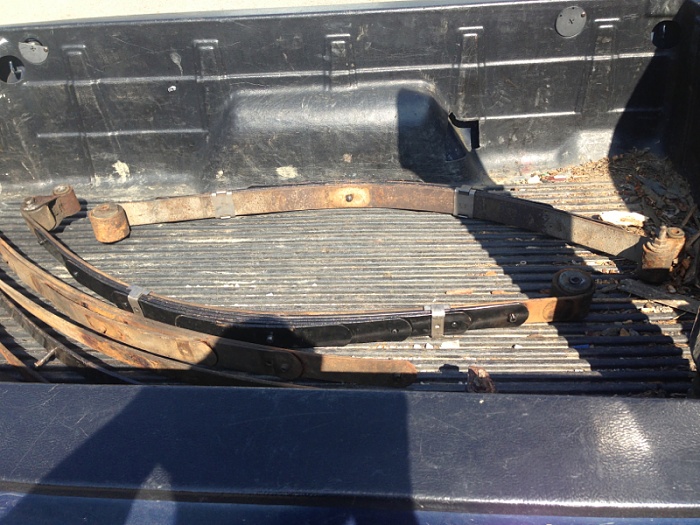
While the leafs were at the spring shop I also got them assembled with new pads and clamps and centering pin so when I picked them up while whey were ready to go.
While they were in the shop I started on the shocks.
As expected I broke some of the shock bolts so instead of hours of drilling them out I decided to knock the nuts out and drop bolts through the pre-existing holes, it was much quicker and I feel will give me less headaches in the future!

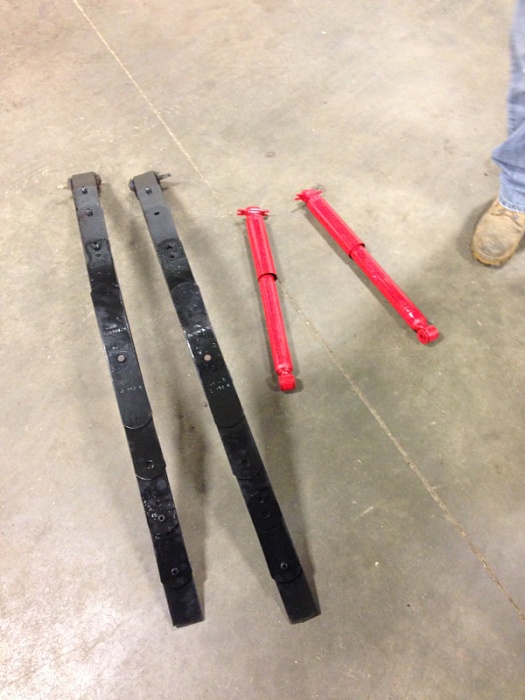
So with stocks installed and the leafs back in my possession It was time to finish up the rear.
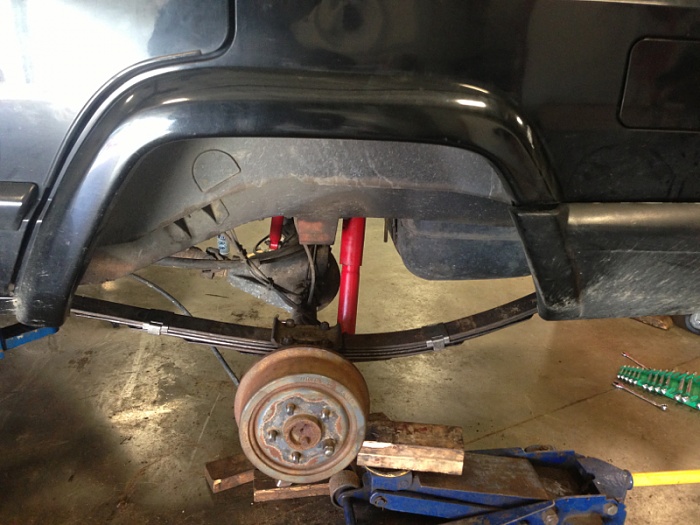
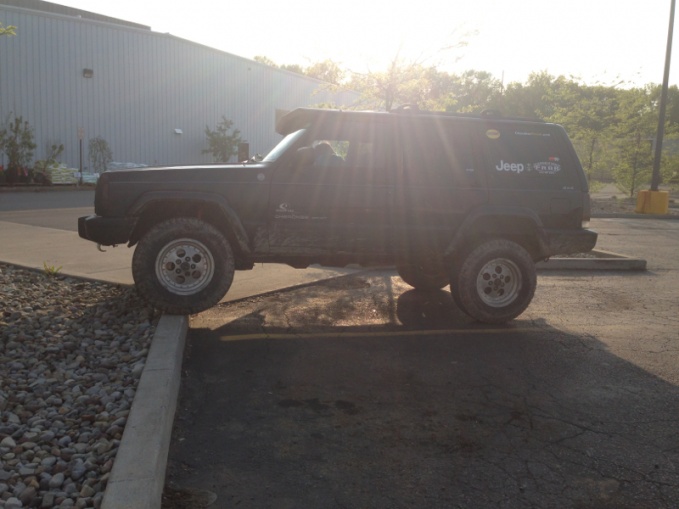
Before and after for just the rear
I netted 2 3/8" inches from stock height using all the leafs from the Durango minus the main and the XJ main leaf. I gained 4 3/8" inches from where I sat with all my sag
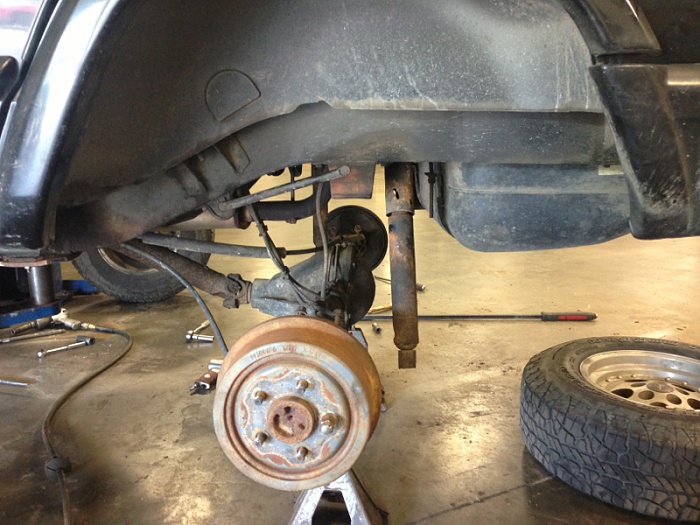
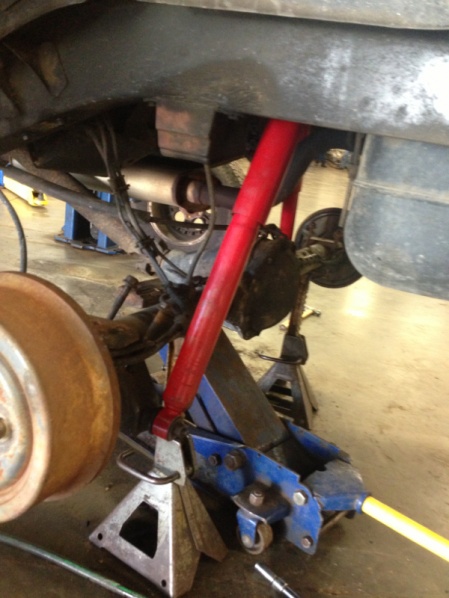
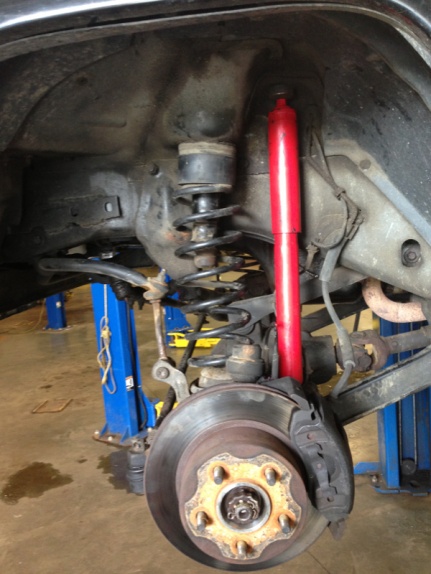
My next day I off I decided to tackle the front, first I removed both stock shocks and disconnected the axle from the sway bar, then I rotated the spring retainer clip out of place and flexed the axle so the coil spring was compressed and put on some spring compressors, I relaxed the axle and removed the spring, I sprayed some PB blaster on the spacer for lube and slipped it up over the post and slid it into place, I then slid the coil spring back into place making sure it was seated properly in the groove on the bottom, I reset the retainer clip, flexed the axle again, removed the coil spring compressors and unflexed the axle.
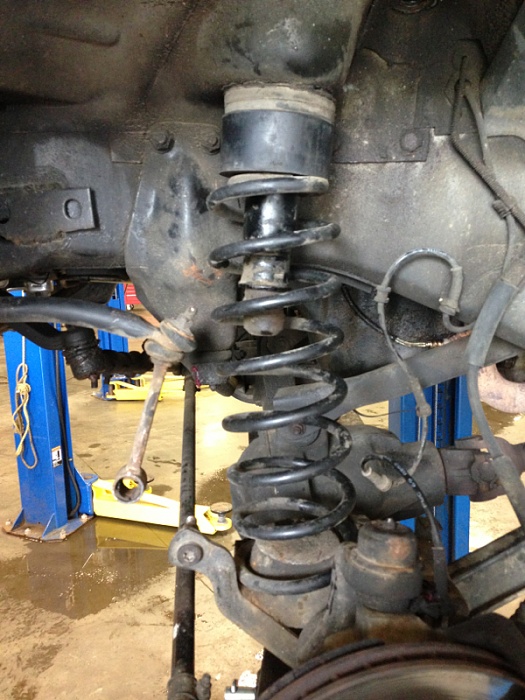
Then reinstalled the shock and reconnected the sway bar link.

Finally my lift was complete
Took it to the alignment rack and the rest is history.

Valve cover gasket.

Alternator

So one day while mindlessly scrolling through Facebook, I saw these awesome home made headlight guards, so naturally I jumped on it and came up with this:


I personally love the look and they're pretty strong, granted it was a bit of a waste to try and protect $15 headlights but if I ever upgrade then it will help ensure their safety.... Plus it looks good.
So after awhile of searching I start piecing together my lift, first some shocks from a JKU, unfortunately not a rubicon, but they only have 15,000mls and I got them for next to nothing so they'll work.

Then leaf springs from a dodge Dakota, most people use S-10 leafs but in PA rust tends to take over at the junkyards pretty quick and after several weeks of searching Durango springs were the only good set I could find, so I pulled them.
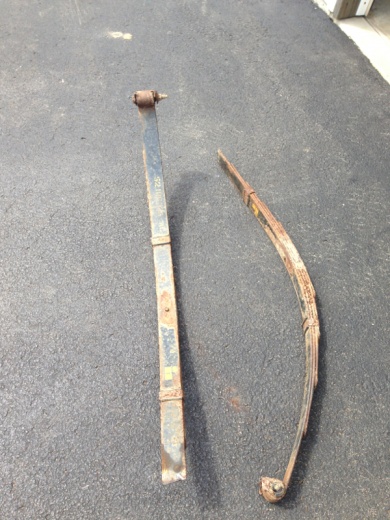
A bit of paint and rust removal.

For the front I decided on some 2" coil spacers from Fat Bob's Garage, good price and amazing shipping speed! Seems like great stuff as well and easy to follow instructions (I didn't use them because I had had researched this for awhile and new how to install them but I read them clean through and they were great)

So with all the parts assembled I began the instal. First I removed the leaf springs so I can try and figure out how to handle the different sized center pins. At first I was gonna drill through the xj main but after reading some more on the interweb I got mixed reviews on drilling leaf steel, a lot of people insisted it would ruin the leaf because the heat from drilling such thick steel would weaken the steel, they might be right but after several failed attempts to try alternate routs I decided to take them to a leaf spring shop, explain what I was doing and ask what they would do, so they said they would drill them with some hard bits at low speeds and keep everything lubed well, not having access to a drill press and good bits I decided to take them to the shop.
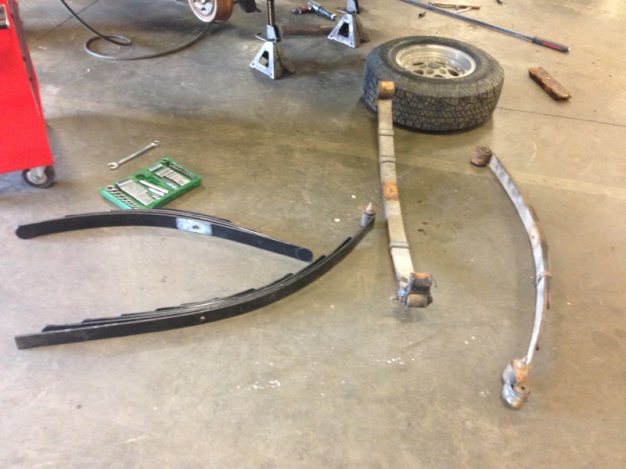
While the leafs were at the spring shop I also got them assembled with new pads and clamps and centering pin so when I picked them up while whey were ready to go.

While they were in the shop I started on the shocks.

As expected I broke some of the shock bolts so instead of hours of drilling them out I decided to knock the nuts out and drop bolts through the pre-existing holes, it was much quicker and I feel will give me less headaches in the future!
So with stocks installed and the leafs back in my possession It was time to finish up the rear.

Before and after for just the rear

I netted 2 3/8" inches from stock height using all the leafs from the Durango minus the main and the XJ main leaf. I gained 4 3/8" inches from where I sat with all my sag
My next day I off I decided to tackle the front, first I removed both stock shocks and disconnected the axle from the sway bar, then I rotated the spring retainer clip out of place and flexed the axle so the coil spring was compressed and put on some spring compressors, I relaxed the axle and removed the spring, I sprayed some PB blaster on the spacer for lube and slipped it up over the post and slid it into place, I then slid the coil spring back into place making sure it was seated properly in the groove on the bottom, I reset the retainer clip, flexed the axle again, removed the coil spring compressors and unflexed the axle.

Then reinstalled the shock and reconnected the sway bar link.
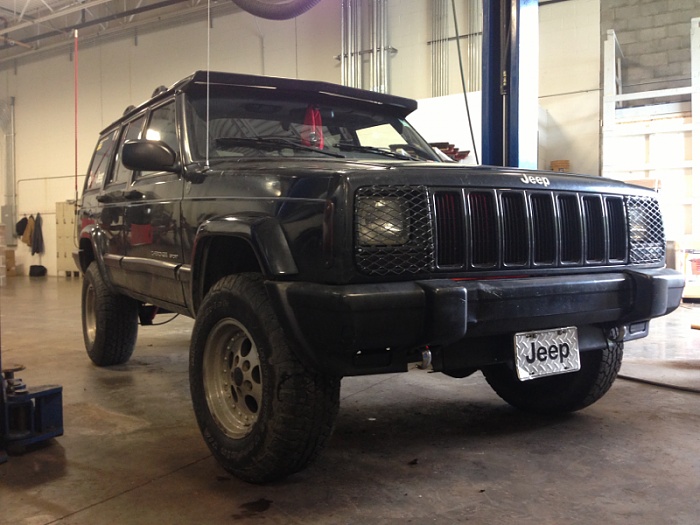
Finally my lift was complete

Took it to the alignment rack and the rest is history.
Last edited by jeeper jason; 06-07-2014 at 05:54 PM.
05-28-2014, 08:38 AM
#6
Seasoned Member
Thread Starter
Join Date: Jul 2012
Location: Western, Pa (5 mins away from ohio border)
Posts: 405
Likes: 0
Received 0 Likes
on
0 Posts
Year: 1999
Model: Cherokee
Engine: straight 6 (4.0L)
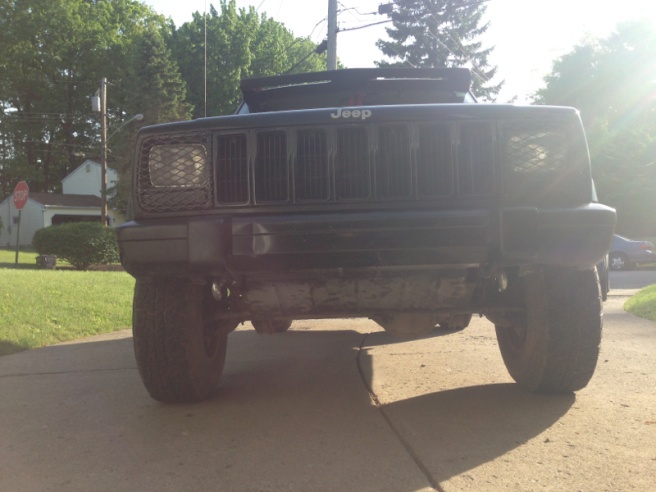
Decided to trim up all those plastic pieced hanging down in the front, much better look.
Before
After
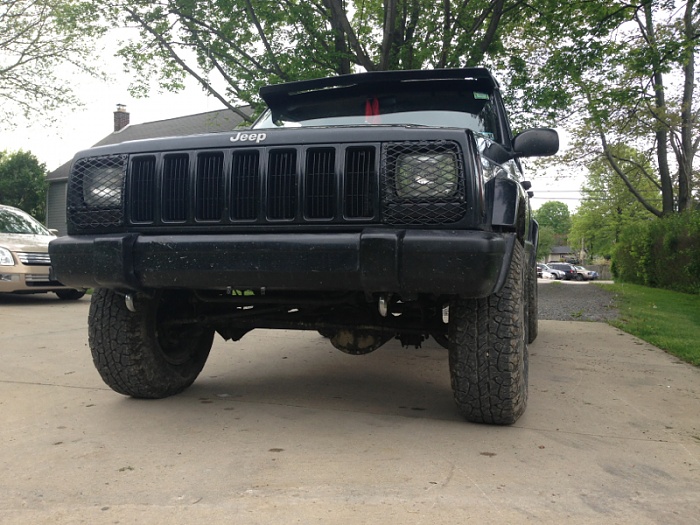
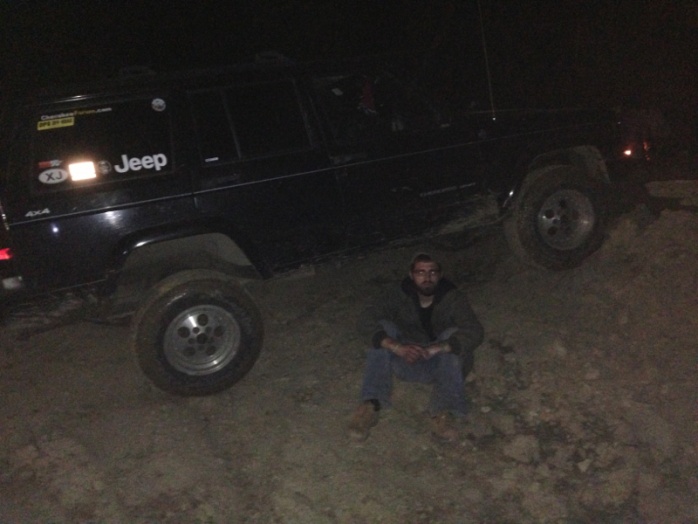
Of course I had to find a little spot to test out the lift
And do a little mall crawling at tractor supply

All the old parts ready for the scrap yard

A serious attempt at flexing

And now it's all caught up to date, but I have some big plans coming up soon, longer brake lines, home made sway bar disconnects, and a home made roof rack, just to start, and maybe some more Frankenstein-ing to get 3" of lift and lower control arms, feel free to let me know what you think or if you want any more information on the mods I have already done (even though most are pretty simple)
Before
After

Of course I had to find a little spot to test out the lift

And do a little mall crawling at tractor supply
All the old parts ready for the scrap yard
A serious attempt at flexing
And now it's all caught up to date, but I have some big plans coming up soon, longer brake lines, home made sway bar disconnects, and a home made roof rack, just to start, and maybe some more Frankenstein-ing to get 3" of lift and lower control arms, feel free to let me know what you think or if you want any more information on the mods I have already done (even though most are pretty simple)
Trending Topics
05-28-2014, 08:48 AM
#8
Seasoned Member
Thread Starter
Join Date: Jul 2012
Location: Western, Pa (5 mins away from ohio border)
Posts: 405
Likes: 0
Received 0 Likes
on
0 Posts
Year: 1999
Model: Cherokee
Engine: straight 6 (4.0L)
05-28-2014, 07:28 PM
#9
Seasoned Member
Thread Starter
Join Date: Jul 2012
Location: Western, Pa (5 mins away from ohio border)
Posts: 405
Likes: 0
Received 0 Likes
on
0 Posts
Year: 1999
Model: Cherokee
Engine: straight 6 (4.0L)
Also dual battery set up with power converter is something i hope to have in my future.
Last edited by jeeper jason; 08-28-2014 at 10:48 AM.
05-29-2014, 11:18 AM
#10
Junior Member
Join Date: Mar 2014
Location: Mooresville, Nc
Posts: 44
Likes: 0
Received 0 Likes
on
0 Posts
Year: 2000
Model: Cherokee
Engine: 4.0
so whats the whole list for this lift and price. maybe i over looked it. and is everything a direct bolt up. thanks and nice build man.
05-29-2014, 11:31 AM
#11
Seasoned Member
Thread Starter
Join Date: Jul 2012
Location: Western, Pa (5 mins away from ohio border)
Posts: 405
Likes: 0
Received 0 Likes
on
0 Posts
Year: 1999
Model: Cherokee
Engine: straight 6 (4.0L)
The only difficult part was the center pin on the leaf springs, the Durango is quit a bit larger than the XJ main. So the XJ main needs drilled out to match, so be prepared for that, I also removed my rear sway bar
05-29-2014, 08:04 PM
#12
Seasoned Member
Thread Starter
Join Date: Jul 2012
Location: Western, Pa (5 mins away from ohio border)
Posts: 405
Likes: 0
Received 0 Likes
on
0 Posts
Year: 1999
Model: Cherokee
Engine: straight 6 (4.0L)
Found a ton of awesome rare factory stock parts so the other plans are gonna have to wait.
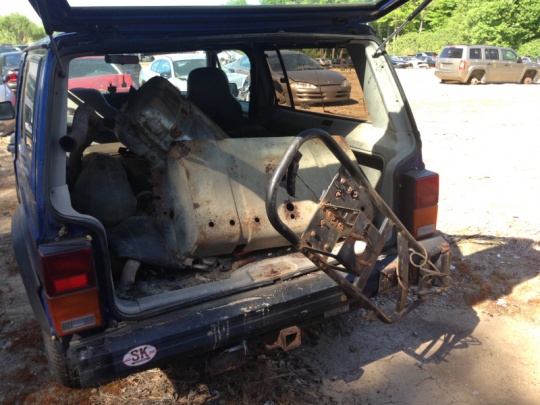
Tomorrow I'm pulling:
Rear tire carrier and gas tank skid!
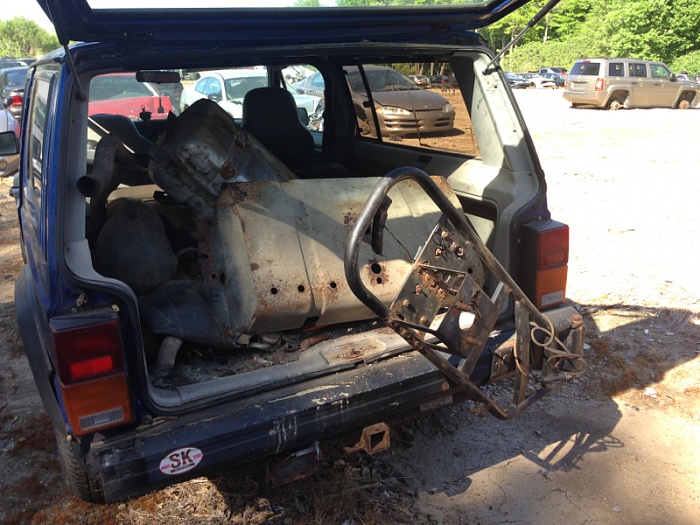
A front skid plate!

And a transfer case skid plate!
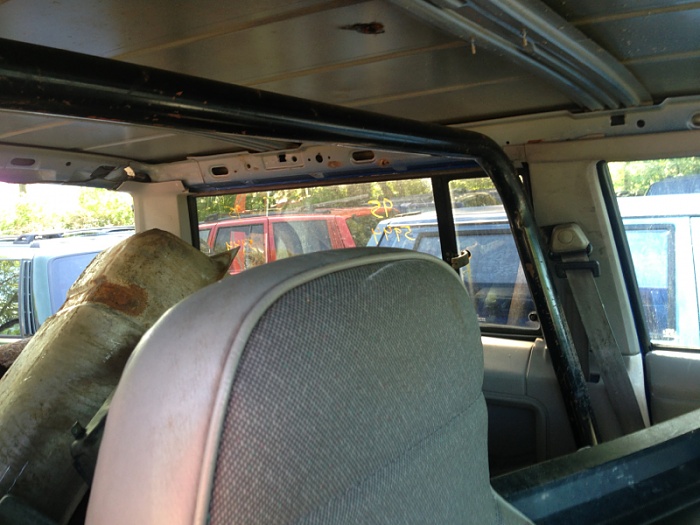
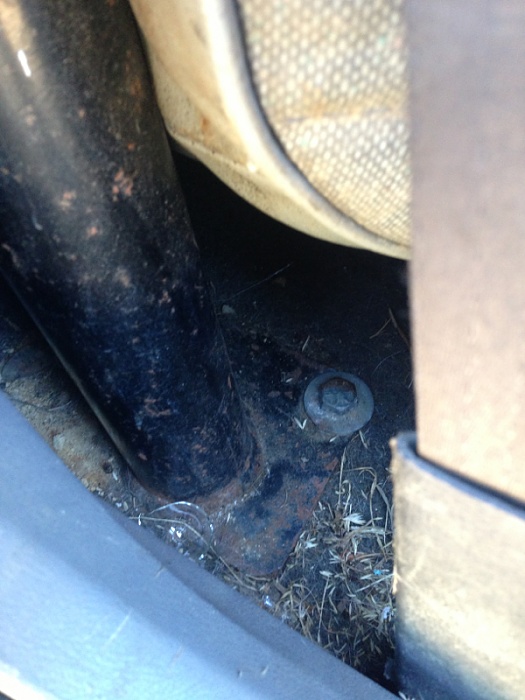
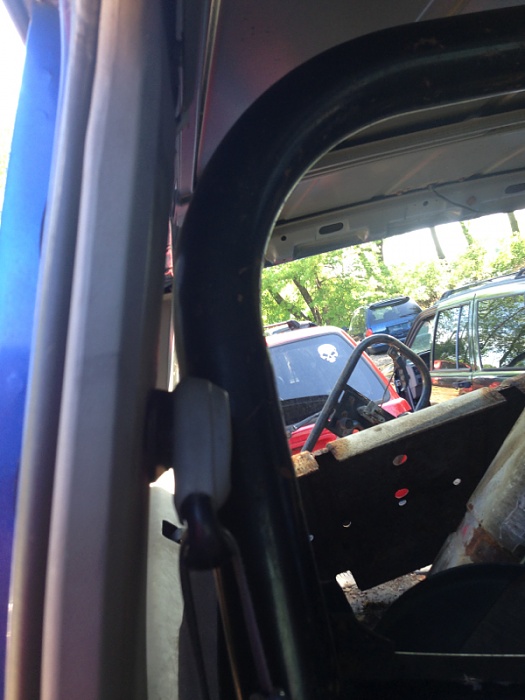
Also found a bolt on roll bar!?!?! Anyone have any experience with these they bolt on the floor (four bolts a side) and to the top front seat belt mounts
I'm considering it but not tomorrow. I'll post more after I pull it tomorrow
Tomorrow I'm pulling:
Rear tire carrier and gas tank skid!
A front skid plate!
And a transfer case skid plate!

Also found a bolt on roll bar!?!?! Anyone have any experience with these they bolt on the floor (four bolts a side) and to the top front seat belt mounts


I'm considering it but not tomorrow. I'll post more after I pull it tomorrow
Last edited by jeeper jason; 05-29-2014 at 08:08 PM.
05-30-2014, 04:05 PM
#13
Seasoned Member
Thread Starter
Join Date: Jul 2012
Location: Western, Pa (5 mins away from ohio border)
Posts: 405
Likes: 0
Received 0 Likes
on
0 Posts
Year: 1999
Model: Cherokee
Engine: straight 6 (4.0L)
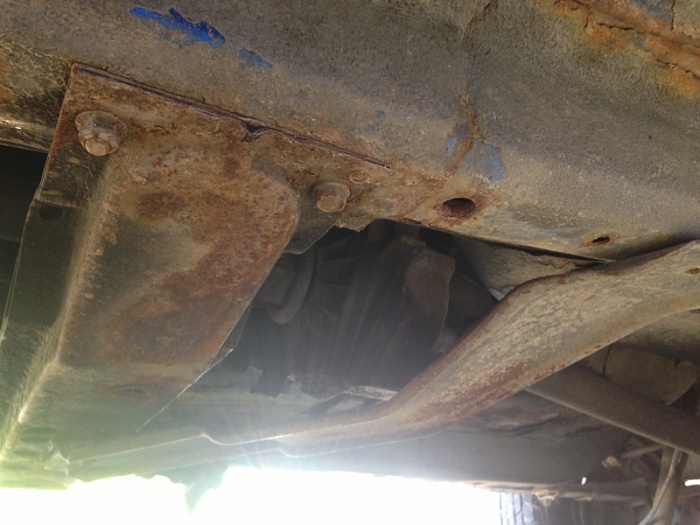
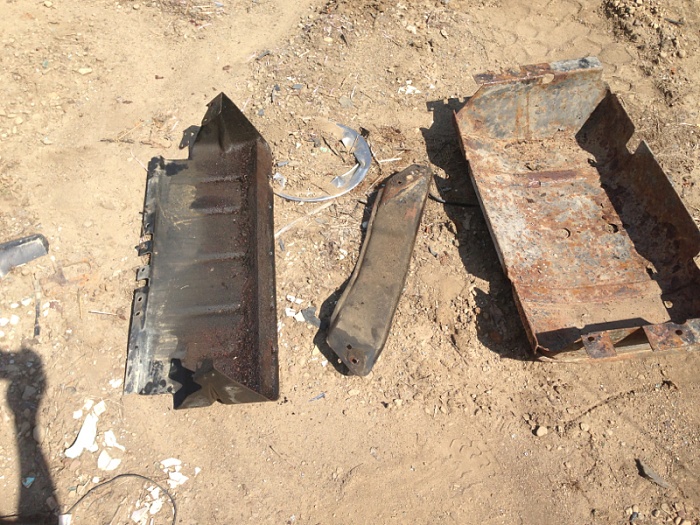
Skids off now time to clean them up and see if any need reinforced, the front engine skid and the tcase skid should be ok the gas tank skid has a little rust
What do you think?

What do you think?
05-30-2014, 11:42 PM
#14
Seasoned Member
Thread Starter
Join Date: Jul 2012
Location: Western, Pa (5 mins away from ohio border)
Posts: 405
Likes: 0
Received 0 Likes
on
0 Posts
Year: 1999
Model: Cherokee
Engine: straight 6 (4.0L)
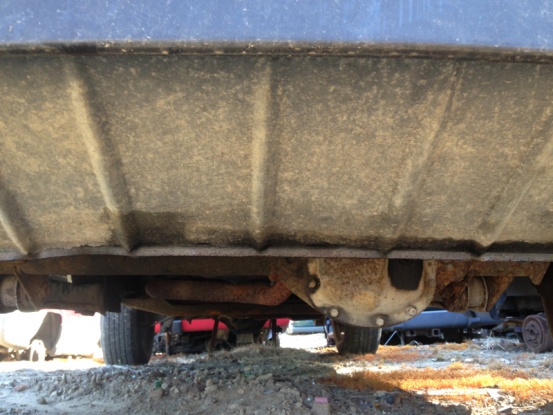
Update:I bolted on the front skid

and took it to the local offroad park, soon as I got there my starter burned out, never even made it offroad, was kicking and cussing cause banks were closed and I had no cash on me, ended up trading some beer for an old spare starter that had to have the solenoid jumped to work but hey, can't be picky. So tomorrow I'm getting a new starter and gonna start cleaning up the skid plates
and took it to the local offroad park, soon as I got there my starter burned out, never even made it offroad, was kicking and cussing cause banks were closed and I had no cash on me, ended up trading some beer for an old spare starter that had to have the solenoid jumped to work but hey, can't be picky. So tomorrow I'm getting a new starter and gonna start cleaning up the skid plates
06-06-2014, 10:38 AM
#15
Seasoned Member
Thread Starter
Join Date: Jul 2012
Location: Western, Pa (5 mins away from ohio border)
Posts: 405
Likes: 0
Received 0 Likes
on
0 Posts
Year: 1999
Model: Cherokee
Engine: straight 6 (4.0L)
Cleaning up the skids, the front skid and tcase skid are almost perfect and just need parts washed and painted, the gas tank skid has a bit of rot

Gonna have to patch the right corner and maybe some other spots

Gonna have to patch the right corner and maybe some other spots