When you click on links to various merchants on this site and make a purchase, this can result in this site earning a commission. Affiliate programs and affiliations include, but are not limited to, the eBay Partner Network.
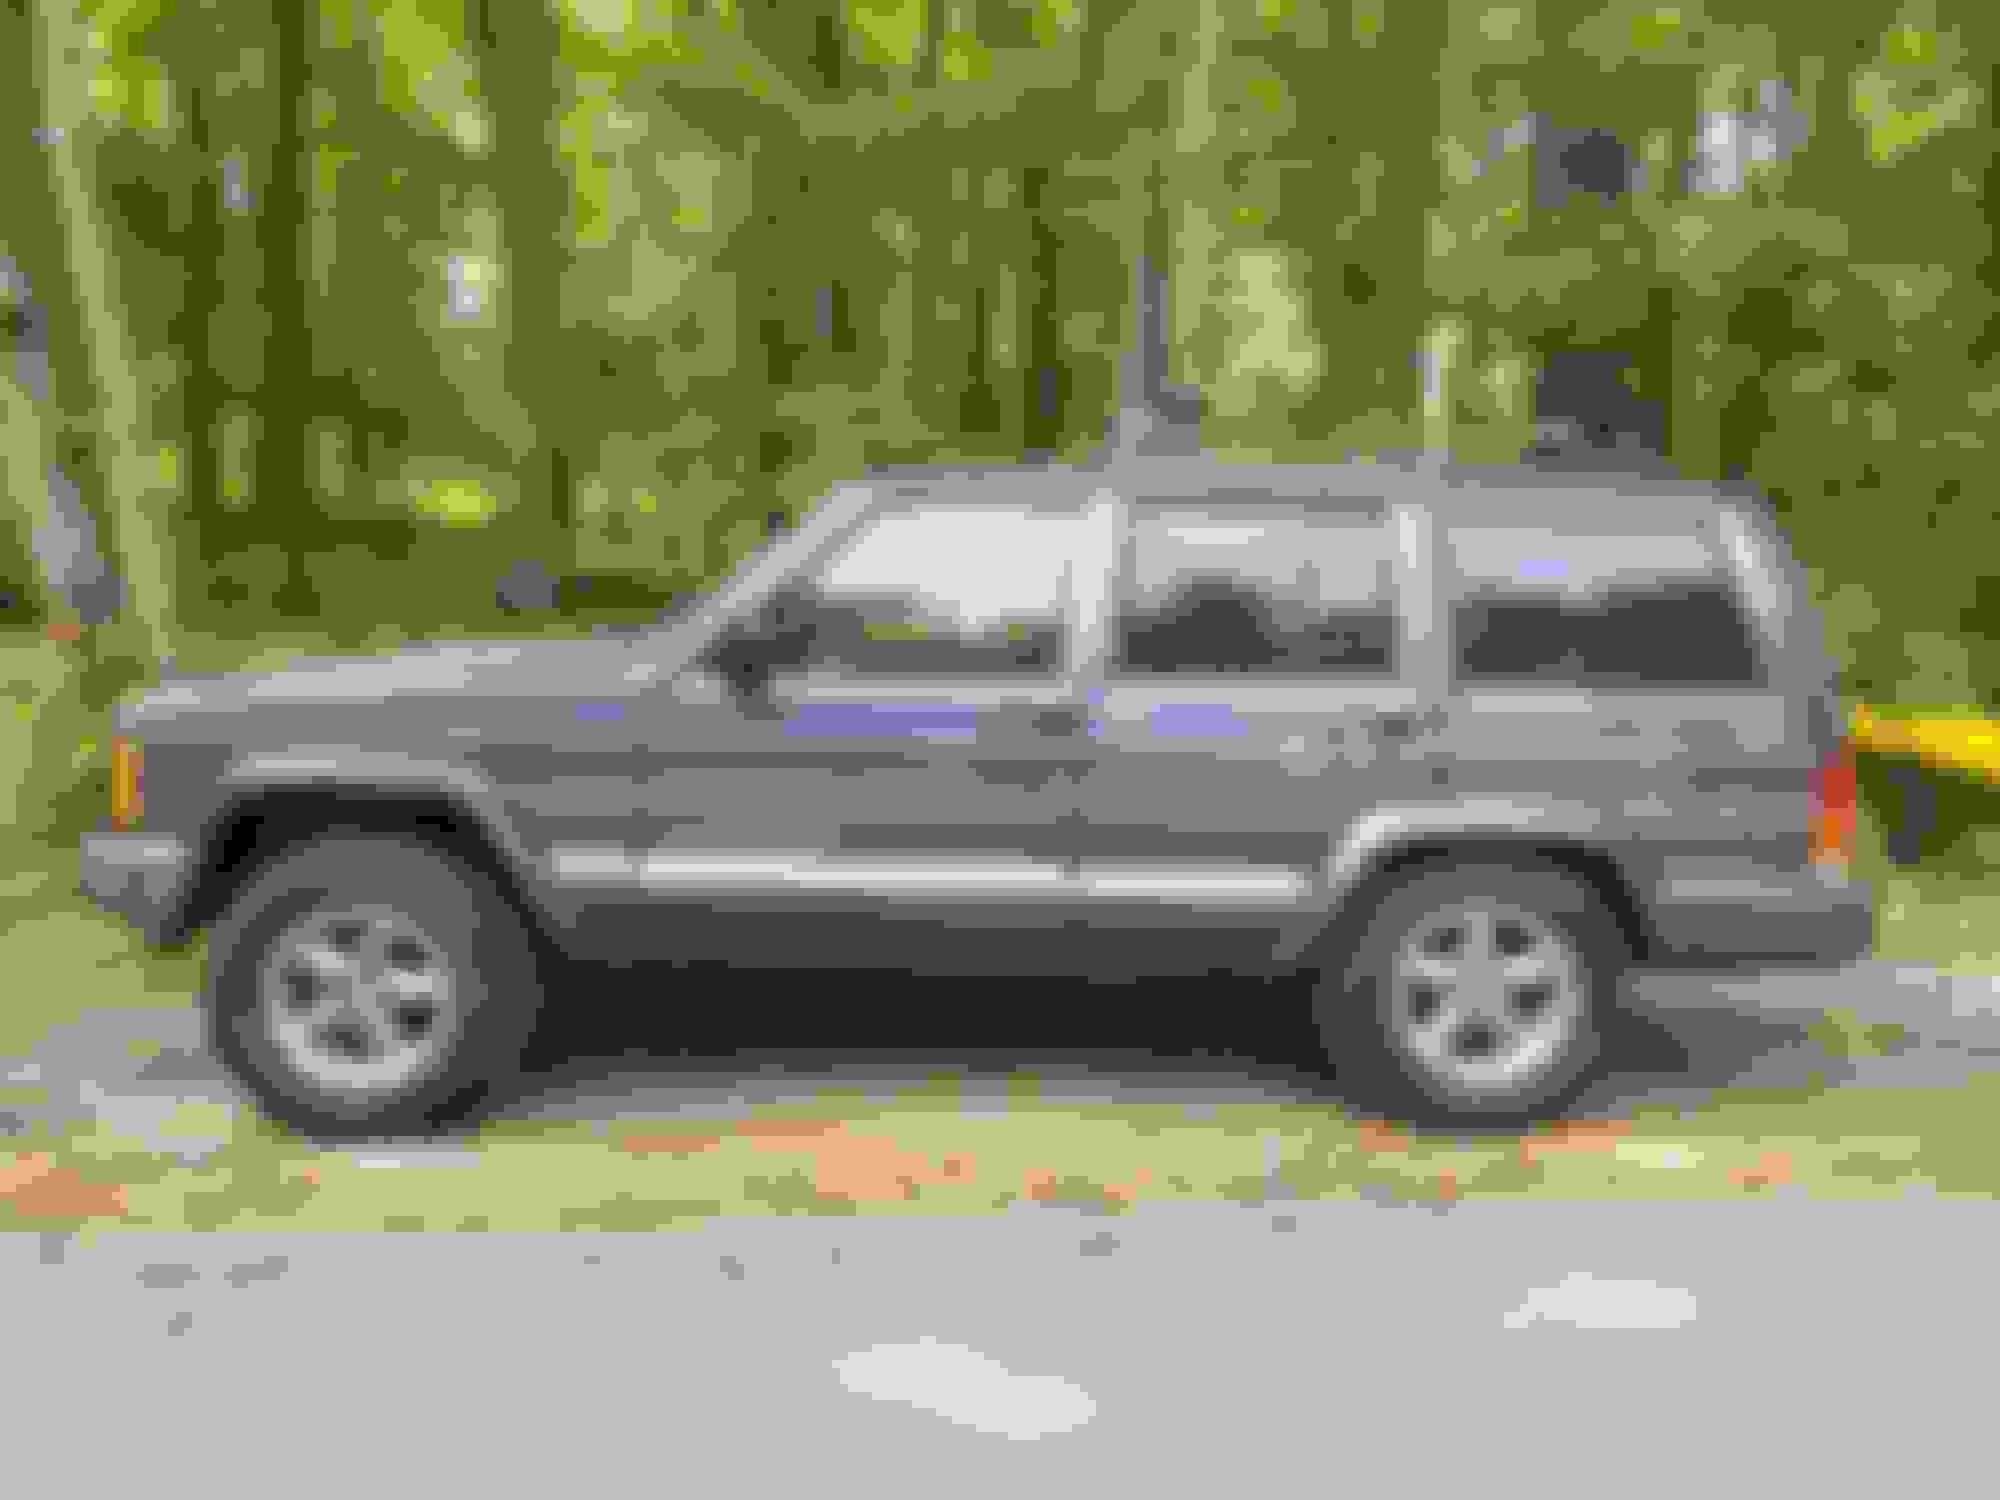
Hi Everyone! I'm proud to introduce my newest vehicle and the apple of my eye Bluega! I'll be updating you on her and my progress throughout my ownership. It's going to be a rough ride but we'll do our best to keep it as smooth as possible. I'm excited to get my feet wet in auto mechanics and learn/contribute alongside all of you folks.
The details....
Had it towed home... MA is the absolute worst, no temp plates, towing this via AAA was actually against their policy bc it wasn't registered. Blacked out the company bc the driver was nice enough to bend the rules for me.
She's home! Or more specifically my parents home where I will be doing my wrenching. Thanks parents! You'll be seeing a lot more of me.
CEL Light is on and 3 codes...
P0442 - EVAP System Medium Leak
P0456 - Evap System Small Leak
P1294 - Idle Speed Performance
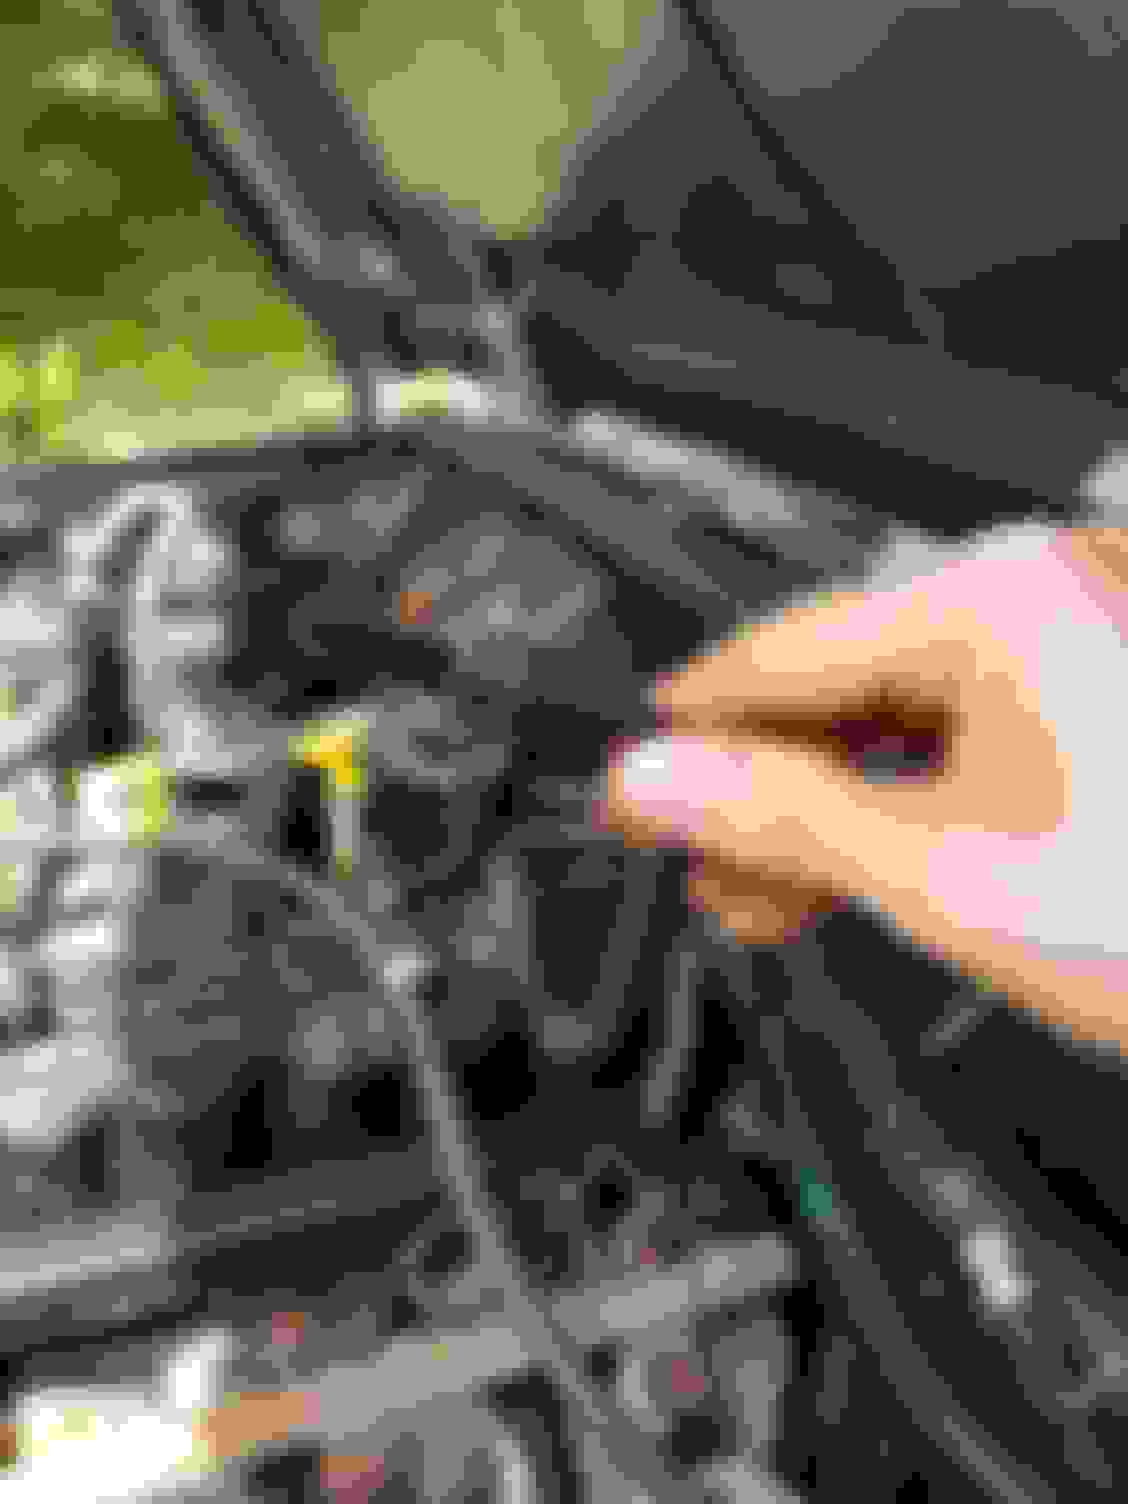
Searching for EVAP Leak... This is apparently called (among other things) the CCV Breather Hose. It is also a booger to find a replacement for... Probably not my leak but I want to replace.
Edit: Part no. 4854265 and got on amazon for ~$40 (dealer wanted $60)
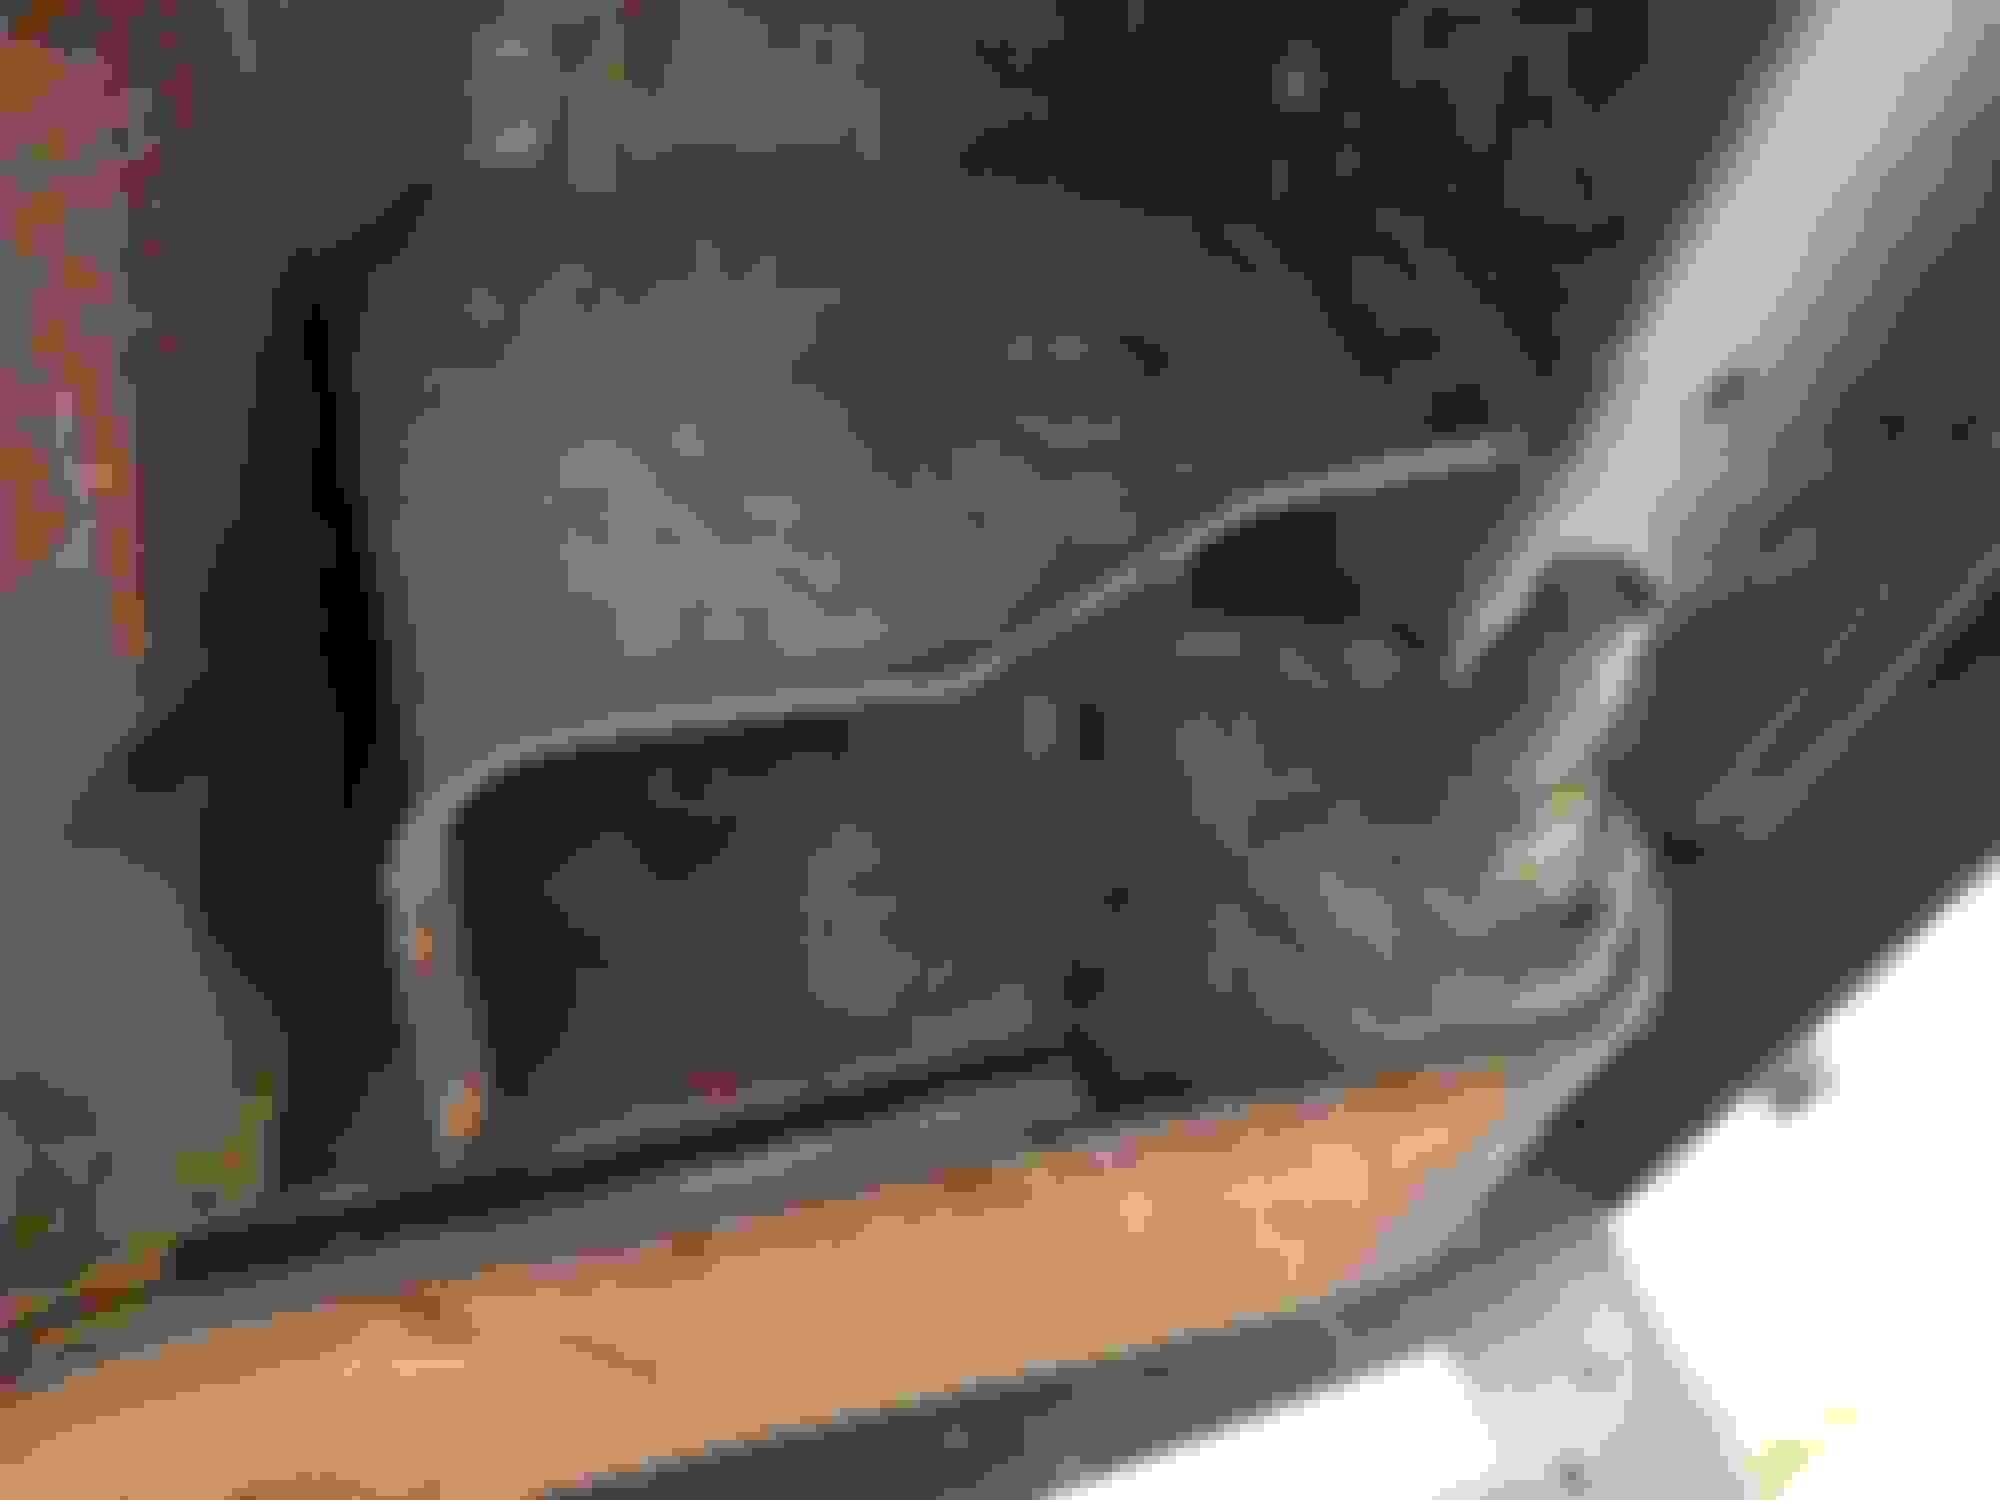
Rust Situation
Sway bar links are ridiculous, lift kit will have replacements...
Replacing the shackles when I do my lift (2 weeks away!) the shackle mounts will be cleaned up, examined and painted.
Thing just fell out... Fuel filler hose/breather heat shield. Not sure if I will replace since there really aren't any replacements to buy. Also, priorities...
Dear lord, grant me the serenity to not break these bolts. I actually thought that the nut was tack welded above.. maybe it's the bolt IDK maybe these have been done before. Anyone?
Ride Quality
The ride aint too shabby! The brakes could probably use a bleed and I will be checking pads when I do my lift in a couple weeks.
I have 2 major concerns
1. The suspension needs to be replaced ASAP the rear leaf springs sit like 1" above the rear bump stops (see pic below.) I'm putting in a RE 3.5" Super Ride kit and a new adjustable track bar.
2. I have a decent clunk when I change into drive, especially when going R>D Also when I stop and when I start from a stop. U-joints seem okay but might be the part of the problem I should just replace... T mount looks bad but not sure if that's what it is (pic below)... Maybe grease the slip yoke, let's check the transfer case fluid... and... IT'S EMPTY! ARE YOU KIDDING!?
I got some transmission fluid in there ASAP and hopefully there is no permanent damage (no sounds when shifting into 4WD.. yet) Need to get some grease and will do the slip yoke.
Sagging...
What do you think? T mount replacement ASAP?
MORE To Come
Last edited by ixanay_on-the_exjay; 07-30-2018 at 12:16 PM.
Thanks for the tip! Not sure if I should be more or less worried! I'll go with optimism =] I'm about 1.5 weeks out from the lift, started spraying all the bolts down with PB Blaster yesterday getting pumped!
Welp it's official, I have a cracked head. I was in denial about the milky cap since I got the vehicle but now that it's registered and I've been driving it more I've been keeping an eye on the coolant level (which I flushed and changed before putting plates on it). Coolant has been steadily decreasing at a pretty high rate. I looked in the cap and sure enough eventually saw the green bubbles...
So this means I bought a lemon. I knew what to look for and I missed it. These moments can be quite depressing and challenging. The way I see it is I have two choices.
1. Quit and get about half my $$ back
2. Commit and spend more
So really there is only one choice actually... I ordered the head from Clearwater and it should be here in ~2 weeks. We need to accept this lapse in judgement and competence and move on. Lesson learned.
Just a note on clearwater pricing... price on the head is $480 and the charge on my CC is $480 tax and shipping included. I like that straight forward business model.
I will likely start a new thread with the info below just to get more visibility...
Issue and Contemplation: I don't think this has been going on for a very long time because inside the valve cover doesn't seem to be too gunked up. After a fair amount of research some folks say to just do cam bearings because they are likely shot. This seems to be correlated to oil pressure and my oil pressure appears to be OK exception being the start pressure build being a little laggy
Most point to the oil filter for this issue. Keep in mind I have a cracked head and the oil filter is a "Carquest R85085"
I also don't appear to have any ticking or knocking. Just a bit of a rough idle (code P1294 - Idle Speed Performance) Clearwater guy on the phone recommended maybe replacing the lifters (cue new lifters/old cam debate) and replacing the water pump.
Brass Tacks: I am thinking of foregoing the lifter replacement unless y'all think it's OK to put some cheapo ones in there talking like $5 a pop. Thoughts? I've also been told to make sure the block is clean and flat. How do I do measure the flatness? Ordering a water pump to throw in while it's off. New Head Bolts, New Exhaust Bolts, New Fel-Pro Gasket Kit HS9076PT4.
Hoping I can get away without changing the oil until I can get around to changing the head. I will likely put on about 150 miles in that time.
I look forward to any comments or questions
Last edited by ixanay_on-the_exjay; 03-09-2023 at 10:20 AM.
WOW! That was an experience... Somehow managed to assume I would be able to turn this baby around in 2 days... I have about 3.5 days into my lift and I probably have another .5 day left.
I went with the RE 3.5 Super-ride kit with a new rustys adjustable track bar. I apologize I did not take very many pics, this was an incredibly time consuming project and not to mention filthy! Camera definitely took a back seat I don't know why I wrote off everyone who said their lift took 4 days... That was dumb. I do have a few things I want to talk about tho, the good and the bad.
Lets start with the bad. Some anticipated, some not.
1. Broken Upper Rear Shock bolt.
Surprised? No. The kicker was some genius fab job the PO did with the shock bolt config pictured below. I ended up cutting the floor in the cargo area to drill and drop a bolt in. I tried drilling from the bottom and fishing a bolt in but the clearance was non existent I have no idea how people get the bolt to actually go into their new hole doing it from below. Oh well the floor is no big deal..
Above you can see the broken "bolt" and the intact one I managed to get the nut off from below. This is not factory and some genius came up with this all-thread config obviously thinking nobody would be back here. If you look closely you can see there are nuts that are welded to the bottom of the body.
View from above there is another nut holding it from the top. You can see here that there is no room to stand a bolt up to drop it anywhere near that hole. =[
[b]2. Shackle Bracket Bolt Woes
So maybe I did a little too much reading. I Had the breaker bar on this bolt and it just kept spinning and spinning making no observable progress. I could hear the scratching from the inside of the mount and assumed the worst, that the nut weld had snapped and I was just spinning. I was prepared for this and just started cutting right into it to get a wrench in there. Once cut lo and behold the nut wasn't even broken off and the bushing insert was just stuck to the bolt. A few more turns and I saw some progress and got that thing outta there. I was slightly relieved that I didn't have to worry about that nut but DAMN that's embarrassing. Now I have a hole in my mount that I will likely worry about. I have seen other posts here that it's not a big deal. You tell me? [image below]
3. Track Bar Axle Bolt Removal
Bolt broke off on the first turn. I grabbed the angle grinder and cut it off on the other end easy peasy. However this was NOT a bolt I thought about when gathering new hardware so I had to make an unexpected trip to the Dealer to grab one. This was not in stock at most dealers but luckily one near me had it. Also the nut that you get to replace does not have the flag steel piece that helps you instert it back into place so you'll need to use a wrench, I had no problem removing my wrench.
3. Track bar Tie rod end removal
This one is definitely a rookie move. The cotter pin in the factory castle nut snapped like a twig and I could not get a wrench over this thing for the life of me. Instead of just removing the bracket from the frame I ended up cutting the tie rod end from the bottom. In my defense it was 95 degrees out and I wasn't really thinking straight. We managed to get this puppy out by bringing it to a local spring shop who pressed it right out
This is me halfway thru cutting it off realizing I was making a terrible mistake that I should document.
After the remnants were pressed out with a 40 ton press. Thanks Palmer Springs! Freedom!
5. Tie rod end at pitman arm (no pic yet)
So I purchased a new tie rod end to replace while lifting since I assumed I would mess up the other while removing. I don't think I did but I ended up replacing it anyway with Rock Auto part MES3096L. All was great until it literally being the last thing I needed to torque/tighten before my test drive and it stripped! Gah! It's always something... Sorry no pics right now, too frustrated I had to walk away for the day. I have a new one on the way and will replace and let you know how the test drive goes.
I am going to test drive this bad Larry before installing my transfer case drop just because I want to know about any vibes at my current lift.
What was the GOOD?
Despite everything my pops and I managed to get this lift on the jeep. Some things were easy and some hard but all and all I learned a lot and definitely sweat and bled a lot. Hope my christening is over =]
I TOTALLY forgot to measure my "before" height so I can't give an accurate lift # but I hope some before/after pics will suffice.
Last edited by ixanay_on-the_exjay; 07-30-2018 at 12:18 PM.
Reason: Grammar
Here we go again folks. It feels like rapid fire here in BB land... Lift one week, head replacement the next. I've got tire mounting and alignment on my radar now as well as... another head replacement... what!? Read on...
Firstly, the theme of this entire process was... "somebody has been here before". My PO had someone replace the head gasket in hopes that would solve the coolant loss problem (conveniently only mentioned the valve cover gasket to me at point of sale). I try my best not to slander anyone especially while working on something so positive like my XJ but seriously, this PO had some issues. Why he didn't just slap a new head in there is beyond me...
Whoever did the gasket at least did it right, quality gaskets and new head bolts all around and they did all the scraping necessary.
Everything off of the right side. Only one manifold bolt gave me trouble but was able to get it with some maneuvering. It was the first bolt in the torque sequence... Can you see that new fuel line too? I was grateful that puppy was more flexible than stock.
Valve cover off and typical milky residue... New Fel-Pro Rocker Arm Cover Gasket
Yum
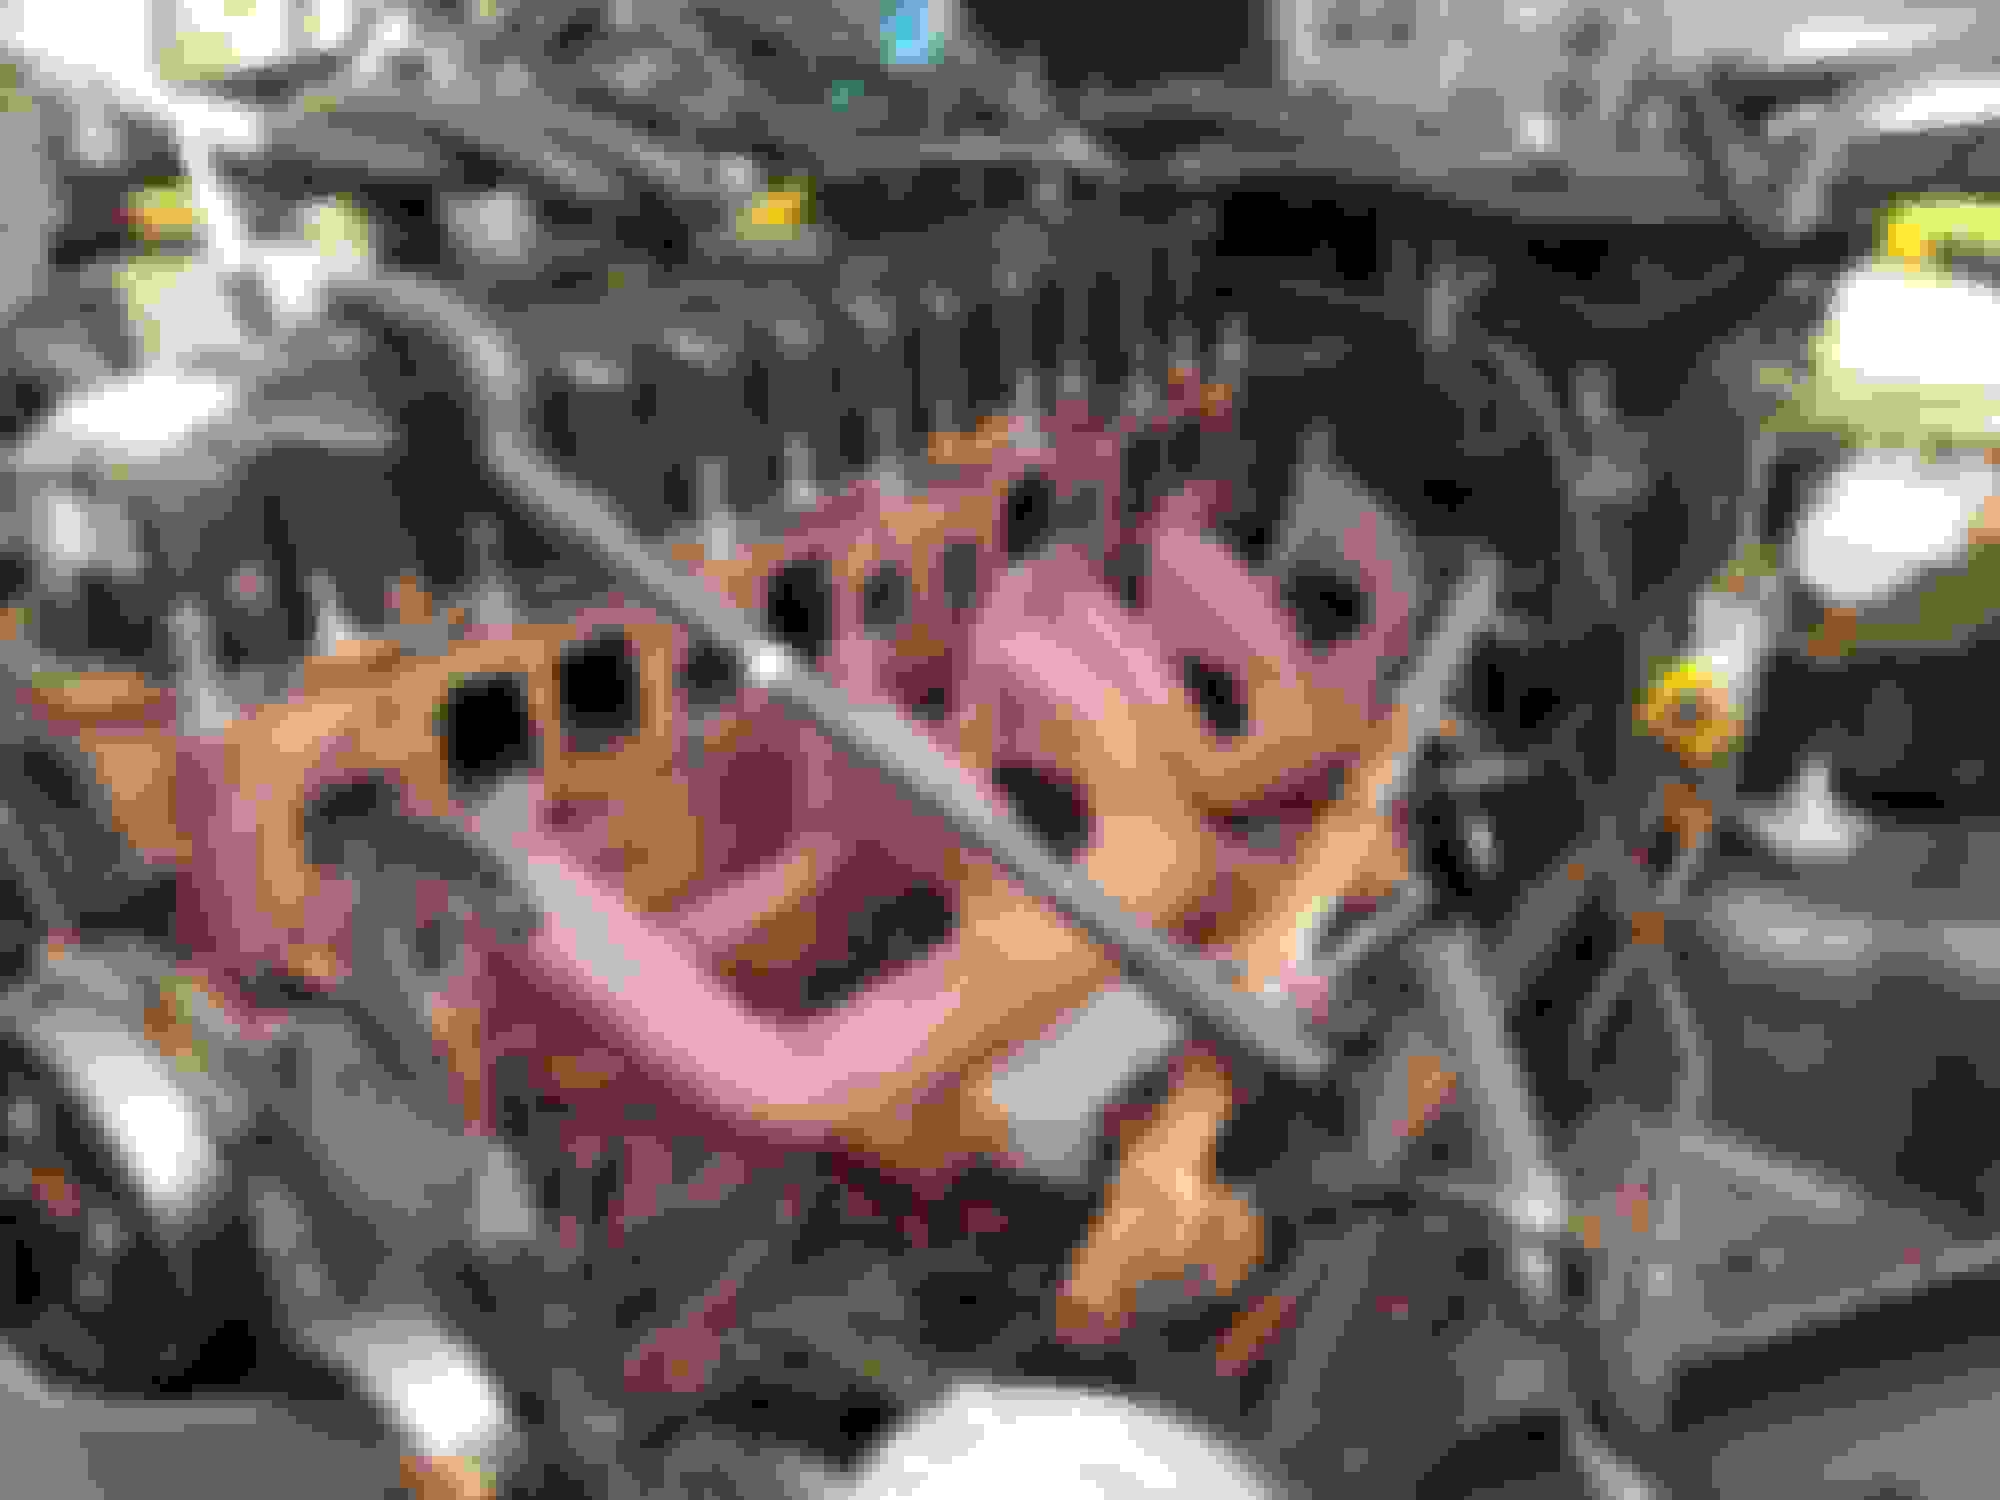
Exposed head...
Crack is huge. I remember looking at these while researching cherokees to buy and thinking oh that's so small, now I'm thinking OH MY GOD freaking monster crack.
Probably a little green from the coolant and also I was using my flashlight during daylight so it's messing with the color.
Exposed block... All cleaned up thanks to auto-mechanic who was recently in here.
New Head mating surface. Nice and smoo... wait... Shots fired, what in Sam Hill! is that?
So y'all deserve an explanation before we move forward. This damage was found on the mating surface as we were prepping it for installation. Neither I nor my pops know very much about auto mechanics let alone engine tolerances etc. Part of the reason for the XJ is for me to learn. Also stress and adrenaline can make you think and act perhaps irrationally and I think I really wanted to believe that this was ok. Much like how I wanted this jeep to be OK when I purchased it from the PO who was handing me damaged goods. We learn from out mistakes and we move forward. Maybe I will save you from making this mistake and let you make some other mistake instead =] This is all to say that I gave the thumbs up to continue the installation. I'm not here to lie to you or pretend I know what I'm doing all the time. Here to share the real experience of going from rags to riches with this beauty =].
As many of you probably know this is a pretty big problem. If installed these gouges will be the cause of much trouble ahead with this head, gaskets, and the like. I snapped the picture above just in case but decided to move forward and put it out of my mind.
New Head on and rods/rocker arms installed.
The head is still currently on but I've spoken to Clearwater who is actually sending me a new head out so I can swap them. The engine is actually running like a dream as of now with the defective head. My Gaskets are likely doing a good job now. Before I spoke to Clearwater this kept me up all night thinking about the issues it would cause. It really came down to being a case of I didn't know what I didn't know but i really wish I had checked the mating surface when it arrived vs seeing it for the first time with the other head out...
Long story short is that the real new head is going to be installed this weekend. Good thing I have plenty of practice I'm hoping I can knock this out in half the time it took me last weekend.
On a closing note, I have officially swapped heads before I've changed my own oil. I find that thought funny. Cheers!
Last edited by ixanay_on-the_exjay; 07-23-2018 at 02:42 PM.
I had my first jeep wave experience from a 96 XJ. Oddly enough I was driving down the street I grew up on and it just felt awesome. Funny how a simple wave can remind you that all the work is worth it. Great community everyone thanks for being so welcoming.
2nd head is now in. I'm happy to report there are no defects on this one. I've been keeping an eye on my oil pressure guage and it's slightly unnerving. Before this second head and my 3rd oil change I was hitting close to 13psi Hot Idle. Now I'm above that thankfully bottoming out at around 16psi. I'm looking around for a mechanical gauge to verify but seeing how I've had coolant in my oil for an unknown period I'm assuming my sending unit is telling me the truth.. Operating psi is about 40-45 when over 1600 rpm.
New Wheels are on! 31's and 15x8 AR62 OUTLAW II's.
Whoops! Forgot the caps, they'll be on soon.
Now that they're no longer weighing down the rear you can really see the lopsided lift from RE. Will need to put spacers up front once she settles.
Transfer Case Drop is in as well! I broke the first bolt on the crossmember and decided to have someone else take care of them. Drilling and tapping is not my thing... yet. I would have saved a butt-ton of money if it was tho!
T-case drop has done magic! Although still some vibes up around 60+ The new transmission mount did not solve my thunk problem when shifting into drive. I will be replacing u-joints soon when I attack the tcase rear output seal. I also really need to crack open my diffs. Much more to come but until then I'm going to get Blue on the highway and see how she does.
Last edited by ixanay_on-the_exjay; 07-19-2018 at 08:15 PM.
Thanks mang! I had many second thoughts but I felt confident in the no black wheels vibe =]
Funny I was just tracing some of your old footsteps talking about TPS and some other diagnosing you did early with your build. I just tried throwing on a new TPS hoping for the best but still rough idle (thinking vacuum leak now)
 06-18-2018, 11:36 AM