99 XJ "Ironhide" Build
 12-01-2013, 01:21 PM
#1
Junior Member
Thread Starter
Join Date: May 2013
Location: Kansas City
Posts: 37
Likes: 0
Received 1 Like
on
1 Post
Year: 1999
Model: Cherokee
Engine: 4.0
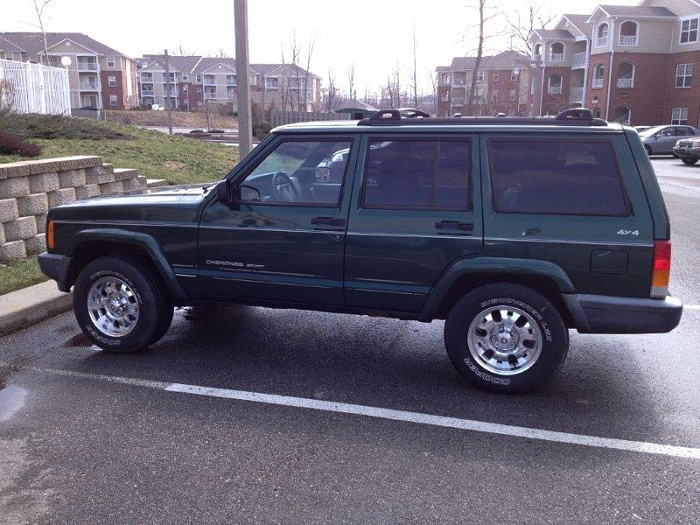
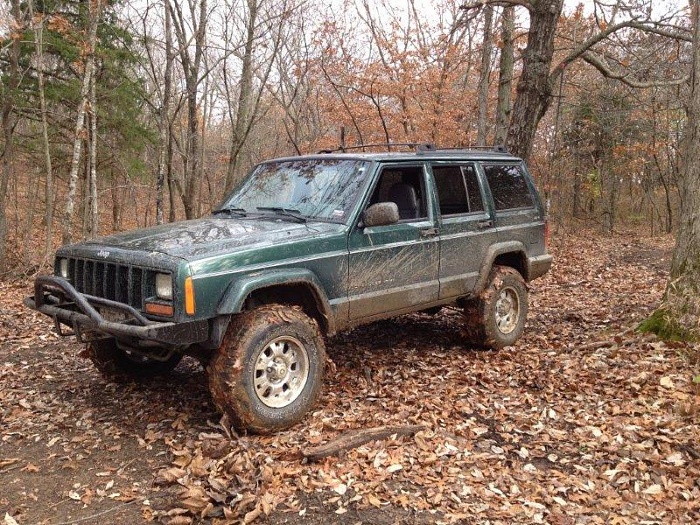
Decided to keep track of what I do to my XJ in case anyone wants to do the same. Here are the stats on the Jeep when I bought it:
1999 Jeep Cherokee Sport
4.0 L6 4x4
Chry 8.25 rear
184,000 miles
stock everything
Here are the pics the day I bought it:

The first thing I did was remove that nasty set of runners / steps:
1999 Jeep Cherokee Sport
4.0 L6 4x4
Chry 8.25 rear
184,000 miles
stock everything
Here are the pics the day I bought it:

The first thing I did was remove that nasty set of runners / steps:

 12-01-2013, 01:24 PM
#2
Junior Member
Thread Starter
Join Date: May 2013
Location: Kansas City
Posts: 37
Likes: 0
Received 1 Like
on
1 Post
Year: 1999
Model: Cherokee
Engine: 4.0
After some routine maintenance I extended the brake lines, bought a new set of 30 inch Yokohama Geolander AT/S tires, and installed a 3 inch Rough Country suspension lift. During the lift install I installed a brand new set of stock leaf springs with the add-a-leaf that came with the kit.
With new tires before lift:
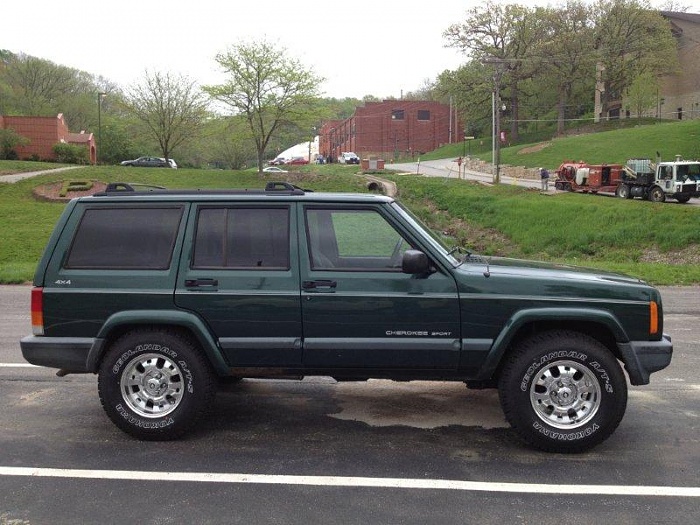
After the lift was installed:

With new tires before lift:

After the lift was installed:
 12-01-2013, 01:30 PM
#3
Junior Member
Thread Starter
Join Date: May 2013
Location: Kansas City
Posts: 37
Likes: 0
Received 1 Like
on
1 Post
Year: 1999
Model: Cherokee
Engine: 4.0
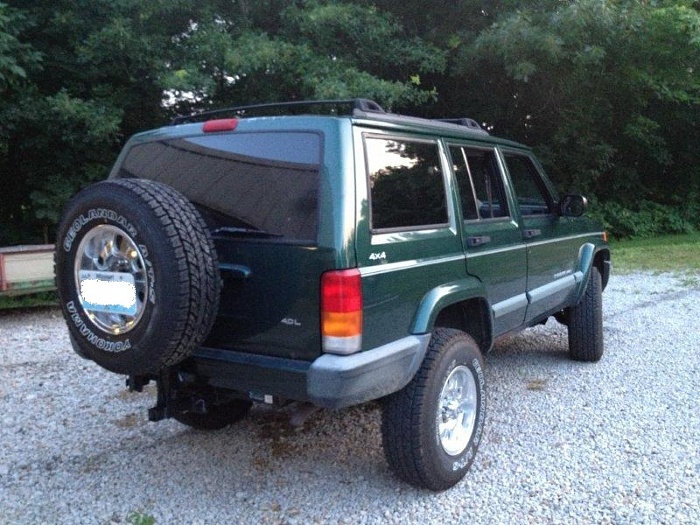
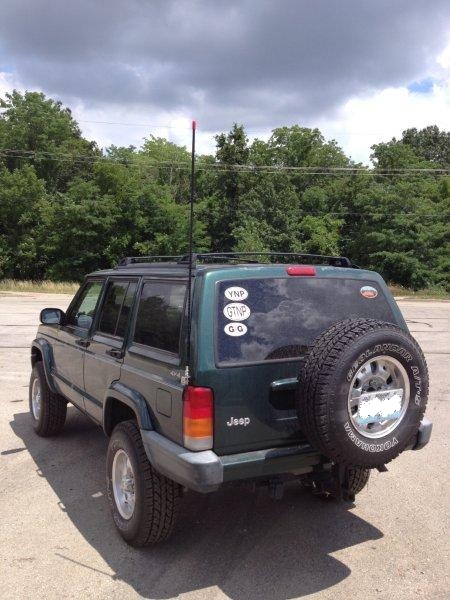
Before my wife and I took the Jeep to Yellowstone, Grand Teton, and Colorado, my dad and I made a spare tire carrier that mounts in my receiver.
Carrier:
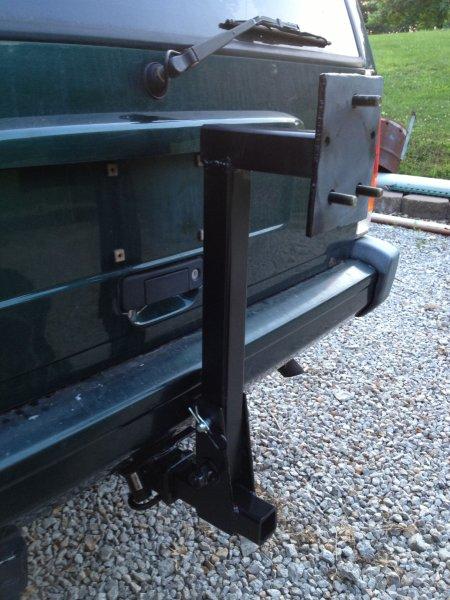
With wheel/tire and plate:
Carrier:
With wheel/tire and plate:

The following users liked this post:
gosser66 (09-13-2019)
12-01-2013, 01:40 PM
#4
Junior Member
Thread Starter
Join Date: May 2013
Location: Kansas City
Posts: 37
Likes: 0
Received 1 Like
on
1 Post
Year: 1999
Model: Cherokee
Engine: 4.0
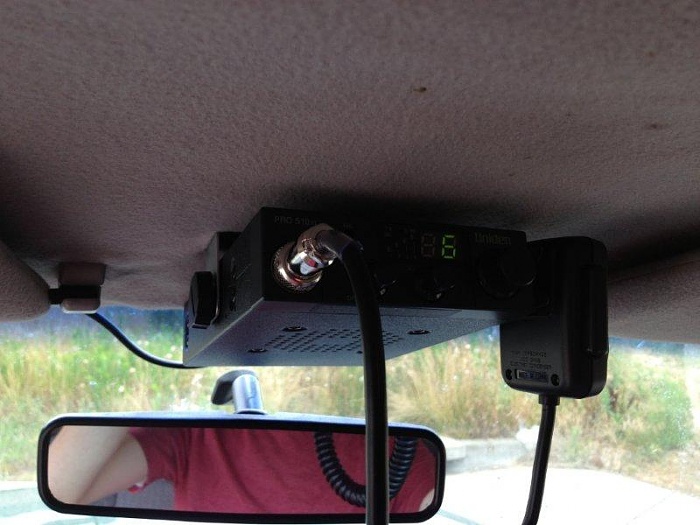
After doing some off-roading in Colorado in several places without cell phone reception, I decided to install a CB radio for emergency purposes, and communicating with other Jeepers.
Radio is a Uniden 510 Pro
Antenna is a Firestick tunable 4' fiberglass
The mount is Firestick
Cable is 18 feet
Basically, attached the radio to the frame piece in the ceiling that sits between the sun visors. The antenna cable runs along the inside of the plastic trimming between the ceiling and the sides of the Jeep, all the way down the back and comes out the left tail light with the rest of the wiring. I powered the radio by running the wiring to a splice in my electronic trailer breaking system (installed on the Jeep when I bought it, didn't know that earlier.)


 12-01-2013, 01:45 PM
#5
Junior Member
Thread Starter
Join Date: May 2013
Location: Kansas City
Posts: 37
Likes: 0
Received 1 Like
on
1 Post
Year: 1999
Model: Cherokee
Engine: 4.0
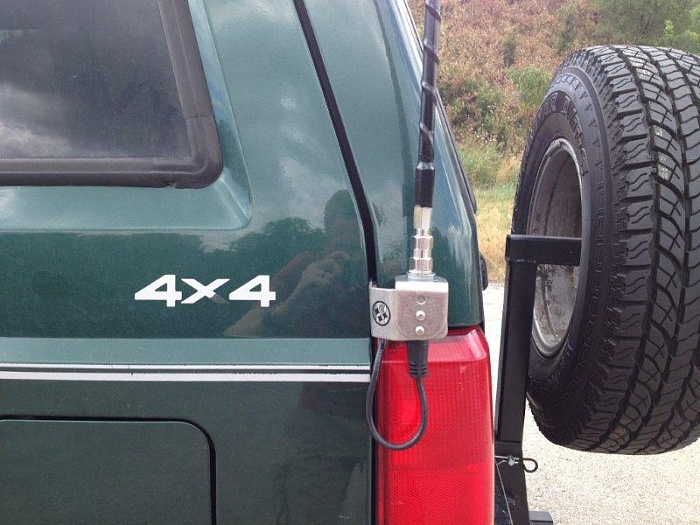
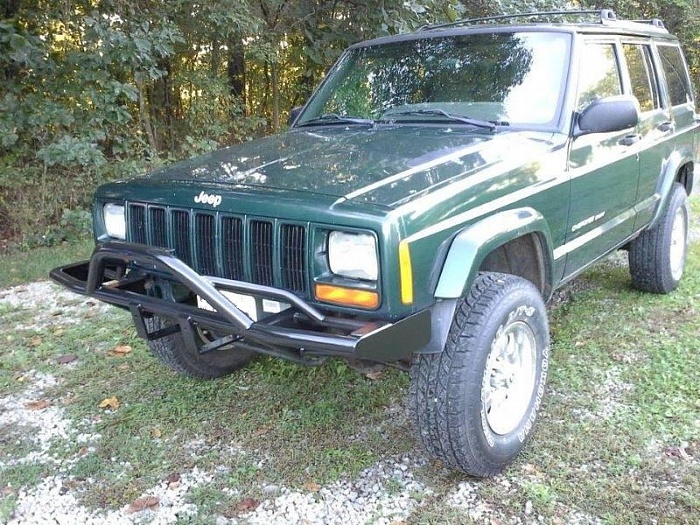
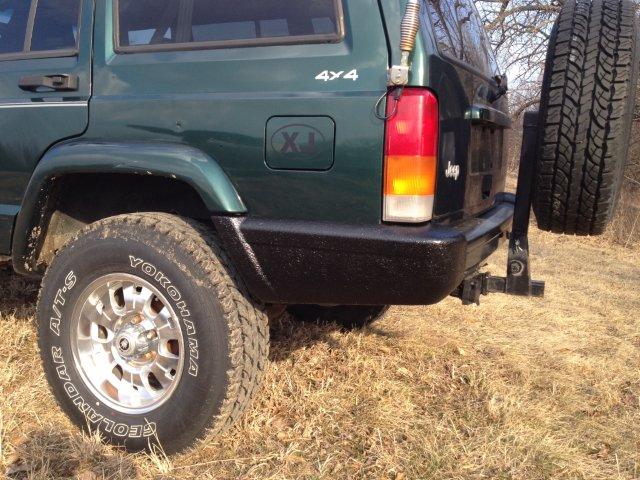
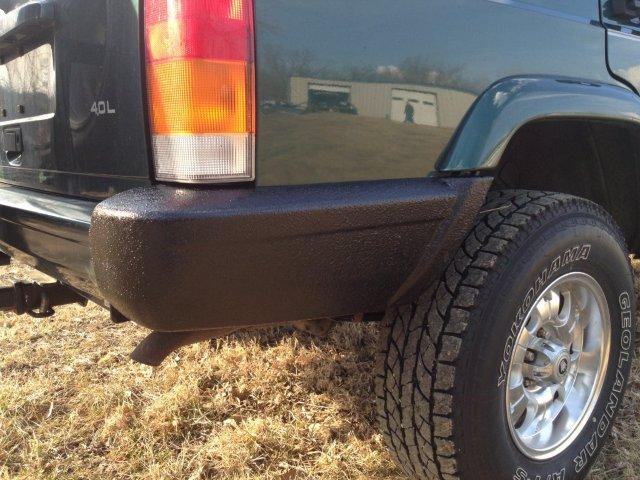
Just recently I added a fabricated bumper that my brother-in-law had sitting in his garage; it was made for a Jeep Comanchee, but fits the XJ pretty decent. I ground off all the rust, primed, and re-painted it. I'm just "borrowing" it until my dad and I can fab up our own. I also installed a spring connection between my CB antenna and the mount to help with recoil from branches when I go off-roading.
New bumper
Having some fun
New bumper

Having some fun
 12-01-2013, 01:51 PM
#6
Junior Member
Thread Starter
Join Date: May 2013
Location: Kansas City
Posts: 37
Likes: 0
Received 1 Like
on
1 Post
Year: 1999
Model: Cherokee
Engine: 4.0
Right now I am preparing to bed line my roof, fender flares, rear bumper, and rocker panels with Herculiner. You may have noticed my rocker panels are falling apart; I am going to cut them out and replace them with steel 2x6 tubing as well.
Because I have rust in the roof from hail damage, I decided to sand it all off, clean it, and cover it with primer for now. Once the Herculiner kit comes in, I'm going to sand and scuff the whole roof, clean it, and line it good. I'll post more pics when I get that done.
Because I have rust in the roof from hail damage, I decided to sand it all off, clean it, and cover it with primer for now. Once the Herculiner kit comes in, I'm going to sand and scuff the whole roof, clean it, and line it good. I'll post more pics when I get that done.
01-03-2014, 09:12 AM
#7
Junior Member
Thread Starter
Join Date: May 2013
Location: Kansas City
Posts: 37
Likes: 0
Received 1 Like
on
1 Post
Year: 1999
Model: Cherokee
Engine: 4.0
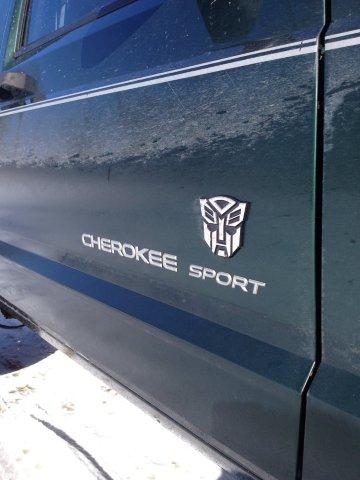
Since I named my Jeep after the Autobot Transformer "Ironhide" I decided that I should put on the appropriate decals. I put one on each side; the driver door, and passenger door. The chrome looks good against the green and goes well with the Cherokee lettering.
Trending Topics
01-03-2014, 09:44 AM
#8
CF Veteran
Join Date: Dec 2012
Location: York, PA
Posts: 4,169
Likes: 0
Received 6 Likes
on
6 Posts
Year: 1998
Model: Cherokee
Engine: 4.0
Nice! I have/had rocker rust in the same area. I patched it for now, but plan on doing 2x6 rocker sliders as well. Interested to see how yours come out.
03-01-2014, 11:28 AM
#9
Junior Member
Thread Starter
Join Date: May 2013
Location: Kansas City
Posts: 37
Likes: 0
Received 1 Like
on
1 Post
Year: 1999
Model: Cherokee
Engine: 4.0
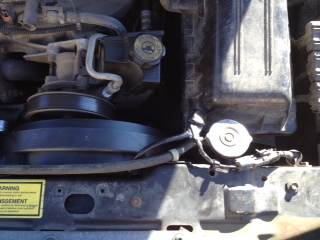
Had to replace my electric fan assembly because it got rattled, cracked, and starting falling apart (hooray for zip ties).
I ordered a stock replacement fan from Quadtratec. It was a little pricey at $116 but it has the 10 blades so I'm okay with that. After pulling out the old fan, I realized the PO must have replaced the fan before because it had 8 blades instead of the normal 6 that the stock fans have (to my understanding).
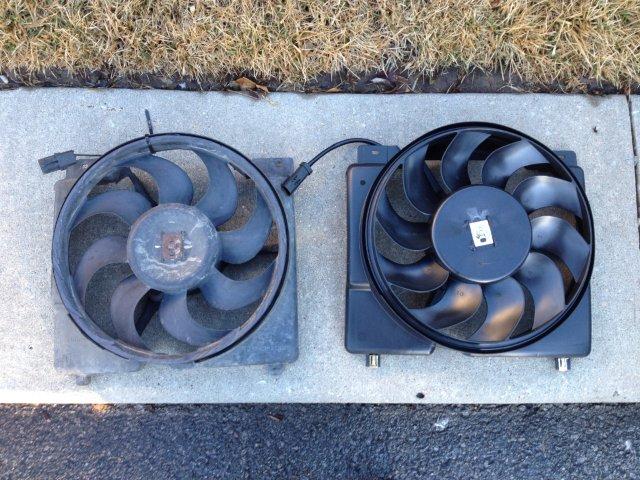
After doing the swap I went to plug in the connection, and to my surprise, the connections don't fit. The male connection on the fan had two flat prongs, and the female connection on the Jeep had two circle receivers...and I noticed some electrical tape...then I put it all together and realized that when the PO switched out the fan before he must have done some "connection work" to get it to work. So, I set to do my own...
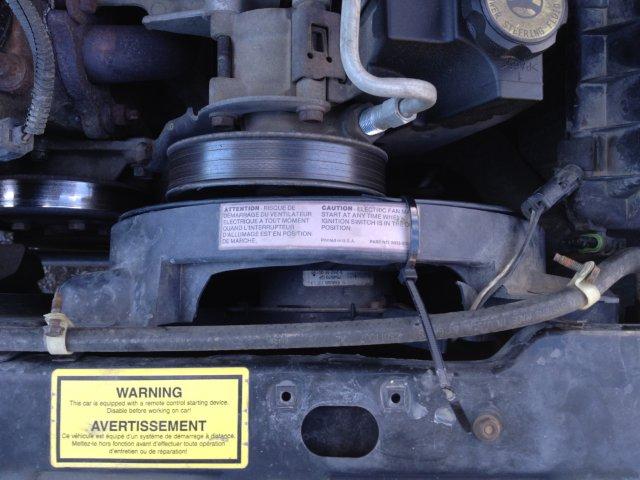
I cut the old male plug off the old fan and spliced it onto my new fan (cutting off new fan connector). Like so:

I started up the Jeep, let it warm up, and it worked. I then wrapped it nice and tight in electrical tape and anchored it to the side of the bay.
My cousin told me that I should "do it right" and solder the wires together. But, it works for now, so I'm satisfied.
I ordered a stock replacement fan from Quadtratec. It was a little pricey at $116 but it has the 10 blades so I'm okay with that. After pulling out the old fan, I realized the PO must have replaced the fan before because it had 8 blades instead of the normal 6 that the stock fans have (to my understanding).
After doing the swap I went to plug in the connection, and to my surprise, the connections don't fit. The male connection on the fan had two flat prongs, and the female connection on the Jeep had two circle receivers...and I noticed some electrical tape...then I put it all together and realized that when the PO switched out the fan before he must have done some "connection work" to get it to work. So, I set to do my own...
I cut the old male plug off the old fan and spliced it onto my new fan (cutting off new fan connector). Like so:
I started up the Jeep, let it warm up, and it worked. I then wrapped it nice and tight in electrical tape and anchored it to the side of the bay.
My cousin told me that I should "do it right" and solder the wires together. But, it works for now, so I'm satisfied.
03-16-2014, 11:01 AM
#10
Junior Member
Thread Starter
Join Date: May 2013
Location: Kansas City
Posts: 37
Likes: 0
Received 1 Like
on
1 Post
Year: 1999
Model: Cherokee
Engine: 4.0
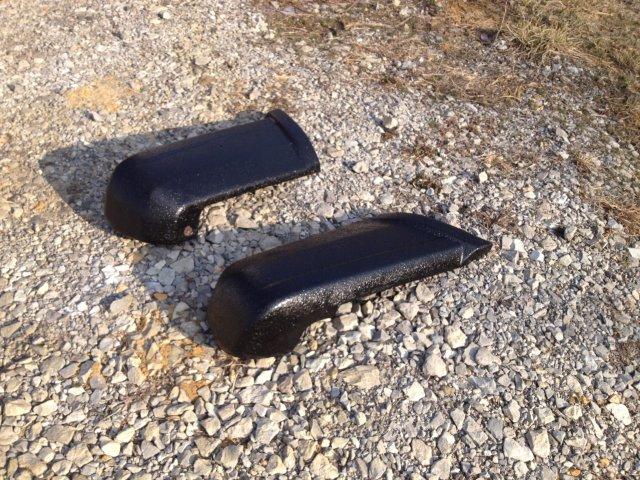
Finally had some good weather over the weekend and was able to bust out the Herculiner and coat my nasty rear bumper caps. Since I never used it before I thought it would be a good start to test it out. It turned out really good, and next I think I will be lining my entire rear stock bumper.


Thread
Thread Starter
Forum
Replies
Last Post
Currently Active Users Viewing This Thread: 1 (0 members and 1 guests)