'99 "The Jeep"
 06-25-2014, 12:59 PM
#226
CF Veteran
Thread Starter
Join Date: Jan 2010
Location: Virginia Beach by way of Michigan
Posts: 5,482
Likes: 0
Received 24 Likes
on
24 Posts
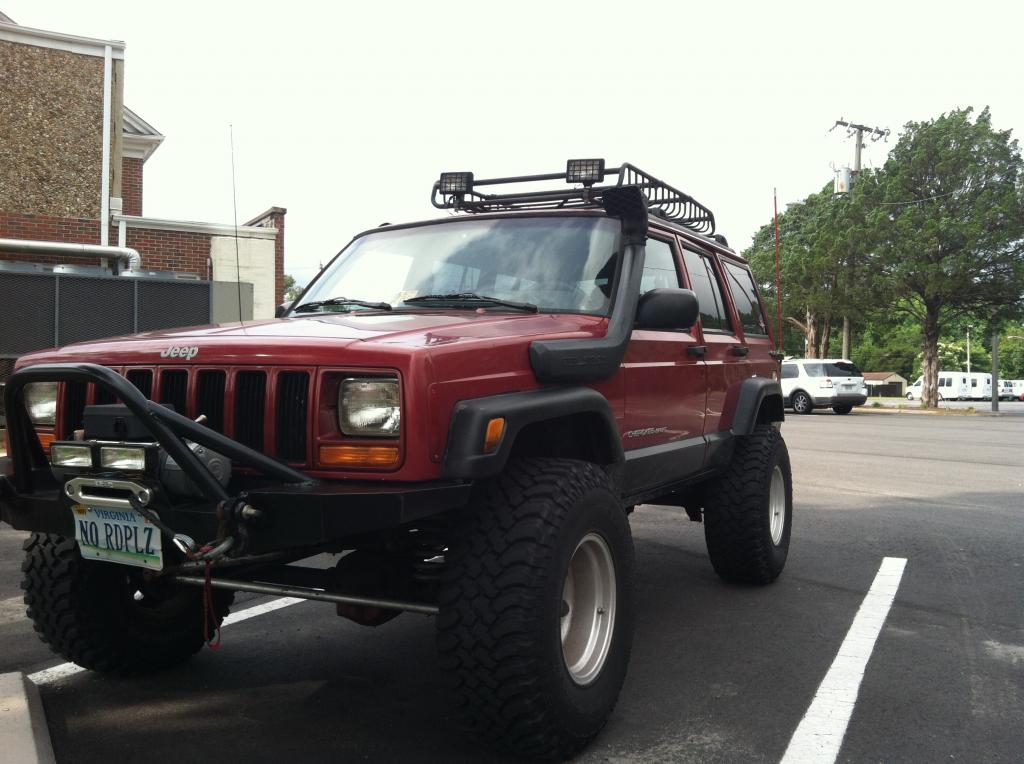
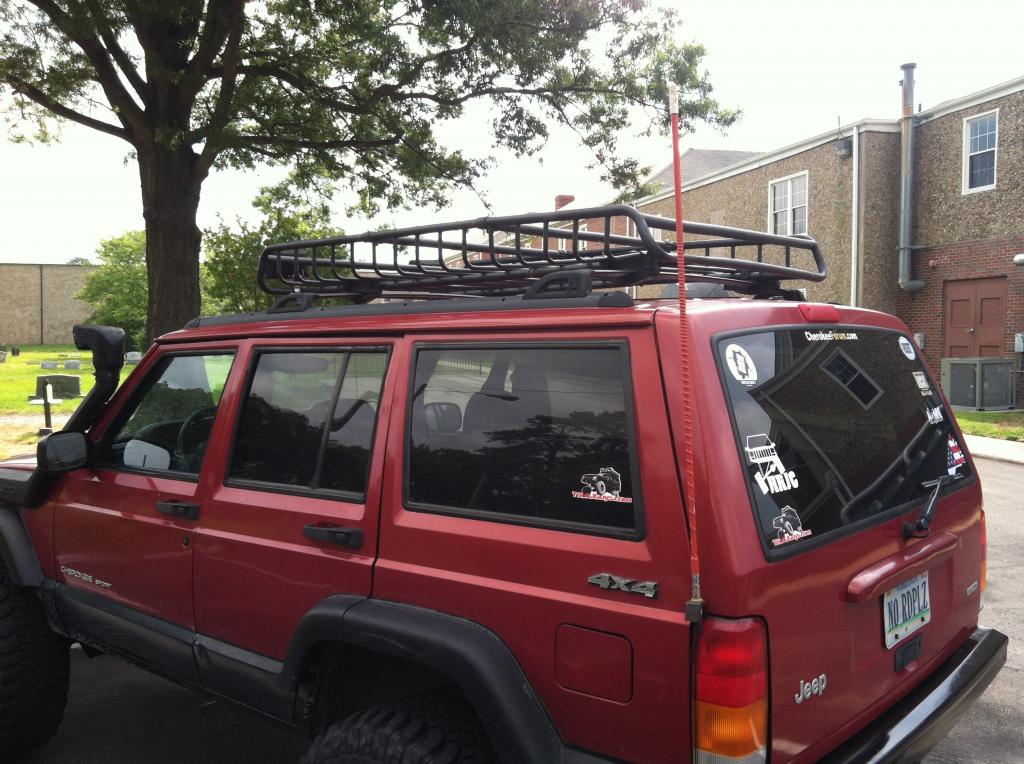
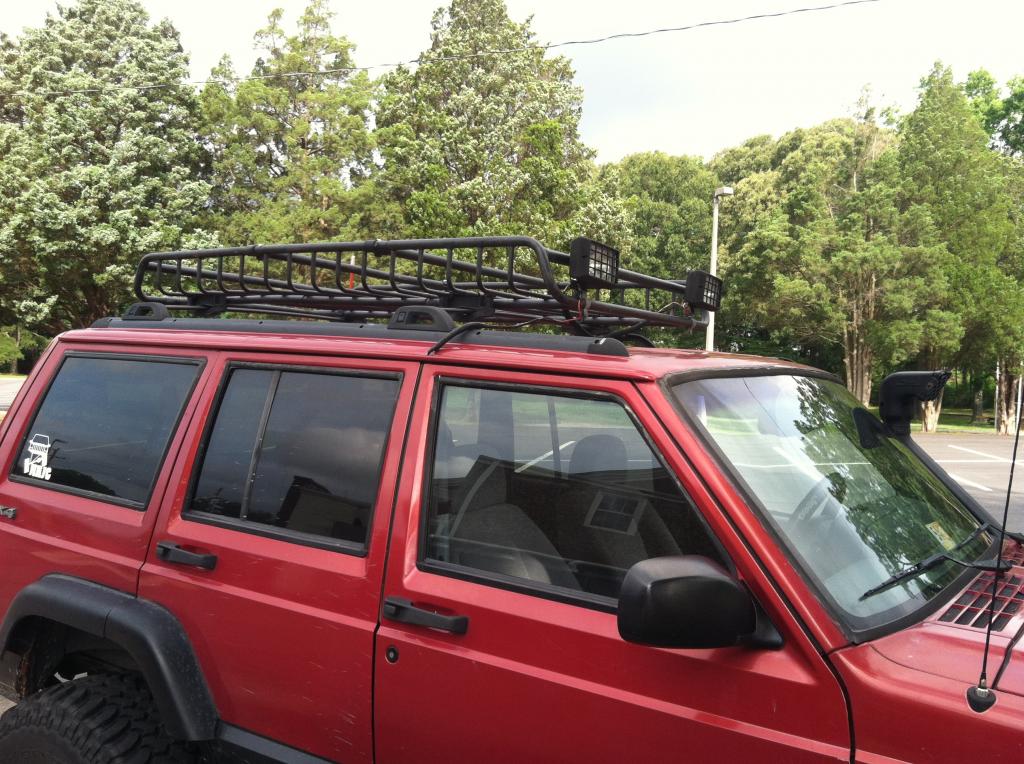
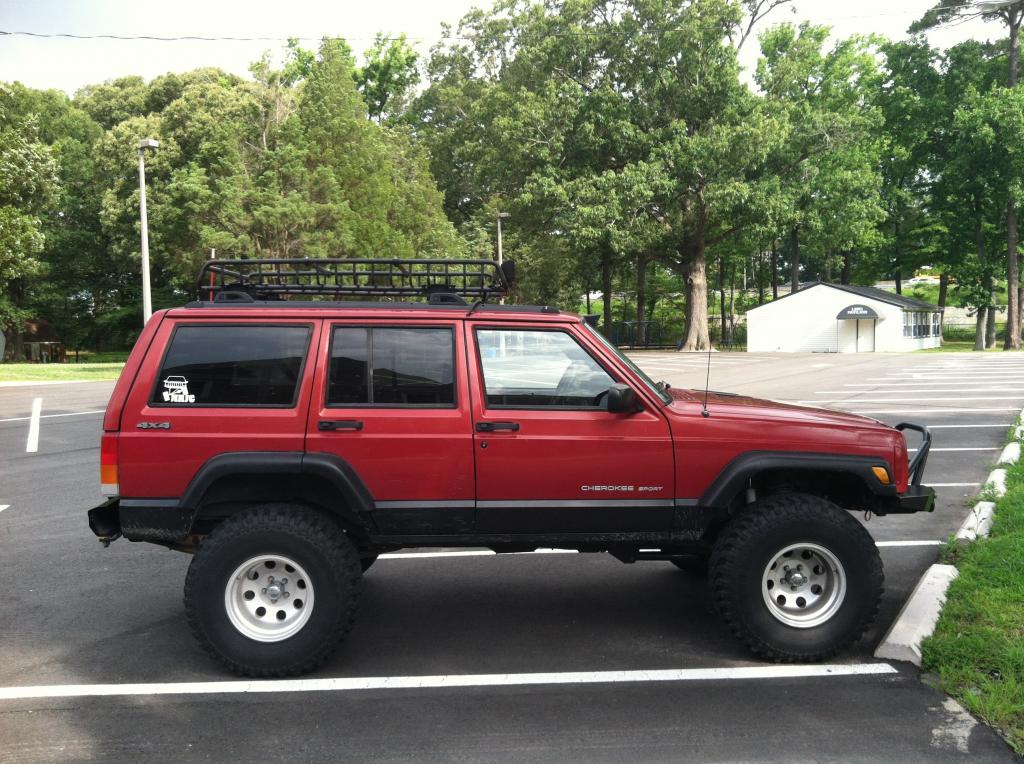
Picked up a "new" roof rack off CL. It's been awhile since I've had one and it's nice to have it again. What's real nice is that it has another 18" extension that I can add in to make a home-brew RRT possible. That's probably going to be my next big project.
 06-29-2014, 09:59 PM
#229
CF Veteran
Thread Starter
Join Date: Jan 2010
Location: Virginia Beach by way of Michigan
Posts: 5,482
Likes: 0
Received 24 Likes
on
24 Posts
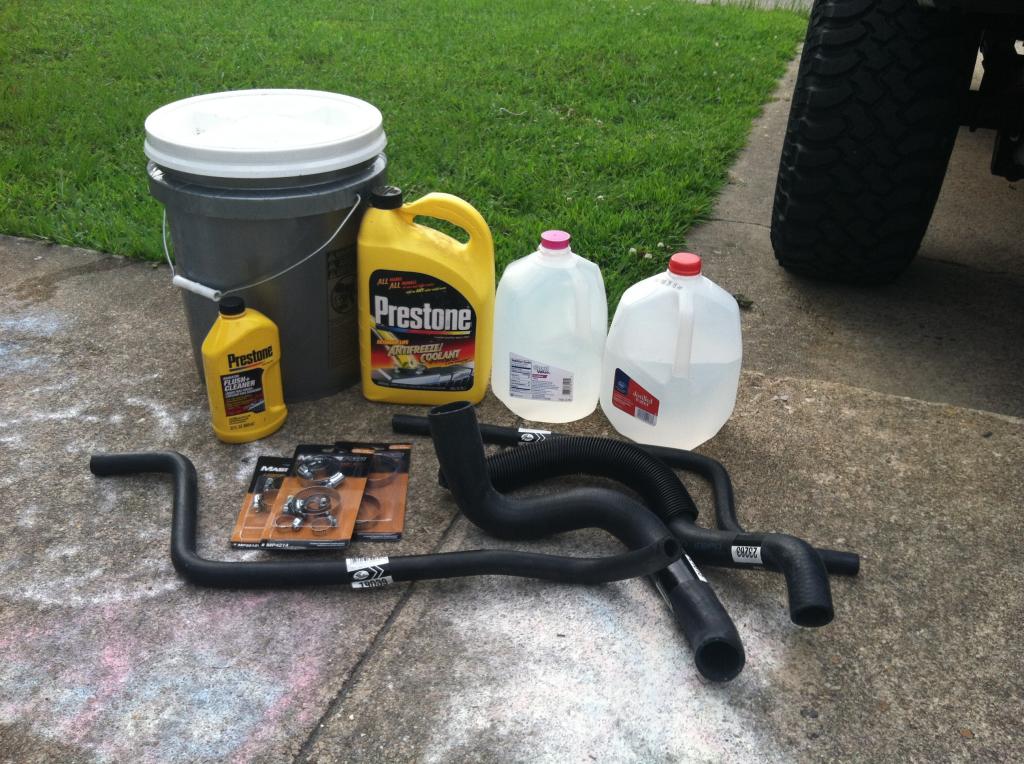
Finally got the time I needed to get a TON of work done to The Jeep. It all started with a simple coolant drain and refilling the system with distilled water and a bottle of Prestone Flush and Cleaner on Sunday (6/22). Ran that for the work week and then Friday morning the real work began...
Once the first drain was done and the motor ran with a bunch more distilled water was in it I started ripping out the A/C system. It hasn't worked in over 4 years so it's no loss to me, plus, this gives me plenty of time to get the compressor rebuilt and start building an OBA set up. It's not a priority though so that's probably gonna be a mod that doesn't happen for a while.
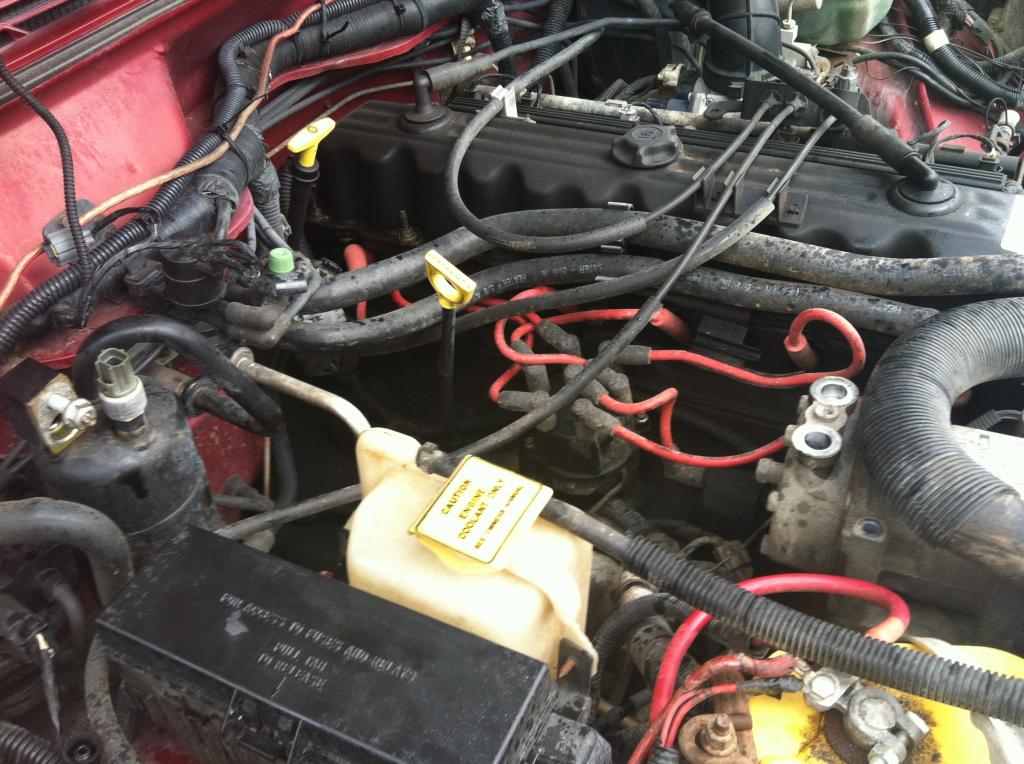
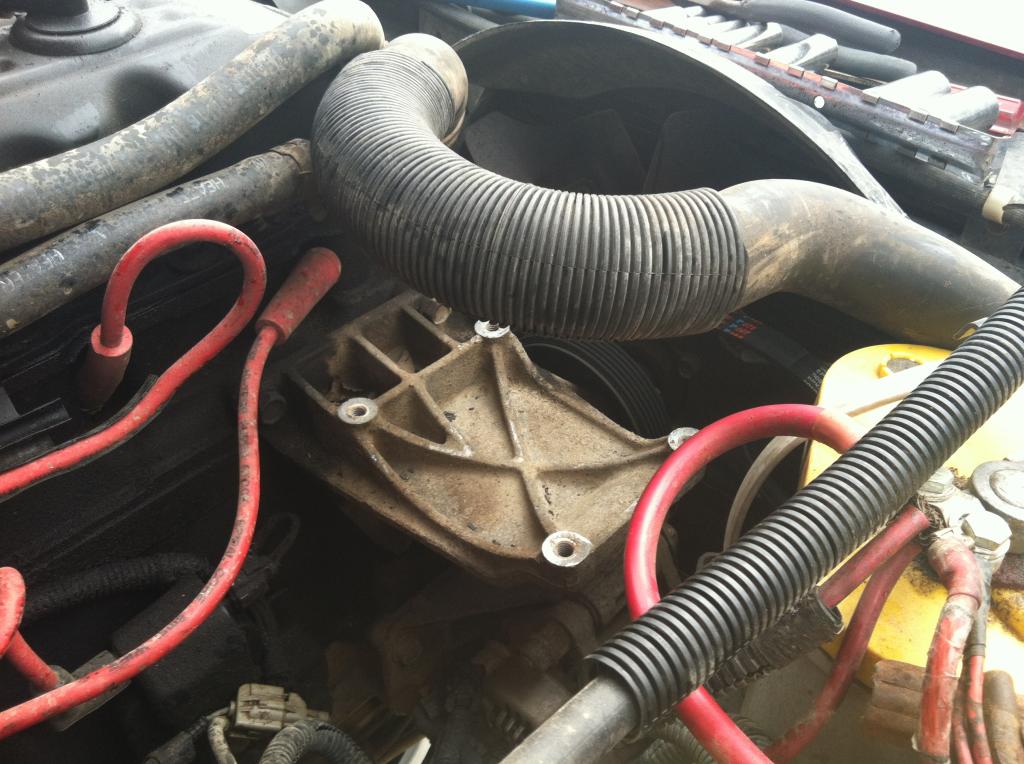
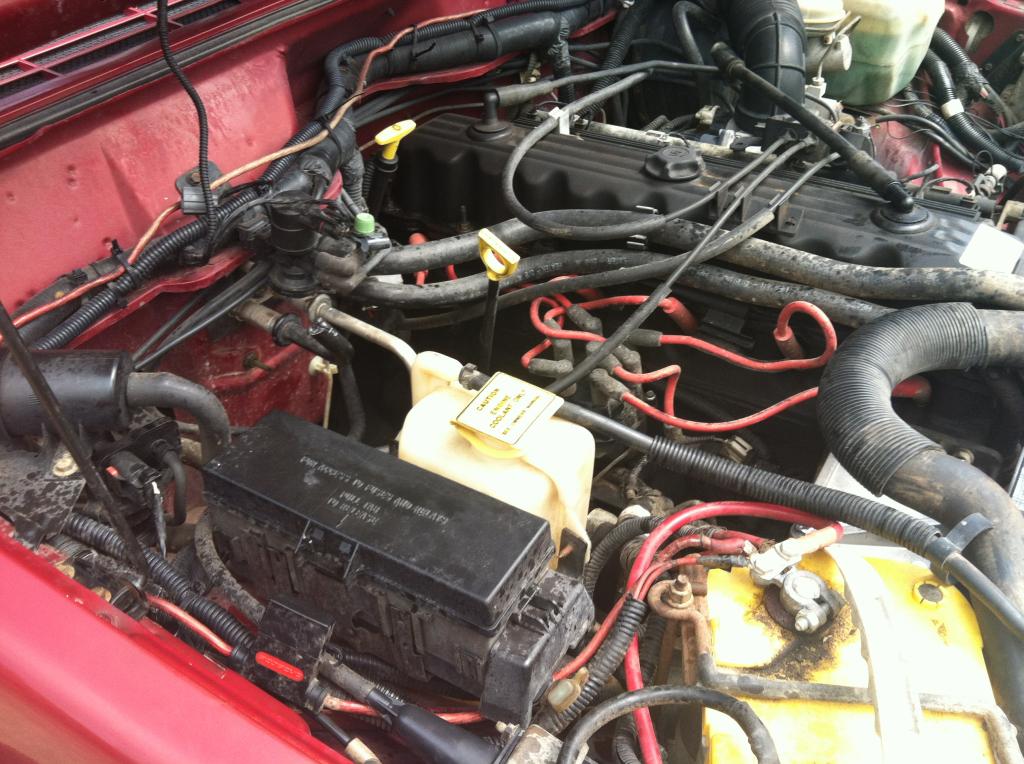
There's SO MUCH MORE ROOM now on the passenger side now! In place of the compressor went a bracket and pulley so I could just keep the same belt I just put in a few months ago.
Once all that was done the engine had cooled down enough to drain the water out again and pull all the hoses (upper and lower radiator and heater core inlet and outlet) and replace them with nice new ones.

And that was Friday. Saturday was going to be a LONG day and I knew it so I decided to take a break for the rest of the afternoon and get plenty of sleep.
Saturday, 6:30am. I am awake and heading out the door to drive 45 minutes to jrmilliser84's place and get a good amount of the rest of the work I had planned done.
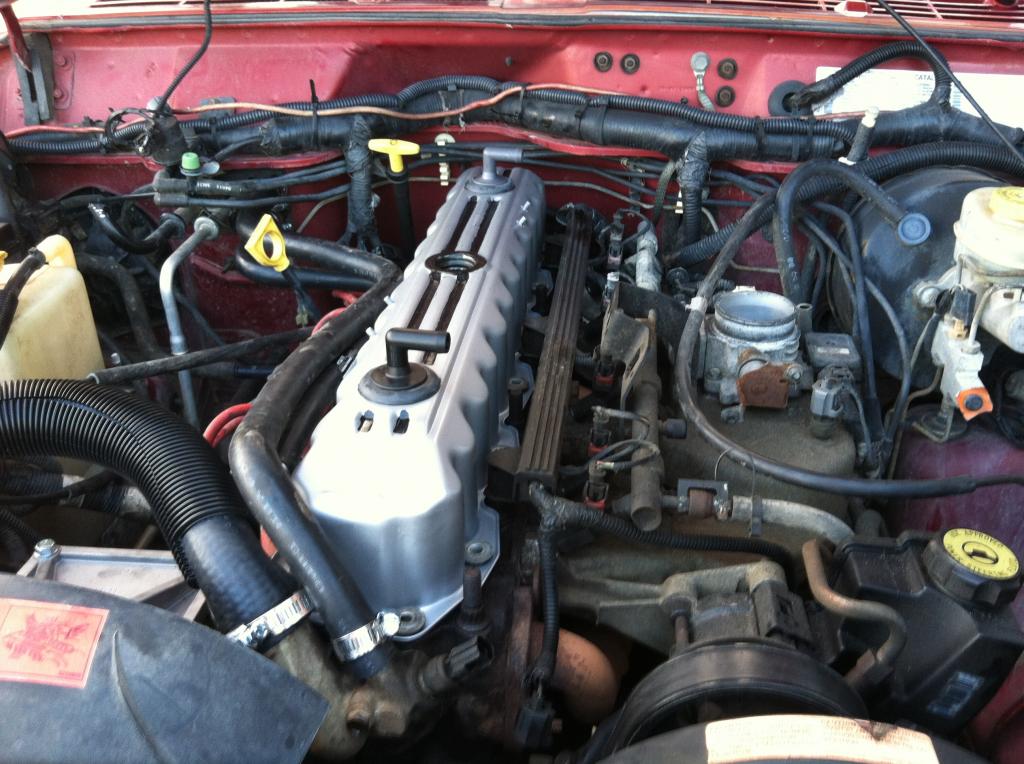
Now, if there is one thing I cannot stand it's an oil leak. And I know what you're thinking: "Why buy a Jeep 4.0 if you can't stand oil leaks?" Well, to be honest and quite frank, if you do the proper maintenance, a 4.0 doesn't leak oil. I know, it's an astounding idea to actually PREVENT oil leaks. Or even fix them if and when they show up. But, all that aside, and despite my greatest efforts, about 4 months ago I started getting some oil along the passenger rear of the engine and it would drip down to the transmission and then burn off while driving. So that tells me it's time for a new valve cover gasket. Once the engine had cooled down we got to work, pulling the valve cover and I was very happy to discover that this 4.0, with 174k on it, had virtually NO SLUDGE build up. Now that's what I call proper maintenance! After seeing Red82's charbroiled top end I was dreading the conversation he and I would have if mine turned out to be anywhere close to his. Thankfully, I got to rub it in his face a little. That's what friends are for right? Anyway, pulled the cover and she looked B-E-A-utiful!
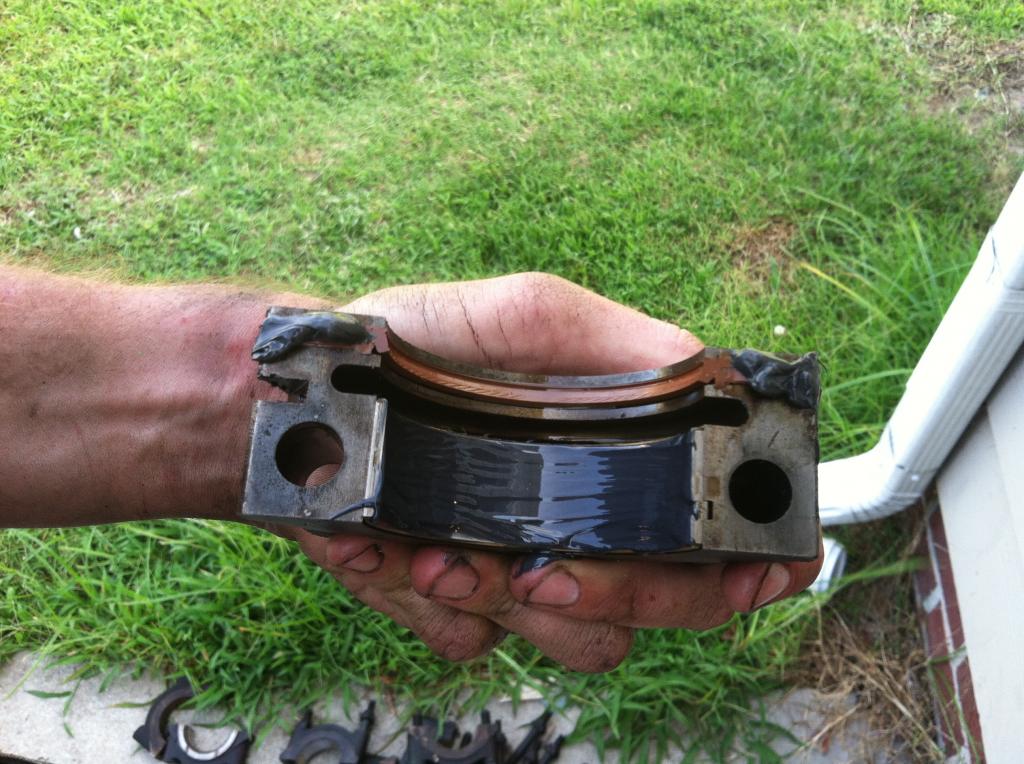
The valve cover gasket was not the only source of my leak unfortunately though. 3 weeks ago I started seeing a small oil mark in my driveway, right below the back of the engine. My rear main seal was shot. And I do mean shot. Brittle as 3 week old dog crap. It was terrible. So, off came the starter and the oil pan got pulled. Since the bearing cap brace had to come off to do the rear main seal jrmilliser84 and I decided to make sure my bearings were within spec as well.

While all that was happening I figured it was a good time to make sure the flex plate bolts were tight and I have to tell you, that stupid plate cover is a PITA to get off. Basically, my head pipe is blocking one of the lower bolts from being removed. I don't know if this is a factory design or if the PO took it to a shop for some kind of work and they went full retard when putting the bolt back in. In either case it's stupid and until I get a new exhaust it has to stay that way. So, the cover eventually came off and the flex plate bolts were found to be nice and tight. YAY!
While Josh (jrmilliser84) was checking my bearing specs I decided it was time to do a little painting...
While I had the cover off I also figured it was a good time to go ahead and replace the CCV grommets and ports with new ones just to be safe.
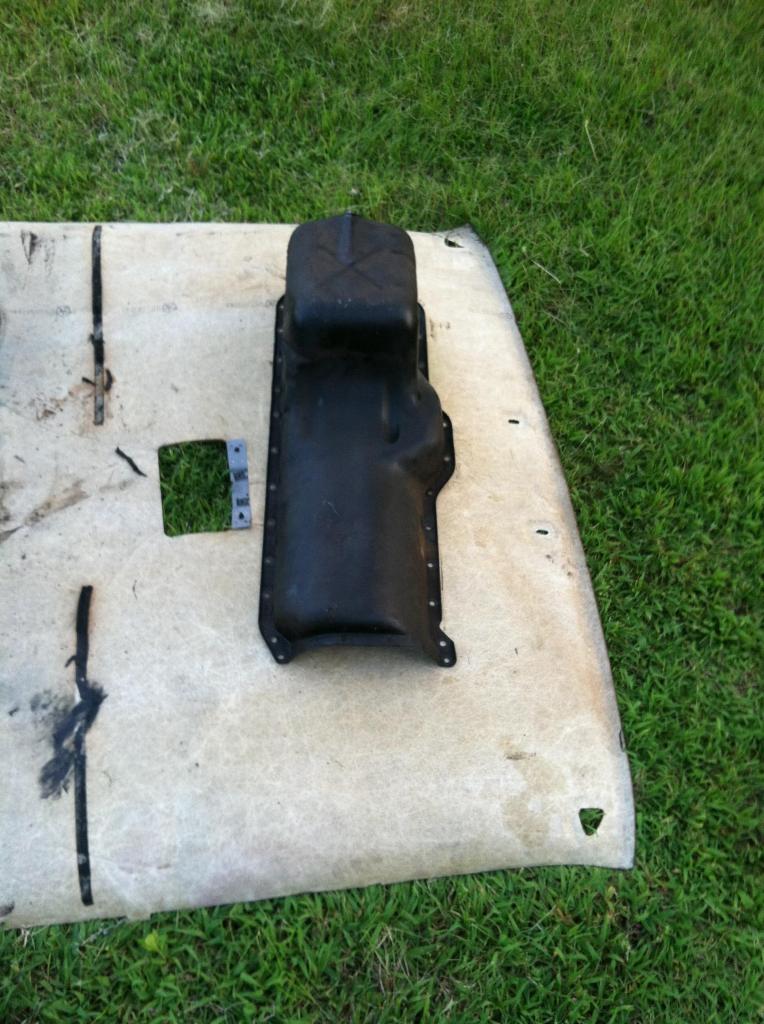
After pulling the oil pan off and cleaning it up it was noticed that I had somehow put a MAJOR dent into the side it. Apparently while traveling over some rocks last year I had the brilliance level of a goldfish and I dented my oil pan, dented my transmission pan (thankfully it's more a slight bend than a true dent), dented my crossmember, broke some unimportant metal tab off the back of my t-case, and totally reconfigured one side of my passenger lower shock mount tabs. Yeah, I got skills. Thankfully, Red82's old pan (for his blown engine out of the Battle Wagon that is getting overhauled) was right there since Josh's house is where the Battle Wagon is currently located. So, Mike, thank you for the generous donation to The Jeep!
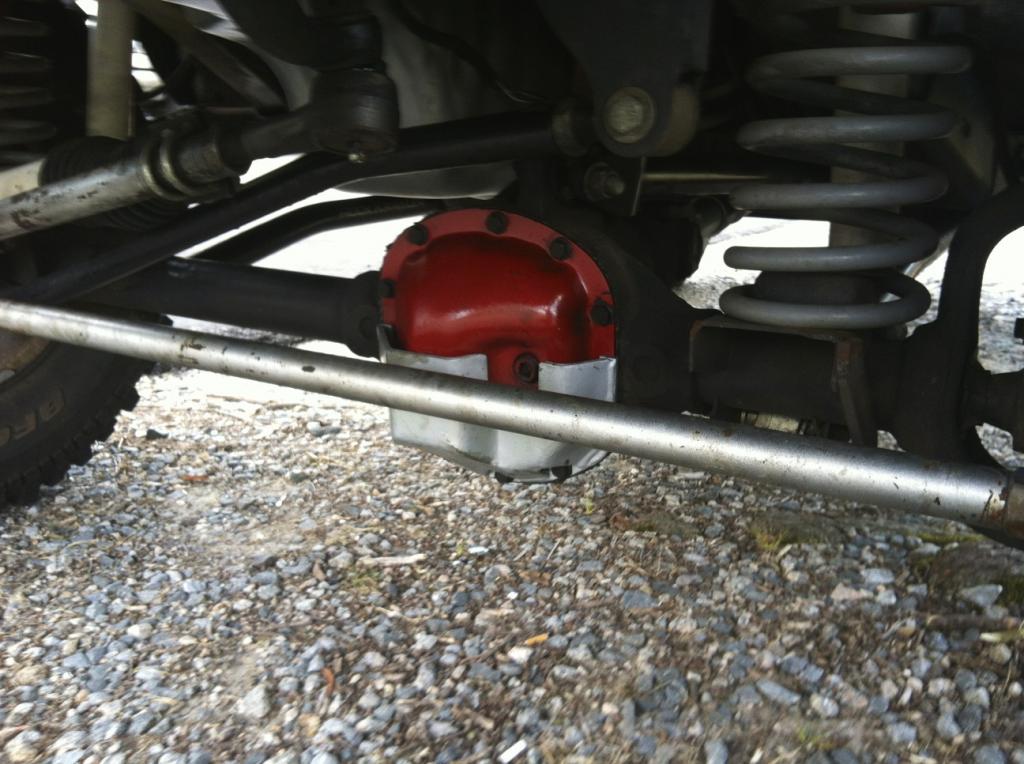
Next came getting the rear main seal done with some RTV and molly. We also did a front diff flush since I had a little chatter coming from it. Thankfully nothing was bad there other than a itsy bit of water that got into the diff (probably from when I had the front end submerged while in the Outer Banks. With the diff flush came a new color of paint for the cover (a nice bright red) and the guard (the same silver as the valve cover and oil pan) to make it look all fresh and pretty (until the next wheeling event in a couple weeks).
Then it was time to get the oil pan back on with a new gasket (make sure you have really tall jackstands so you can create some room for the pan to slide in. My new paint job suffered due to jackstands that were just a little too short) after putting a couple coats of paint on it.

Then it was time to get the top end all buttoned up. Got the new gasket on...
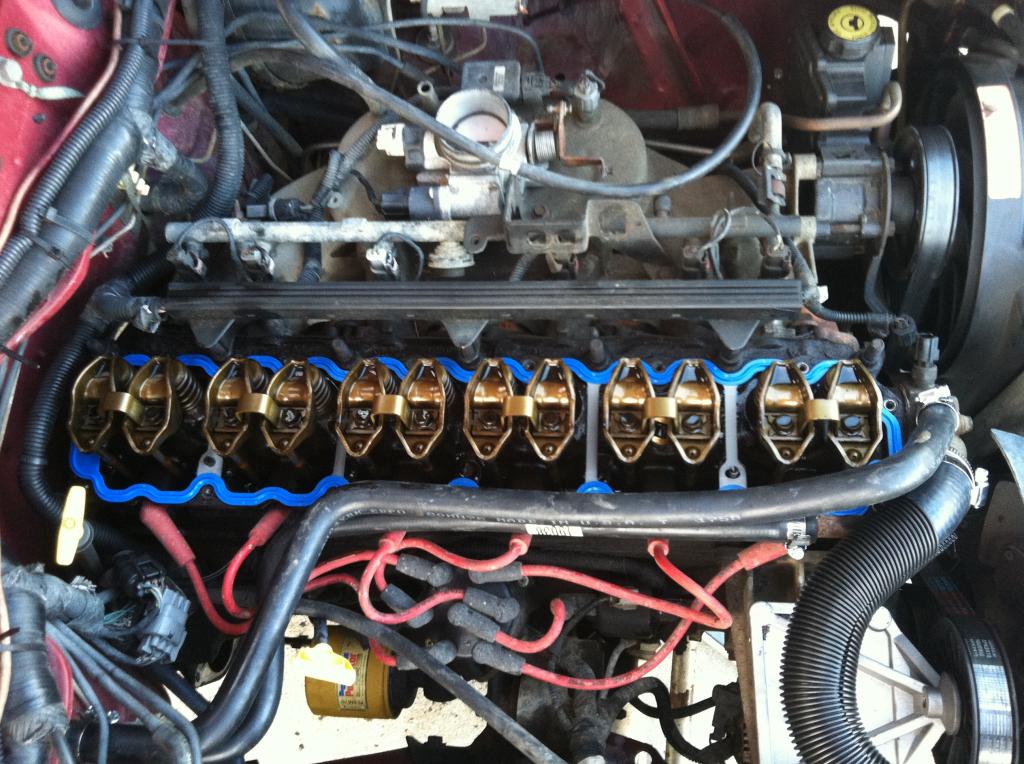
...and after putting in new grommets the cover went back on looking all kinds of pretty.
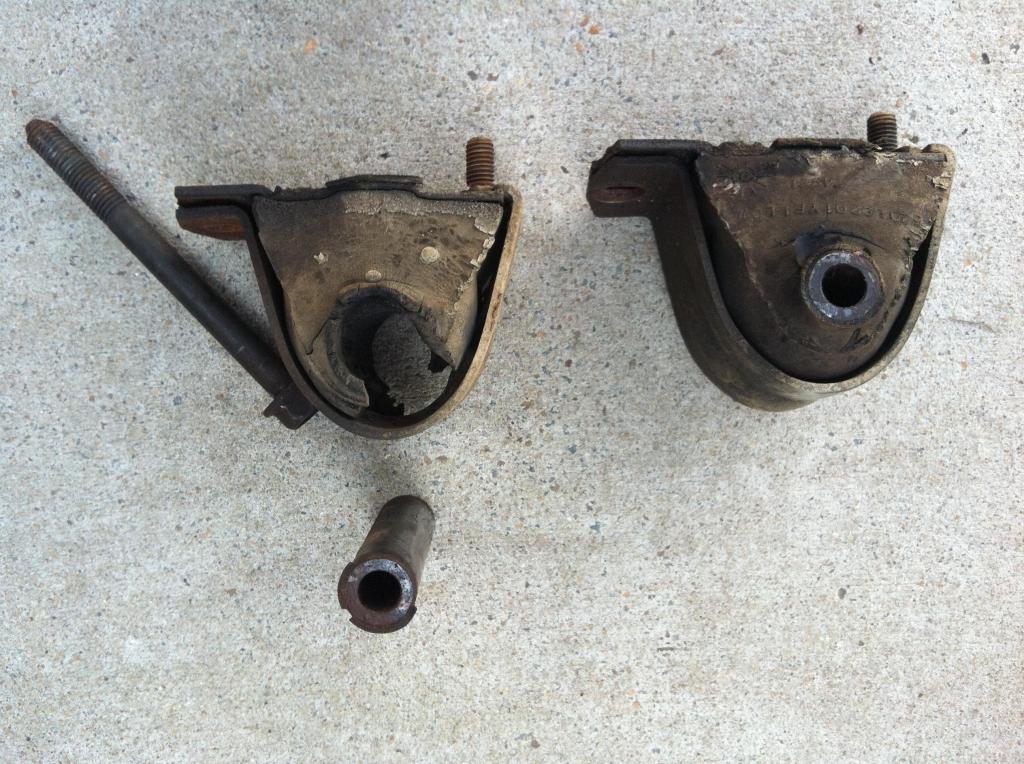
And that was Saturday as it was about 11:30 at night and I had to work the next morning. Thankfully Josh let me use his Jeep to get back home and Sunday afternoon the work commenced once again. The big job was to replace these (I think I know why I was getting such lethal engine rocking now):
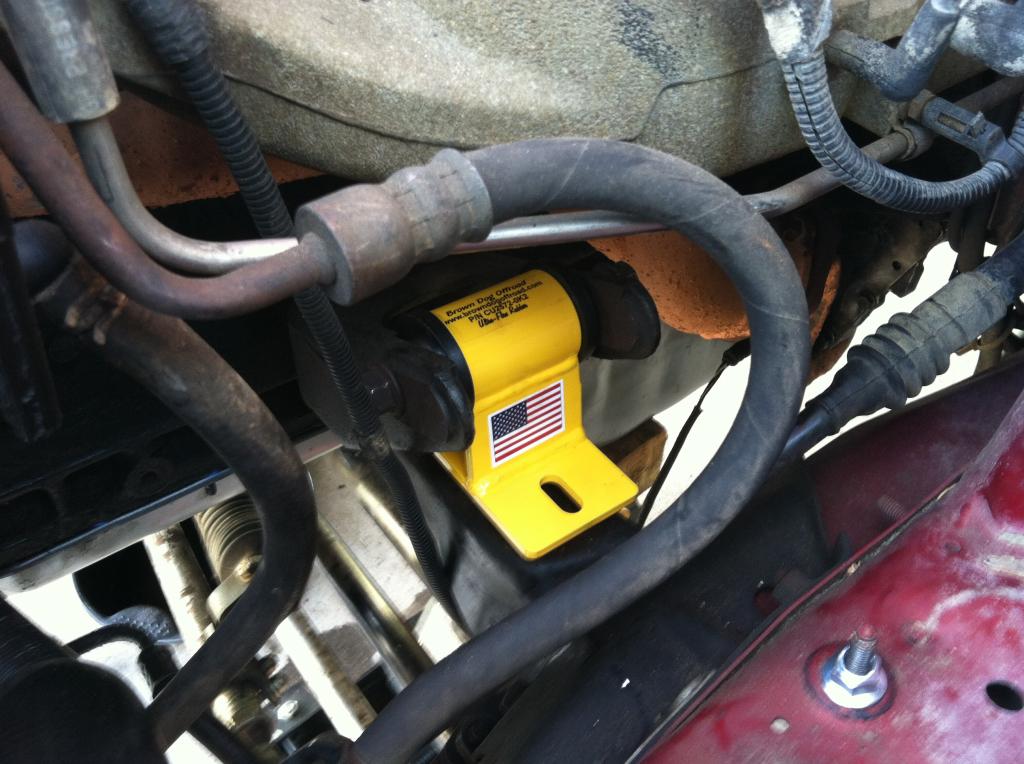
With THESE! Yay for American made products that are nothing short of awesome! Thanks Brown Dog Offroad!:
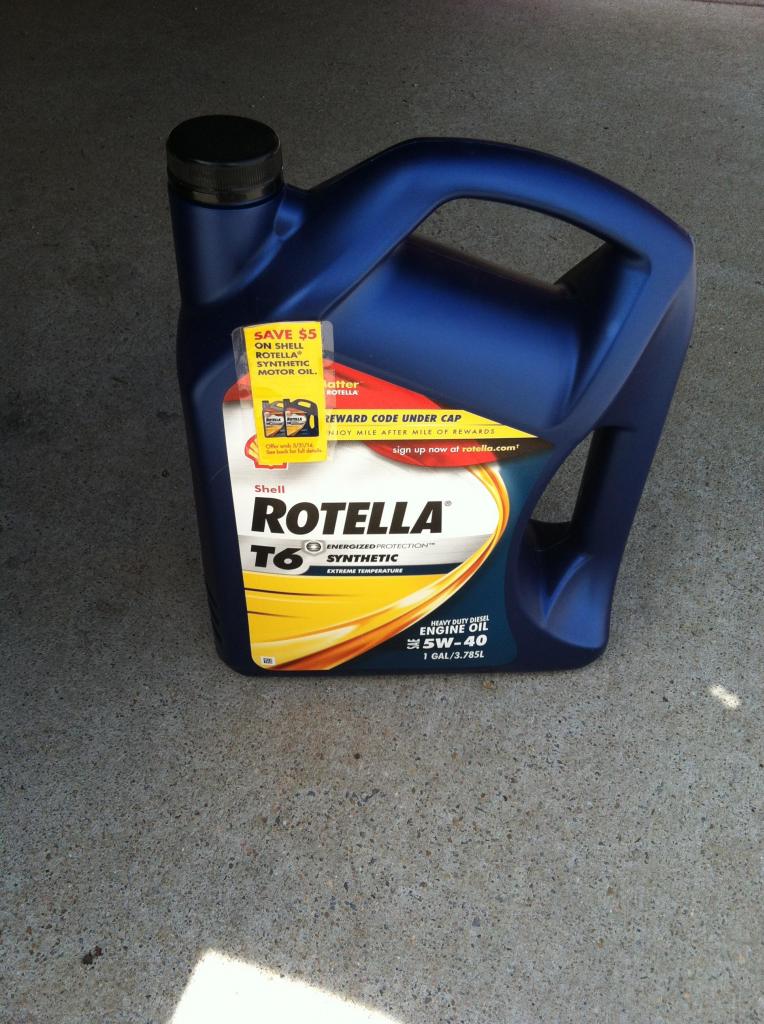
The last thing to do was to change over to a new oil.
New brake calipers and pads get here in a couple days and the rotors will get turned as well as the tires rotated. Once those things are done The Jeep will be fully trail ready again. 24 out of 60 hours spent working on The Jeep was a great way to spend the weekend!
Once the first drain was done and the motor ran with a bunch more distilled water was in it I started ripping out the A/C system. It hasn't worked in over 4 years so it's no loss to me, plus, this gives me plenty of time to get the compressor rebuilt and start building an OBA set up. It's not a priority though so that's probably gonna be a mod that doesn't happen for a while.
There's SO MUCH MORE ROOM now on the passenger side now! In place of the compressor went a bracket and pulley so I could just keep the same belt I just put in a few months ago.
Once all that was done the engine had cooled down enough to drain the water out again and pull all the hoses (upper and lower radiator and heater core inlet and outlet) and replace them with nice new ones.
And that was Friday. Saturday was going to be a LONG day and I knew it so I decided to take a break for the rest of the afternoon and get plenty of sleep.
Saturday, 6:30am. I am awake and heading out the door to drive 45 minutes to jrmilliser84's place and get a good amount of the rest of the work I had planned done.
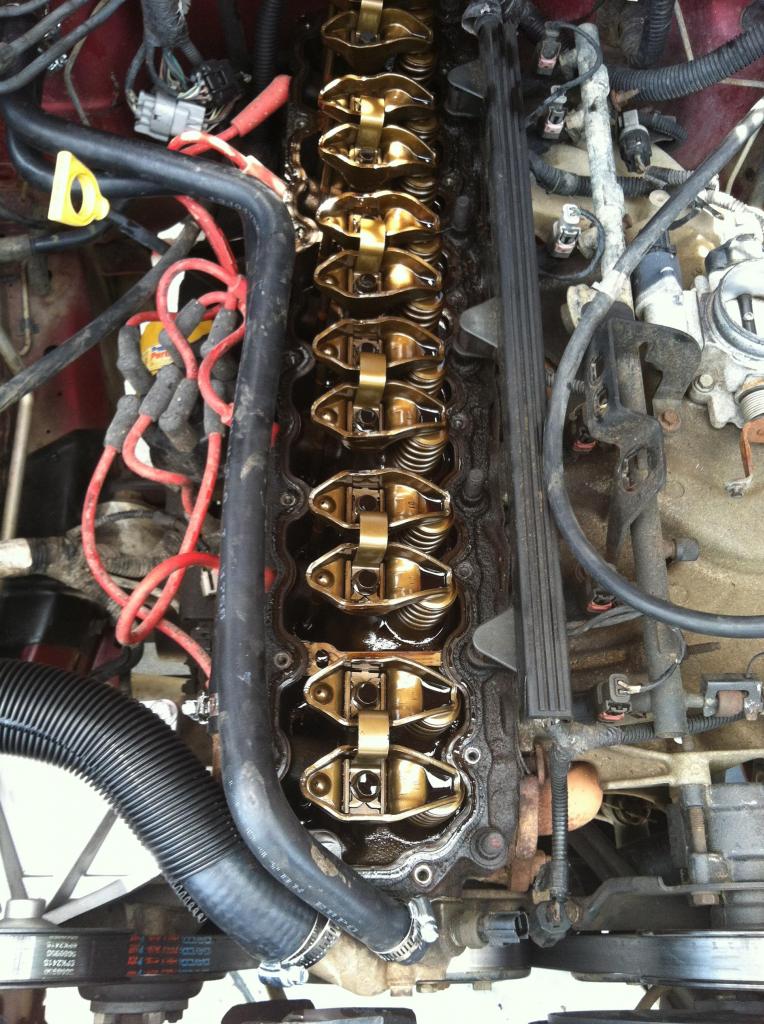
Now, if there is one thing I cannot stand it's an oil leak. And I know what you're thinking: "Why buy a Jeep 4.0 if you can't stand oil leaks?" Well, to be honest and quite frank, if you do the proper maintenance, a 4.0 doesn't leak oil. I know, it's an astounding idea to actually PREVENT oil leaks. Or even fix them if and when they show up. But, all that aside, and despite my greatest efforts, about 4 months ago I started getting some oil along the passenger rear of the engine and it would drip down to the transmission and then burn off while driving. So that tells me it's time for a new valve cover gasket. Once the engine had cooled down we got to work, pulling the valve cover and I was very happy to discover that this 4.0, with 174k on it, had virtually NO SLUDGE build up. Now that's what I call proper maintenance! After seeing Red82's charbroiled top end I was dreading the conversation he and I would have if mine turned out to be anywhere close to his. Thankfully, I got to rub it in his face a little. That's what friends are for right? Anyway, pulled the cover and she looked B-E-A-utiful!
The valve cover gasket was not the only source of my leak unfortunately though. 3 weeks ago I started seeing a small oil mark in my driveway, right below the back of the engine. My rear main seal was shot. And I do mean shot. Brittle as 3 week old dog crap. It was terrible. So, off came the starter and the oil pan got pulled. Since the bearing cap brace had to come off to do the rear main seal jrmilliser84 and I decided to make sure my bearings were within spec as well.
While all that was happening I figured it was a good time to make sure the flex plate bolts were tight and I have to tell you, that stupid plate cover is a PITA to get off. Basically, my head pipe is blocking one of the lower bolts from being removed. I don't know if this is a factory design or if the PO took it to a shop for some kind of work and they went full retard when putting the bolt back in. In either case it's stupid and until I get a new exhaust it has to stay that way. So, the cover eventually came off and the flex plate bolts were found to be nice and tight. YAY!
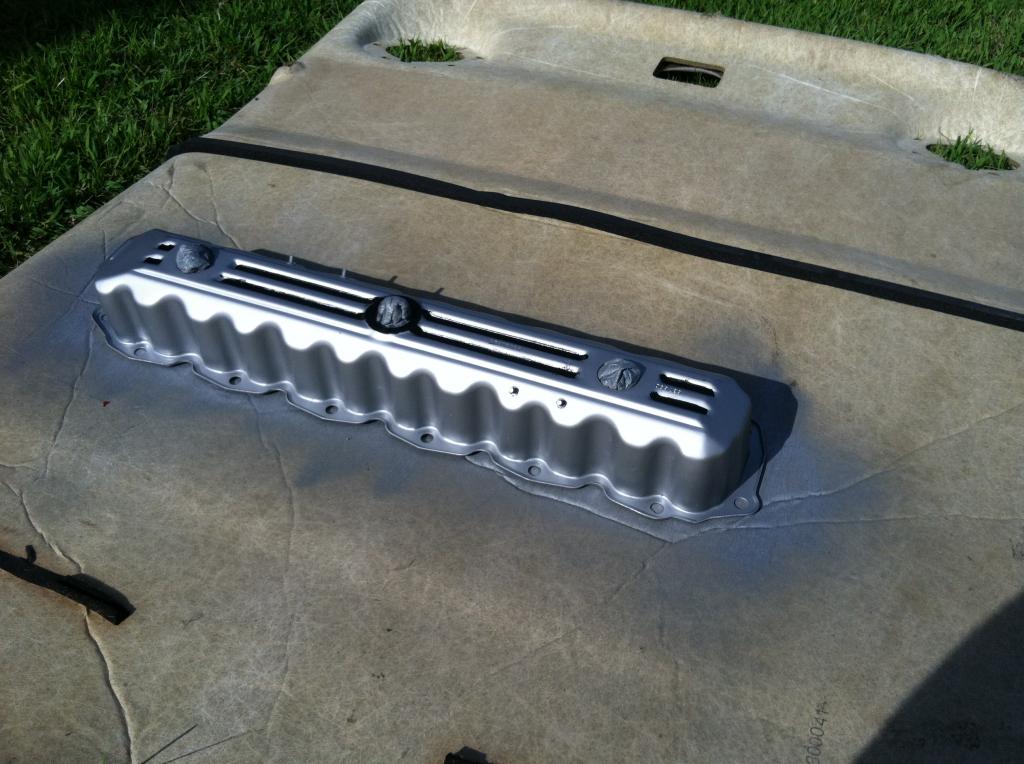
While Josh (jrmilliser84) was checking my bearing specs I decided it was time to do a little painting...
While I had the cover off I also figured it was a good time to go ahead and replace the CCV grommets and ports with new ones just to be safe.
After pulling the oil pan off and cleaning it up it was noticed that I had somehow put a MAJOR dent into the side it. Apparently while traveling over some rocks last year I had the brilliance level of a goldfish and I dented my oil pan, dented my transmission pan (thankfully it's more a slight bend than a true dent), dented my crossmember, broke some unimportant metal tab off the back of my t-case, and totally reconfigured one side of my passenger lower shock mount tabs. Yeah, I got skills. Thankfully, Red82's old pan (for his blown engine out of the Battle Wagon that is getting overhauled) was right there since Josh's house is where the Battle Wagon is currently located. So, Mike, thank you for the generous donation to The Jeep!
Next came getting the rear main seal done with some RTV and molly. We also did a front diff flush since I had a little chatter coming from it. Thankfully nothing was bad there other than a itsy bit of water that got into the diff (probably from when I had the front end submerged while in the Outer Banks. With the diff flush came a new color of paint for the cover (a nice bright red) and the guard (the same silver as the valve cover and oil pan) to make it look all fresh and pretty (until the next wheeling event in a couple weeks).
Then it was time to get the oil pan back on with a new gasket (make sure you have really tall jackstands so you can create some room for the pan to slide in. My new paint job suffered due to jackstands that were just a little too short) after putting a couple coats of paint on it.
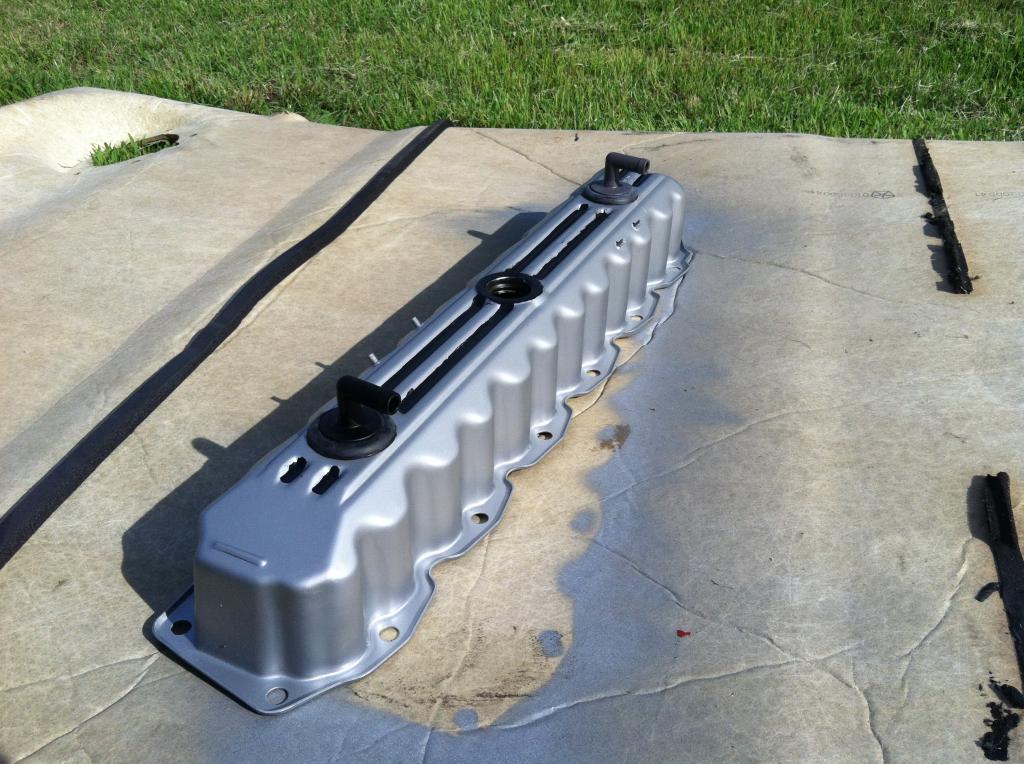
Then it was time to get the top end all buttoned up. Got the new gasket on...
...and after putting in new grommets the cover went back on looking all kinds of pretty.
And that was Saturday as it was about 11:30 at night and I had to work the next morning. Thankfully Josh let me use his Jeep to get back home and Sunday afternoon the work commenced once again. The big job was to replace these (I think I know why I was getting such lethal engine rocking now):
With THESE! Yay for American made products that are nothing short of awesome! Thanks Brown Dog Offroad!:
The last thing to do was to change over to a new oil.
New brake calipers and pads get here in a couple days and the rotors will get turned as well as the tires rotated. Once those things are done The Jeep will be fully trail ready again. 24 out of 60 hours spent working on The Jeep was a great way to spend the weekend!
Last edited by no rdplz; 07-01-2014 at 01:51 PM.
 07-01-2014, 01:03 AM
#232
Junior Member

Join Date: Nov 2012
Location: Youngstown OH
Posts: 56
Likes: 0
Received 0 Likes
on
0 Posts
Year: 99
Model: Cherokee
Engine: 4.0
Didnt see it in the post. I see a picture with caps laying on ground? Hope you have everything marked, be a shame to put the wrong caps on
07-01-2014, 07:27 AM
#233
CF Veteran
Thread Starter
Join Date: Jan 2010
Location: Virginia Beach by way of Michigan
Posts: 5,482
Likes: 0
Received 24 Likes
on
24 Posts
The bearing caps in the picture of the new rear main seal are from Red82's old engine. Yeah that would REALLY suck to get those mixed up! We pulled one, checked it, put it back, then the next, checked it, put it back. Did that for each of 'em so we wouldn't get them mixed up.
Last edited by no rdplz; 07-01-2014 at 07:33 AM.
 07-12-2014, 11:07 AM
#236
CF Veteran
Thread Starter
Join Date: Jan 2010
Location: Virginia Beach by way of Michigan
Posts: 5,482
Likes: 0
Received 24 Likes
on
24 Posts
And more work got done today to FINALLY have The Jeep trail ready again! Hopefully this will be end of the work for a little while.
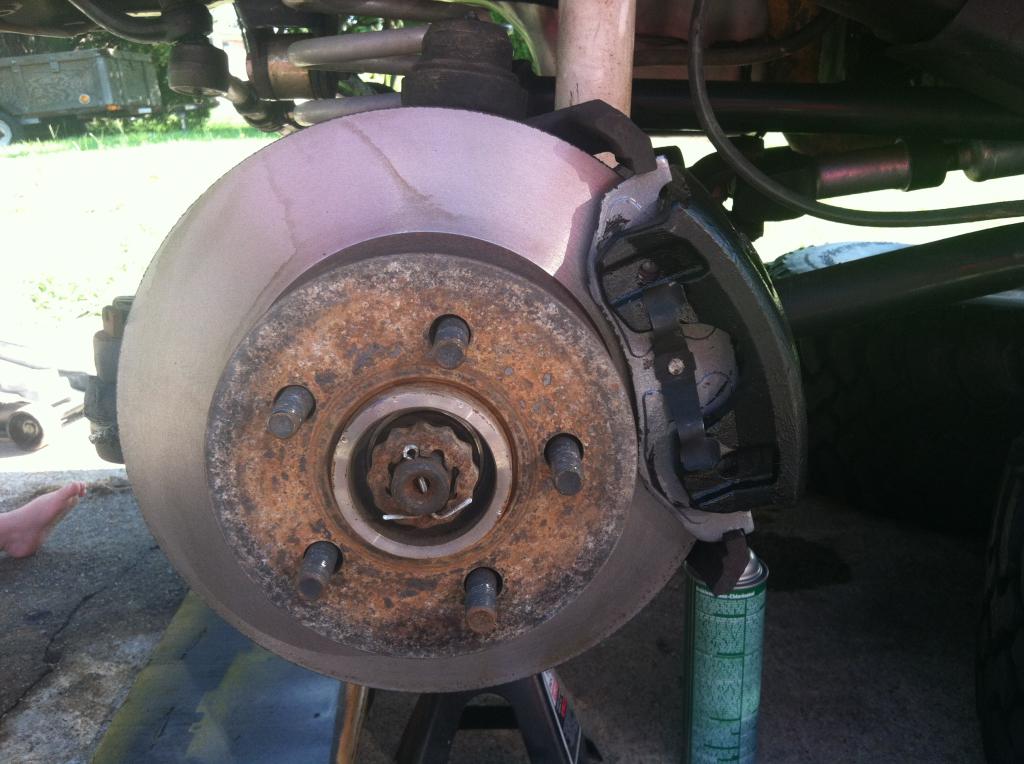
Started with the small stuff like jacking up both ends and getting it on jack stands so the tires could be rotated. But the main reason for this morning's work load was this:
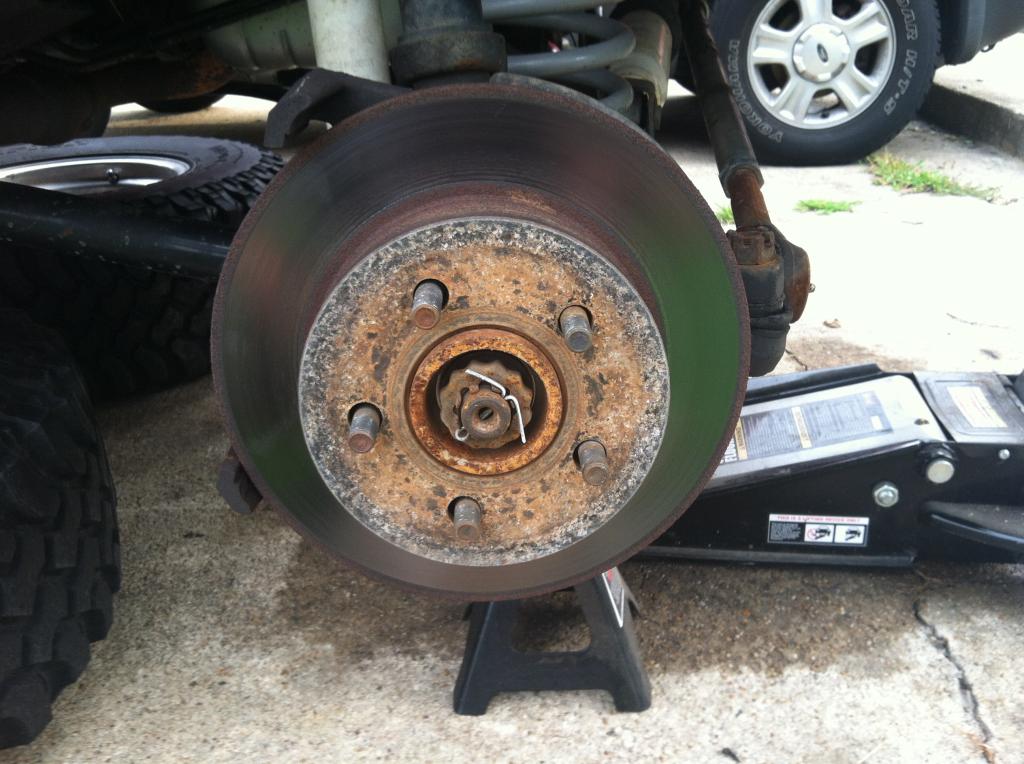
Rotors needed a good turning and my calipers were starting to stick so the rotors got machined, new calipers and pads were ordered, and the work commenced.
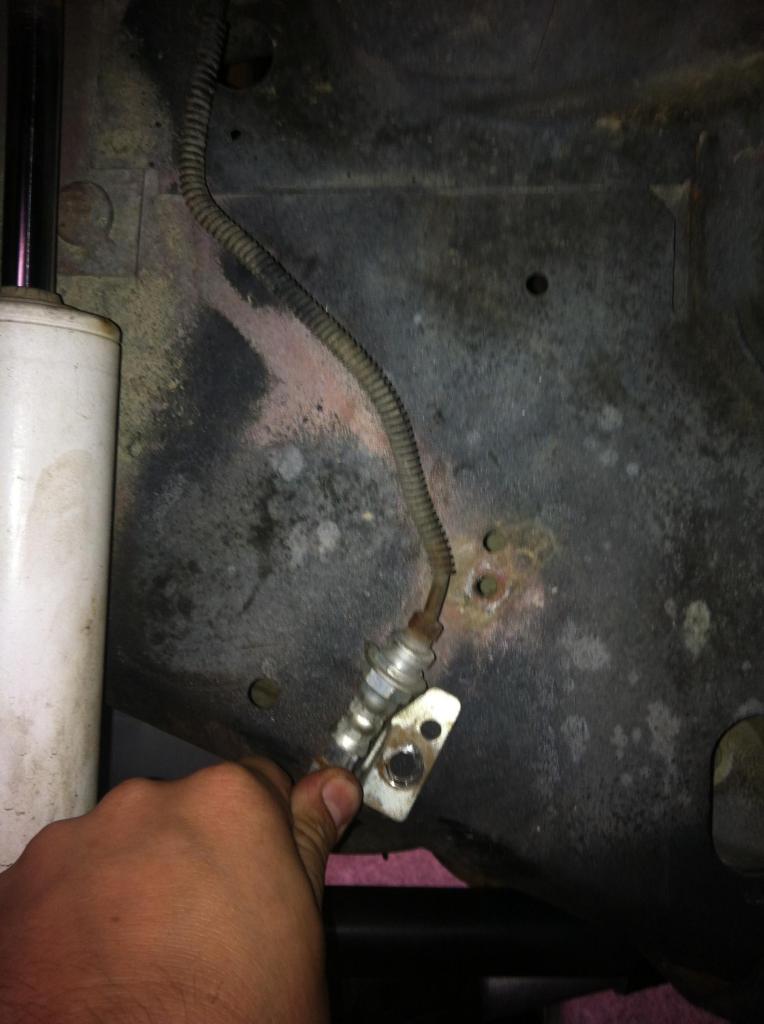
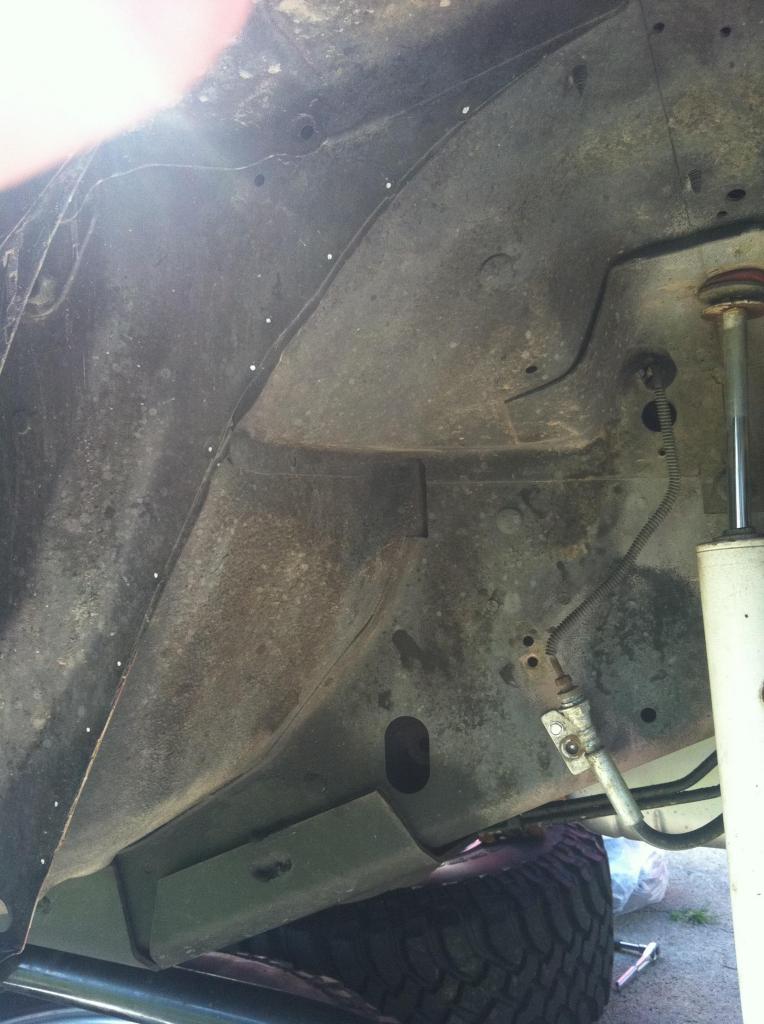
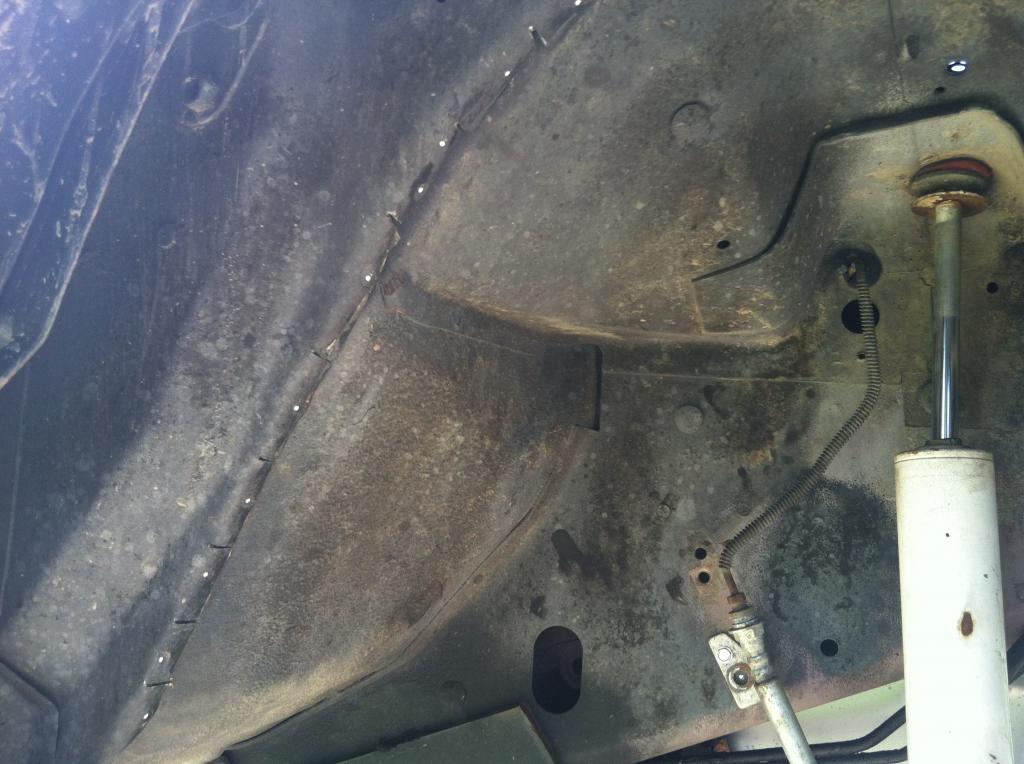
Before getting to the calipers though, I decided to finally give myself a little more length to my brake lines. This is how they looked from the factory:
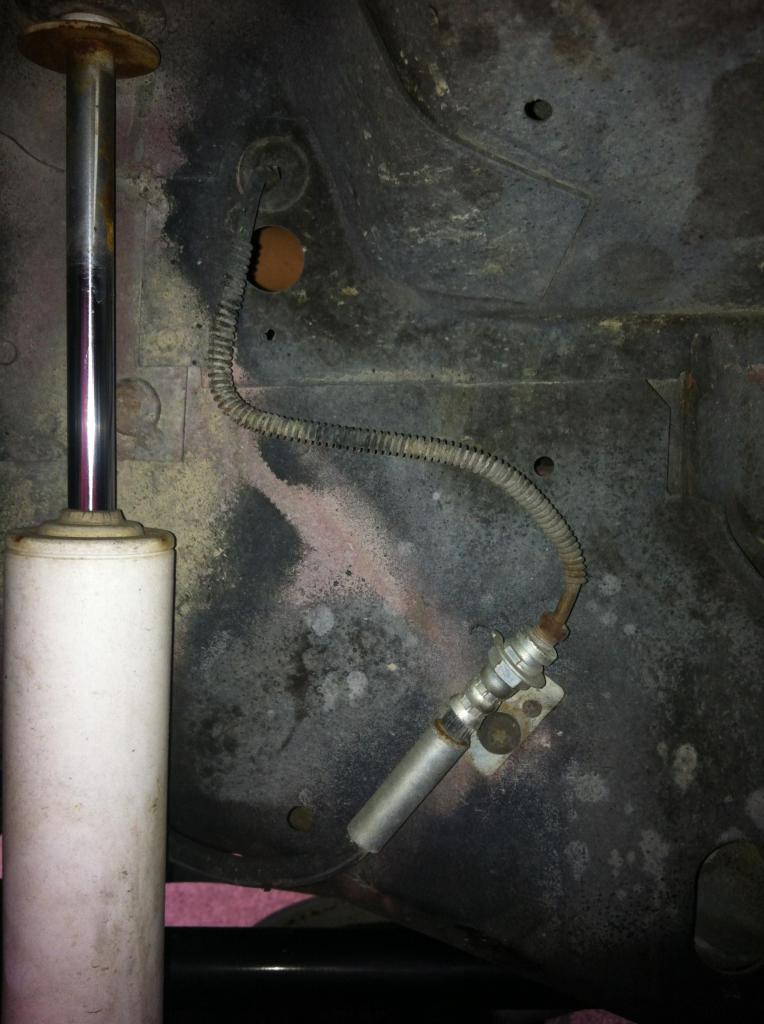
And now I have an extra 3" of brake line for absolutely nothing.
While I had the front tires off I also figured it's be a good idea to keep from tearing them up when I stuff them into the fenders so the inner pinch seam welds got marked:
And the cut-n-fold began
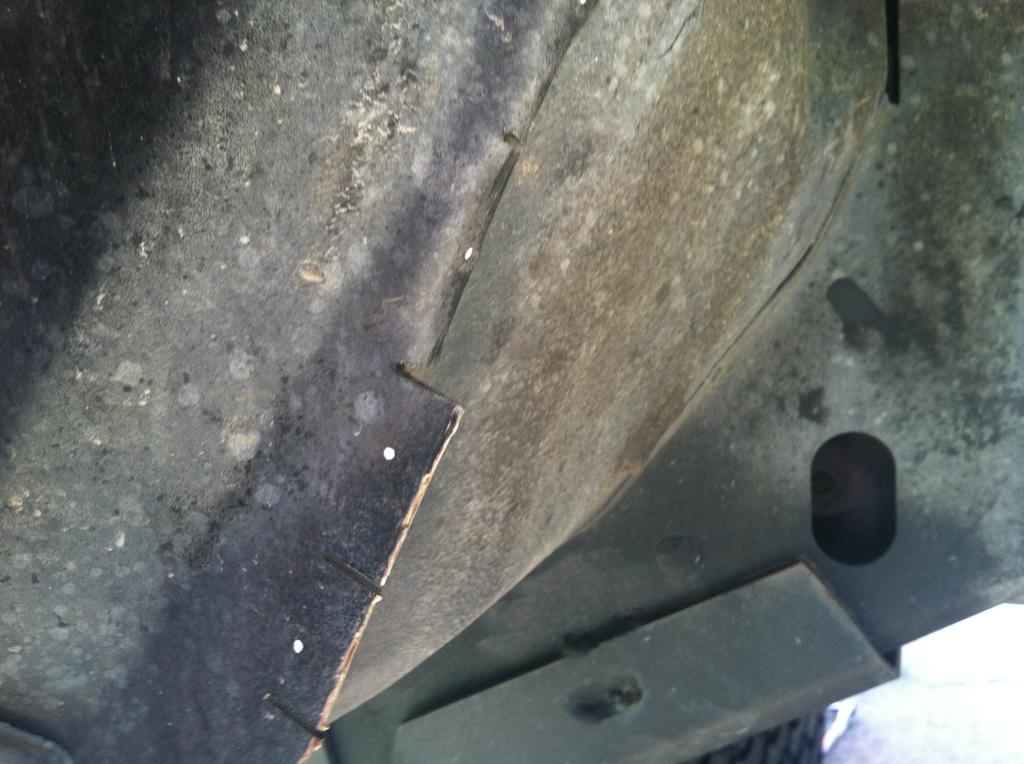
And say good bye to slicing up my tires on the trails!
And with those things done the new calipers, pads, and machined rotors were installed.
Swapped the tires around and also did another oil change to complete the engine flush I started 2 weeks ago. Running Rotella T5 10w-30 from here on out with a WIX 51515 filter. Gotta love it!
Started with the small stuff like jacking up both ends and getting it on jack stands so the tires could be rotated. But the main reason for this morning's work load was this:
Rotors needed a good turning and my calipers were starting to stick so the rotors got machined, new calipers and pads were ordered, and the work commenced.
Before getting to the calipers though, I decided to finally give myself a little more length to my brake lines. This is how they looked from the factory:
And now I have an extra 3" of brake line for absolutely nothing.
While I had the front tires off I also figured it's be a good idea to keep from tearing them up when I stuff them into the fenders so the inner pinch seam welds got marked:
And the cut-n-fold began
And say good bye to slicing up my tires on the trails!
And with those things done the new calipers, pads, and machined rotors were installed.
Swapped the tires around and also did another oil change to complete the engine flush I started 2 weeks ago. Running Rotella T5 10w-30 from here on out with a WIX 51515 filter. Gotta love it!
07-15-2014, 11:46 PM
#238
CF Veteran
Thread Starter
Join Date: Jan 2010
Location: Virginia Beach by way of Michigan
Posts: 5,482
Likes: 0
Received 24 Likes
on
24 Posts
I'm still getting an occasional pop/clunk when I turn (either direction but it's usually from the driver side) at slow speeds. I've tightened every bolt and know all my parts are less than 18 months old on the front end so it's just a matter of narrowing it down. I'm pretty sure I've eliminated everything but axle u-joints. Kills me every time I hear and feel it go "pop". But, I can't work on it if I don't have the time and I'm not paying someone else to swap out u-joints.
07-20-2014, 01:08 PM
#239
CF Veteran
Thread Starter
Join Date: Jan 2010
Location: Virginia Beach by way of Michigan
Posts: 5,482
Likes: 0
Received 24 Likes
on
24 Posts
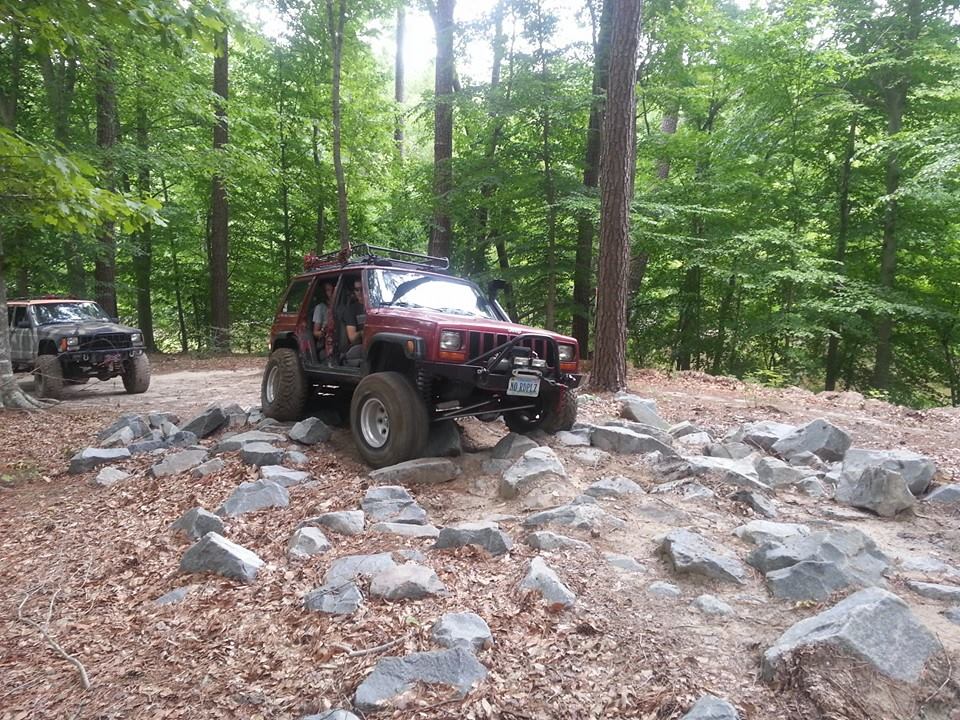
Not much, just some light wheeling at HRJC's annual picnic. Had fun, got the Jeep a little dirty, and also discovered I have a bad gear in my steering box so that gets to be replaced in the next few days before my camping/wheeling trip.
The following users liked this post:
AudioFreq (04-19-2020)
07-29-2014, 06:17 AM
#240
CF Veteran
Thread Starter
Join Date: Jan 2010
Location: Virginia Beach by way of Michigan
Posts: 5,482
Likes: 0
Received 24 Likes
on
24 Posts
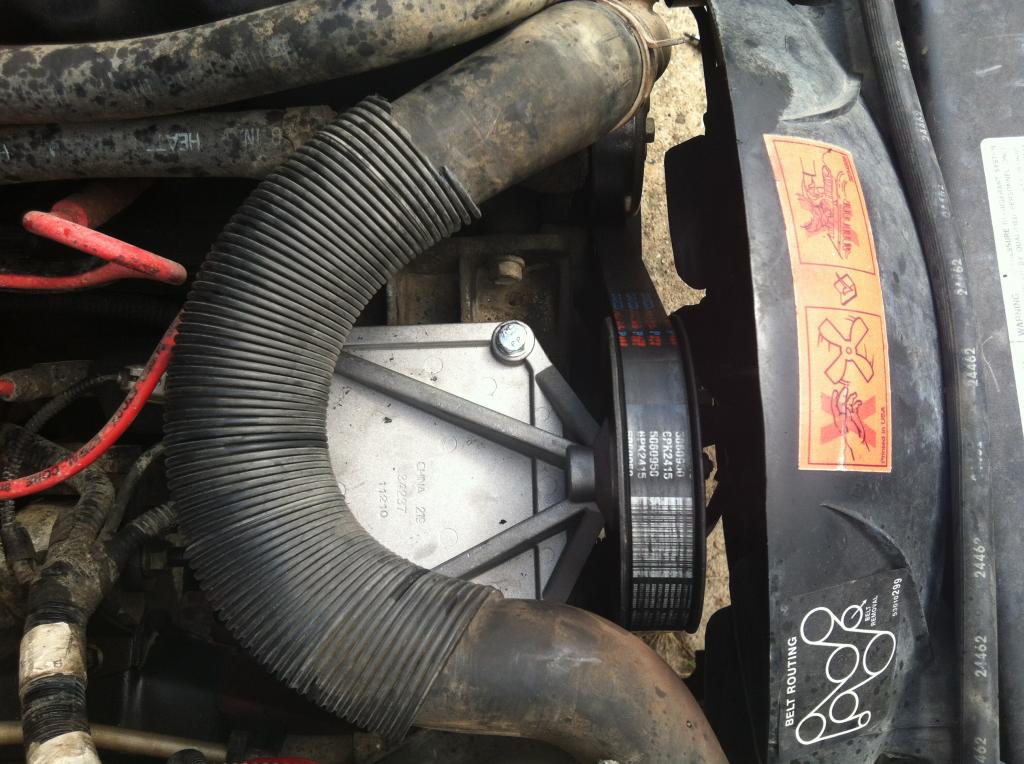
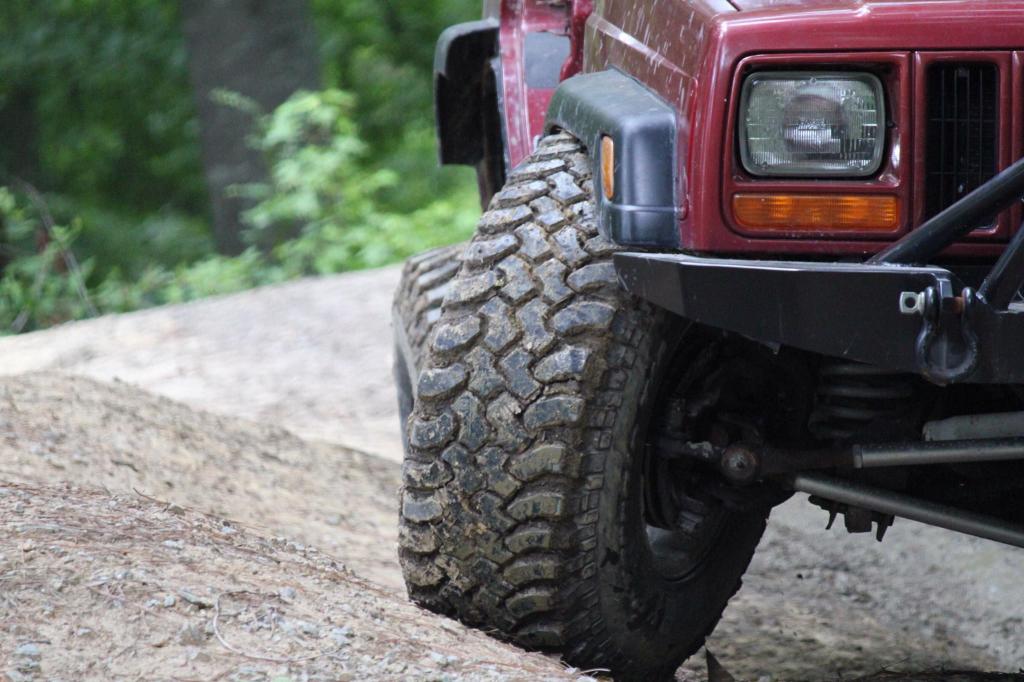
So with a trip happening this weekend it was inevitable that SOMETHING would go wrong that would try to sideline The Jeep. Thankfully it happened here rather than on the trails.
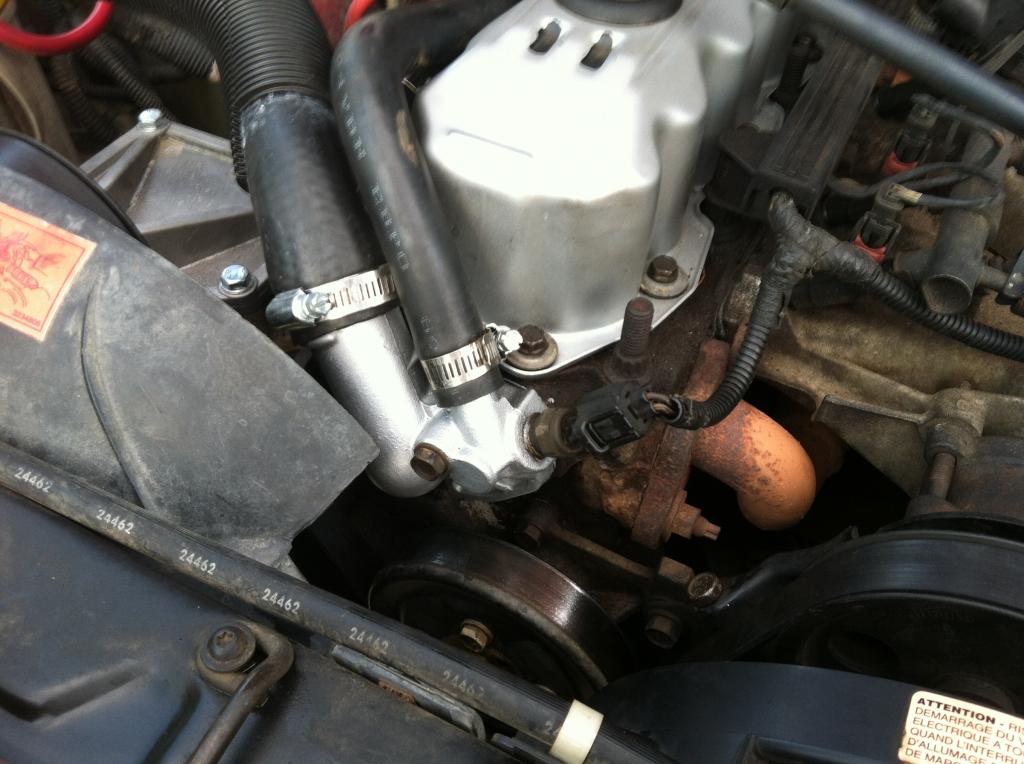
Take a good look at the picture. See anything wrong?

You guessed it. Power steering pulley is sitting a little too low and the serpentine belt is missing. Turns out the belt was fine. It was hanging off the alternator. The pulley had bigger issues though...
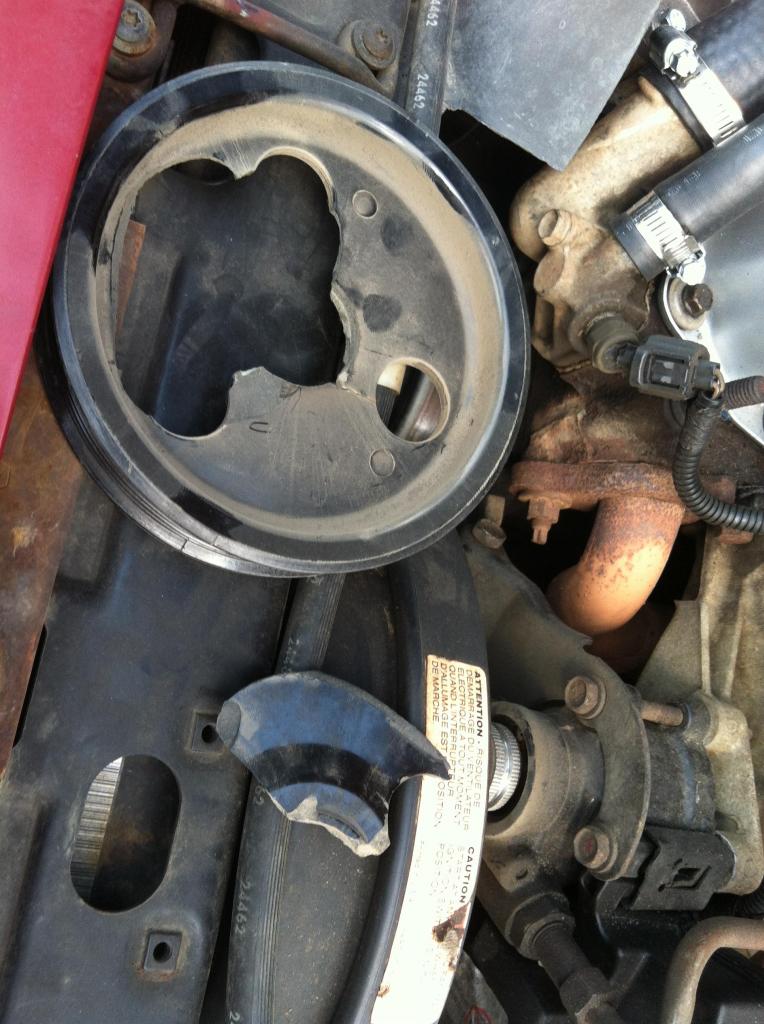
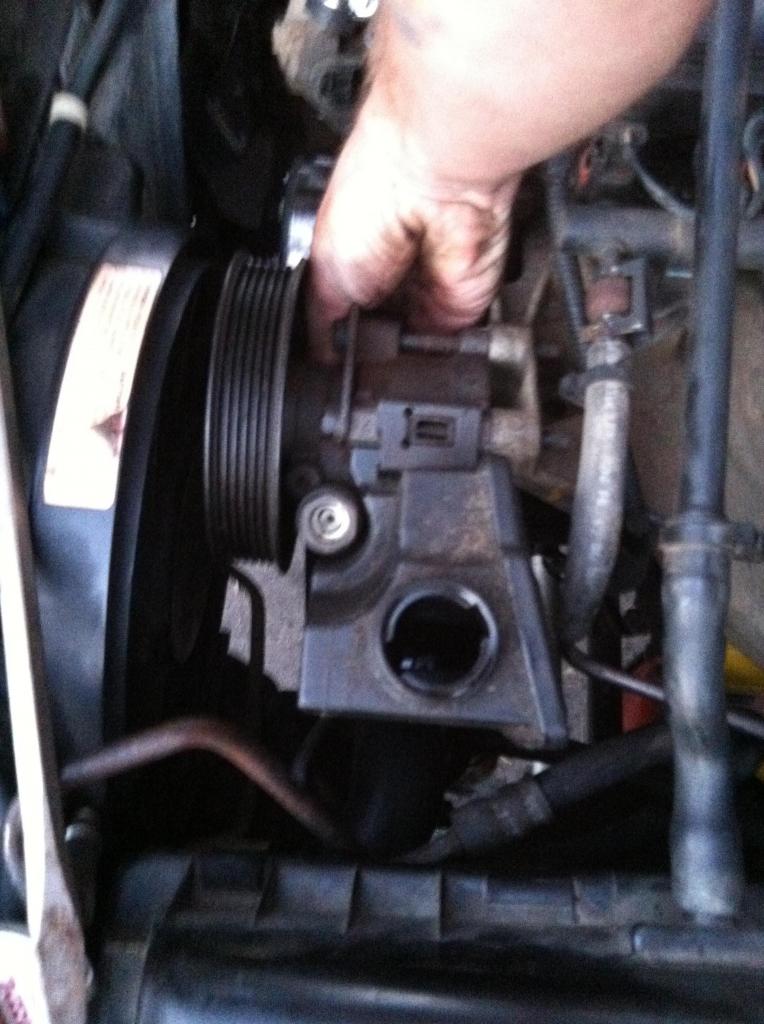
So, rather than try to get yet another pulley seated onto the pump (read back a page or two and you'll see i just put in a new pump and pulley), JRMilliser84 snagged the whole pump assembly and factory box off Red82's parts Jeep and brought them over.
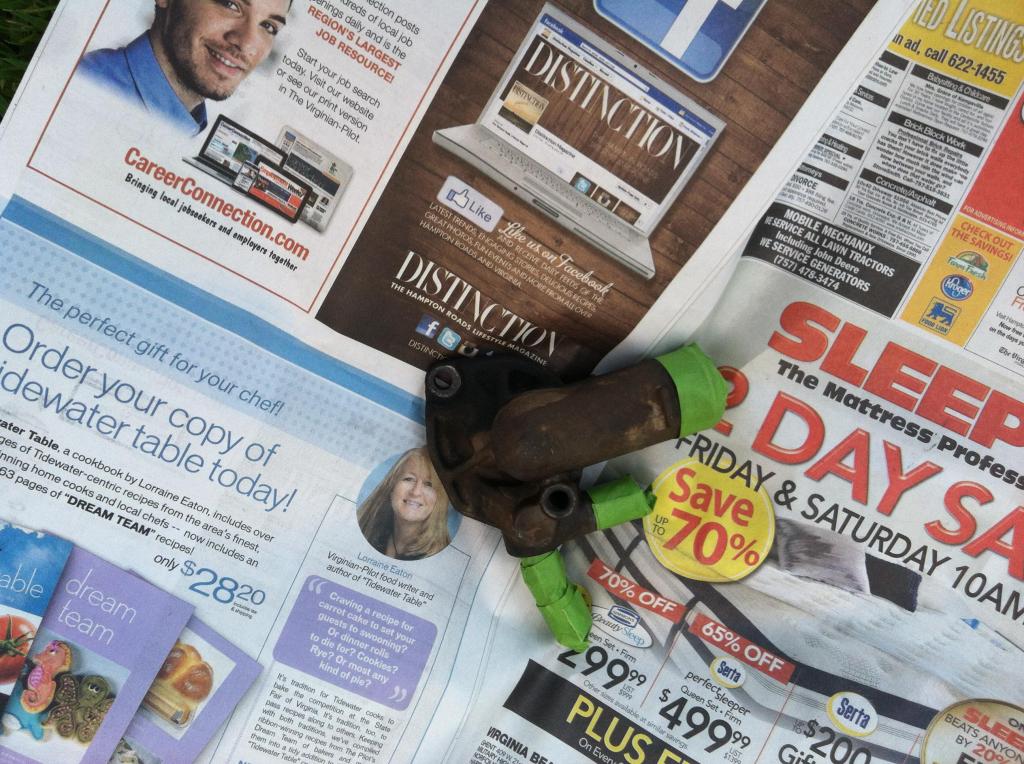
Also, since doing all the engine work a few weeks back, I've noticed I've been sitting closer to 210-215 for engine temps. I like it to be closer to 190-195 personally so I figured, why not check the thermostat? So, I got home from work, let the engine cool, and then pulled the housing and the old t-stat out.
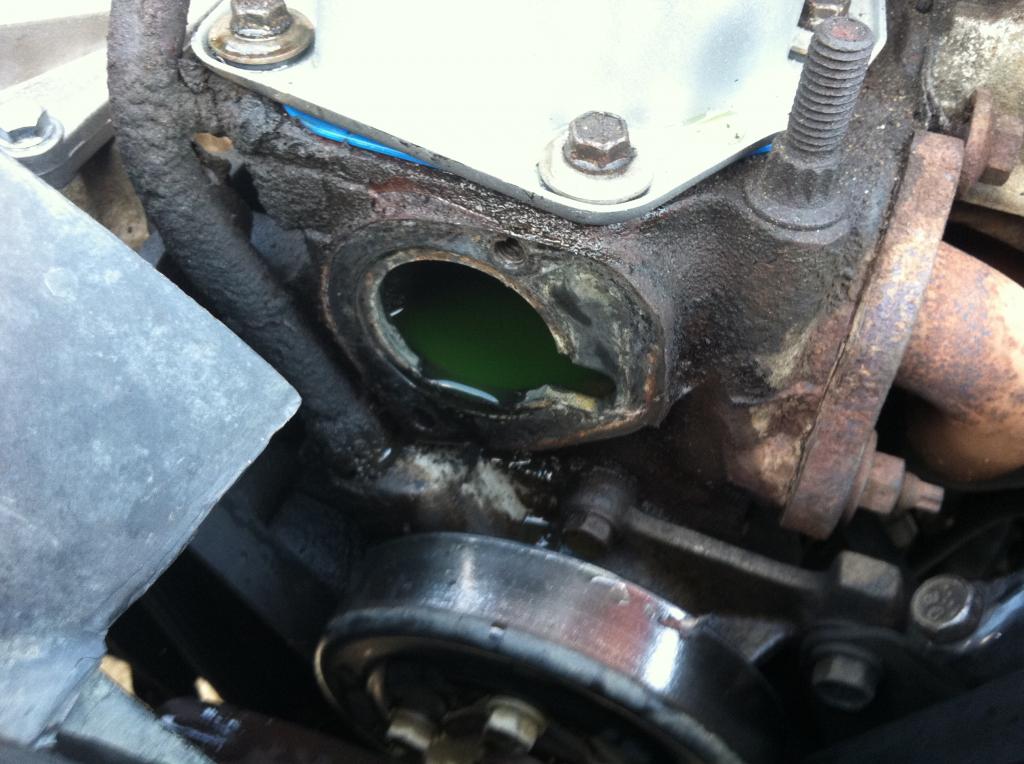
Old and ugly:
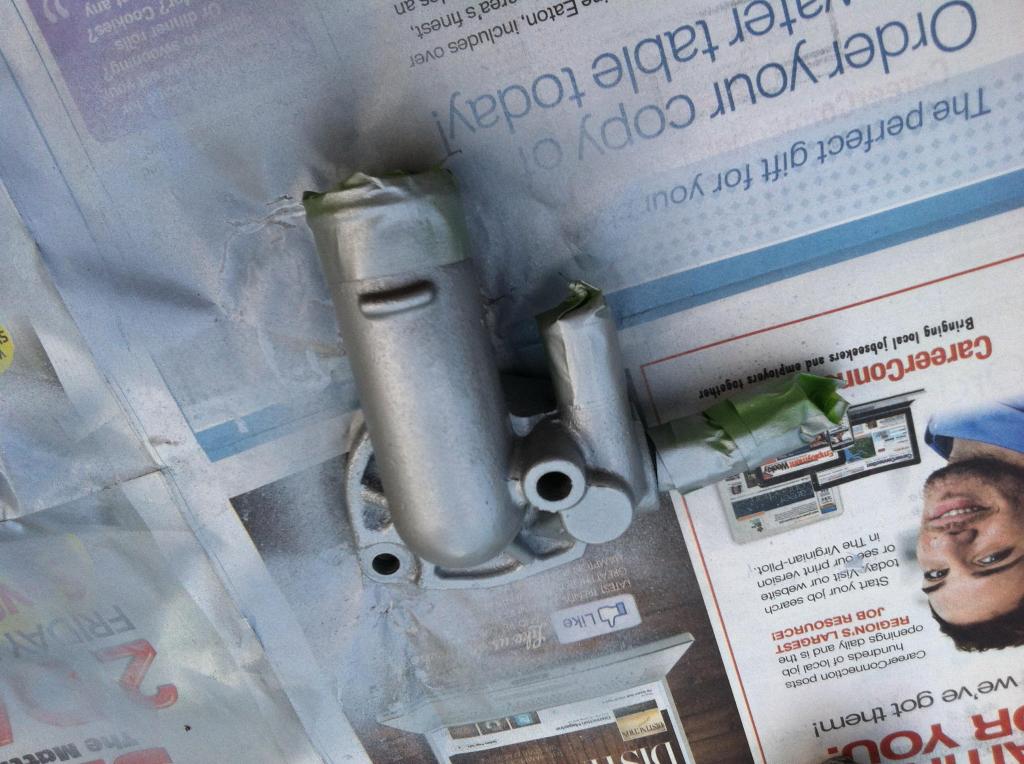
Old and pretty:
Got the new 195 t-stat in and The Jeep is sitting happy at 195-200. Gotta love the simple fixes!
Take a good look at the picture. See anything wrong?
You guessed it. Power steering pulley is sitting a little too low and the serpentine belt is missing. Turns out the belt was fine. It was hanging off the alternator. The pulley had bigger issues though...
So, rather than try to get yet another pulley seated onto the pump (read back a page or two and you'll see i just put in a new pump and pulley), JRMilliser84 snagged the whole pump assembly and factory box off Red82's parts Jeep and brought them over.
Also, since doing all the engine work a few weeks back, I've noticed I've been sitting closer to 210-215 for engine temps. I like it to be closer to 190-195 personally so I figured, why not check the thermostat? So, I got home from work, let the engine cool, and then pulled the housing and the old t-stat out.
Old and ugly:
Old and pretty:
Got the new 195 t-stat in and The Jeep is sitting happy at 195-200. Gotta love the simple fixes!