1986 Vortec Cherokee
 11-17-2012, 10:32 PM
#31
Seasoned Member
Thread Starter
Join Date: Oct 2012
Location: Sedalia, Colorado
Posts: 340
Likes: 0
Received 0 Likes
on
0 Posts
Year: 1986
Model: Cherokee
Engine: 5.3L Vortec V8
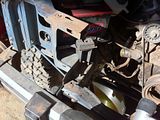
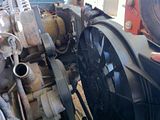
I've been trying over and over again to improve my cooling while crawling. I still have troubles when running up steep long climbs in 1st low. So, I decided to go ahead and remount the radiator with different brackets which would move it forward about an inch, giving better clearance for a bigger fan. Figuring this would give me enough space I bought a Taurus fan. The Taurus fan shroud is exactly the right size and shape for my 19x22 radiator so I thought it was a match made in heaven.
I received the fan in the mail today and found out it's too thick to fit in the space I have. I need almost another inch! The big problem is the snout on the water pump. If I could just cut it off I may be good to go, but I'm pretty sure it's the only thing holding the pulley on the pump shaft.
So, this leaves me with a few options:
1: I can install the radiator with new brackets which gives enough room to install my previous 16" generic fan as a puller instead of as a pusher like it was. Then I can find a way to fab or buy a thin shroud. This will increase airflow a fair amount, so long as the wiring or fuse don't fail. This fan claims a flow of about 2500CFM
2: I can buy a corvette style water pump and buy or fab new brackets for the alternator and power steering pump, this would move the serpentine belt back a little over an inch, and the corvette water pump has a flush snout, giving another half inch or so. This would be plenty of room for the Taurus fan, which is shrouded and moves close to twice as much air as my current 16" fan. Plus being two speed, if one fuse blows it should still run on the other circuit, providing some redundancy. The Taurus fan is said to move 2500 CFM on low speed and 4500 CFM on high speed.
3: I can cut up my front clip and install my 13x35" radiator. Although this radiator looks much smaller, and is a thinner core, it is 39 cubic inches, or 13%, more core area. Plus being a single pass rather than a double pass, it probably flows a little faster, though info on this is sketchy. Also more of the core area would be behind the actual grill opening, which should let the fan do it's job better. This would move the radiator forward about 3" giving enough room for any kind of fan I cared to throw at it.
With the wide skinny radiator I would have several options for fans.
3a: I could install both of the 12" generic fans I have as pullers and fab a shroud for them. These are rated at something like 1250 CFM each, totaling 2500 CFM. This would provide full redundancy, although a single fan would probably be inadequate under high load situations.
3b: I can install the 16" generic fan and a 12" generic fan, both as pullers, again with a custom shroud. This would add up to 3750 CFM and provide full redundancy.
3c: I can get a second 16" generic fan and fab a shroud for both. This would provide full redundancy and around 5000 CFM.
3d: I can install the Taurus fan and my generic 16" fan, this would provide extra redundancy and move up to 7000 CFM.
3e: I can get a second Taurus fan. With some finagling and cutting of the shrouds I could fit both side by side. This would move 9000 CFM, be extra super redundant, provide forward thrust, and probably melt my battery.
3f: I could get two OEM Cherokee fans. These have shrouds that just snap into place, installation would be by far the most simple. I have no idea how much air these move.
3g: I could get 3 generic 10" fans and fab a shroud. These all claim to move about as much air as the 12" fans, making it about 3750 CFM.
 11-18-2012, 05:10 PM
#32
Seasoned Member
Thread Starter
Join Date: Oct 2012
Location: Sedalia, Colorado
Posts: 340
Likes: 0
Received 0 Likes
on
0 Posts
Year: 1986
Model: Cherokee
Engine: 5.3L Vortec V8
I've decided to go with option #3 and cut up my front clip to fit the wide skinny 4.0 style Cherokee radiator.
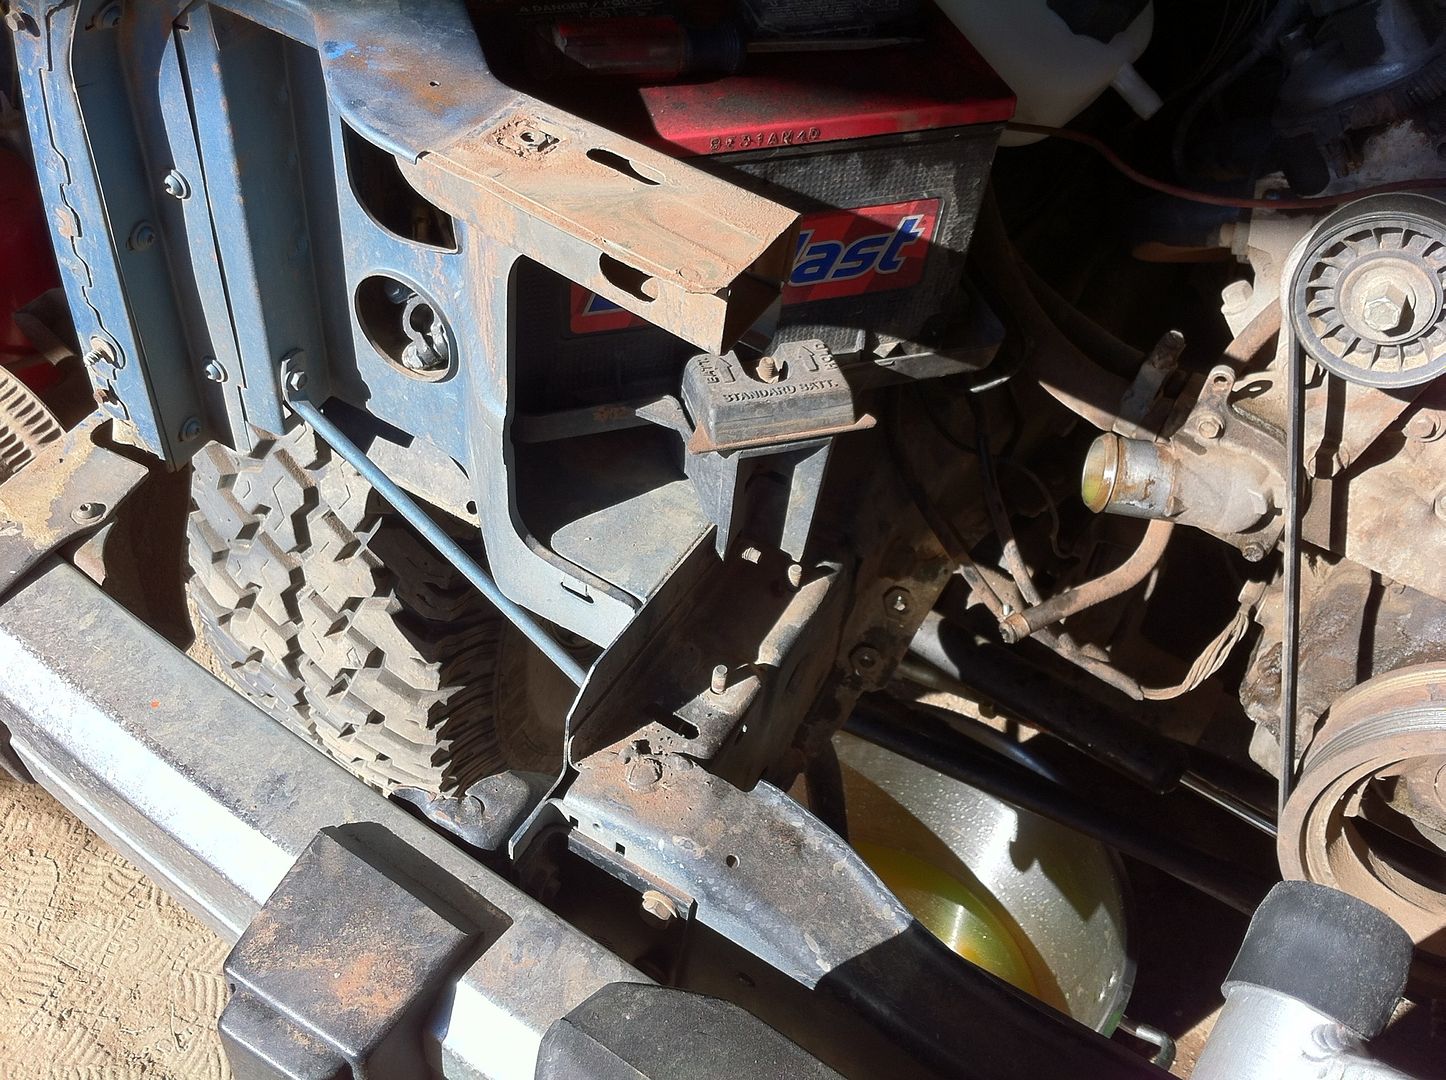
Heres what the sheet metal looked like at the start:
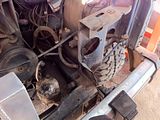
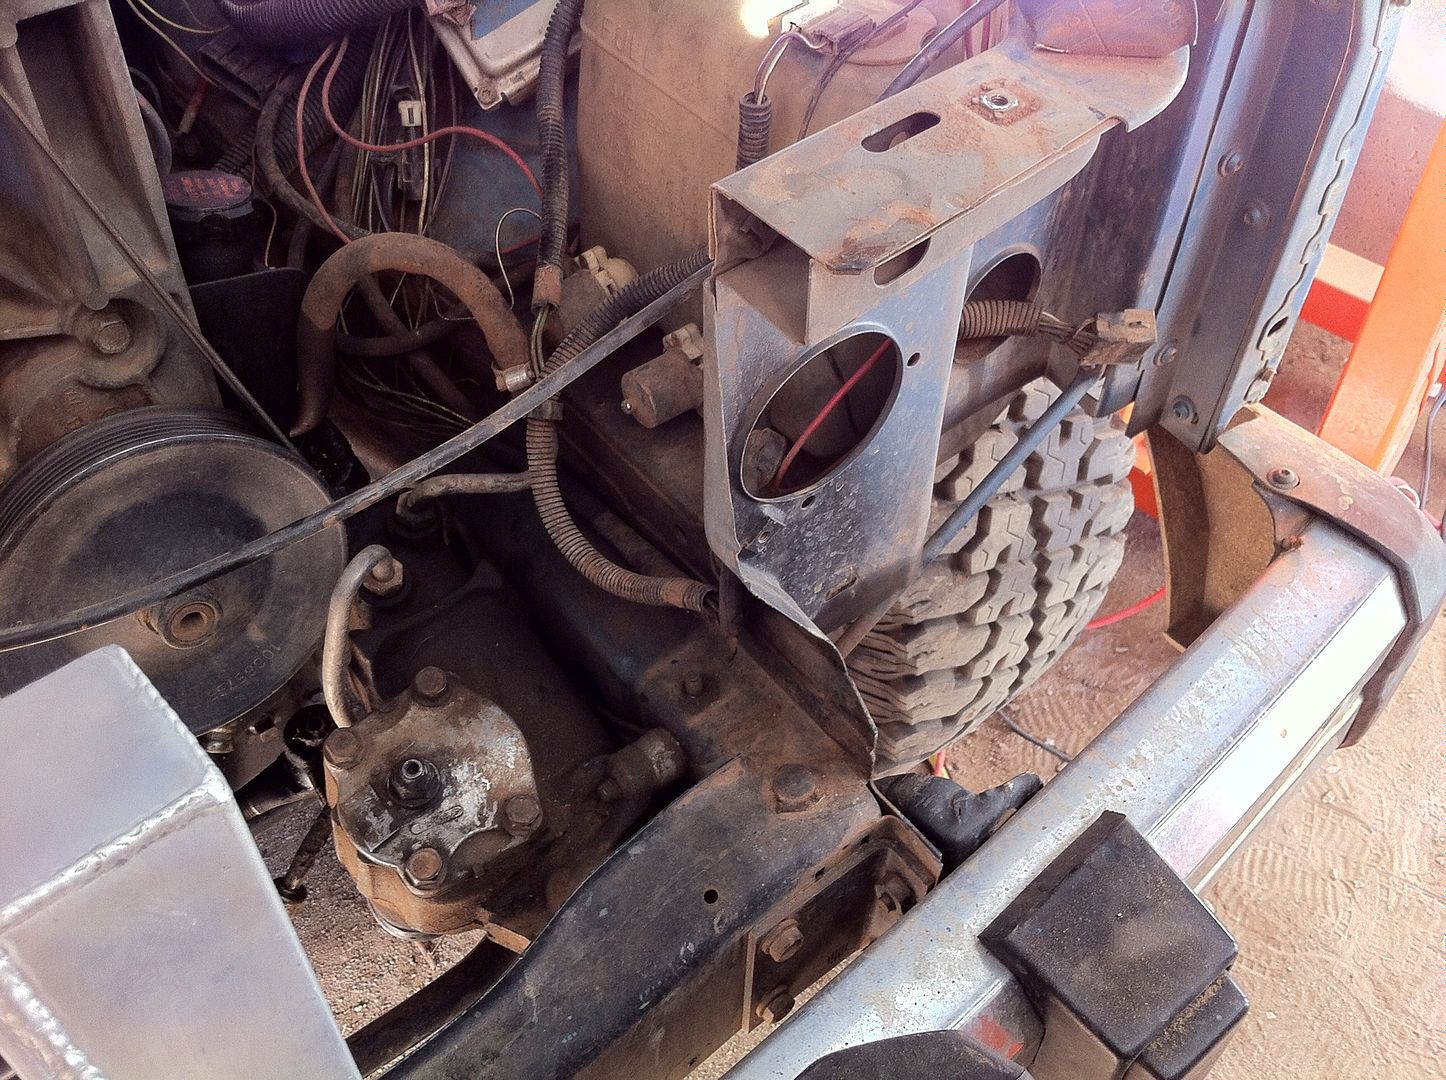
Here's the main cuts and folds:

The main work was in bending the flanges over that are on the top of the frame rails in front of the inner fenders. Also the supports for the upper crossmember had to be shortened. Luckily I could leave just enough to keep the original weld nuts in place. I had to notch the inner fender floor a bit on the driver's side to make room for the fluid cooler fitting. The upper cross member had to have it's vertical brace removed and all the bumps and notches for the hood latch flattened.
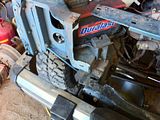
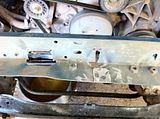
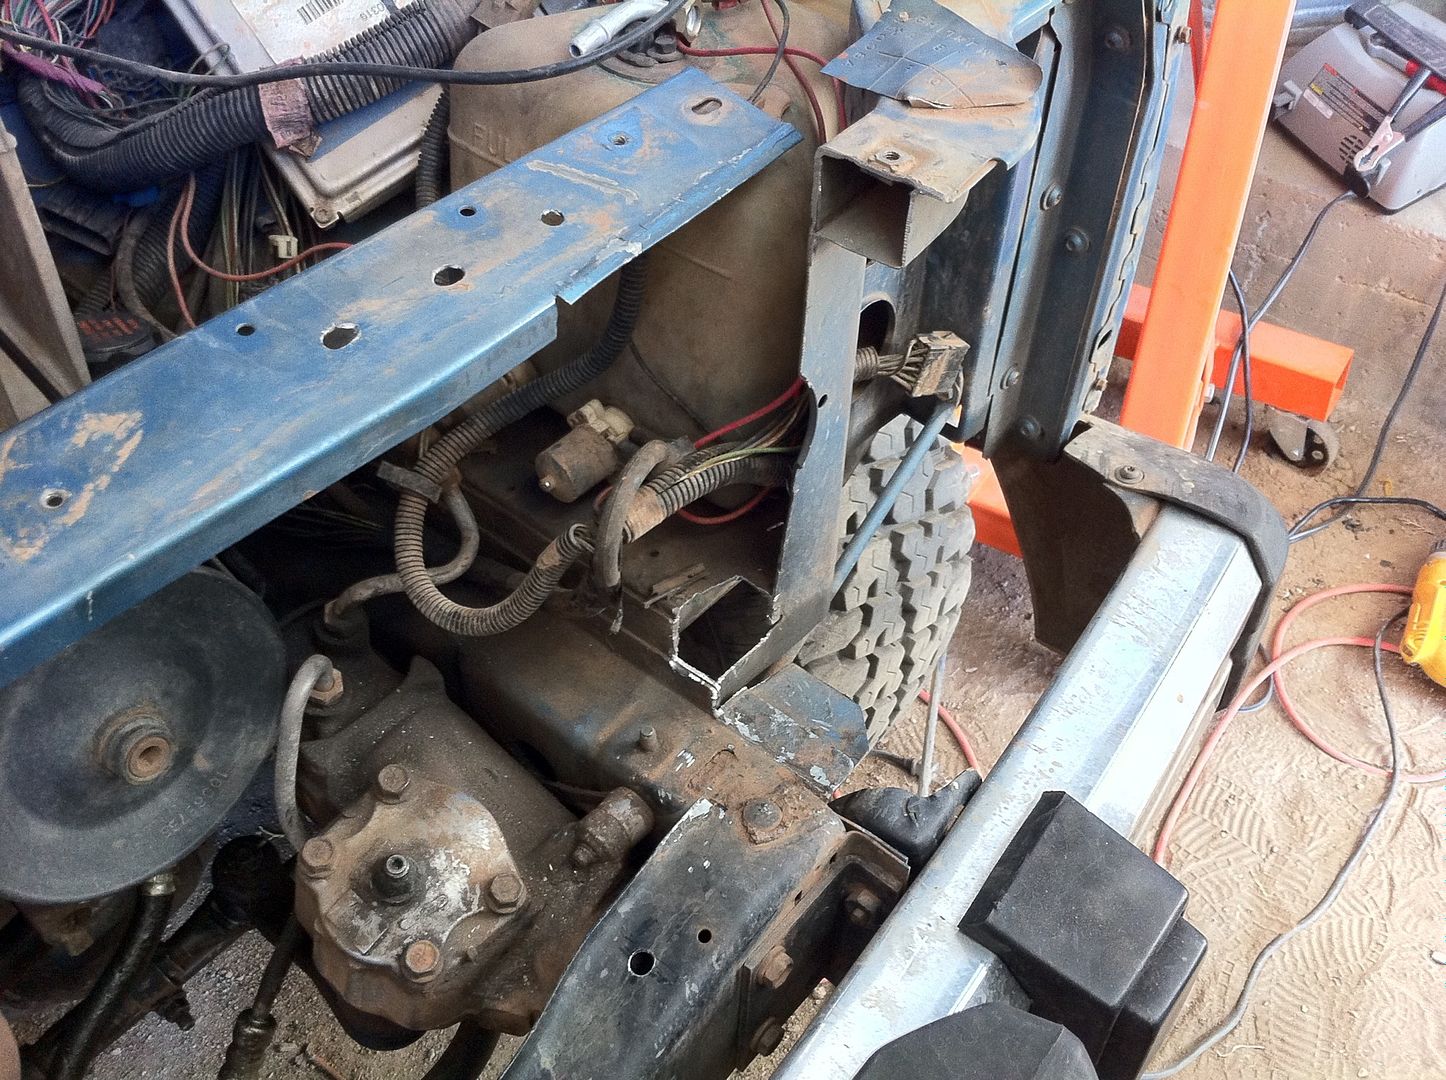
Here's what it looks like with the radiator in place:

Now there's plenty of space for the huge Taurus fan:
I just need to grind a bit more for better fit, then bolt it all back together and find some new hoses. Then figure out how to attach the fans.
Heres what the sheet metal looked like at the start:
Here's the main cuts and folds:

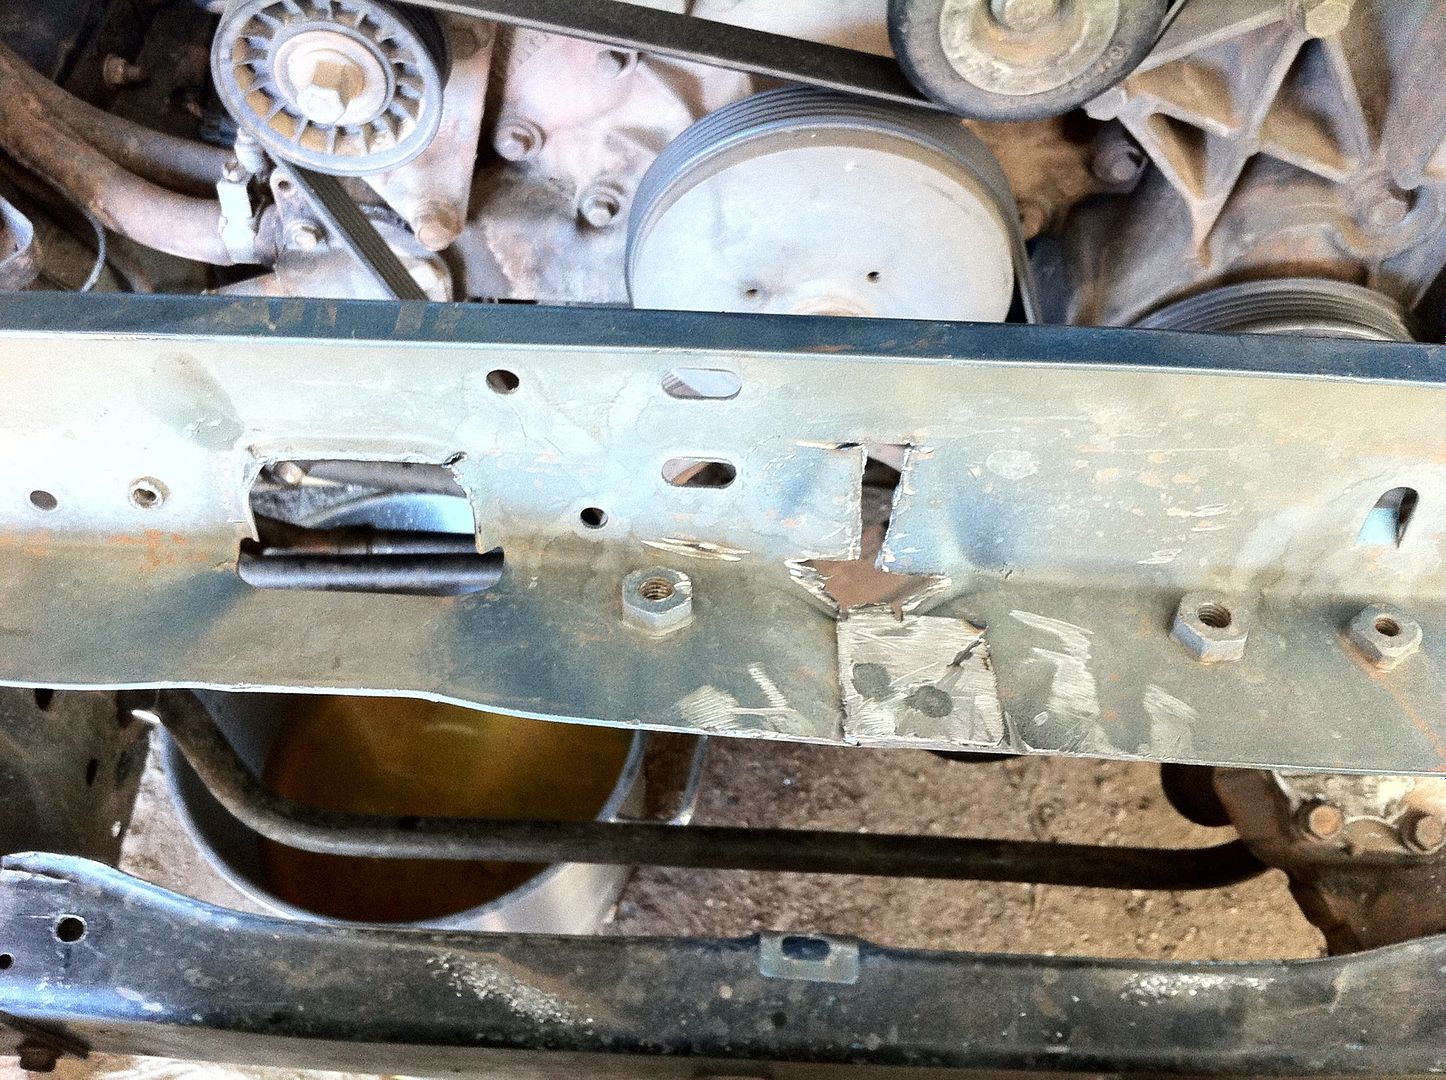
The main work was in bending the flanges over that are on the top of the frame rails in front of the inner fenders. Also the supports for the upper crossmember had to be shortened. Luckily I could leave just enough to keep the original weld nuts in place. I had to notch the inner fender floor a bit on the driver's side to make room for the fluid cooler fitting. The upper cross member had to have it's vertical brace removed and all the bumps and notches for the hood latch flattened.
Here's what it looks like with the radiator in place:
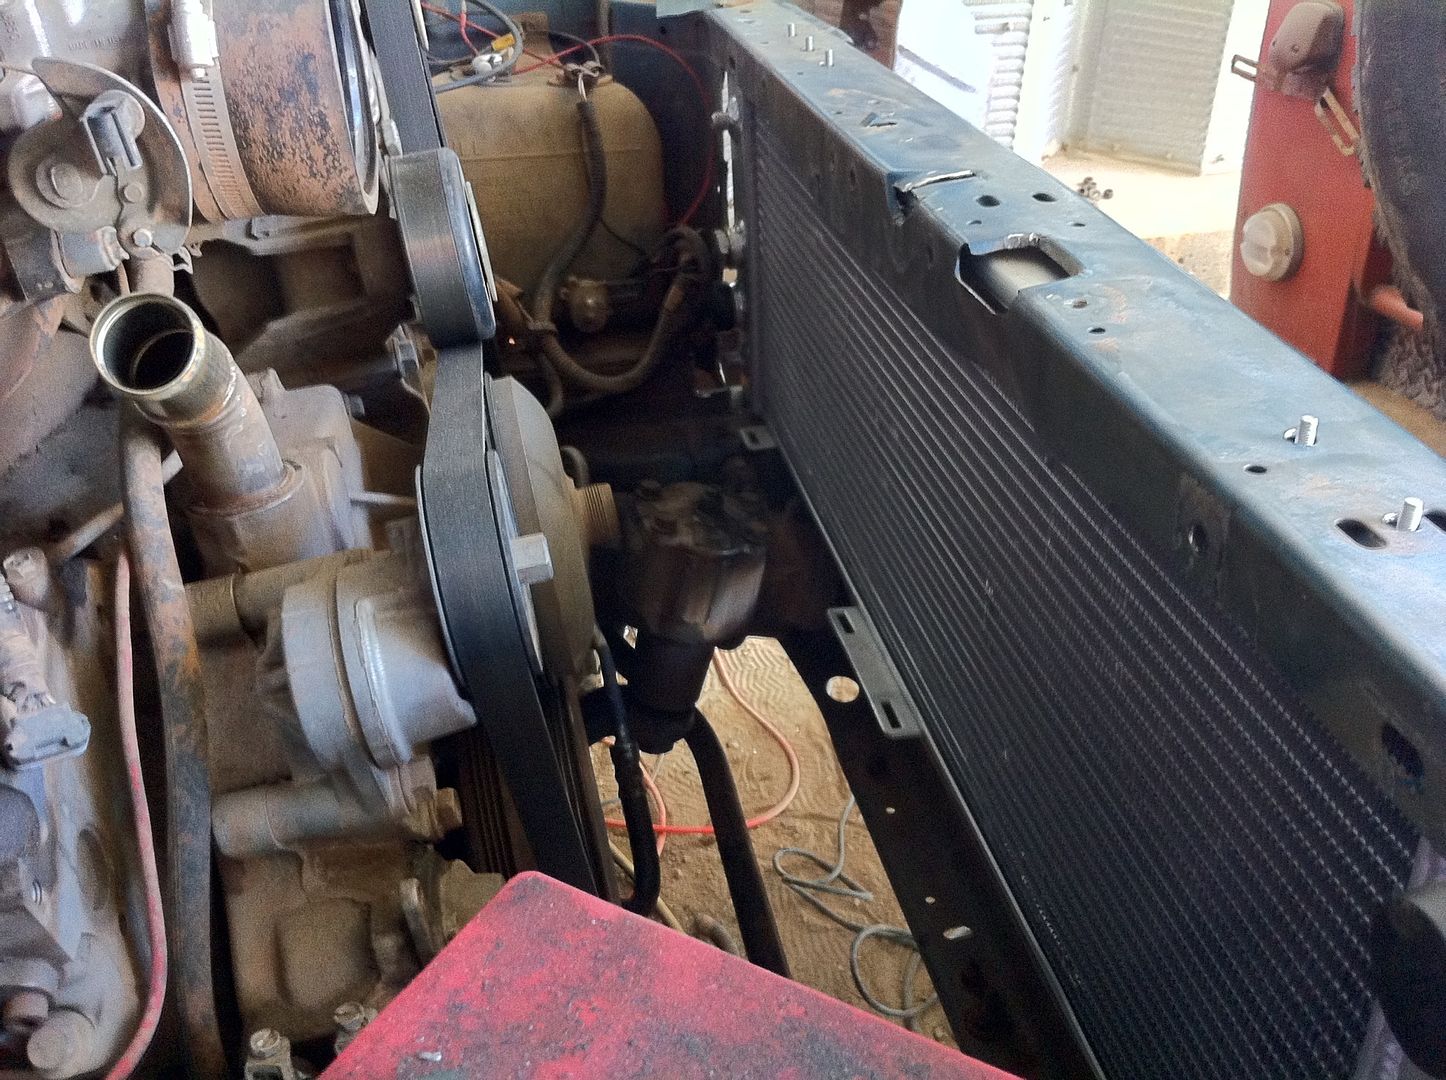
Now there's plenty of space for the huge Taurus fan:

I just need to grind a bit more for better fit, then bolt it all back together and find some new hoses. Then figure out how to attach the fans.
11-19-2012, 01:32 AM
#33
Junior Member
Join Date: Jun 2012
Location: Springfield Mo
Posts: 46
Likes: 0
Received 0 Likes
on
0 Posts
Year: 1990
Model: Cherokee
Engine: 4.0
for attaching the fan, you can get these little things that pull througn the radiator, that are for putting a fan on there. theyre a bit like a zip tie, with 2 parts. great build by the way!
11-19-2012, 10:09 PM
#34
Seasoned Member
Thread Starter
Join Date: Oct 2012
Location: Sedalia, Colorado
Posts: 340
Likes: 0
Received 0 Likes
on
0 Posts
Year: 1986
Model: Cherokee
Engine: 5.3L Vortec V8
I went to the junk yard today and found the last remaining XJ auxiliary fan in the lot, out of a dozen or so XJs there. That's one fan and shroud figured out. For the other I'm planning to run my 16" generic fan unshrouded and zip tied through the rad for the time being. I'll probably work on fitting the Taurus fan ultimately, but the generic fan will be quicker to install and get me back on the road sooner.
11-25-2012, 08:59 PM
#35
Seasoned Member
Thread Starter
Join Date: Oct 2012
Location: Sedalia, Colorado
Posts: 340
Likes: 0
Received 0 Likes
on
0 Posts
Year: 1986
Model: Cherokee
Engine: 5.3L Vortec V8
For the time being I've zip tied my 16" and one 12" generic fans through the radiator and wired them up.

I used a 20" flex hose for the top and a cut up random hose I found at the auto parts store and a 2' piece of exhaust pipe for the lower hose. I used a 3/4" barbed T and plumbed an 87-89 Cherokee surge bottle into the heater line. I connected the engine's steam vent hose to the upper port of the surge tank. Eventually I plan to get a bigger metal surge tank, but the plastic one works great for right now.
I tested it idling in my car port for about half an hour and verified that both fans came on at the specified temp. The 16" fan brings the temp back down pretty quickly now.
To test we drove up Argentine Pass. I didn't notice any heat problems, so I'm declaring the radiator and fans done for now.
11-25-2012, 09:12 PM
#36
Seasoned Member
Thread Starter
Join Date: Oct 2012
Location: Sedalia, Colorado
Posts: 340
Likes: 0
Received 0 Likes
on
0 Posts
Year: 1986
Model: Cherokee
Engine: 5.3L Vortec V8
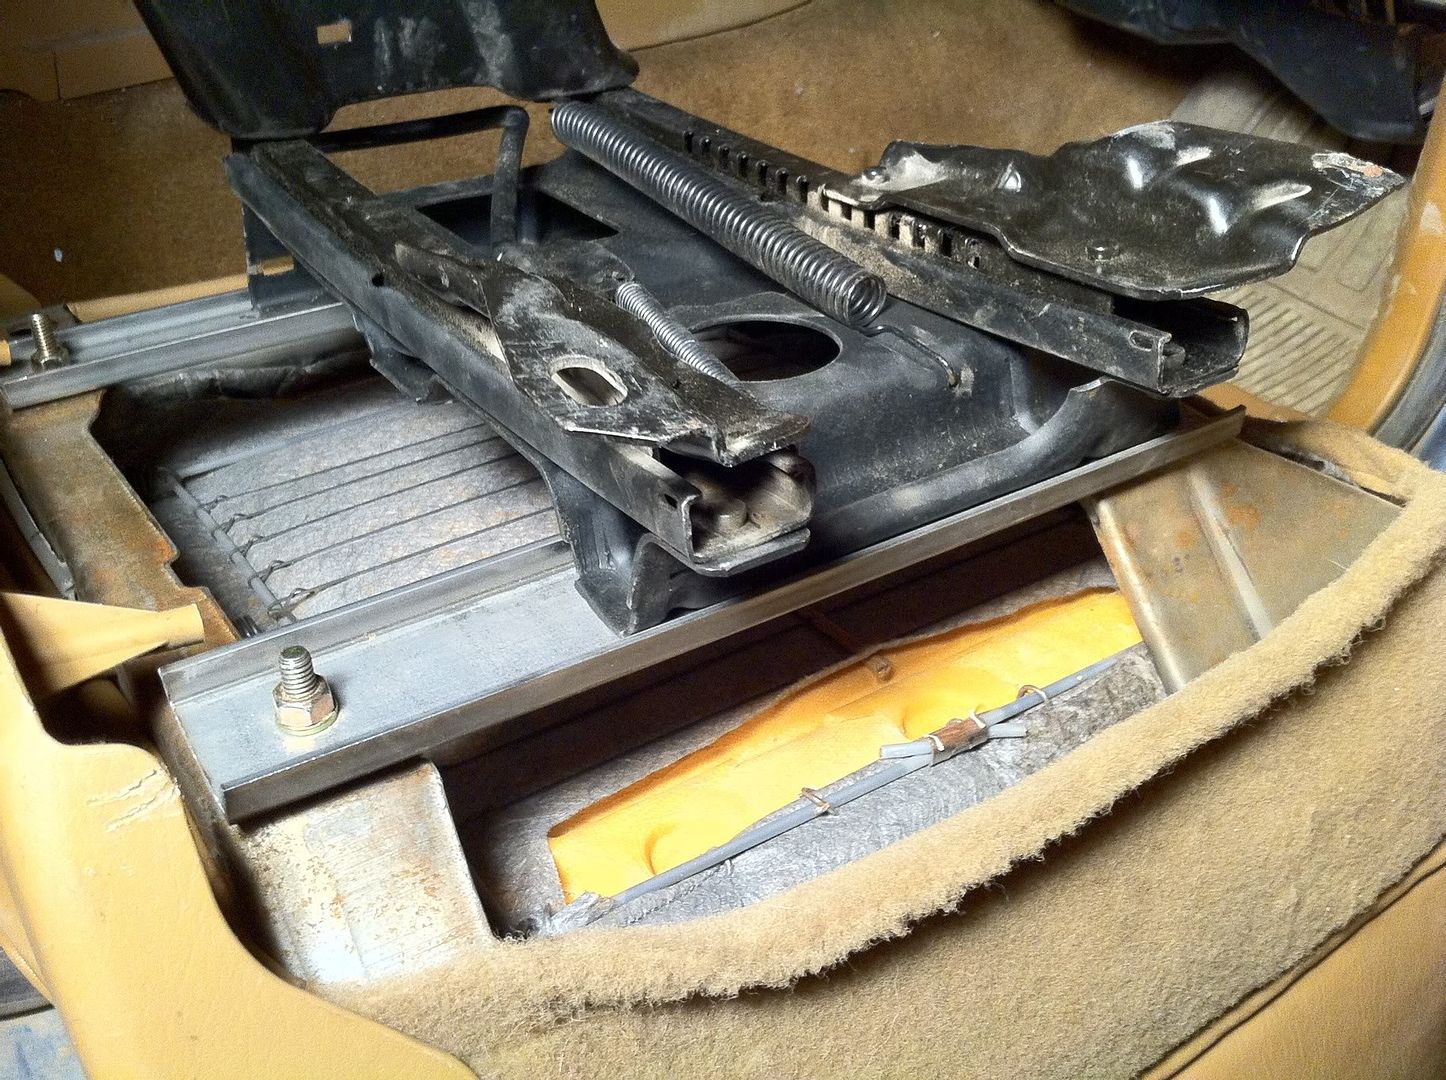
A while ago I got some tan cloth seats from a late model Cherokee that are in ok condition. About as good as the driver seat I had, but without a broken, falling over back. Saturday night we set out to install them.
I hate the design of the early Cherokee seats with the curved rails. It's nothing like any other car seat I've ever seen, and they adjust in ways that I can't even imagine being useful. Mine didn't adjust right, and so was always uncomfortable, and it was falling over to boot.
We pulled the seats off the floor and then spent a while figuring out how the hell to get the brackets and sliders apart. Sunday we went to Home Depot and grabbed some steel channel to adapt the bolt pattern to fit the new seats.
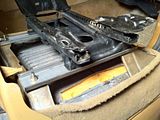
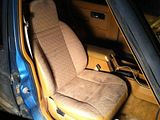
I've installed the passenger seat today. The driver's seat is almost done, but I've called it a night.
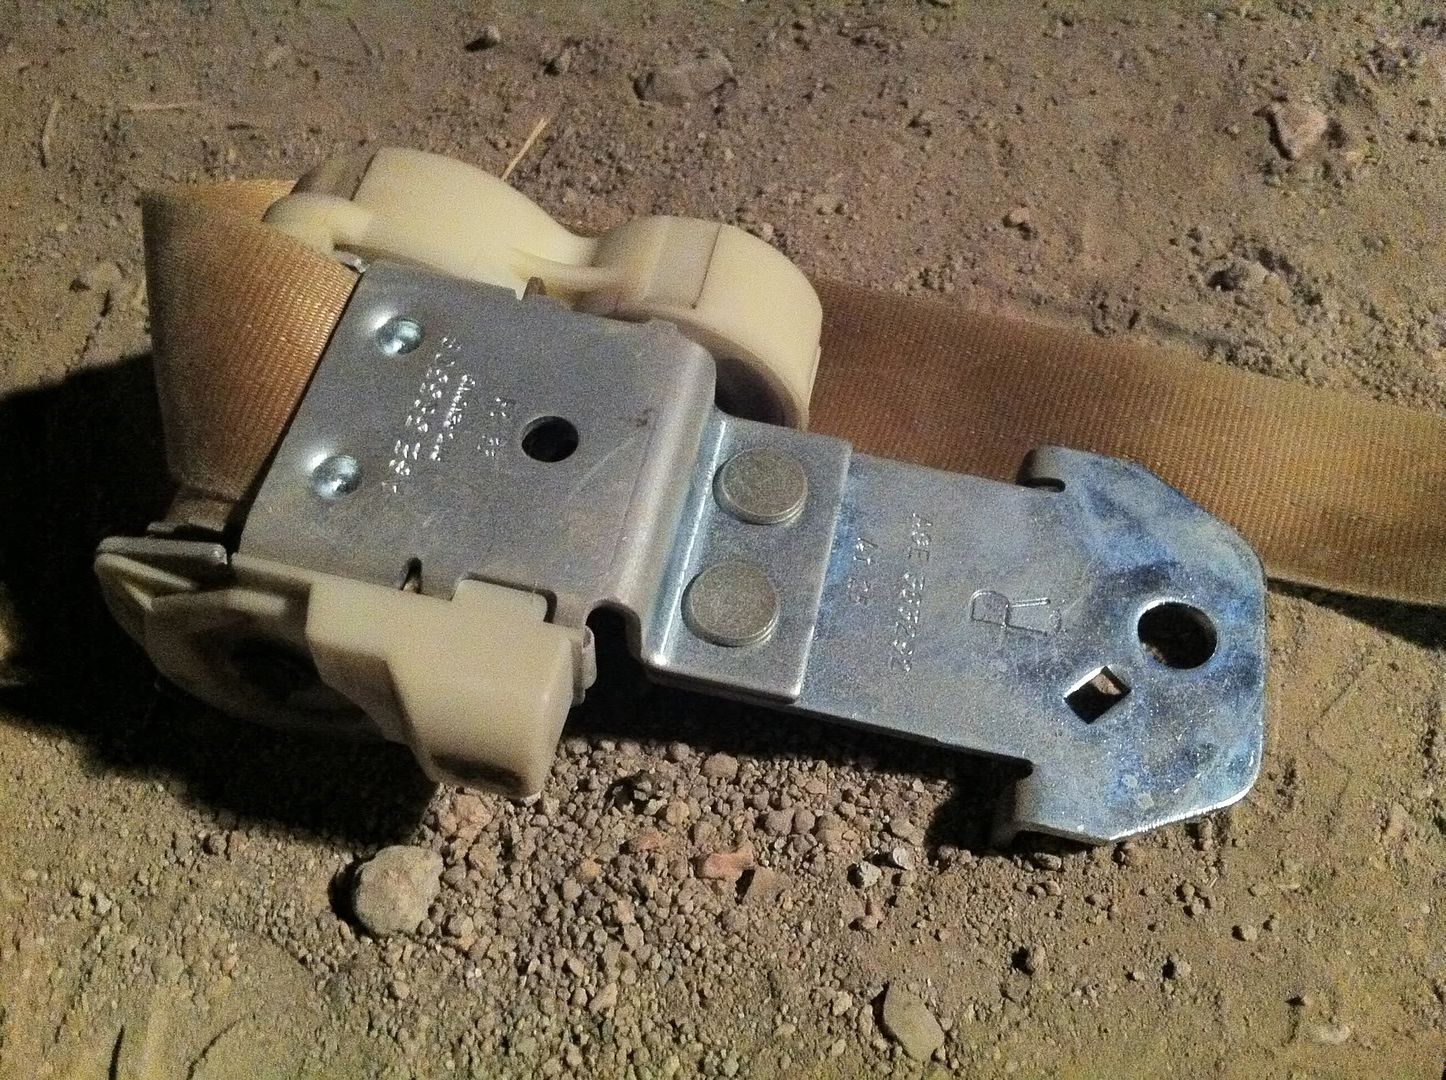
I got new seatbelts for my birthday and since we had the seats out we figured it would be a good time to install them. It took a bit of work to figure out how to mount them. Ultimately I decided to cut the old retractor off of the metal tab it was attached to and bolt the new belt retractor to that.

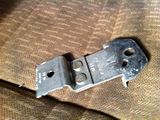
My old seatbelt buckles were completely broken and only latched through some ingenuity, and required a "tool" to unlatch. These will be a huge improvement.
I hate the design of the early Cherokee seats with the curved rails. It's nothing like any other car seat I've ever seen, and they adjust in ways that I can't even imagine being useful. Mine didn't adjust right, and so was always uncomfortable, and it was falling over to boot.
We pulled the seats off the floor and then spent a while figuring out how the hell to get the brackets and sliders apart. Sunday we went to Home Depot and grabbed some steel channel to adapt the bolt pattern to fit the new seats.

I've installed the passenger seat today. The driver's seat is almost done, but I've called it a night.
I got new seatbelts for my birthday and since we had the seats out we figured it would be a good time to install them. It took a bit of work to figure out how to mount them. Ultimately I decided to cut the old retractor off of the metal tab it was attached to and bolt the new belt retractor to that.

My old seatbelt buckles were completely broken and only latched through some ingenuity, and required a "tool" to unlatch. These will be a huge improvement.
11-28-2012, 09:27 AM
#37
Seasoned Member
Thread Starter
Join Date: Oct 2012
Location: Sedalia, Colorado
Posts: 340
Likes: 0
Received 0 Likes
on
0 Posts
Year: 1986
Model: Cherokee
Engine: 5.3L Vortec V8
My new seats and seatbelts are in and I drove 150 miles with them yesterday. On the highway these late model XJ seats are a huge improvement over my original seats, even if they weren't broken. I can't wait to try them on some trails.
11-28-2012, 10:53 AM
#38
Newbie
Join Date: Nov 2012
Location: Minnesota
Posts: 18
Likes: 0
Received 0 Likes
on
0 Posts
Year: 1999
Model: Cherokee
Engine: 4.0
I picked up a non disconnect high pinion Dana 30 from a '98 XJ for $50 today. I will work on cleaning it up and twisting the housing to get a better pinion angle without ruining my caster angle, then bolt it in.
Before I can install it though I need to find some adjustable upper control arms. Are any of the sets for less than $175 any good or are they all trash?
Before I can install it though I need to find some adjustable upper control arms. Are any of the sets for less than $175 any good or are they all trash?
http://www.ironrockoffroad.com/Merch...egory_Code=XSP
11-28-2012, 11:13 AM
#39
Seasoned Member
Thread Starter
Join Date: Oct 2012
Location: Sedalia, Colorado
Posts: 340
Likes: 0
Received 0 Likes
on
0 Posts
Year: 1986
Model: Cherokee
Engine: 5.3L Vortec V8
Originally Posted by XJ-Jake
Control arms. These guys make good stuff and are awesome to deal with.
http://www.ironrockoffroad.com/Merch...egory_Code=XSP
11-30-2012, 10:13 AM
#40
Newbie
Join Date: Mar 2012
Location: Albertville, MN
Posts: 14
Likes: 0
Received 0 Likes
on
0 Posts
Year: 1999
Model: Cherokee
Engine: 4.0
Iron Rock has the flex joints listed under 'Universals Parts'. Give them a call and tell them what your looking for. Great guys to work with. They've answered too many of my questions
11-30-2012, 11:33 AM
#41
Newbie
Join Date: Nov 2012
Location: Minnesota
Posts: 18
Likes: 0
Received 0 Likes
on
0 Posts
Year: 1999
Model: Cherokee
Engine: 4.0
12-01-2012, 05:50 PM
#43
Seasoned Member
Thread Starter
Join Date: Oct 2012
Location: Sedalia, Colorado
Posts: 340
Likes: 0
Received 0 Likes
on
0 Posts
Year: 1986
Model: Cherokee
Engine: 5.3L Vortec V8
I have hated the horrible flat black rattle can paint job on my Jeep since the day I bought it. To that end I started painting it blue right from the start, a little at a time. That blue turned out to be too difficult for my meager painting skills and started to add up in rattle can cost rather quickly. Then everything fell apart and much bigger projects presented themselves.
With all the running gear finally in a more or less stable state, and with a bit of free time on my hands, I decided to start making her orange, which will be the final color. The hood scoop and roof will be white.
I sanded down the paint on the driver's side last night:
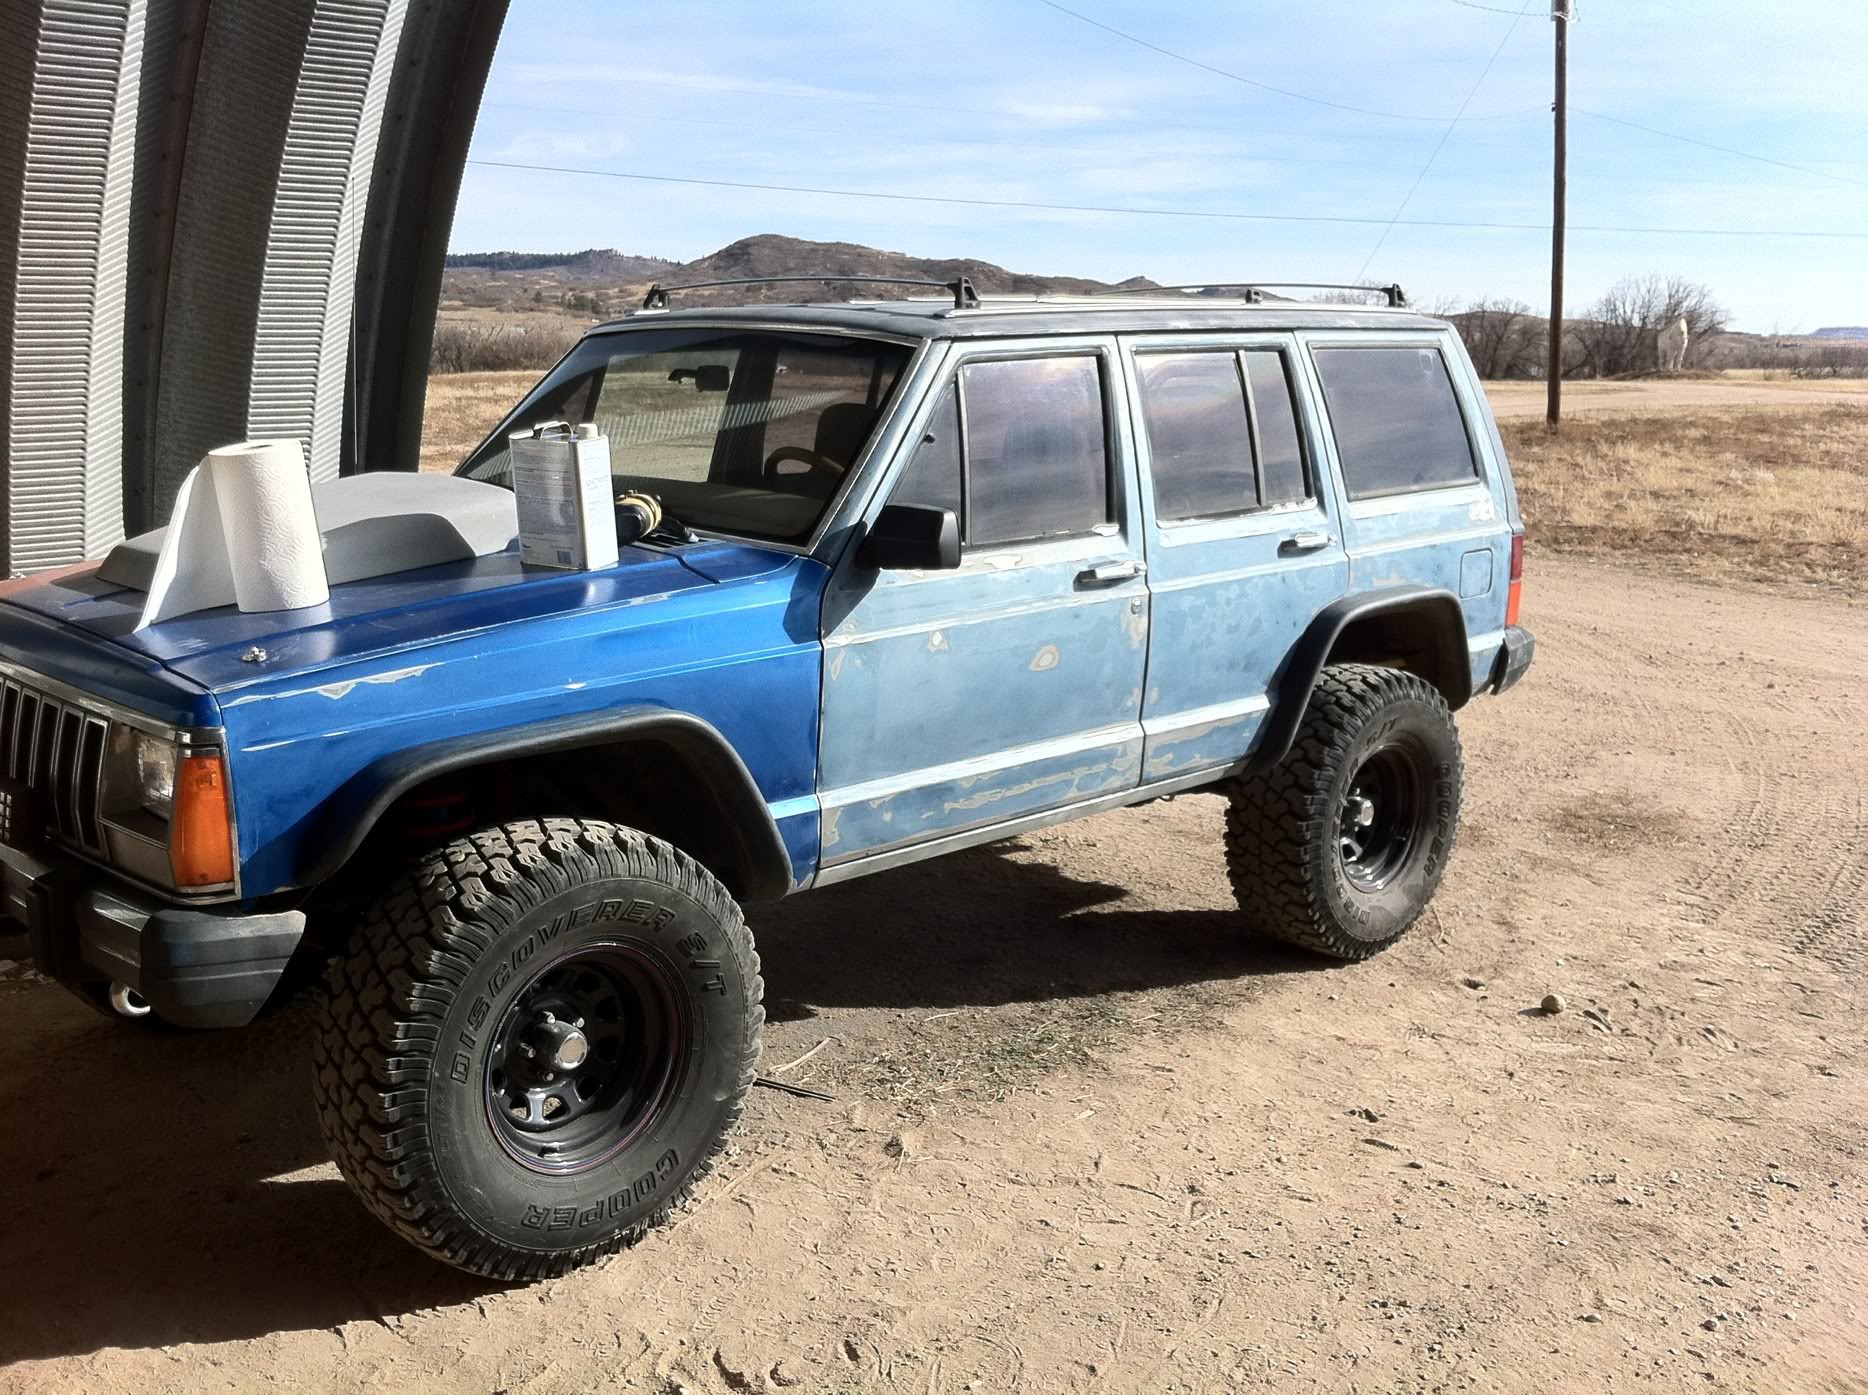
I masked it off and wiped it down with paint thinner this morning then started spraying:
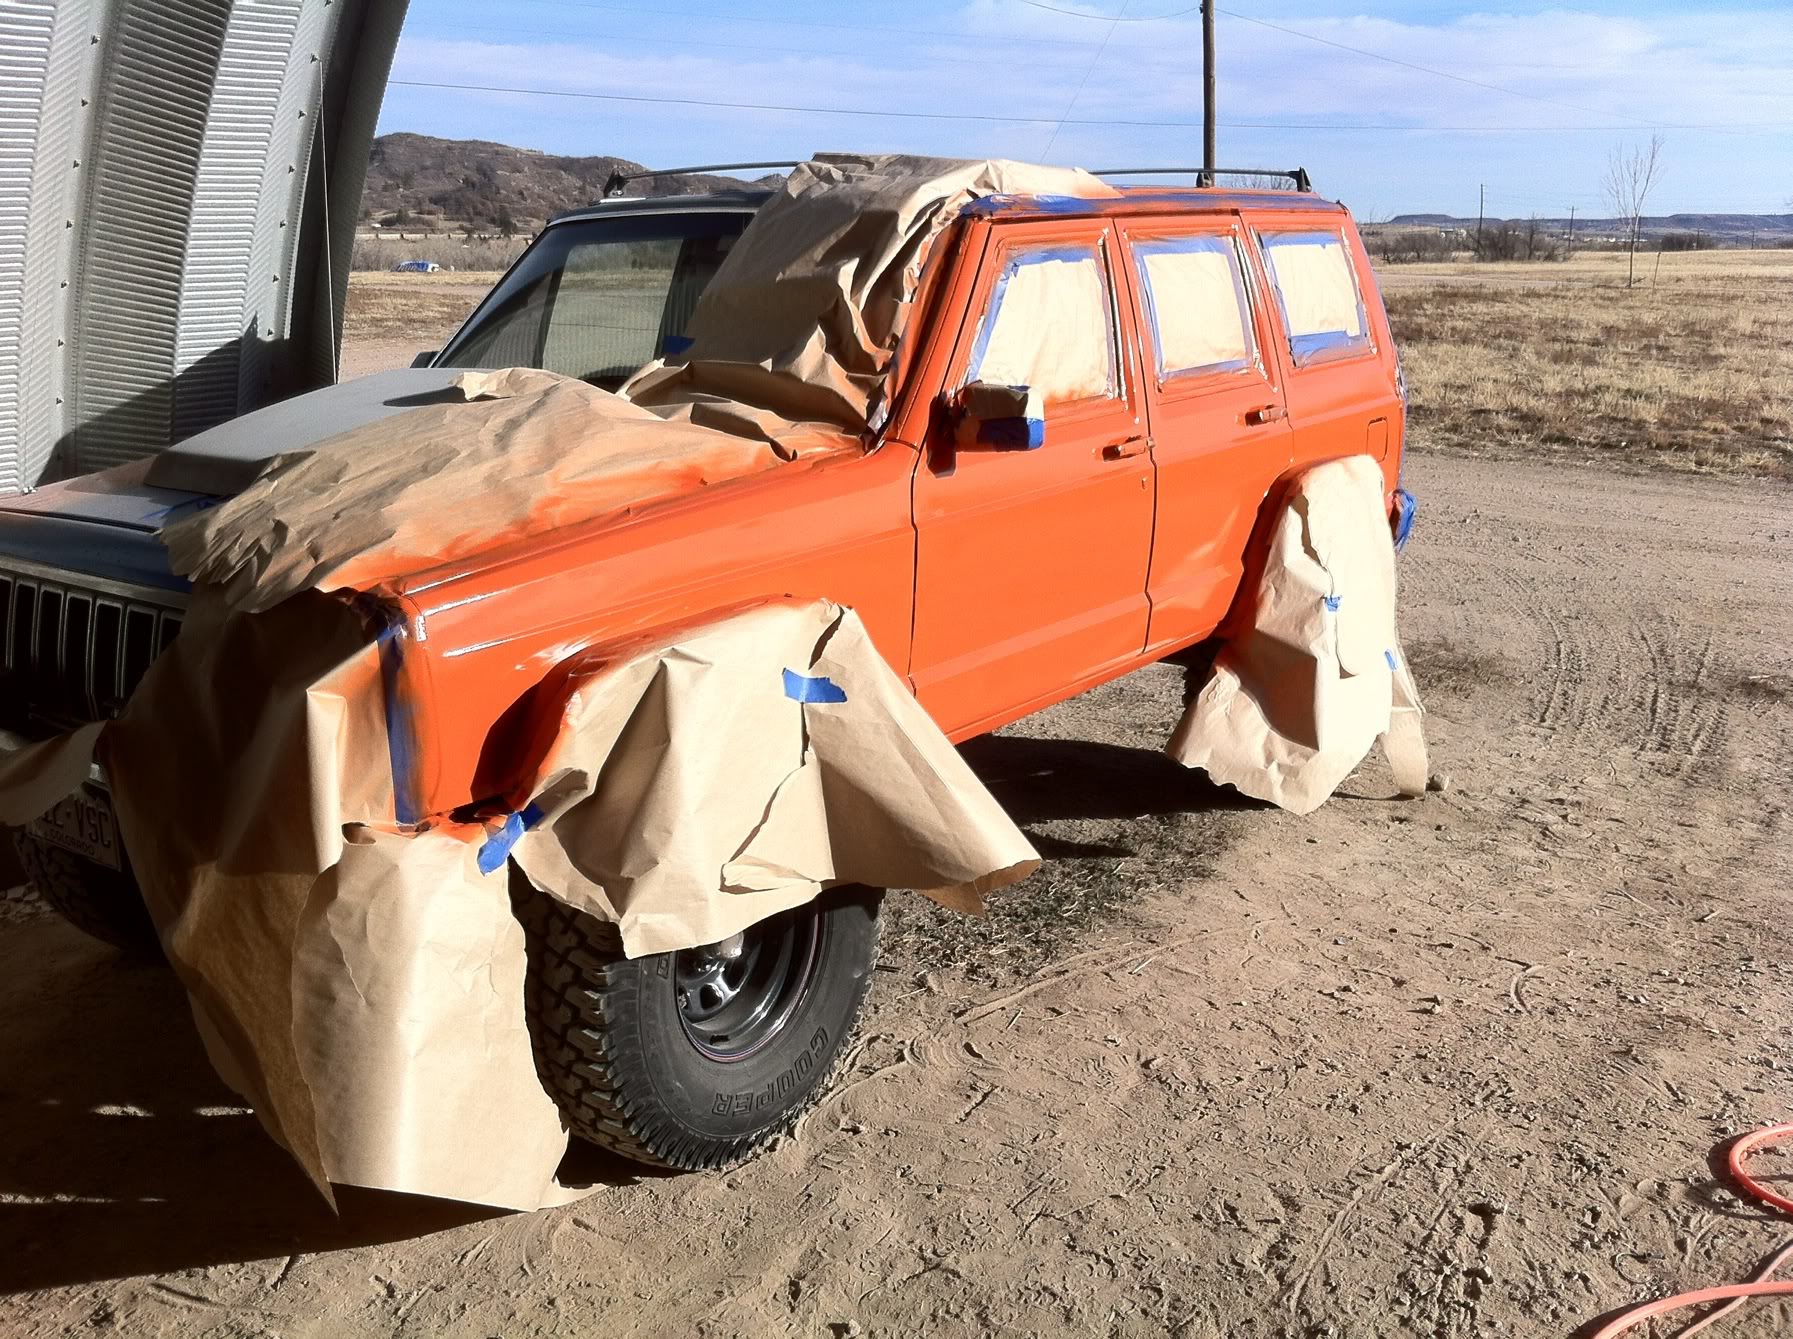
I think it looks pretty sharp:
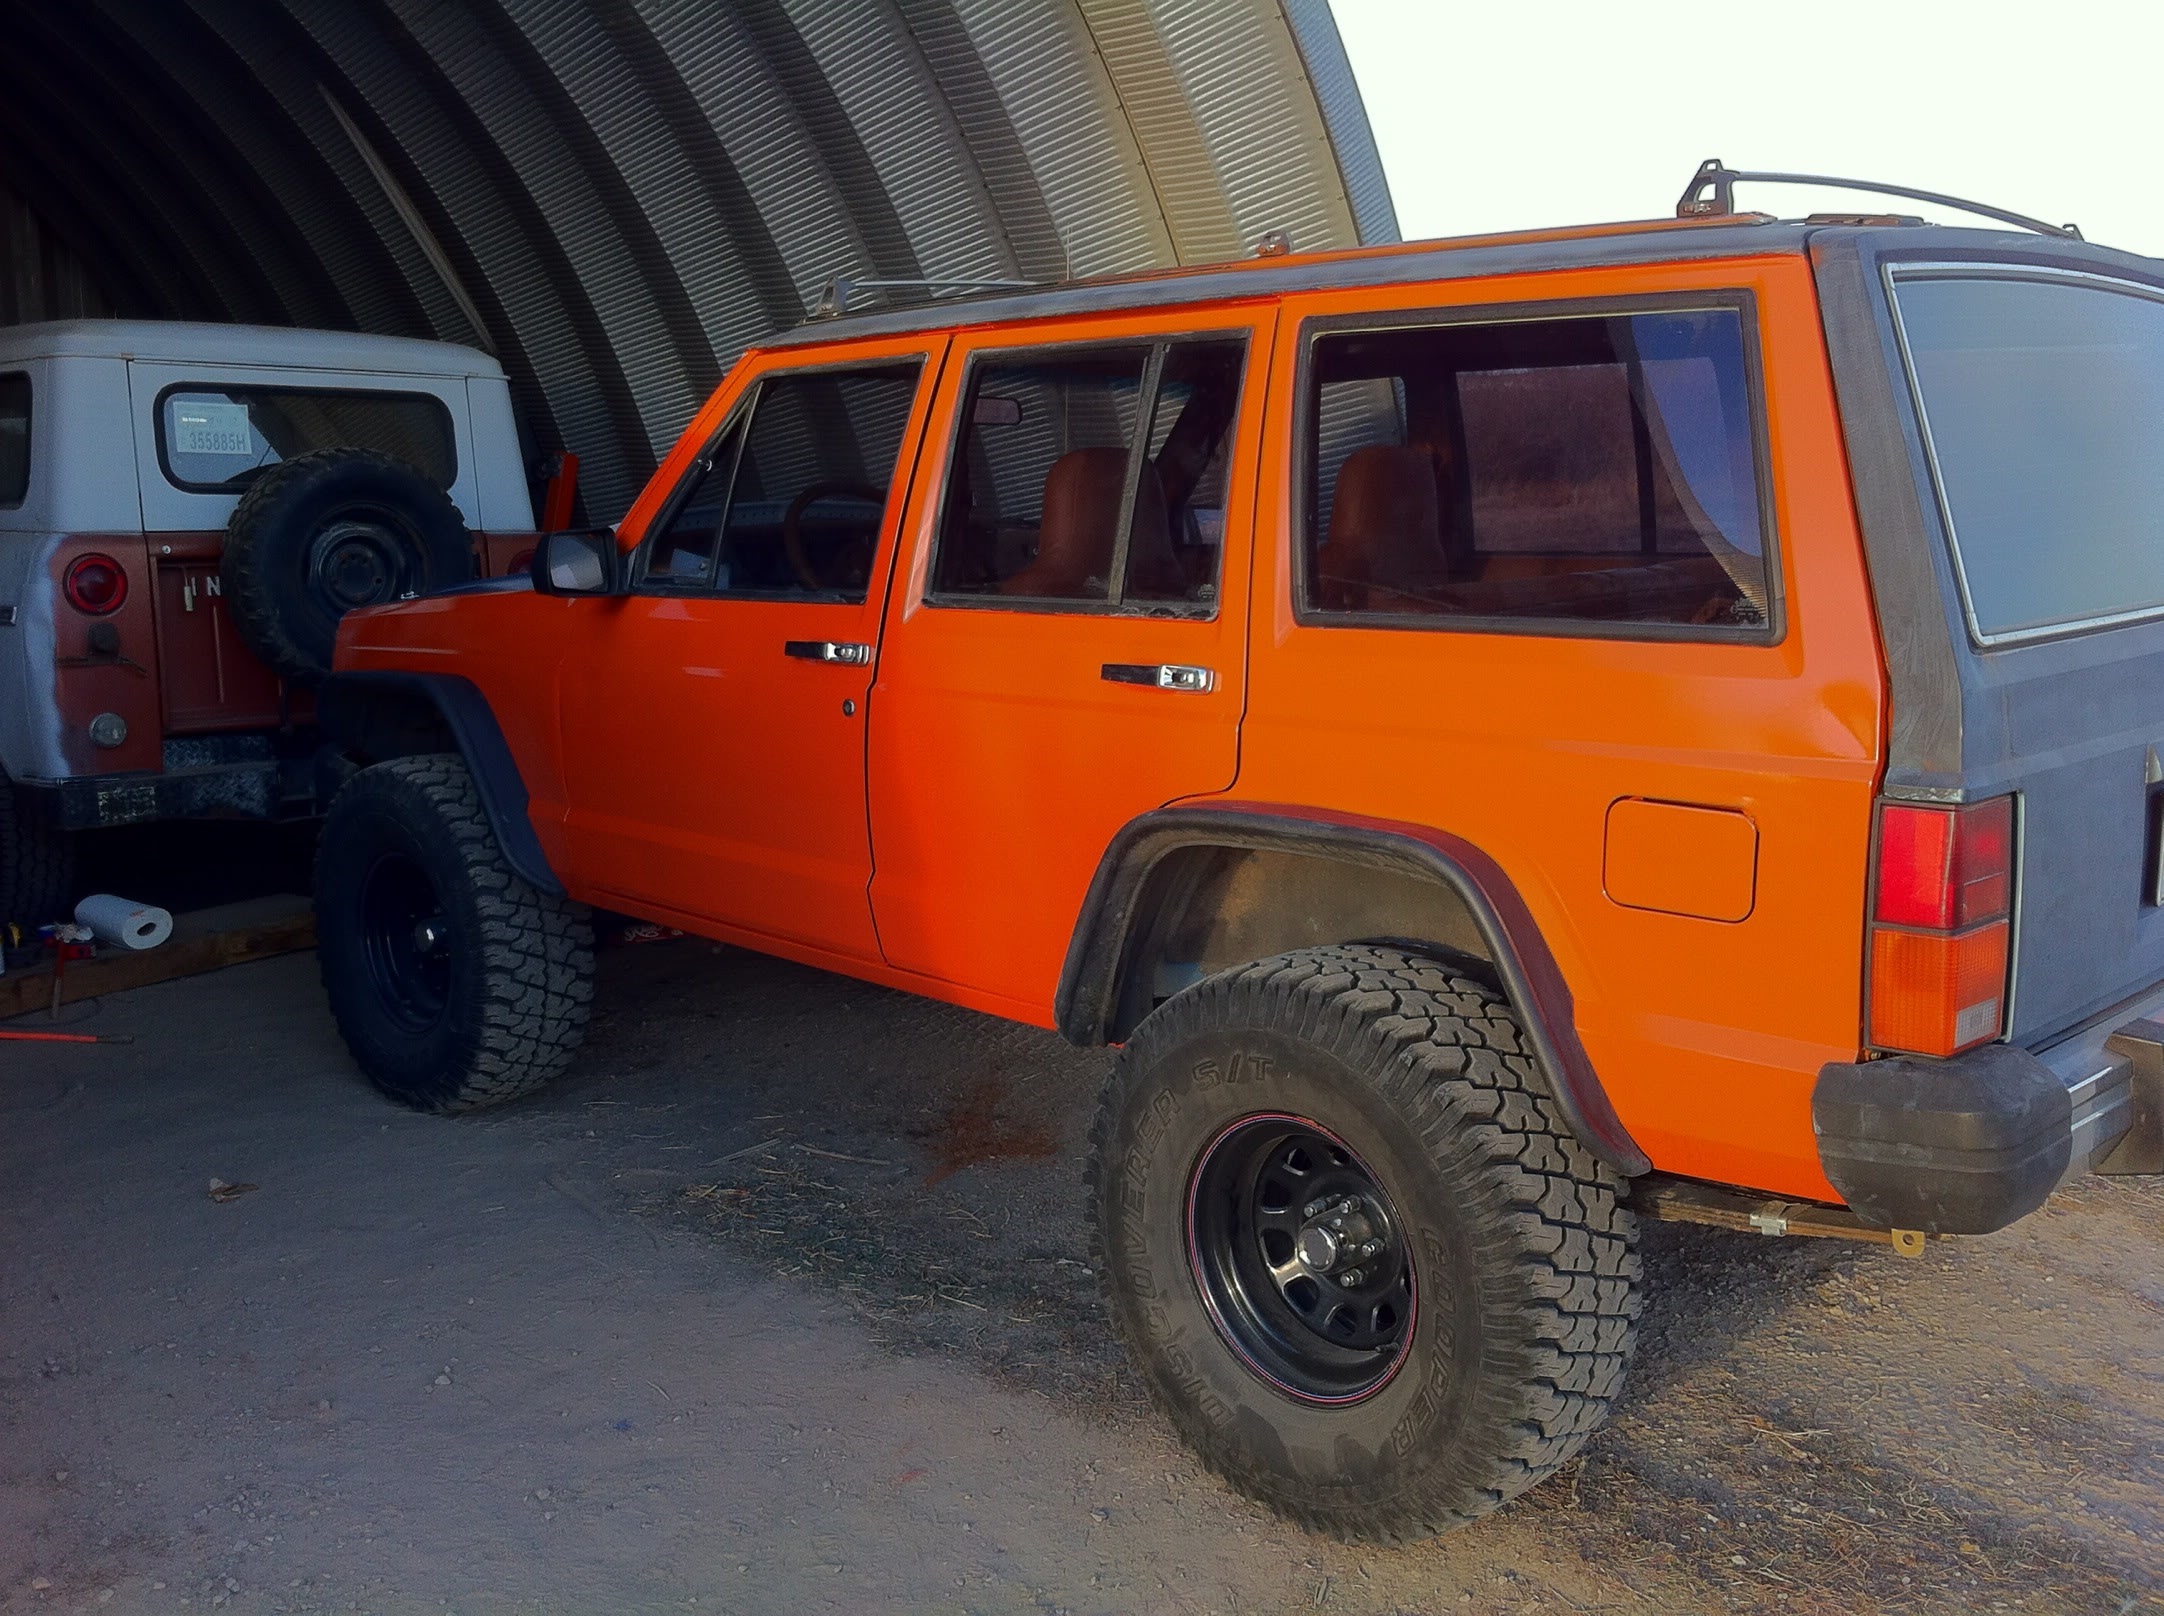

(No it is not Bronco's colors. I hate football and I hate to Bronco's even more, it's just orange and blue)
It came out pretty good considering my lack of experience, lack of good tools, lack of patience, lack of caring, and lack of a good workspace. It's a bit orange peely, and I got a couple slumps. But I think it is worlds better than the flat black. The guy didn't even wash the dirt off before he sprayed it black. I can always color sand it and buff it out if I decide to care.
With all the running gear finally in a more or less stable state, and with a bit of free time on my hands, I decided to start making her orange, which will be the final color. The hood scoop and roof will be white.
I sanded down the paint on the driver's side last night:
I masked it off and wiped it down with paint thinner this morning then started spraying:
I think it looks pretty sharp:
(No it is not Bronco's colors. I hate football and I hate to Bronco's even more, it's just orange and blue)
It came out pretty good considering my lack of experience, lack of good tools, lack of patience, lack of caring, and lack of a good workspace. It's a bit orange peely, and I got a couple slumps. But I think it is worlds better than the flat black. The guy didn't even wash the dirt off before he sprayed it black. I can always color sand it and buff it out if I decide to care.
12-06-2012, 07:22 PM
#44
Seasoned Member
Thread Starter
Join Date: Oct 2012
Location: Sedalia, Colorado
Posts: 340
Likes: 0
Received 0 Likes
on
0 Posts
Year: 1986
Model: Cherokee
Engine: 5.3L Vortec V8
Yesterday I went to DenCol and picked up some 0.125" wall 1.5x3" rectangle tubing and some flat plate to make up some simple rock sliders.
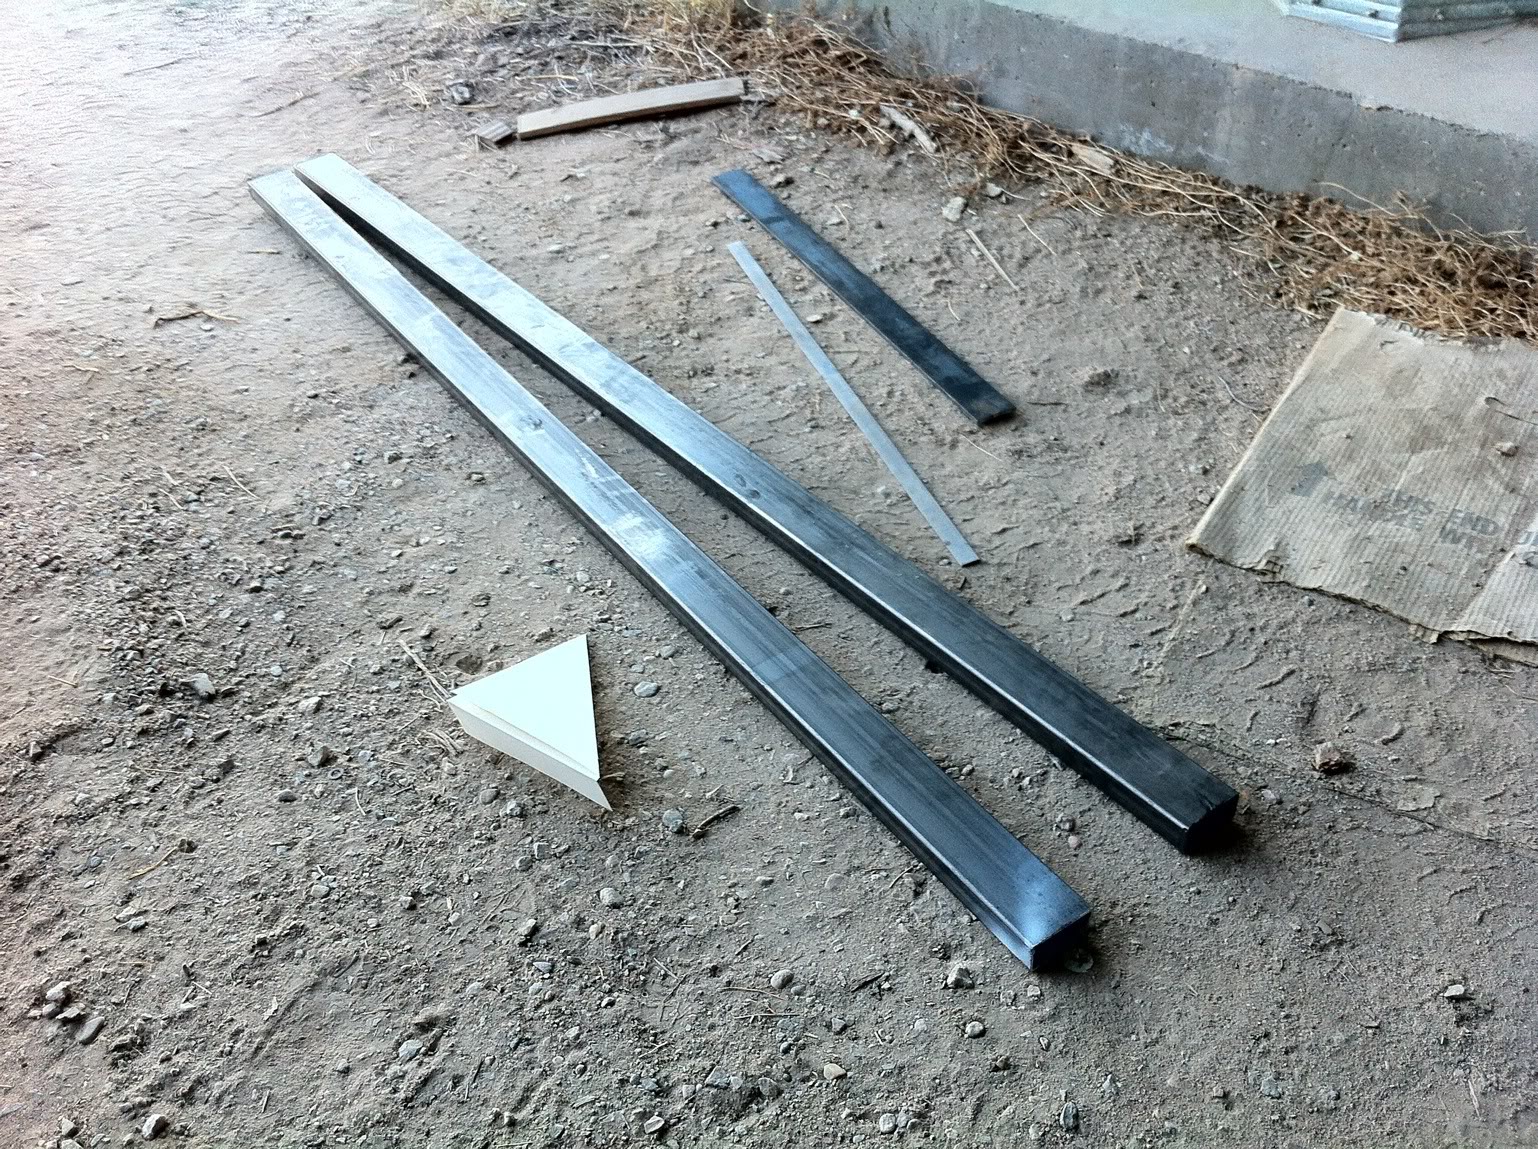
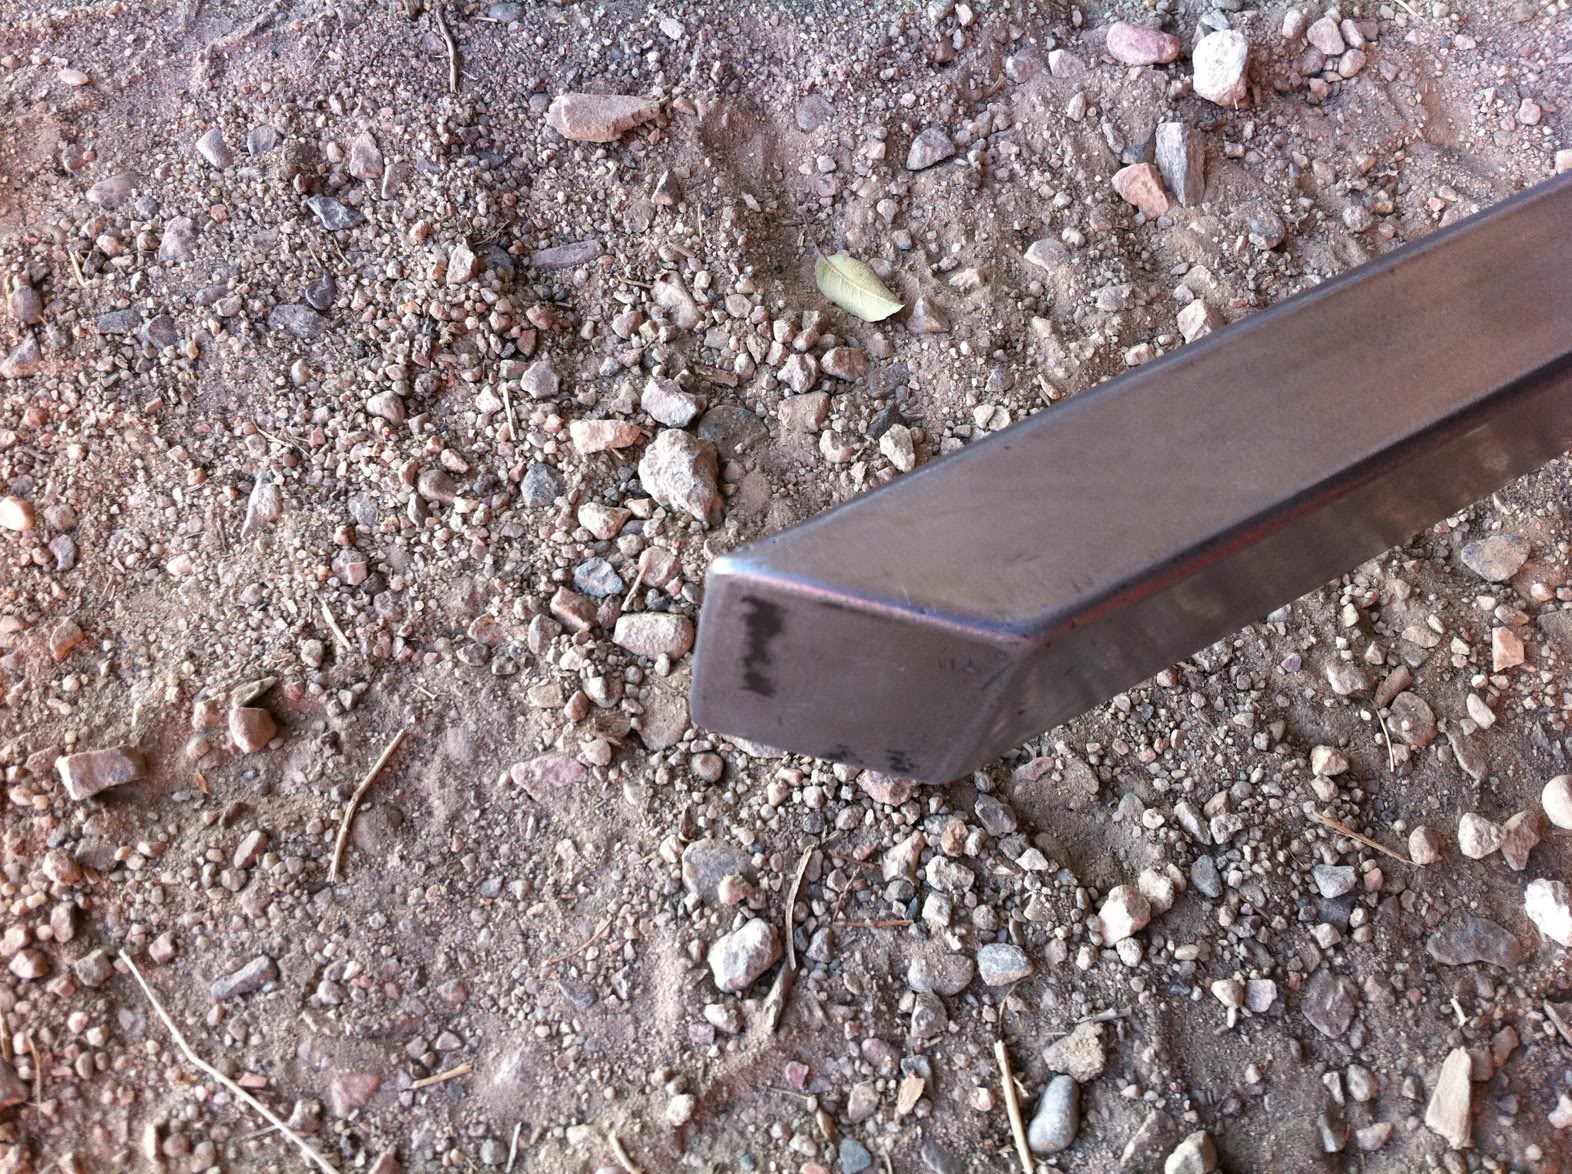
I cut the ends of the tube with my angle grinder at a 45� angle.
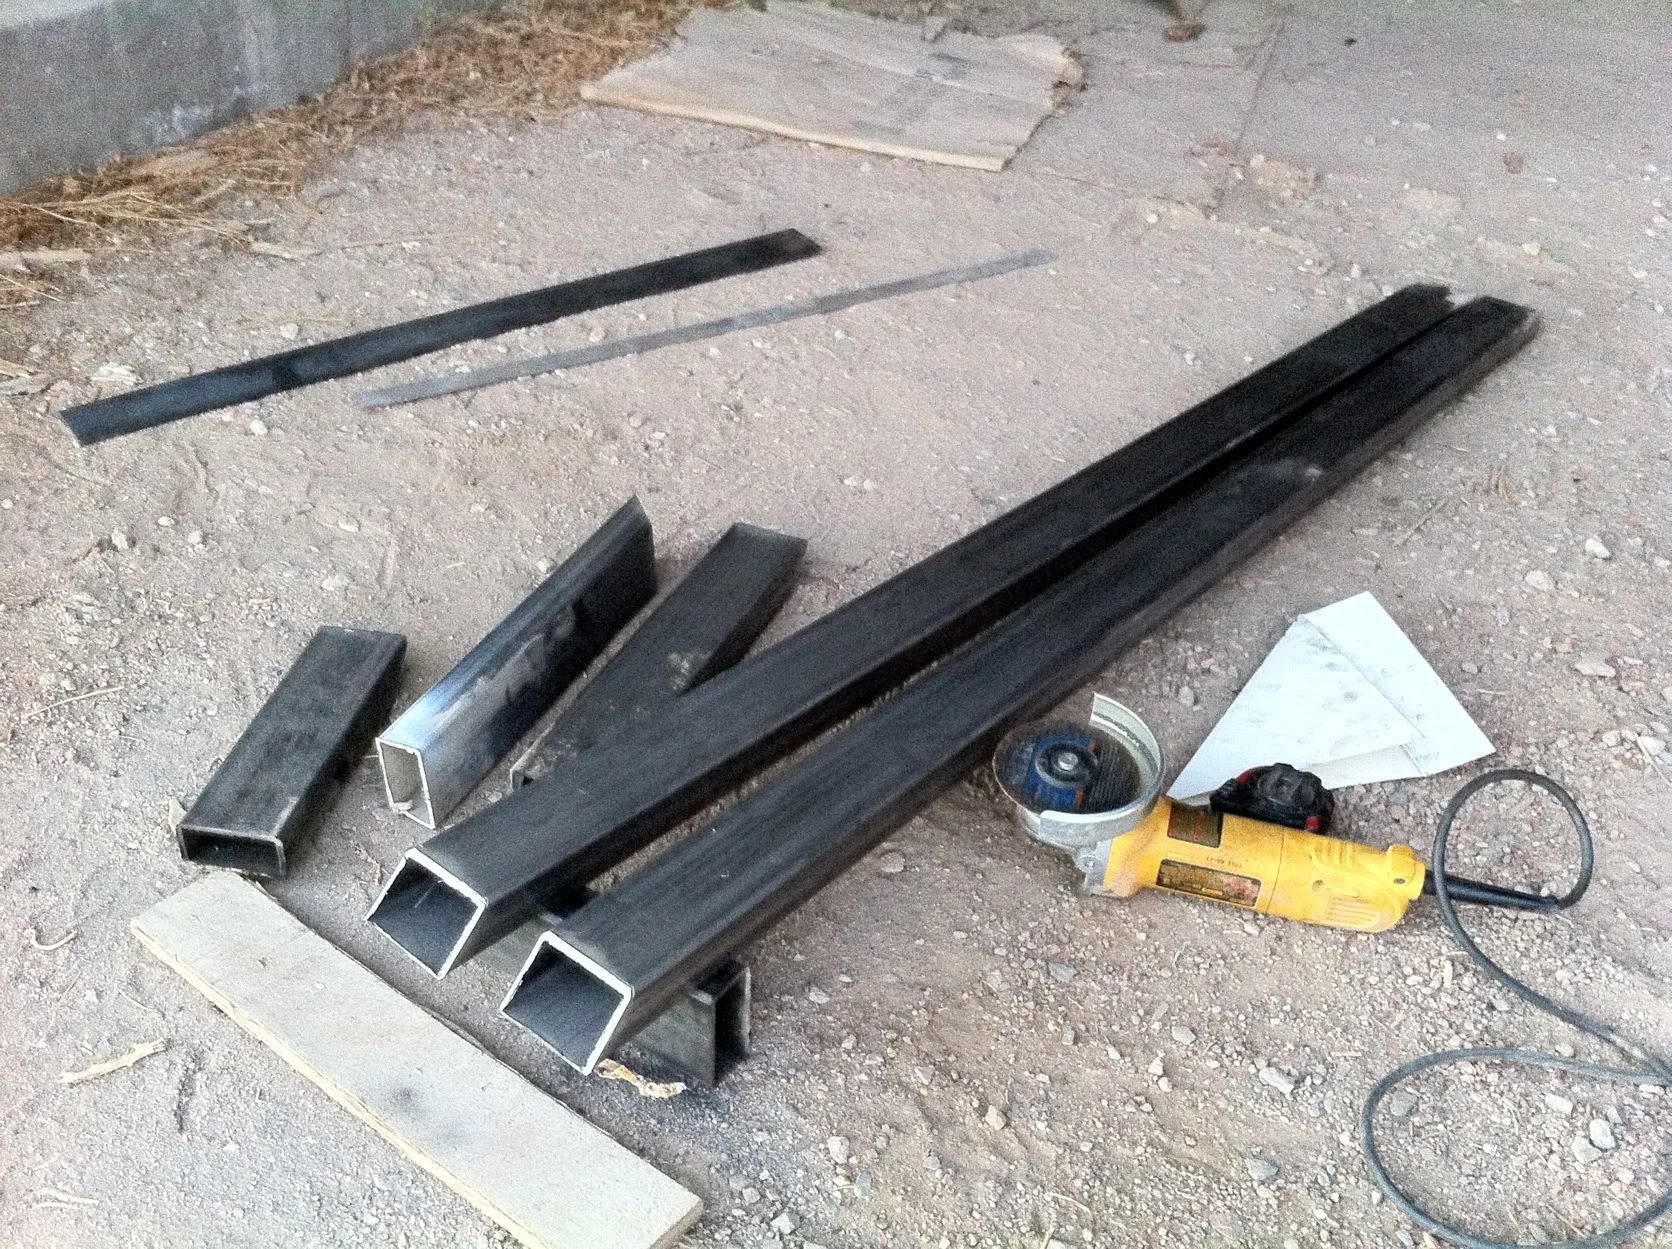
Here it is test fit in position

I cut the ends of the tube with my angle grinder at a 45� angle.
Here it is test fit in position
12-07-2012, 06:09 PM
#45
Seasoned Member
Thread Starter
Join Date: Oct 2012
Location: Sedalia, Colorado
Posts: 340
Likes: 0
Received 0 Likes
on
0 Posts
Year: 1986
Model: Cherokee
Engine: 5.3L Vortec V8
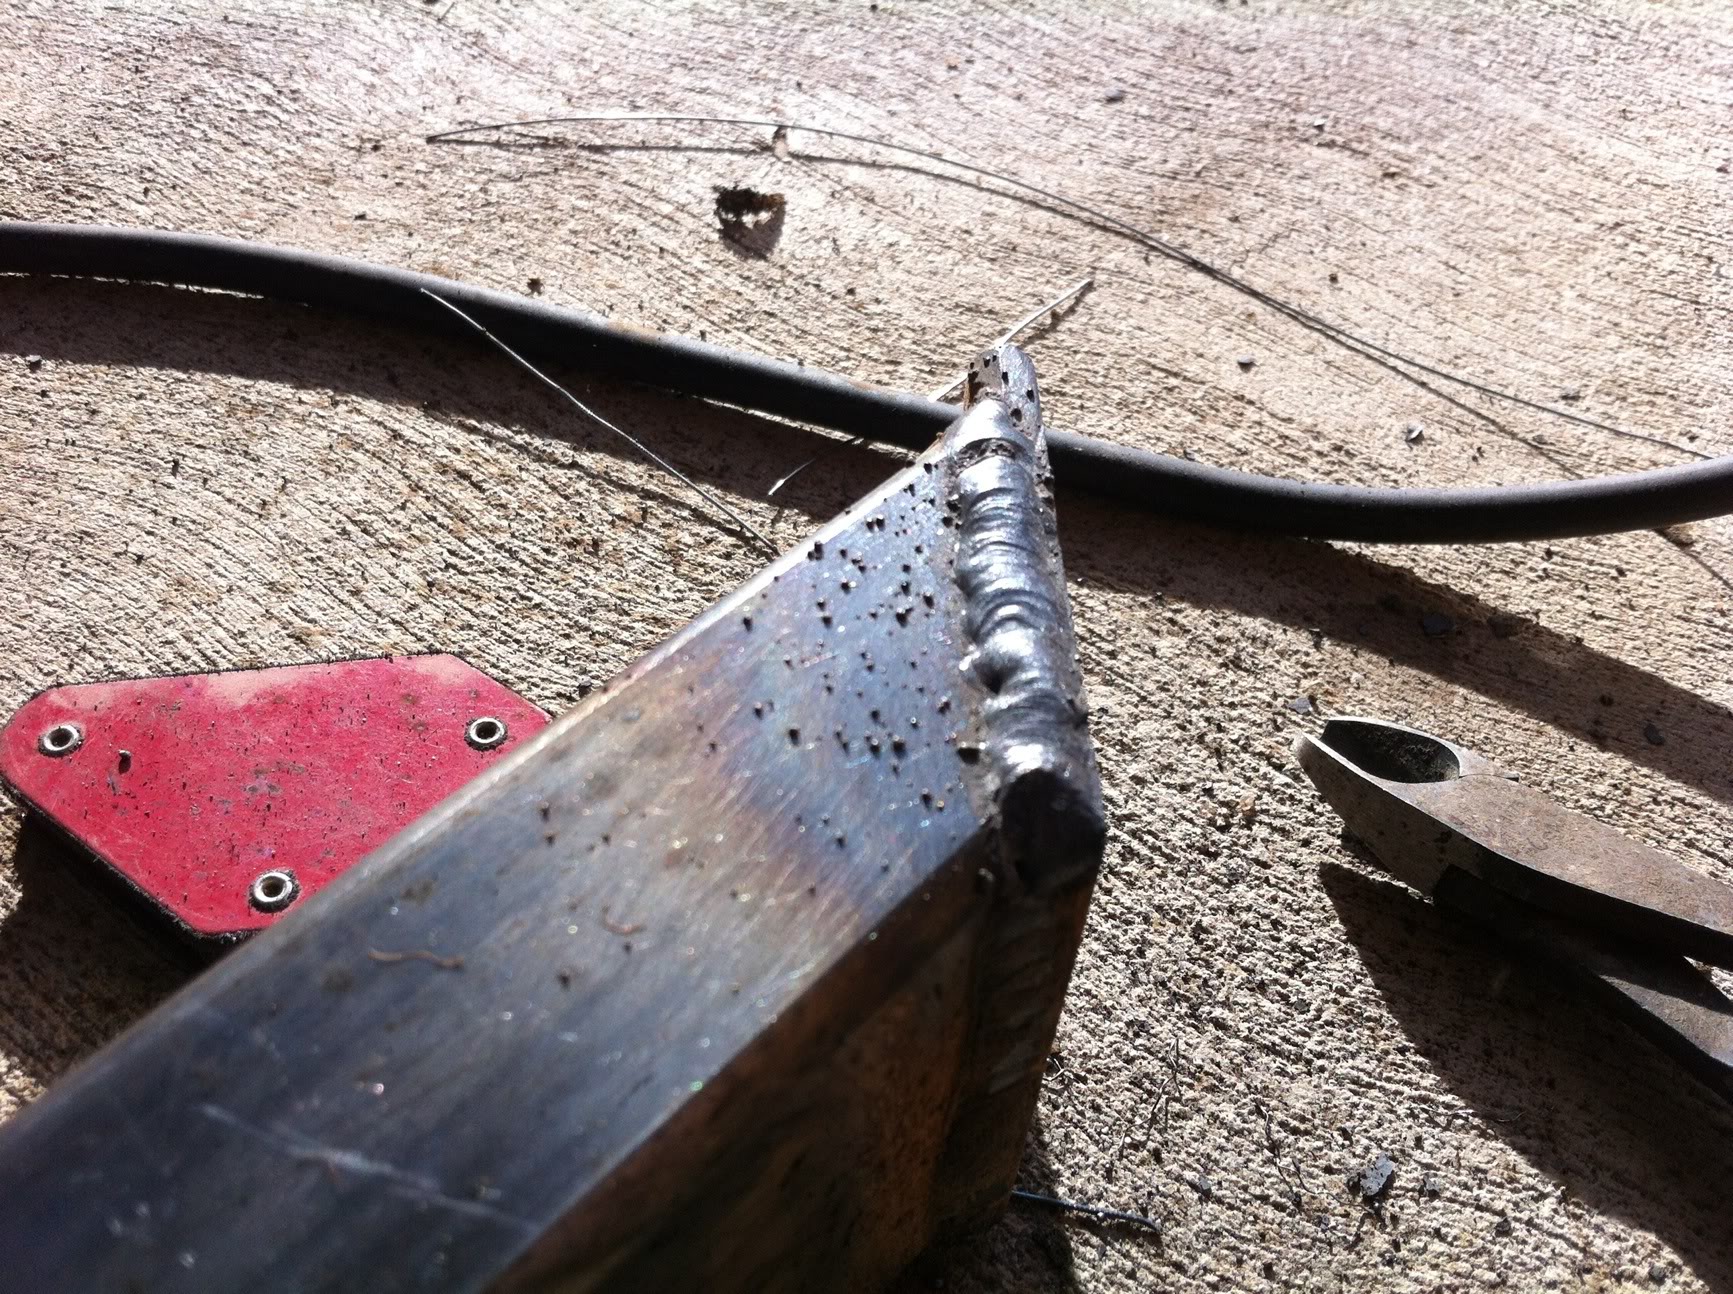
I welded end caps onto the cut rails today.
My first welds were kinda ugly:
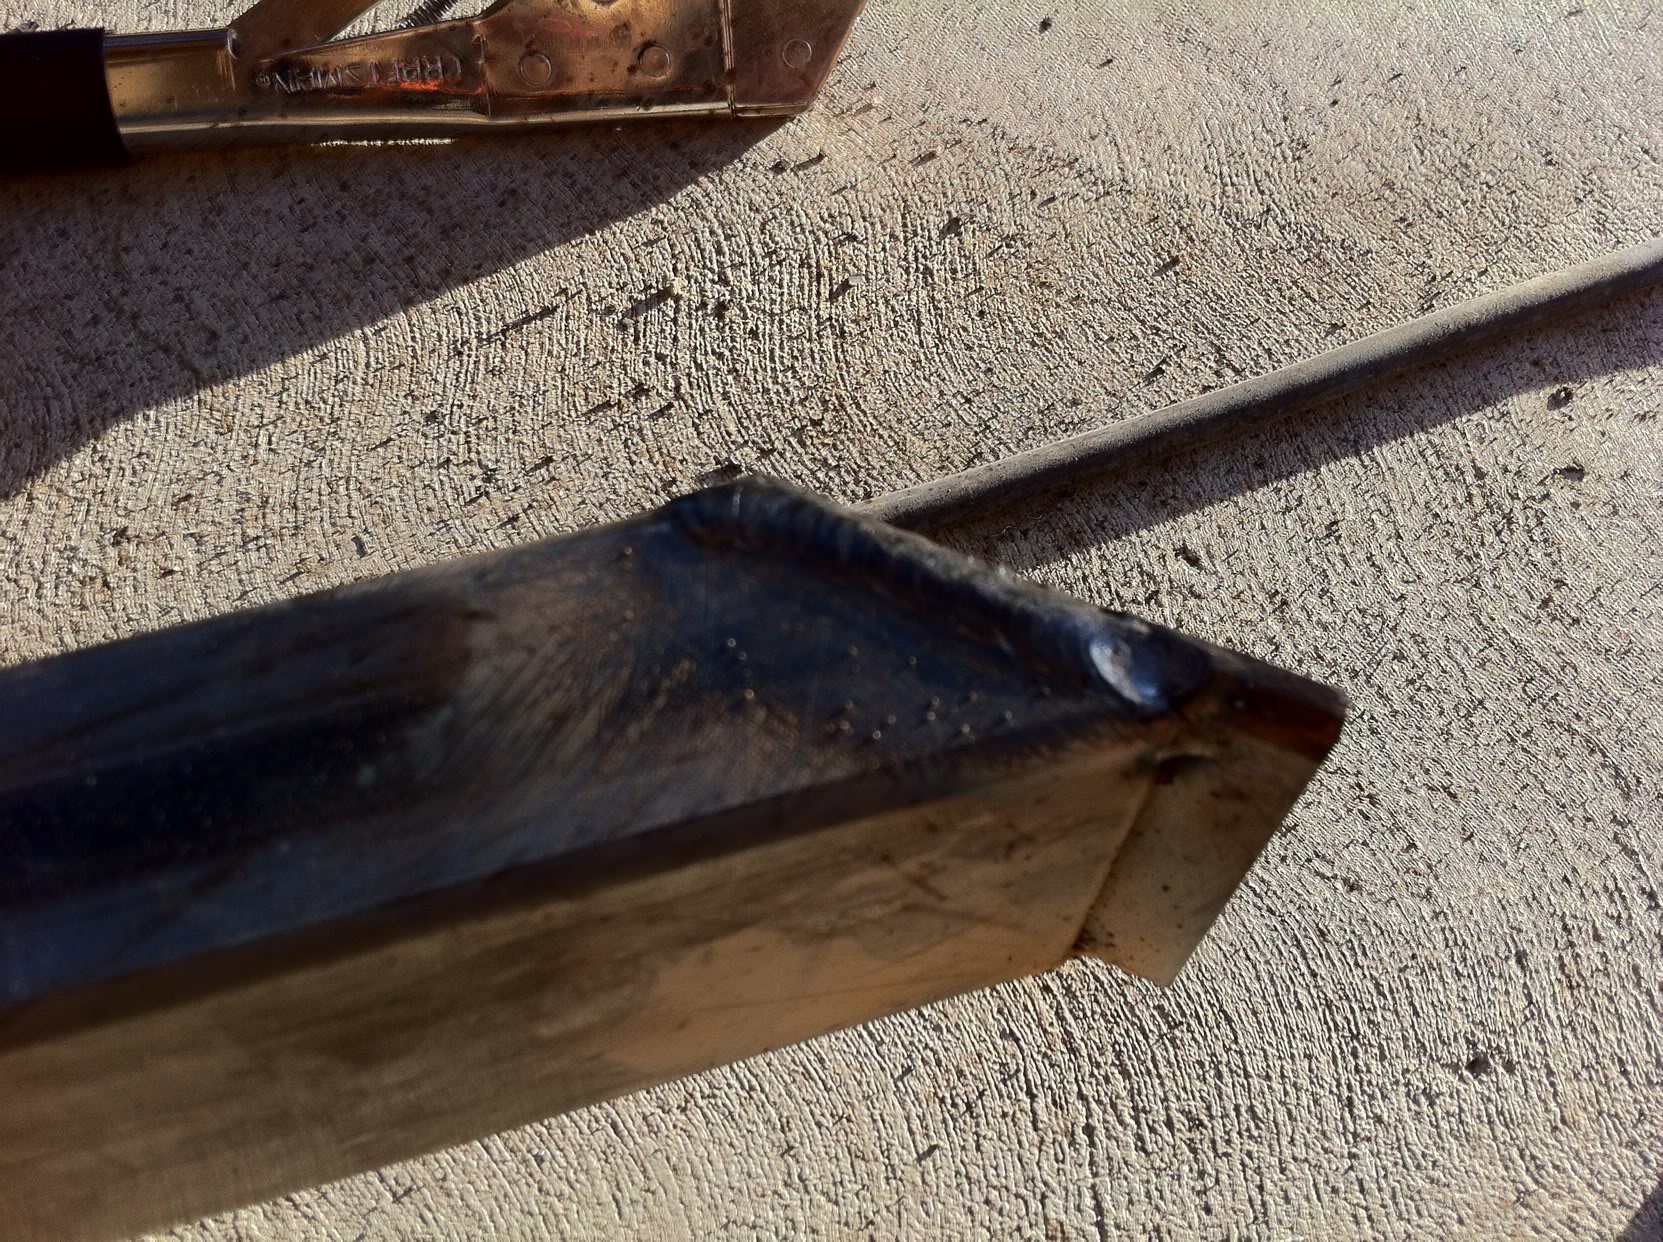
But I got better:
But I ground them all off anyway:
My first welds were kinda ugly:
But I got better:
But I ground them all off anyway: