Jeep Grand Cherokee 1993-1998: How to Replace Stereo
Whether your Jeep Grand Cherokee's stereo has gone bad or you simply want a new one, here's how to replace it quickly in the comfort of your own driveway.
This article applies to the Jeep Grand Cherokee ZJ (1993-1998).
The Jeep Grand Cherokee between the years 1993 to 1998 had a good stereo; however, when you compare it to today's standards, it seems a bit out of style. There are many new stereo systems now that offer Bluetooth capabilities, AUX connections, and even USB connections. So upgrading the stereo is a luxury everyone should consider. The process is much simpler than it may seem. It's a simple replacement procedure that doesn't require any type of re-wiring. Read on to learn how to do it yourself.

Materials Needed
- 10mm socket with socket wrench
- Flat head screwdriver
Step 1 – Remove trim ring and dash panel
First, using the flat head screwdriver, pry the trim ring out, which is located around the head unit. Next, remove the ashtray and the cigarette lighter from the lower dash panel. Now, using the socket wrench and a 10mm socket, find and remove the six screws holding in the dash panel. There are two at the top, two in the middle, and two at the bottom. The dash panel should now come free by grasping the panel right below the A/C vents and pulling the dash free. Be careful when you pull the panel out, as there will be wires attached to where the cigarette lighter is. Just place the panel on the floor of the Jeep while you finish removing the head unit.

Step 2 – Remove the head unit and disconnect the wiring
Using that 10mm socket, remove the two screws holding in the head unit. The screws are located at the top right-hand side of the head unit and the lower left-hand side of the unit. Remove the antenna cable simply by pulling it out of the back of the unit. The wiring harness might have a clip holding it into place. Using the flat head screwdriver, pop that clip off and pull the harness free. The radio should now come free.
Step 3 – Connect wires and install new head unit
This is basically a reversal of the removal process. Reattach the wires and the antenna to the rear of the new head unit. Screw the head unit back into the dash using the two screws you had removed previously.
Step 4 – Reinstall dash panel and trim ring
Pop the dash panel back into place and reattach it using the six screws you previously removed. Check to make sure it is tight. Next, pop the trim ring back into place. You are now finished!
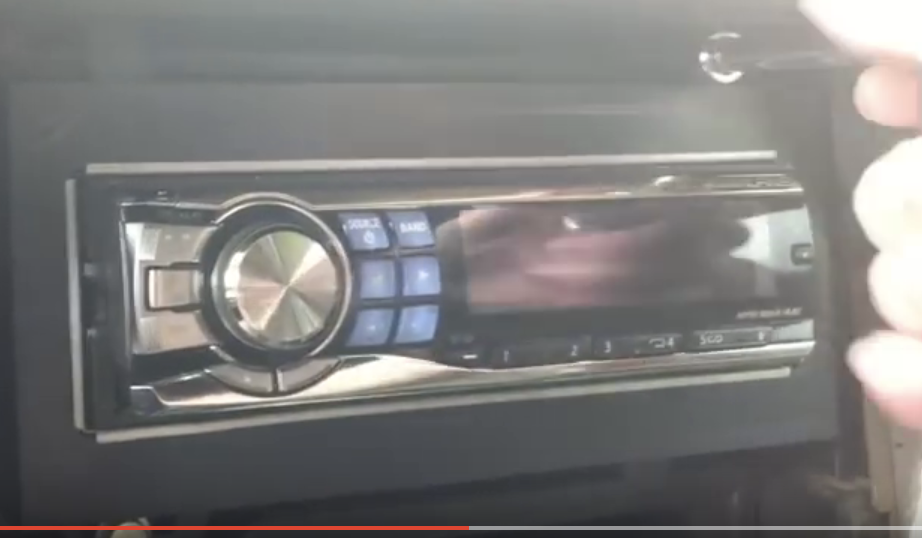
Featured Video: How to Remove Stereo
Related Discussions
- Grand Cherokee Tech - CherokeeForum.com
- After Market Radio Install - CherokeeForum.com