Jeep Cherokee 1984-2001: How to Replace Lower Control Arms
Replacing the lower control arms in your XJ is not as expensive as you think. Read this article to see just how much you can save doing the job yourself.
This article applies to the Jeep Cherokee XJ (1984-2001).
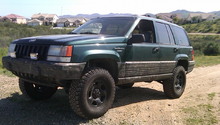
A Jeep is built to drive through some of the world's roughest terrains. Unfortunately, this results in your chassis being exposed to rust, rocks and other hazardous environments. The lower control arm is one of the components closest to the ground, so it's no wonder these things are prone to wearing down to the point of snapping in half. With shops charging over a thousand dollars to replace, some people develop a misconception that the lower control arm replacement procedure is a difficult job to complete. However, that can not be further from the truth. In this article we explain how simple it is to replace the lower control arm in your XJ.

Materials Needed
- Two 15mm wrenches
- Penetrating oil
- 3/8" ratchet
Step 1 – Spray penetrating oil
Unlike most lower control arm replacement procedures, you do not have to raise the chassis. Take some lubricating oil and thoroughly pray the two 15mm mounting bolts on either side of the lower control arm. Then grab both of the wrenches and place them on either side of the control arm. If necessary, use a pipe or breaker bar for extra leverage, and break loose the bolts.

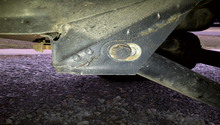
Step 2 – Remove the bolt on the other end
The other end of the lower control arm is held in place with another 15mm bolt. Use the same technique as before and hold one side of the bolt with a wrench, while loosening the other side.

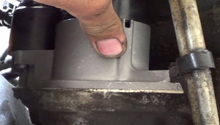
Step 3 – Replace the lower control arm
- After removing the other bolt, pull the control arm off.
- Take the new control arm and align it properly in place.
- Once the hole is properly aligned, slide the bolt on the other side and tighten it in place.
- Repeat this same procedure on the other side.
- Once you are finished, take the Jeep to a shop so they can properly align the tires.
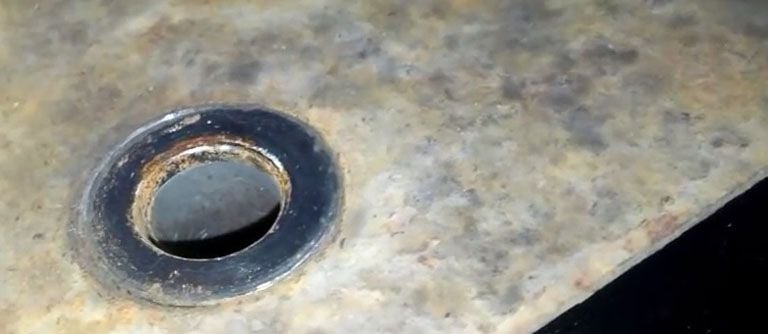
Figure 3. Align the bolt hole for the lower control arm. 
Figure 4. Install the bolt.
Featured Video: Rear Control Arm Replacement
Related Discussions and Video
- Lower Control Arms Not Lining Up - CherokeeForum.com
- How to Install Lower Control Arms - CherokeeForum.com
- How Hard is it to Replace Control Arms? - CherokeeForum.com
- Can't Remove Lower Control Arm Bolt - CherokeeForum.com
- WJ/XJ Control Arm Write-up - CherokeeForum.com
- Installing Adjustable Control Arms - YouTube.com