Jeep Cherokee 1984-2001: How to Replace Crankshaft Position Sensor
Replacing the crankshaft position sensor is a hassle, but this article will help to smooth that over.
This article applies to the Jeep Cherokee XJ (1984-2001).
The crankshaft position sensor (CPS) is a common cause of stalling in the Jeep Cherokee. If the PCM fails to receive a signal from the sensor, it automatically shuts off the engine. The CPS can fail due to corrosion, or general wear and tear. Replacing the sensor should be simple right? Not so with the CPS, because it's installed in a no-man's land deep in the bowels of your Jeep. It's going to take some tricky maneuvering to get to it, but if you got the right tools, it should be a bit easier for you.

Materials Needed
- Replacement CPS
- Ratchet with 11mm (13mm for newer models) socket, universal joint and extensions
- Magnetic socket insert or long needle nose pliers
- Dielectric grease
- Clamp lights
- Jack and jack stands
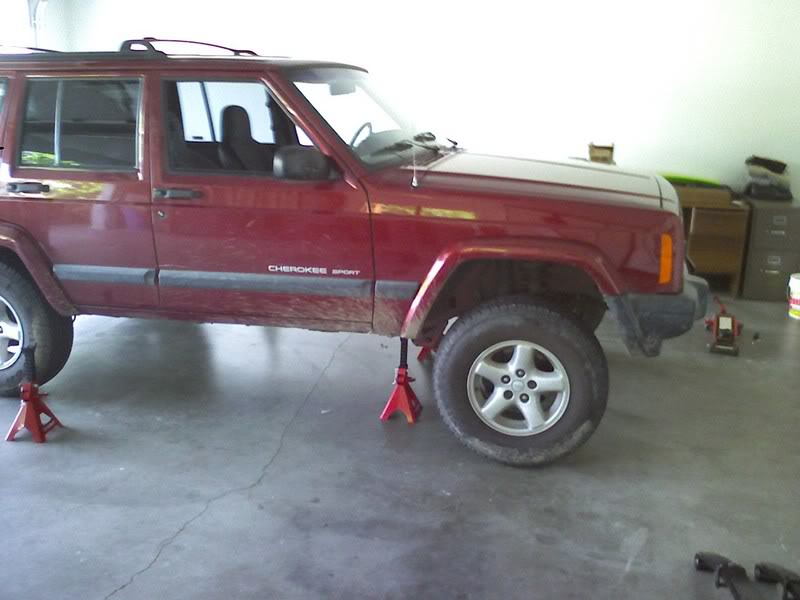
Step 1 – Lift Jeep and disconnect battery
Lift the jeep using a jack and set it on jack stands. You may want to forgo the jack stand on the driver's side to make a little more room to work in. Disconnect the negative (black) battery cable and move it where it won't accidentally touch the battery terminal.
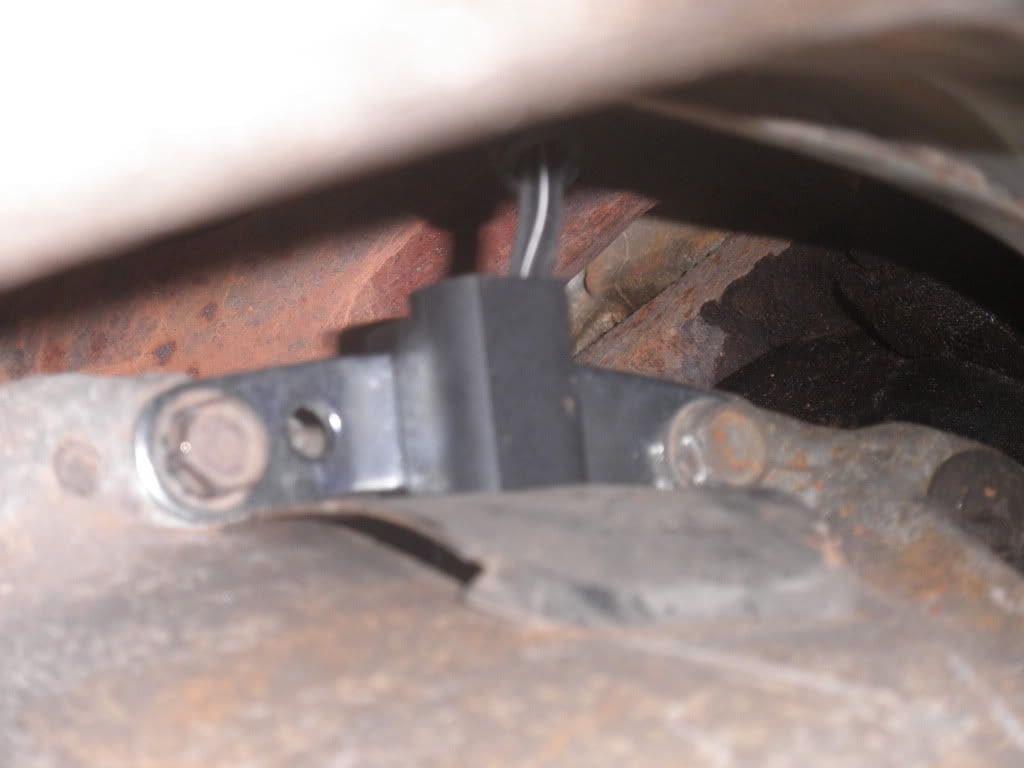
Step 2 – Unbolt the sensor
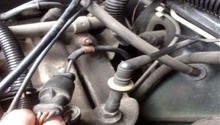
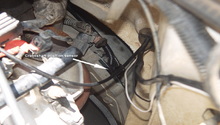
Light up the back of the engine compartment so you can see the sensor. Get under the Jeep and look for the small module sticking out the back of the engine. There should be a black electrical harness that makes its way up. To remove it, you're going have to find the right combination of socket and extensions to access the bolt. A long extension followed by a universal joint and another extension should get you there. Extend your ratchet to the bolts on the sensor and carefully remove them. If you have trouble getting the extension to the bolts, have a friend help guide it for you.
Pro Tip
There's a high risk of the bolts falling into the bell housing of the transmission when you remove them, so it's recommended that you either use a magnet or pair of pliers to hold onto them as you remove them.
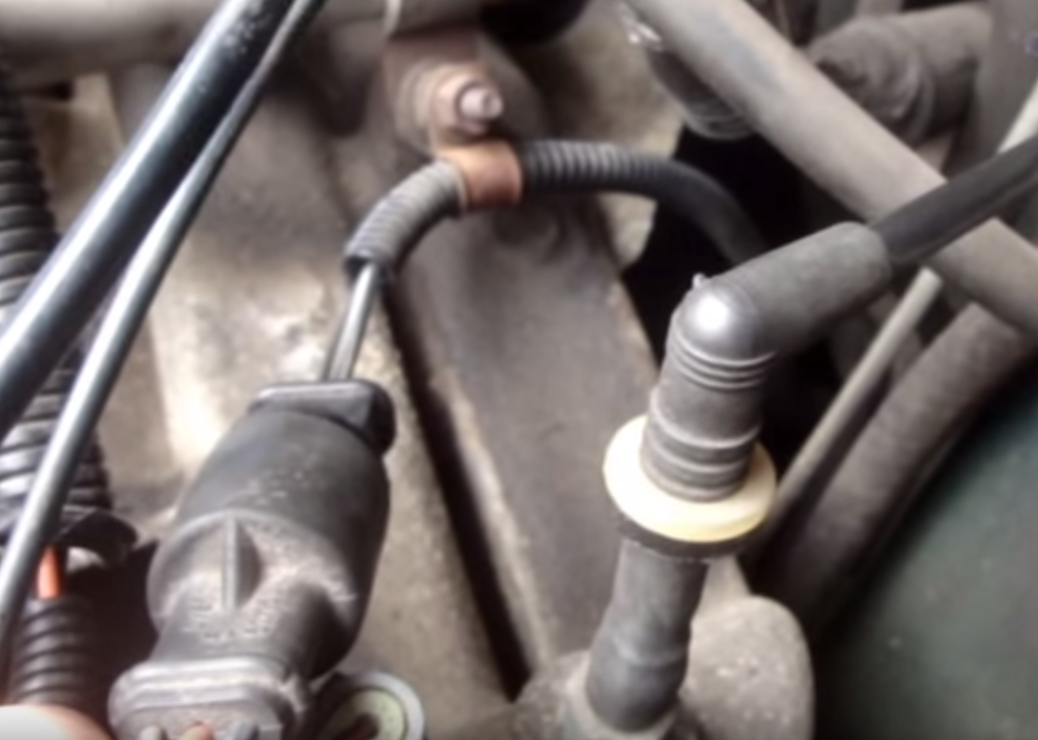
Step 3 – Replace the sensor
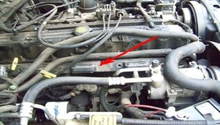
With the bolts removed, there are two brackets that hold the wire harness to the engine. Unbolt both brackets, then pull out the sensor and disconnect the electrical harness.
Now all you need to do is attach the new sensor. It helps to have someone holding the sensor as you put the bolts back on. You'll want to hand-thread them if you can so they go on straight. Tighten down the bolts so that the sensor is firmly attached to the engine. Go back to the top and add a little dielectric grease to the socket of the electrical harness to ensure a good connection. Plug in the electrical harness and reconnect the battery. Start the engine and see if it runs. You may need to drive around for a bit to ensure that the stalling issue has stopped.
Featured Video: Jeep Crankshaft Position Sensor Replacement
Related Discussions
- How to Replace the Crankshaft Position Sensor - CherokeeForum.com
- Rough Idle Code P1391 - CherokeeForum.com
- Camshaft Position Sensor - CherokeeForum.com