Jeep Cherokee 1984-2001: How to Cut and Fold Rear Fenders
Here are methods to use for replacing the rear bumper and back wheel rim on your Cherokee.
This article applies to the Jeep Cherokee XJ (1984-2001).
If you’re driving an older Jeep Cherokee, there’s likely been damaged from a crash or from rust, and the rear fenders need replacing. For those of you needing to add new rear fenders on the Cherokee’s rear bumper and back wheel rim, there are ways to make changes by either welding or not welding.
Materials Needed
- Angle grinder
- 4" cut-off discs
- Sawzall and metal lades
- Drill
- Metal drill bits
- Wire wheel
- Hammer
- Rubber mallet
- Rivet tool & rivets
- Tape measure
- Sharpie markers (1 black, 1 silver)
- Straight edge
- Seam sealer
- Surface cleaner
- Masking tape
- Newspaper
- Paint or bed liner
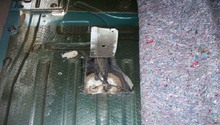
Step 1 – Welding alternative
If you’re not going to be welding, the easier option starts with folding the holes and then pinching welds in for repairing the back wheel rim. Next, you should fill any holes with seam sealer.
This would need trimming about ½” off and then folding more back. You could notch each top corner and fold it back with a mallet.
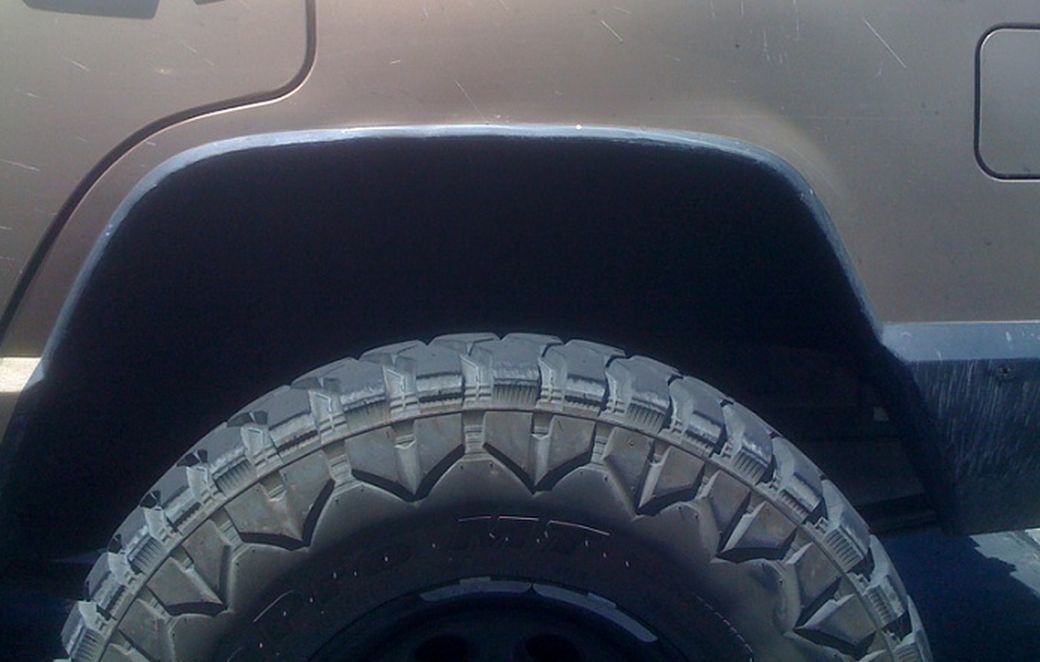
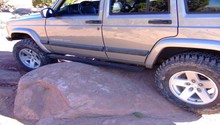
Step 2 – Cutting the lip
Be careful not to cut horizontally above the pinch welds. Those are what hold the inner and outer fender together. You also want to be careful to not go too far vertically past the welds; that will open holds between the inner and outer fender.
Be careful not to cut too high vertically, which might separate the inner and outer fender at the top of that cut. The seam sealer and bed liner would probably close them up.
Horizontally cut off the first "lip" closest to the tire, then cut vertically up to about 1/16-1/32" under the 2nd lip 1"-1.5" between the pinch welds, closer around the corners. From here, you can cut all the way out to the door and then remake the inner fender.

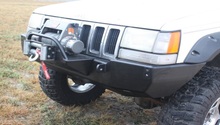
Step 3 – Repairing rear bumper
For repairing the rear bumper area of the fender, cut into the space between the two fender layers. Do it so they both fold in, and you’ll have plenty of material to rivet to it.
All the material inside the edge of the bumper will be gone, so it doesn’t matter how you cut around the corners. Try to line it with the inner cut line.
Do the same cut from the inside separating the inner fender from the rear part.
Cut just below the bottom edge of the quarter lip, where the bend line will be. Then cut it out. If you make the bend in that corner correctly, it clears the middle piece. Next you’ll be flattening out the factory bends, where the hammer and 2x4 piece of wood will be used.
You may need to cut an angle into the corner where the bend will be. You’ll also need to drill out the spot welds to take out an unneeded layer.
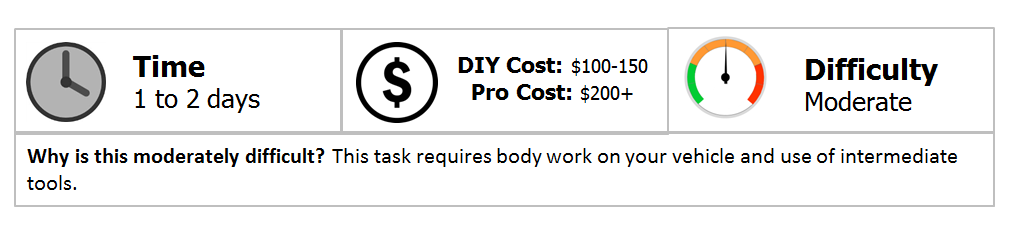
This project can take one to two days to get done. The most time consuming will probably be sealing, riveting, sanding, and masking. Cutting and folding will probably take a total of three-to-four hours.

Related Discussions
- Rear Fenders & Lower Quarters Cut & Fold – CherokeeForum.com
- Rear Fender Cutting – CherokeeForum.com