Jeep Cherokee 1984-1996: How to Replace Your Power Window Actuator
The window regulator is held in place with several rivets. But, besides the mounting hardware, it is pretty simple to replace and this article explains how.
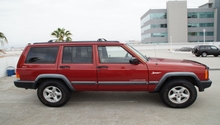
This article applies to the Jeep Cherokee XJ (1984-1996).
It's annoying how complicated the most mundane tasks become when your window regulator fails. Instead of lowering your window to pay a toll, you have to scoot the car forward, unbuckle your seat belt and then throw the change into the bucket. Sadly, most of us put up with the annoyance, as it's better than paying a repair shop an arm and a leg to replace it. However, you can replace the component yourself and fix the problem, saving you hundreds in the process. Just use these following instructions.

Materials Needed
- Phillips screwdriver
- Drill
- 1/4" drill bit
- Small Phillips screwdriver
- Small adjustable Crescent wrench
- Masking tape
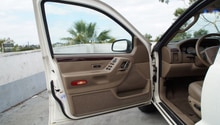
Step 1 – Remove door handle and secure window
First things first, take some masking tape and apply it from the door to the window glass. This will help prevent the glass from falling and cracking. Then use the large Phillips screwdriver to remove the screws holding the plastic door handle in place.
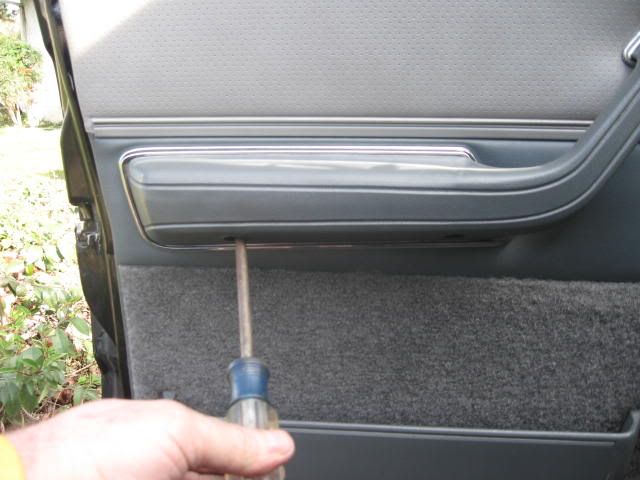
Step 2 – Remove the switch plate
- Take the smaller screwdriver and remove the three screws from the switch plate.
- Then grab the lower side of the dash panel and gently pull it.
- After the master switch plate pops outwards, push the door panel back and remove the switch plate.
- Remove the door panel and unplug the connector for the window regulator.

Figure 2. Loosen the switch plate screws. 
Figure 3. Remove the switch plate.
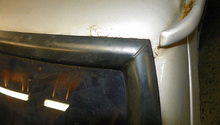
Step 3 – Drill out the regulator rivets
Unlike other models, the window regulator on your XJ is held in place with several rivets that you have to drill out. So take your drill to remove the two rivets located at the top and bottom of the door. Also, remove the three located in the middle of the door (refer to Figure 4).

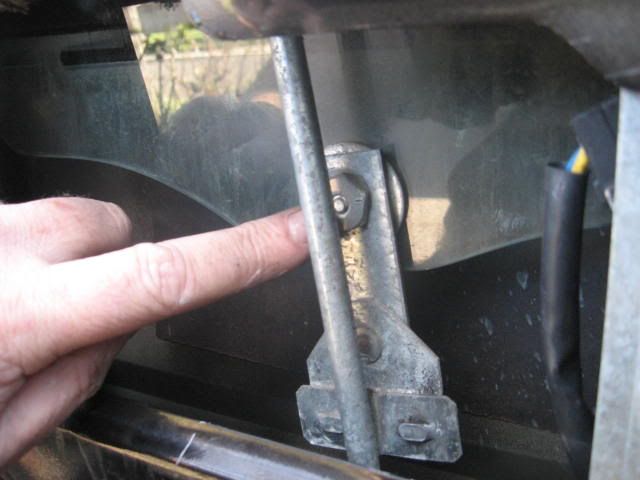
- Remove the Crescent nut that supports the window; the tape will support the glass.
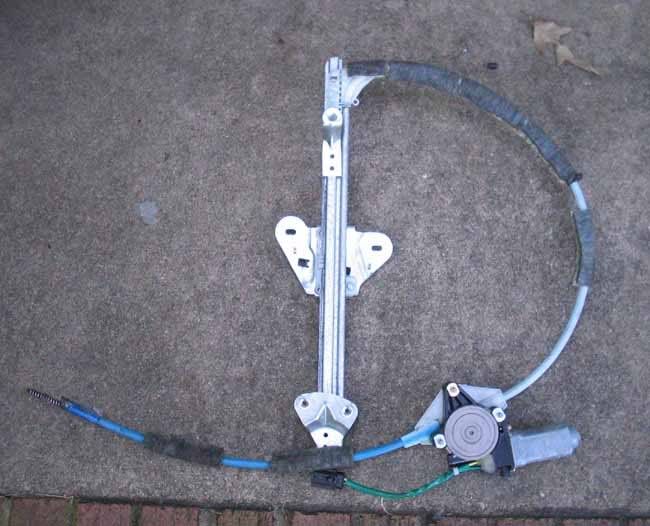
- Then remove the regulator and slide it through the access port on the side of the door.
Step 4 – Replace the regulator
- Mount the new regulator into place.
- Tighten the Crescent nut on the glass.
- Instead of installing rivets, use screws to mount the regulator in place.
- Connect the regulator.
- Finally, mount the door panel and connect the regulator harness.
Related Discussions
- Window Regulator & Door Lock Replacement - CherokeeForum.com
- Replacing Power Window Motor? - CherokeeForum.com
- Replace Passenger Front Window Regulator - CherokeeForum.com
- Window Won't Go Down/Up - CherokeeForum.com