Jeep Cherokee 1984-1996: How to Install Stereo
Do you want to improve the sound system in your Jeep? Installing a new stereo is the first step to cranking up the quality and level of your music.
This article applies to the Jeep Cherokee XJ (1984-1996).
One of the first things anyone generally replaces in an older vehicle is the stereo; there's a good reason for this. Until just recently, car manufacturers were more worried about cutting costs than they were about sound quality. Installing a new stereo in your Cherokee is a great way to give you not only improved sound quality, but also to add functionality and the ability to play tunes from your phone, flash drive, or MP3 player. It's also an easy job that anyone can do with just a little homework and a couple of basic tools. Keep reading and we'll guide you through the process.

Materials Needed
- Phillips screwdriver
- Wire crimping tool and wire crimps
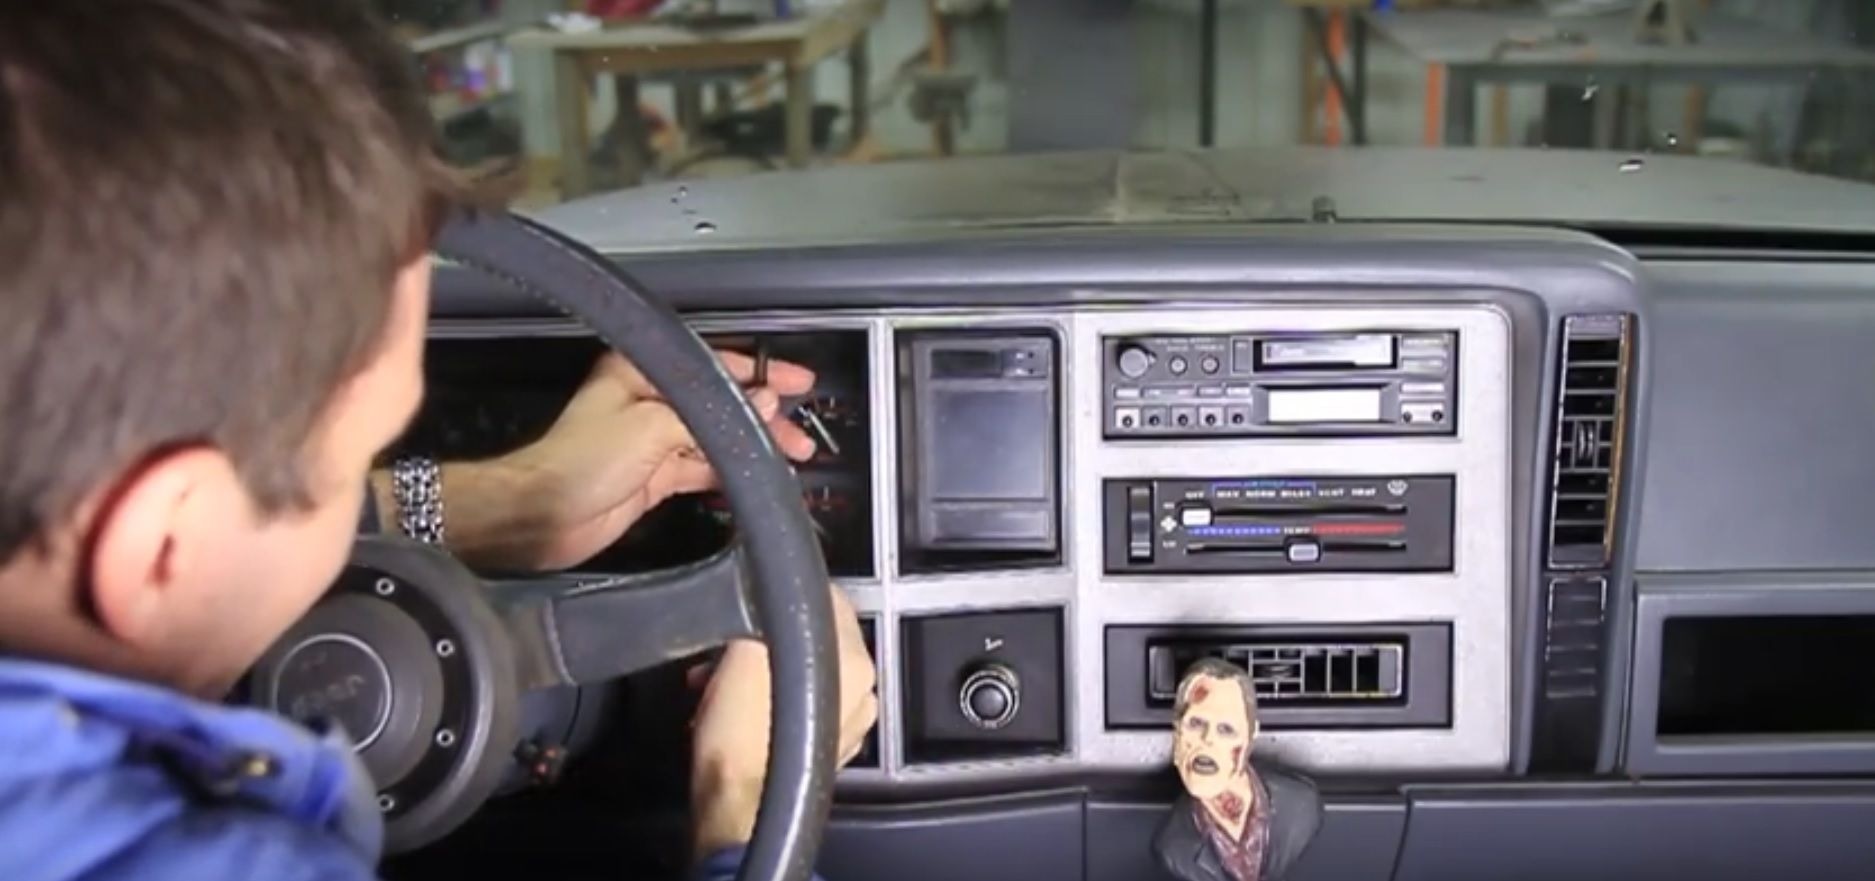
Step 1 – Remove the dash plate
- To gain access to the stereo, you must first remove the dash plate. So remove the two Phillips screws above the instrument panel.
- Then the two Phillips screws underneath the steering column.
- Pull out the trim piece directly below the steering column. Work around the trim panel, pulling out as you go to free the dash plate from the clips that hold it in place.
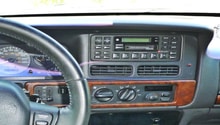
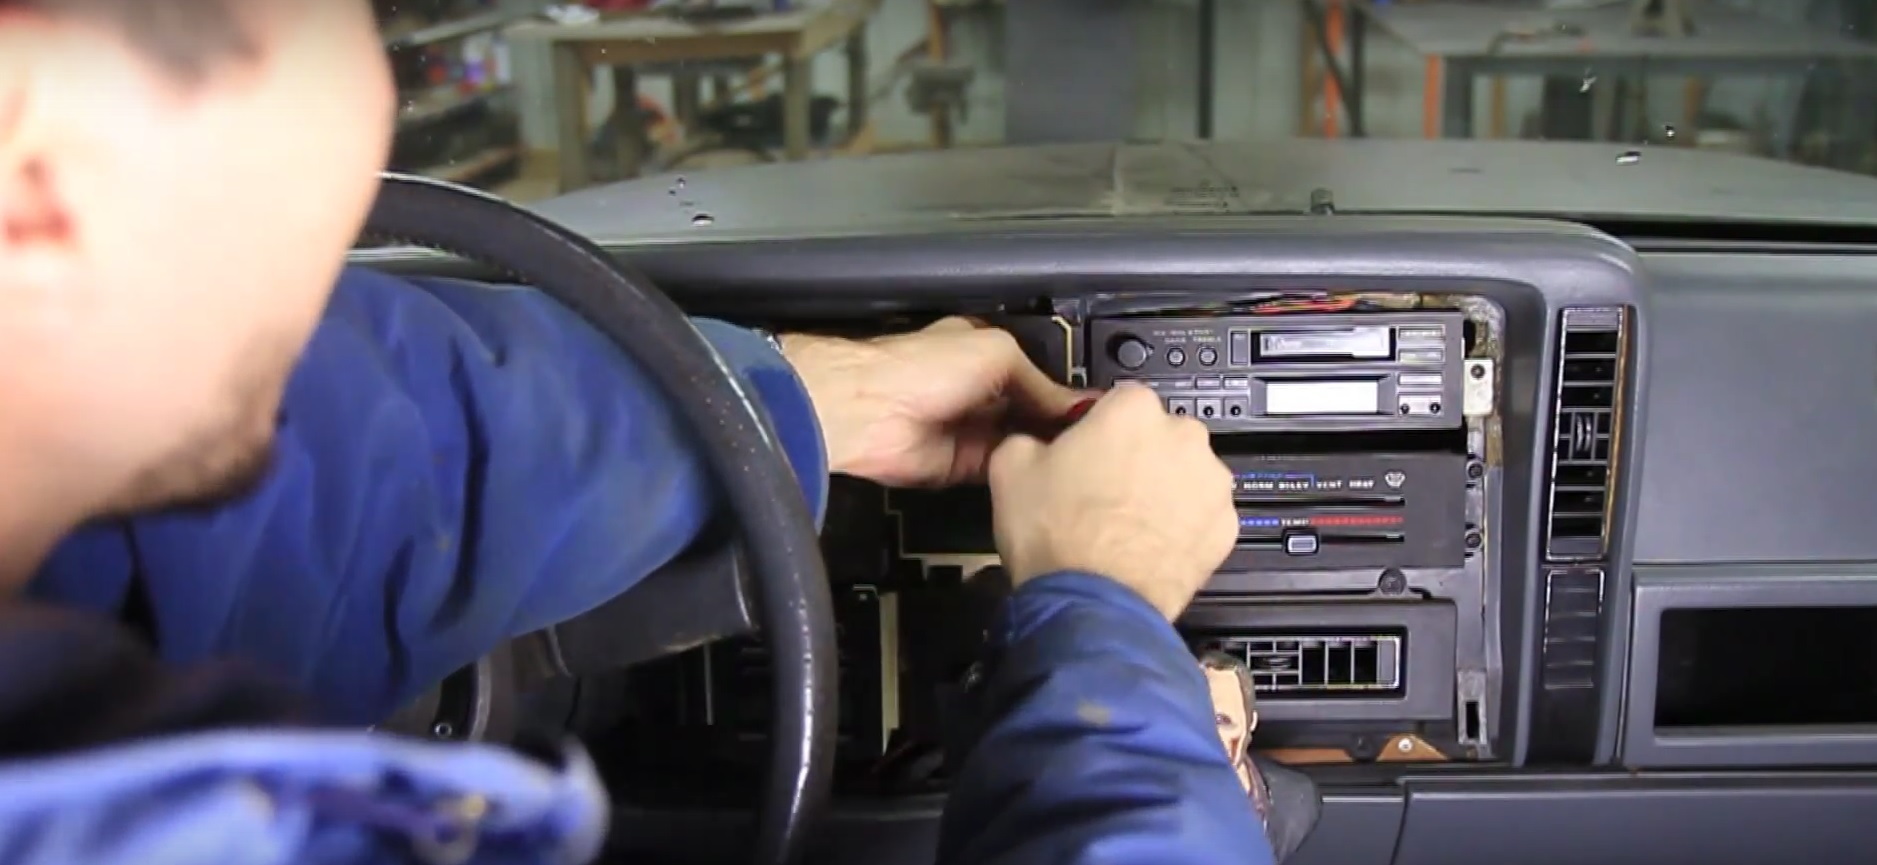
Step 2 – Remove the stereo
- Disconnect the negative (black) battery terminal, so that you don't short anything out.
- Remove the two Phillips screws holding the radio in place.
- Pull the radio out of the dash.
- Depending on the model of Cherokee you have, you may need to remove the clock as well. This is held in place by a couple of Phillips screws.
- Unhook all of the wires and harness connectors plugged into the back of your radio.
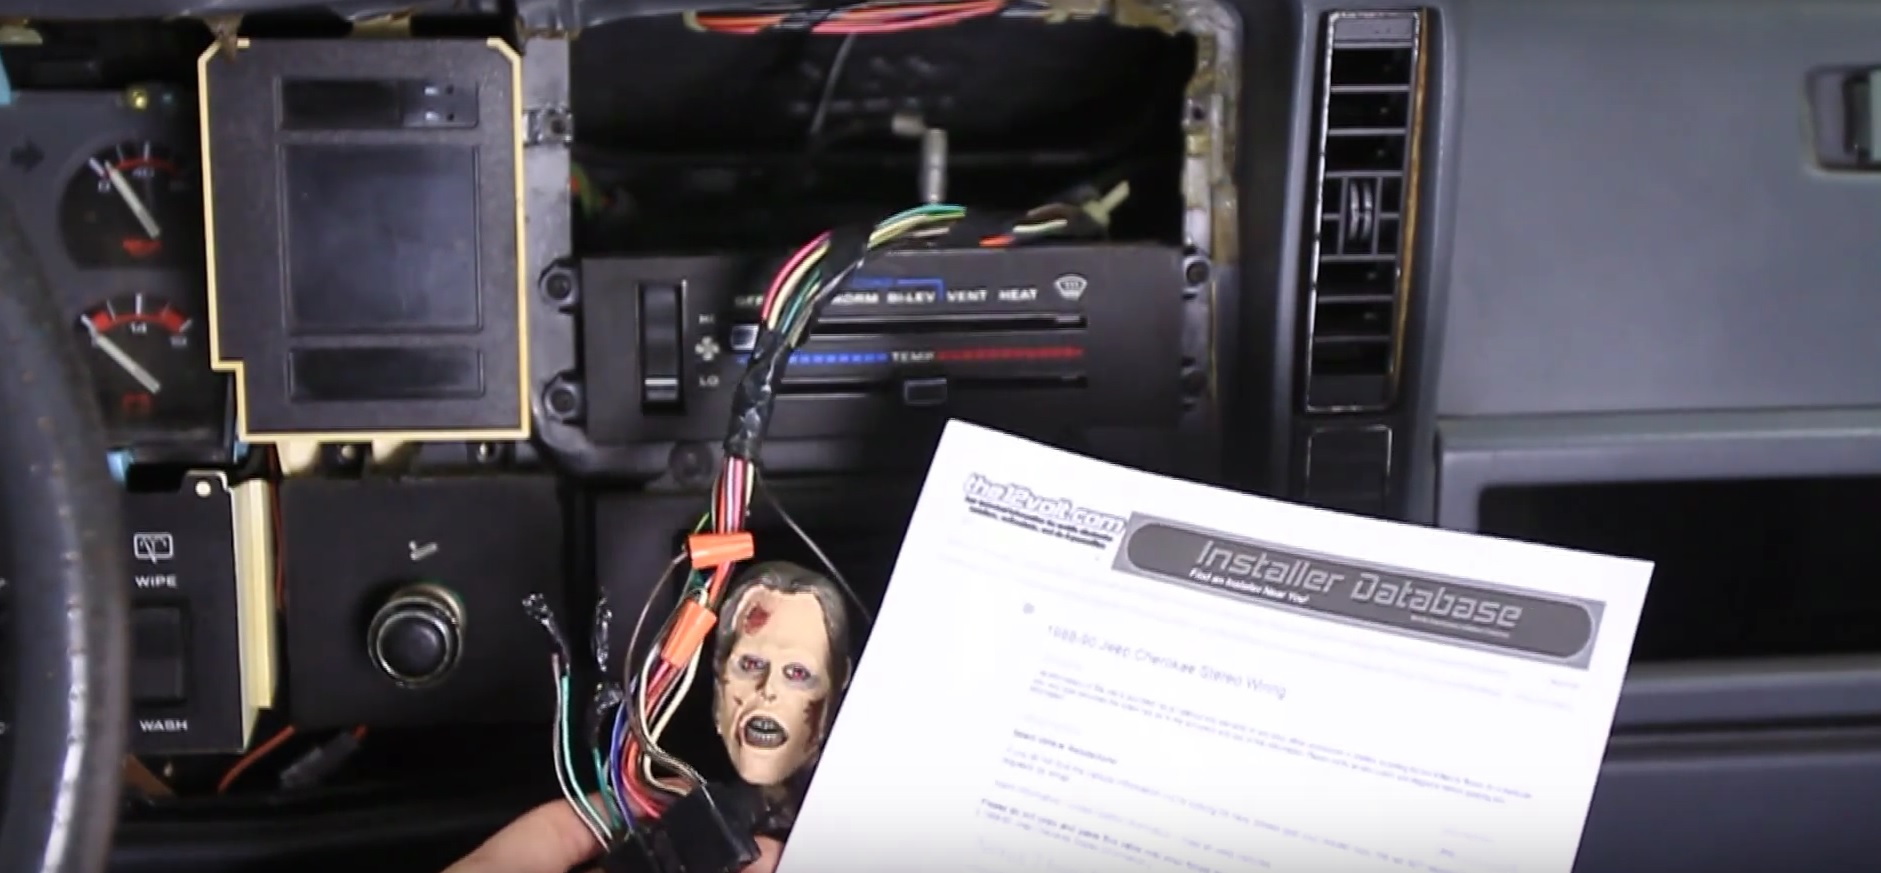
Step 3 – Wire the new stereo
- Since every stereo has a different style wiring harness, you will have to cut the old one off and splice the new one on, unless you are lucky and you can purchase a wiring harness adapter for your specific vehicle. Your new car stereo will either have the labels wired or the installation guide will tell you what each wire is for.
- You will also need to go online and print the guide for your specific vehicle, which shows what the different color wires inside the vehicle are for.
- Once you obtain this information, simply match up the wires on the vehicle harness as well as the stereo harness and crimp them together.
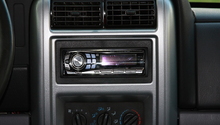
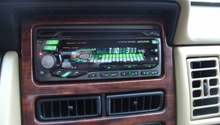
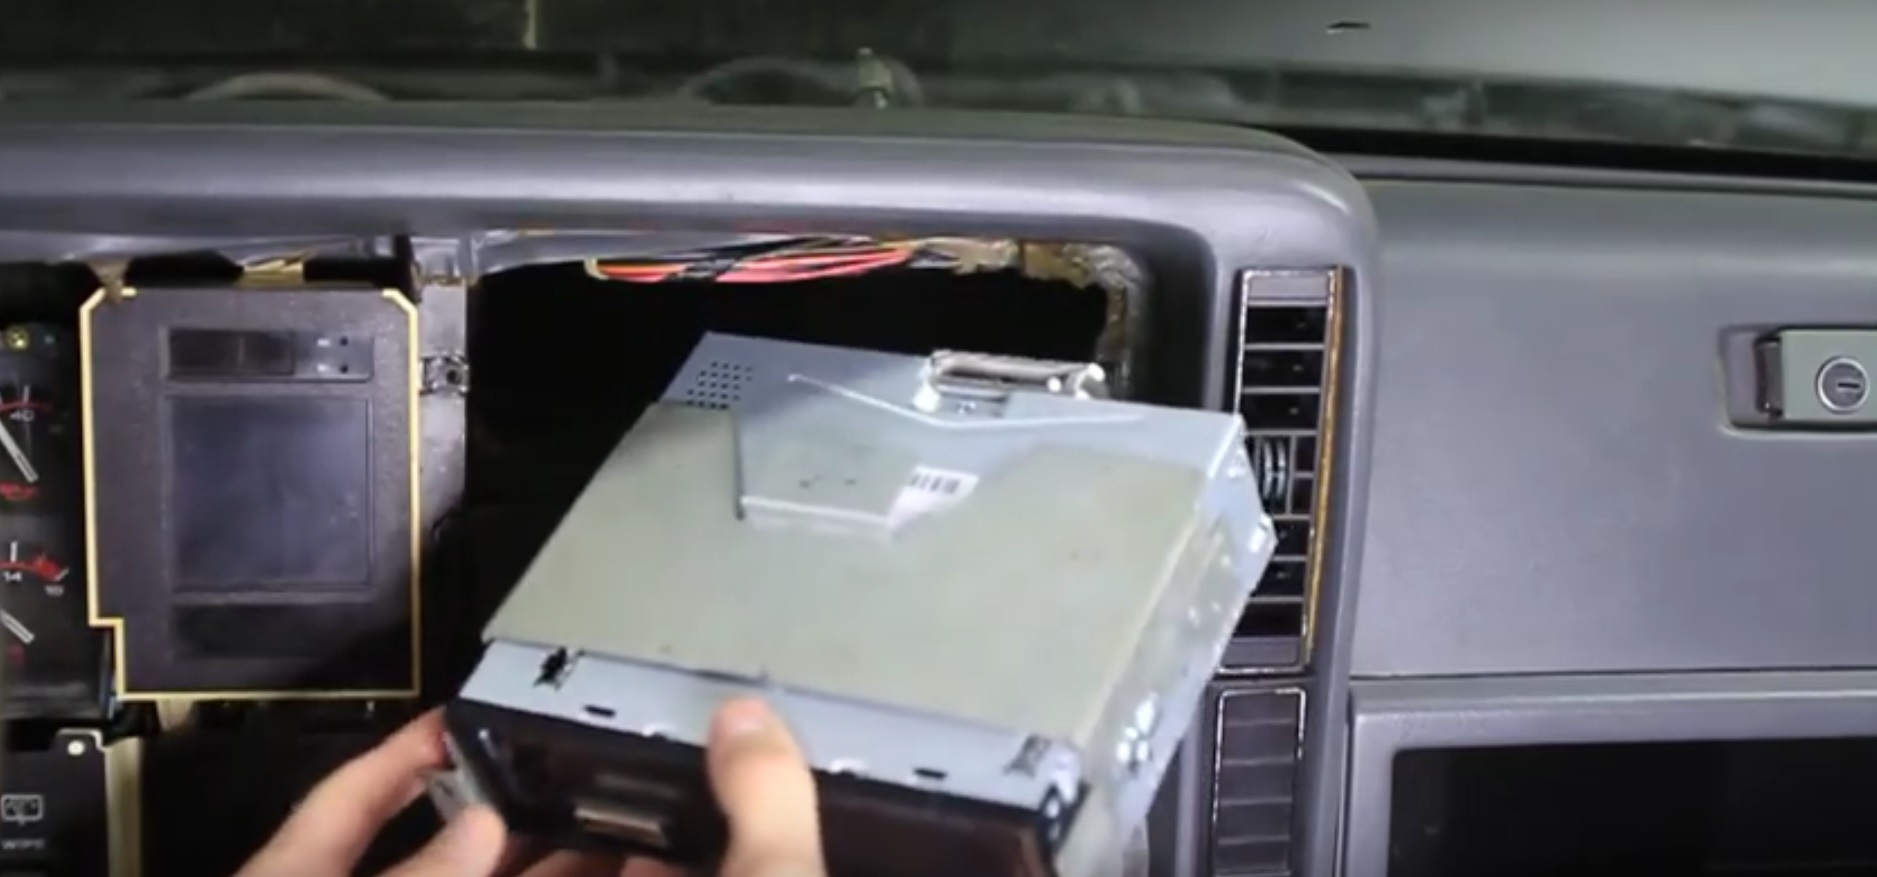
Step 4 – Install the new stereo
You have a couple of options to make the new stereo fit in the dash. You can purchase a bracket specially made for your vehicle, or you can simply use what came with the stereo. Luckily, early Cherokees came with a single DIN opening, so you don't need an adapter to make single DIN aftermarket radios fit.
- To fit the new stereo in place, simply remove the metal bracket on the old radio and install it to the new radio.
- If the screw holes don't line up, you can drill a hole in the bracket to make it fit.
- Plug the wiring harness, antenna wire, and any other wiring you disconnected from the original radio into the new radio.
- Carefully slide the new radio into the dash, being careful not to pinch any wiring.
- Re-install the two screws holding the radio in place, and re-install the clock if you had to remove it.
- Slide the dash plate and steering column trim piece back into place and fasten the screws.
- Reconnect the negative battery terminal.
Featured Video: How to Install a Car Stereo
Related Discussions
- Stereo Wire Colors - CherokeeForum.com
- New Radio Installation - CherokeeForum.com