D35 to C8.25 Swap w/ SYE and ZJ Disc Brake Conversion
 03-02-2012, 12:59 AM
#1
Member
Thread Starter

Join Date: May 2011
Location: South Jersey
Posts: 121
Likes: 0
Received 0 Likes
on
0 Posts
Year: 2000
Model: Cherokee
Engine: L6 242 4.0
Vehicle: 2000 Jeep Cherokee 4dr XJ 4" on 31’s.
Drivetrain: I6, D30, AW4, NP242, D35
Parts List: Everything from the jy was pulled off a 97' ZJ
Banjo Bolt (Dealor part and needed for 8.25)
Backing Plates (off a ZJ with rear disc brakes)
Brake Cables (off a ZJ with rear disc brakes)
Brake Hoses (left/center/right)
Brake Pads (for a ZJ with rear disc brakes)
Calipers (rears for a ZJ with rear disc brakes)
Driveshaft (front d/s out of another automatic XJ)
Emergency/Parking Brake Shoes (for a ZJ with rear disc brakes)
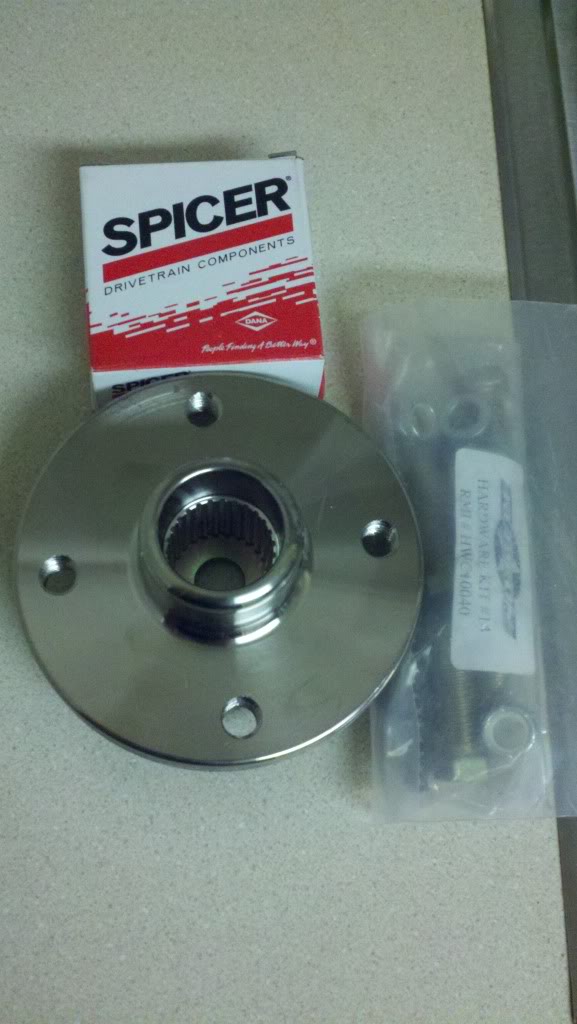
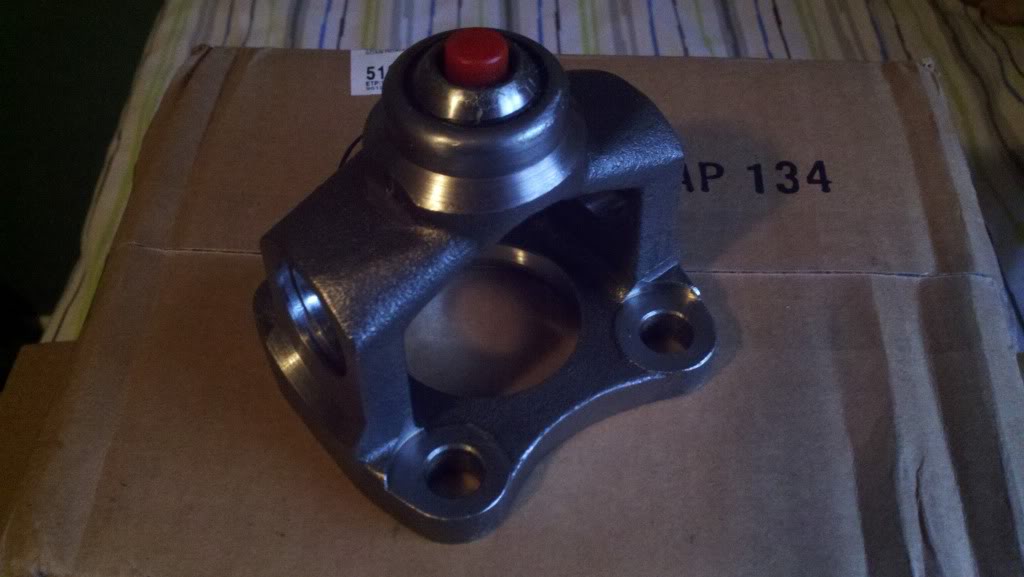
Flange Yoke
Gasket Maker (Red high temp RTV)
Gear Oil
Hard Brake Lines (across the 8.25 axle housing)
Hardware (e-brake/parking brake springs and self adjusters)
Pinion Seal (Chrysler 8.25...optional)
Proportioning Valve (off a ZJ with rear disc brakes...optional)
Rotors (rears for a ZJ with rear disc brakes)
SYE (the correct kit for your setup)
U-Bolts (8.25 has larger diameter tubes)
U-joints (if needing replacement...recommended)
Wheel Bearings (Chrysler 8.25…optional)
Wheel Seals (Chrysler 8.25...optional)
Wheel Studs (rear for a ZJ with rear disc brakes…optional)
Section I: Assembling the Rear
Section II: Removal/Install of Rears
Section III: SYE & Driveshaft
Section IV: Proportioning Valve & Check
To start off when looking for parts at the parts store I looked everything up for the brakes under a 1997 Jeep Grand Cherokee Laredo automatic 4wd i6. As for the seals I looked up my vehicle, 2000 Jeep Cherokee Automatic 4wd i6 with a C8.25
Section I: Assembling the Rear
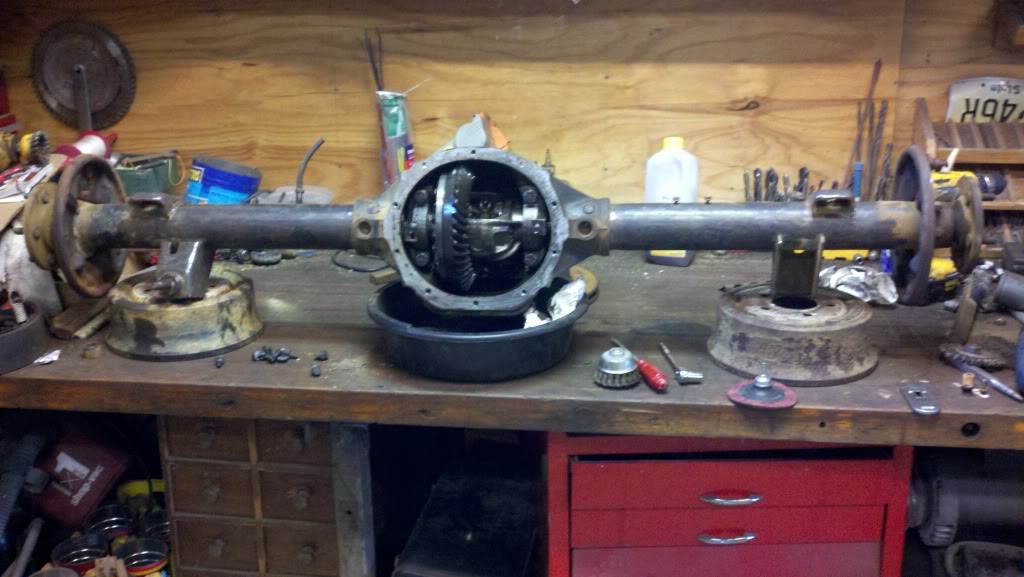
1) To make preparing the rear easier, remove all old hardware, brake lines, remove diff cover and drain the fluid.
2) Scrape away the old gasket and clean the surface for new gasket later on. Reinstall Diff cover without gasket just to keep internals clean.
3) Wire brush and wire wheel axle housing to remove any rust/debris. After this, wipe down entire housing with a rag and brake clean.
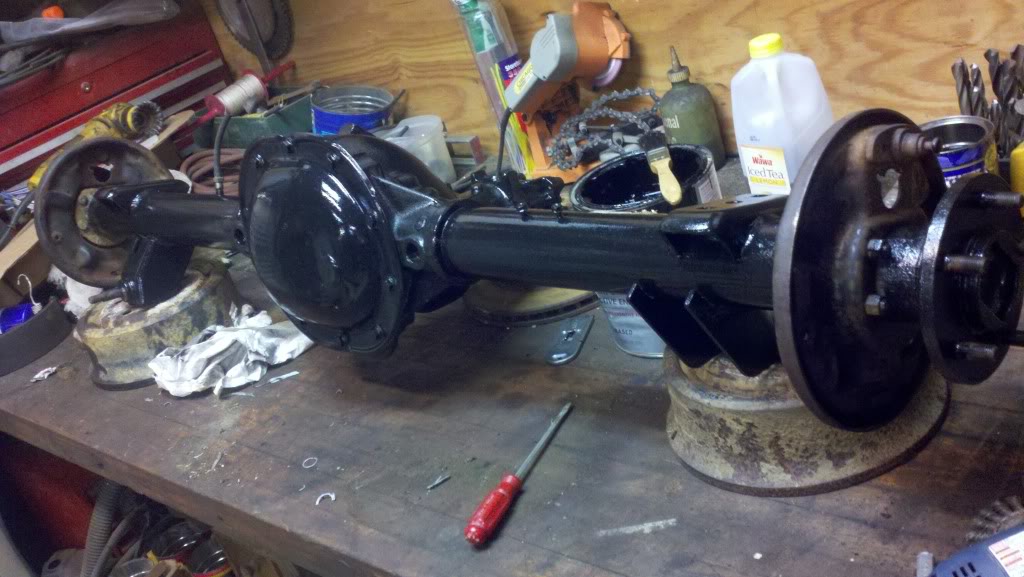
4) Paint over the axle housing, diff cover, and new backing plates. I used black Rustolium paint with some cheap brushes from the hardware store to ensure a thick coat and no over spray.
5) After left to dry pull the diff cover and remove the axles (remove the pin, push in each axle at a time to drop the c-clips and pull axle out)
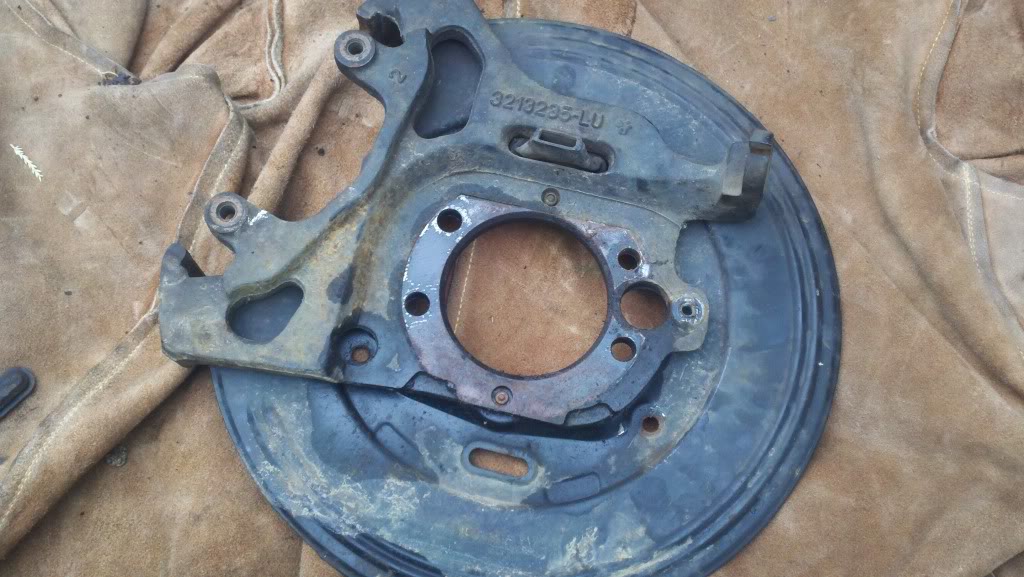
6) After axles are pulled and put somewhere safe, remove the old backing plates (4 bolts each)
7) Now would be the time to go ahead and remove the old seals and bearing and replace with new ones if needed. My bearings were fine so I just did the seals. Zip off the yoke and the pinion seal is easy to change right out too again only if needed. Now would be the time to swap out the studs too. plug the rear up with rags to keep inside of the axle tubes clean.
8) Reinstall yoke, axles, and the backing plates. Backing plates need the middle to be hones out a little to fit the 8.25 snug, dremel with a grinding bit works perfect for this.
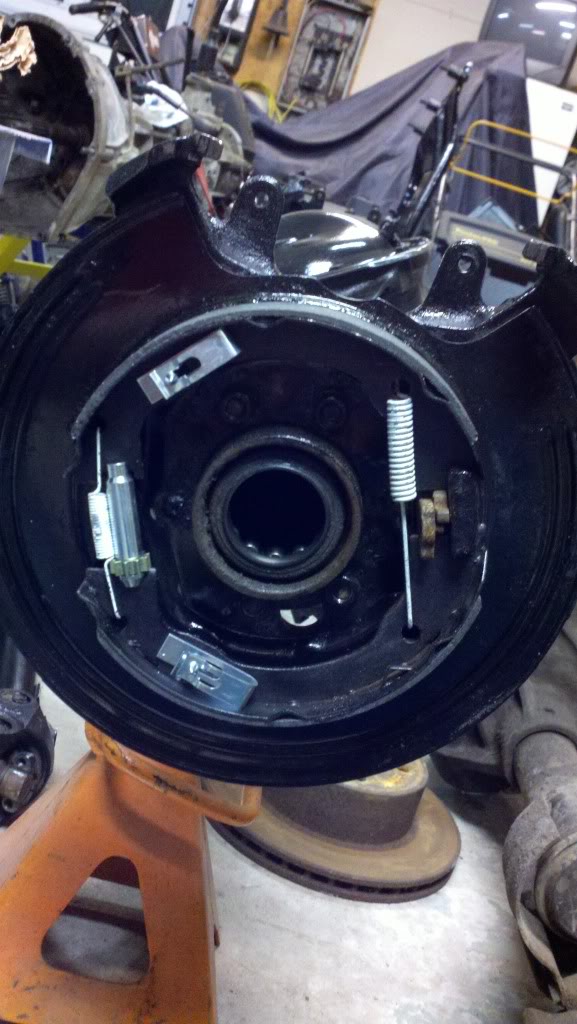
9) Now you can go ahead and install all the emergency/parking brake shoes, hardware and adjusters
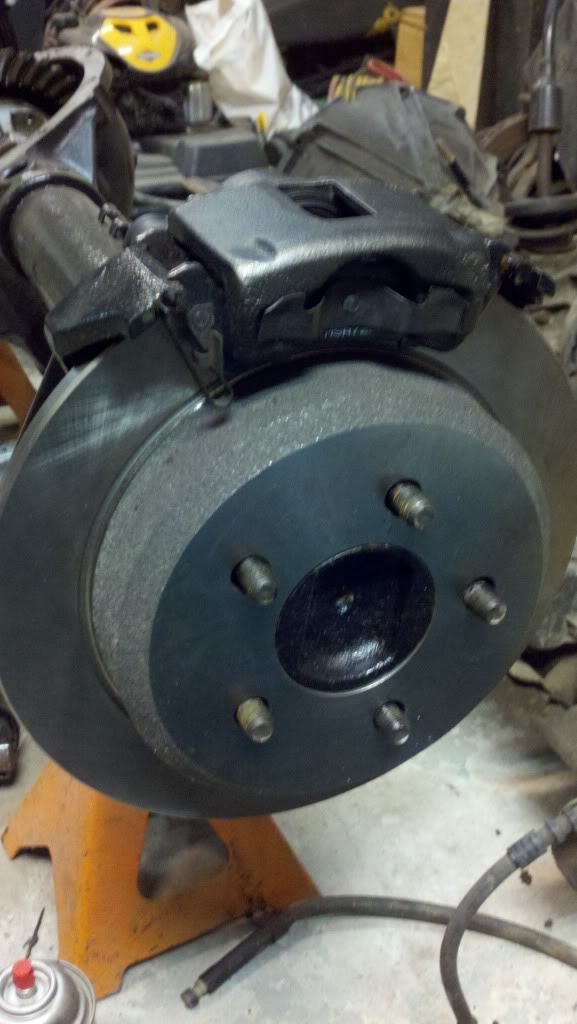
10) Install rotors, brake pads and the calipers with the soft lines. The original hard lines are going to be too long so you can do one of two things: either get new lines (recommended) or rebend the ends to match up with the soft lines
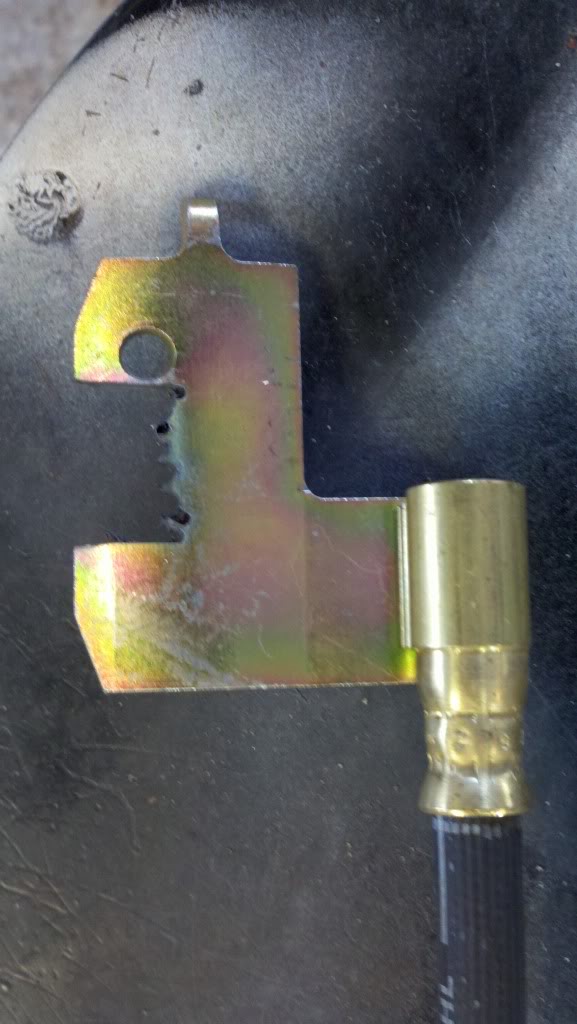
11) I notched my soft lines a little to make them fit snug when I installed them with the leaf spring mounts.
12) Now the differential cover can be installed with the RTV and fluid can be added. This step can be done now or once the rear is installed in the XJ. Check the fluid level after the Jeep is on level ground and no longer on jack stands for an accurate measurement.
Section II: Removal/Install of Rears
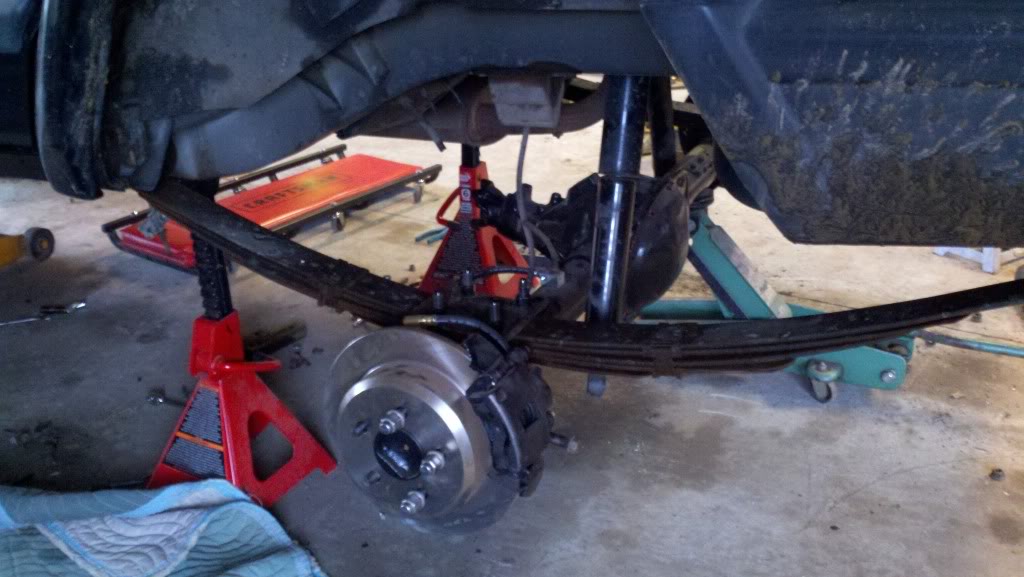
1) Jack up the rear of the car and put on jack stands somewhere secture so the differential can lower. Keep a jack under the diff as you will be removing the rear and sliding it out.
2) Take off the wheels/tires; unbolt the bottom of the shocks, brake cables, u-bolts, brake lines, and sway bar bushing (on the body) and breather tube.
3) Drop the rear out and roll it out of the way!

Drivetrain: I6, D30, AW4, NP242, D35
Parts List: Everything from the jy was pulled off a 97' ZJ
Banjo Bolt (Dealor part and needed for 8.25)
Backing Plates (off a ZJ with rear disc brakes)
Brake Cables (off a ZJ with rear disc brakes)
Brake Hoses (left/center/right)
Brake Pads (for a ZJ with rear disc brakes)
Calipers (rears for a ZJ with rear disc brakes)
Driveshaft (front d/s out of another automatic XJ)
Emergency/Parking Brake Shoes (for a ZJ with rear disc brakes)
Flange Yoke
Gasket Maker (Red high temp RTV)
Gear Oil
Hard Brake Lines (across the 8.25 axle housing)
Hardware (e-brake/parking brake springs and self adjusters)
Pinion Seal (Chrysler 8.25...optional)
Proportioning Valve (off a ZJ with rear disc brakes...optional)
Rotors (rears for a ZJ with rear disc brakes)
SYE (the correct kit for your setup)
U-Bolts (8.25 has larger diameter tubes)
U-joints (if needing replacement...recommended)
Wheel Bearings (Chrysler 8.25…optional)
Wheel Seals (Chrysler 8.25...optional)
Wheel Studs (rear for a ZJ with rear disc brakes…optional)
Section I: Assembling the Rear
Section II: Removal/Install of Rears
Section III: SYE & Driveshaft
Section IV: Proportioning Valve & Check
To start off when looking for parts at the parts store I looked everything up for the brakes under a 1997 Jeep Grand Cherokee Laredo automatic 4wd i6. As for the seals I looked up my vehicle, 2000 Jeep Cherokee Automatic 4wd i6 with a C8.25
Section I: Assembling the Rear
1) To make preparing the rear easier, remove all old hardware, brake lines, remove diff cover and drain the fluid.
2) Scrape away the old gasket and clean the surface for new gasket later on. Reinstall Diff cover without gasket just to keep internals clean.
3) Wire brush and wire wheel axle housing to remove any rust/debris. After this, wipe down entire housing with a rag and brake clean.
4) Paint over the axle housing, diff cover, and new backing plates. I used black Rustolium paint with some cheap brushes from the hardware store to ensure a thick coat and no over spray.
5) After left to dry pull the diff cover and remove the axles (remove the pin, push in each axle at a time to drop the c-clips and pull axle out)
6) After axles are pulled and put somewhere safe, remove the old backing plates (4 bolts each)
7) Now would be the time to go ahead and remove the old seals and bearing and replace with new ones if needed. My bearings were fine so I just did the seals. Zip off the yoke and the pinion seal is easy to change right out too again only if needed. Now would be the time to swap out the studs too. plug the rear up with rags to keep inside of the axle tubes clean.
8) Reinstall yoke, axles, and the backing plates. Backing plates need the middle to be hones out a little to fit the 8.25 snug, dremel with a grinding bit works perfect for this.
9) Now you can go ahead and install all the emergency/parking brake shoes, hardware and adjusters
10) Install rotors, brake pads and the calipers with the soft lines. The original hard lines are going to be too long so you can do one of two things: either get new lines (recommended) or rebend the ends to match up with the soft lines
11) I notched my soft lines a little to make them fit snug when I installed them with the leaf spring mounts.
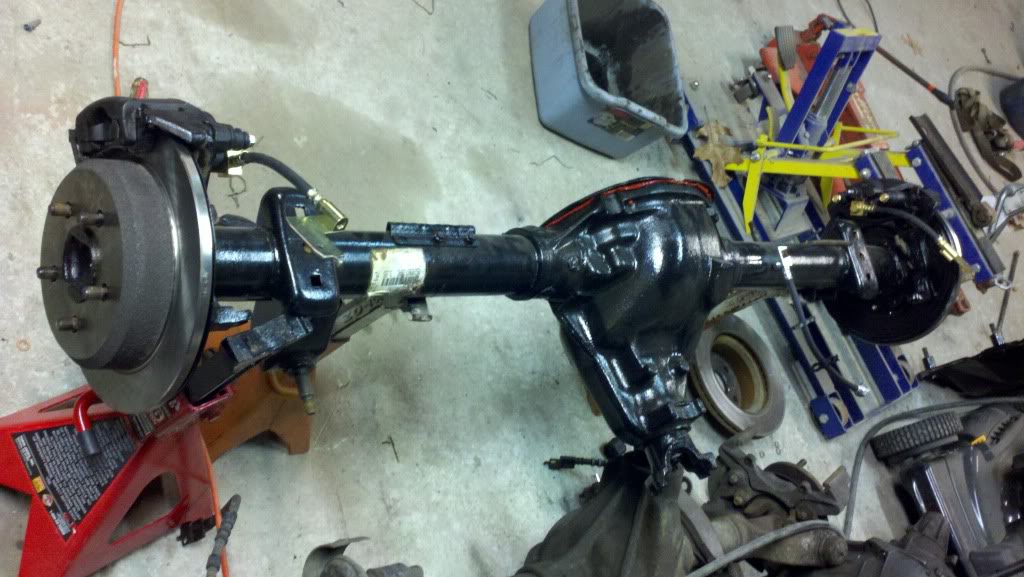
12) Now the differential cover can be installed with the RTV and fluid can be added. This step can be done now or once the rear is installed in the XJ. Check the fluid level after the Jeep is on level ground and no longer on jack stands for an accurate measurement.
YOU HAVE NOW COMPLETED THE ASSEMBLY OF THE CHRYSLER 8.25 AND THE DISC BRAKE CONVERSION!!!!!
Section II: Removal/Install of Rears
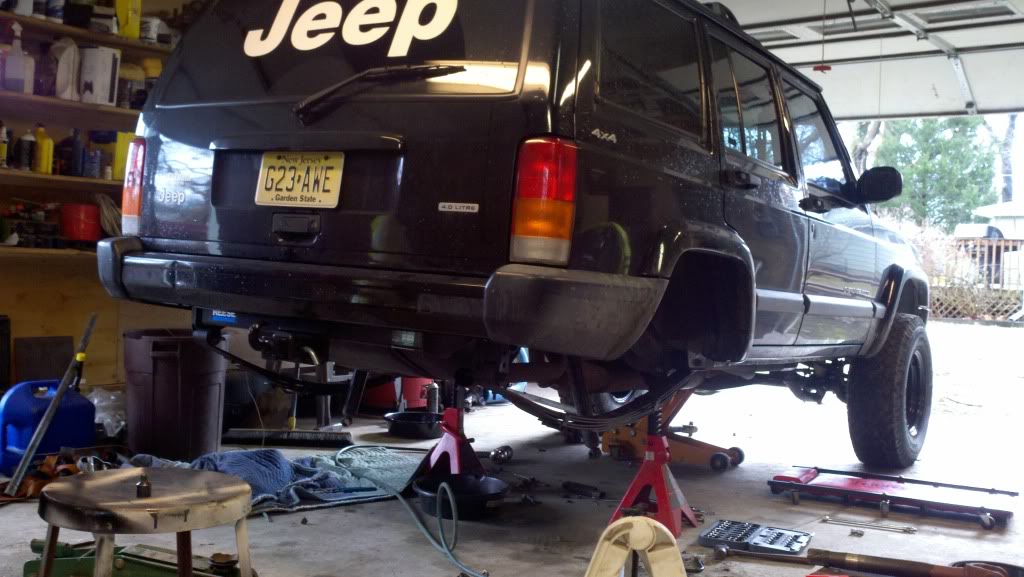
1) Jack up the rear of the car and put on jack stands somewhere secture so the differential can lower. Keep a jack under the diff as you will be removing the rear and sliding it out.
2) Take off the wheels/tires; unbolt the bottom of the shocks, brake cables, u-bolts, brake lines, and sway bar bushing (on the body) and breather tube.
3) Drop the rear out and roll it out of the way!
*** At some point remove the brake shoes from the D35 to use as the cores for the e-brakes that you bought at the parts store ***
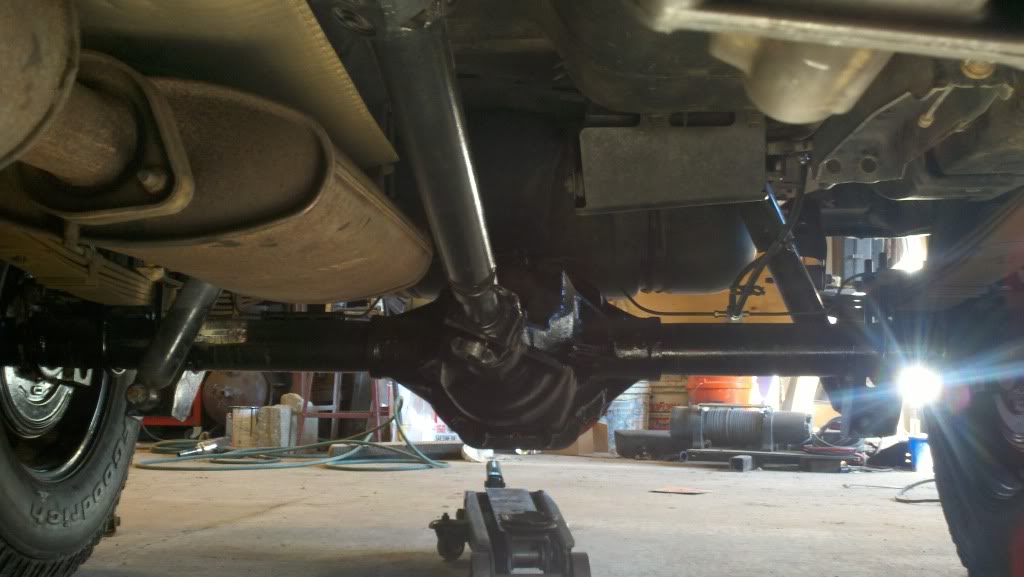
4) Roll the ready-to-go C8.25 under and jack er’ up into place.
5) Using the new U-bolts, bolt the rear leaf mounts to the springs. At this point you can also install the new nothced brake cables, shocks, brake lines, breather tube, and the wheel/tires.
5) Using the new U-bolts, bolt the rear leaf mounts to the springs. At this point you can also install the new nothced brake cables, shocks, brake lines, breather tube, and the wheel/tires.
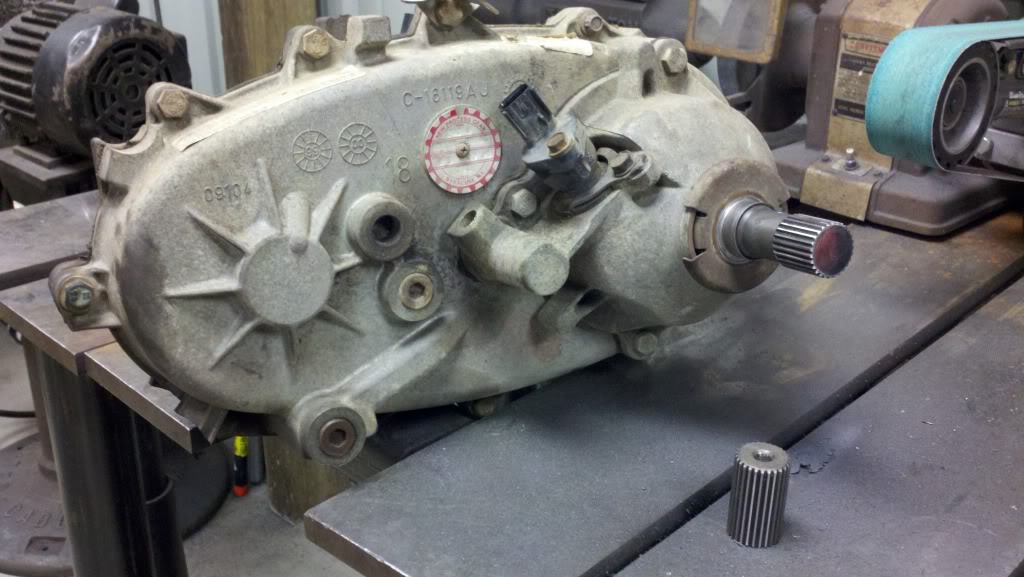
Section III: SYE & Driveshaft
These steps differ based on what transfer case you have and the year of your Jeep but for the most part I think they are pretty straight forward. *** READ THE INSTRUCTIONS THAT CAME WITH YOUR SYE KIT!!! This will ensure everything is measured correctly and/or installed properly. REMEMBER MEASURE TWICE CUT ONCE!!! ***
I have a NP242 so the best kit for mine was to use the Rubicon Express RE1807 HnT along with a Flange Yoke to match up with the driveshaft and 1310 u-joints.
1) Inspect all u-joints and replace all that are damage before install.
2) Drop the Jeep back down on all 4 wheels again and install the driveshaft. Check for any play in the driveshaft.
2) Drop the Jeep back down on all 4 wheels again and install the driveshaft. Check for any play in the driveshaft.
3) Grease the d/s using the grease fitting and a grease gun
YOU HAVE NOW COMPLETED THE SYE AND DRIVESHAFT INSTALATION!!!
Section IV: Proportioning Valve & Check
Since the rear brakes have now been converted from drums to discs the proportioning valve is optional to be changed as well to ensure the safety of you and your vehicle. I had a few problems with this and ended up going back to the factory p-valve that came in my XJ. Because my XJ had ABS there is an ABS pump mounted to the left of the master cylinder, you do not want to get air in that pump! I havent had any trouble with my brakes since going back to the original p-valve but its up to you. Here's how to swap it out if you decide to...
Since the rear brakes have now been converted from drums to discs the proportioning valve is optional to be changed as well to ensure the safety of you and your vehicle. I had a few problems with this and ended up going back to the factory p-valve that came in my XJ. Because my XJ had ABS there is an ABS pump mounted to the left of the master cylinder, you do not want to get air in that pump! I havent had any trouble with my brakes since going back to the original p-valve but its up to you. Here's how to swap it out if you decide to...
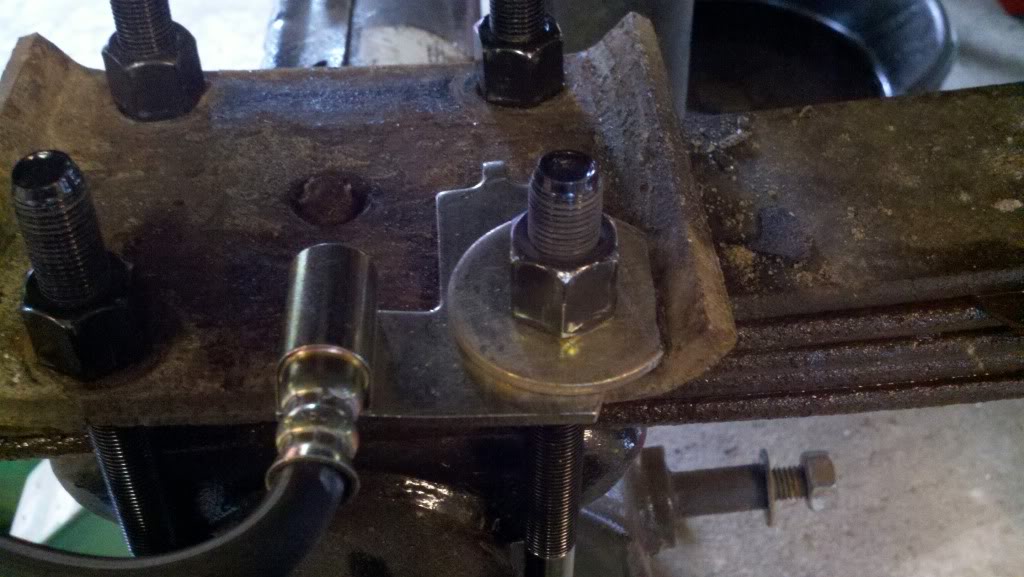
1) Pop the hood and remove the hard brake lines, plastic connector, and the 2 bolts on the bracket holding the existing p/v in place.
2) Remove the plug on the back side of the XJ p/v and swap it out with the one on the ZJ p/v.
3) Since the bracket on the XJ p/v differs from the ZJ bracket, it will have to be adjusted so that the bracket will match up in the same place on your XJ. I took a cutting wheel to it and left the p-valve floating after being installed.
4) Tighten down all the hard lines to the ZJ p/v, connect the plastic connector and bolt the bracket back in place.
5) Bleed the brakes and do a double check of everything.
6) Once you are sure everything is secure and good to go find a nice open parking lot close by and do 5mph figure 8’s for a few minutes to break in the new rear. After about a week go back and check everything over again just to be sure nothing has loosened up on you or lines are not kinked/ rubbing.
I am not a certified mechanic and only based this project off of reseached I gathered. Always be extra carefull when altering a vehicle from its factory state. Any and all feed back is welcome. I thank all the people who helped me gather the information needed and especially my buddy Doug who really helped this project come together and Vince for his help cutting and tapping the transfer case. Although the whole process was a little on the expensive side, anyone that completes this will be very happy with the results. Good luck to all and see you in the woods, on the rocks, and lost on our favorite trails.


Thread
Thread Starter
Forum
Replies
Last Post
CherokeeHoonigan
Stock Grand Cherokee Tech. All ZJ/WJ/WK Non-modified/stock questions go here!
4
09-04-2015 12:47 PM
RickJames Bish
Modified XJ Cherokee Tech
5
09-02-2015 03:22 PM
Currently Active Users Viewing This Thread: 1 (0 members and 1 guests)

