XJ Snajo - New Again
 10-20-2013, 05:25 PM
#1
Former Sponsor
Thread Starter

My XJ background - I bought my current 2000 XJ 3 years ago. At the time it was an above average example compared to the others I found in Utah. Surface rust was limited to the roof and bumpers, the driver door speaker didn't work, the child lock switches were stuck in 'on' and it had horribly cheap tires. The stock cassette player worked and aside from a tired radiator and some broken dash vents there wasn't anything wrong.
I didn't have much cash, but I wanted to take care of the rust. My solution was raptor liner u-pol raptor liner on the roof, bumpers, rocker panels and most of the plastic trim. The raptor liner turned out to be really good stuff. The problem is that I didn't mix enough color, so instead of matching the rest of the Jeep's maroon, the lid and lower portions of the jeep were all pink. Black spray paint took care of the lower parts. The lid, well, it's still somewhere between red and white.
Since I've had it, the only major work has been a replacement radiator and a blown head gasket. The head has been taken care of... it actually started miss firing on the way to get an emissions inspection. The radiator, well, the all metal one I ordered showed up with packing foam injected well into the neck of the radiator. I returned it and went with an OEM replacement.
I also had the transmission, differentials, and transfer case services completed after I bought it. A hitch was installed and all shocks replaced.
Pictures to follow. The Jeep will be painted a graphite metallic color. It's solidly between silver and black... different enough that those who have been around them will recognize it's not a stock color, but not flashy enough to gain unwarranted attention. I'm replacing all bumper caps, door handles, fog lamps, the front air deflector, a cracked turn signal cover, and having the windshield replaced. Body and trim will be painted the same color and bed liner will be redone on the roof, metal parts of the bumpers, and rocker panels. The wheels are to be determined, but since the body color is neutral, I'm looking to have the wheels repainted the same.
Other changes include removing the interior and replacing any rusted panels. While in there, I'll install heat/sound deadening material. The front seats are looking at being replaced, upholstered, or covered. I want to replace the seats, but am not ready to stomach the cost. Heavy rubber mats will be placed in front and rear floors along with the cargo area.
The cassette player is being retired. In its place I'm installing a pioneer headset. Rear speakers will be deleted in favor of active component fronts and a 10" sub in one of Doubletabxj's cubby boxes.
I'm going to attempt to convert the rear drums to disks. I am getting parts from Big David on the forum here, but will need to do some more reading before I make the attempt.
After paint and sound, but within the next year, the suspension needs replaced. I've got 120k miles on what are most likely all original components except for shocks and it feels like it. I want to go with a 2" lift of OME components.
There are many other things that I've looked into and want to do, but for now this is about as far forward as I'm looking. If I can bring myself to sell my 2004 GTO, a lot of options would open up. That thing is just too much fun to drive.
Pics to follow
Last edited by Snajo; 12-28-2013 at 11:21 PM.
 10-21-2013, 01:35 PM
#2
Former Sponsor
Thread Starter
My first jeep was totaled when a Suburu ran the wrong red light.
The second XJ is shown here after the bedliner / rattle can job I did to it. Notice the color of the roof. My bad.
Anyway, I expect my wife to send some current photos of her soon. The spray paint hasn't weathered well and neither has the paint itself.
It looks like I should find a set of lug nuts as well.
My goal is for her to look more or less new on the outside, although in a non-factory graphite metallic color.
12-13-2013, 12:52 AM
#4
Former Sponsor
Thread Starter
The interior has been removed. Rust removal (found a bit on the passenger floor pan) and sound dampening installation on the floor is complete. Working the doors now and installing the new speakers. Next will sound dampening the roof.
The console I got has been cleaned up and is ready for install. I need to get a steering wheel tool so I can install the 'cruise-control' clock spring.
The ZJ seats (front and rear) I picked up from the salvage yard have been cleaned up. Additional padding was installed in both front seats. They are in decent shape overall... on par with my stock XJ seats, but much more comfortable. The rear seats are like new somehow.
Some pics of install progress:

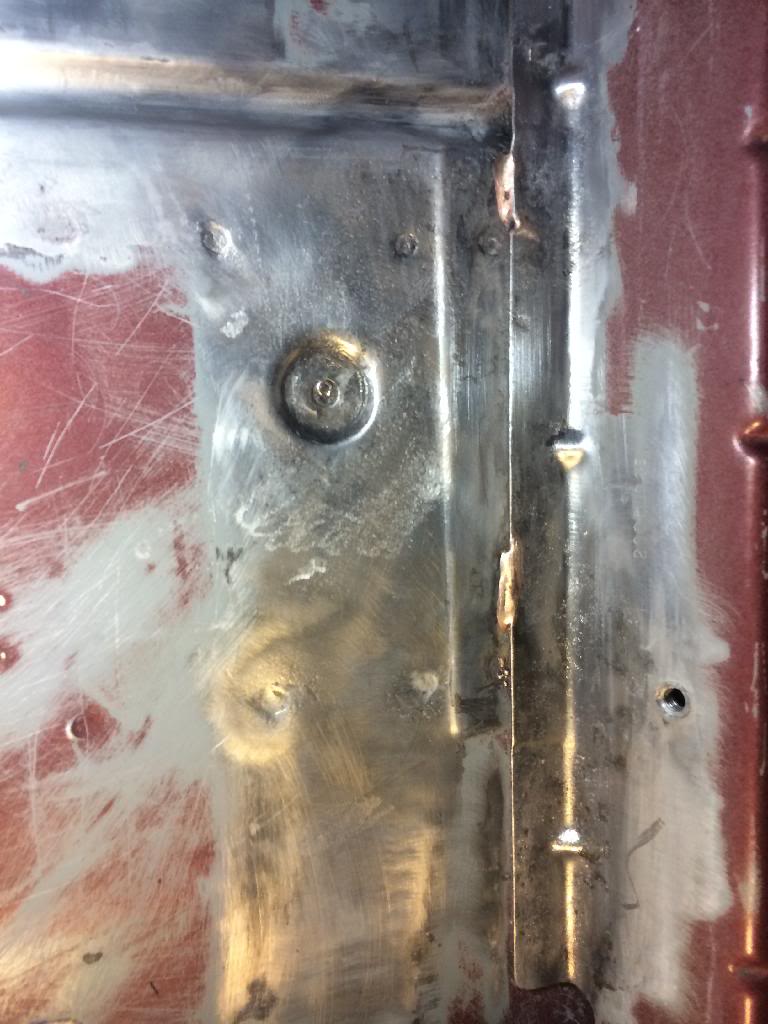
Completed driver side floor and transmission tunnel.
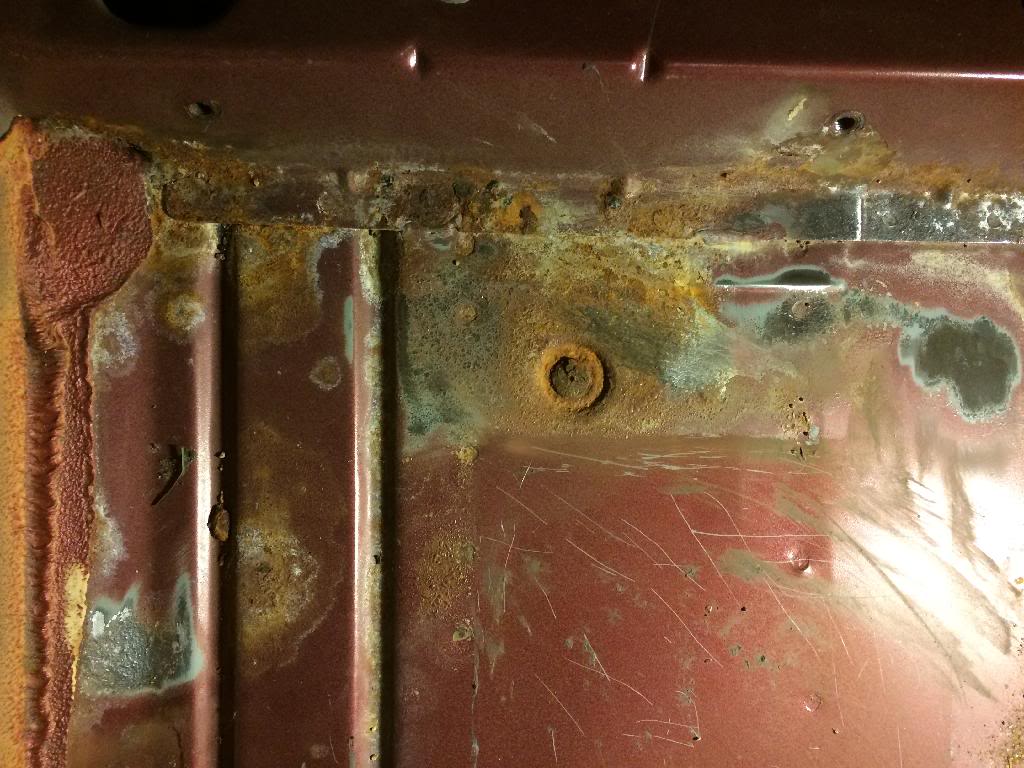
Passenger side rust. Ugh. I spent a lot of time cleaning this!
The console I got has been cleaned up and is ready for install. I need to get a steering wheel tool so I can install the 'cruise-control' clock spring.
The ZJ seats (front and rear) I picked up from the salvage yard have been cleaned up. Additional padding was installed in both front seats. They are in decent shape overall... on par with my stock XJ seats, but much more comfortable. The rear seats are like new somehow.
Some pics of install progress:

Completed driver side floor and transmission tunnel.

Passenger side rust. Ugh. I spent a lot of time cleaning this!
12-13-2013, 11:29 AM
#6
Former Sponsor
Thread Starter
I forgot to take a picture of the floor pan after finishing rust removal. Below is a picture of 3/4 of the way through. I used a bit of navel jelly along with a sanding wheel on my drill and a dremel type grinding tool to get at the pits. The black spots are rust that hasn't been removed yet.
There was some rust under the seat support brace that I couldn't get to. But overall I'm pleased.
There was some rust under the seat support brace that I couldn't get to. But overall I'm pleased.

Trending Topics
12-28-2013, 11:41 PM
#8
Former Sponsor
Thread Starter
Aye, I sprayed a rust converter primer and spray bed liner in the passenger floorwell. Everywhere else I simply wiped down clean and installed sound dampening. The spots under the stock sound dampening looked like new metal, so this butyl stuff should prevent most new rust.
I've completed the passenger floor pan treatment, the sound dampening, carpet cleaning, sound system install, and cruise control install. I've got the carpet back in and most of the plastic trim panels.
Tomorrow I'm going to install the gauge cluster and hvac/switch panel leds. From there I'll dash panels and put the ZJ front seats in.
I took a few pictures along the way. More to follow.
12-29-2013, 01:07 AM
#9
Former Sponsor
Thread Starter
Dash LEDs - I have mixed feelings. For one, there are definite hot spots. I could dab some hot glue on the led that's directly facing the gauges. The other thing I don't like is that they can't be dimmed. I tend to turn my gauge lamps down really low at night.
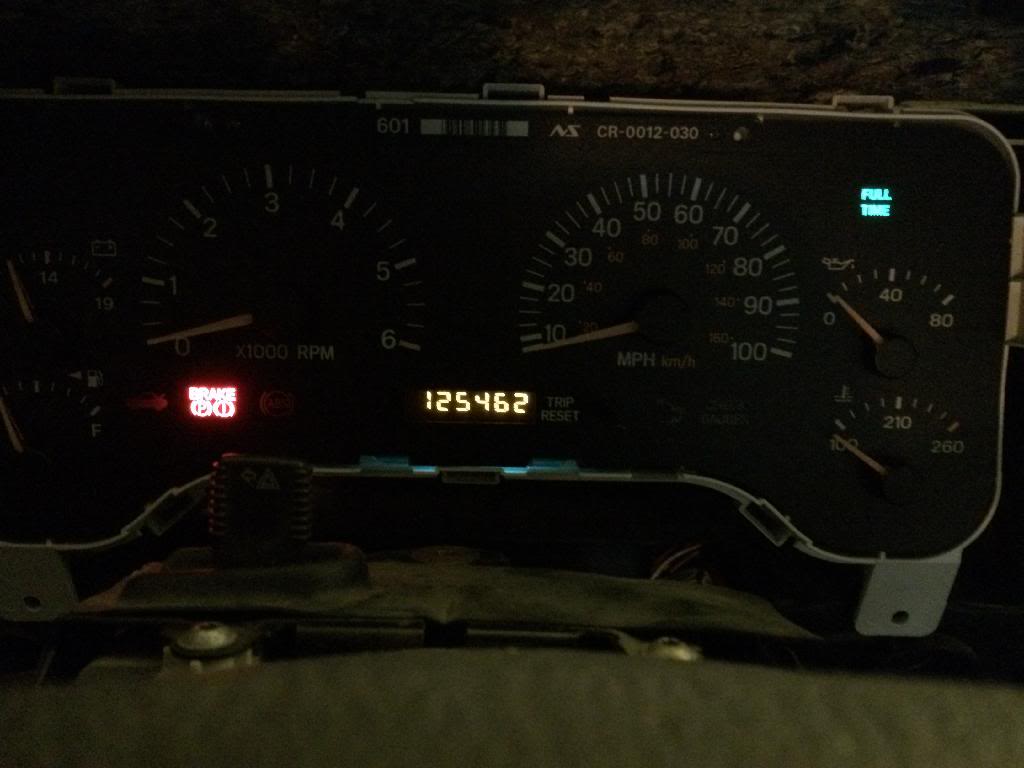
I put a colored film in front of the odometer to change the color. When I tested it at daytime, I thought it worked really well, but at night it's way too dark. I'm not about to take the cluster apart to figure a way to get more light in there, so I'll probably take the film out and call green good enough. I may try some other films though.
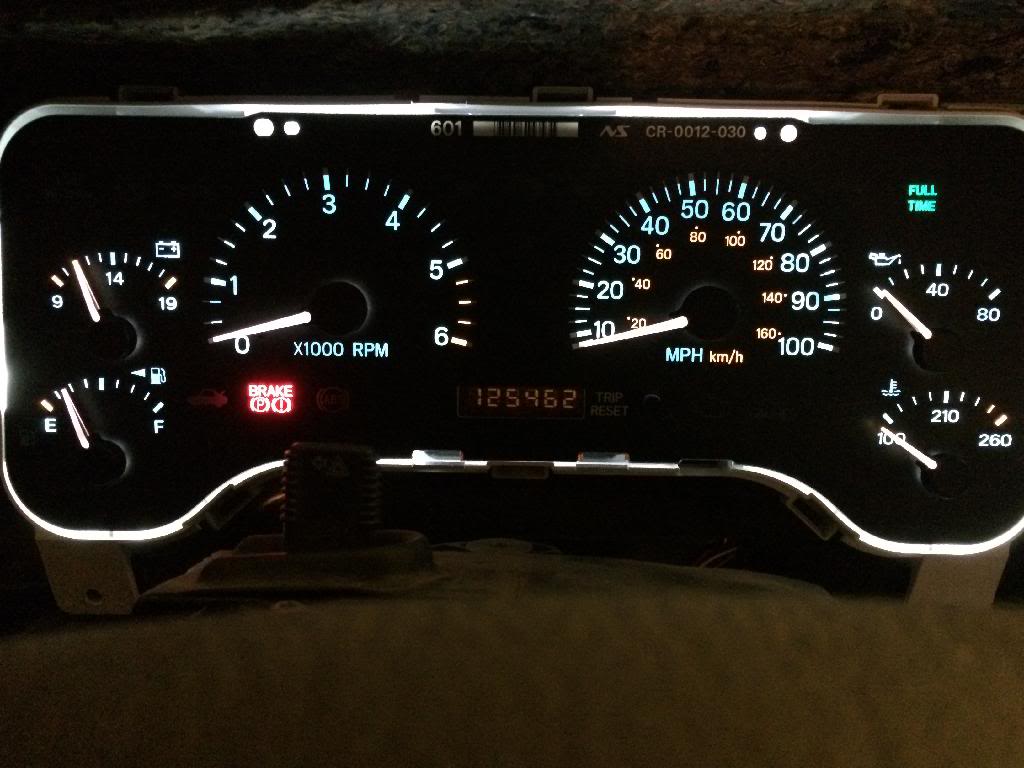
At Night with Gauges off
Night with Gauges On (bad)
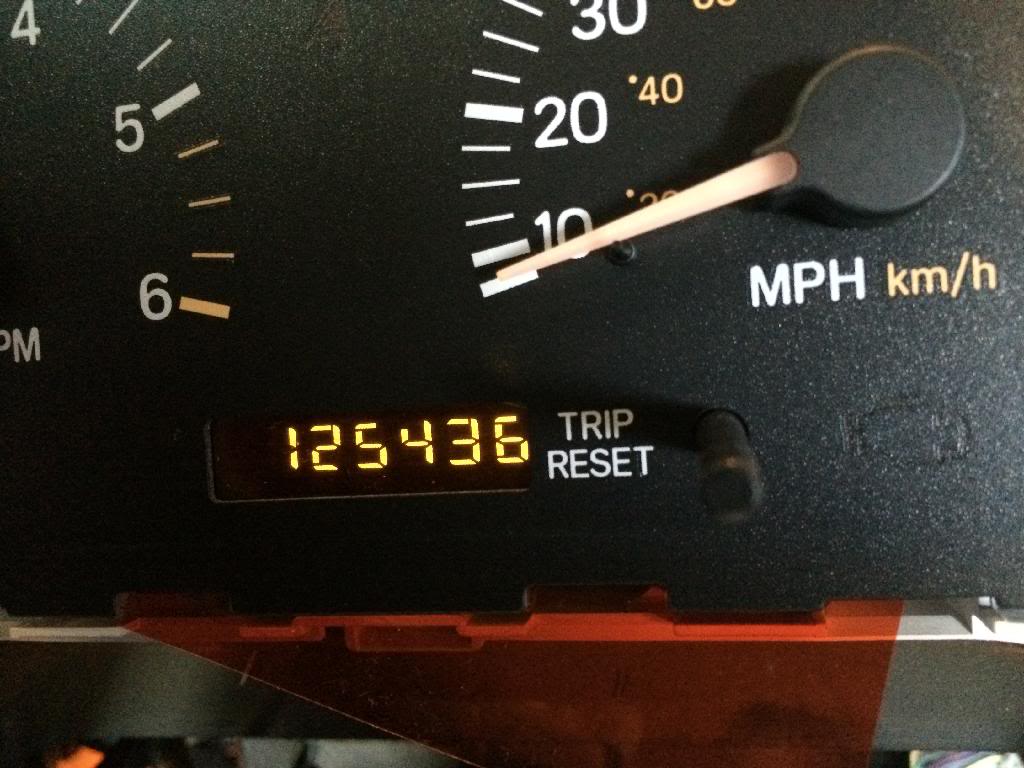
Daytime (nice)
Edit: After looking these over, I'll give some other films a shot. If anyone is interested in how I got the film installed, I can do a simple writeup with photos.
I put a colored film in front of the odometer to change the color. When I tested it at daytime, I thought it worked really well, but at night it's way too dark. I'm not about to take the cluster apart to figure a way to get more light in there, so I'll probably take the film out and call green good enough. I may try some other films though.

At Night with Gauges off

Night with Gauges On (bad)

Daytime (nice)
Edit: After looking these over, I'll give some other films a shot. If anyone is interested in how I got the film installed, I can do a simple writeup with photos.
Last edited by Snajo; 12-29-2013 at 01:09 AM.
12-29-2013, 01:41 AM
#10
Former Sponsor
Thread Starter
Amplifier and speaker wiring install:
First, I recommend cleaning battery terminals and wire/chassis/alternator connections. The chassis ground is a pain to remove. In hindsight, I'd make a new ground before trying to remove and reinstall that one again. There's probably an easy way to crack that nut, but I haven't found it.
Second, I suggest figure out your wiring routes. It's better to do this before drilling holes and running wires. Next time I'll sketch out a plan so I can better keep power and signal wires separate.
Third, drill holes and figure how you'll protect your wires. I used grommets and electrical take to build up the wire insulation for a tight fit.
Finally, run wire. I ran the hot wire down the far passenger side of the cab and under the back seat to the amp under the driver side rear seat. The RCAs, remote on line, bass adjust line, usb ports, and AUX input were run from the head unit behind the HVAC controls, under the center console, and along the transmission tunnel to the amp. (The AUX and USB ports are currently coming out of the console through the parking brake lever opening. Later I'll drill holes in the console storage area for proper mounting.) Speaker wires were run along the far driver side of the cab to the amp. The sub wire is running under the carpet to the passenger fender well until I get the rear seat installed and figure a safe route.
If I had thought about this before, I would have run the passenger speaker wires higher through the dash, since they come pretty close to the 4 gauge power wire currently.
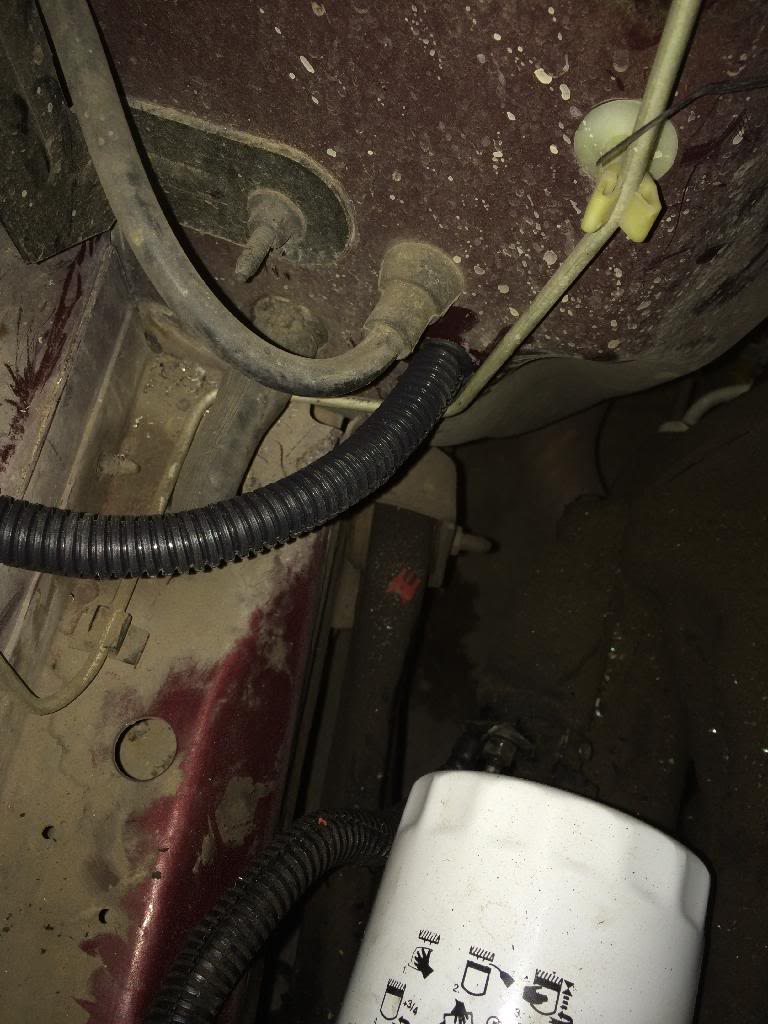
The power wire runs through the firewall behind the oil filter. There may be better places. This is the one I used. The only other hole I drilled was for the power wire to get through the bracing under the rear seat. Again, rubber grommets, electrical tape, and flexible wire conduit were used to keep the wire safe.
12-29-2013, 01:48 AM
#11
Former Sponsor
Thread Starter
For cruise control there are plenty of good write ups. The only that would've made it easier for me would have been a clear indication of where to put the actuator and where exactly the plug I needed was. I figured it out, but it took longer than it should have. The actuator goes beside the battery mounted to the fender. Not mandatory, but it's worth the trouble to remove the battery for this one. The socket is more or less beside/under the battery on the fender. Since my jeep never had cruise, the plug had 14 years of dirt and corrosion in it. See pics for before and after a little cleaning.
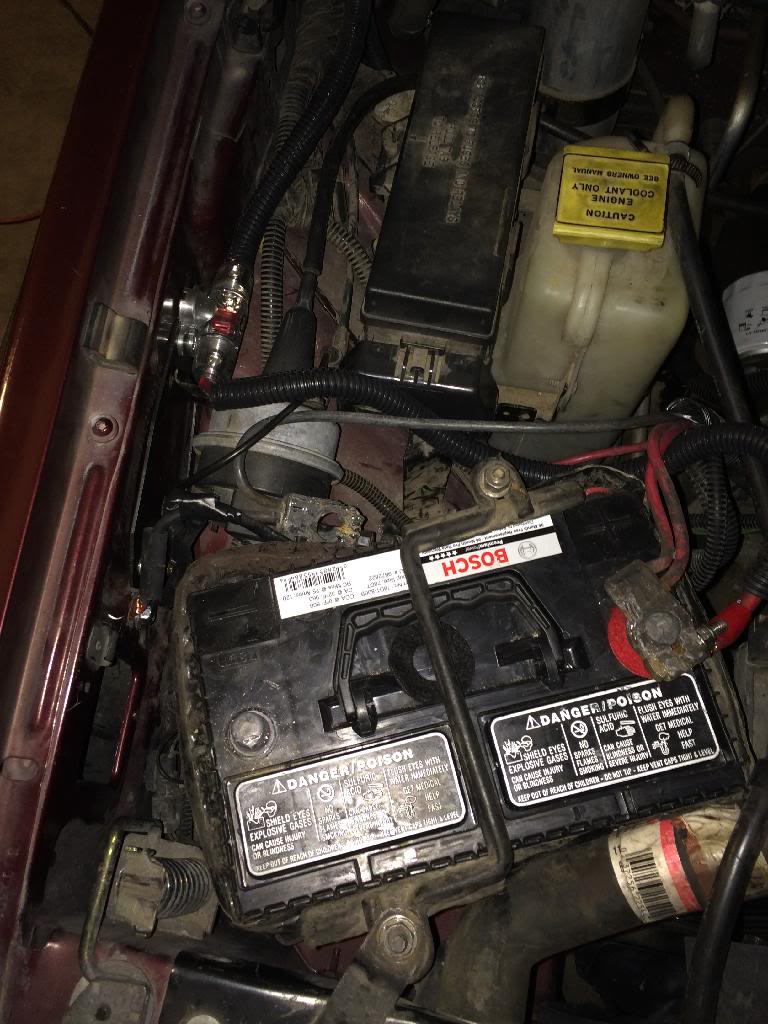
There she goes.
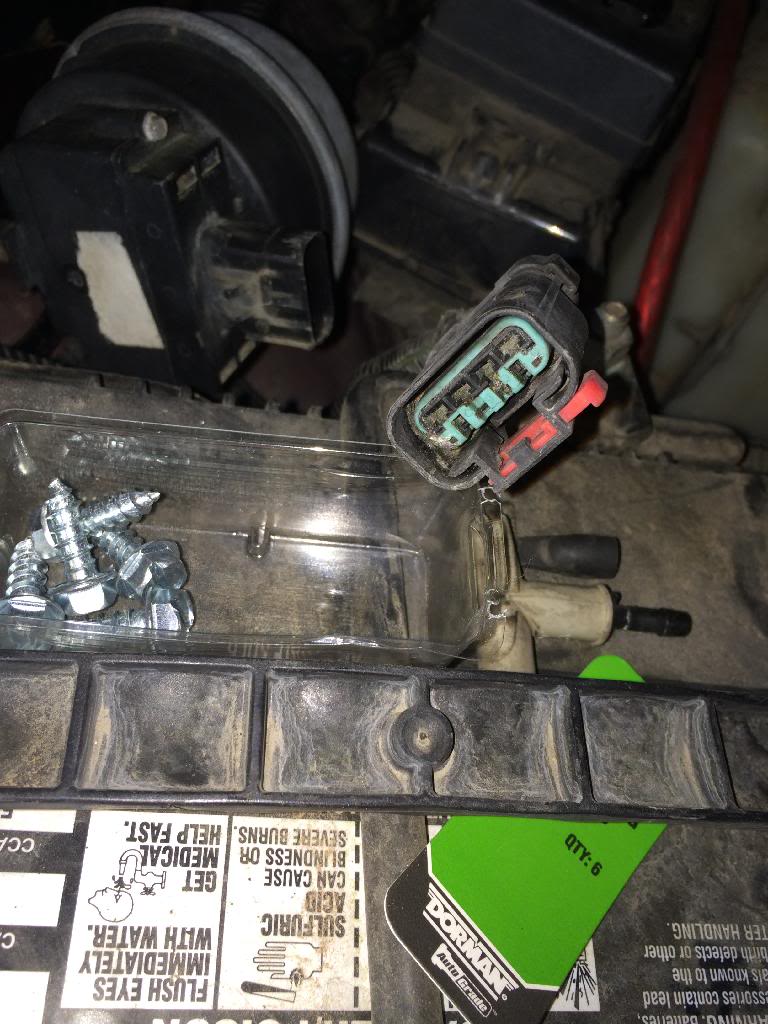
Dirty Plug
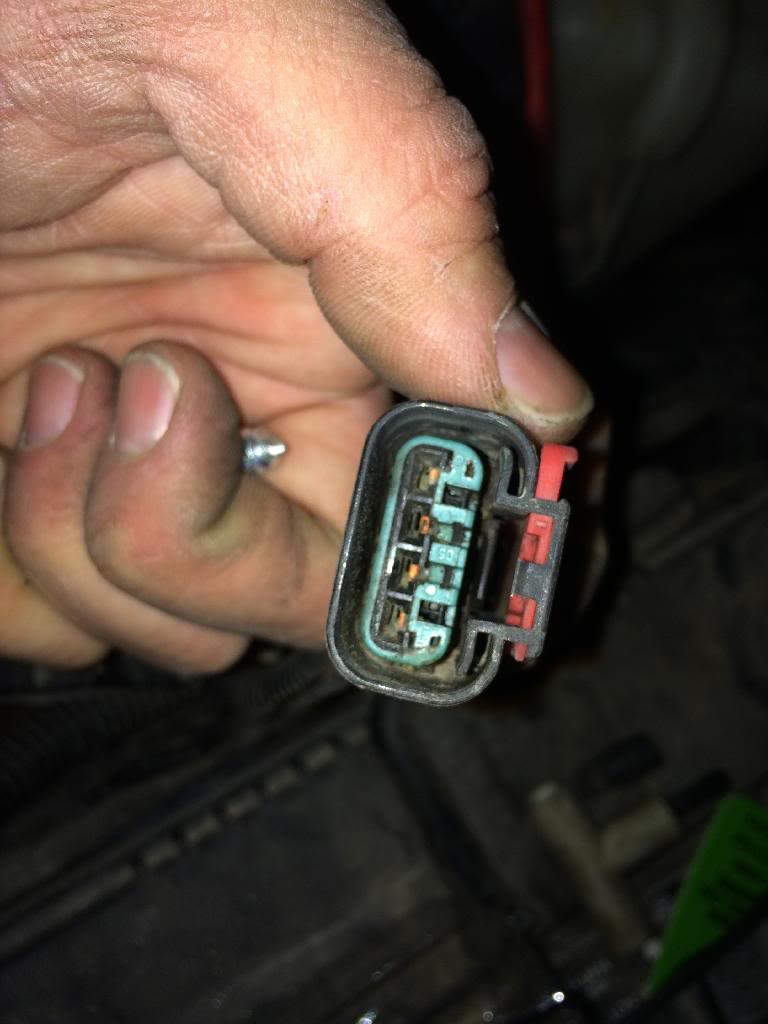
Cleaner Plug. At the very least, the contacts look metal.

There she goes.

Dirty Plug

Cleaner Plug. At the very least, the contacts look metal.
12-29-2013, 02:04 AM
#12
Former Sponsor
Thread Starter
Sound dampening install (complete).
I posted a pic of the driver side floor well with the Stinger Roadkill installed.
I suggest using a good tape around the edges of installed mat. I used 3M aluminum tape. The butyl gets into cloths and on shoes... and ends up everywhere else along the way - on shoes, in cloths, in carpet, on dog, etc. Best prevent that, especially if you're married.
A hard rubber roller specifically for sound dampening is very useful. I bought two rollers... one general purpose (cheaper) and one from a sound dampening company (expensive but worth it, imo). Basically, the purpose designed rollers don't stick to butyl and are hard enough to get the mat placed without cutting the aluminum backing in the process.
A lot of people say gloves are important. I would have thought so too, but I ended up not wearing mine much. The ease of installing without gloves outweighed the cuts from the aluminum damping backing and tape. If I did this as a full time job, I'd use gloves in doors, fenders and any other tight spots.
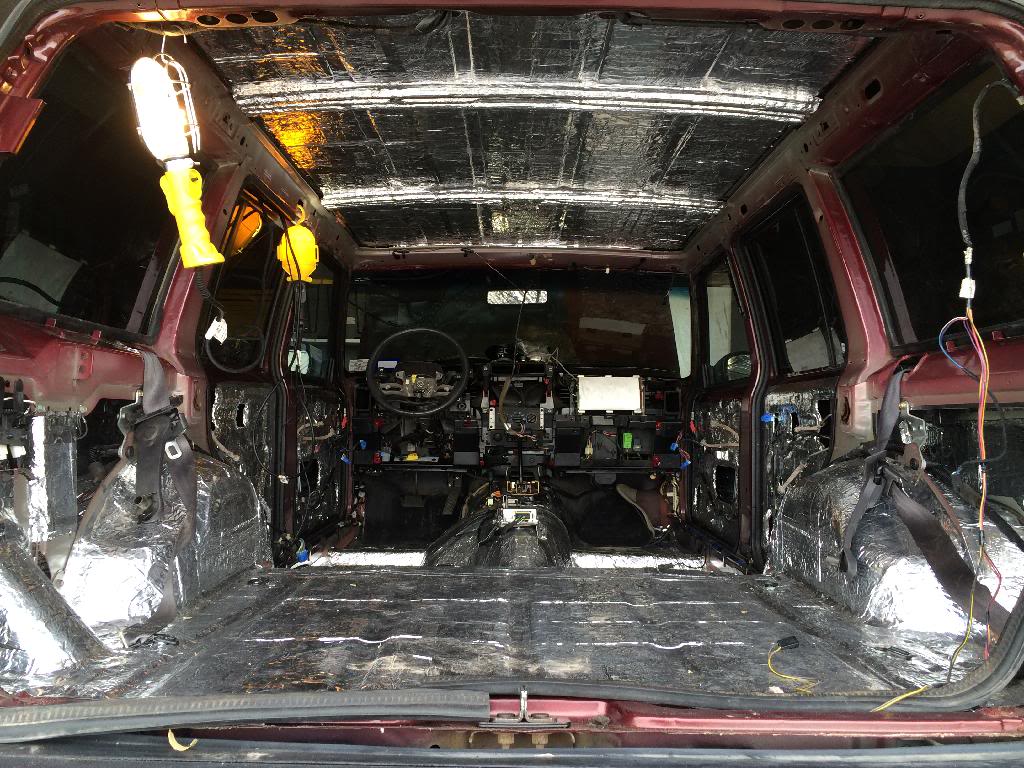
After install. Roof, cargo area, and fenders.
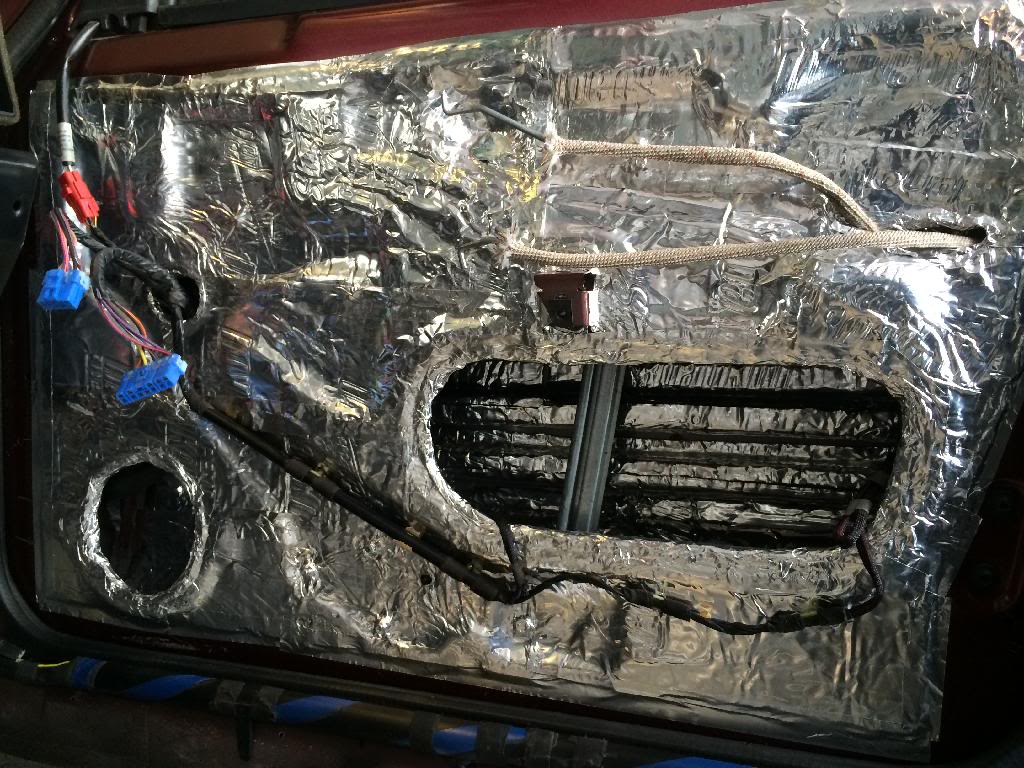
Passenger Door. I'd like to seal the big open hole, but haven't decided how yet. It won't be a perfect sealed enclosure, but it should sound better if I can get that hole plugged. I'm planning on replacing door handles when the exterior is painted, so I want something removable (without much trouble). I did as much dampening on the insides of the door panels as possible. I didn't tape edges there tho... too much trouble.
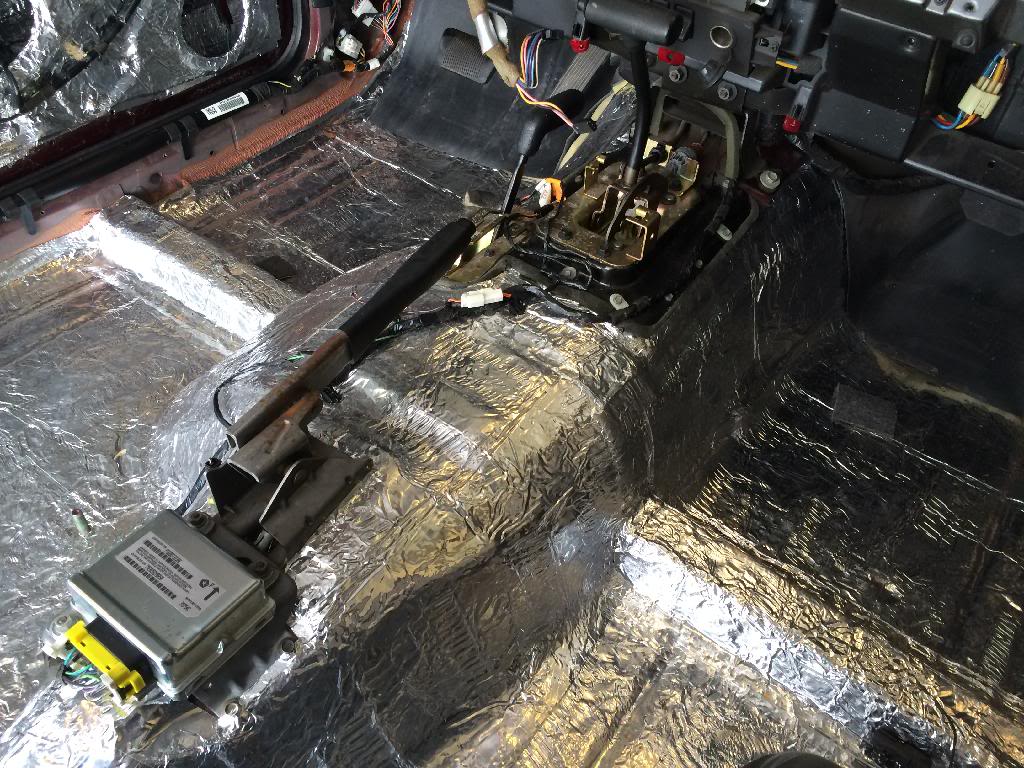
Front floor and transmission tunnel. It looks like this most everywhere.
12-29-2013, 02:10 AM
#13
Former Sponsor
Thread Starter
I thought I have more carpet photos, but this is all I have. Since it was out, I rented a steam cleaner from Lowes and cleaned the hell out of the carpet.
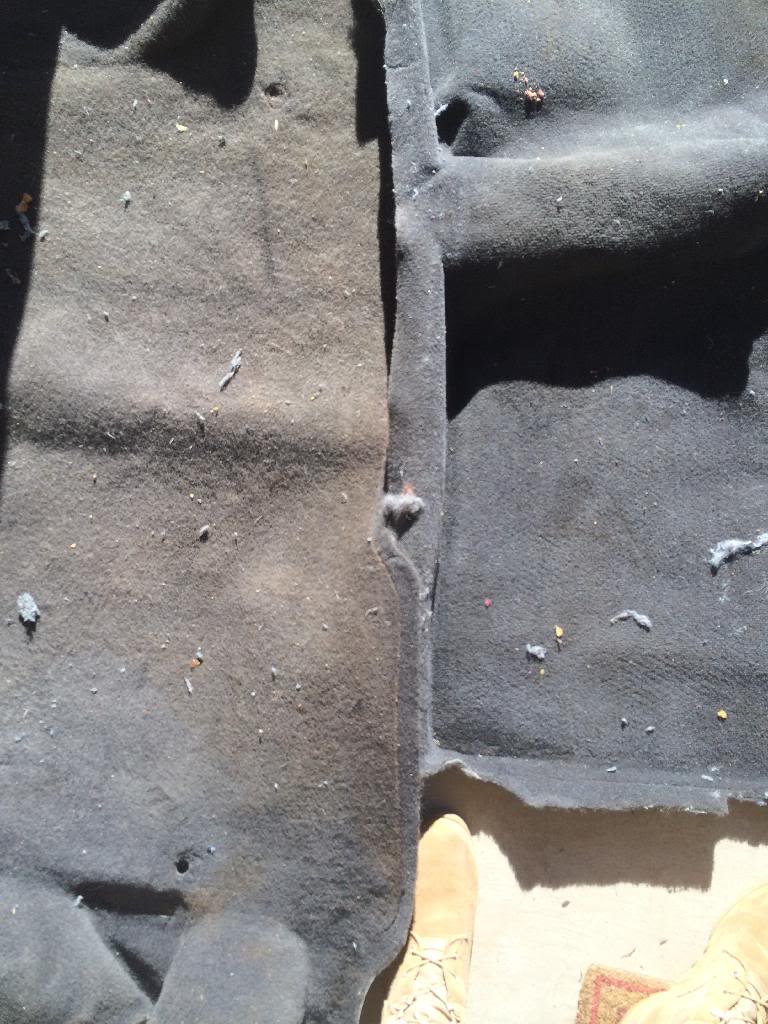
Dirty Carpet - At one point I had a 5 quart jug of oil leak into the cargo area. No rust back there, but the carpet was slick for a while.
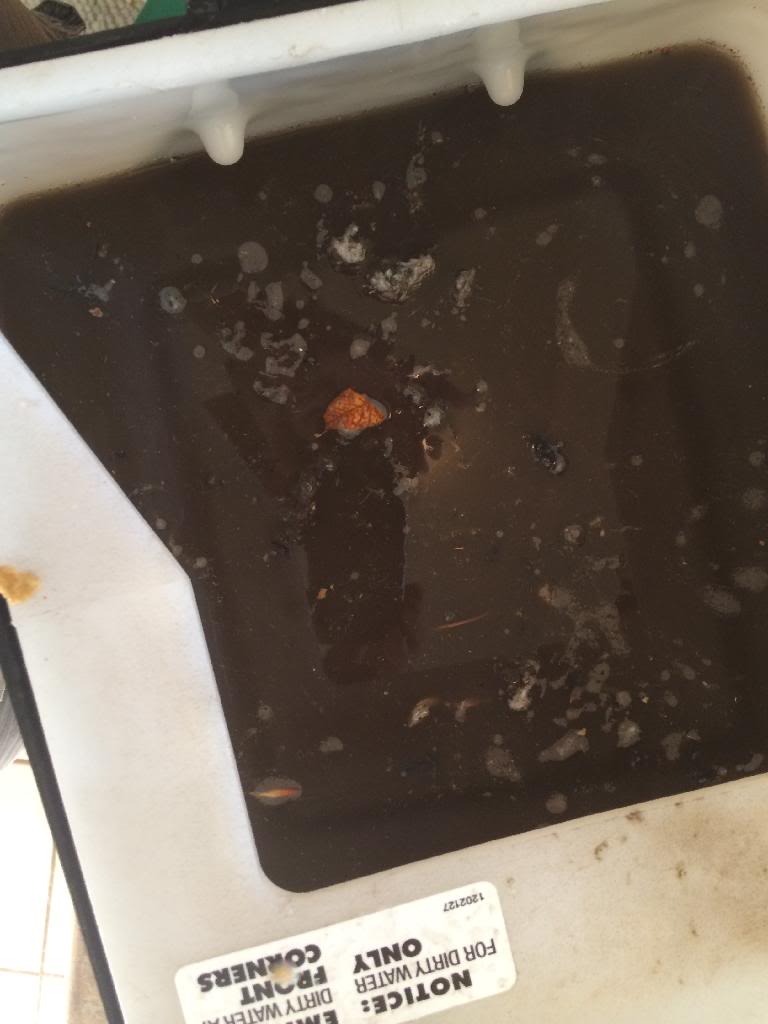
Dirty Water - second pass if I recall.
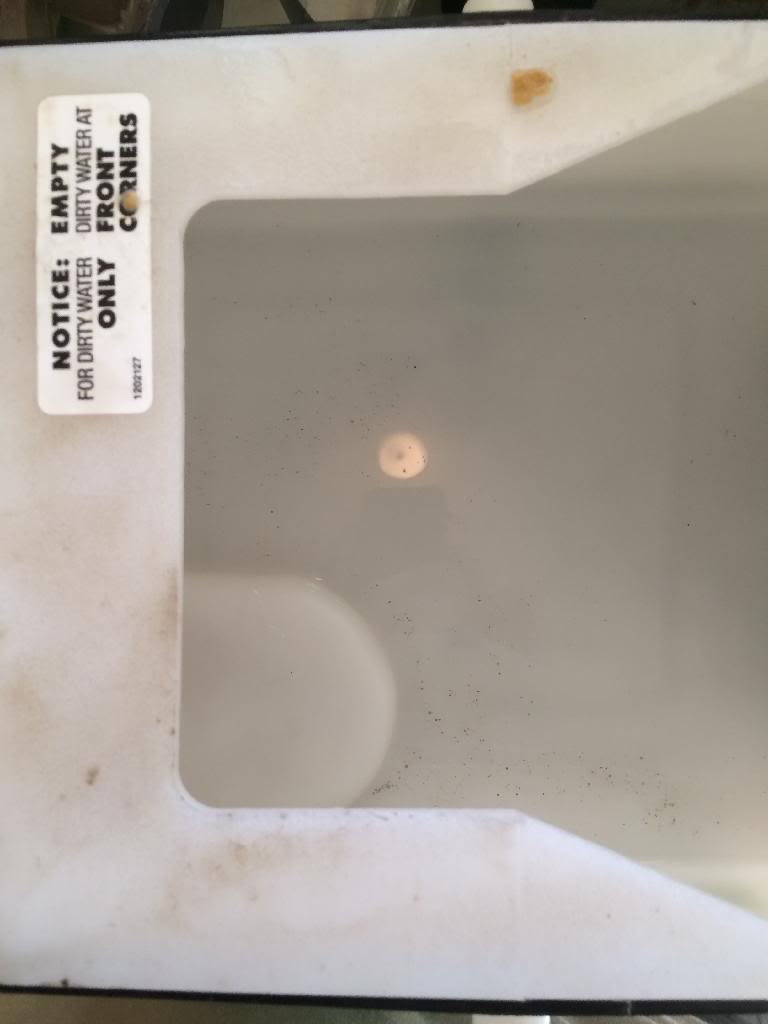
Clean water - for reference.

Dirty Carpet - At one point I had a 5 quart jug of oil leak into the cargo area. No rust back there, but the carpet was slick for a while.

Dirty Water - second pass if I recall.

Clean water - for reference.
12-29-2013, 02:13 AM
#14
Former Sponsor
Thread Starter
I upholstered an overhead console I got from a forum member.
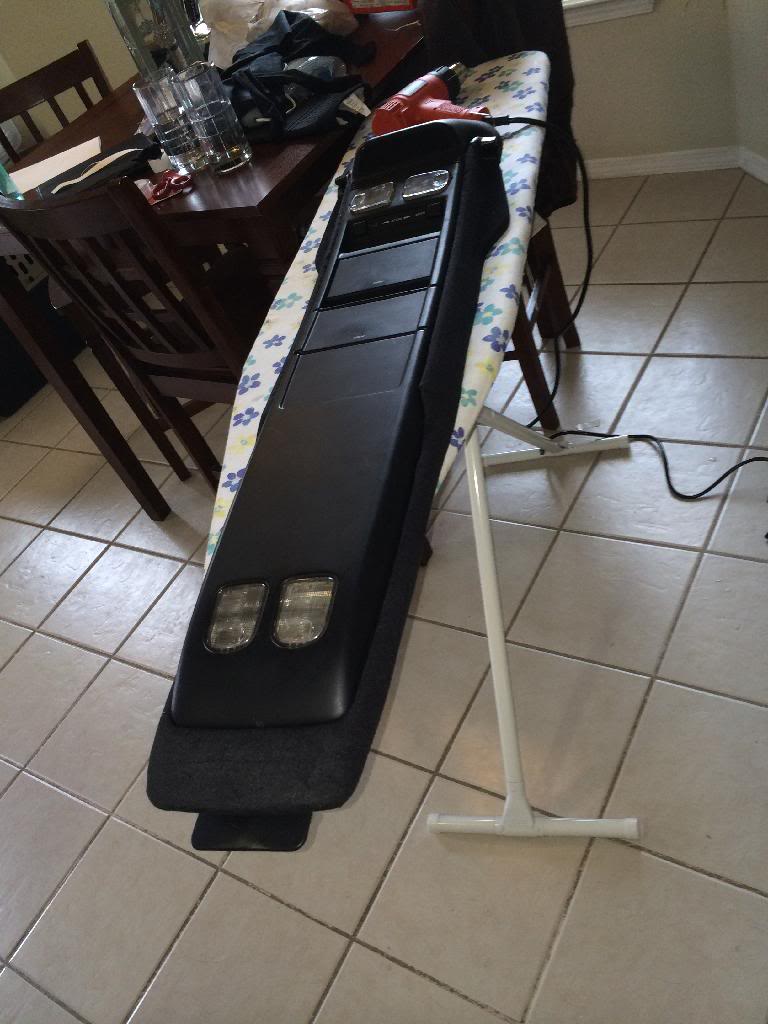
I chose black because it's hard to match the interior gray. Anyway, I used iron on type glue for the showing portions and hot glue to tack it down on the unexposed areas. The OEM stuff is held on the same way, but without the hot glue on the backside. I'm looking forward to getting it installed.

I chose black because it's hard to match the interior gray. Anyway, I used iron on type glue for the showing portions and hot glue to tack it down on the unexposed areas. The OEM stuff is held on the same way, but without the hot glue on the backside. I'm looking forward to getting it installed.
12-29-2013, 02:22 AM
#15
Former Sponsor
Thread Starter
There isn't anything I've done here without using forum resources. Well, I did the console upholstery on my own, but everything else I learned here or at diyma (for audio info).
I'm not sure when I'll be able to afford a new paint job, lift kit, and exhaust (smells a bit strong when idling at a stop). It may have to wait until I sell my GTO... but damn that's a fun car to drive.
I'm not sure when I'll be able to afford a new paint job, lift kit, and exhaust (smells a bit strong when idling at a stop). It may have to wait until I sell my GTO... but damn that's a fun car to drive.