wheels 89 mj
 11-19-2016, 01:59 PM
#16
Member
Thread Starter

Join Date: Mar 2016
Location: Tempe, AZ
Posts: 113
Likes: 0
Received 0 Likes
on
0 Posts
Year: 1989
Model: Comanche
Engine: 4.7 stroker
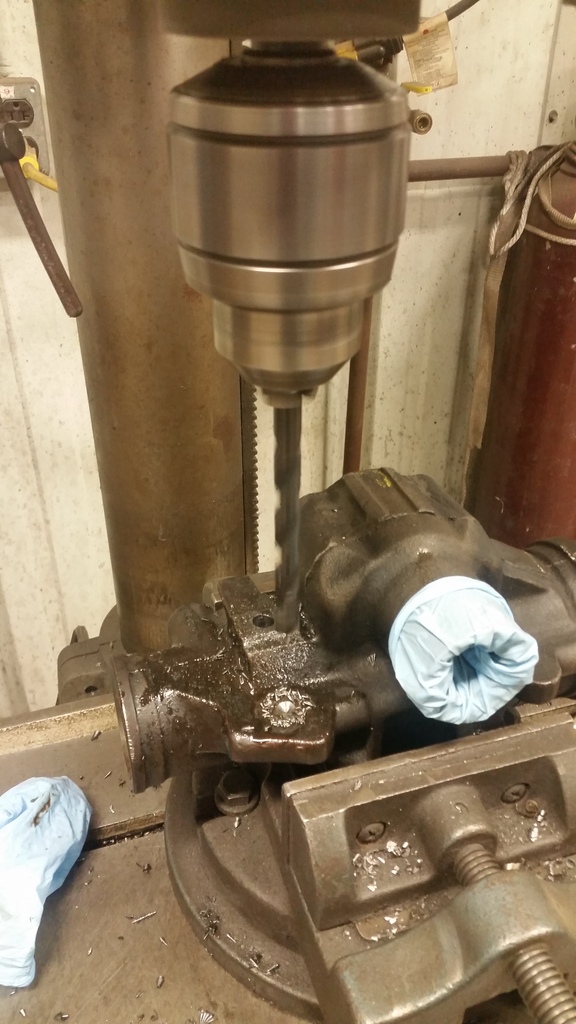
Tore the steering box apart, drilled and tapped for hydro assit, and reassembled
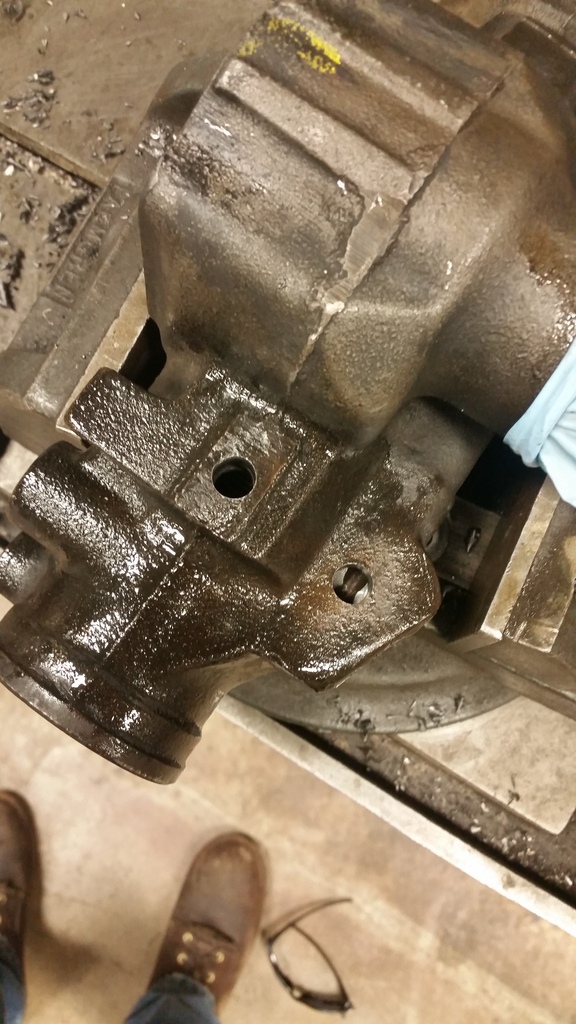
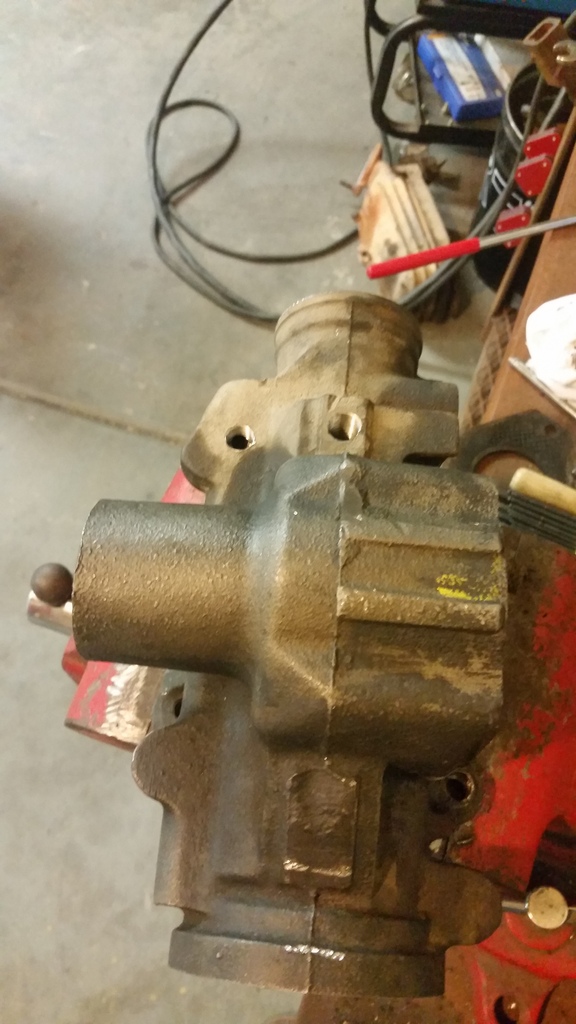
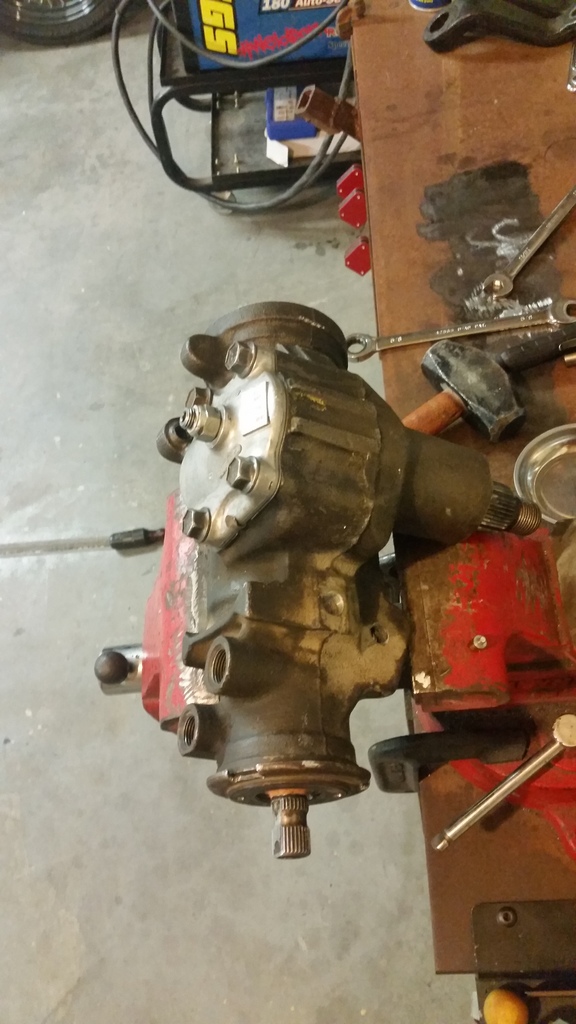
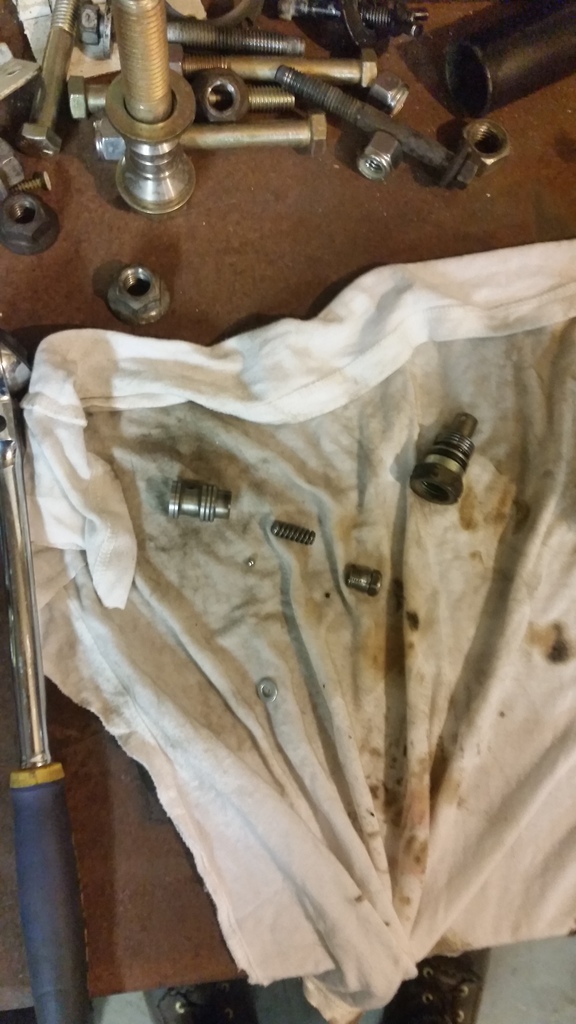
Took the power steering pump regulator apart and shimed it with a #4 machine screw washer. Drilled the output fitting to 3/16"
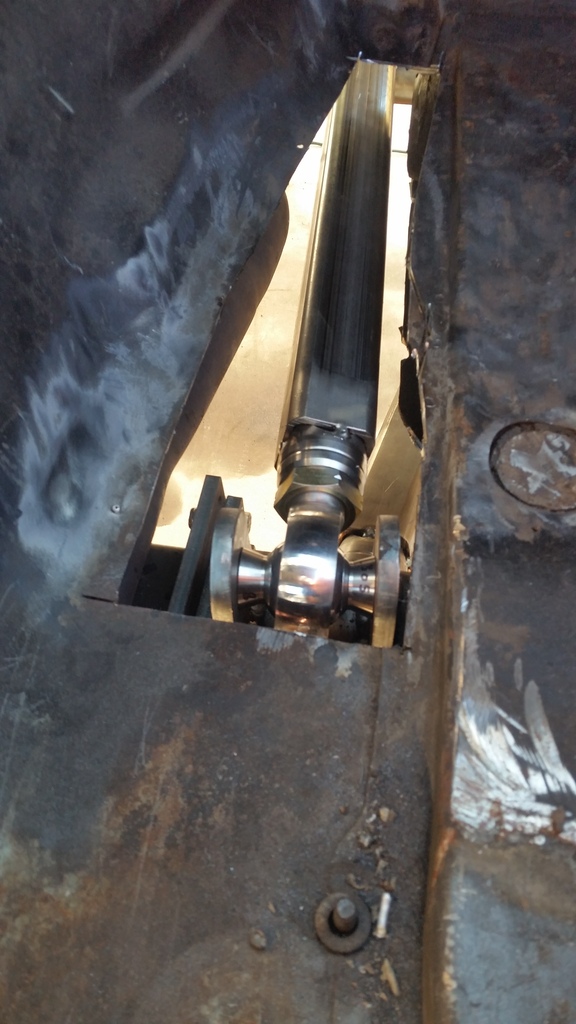
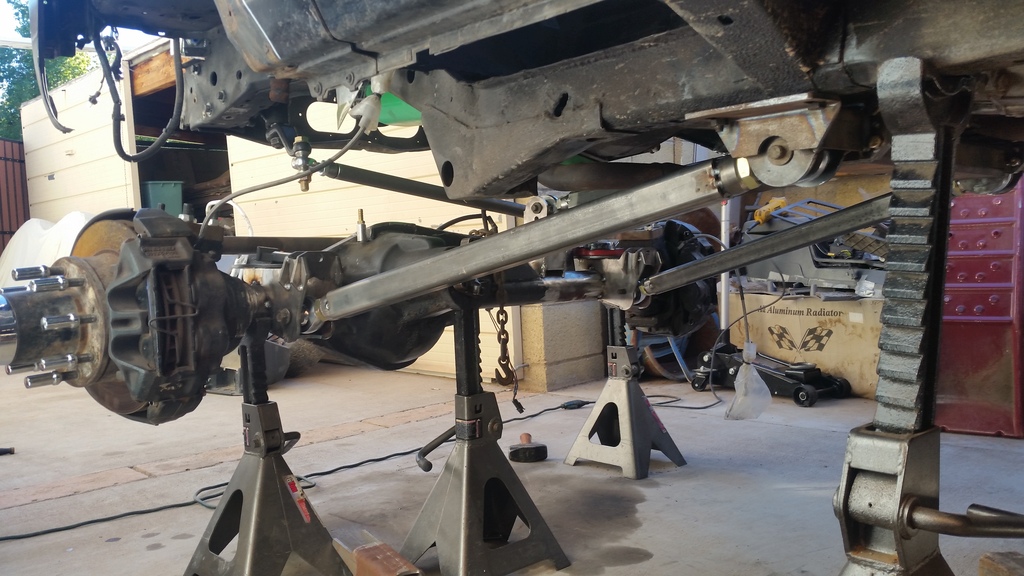
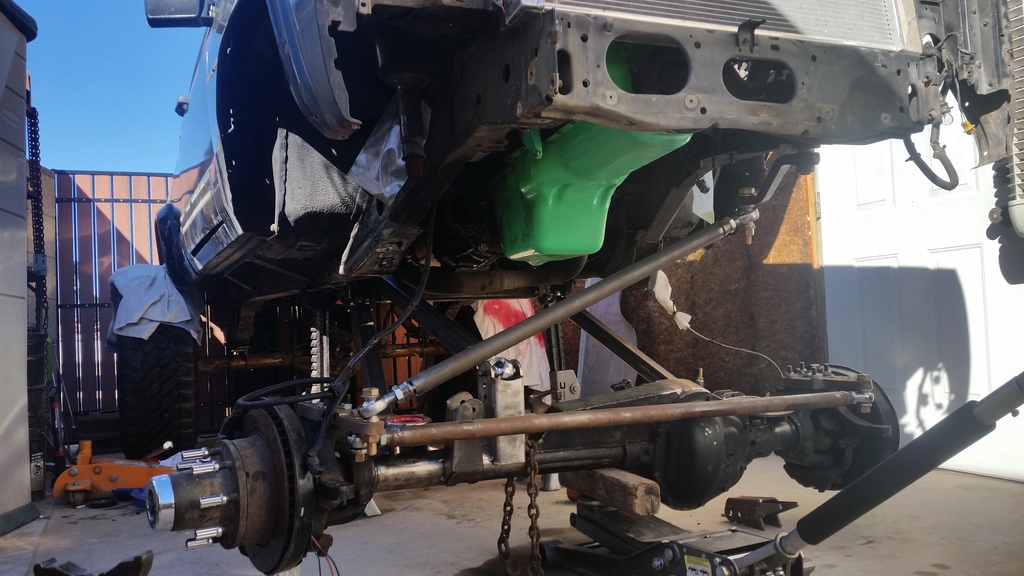
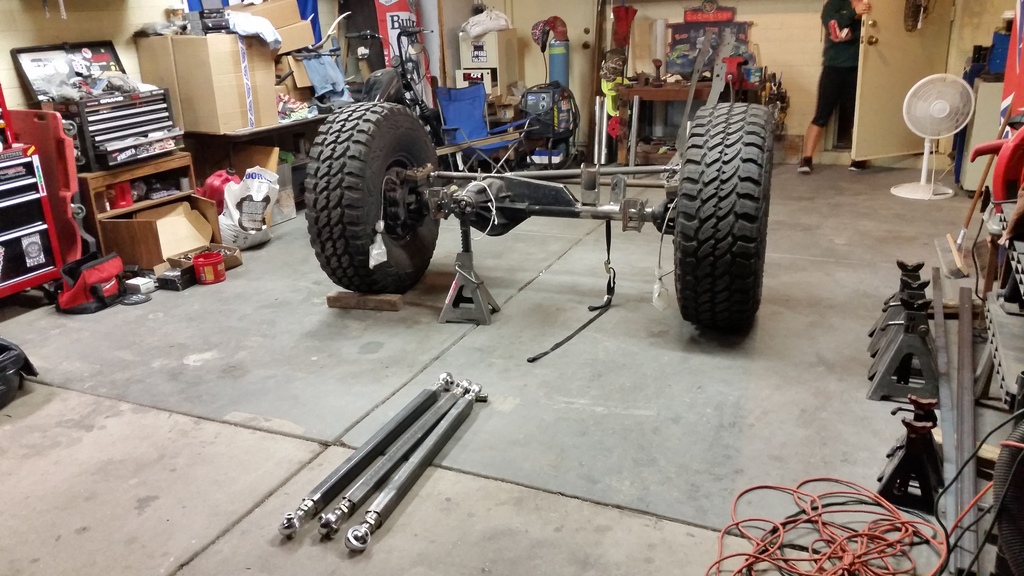
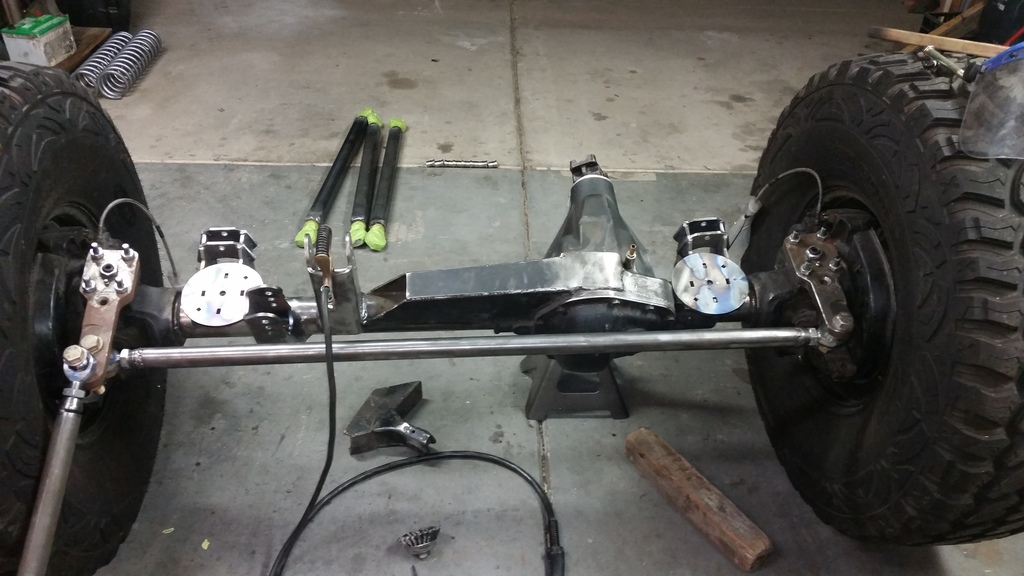
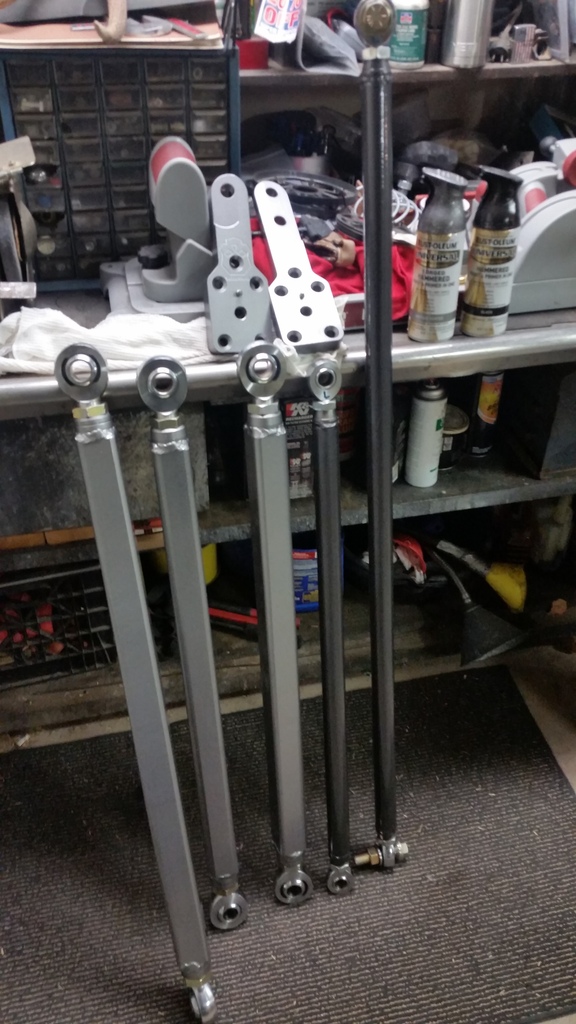
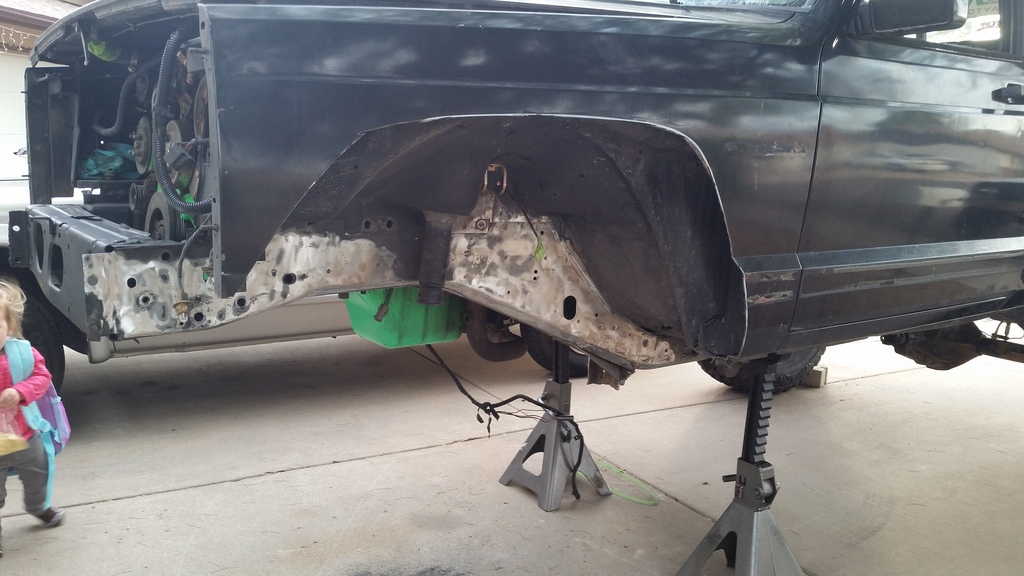
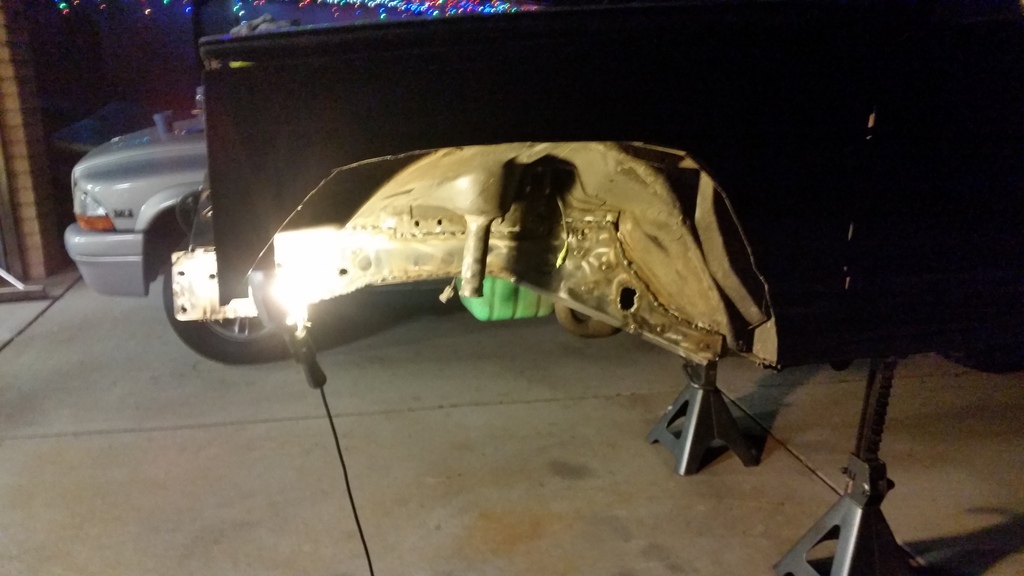
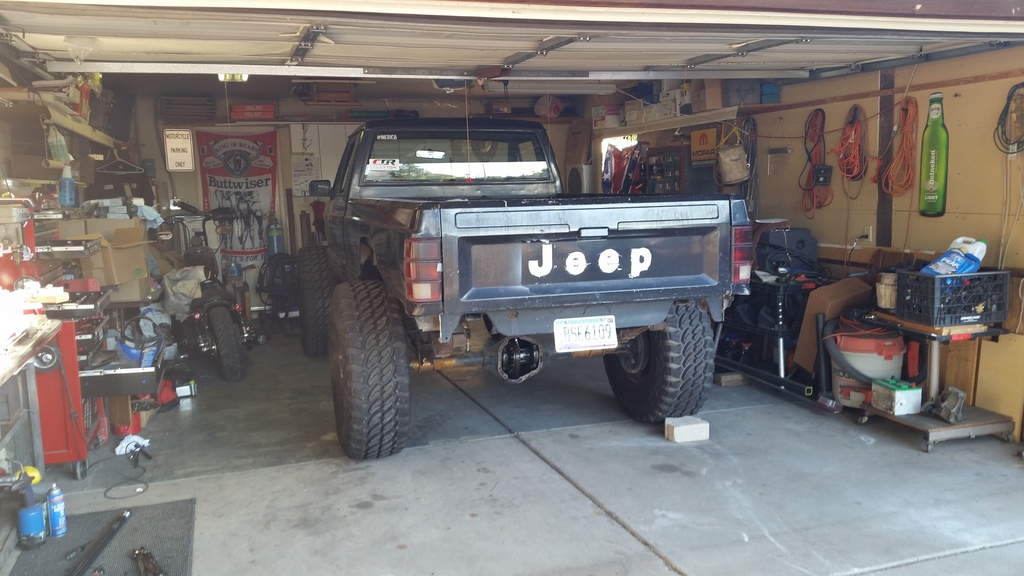
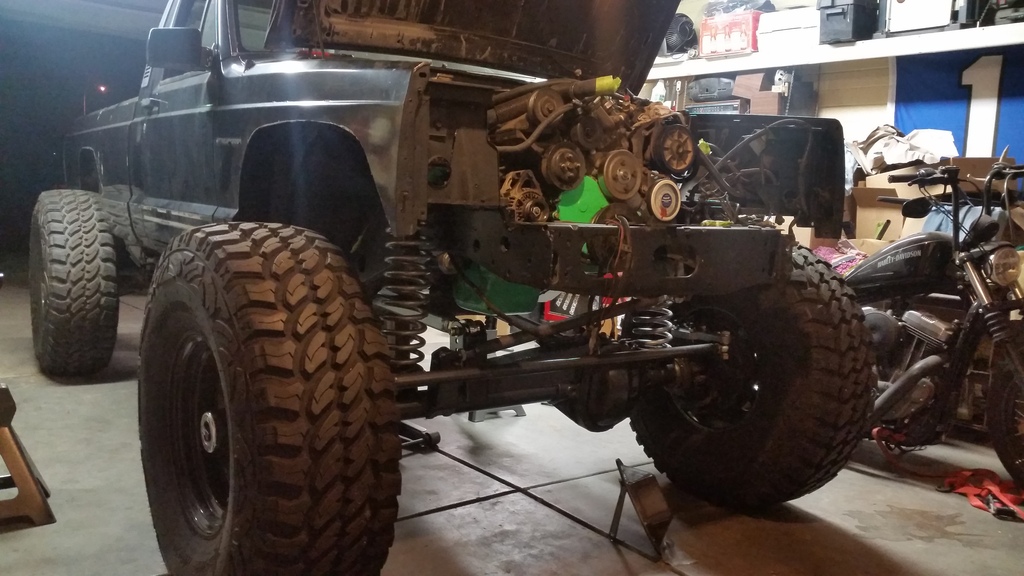
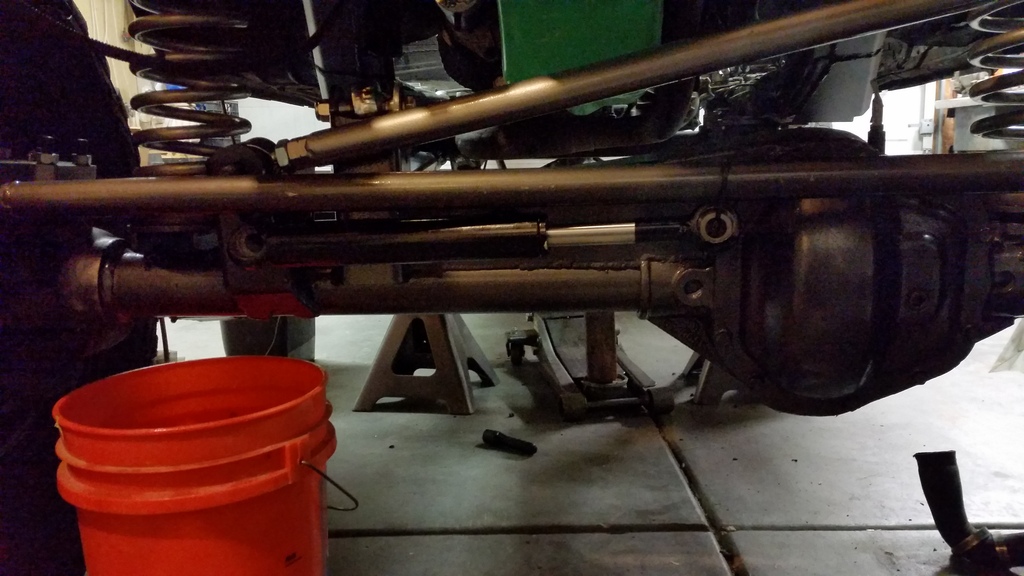
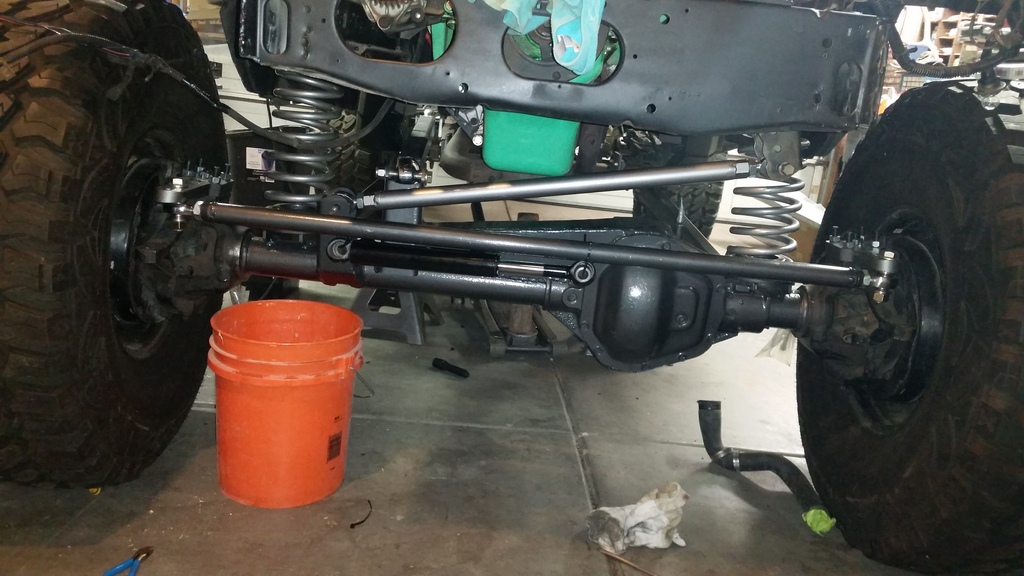
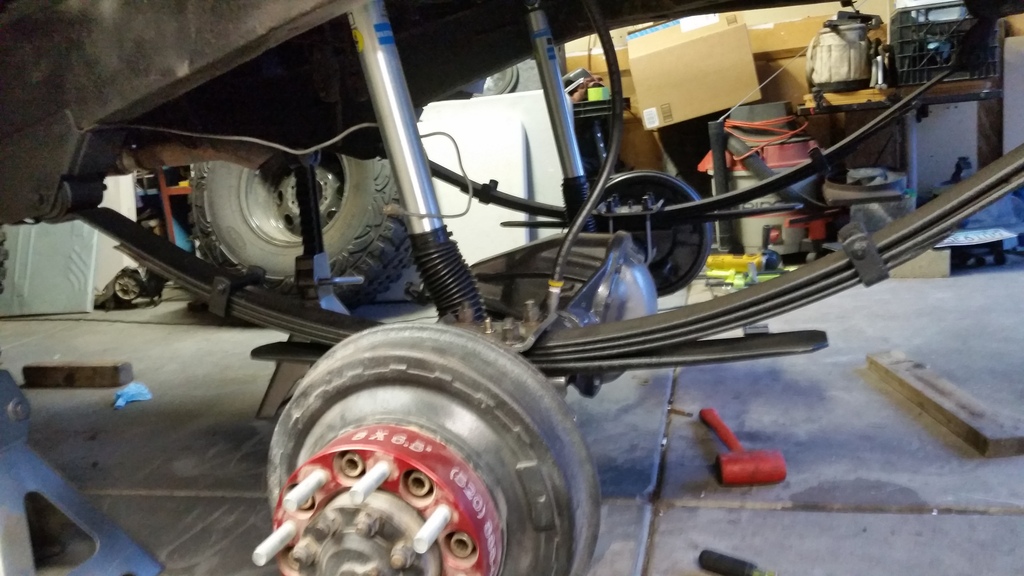
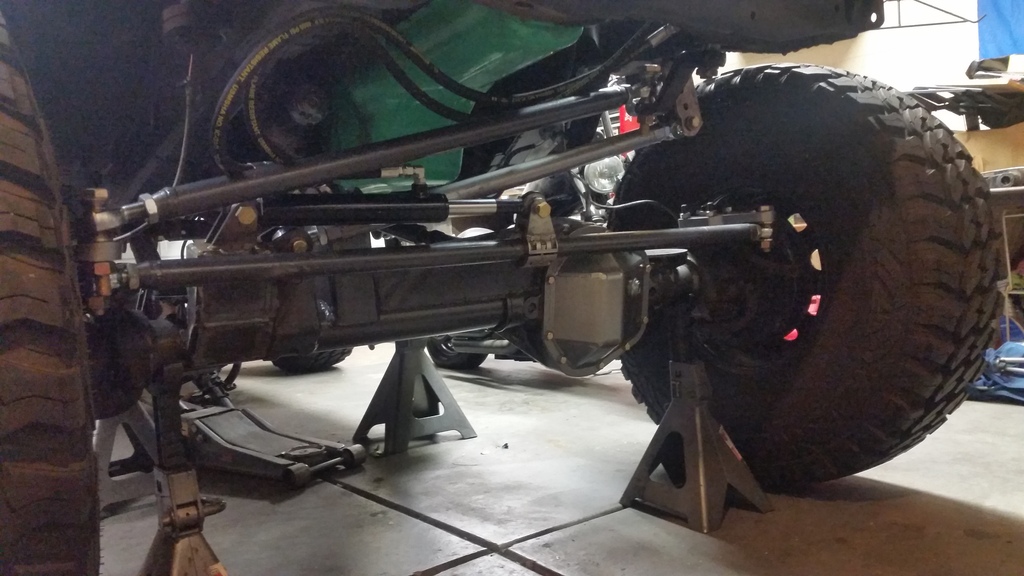
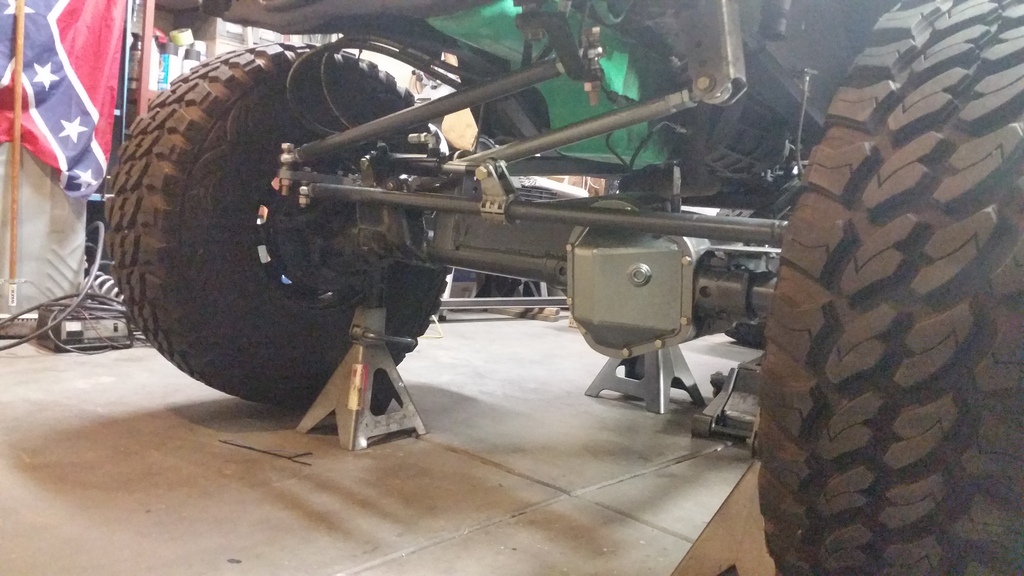
Clearenced the passenger floor for the upper link, installed the crossmember and all 3 links, mocked up the drag link, put the tires on, still need to build the track bar but need to weld on the stiffeners first, so I used ratchet straps to center the axle for now


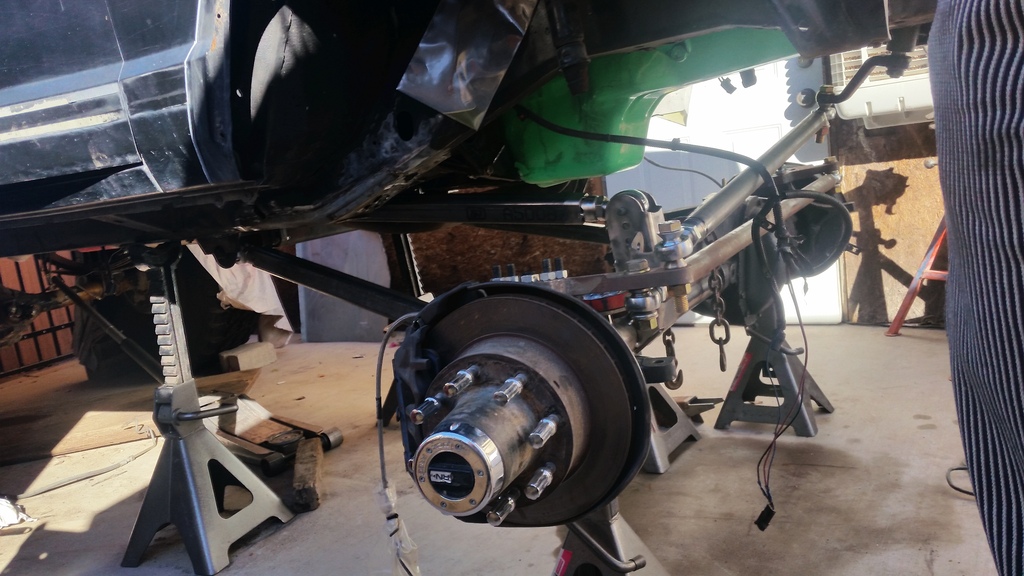
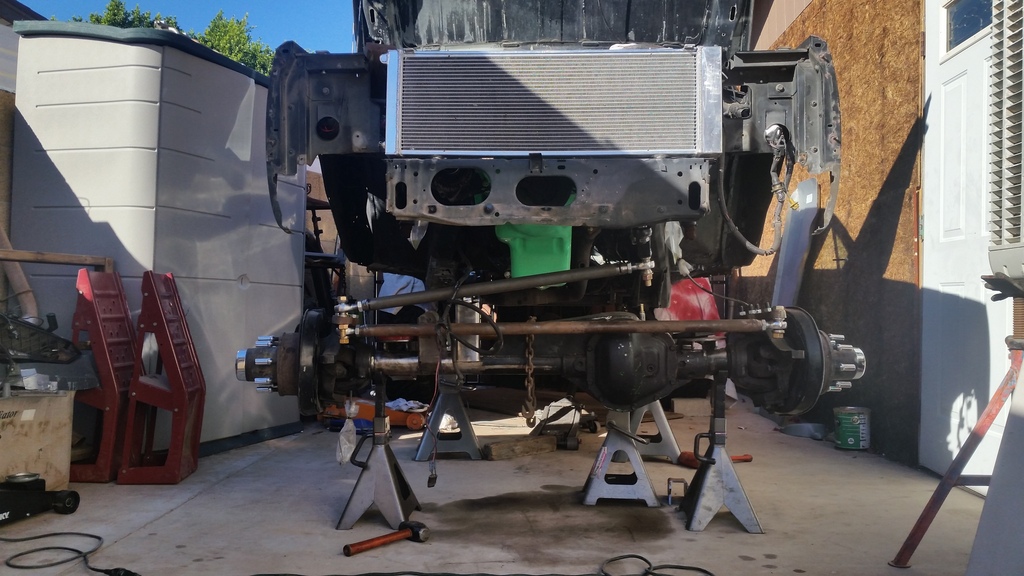
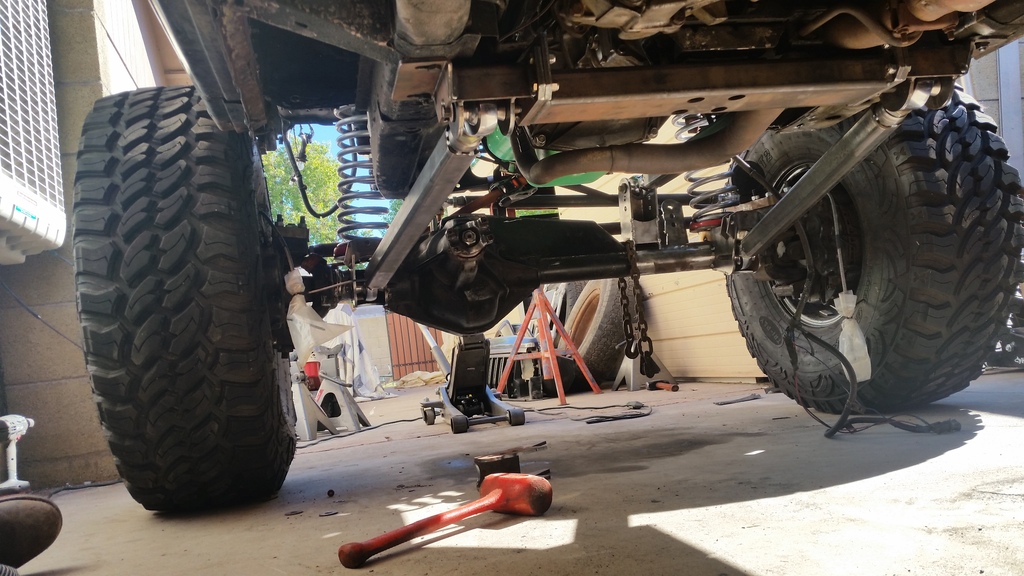
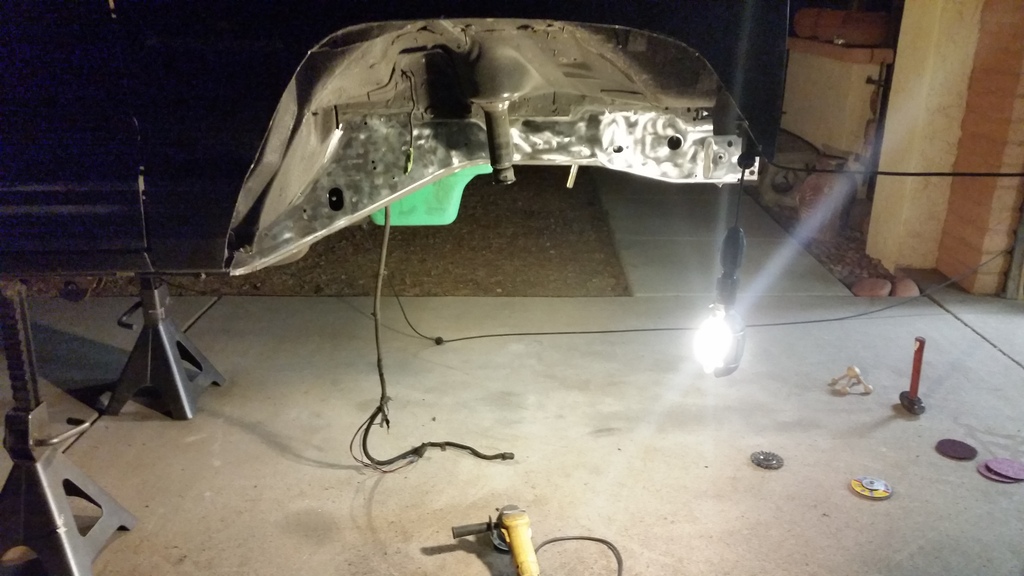
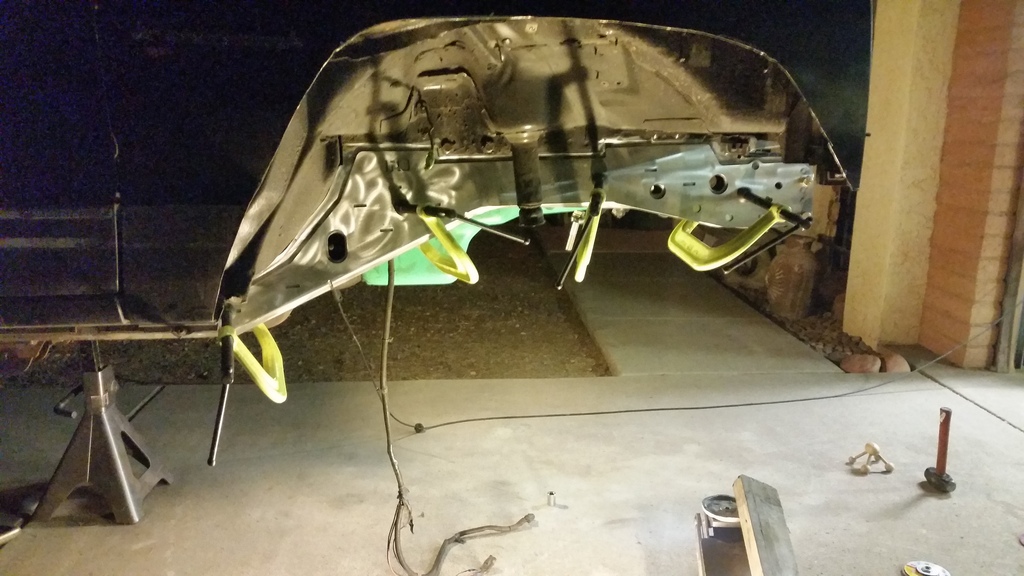
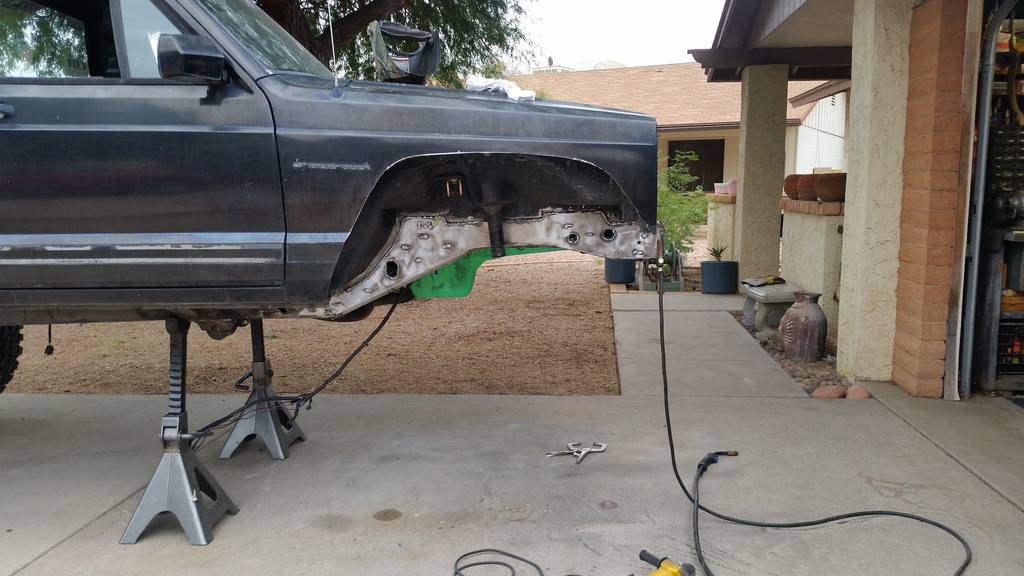
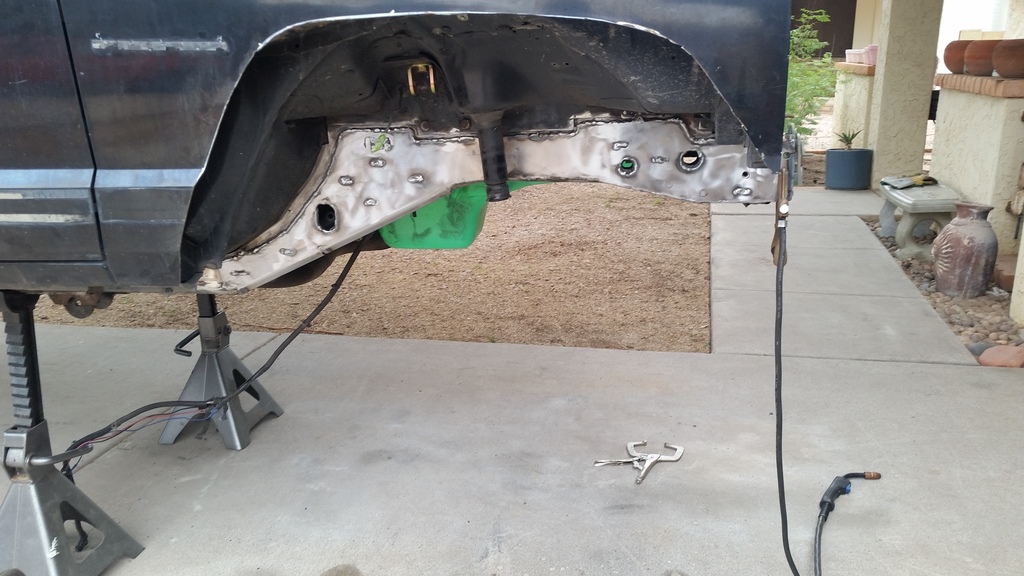
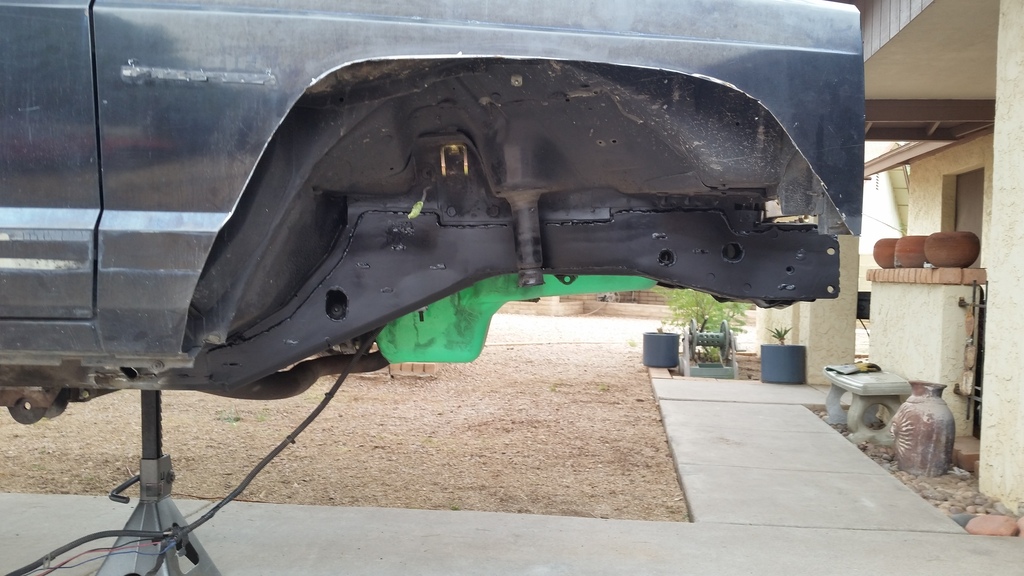
Rolled er out of my side yard with the intent of putting it in the garage so i can work on it at night (no lighting on side of the house) and decided to cut the fenders/bed. Need to finish it still but the big pieces are gone. Kinda regret cutting the bed as much as I did

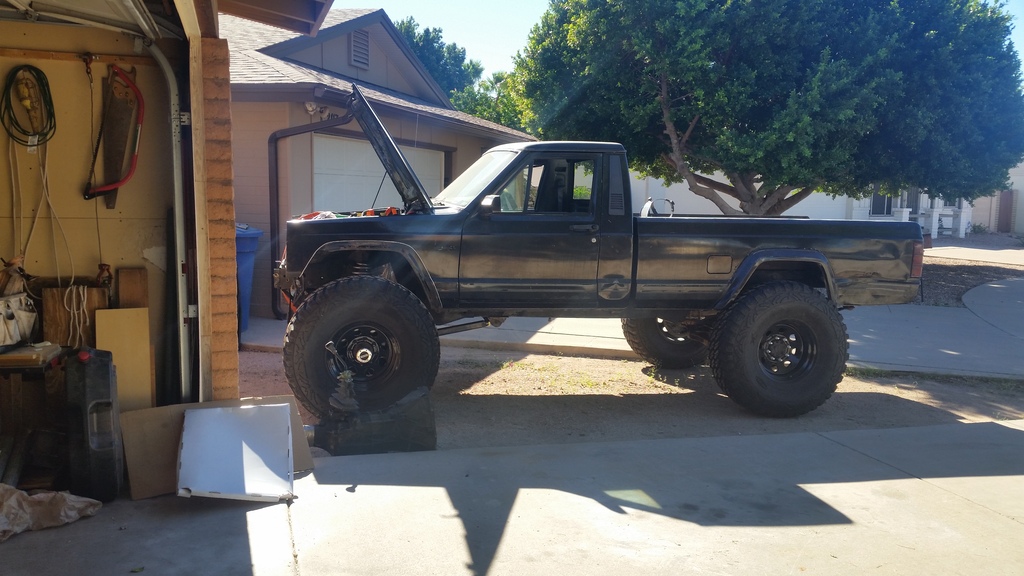
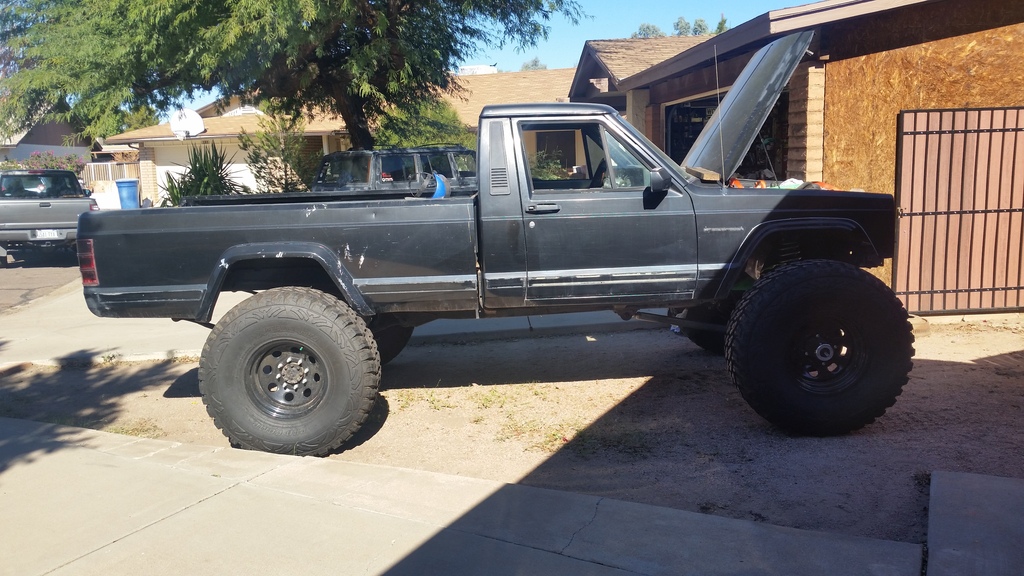
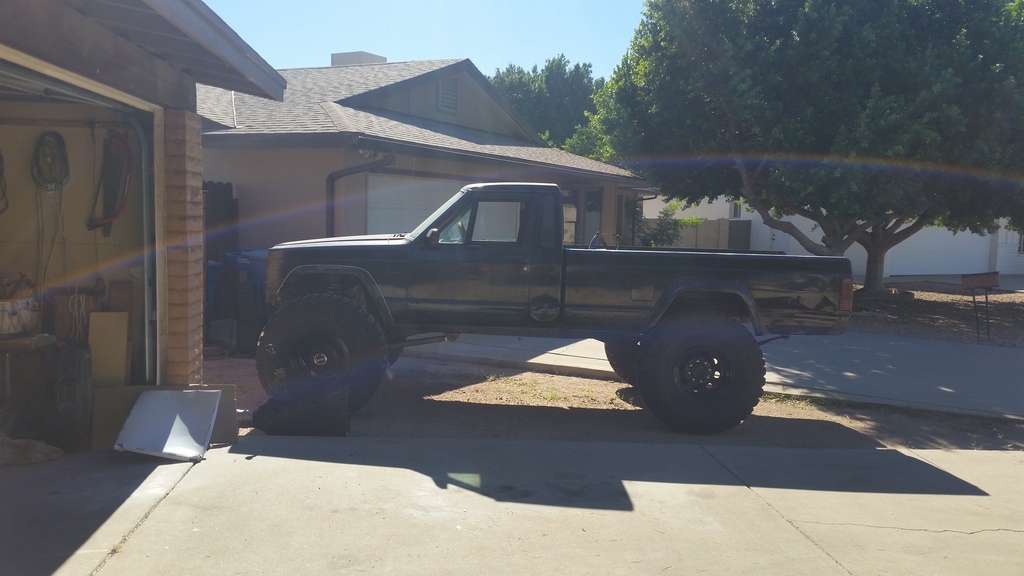
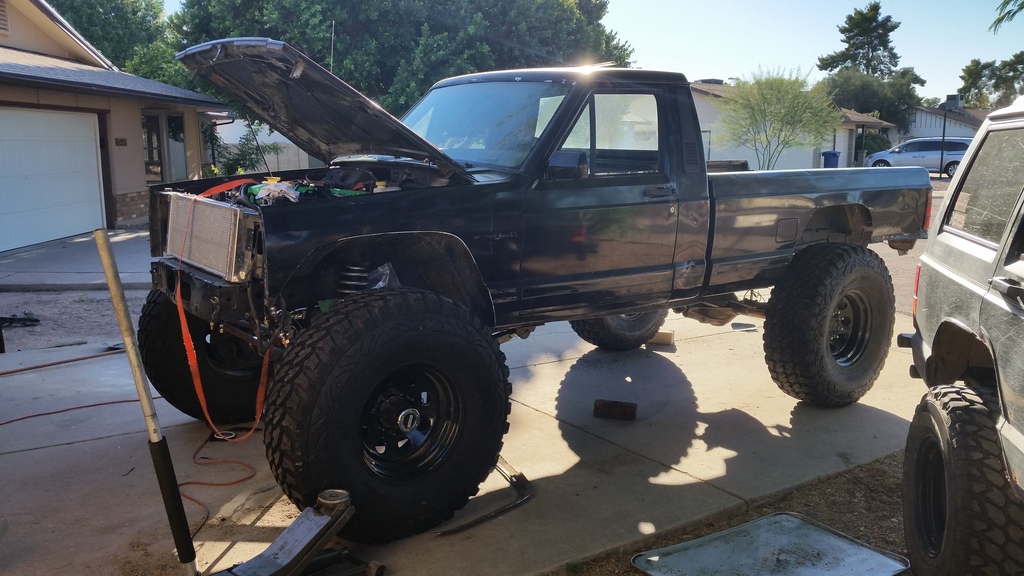
Ugly Betty photobombin
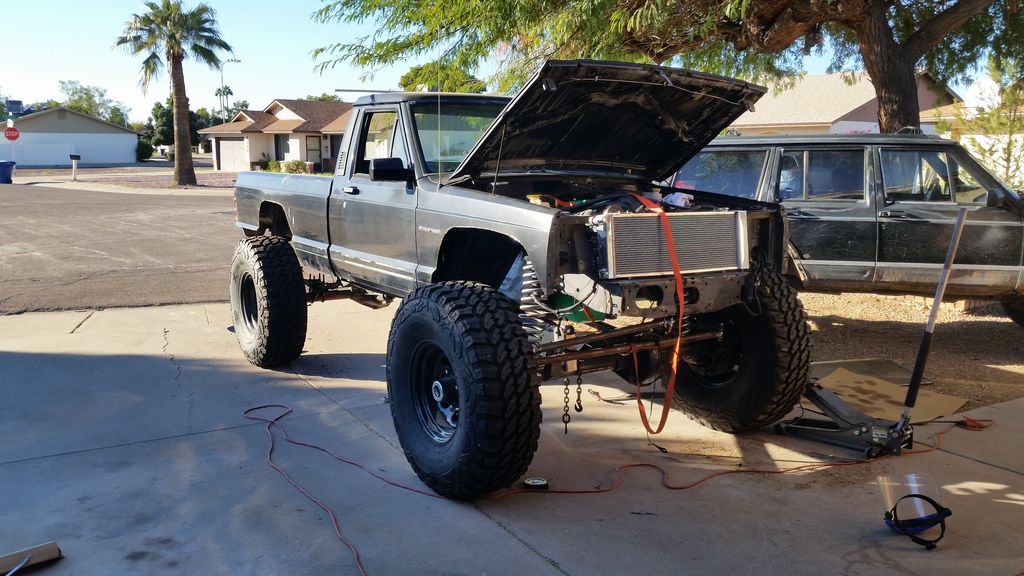
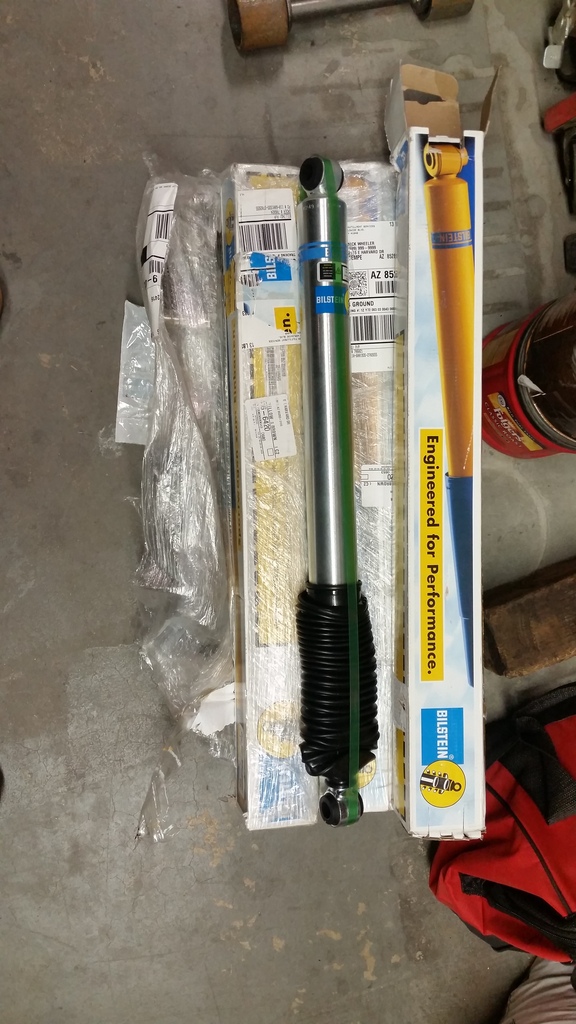
Still a lot of work ahead. Orered shocks, bilstein 5125s for now, and coil isolators since theyre MIA


Took the power steering pump regulator apart and shimed it with a #4 machine screw washer. Drilled the output fitting to 3/16"


Clearenced the passenger floor for the upper link, installed the crossmember and all 3 links, mocked up the drag link, put the tires on, still need to build the track bar but need to weld on the stiffeners first, so I used ratchet straps to center the axle for now


Rolled er out of my side yard with the intent of putting it in the garage so i can work on it at night (no lighting on side of the house) and decided to cut the fenders/bed. Need to finish it still but the big pieces are gone. Kinda regret cutting the bed as much as I did


Ugly Betty photobombin


Still a lot of work ahead. Orered shocks, bilstein 5125s for now, and coil isolators since theyre MIA
 11-20-2016, 04:41 PM
#17
Member
Thread Starter
Join Date: Mar 2016
Location: Tempe, AZ
Posts: 113
Likes: 0
Received 0 Likes
on
0 Posts
Year: 1989
Model: Comanche
Engine: 4.7 stroker
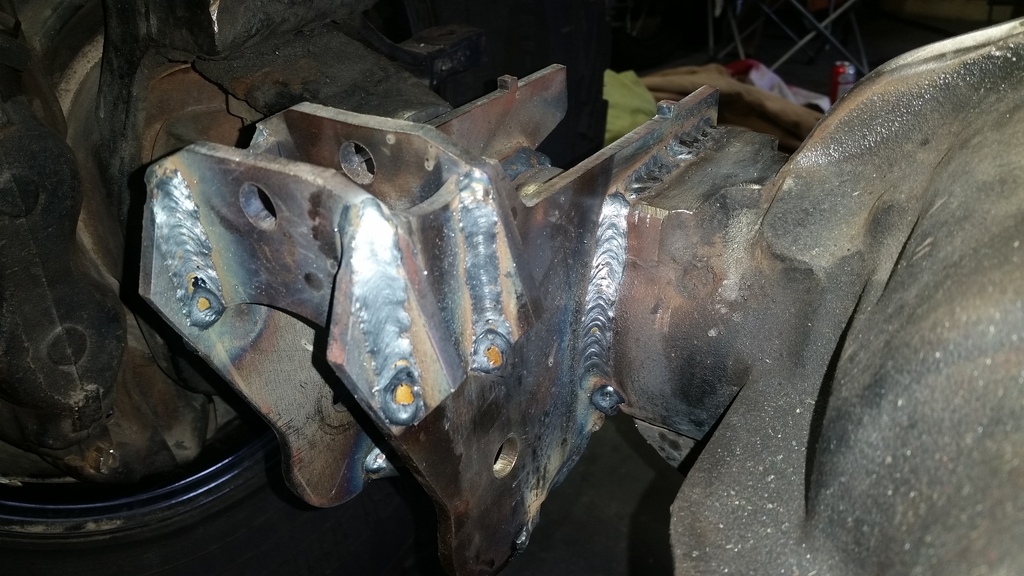
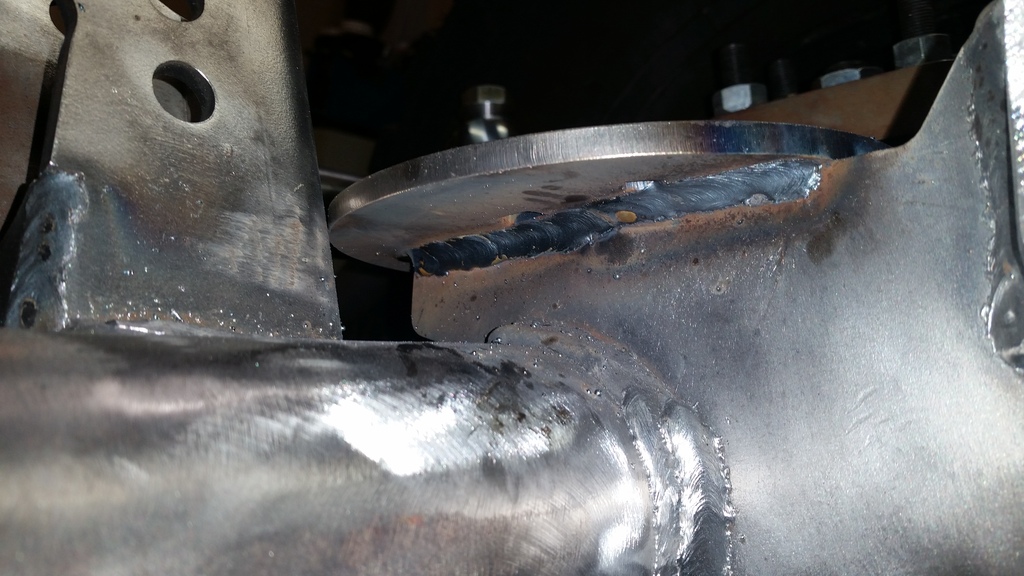
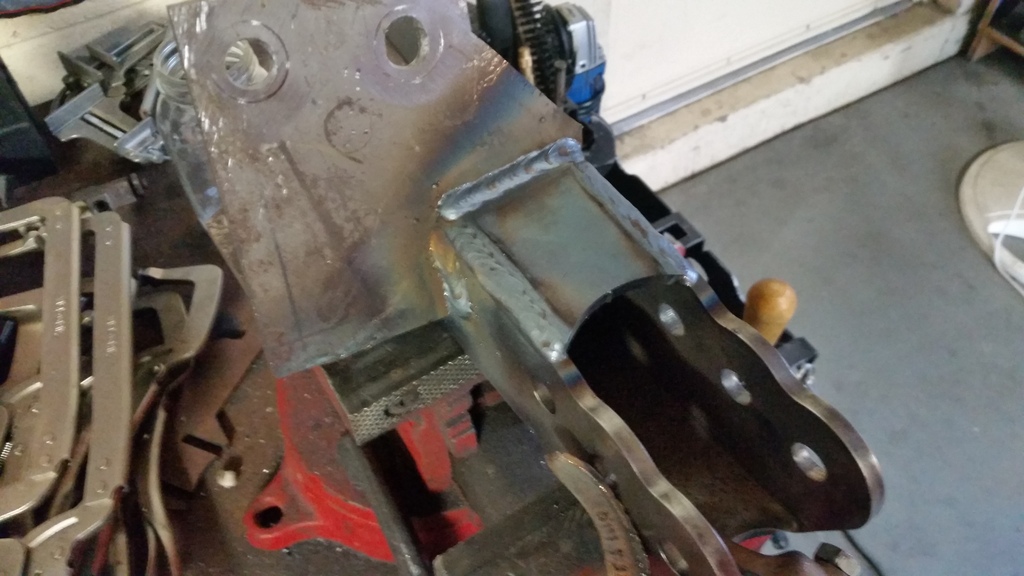
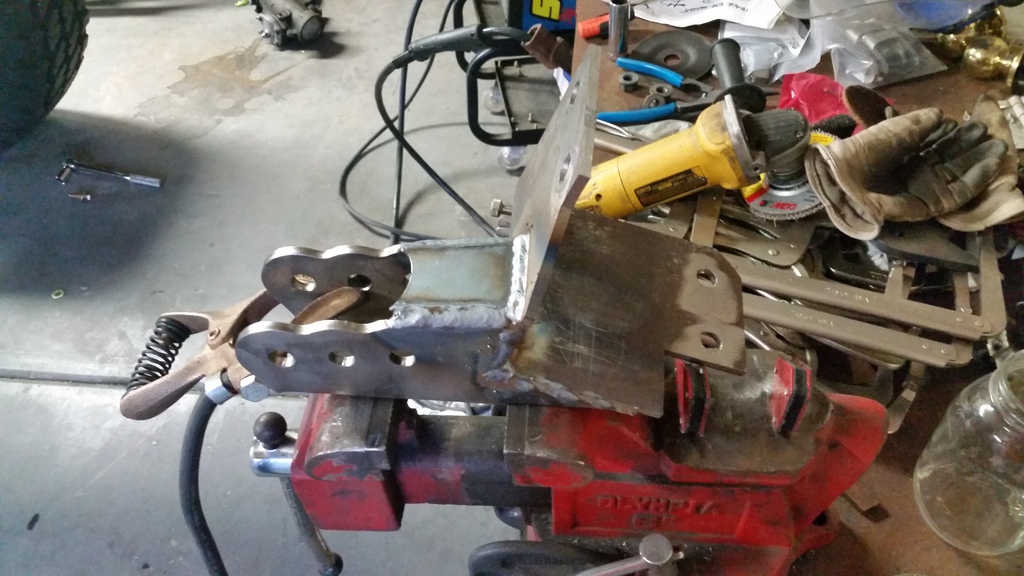
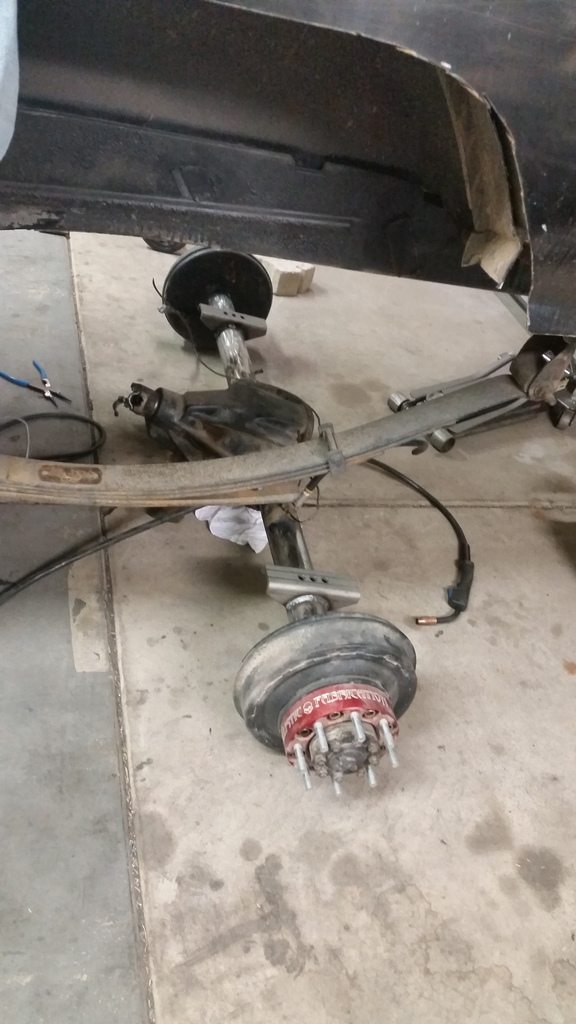
Had 8 or 10 beers and decided to pull the axle back out to weld it for good along with the links. it's done minus the spring plates
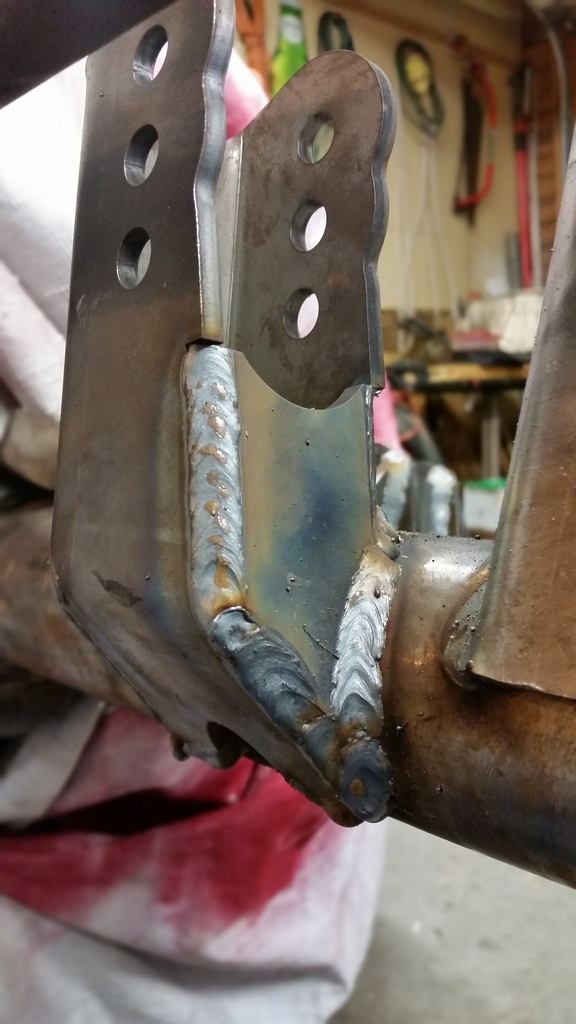
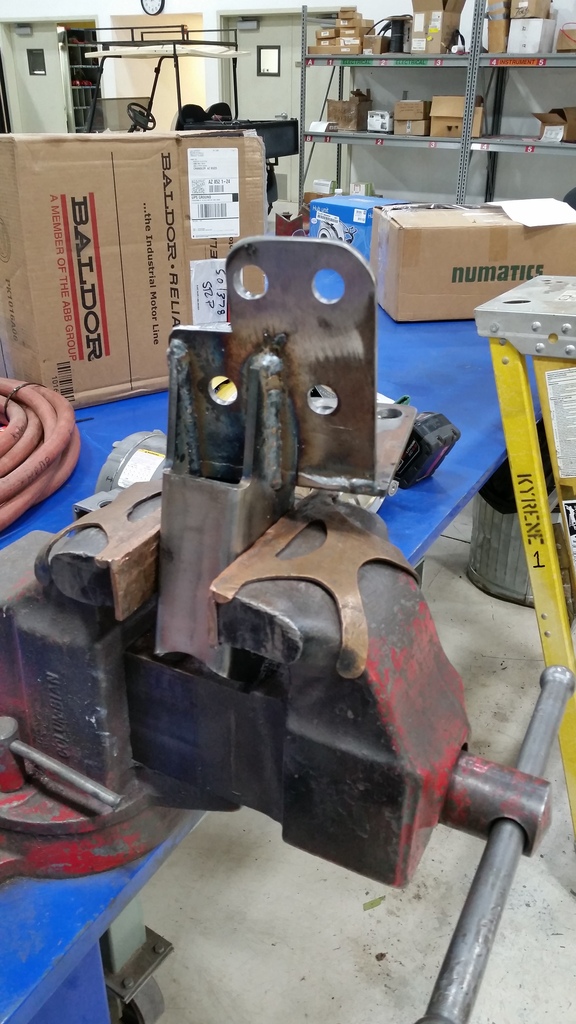
On the drivers side, I weld the inner part of the bracket to preheat the cast side, then welded the cast and wrapped it with a kevlar apron, and my carhartt jumpsuit then let it sit all night. I think it turned out good


On the drivers side, I weld the inner part of the bracket to preheat the cast side, then welded the cast and wrapped it with a kevlar apron, and my carhartt jumpsuit then let it sit all night. I think it turned out good


Last edited by wheelsaz08; 11-20-2016 at 04:44 PM.
11-26-2016, 12:03 AM
#18
Member
Thread Starter
Join Date: Mar 2016
Location: Tempe, AZ
Posts: 113
Likes: 0
Received 0 Likes
on
0 Posts
Year: 1989
Model: Comanche
Engine: 4.7 stroker
hope everyone had a happy thanksgiving! first time i deep fried a turkey and it turned out awesome!

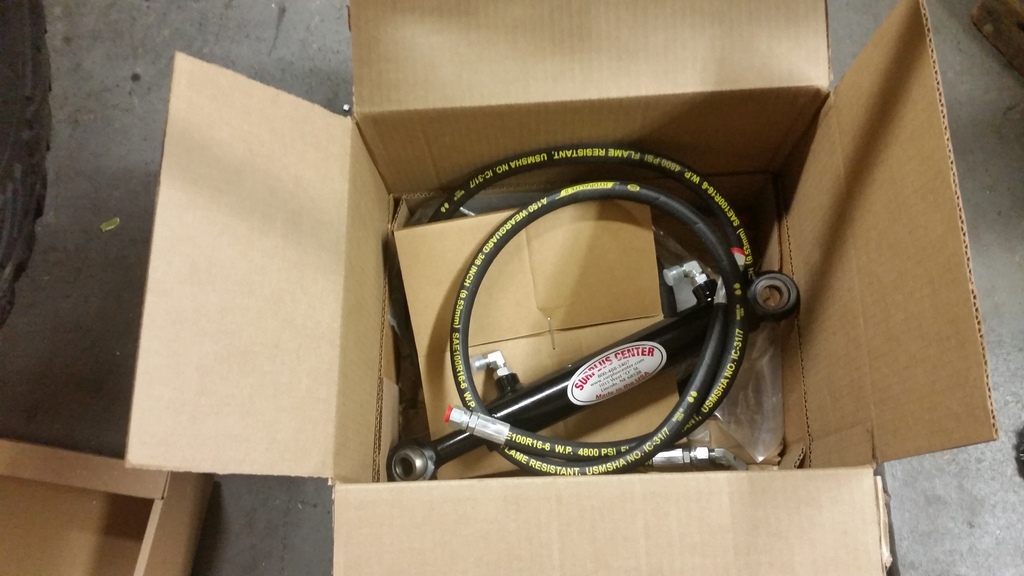
back to the jeep, got some parts in the mail.
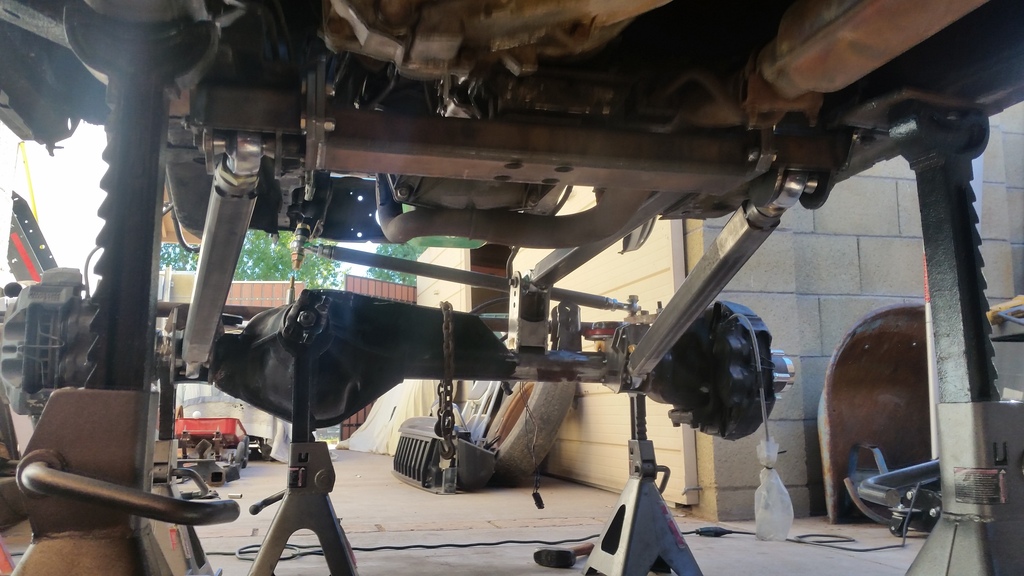
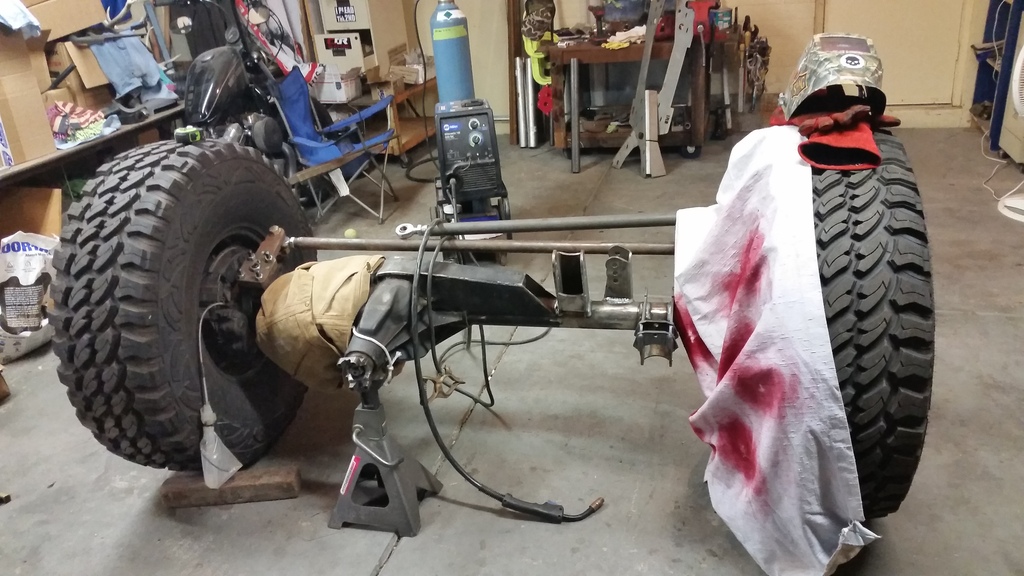
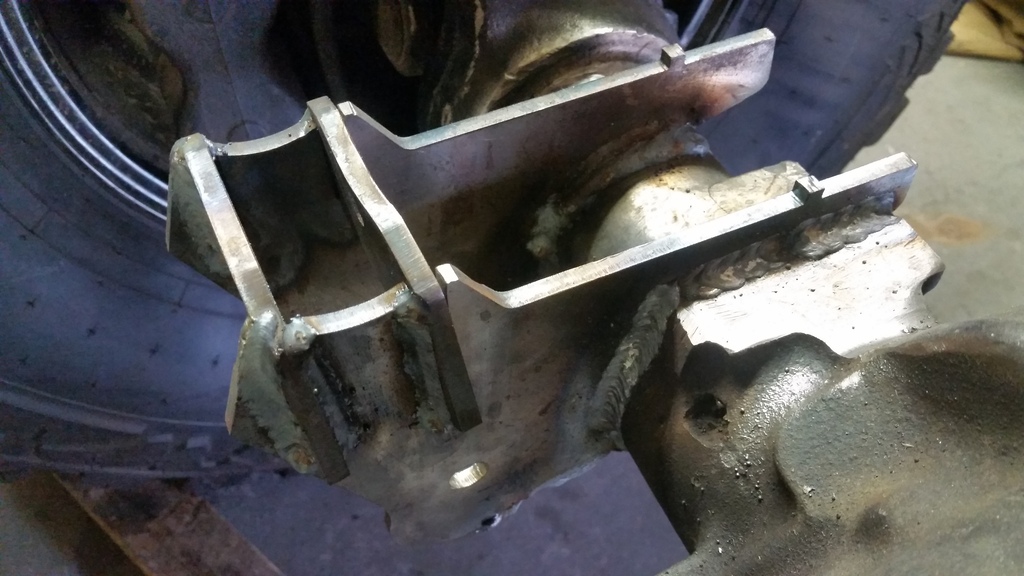
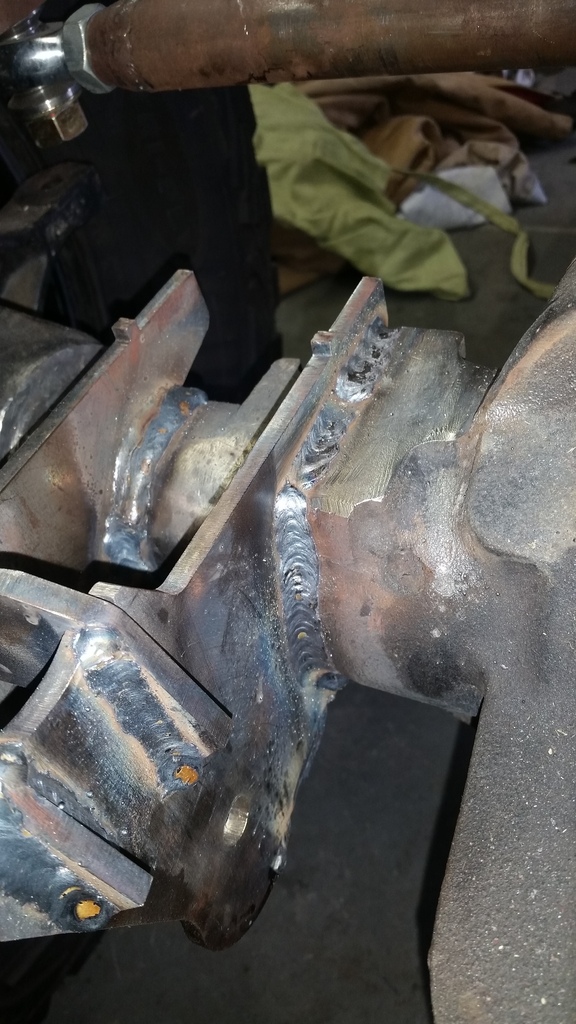
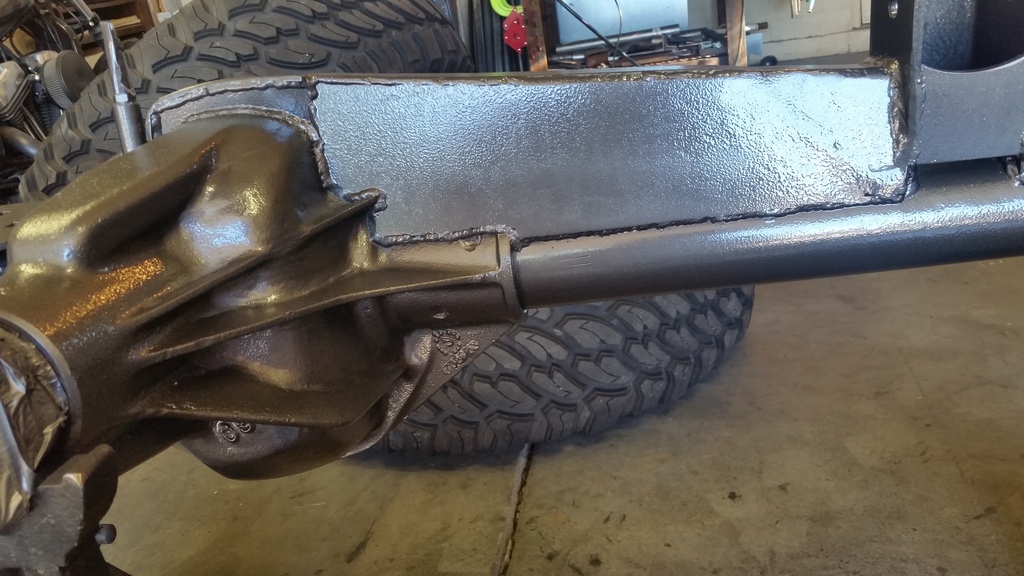
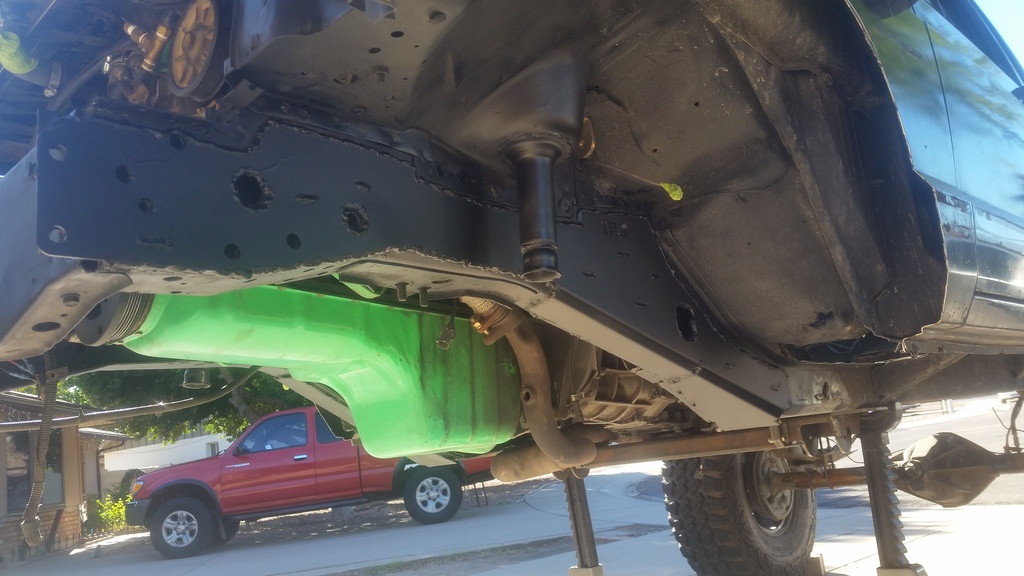
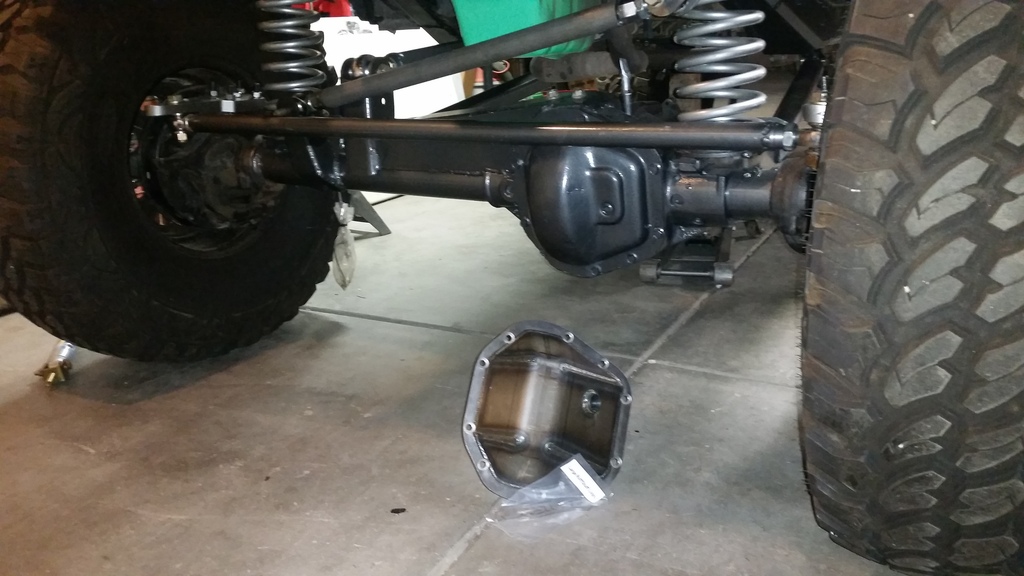
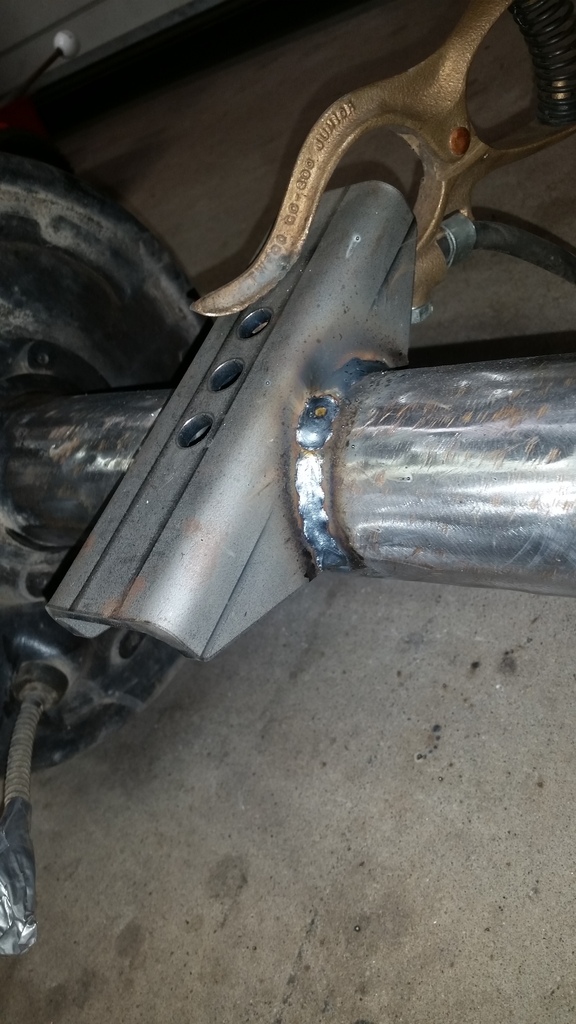
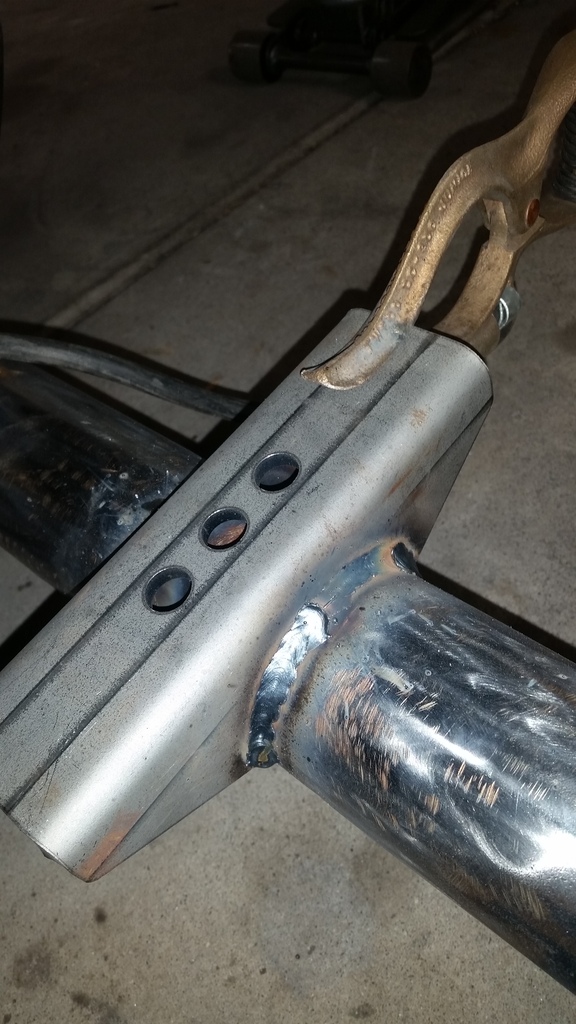
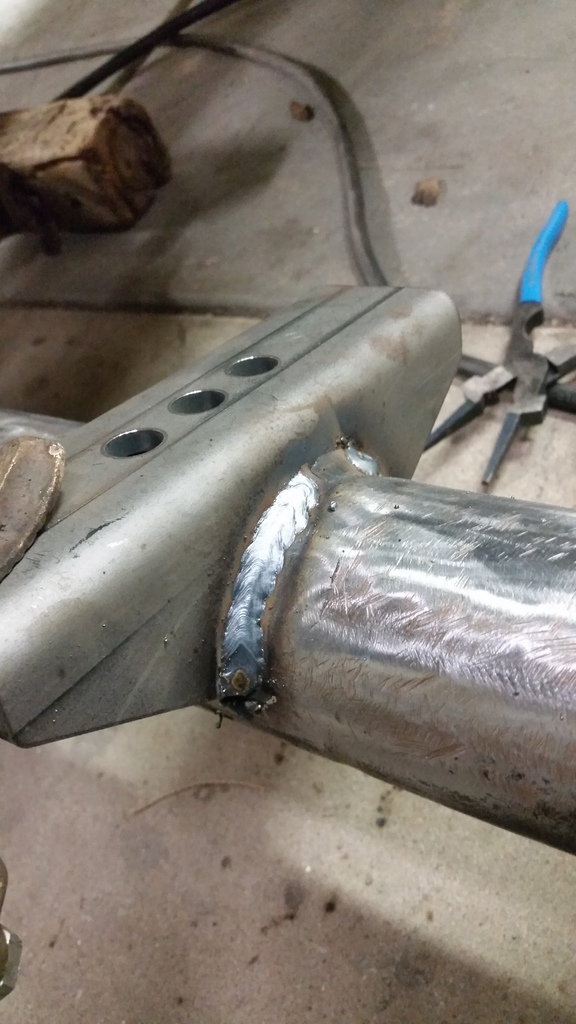
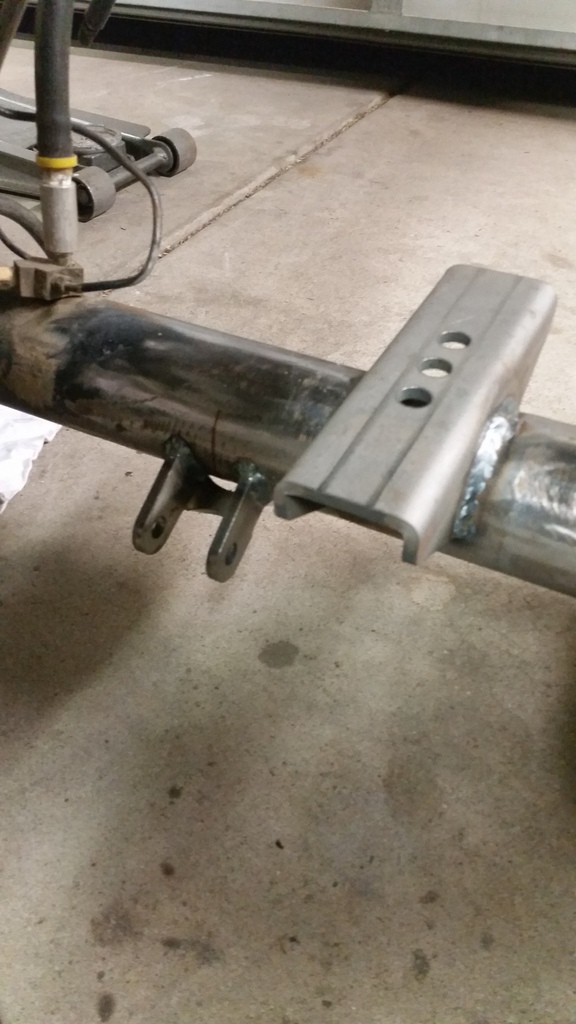
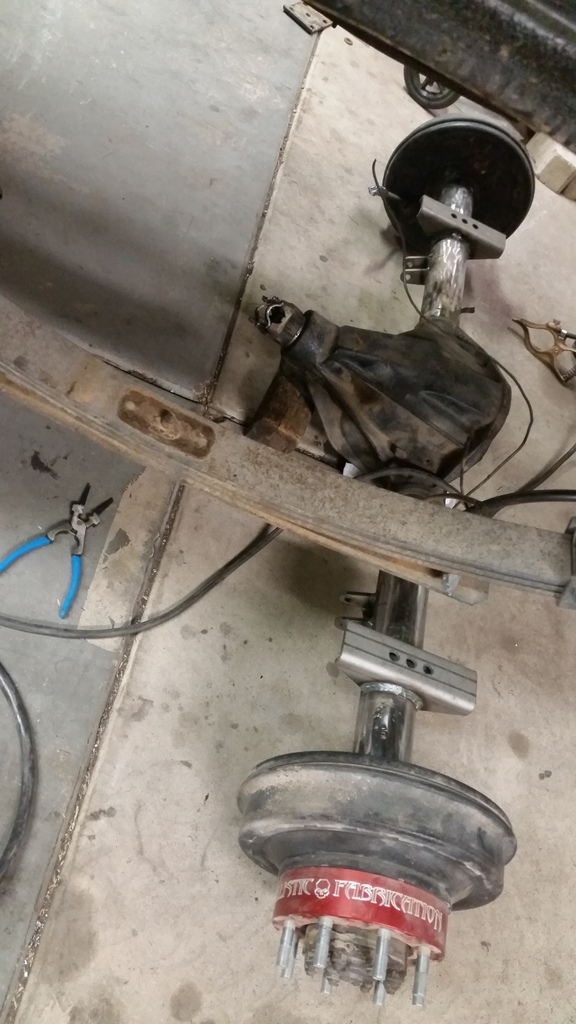
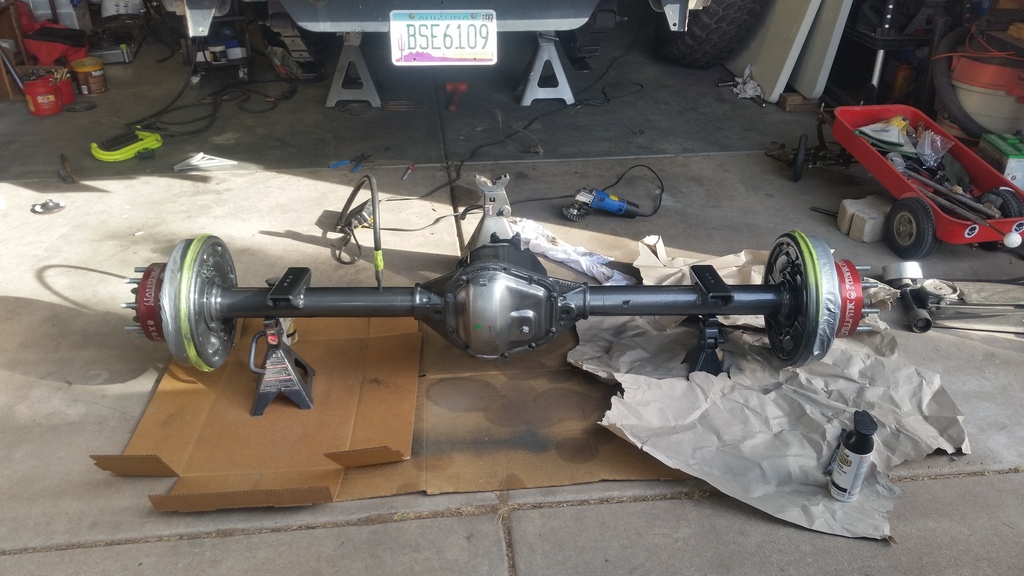
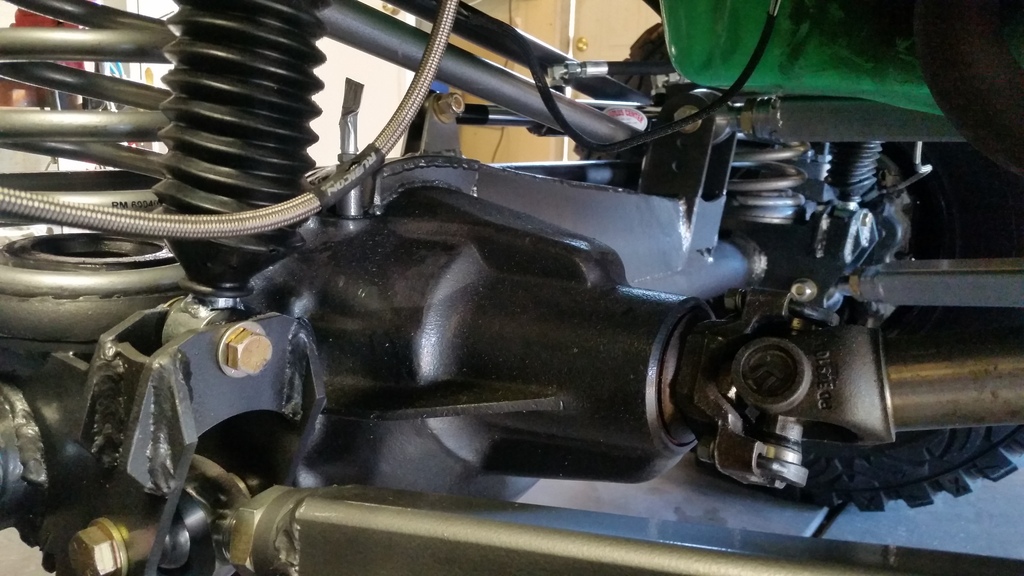
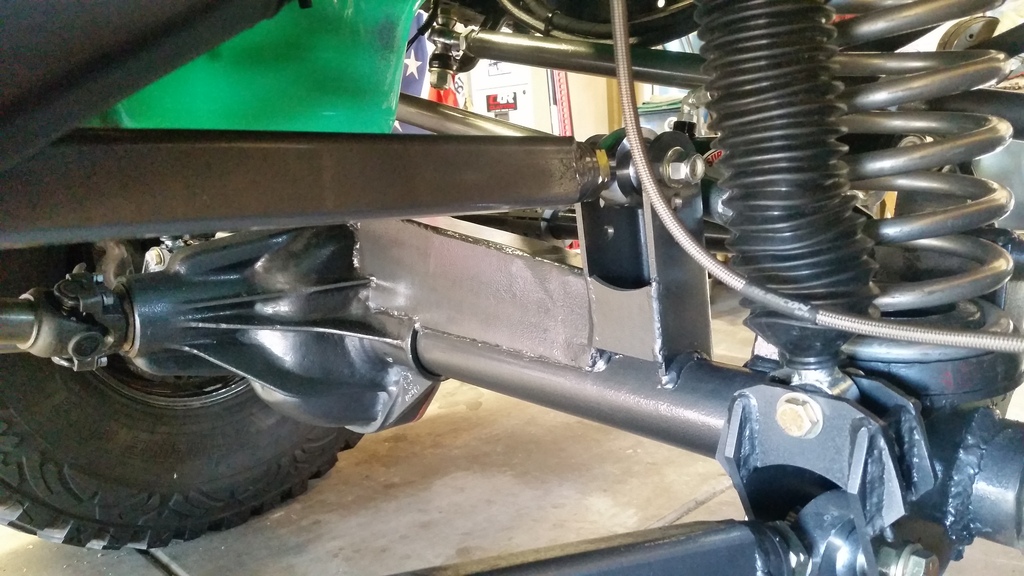
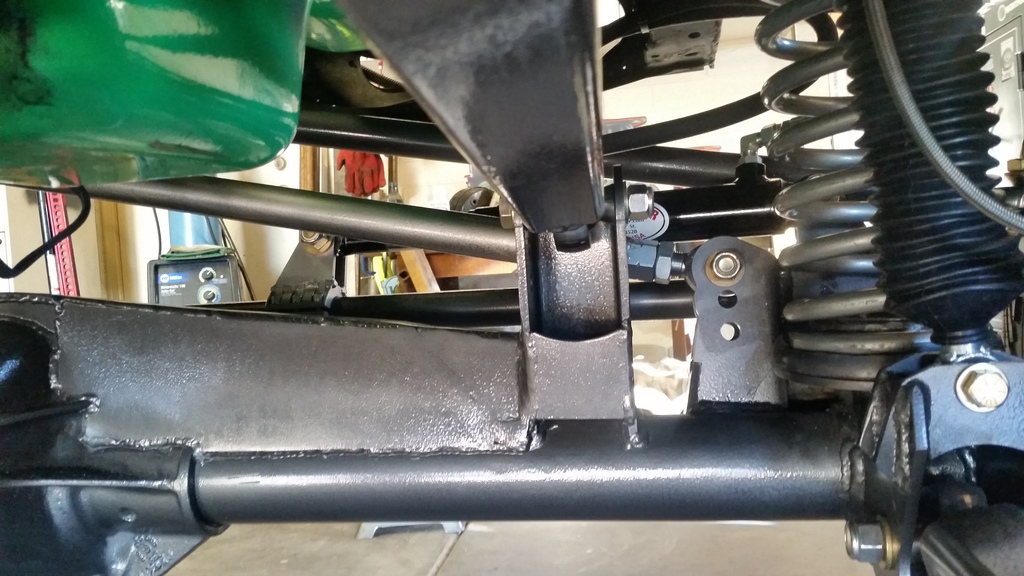
finished welding on the axle. i didnt originally build this axle and i never liked the truss someone had built for it but i also didnt feel like cutting the rest of it off so i tied it into my upper mount. still need to add on to the drivers side.


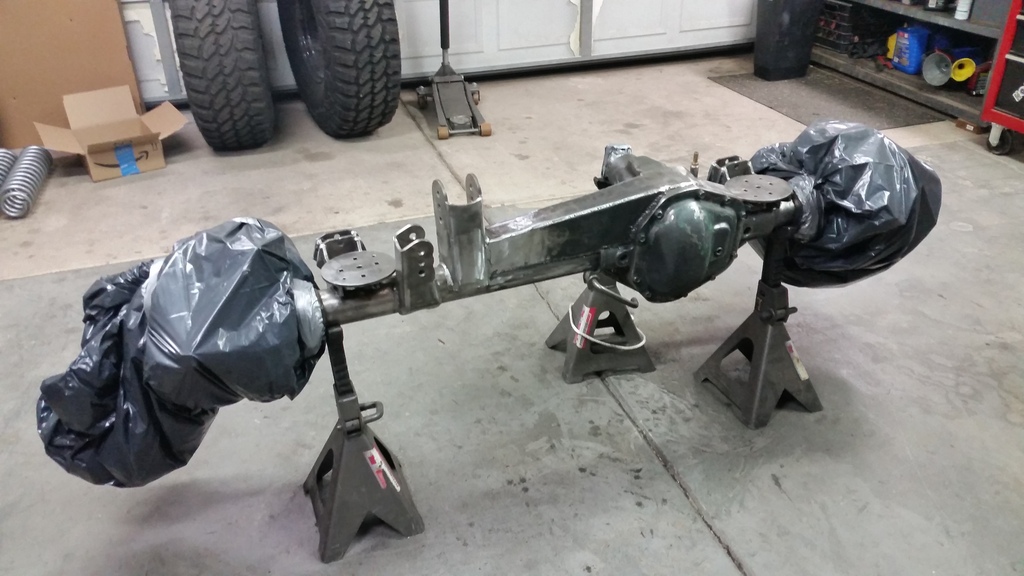
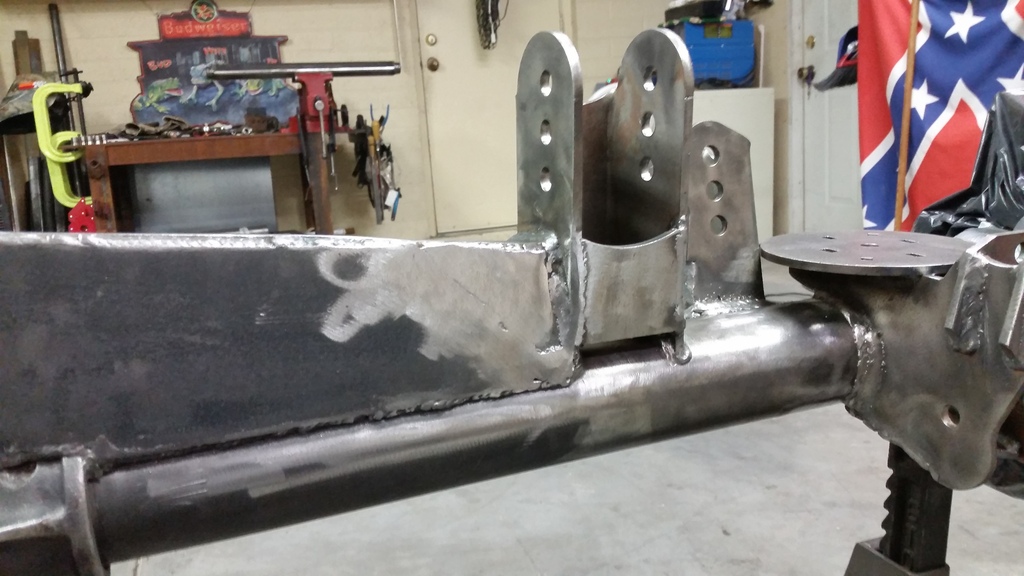
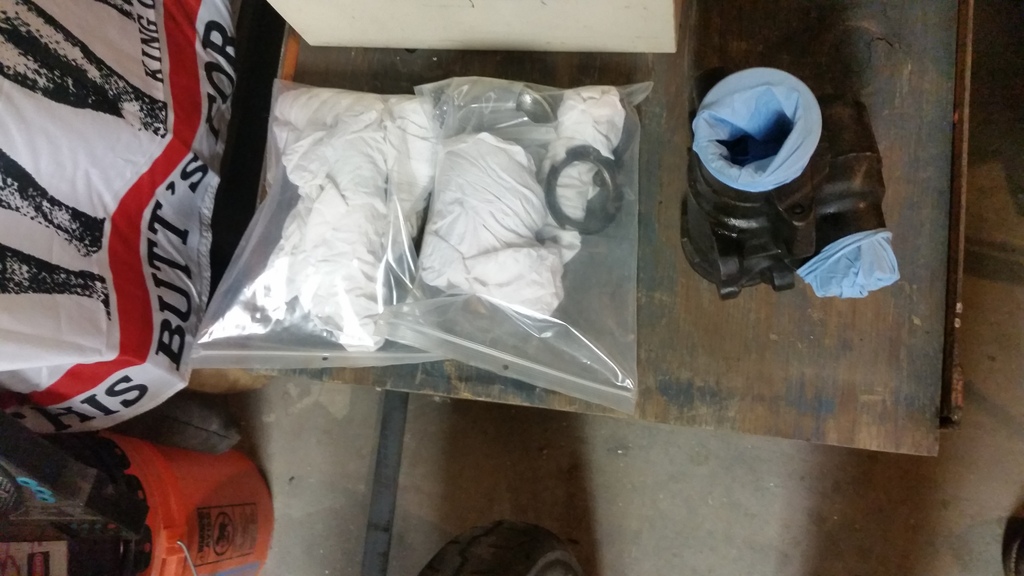
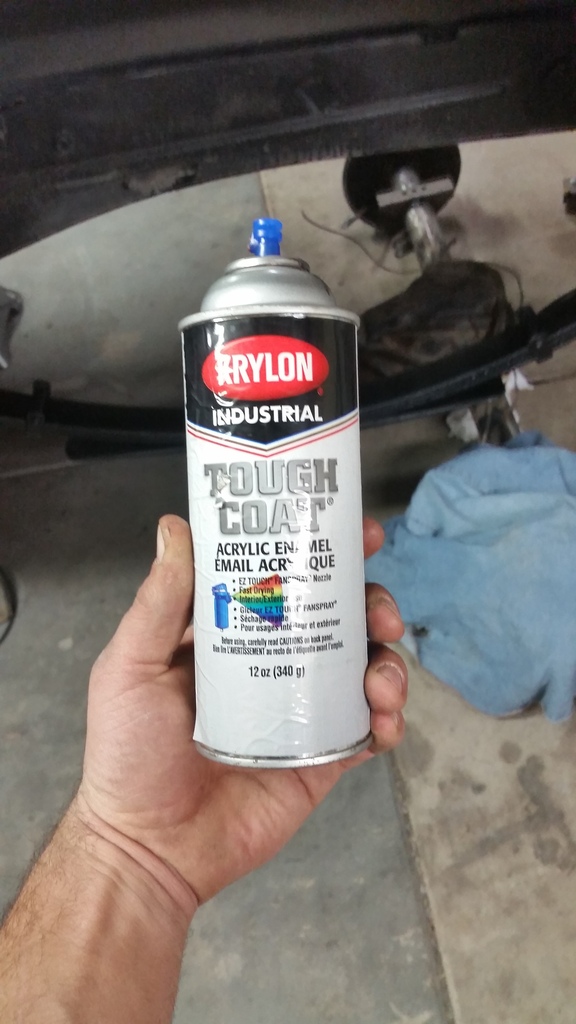
the reason for the bags being taped over the ends of the axle:
my new favorite spray paint
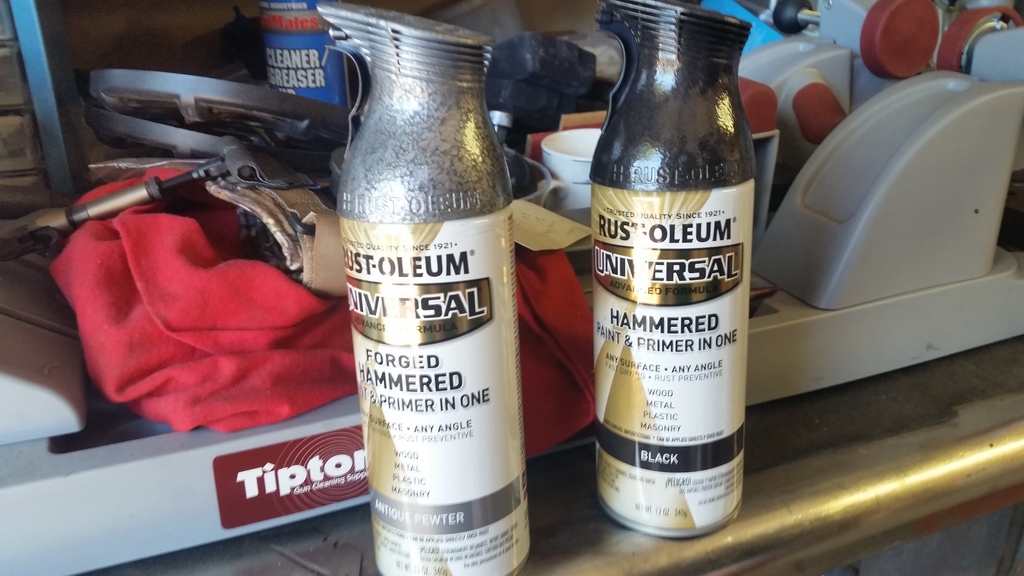

i ordered a ruffstuff diff cover today. when it gets here ill paint it the pewter color.
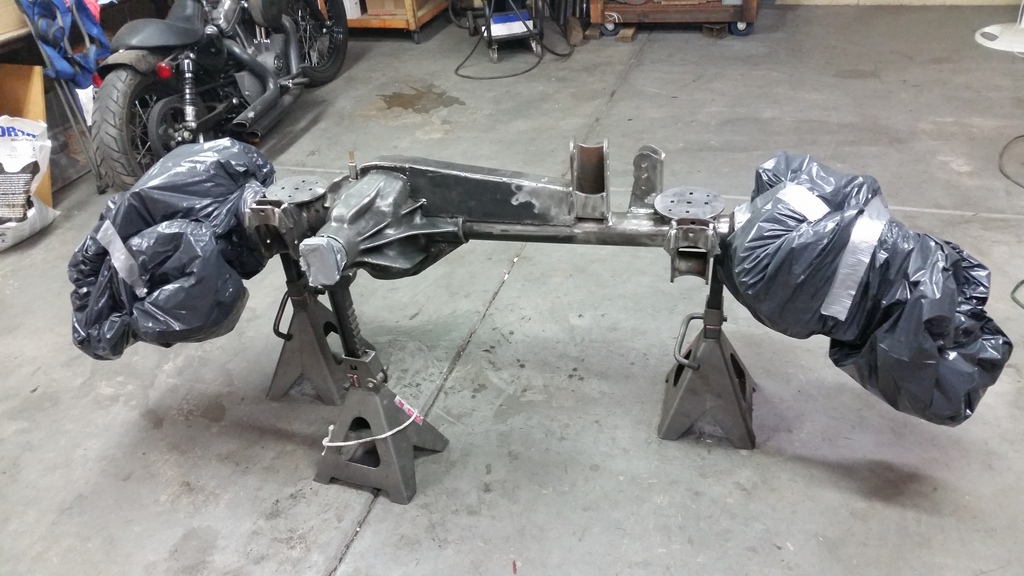
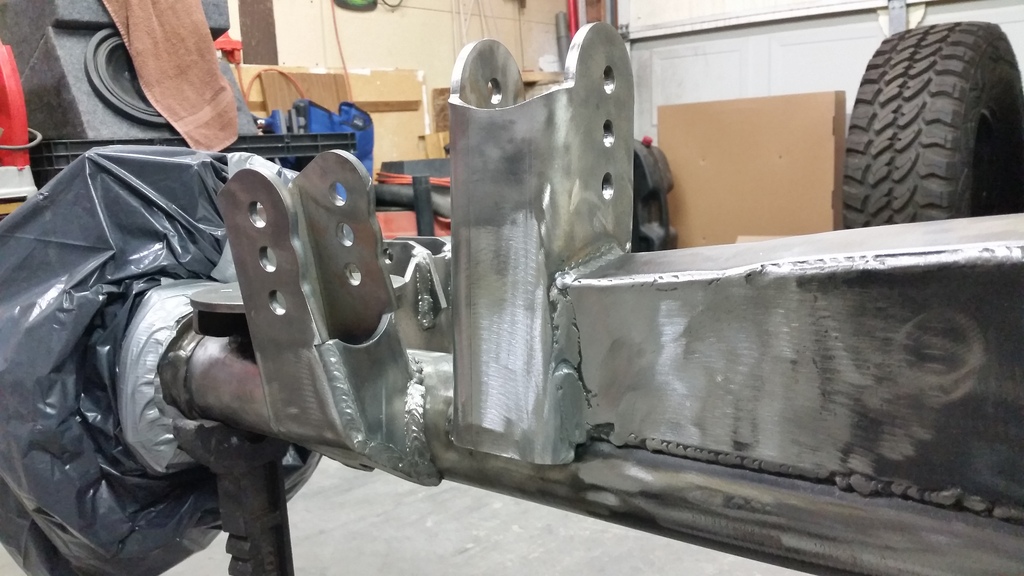
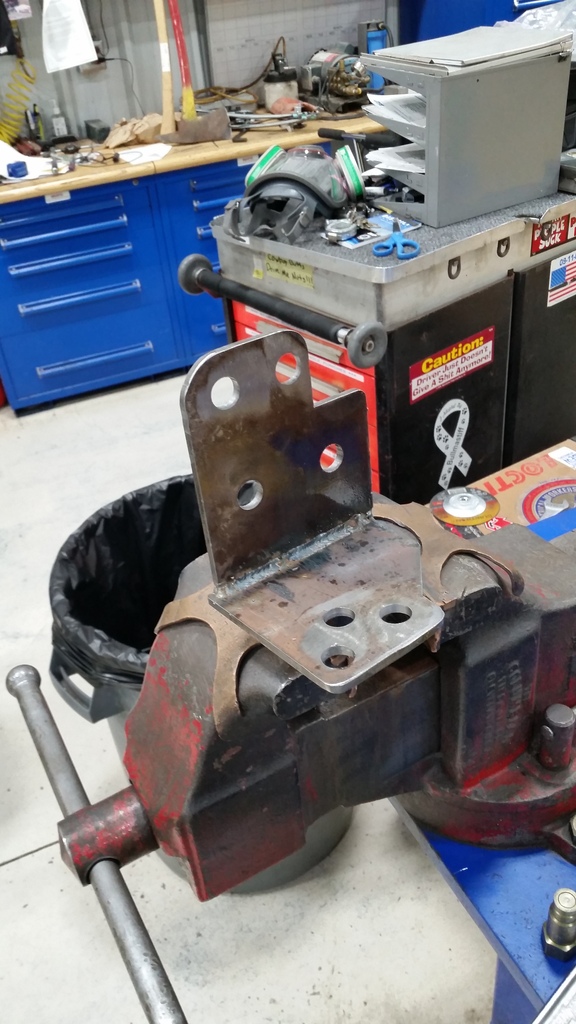
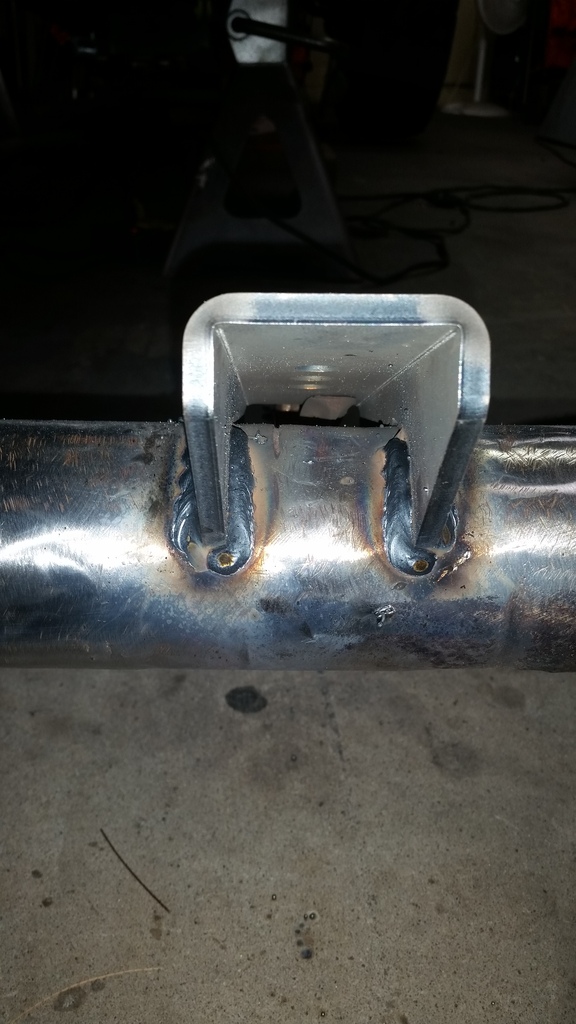
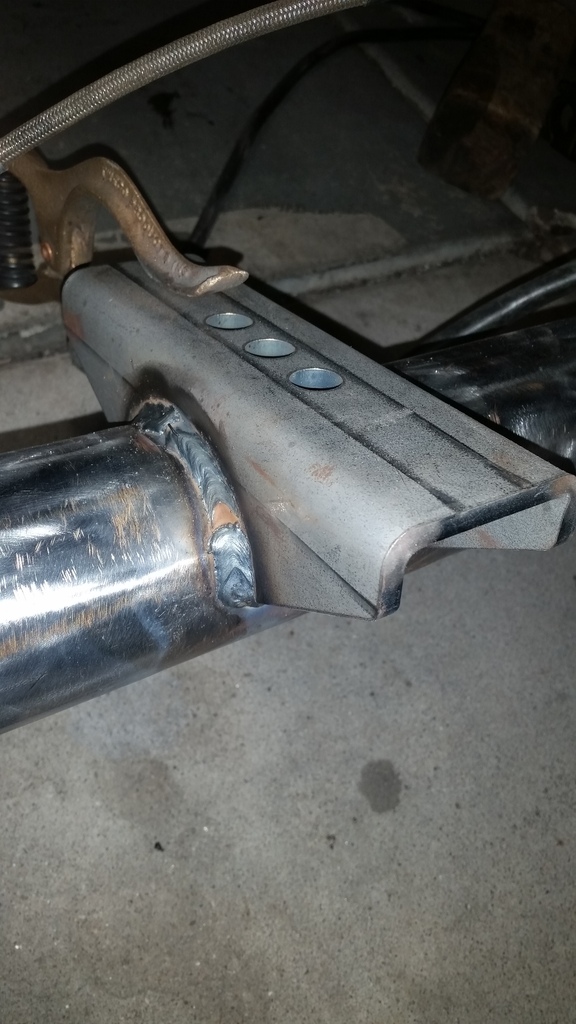
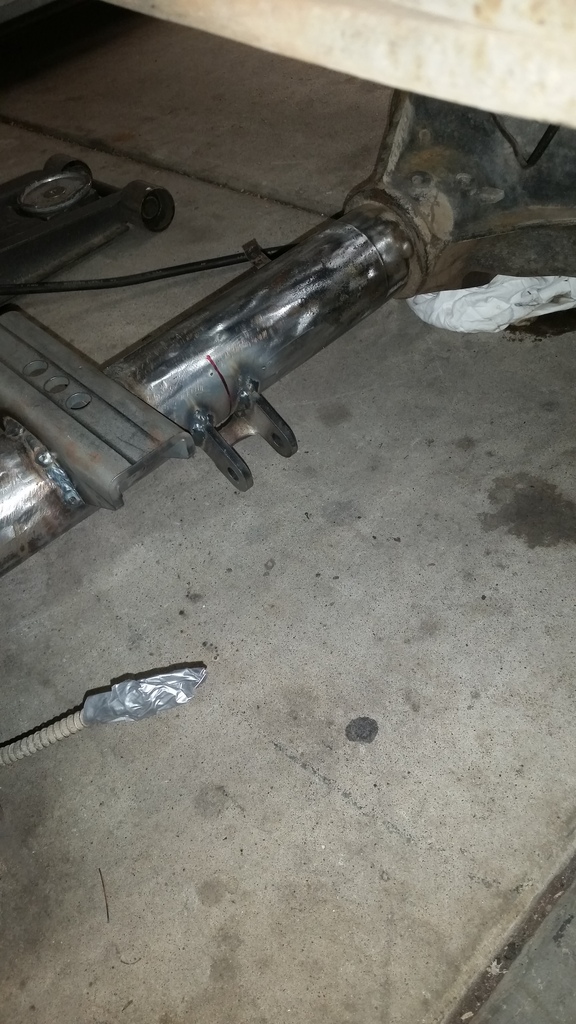
while the paint was drying i prepped the passenger side and mocked this up. both sides should be burned on by the end of the weekend

back to the jeep, got some parts in the mail.


finished welding on the axle. i didnt originally build this axle and i never liked the truss someone had built for it but i also didnt feel like cutting the rest of it off so i tied it into my upper mount. still need to add on to the drivers side.


the reason for the bags being taped over the ends of the axle:


my new favorite spray paint


i ordered a ruffstuff diff cover today. when it gets here ill paint it the pewter color.

while the paint was drying i prepped the passenger side and mocked this up. both sides should be burned on by the end of the weekend

 11-28-2016, 02:25 AM
#19
Member
Thread Starter
Join Date: Mar 2016
Location: Tempe, AZ
Posts: 113
Likes: 0
Received 0 Likes
on
0 Posts
Year: 1989
Model: Comanche
Engine: 4.7 stroker
got the passenger side done and started to prep the drivers before i had to leave for work
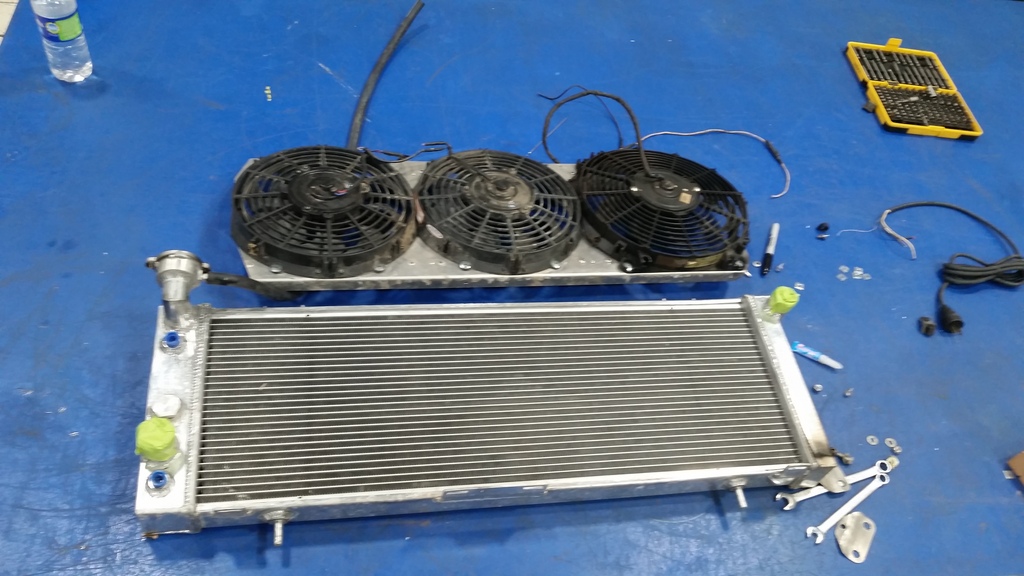
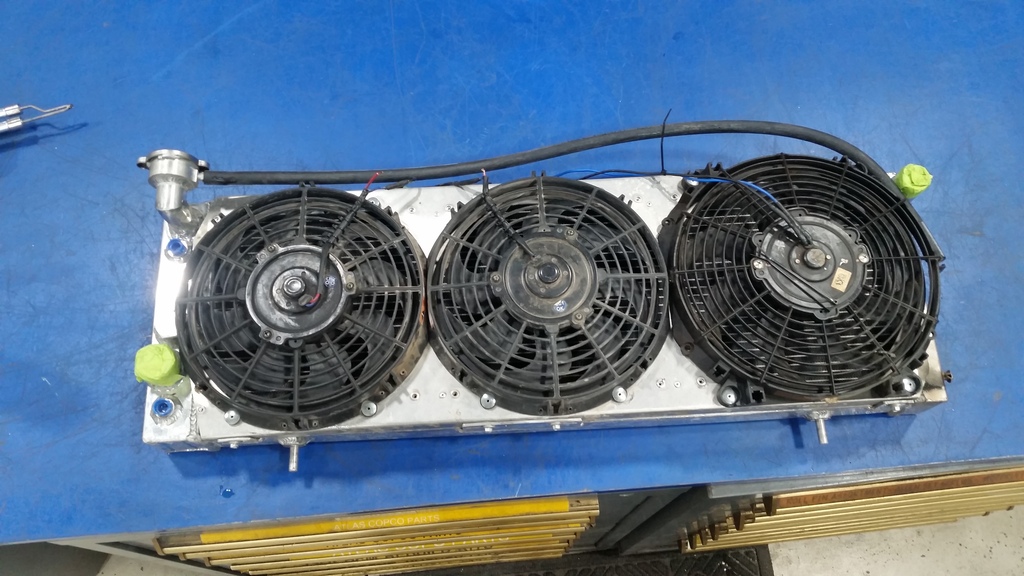
brought the radiator and hyrdo ram with me to work so i could make good use of some spare time.
all of the mounting tabs on the fans were broke, and one fan got demolished. not sure where i got this other one but its a bot bigger than the 3 orginals. i decided to rivet all 3 fans to the shroud this time with 1/4 inch large head rivets and remount it to the radiator differently
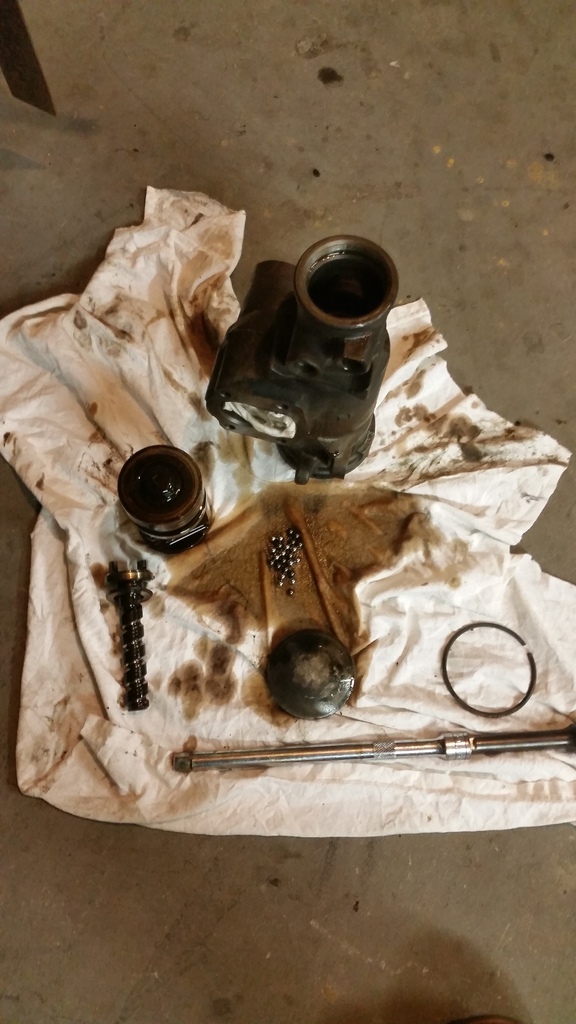
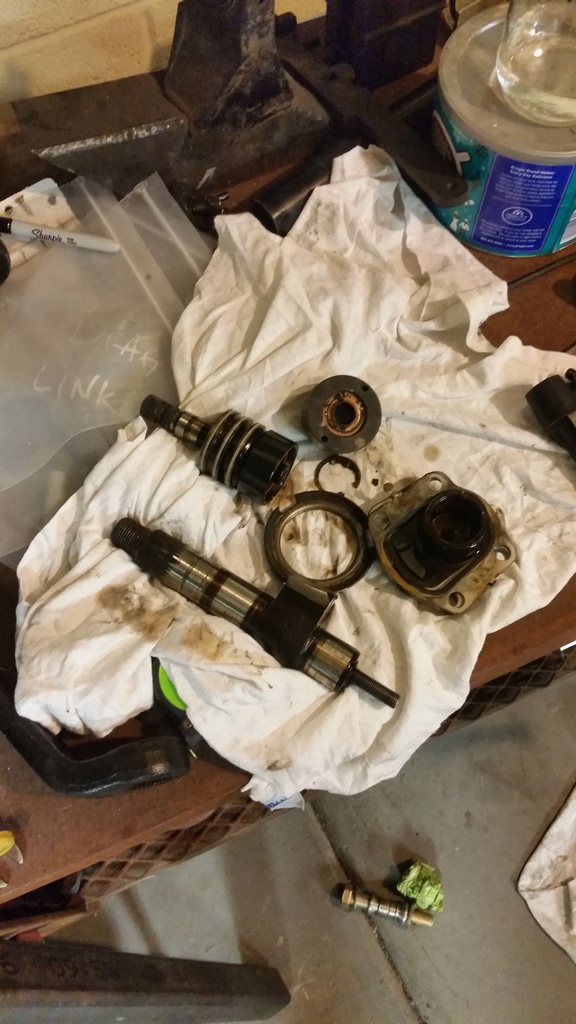
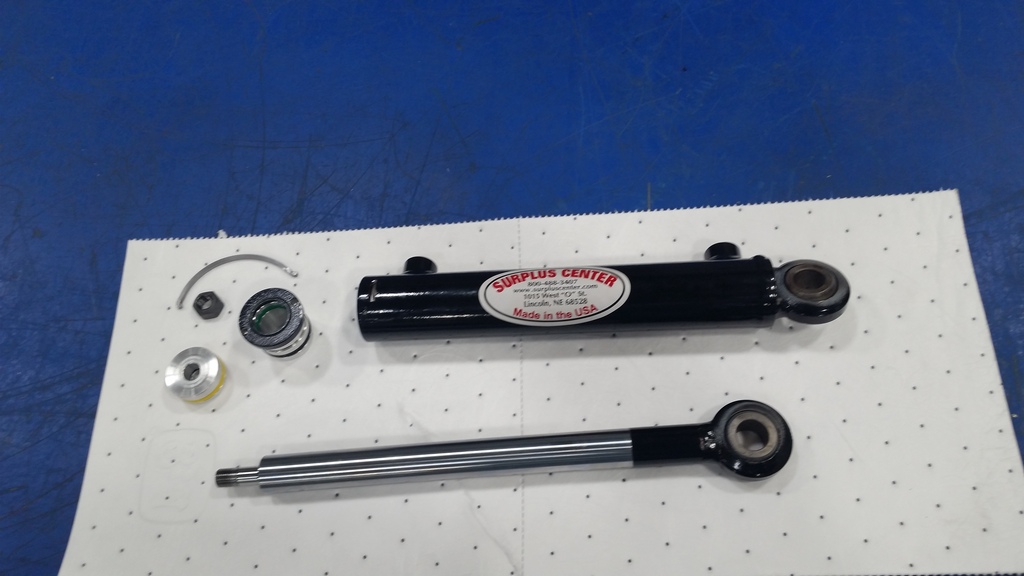
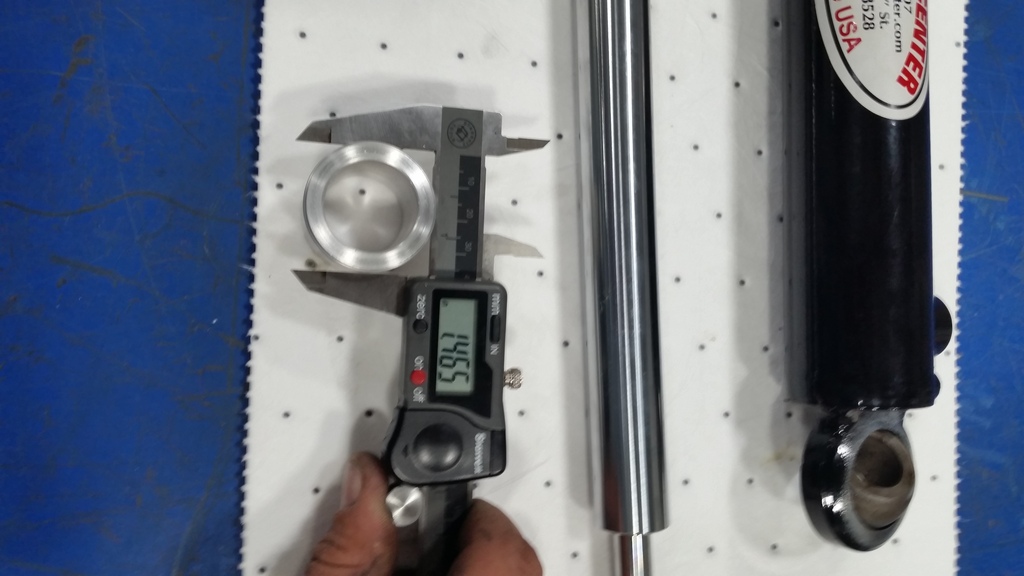
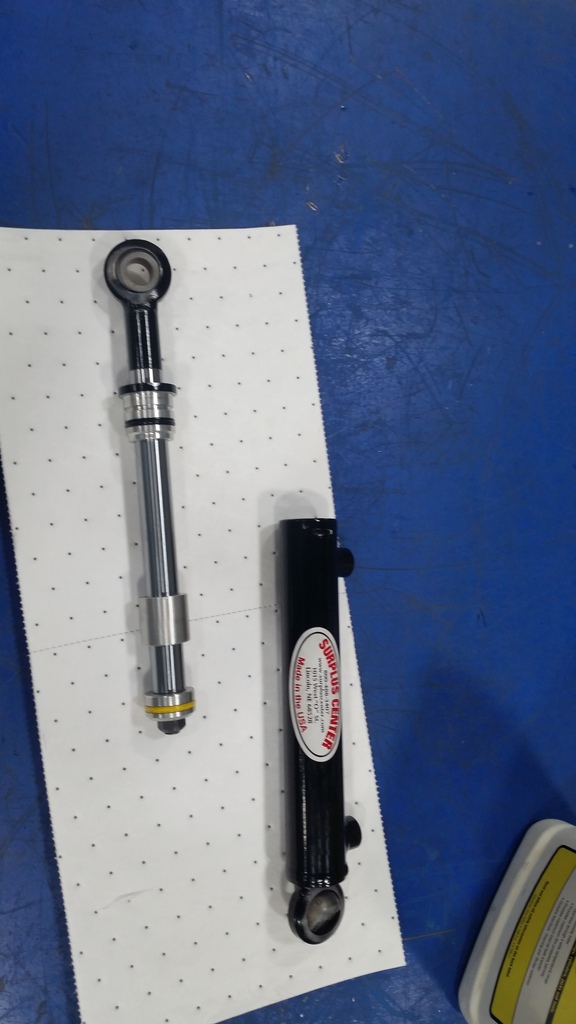
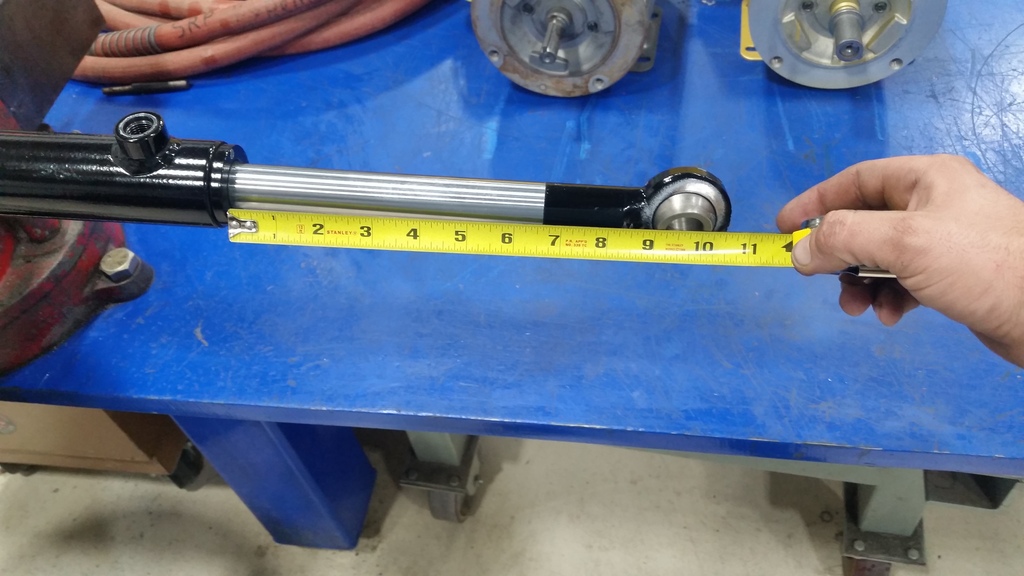
as for the ram, its an 8 inch stroke and my steering setup only has 6 11/16-3/4ish inches of travel so i knew i was going need a spacer.
ram disassembled
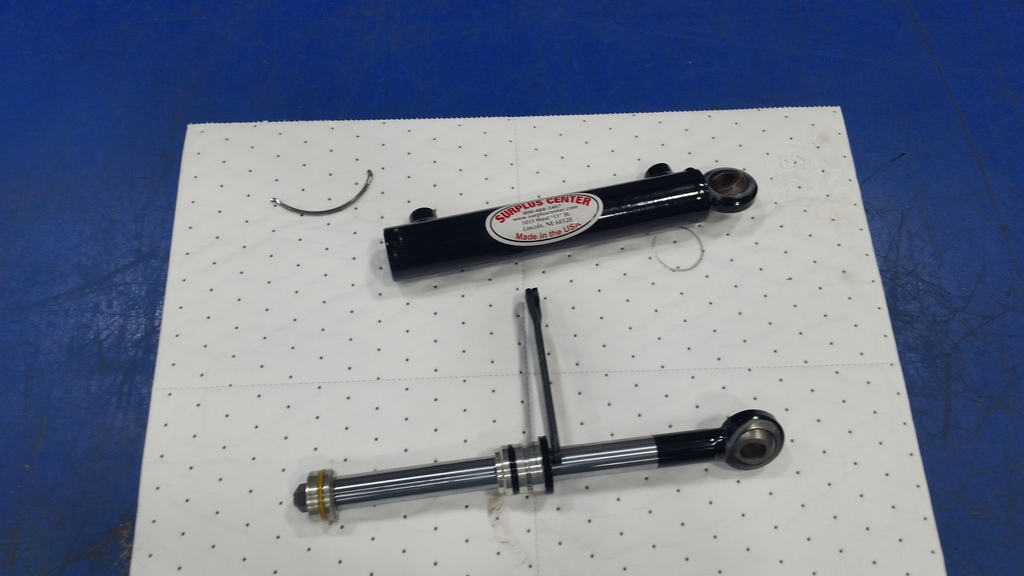
took some measurements
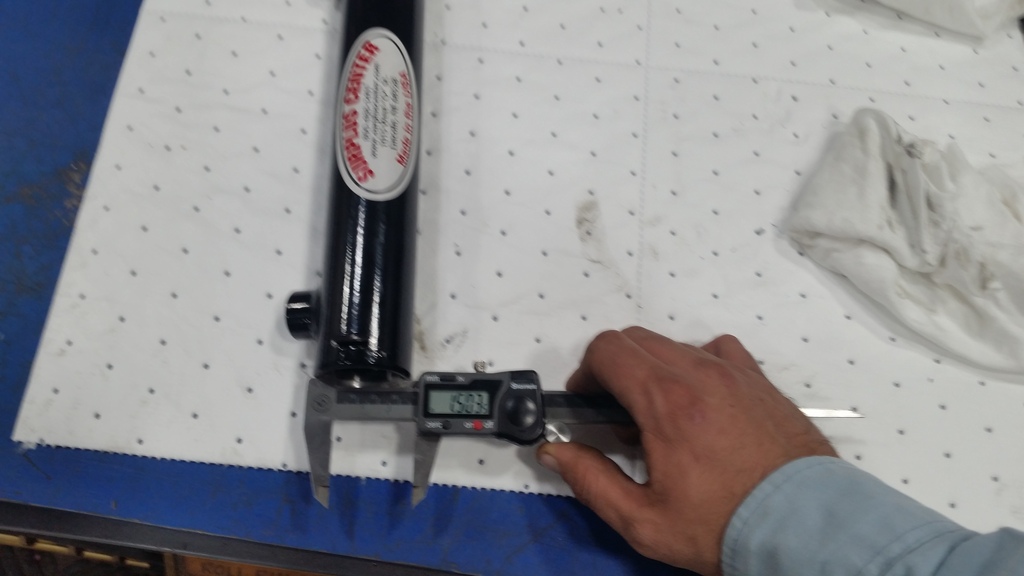
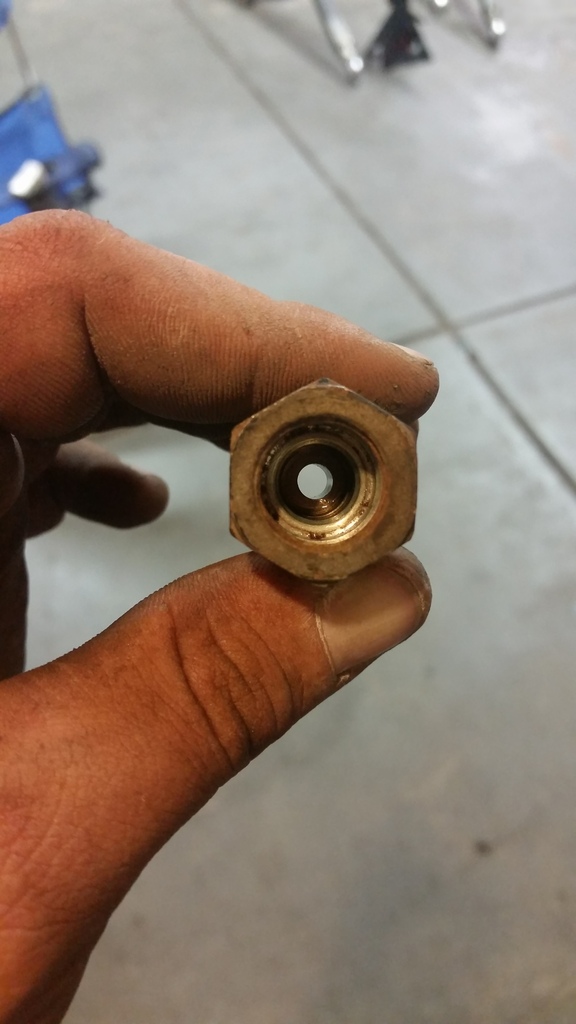
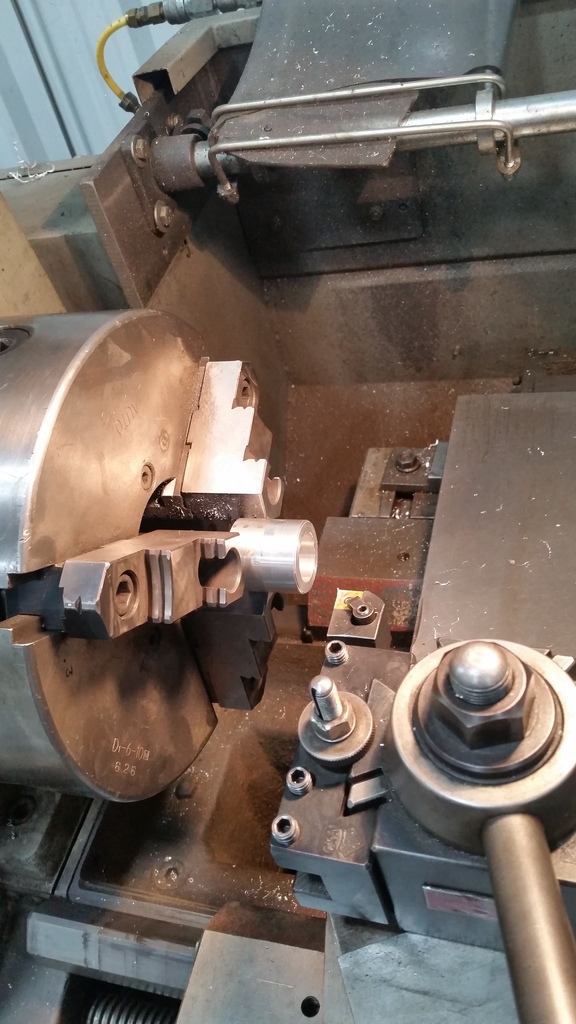
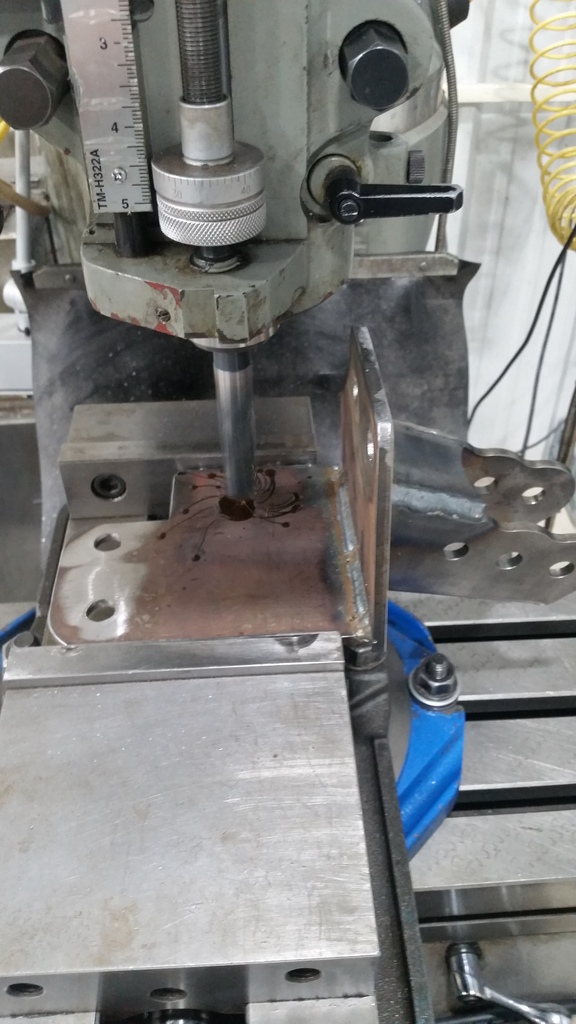
found a much-larger-than-necessary piece of aluminium and turned it down forever (i am no machinist, please bear with me)

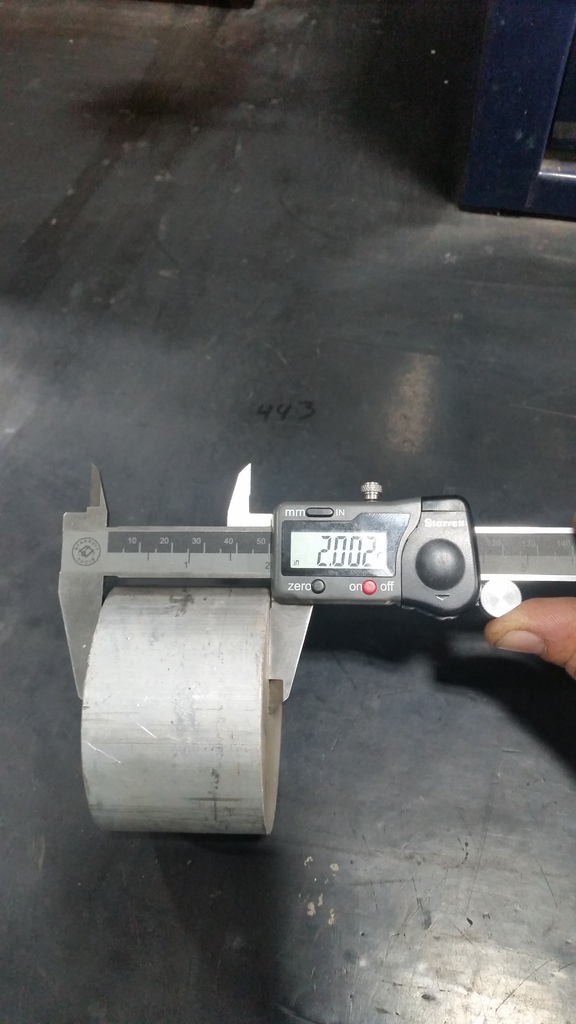
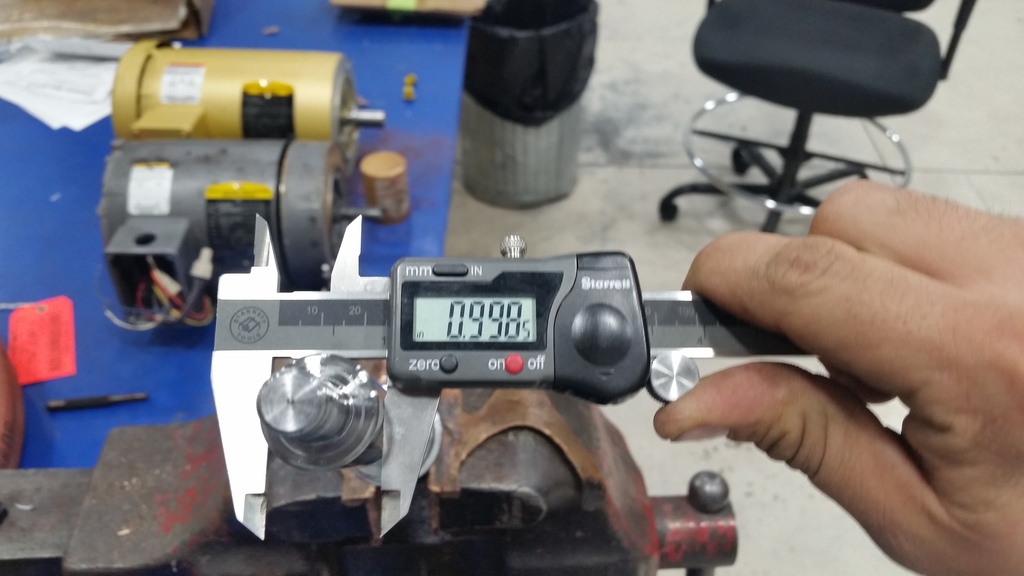
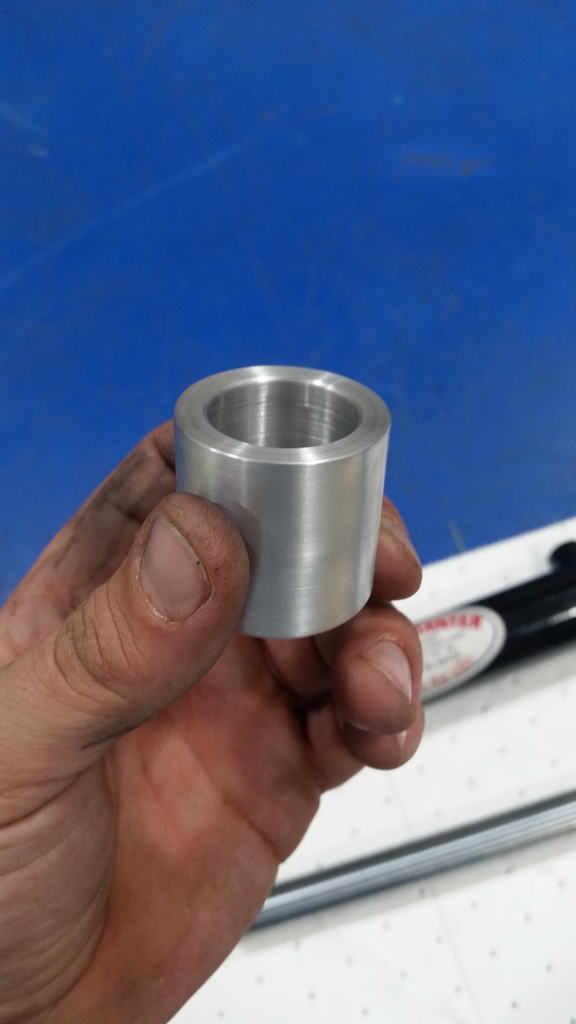
end result
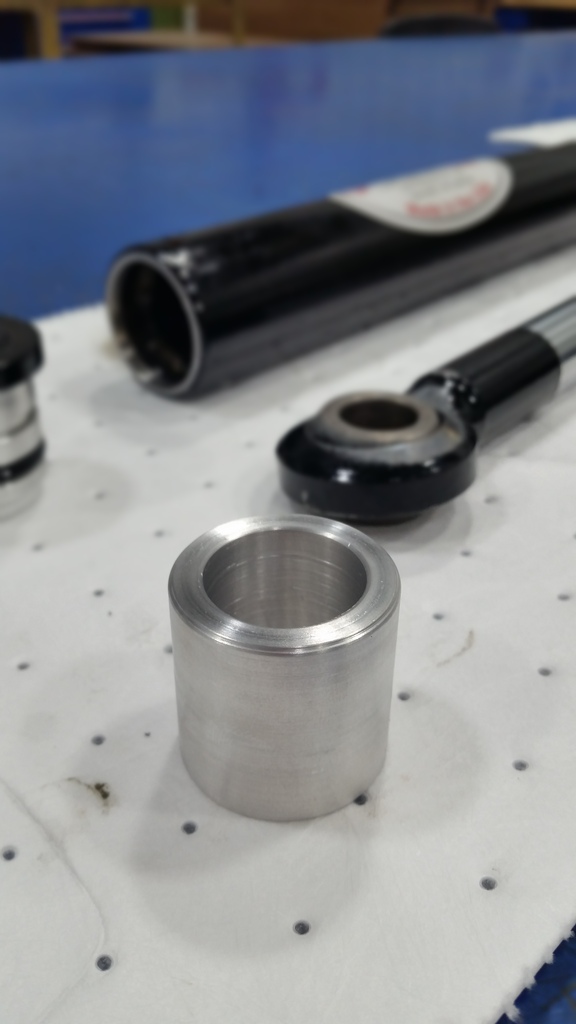
left some room for the fluid to pass around it so as not to rub directly on the shaft or cylinder
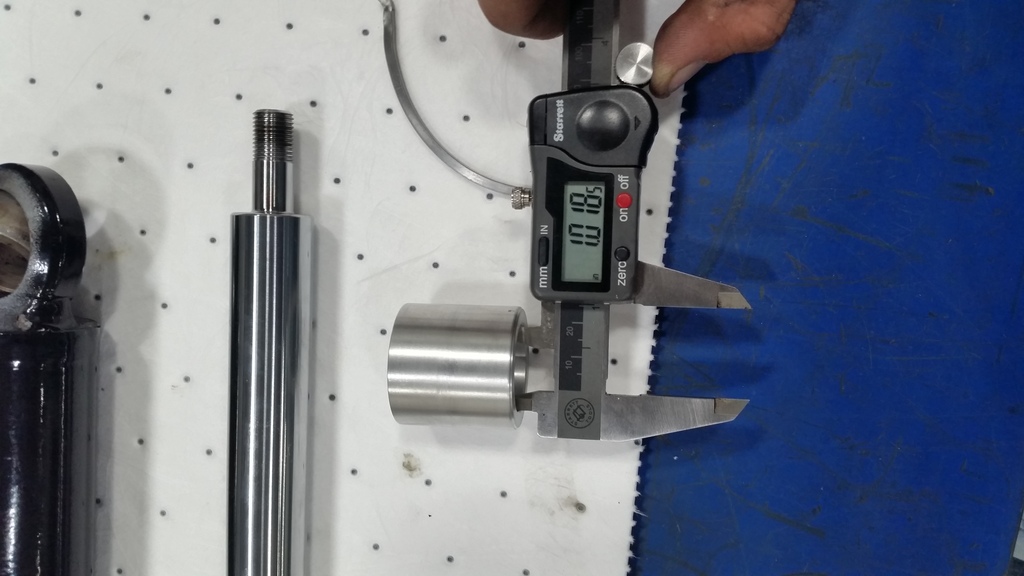
reassembled. ended up just about perfect


brought the radiator and hyrdo ram with me to work so i could make good use of some spare time.
all of the mounting tabs on the fans were broke, and one fan got demolished. not sure where i got this other one but its a bot bigger than the 3 orginals. i decided to rivet all 3 fans to the shroud this time with 1/4 inch large head rivets and remount it to the radiator differently


as for the ram, its an 8 inch stroke and my steering setup only has 6 11/16-3/4ish inches of travel so i knew i was going need a spacer.
ram disassembled


took some measurements


found a much-larger-than-necessary piece of aluminium and turned it down forever (i am no machinist, please bear with me)


end result


left some room for the fluid to pass around it so as not to rub directly on the shaft or cylinder


reassembled. ended up just about perfect

 12-03-2016, 12:29 PM
#20
Member
Thread Starter
Join Date: Mar 2016
Location: Tempe, AZ
Posts: 113
Likes: 0
Received 0 Likes
on
0 Posts
Year: 1989
Model: Comanche
Engine: 4.7 stroker
drivers side stiffener done. track bar and mount are done just dont have finished pics.
took it off to drill 3 more holes for plug welds. it will be bolted and welded on for strength.
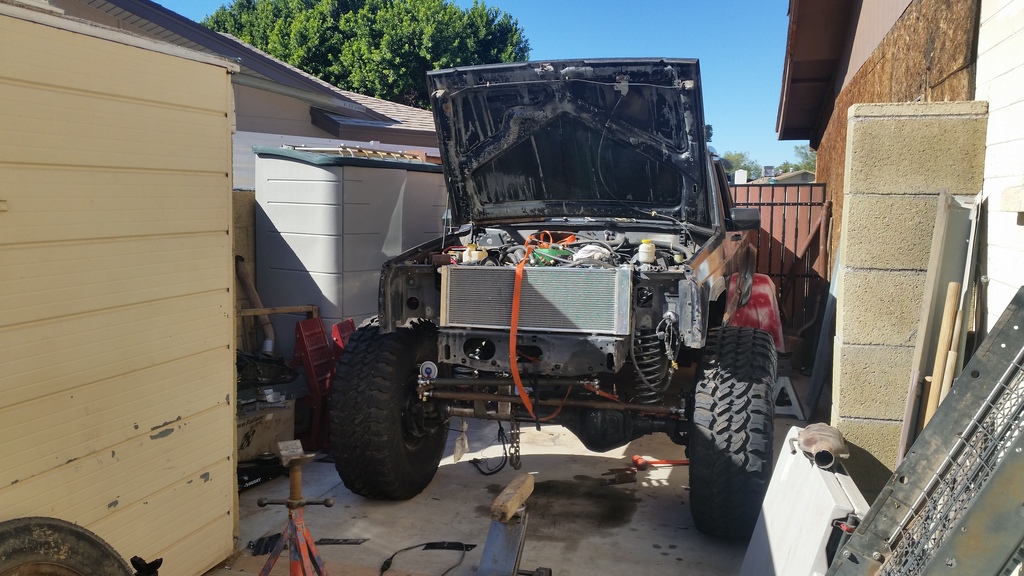
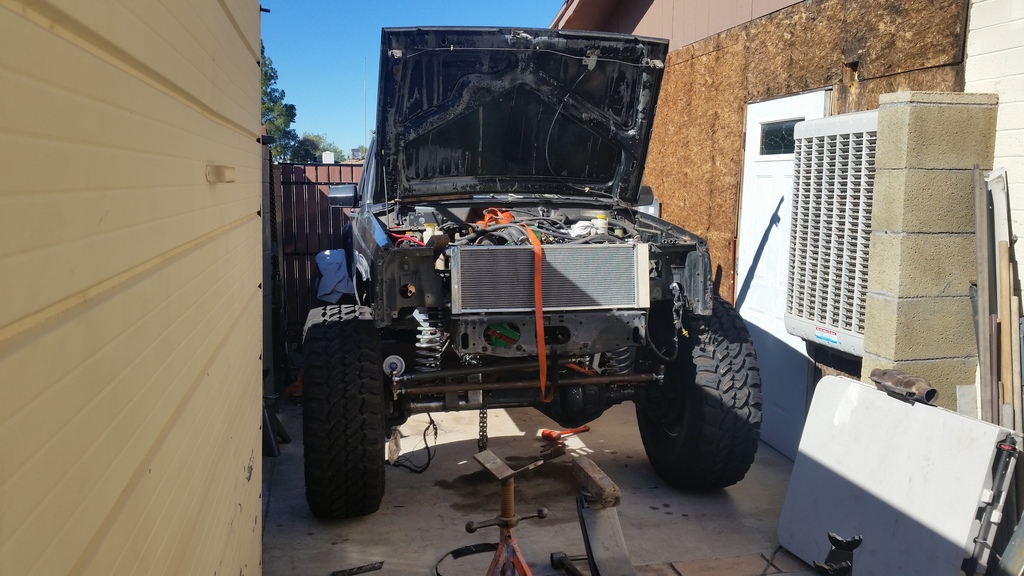
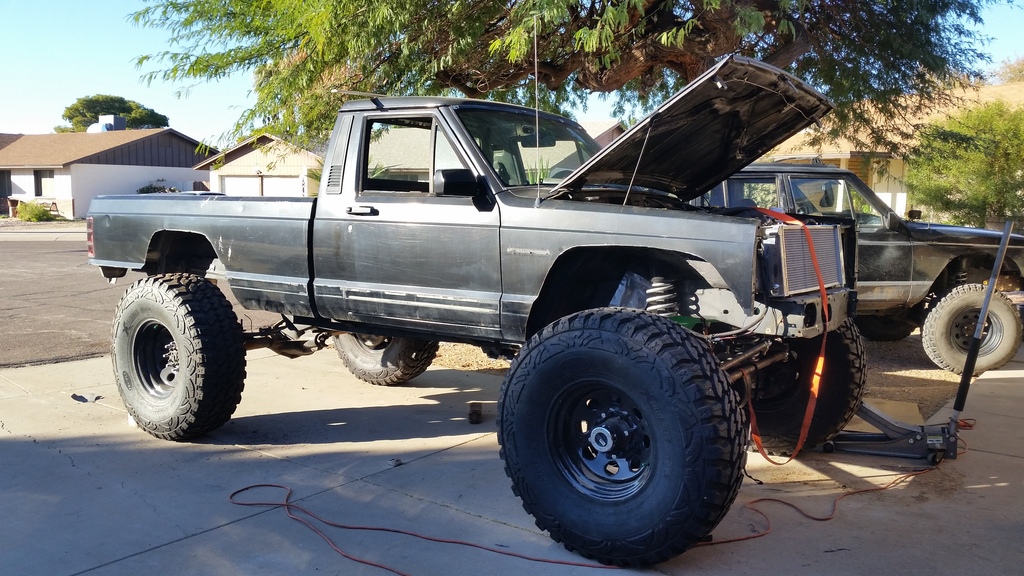
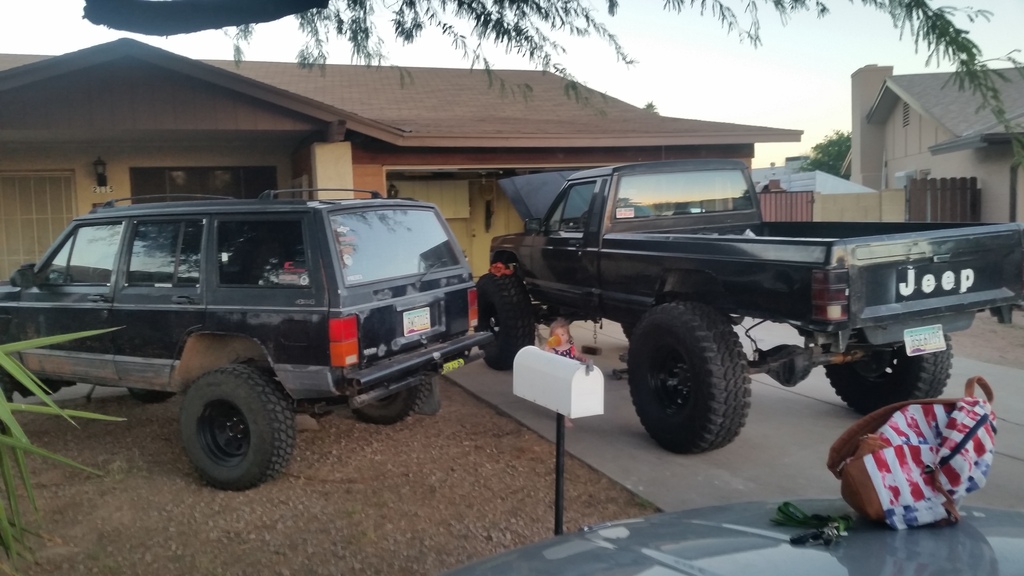
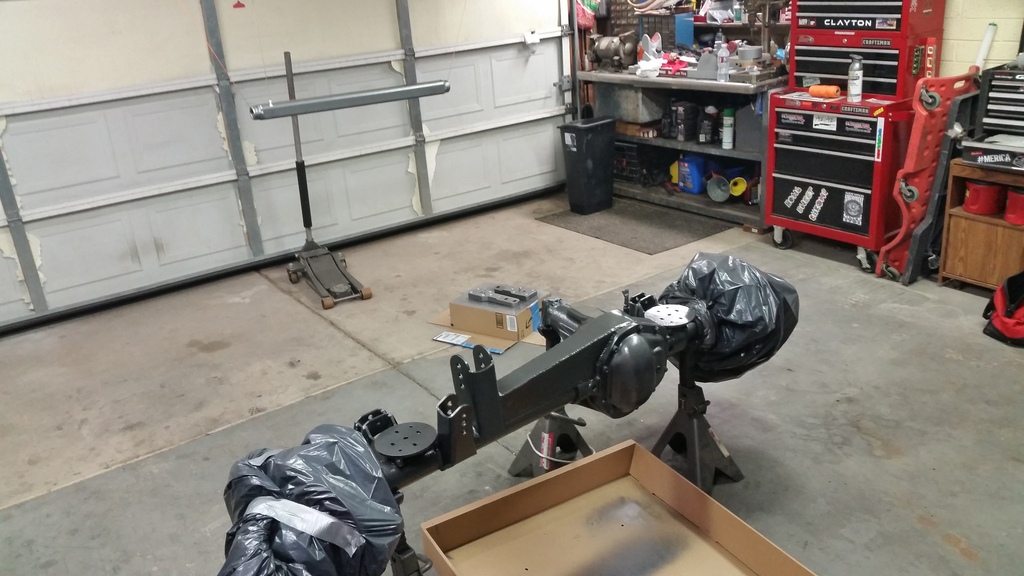
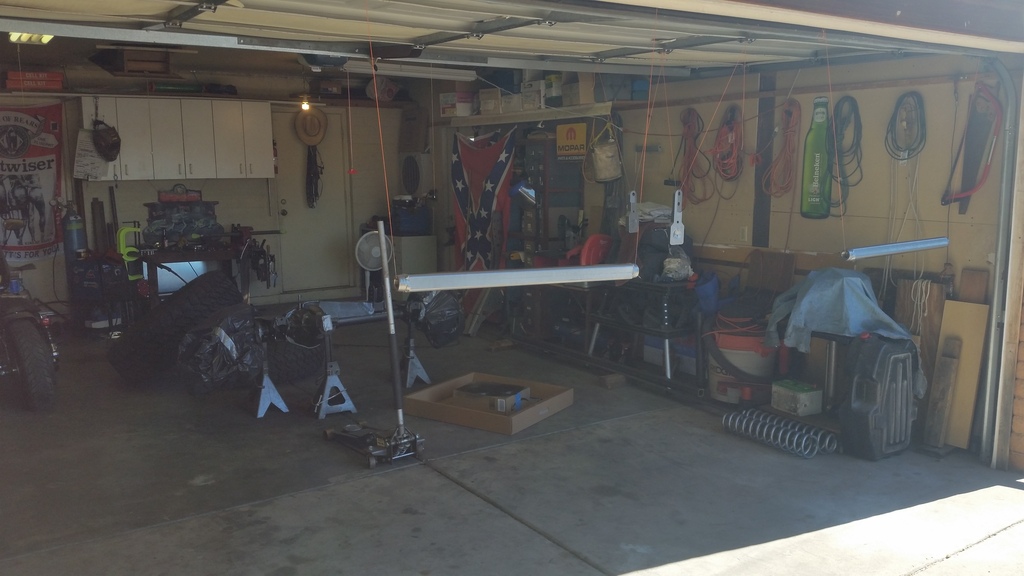
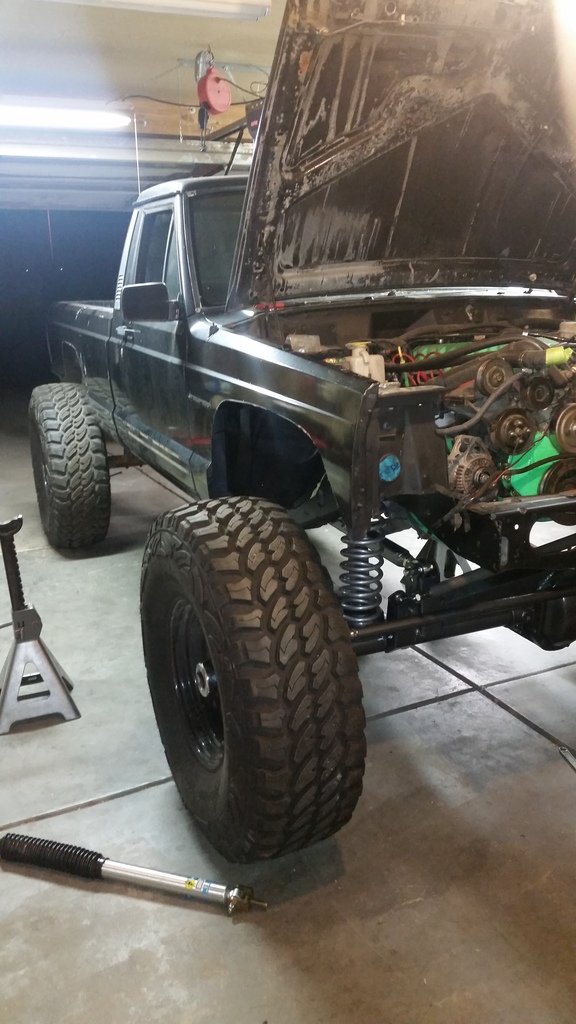
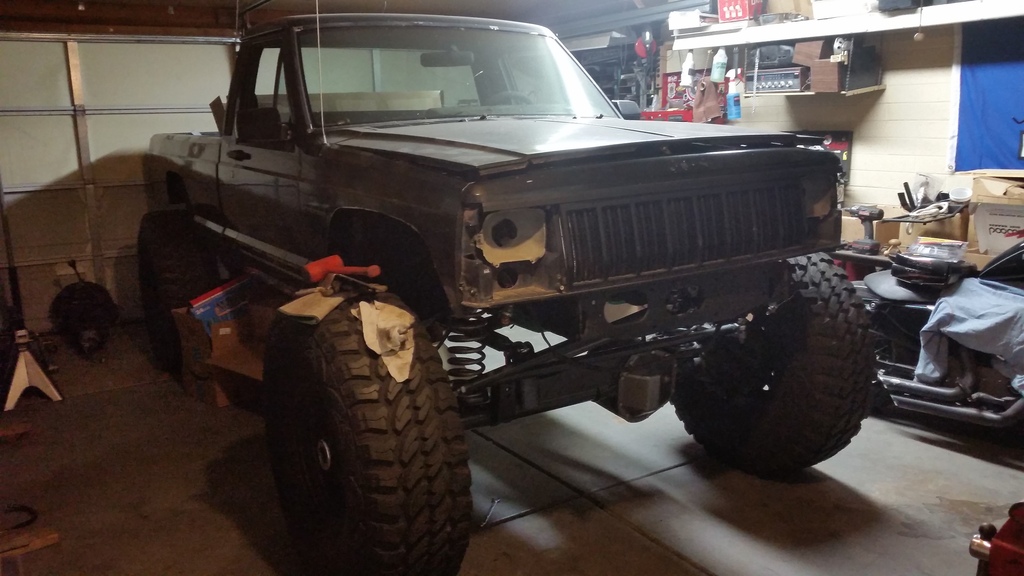
FINALLY made its way into the garage
got the ruffstuff cover. still thinking of mounting the assist ram to it


took it off to drill 3 more holes for plug welds. it will be bolted and welded on for strength.


FINALLY made its way into the garage


got the ruffstuff cover. still thinking of mounting the assist ram to it
 12-05-2016, 11:17 AM
#21
Member
Thread Starter
Join Date: Mar 2016
Location: Tempe, AZ
Posts: 113
Likes: 0
Received 0 Likes
on
0 Posts
Year: 1989
Model: Comanche
Engine: 4.7 stroker
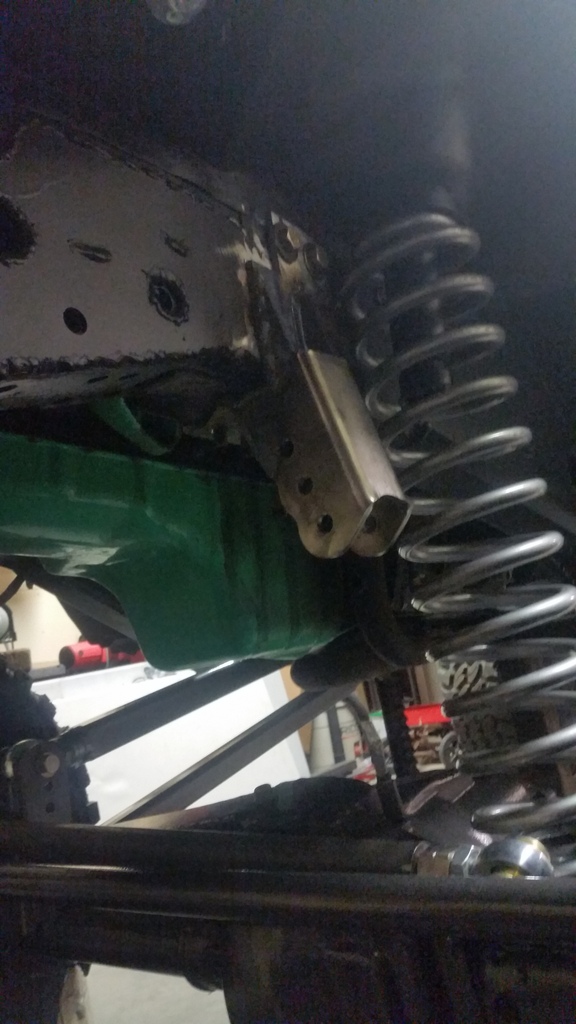
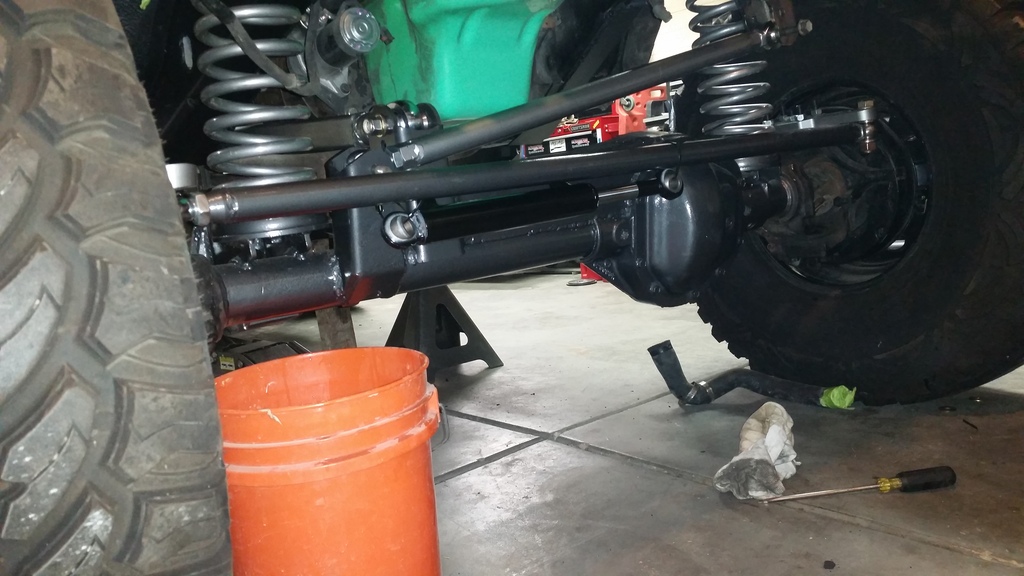
So I think I'm going to mount the ram like this only on the side of the track bar mount (more left than in the pics). I'll add bracing to it and tie it into the upper link mount as well. It's the only place I can think of that won't get in the way of the track bar or the diff cover. It won't offer protection from the rocks though, what do yall think? The only way I see to keep it above the tie rod is mounting to the diff cover...
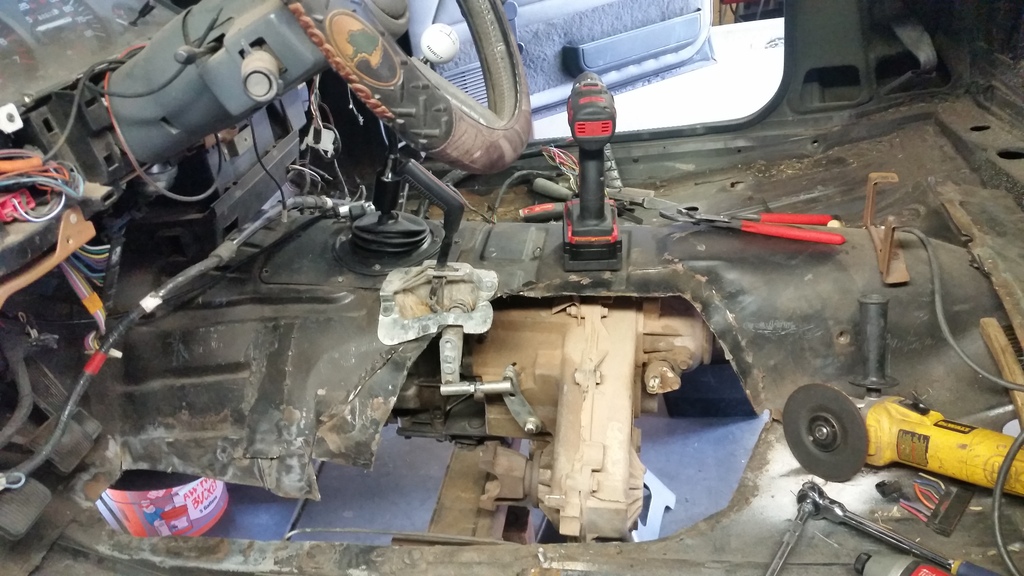
Also replaced the shift tower seal and busing and inner shift boots since I had the parts laying around. Didn't get pics of all the parts or install but it's done
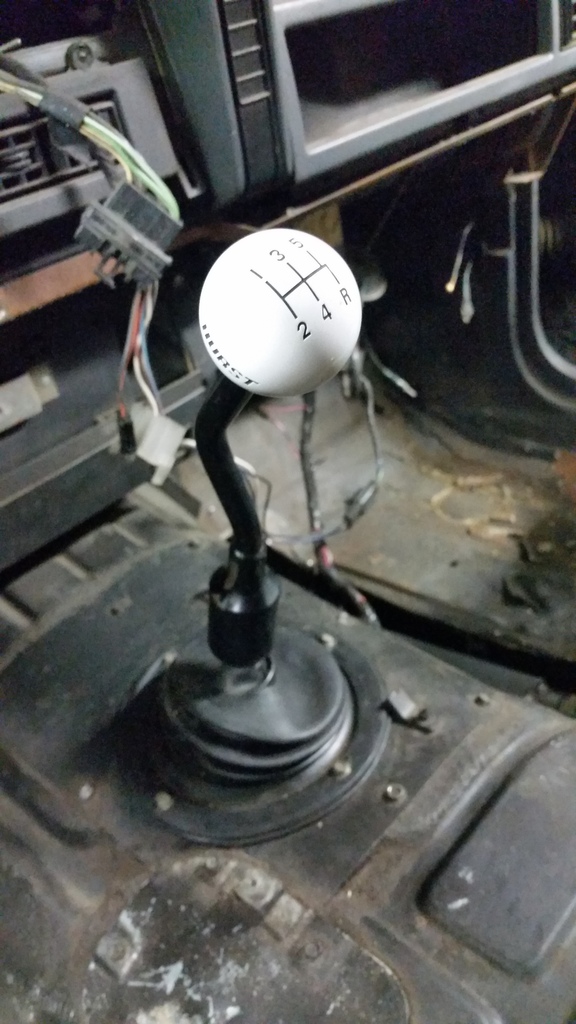


Also replaced the shift tower seal and busing and inner shift boots since I had the parts laying around. Didn't get pics of all the parts or install but it's done

 12-12-2016, 10:39 AM
#22
Member
Thread Starter
Join Date: Mar 2016
Location: Tempe, AZ
Posts: 113
Likes: 0
Received 0 Likes
on
0 Posts
Year: 1989
Model: Comanche
Engine: 4.7 stroker
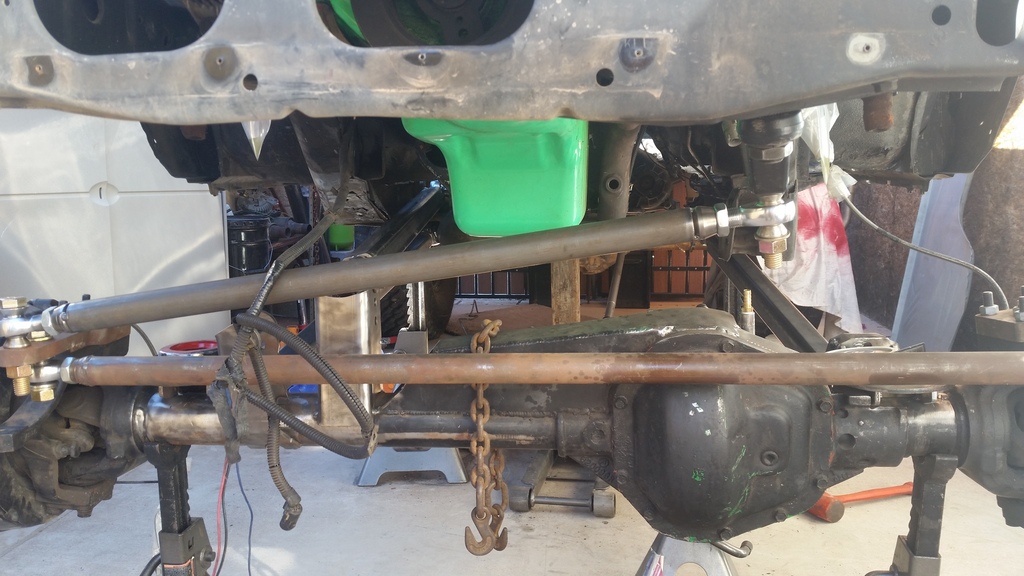
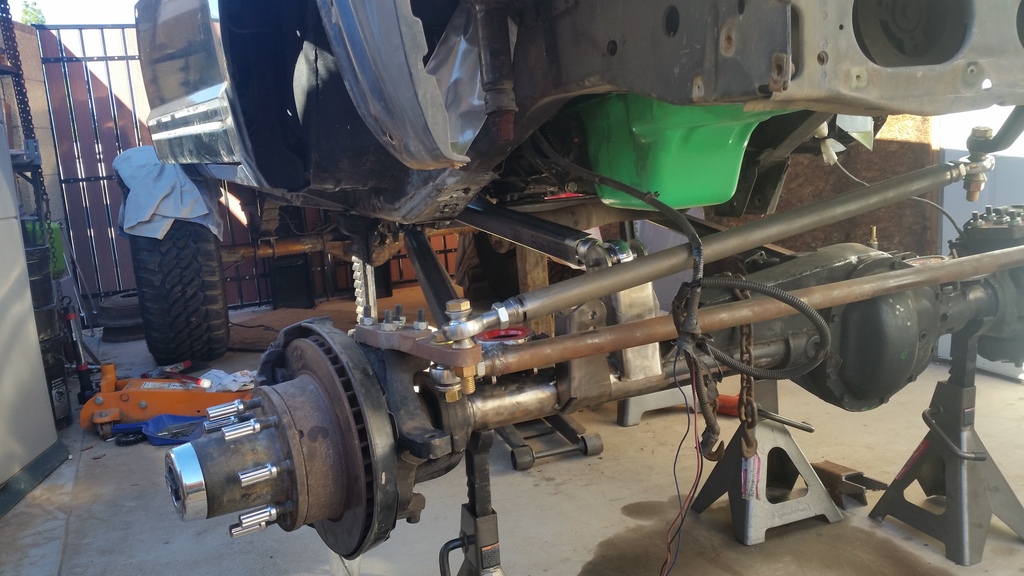
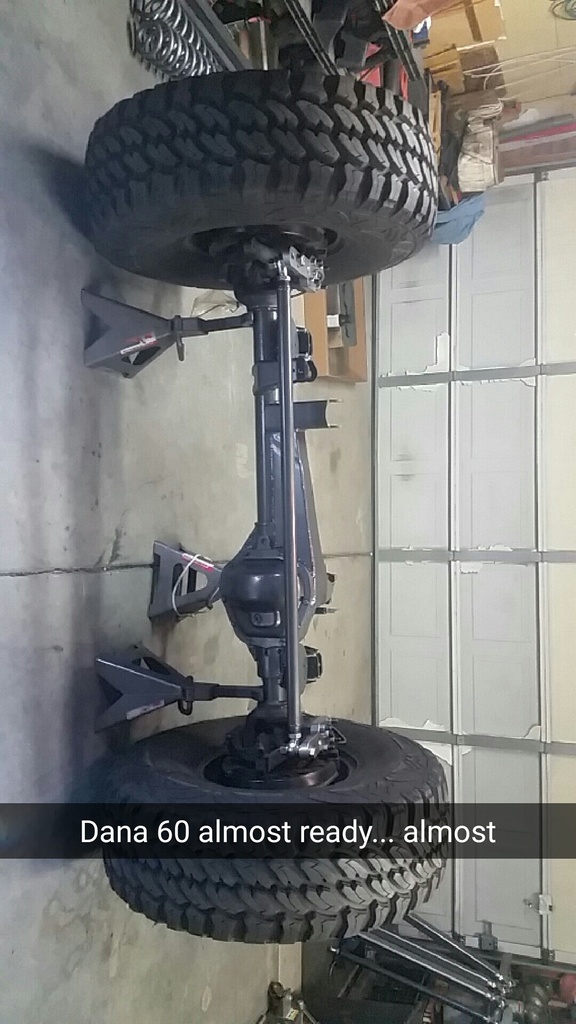
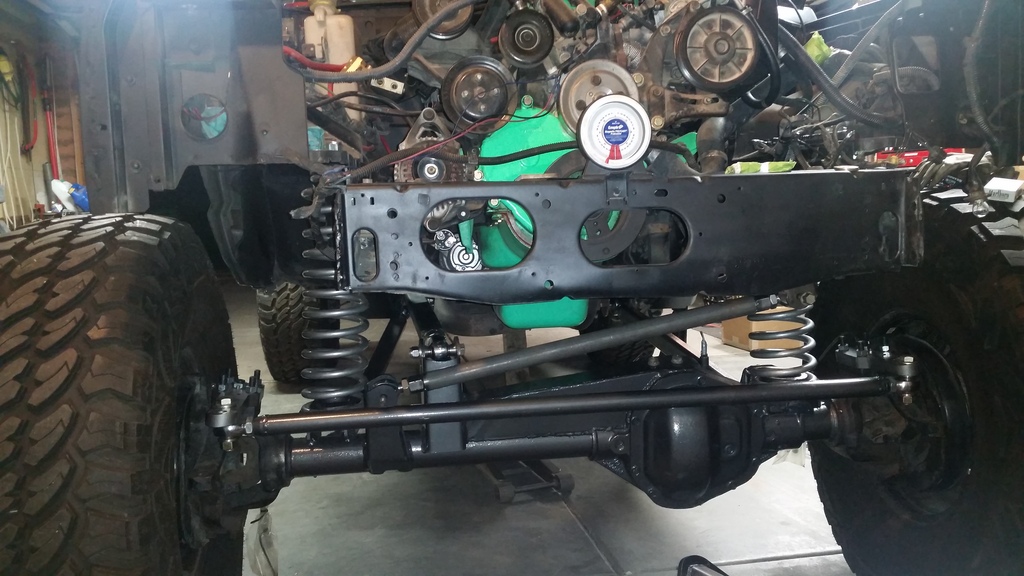
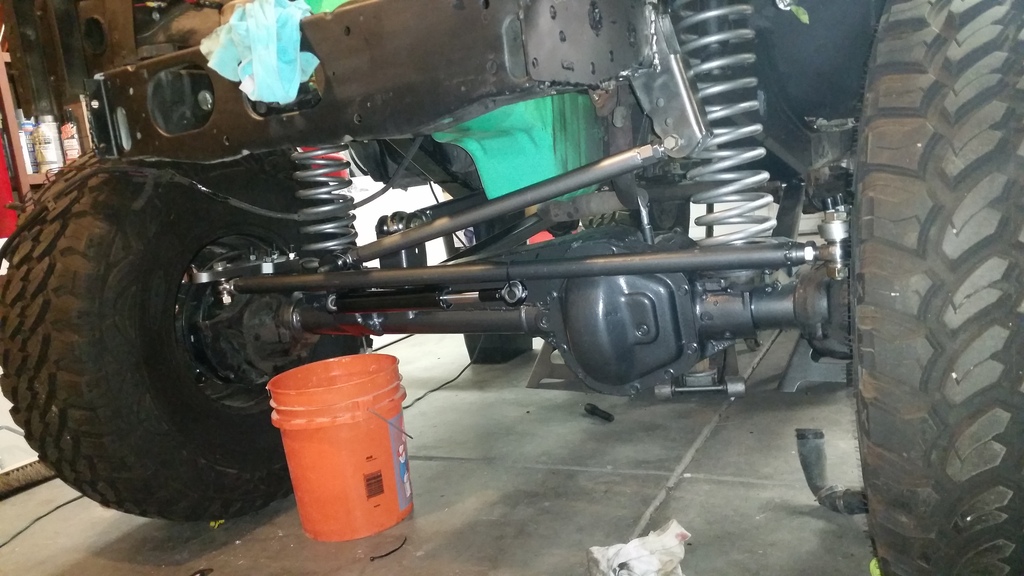
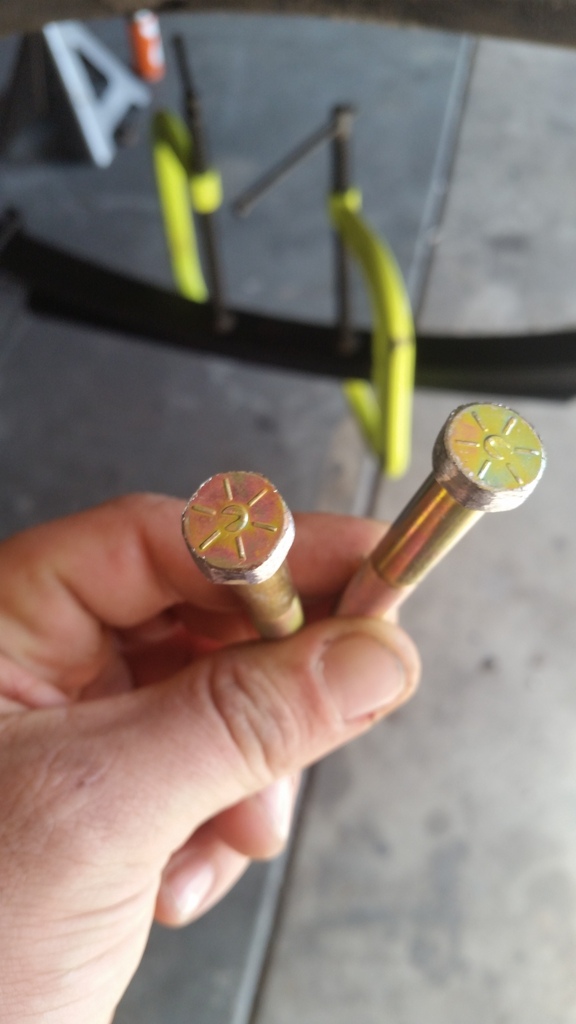
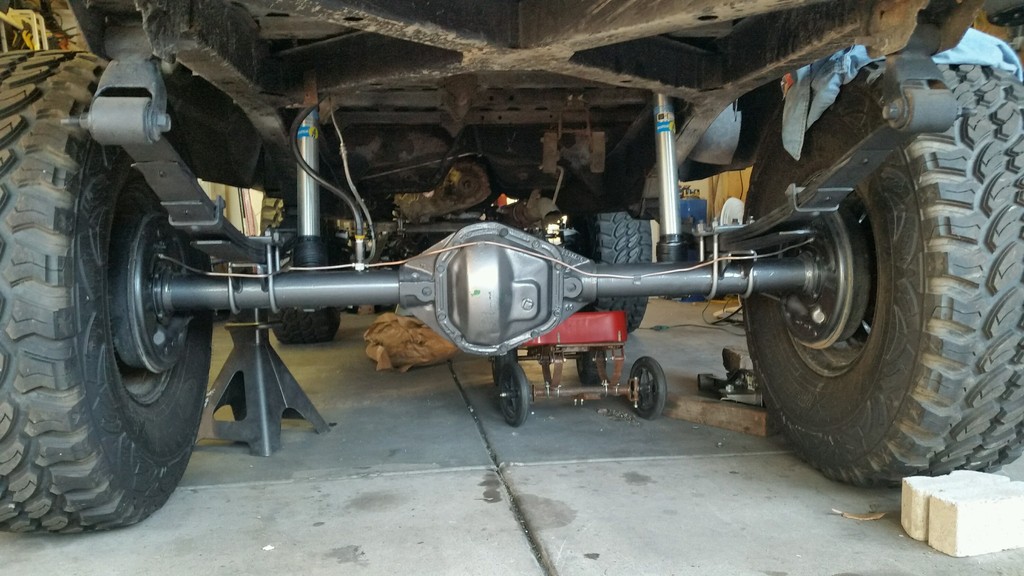
spring perches and shock mounts done, axle painted, axle and shocks installed. made new center pins from grade 8 3/8" fine thread bolts
springs painted with krylons finest lol

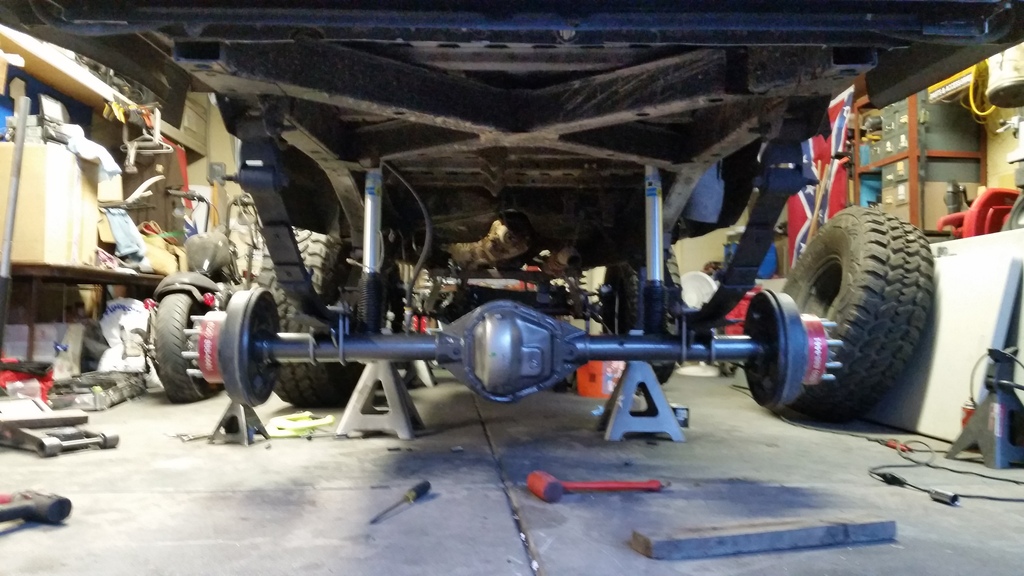
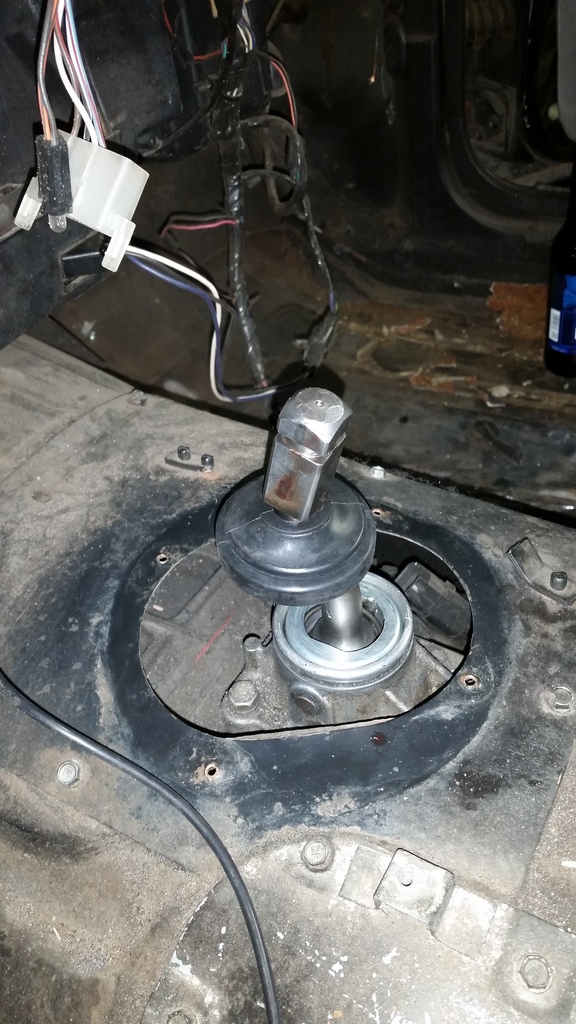
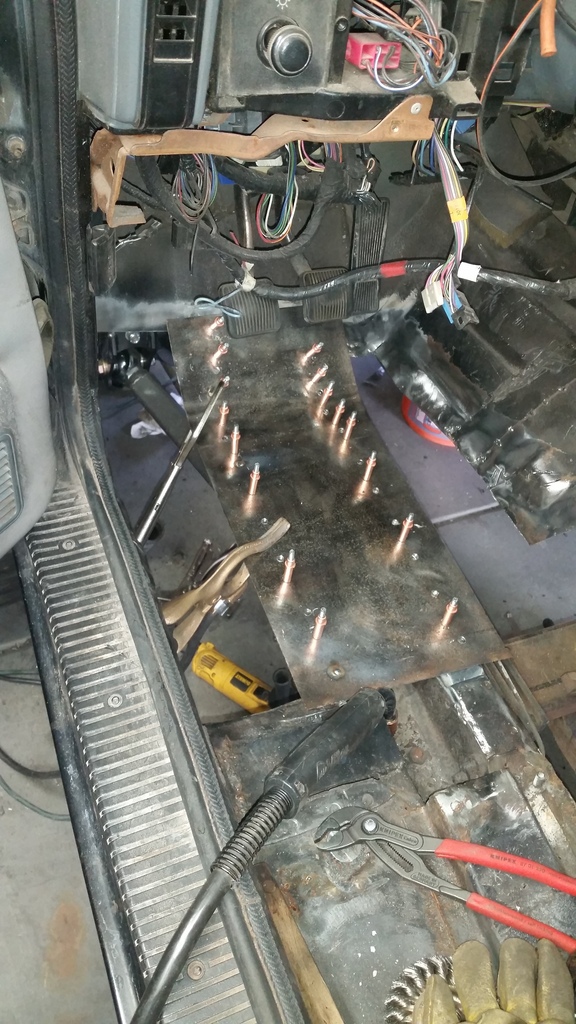
started on the floor pan. spot welded this piece over the "frame" channel. going to split the replacement pan length wise and weld in one side at a time. tcase shifter installed so i can build the tunnel around it all
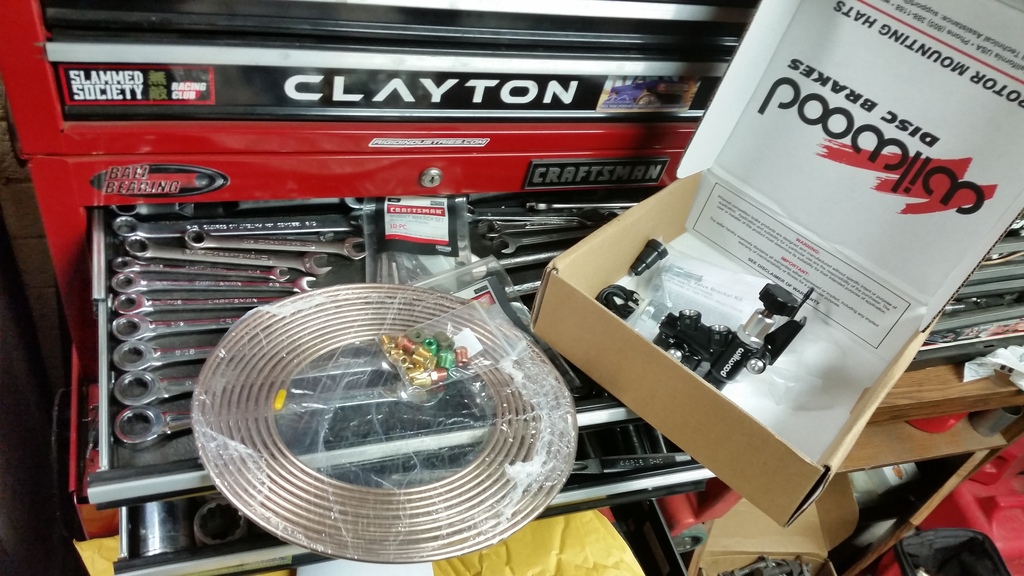
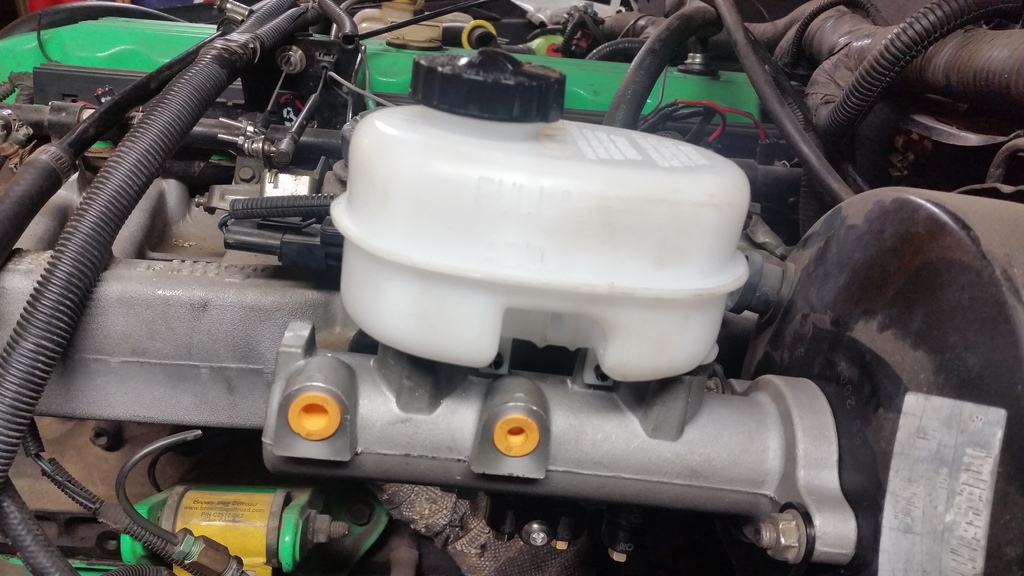
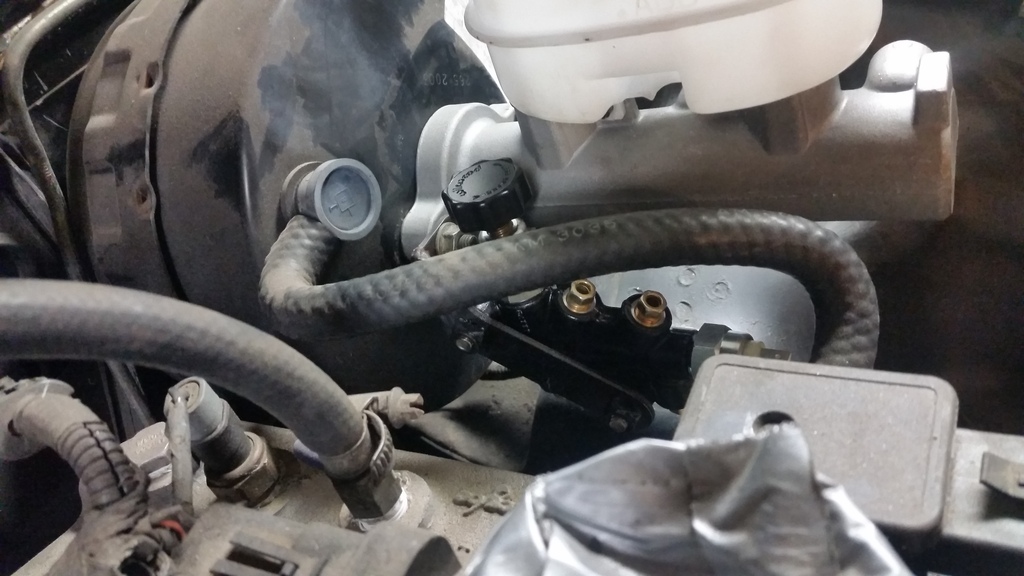
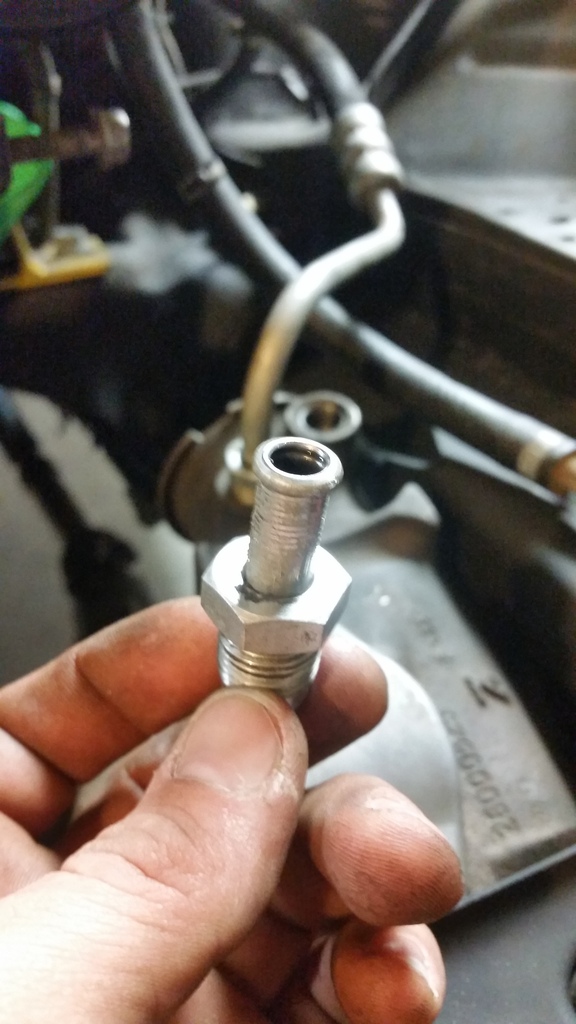
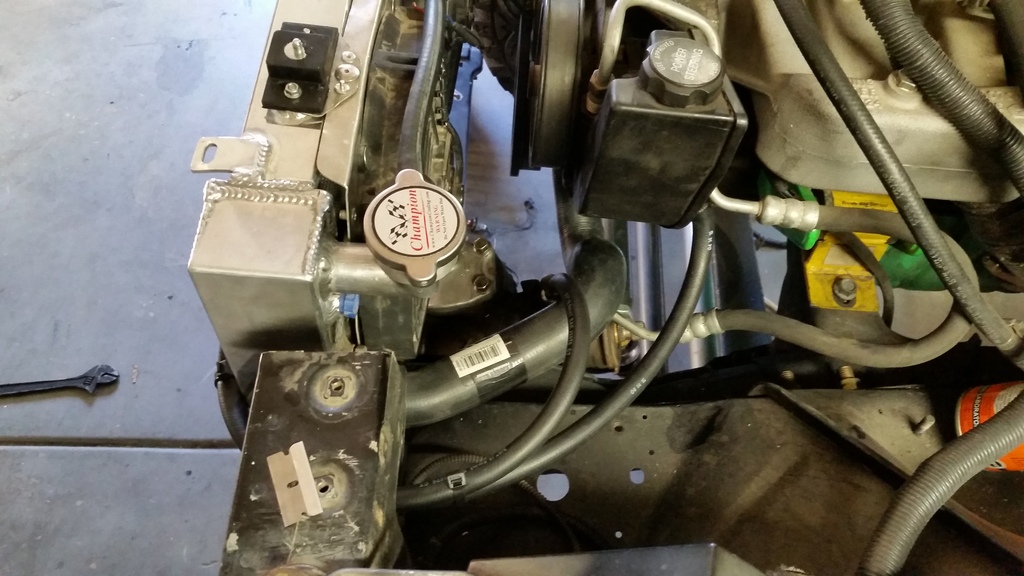
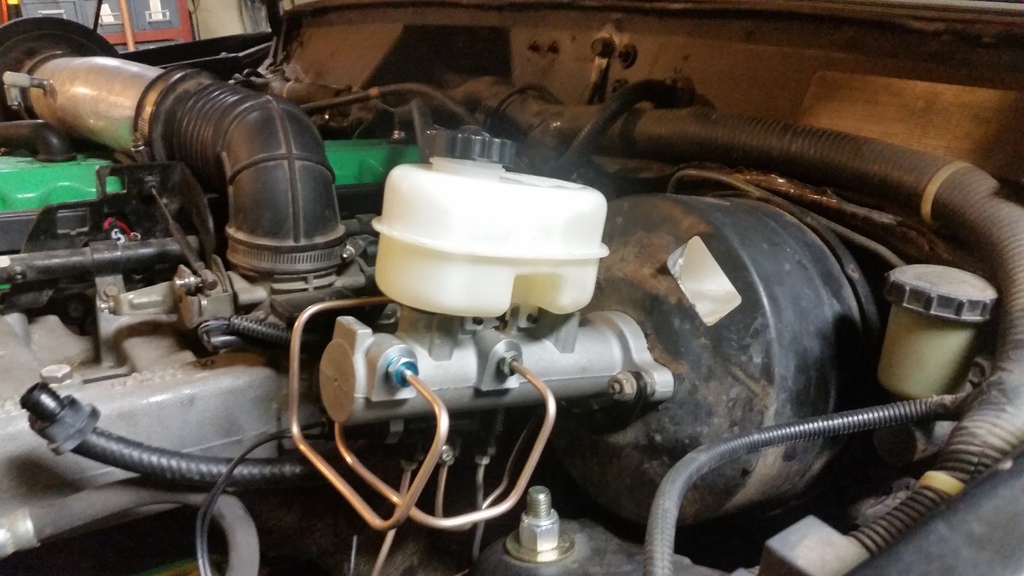
new brake parts. wilwood prop valve, dodge 2500 MC, NiCop 3/16" line, and a new 02 sensor since i had to rob one for the xj
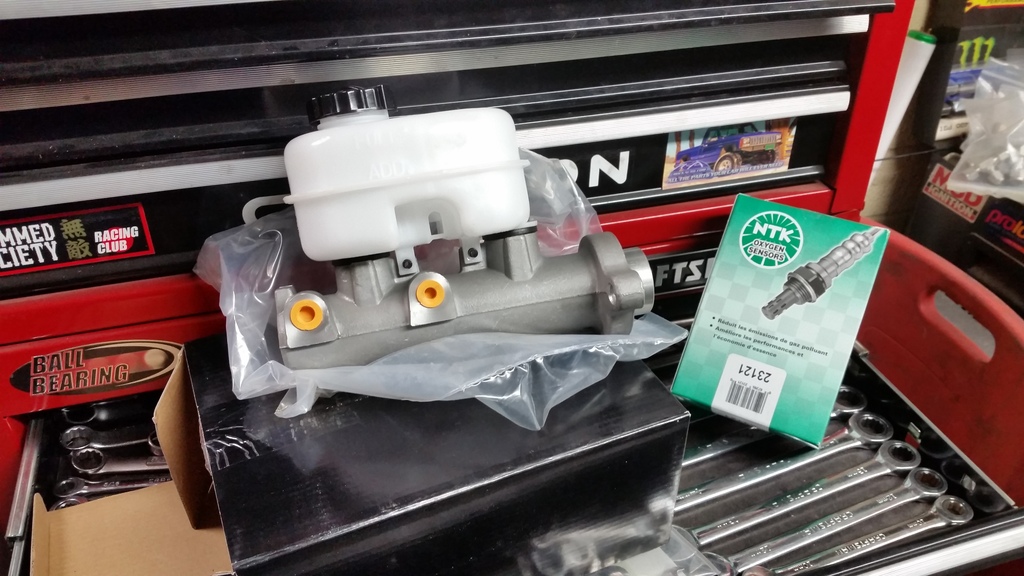
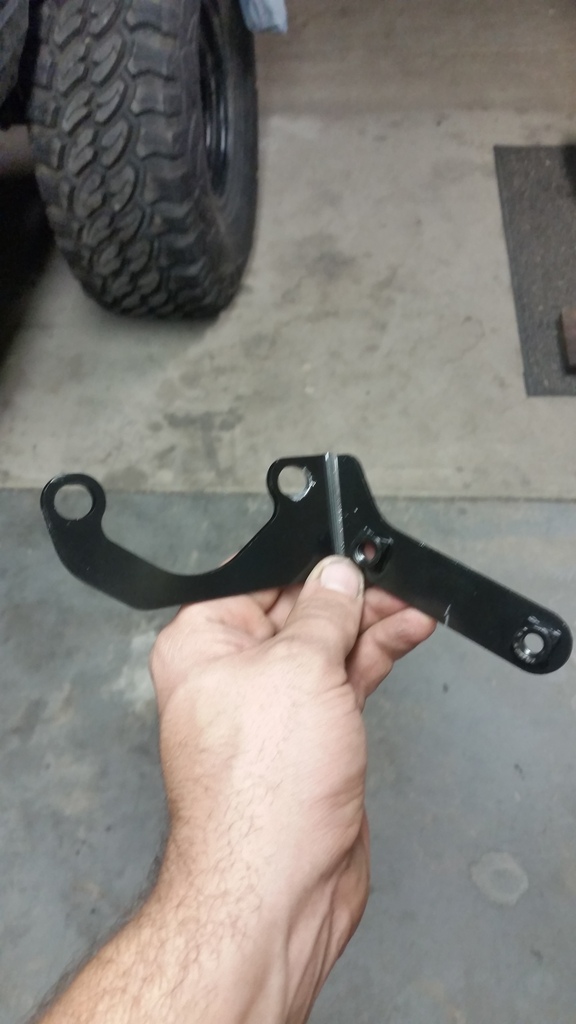
had to modify the mounting bracket for the prop valve to mount it on the pass side of the MC/booster


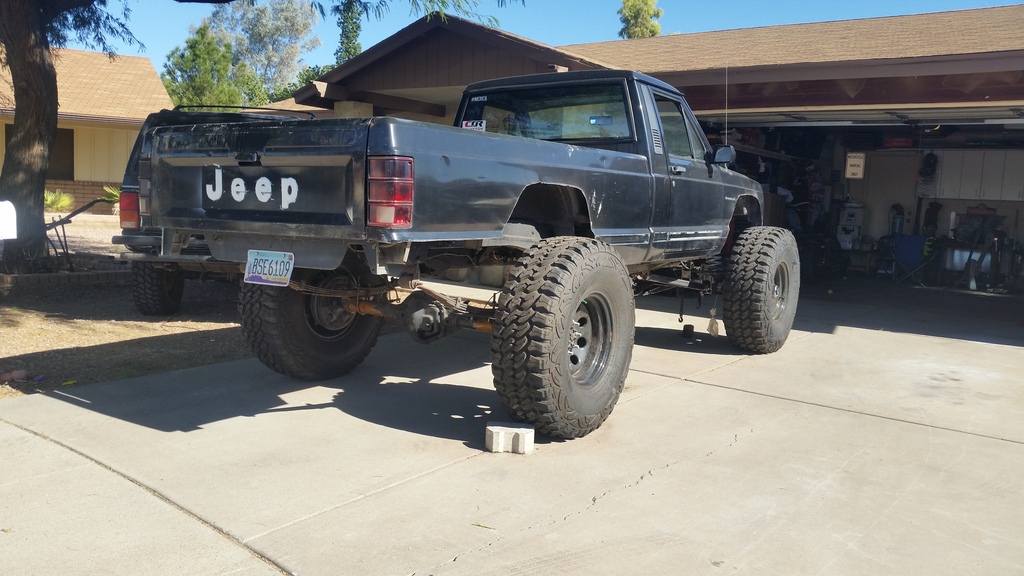
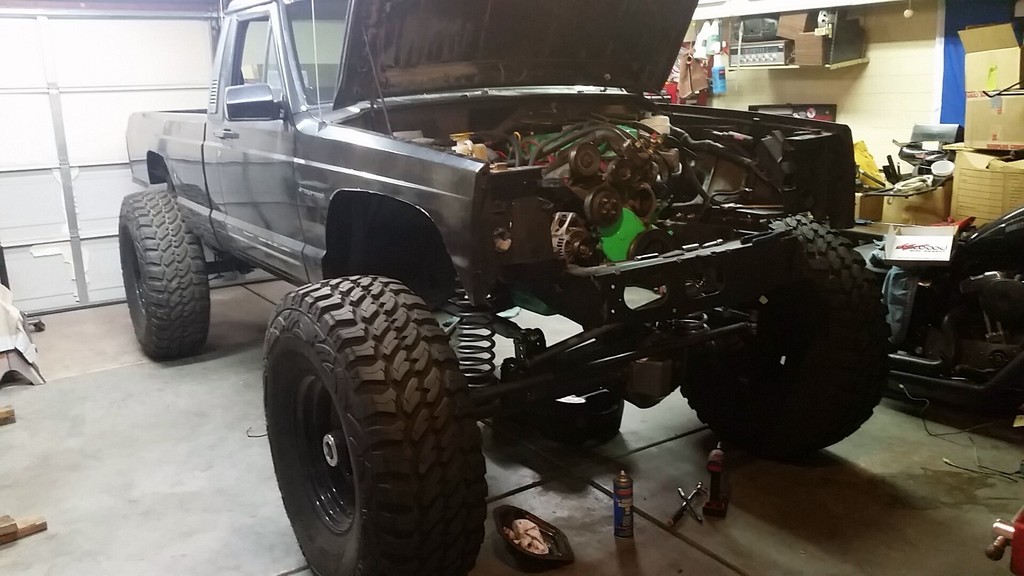
random pic at ride height. you can kinda see the ruffstuff cover. need to get better pics of it all painted
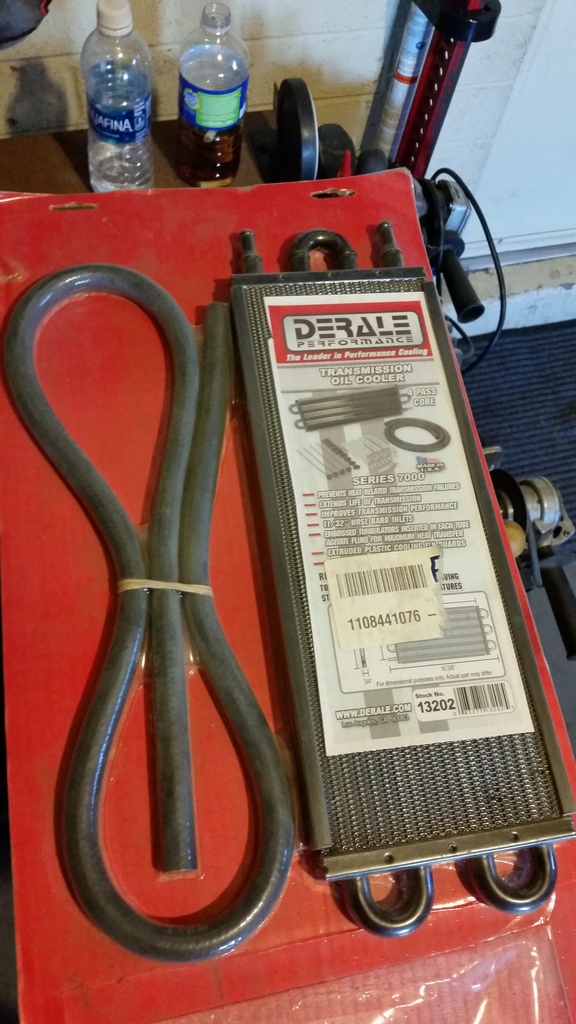
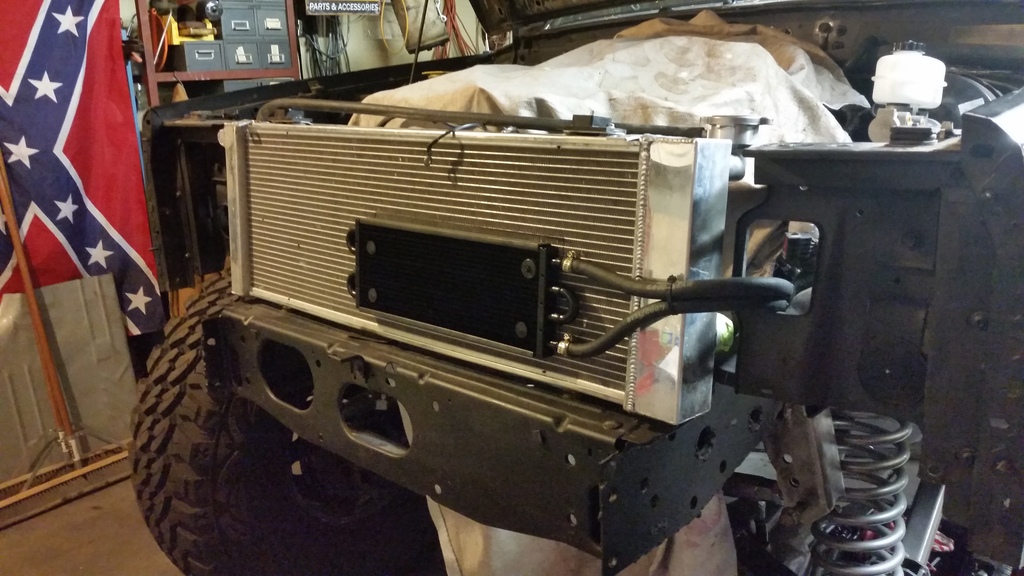
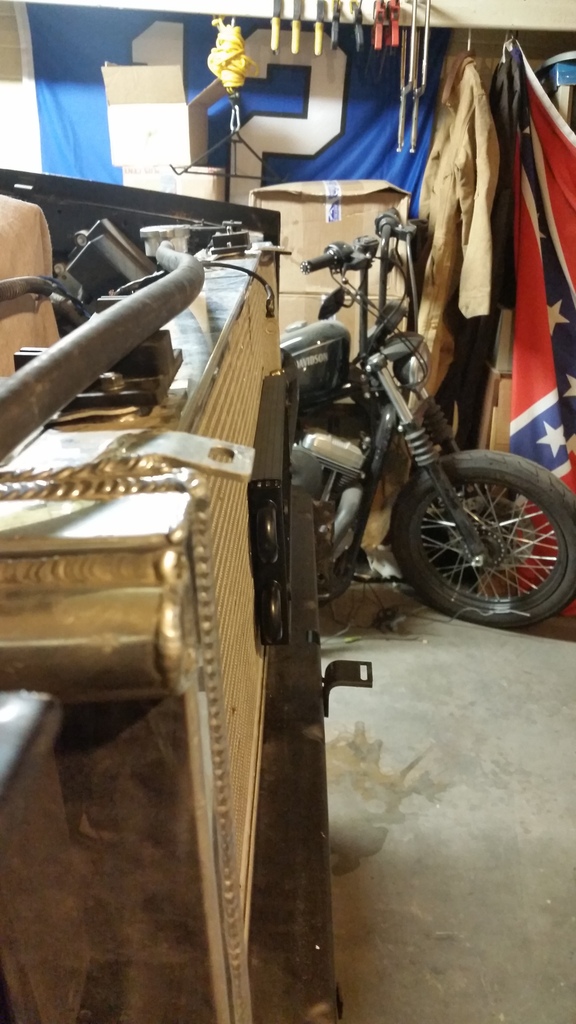
got a cooler for the PS fluid and mounted it to the radiator


springs painted with krylons finest lol


started on the floor pan. spot welded this piece over the "frame" channel. going to split the replacement pan length wise and weld in one side at a time. tcase shifter installed so i can build the tunnel around it all


new brake parts. wilwood prop valve, dodge 2500 MC, NiCop 3/16" line, and a new 02 sensor since i had to rob one for the xj


had to modify the mounting bracket for the prop valve to mount it on the pass side of the MC/booster


random pic at ride height. you can kinda see the ruffstuff cover. need to get better pics of it all painted

got a cooler for the PS fluid and mounted it to the radiator


Last edited by wheelsaz08; 12-12-2016 at 11:39 AM.
12-22-2016, 07:09 PM
#25
Member
Thread Starter
Join Date: Mar 2016
Location: Tempe, AZ
Posts: 113
Likes: 0
Received 0 Likes
on
0 Posts
Year: 1989
Model: Comanche
Engine: 4.7 stroker
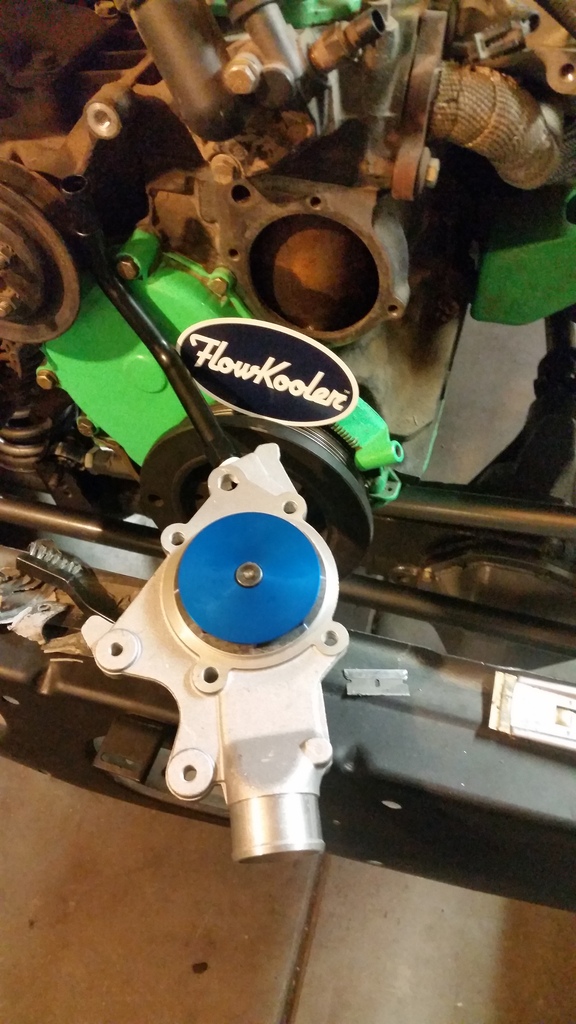
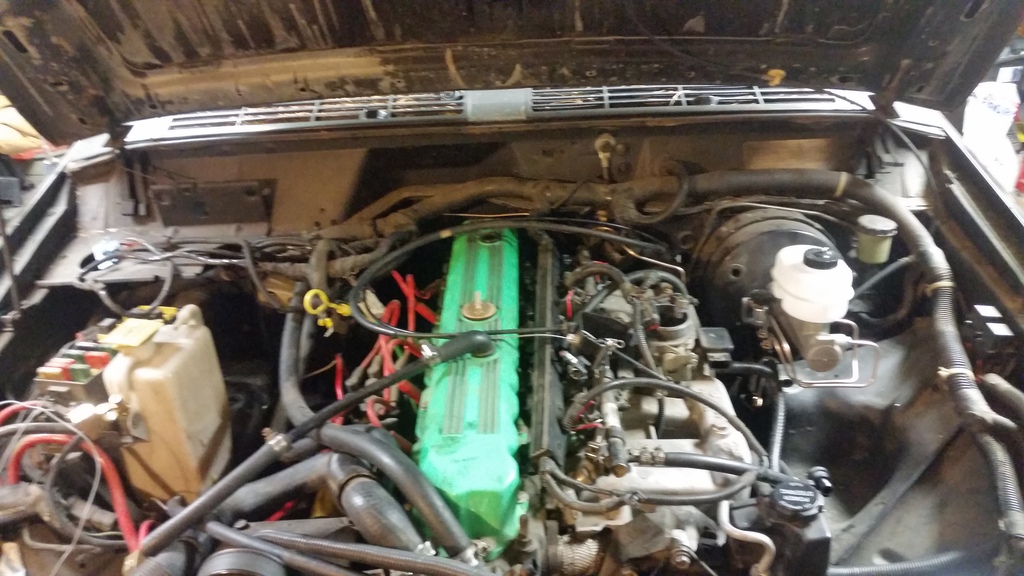
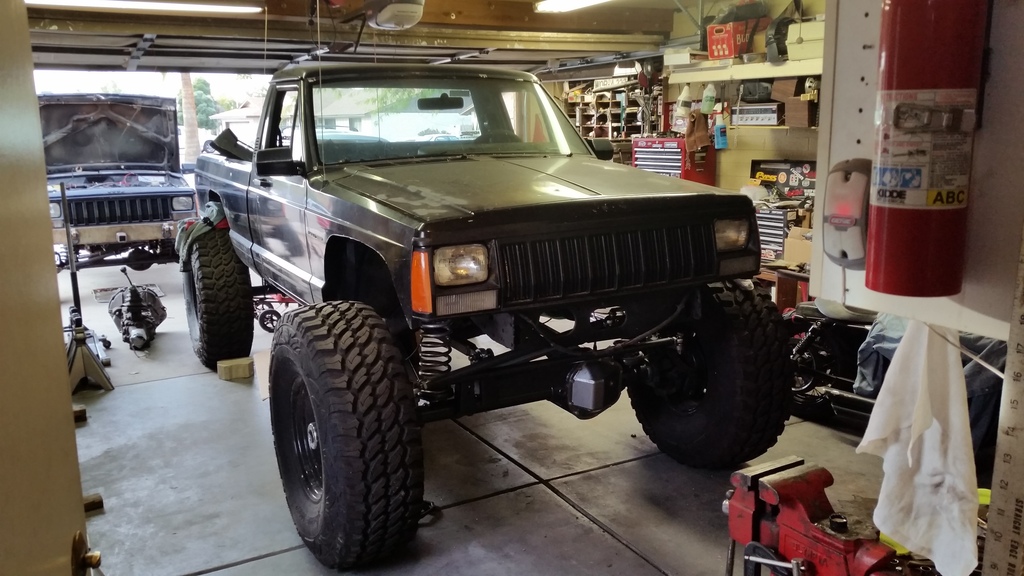
Did some more things. Got the steering brace welded in,cooler plumbed, brake lines made, picked up a flowkooler water pump since I had to borrow the one from the mj for my xj, put the grille/lights back on Oh and I got it started, sorry for the crapy vid quality


Still need to finish the floor pan, figure out seats, make rear brake lines, get a rear driveshaft made, and button up the little things like wiring and hopefully have it done by new years lol


Still need to finish the floor pan, figure out seats, make rear brake lines, get a rear driveshaft made, and button up the little things like wiring and hopefully have it done by new years lol
12-31-2016, 09:02 AM
#26
Member
Thread Starter
Join Date: Mar 2016
Location: Tempe, AZ
Posts: 113
Likes: 0
Received 0 Likes
on
0 Posts
Year: 1989
Model: Comanche
Engine: 4.7 stroker
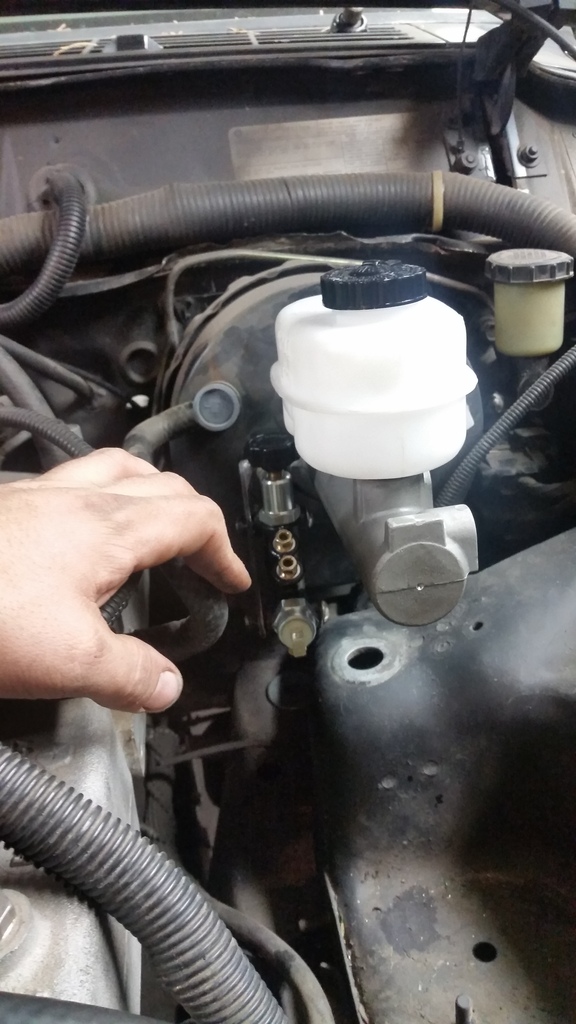
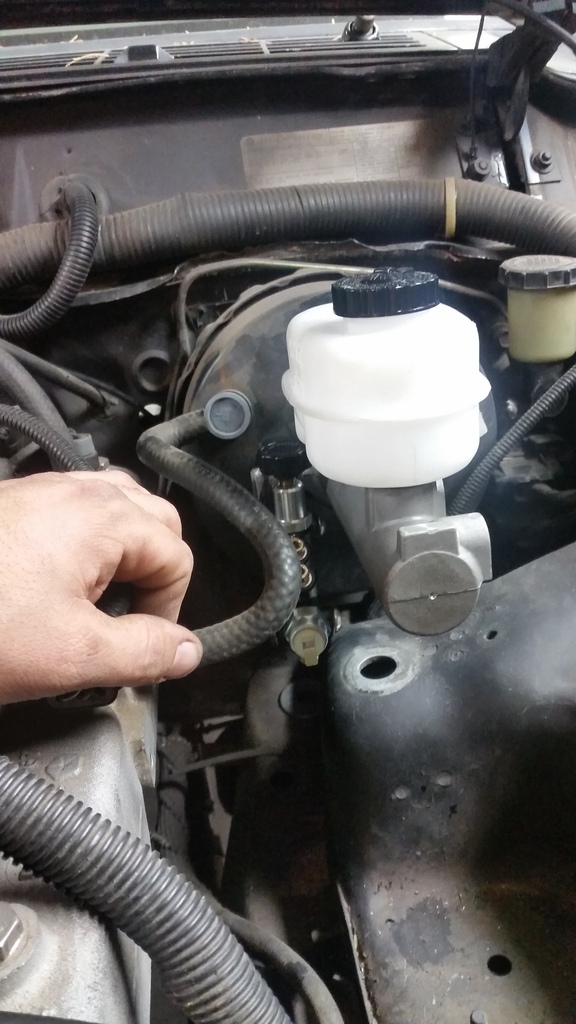
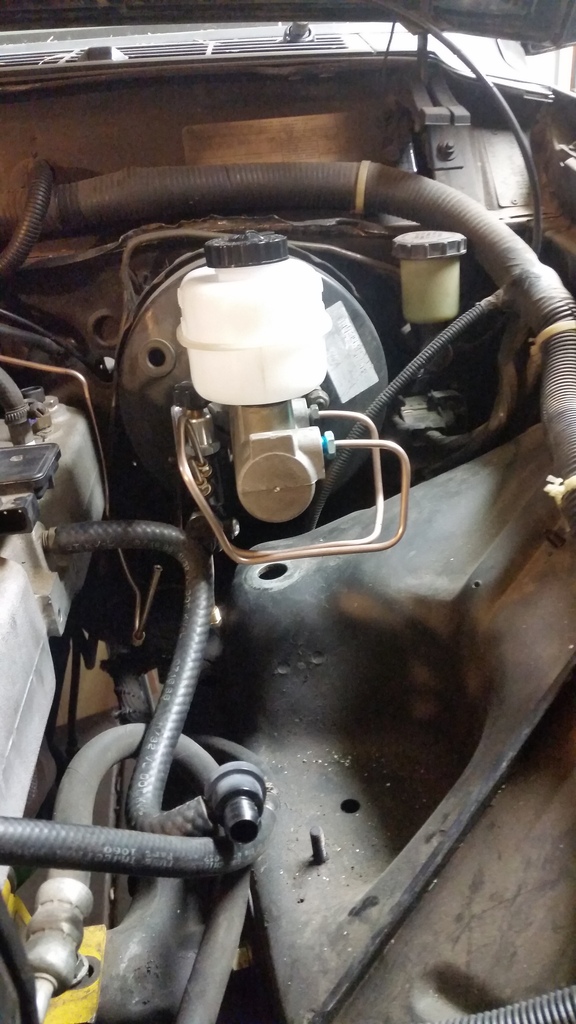
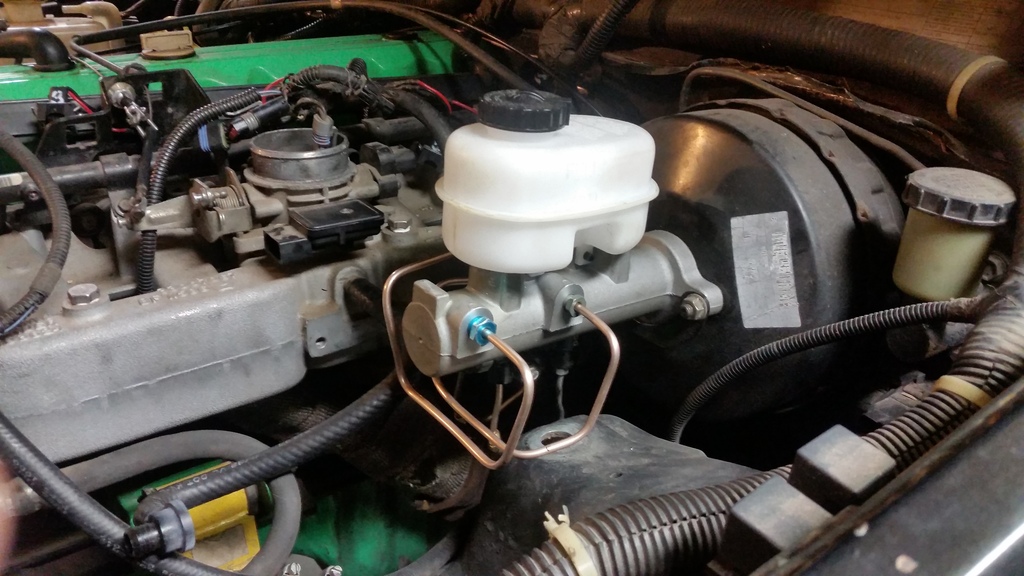
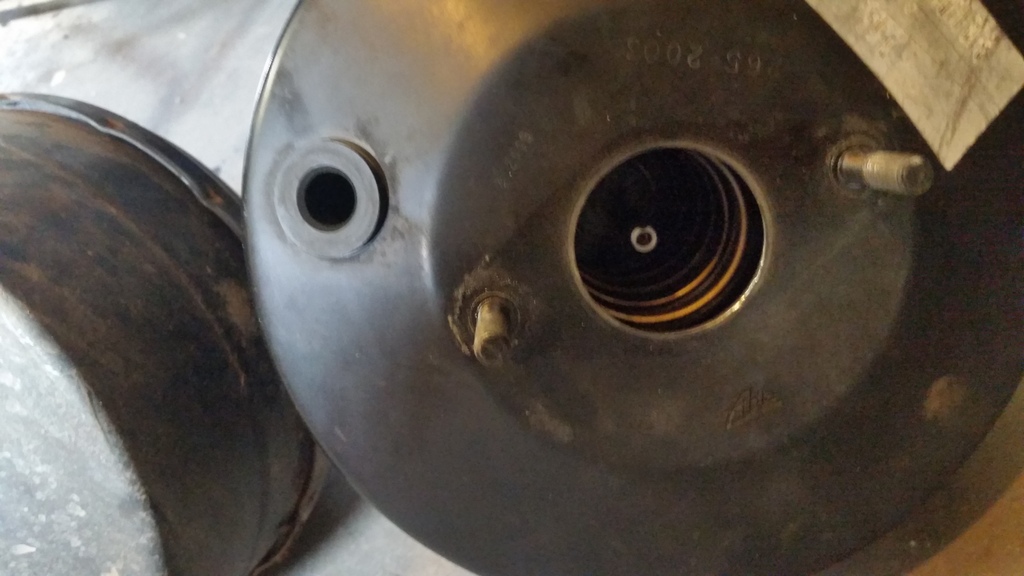
turns out the zj booster wasnt going to work. the end of the rod isnt adjustable like the xj one, so since my xj has a leaking headgasket, I'm swapping boosters.
couple of comparison shots
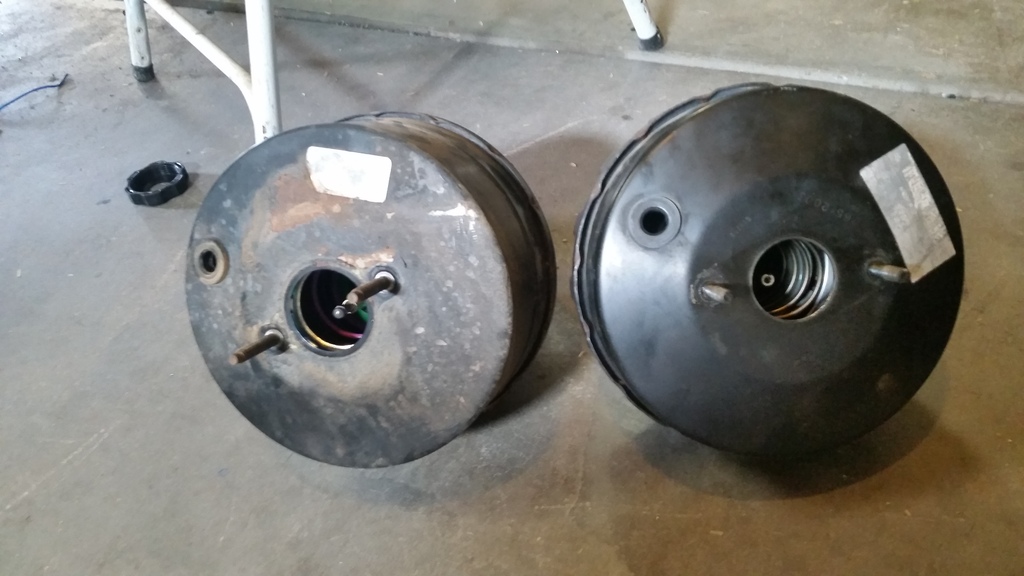
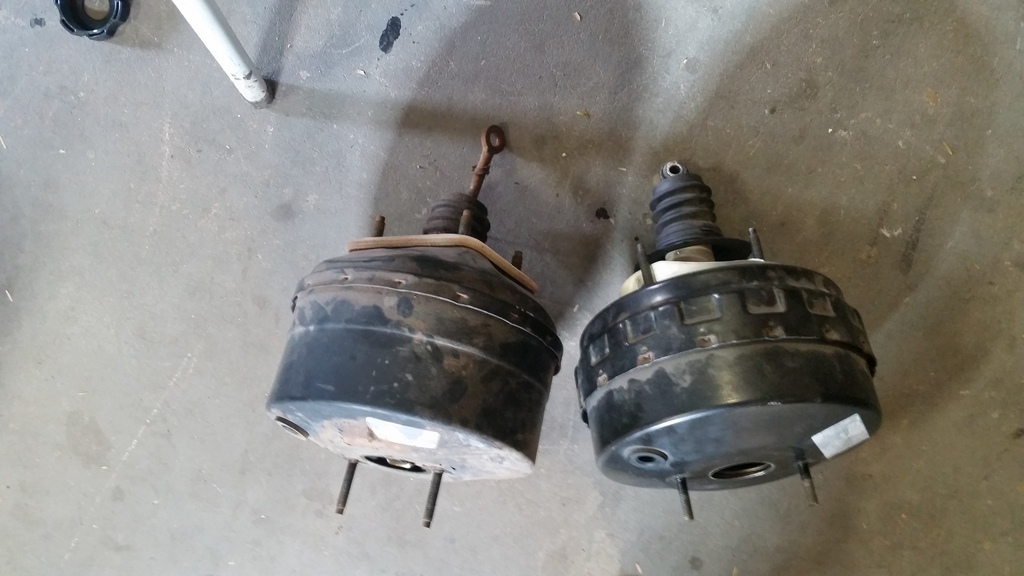
non adjustable zj booster rod
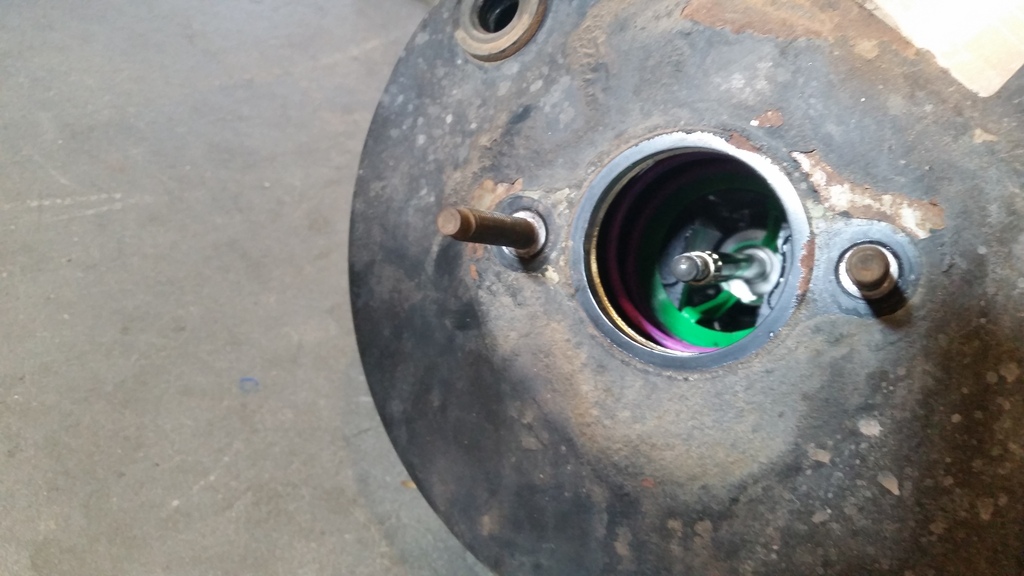
stock xj adjuster
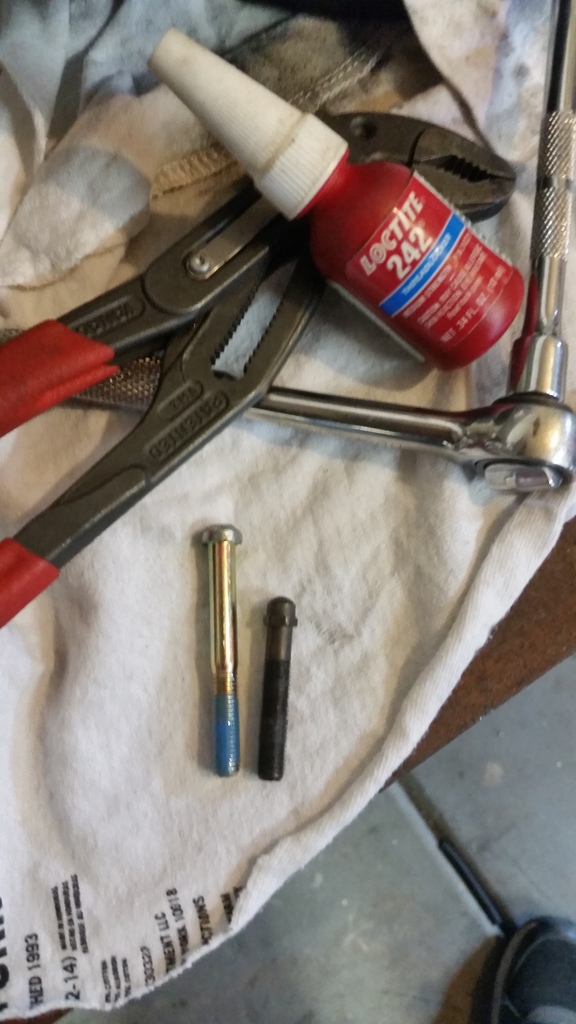
new adjuster, 1/4-28 bolt with the head ground down
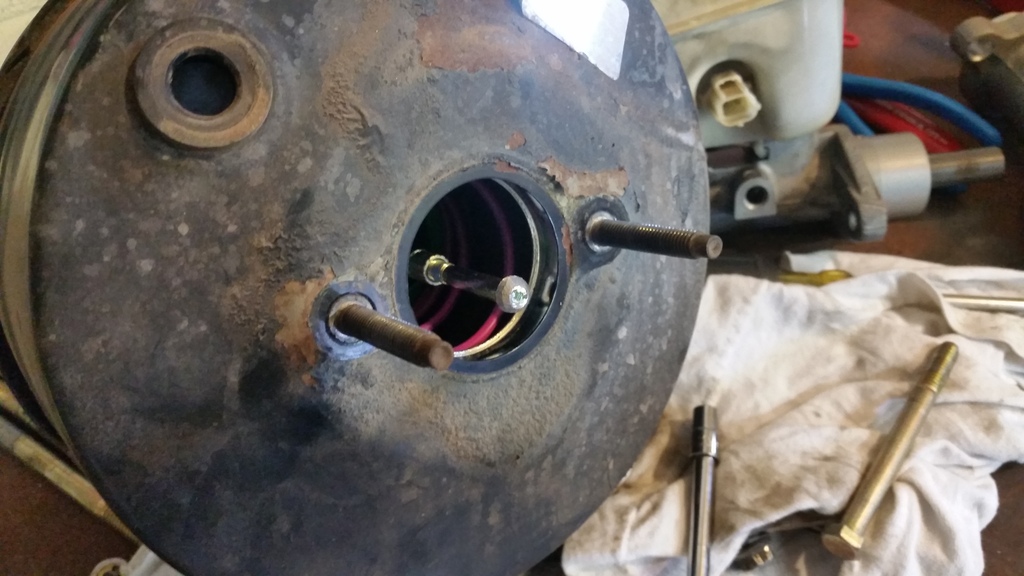
the xj booster is slightly longer so i need to make as new drivers front brake line but the others were able to be stretched and fit.
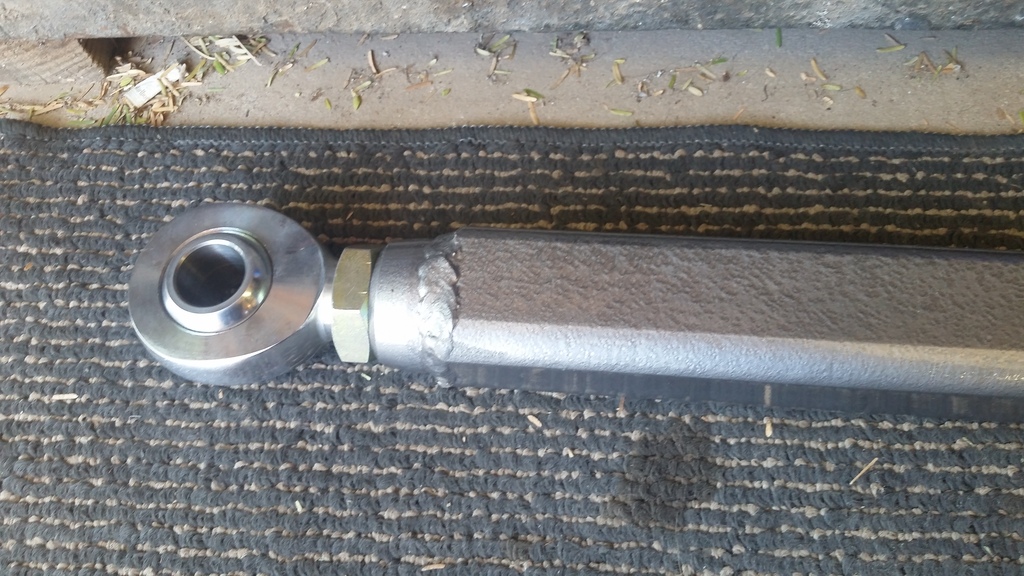
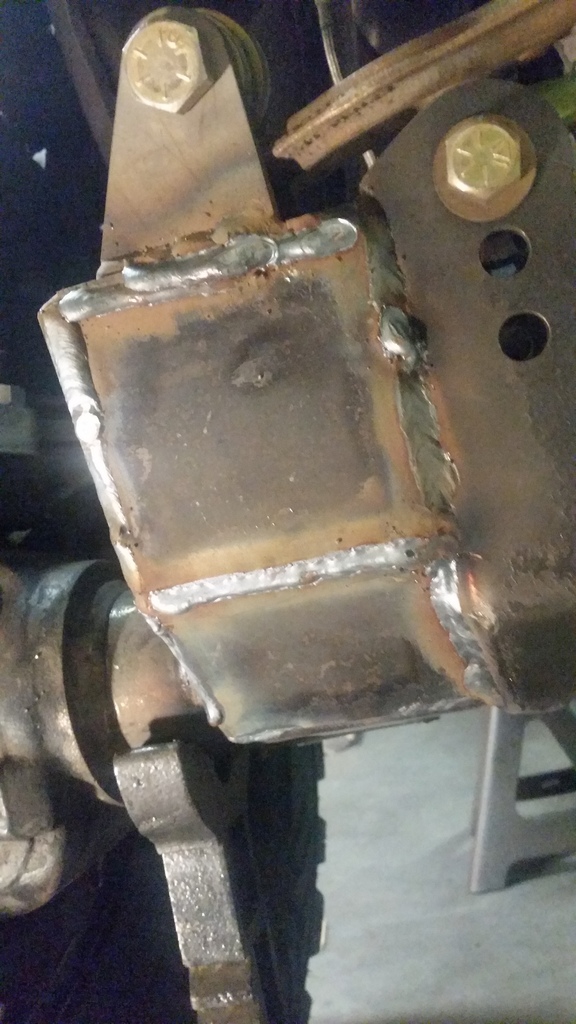
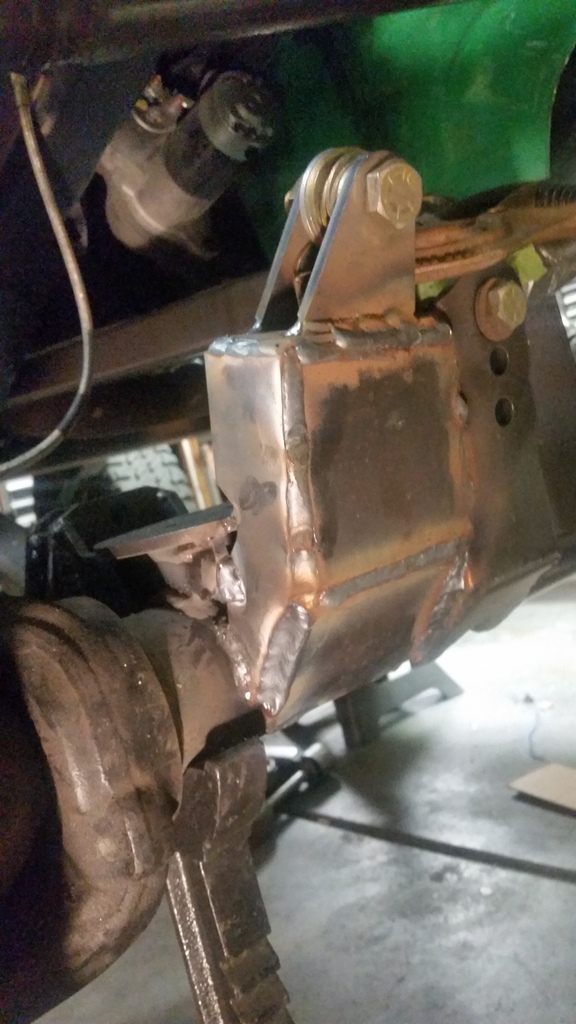
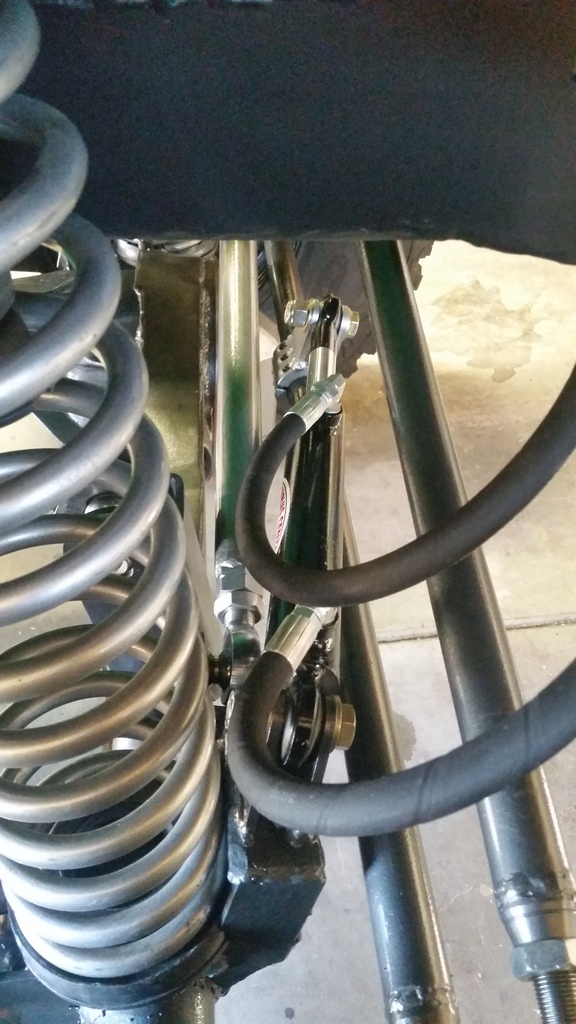
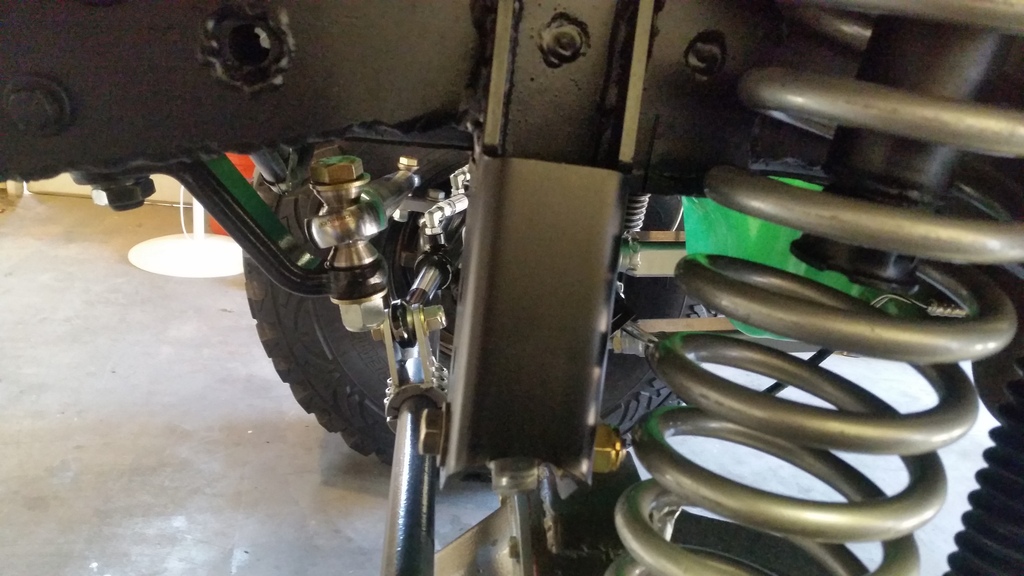
also got my hydro assist finished up. its ugly, but stout. all .25" plate and tabs, chassis unlimited .5" tube clamp. clears everything, but not by much
final test fit
bushings for the ram ends .75" od .625" id. tabs boogered onto the tube clamp, then i had to machine some of the weld away to allow the bolts to fit
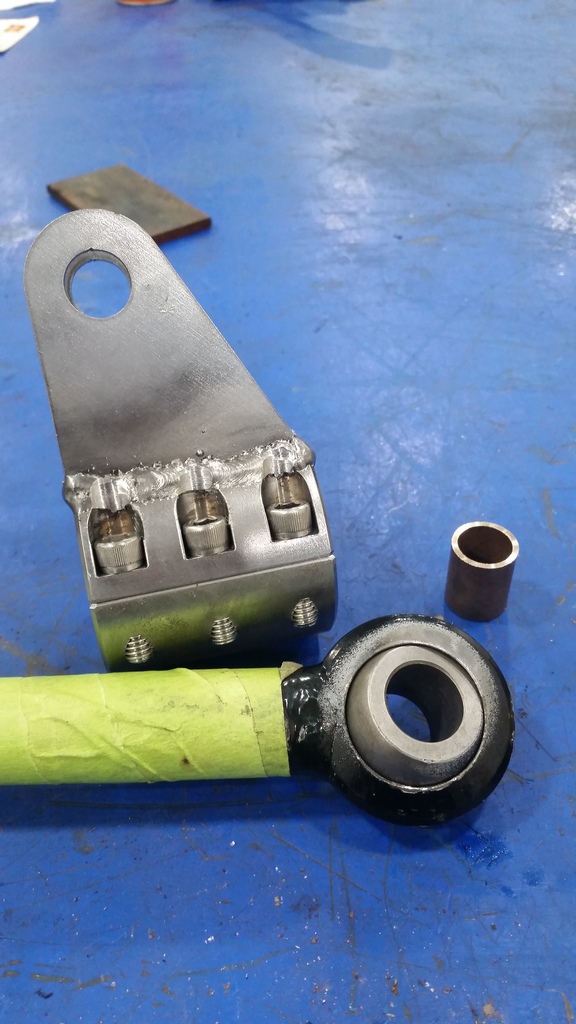
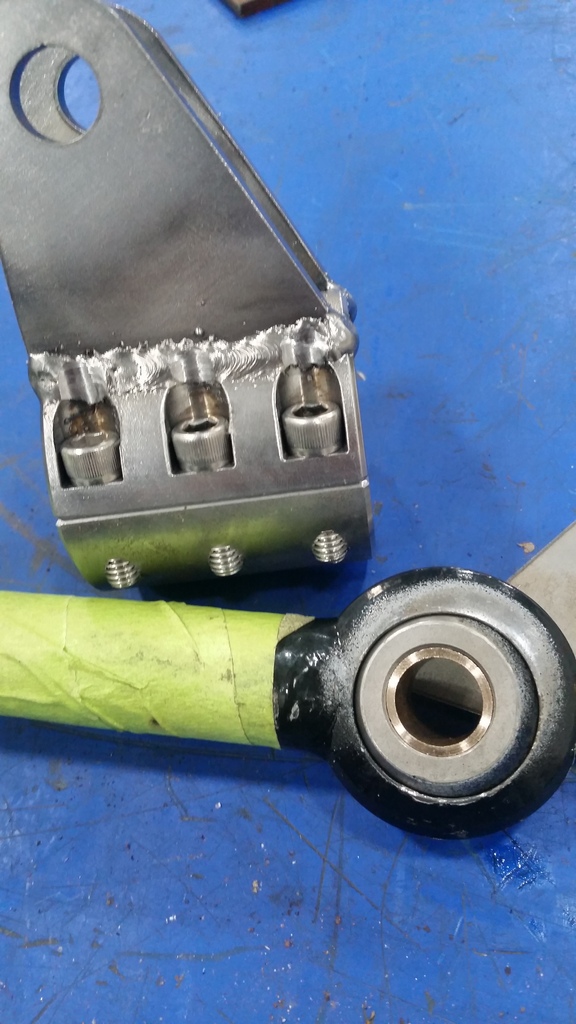
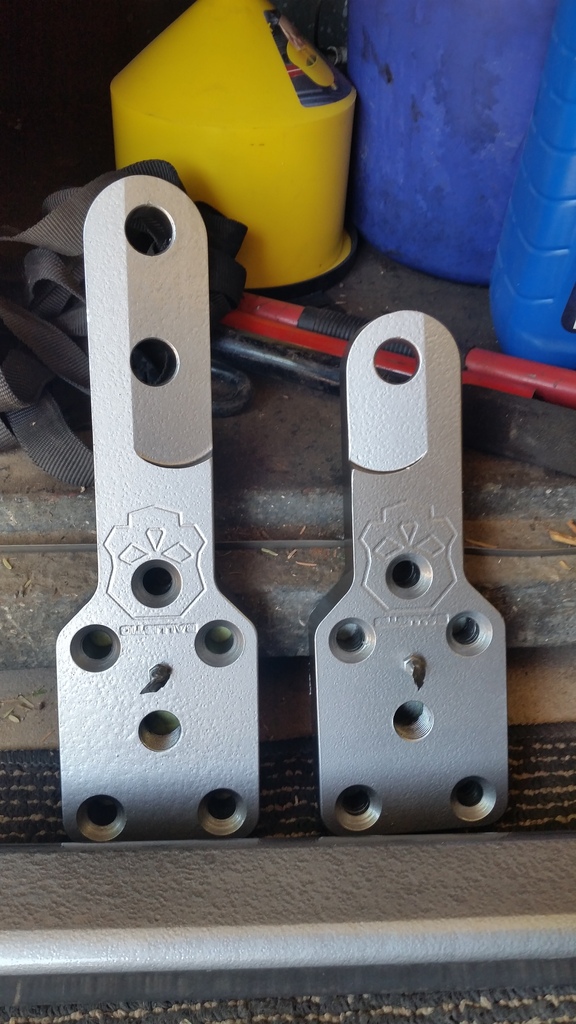
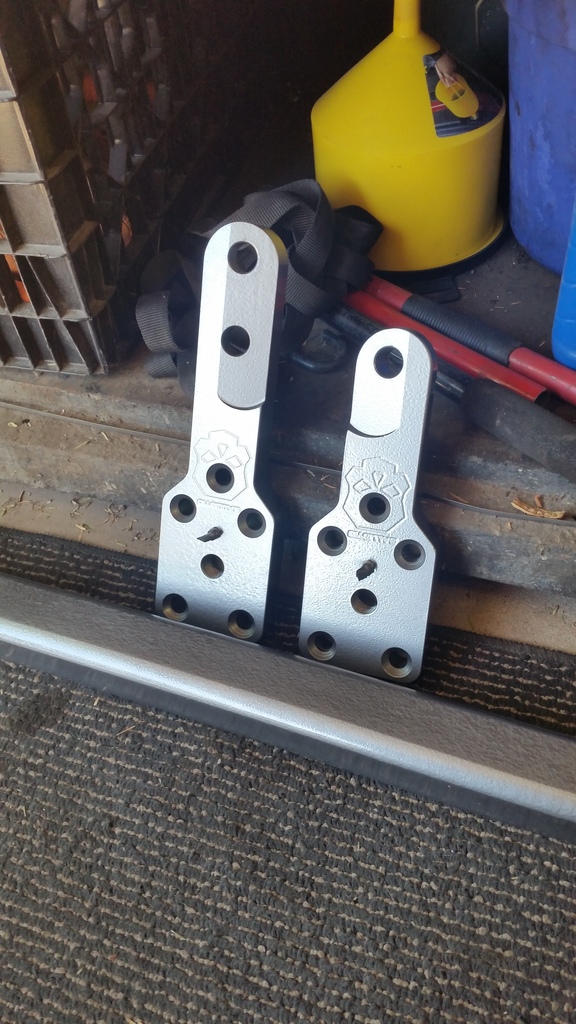
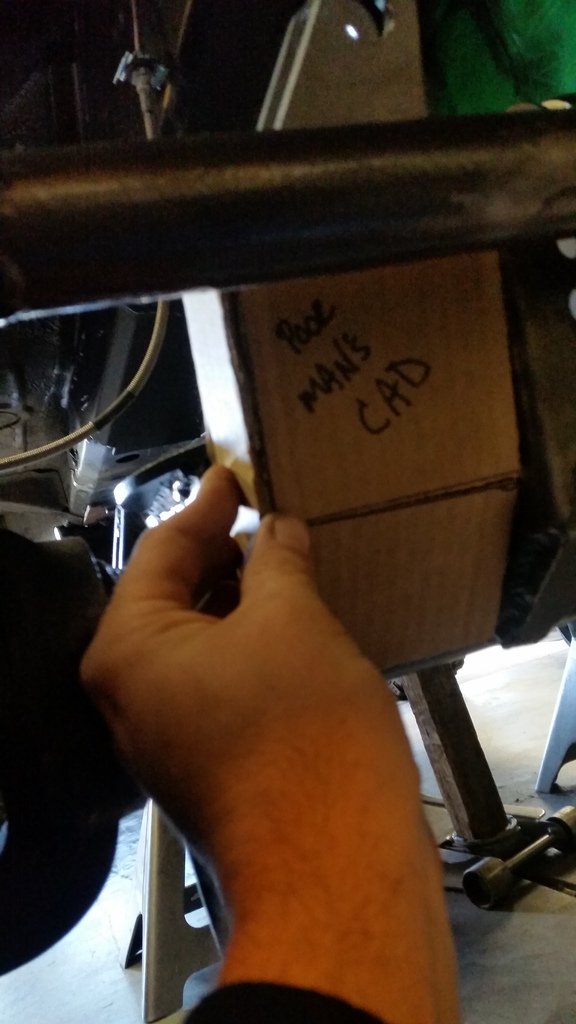
poor mans cad design
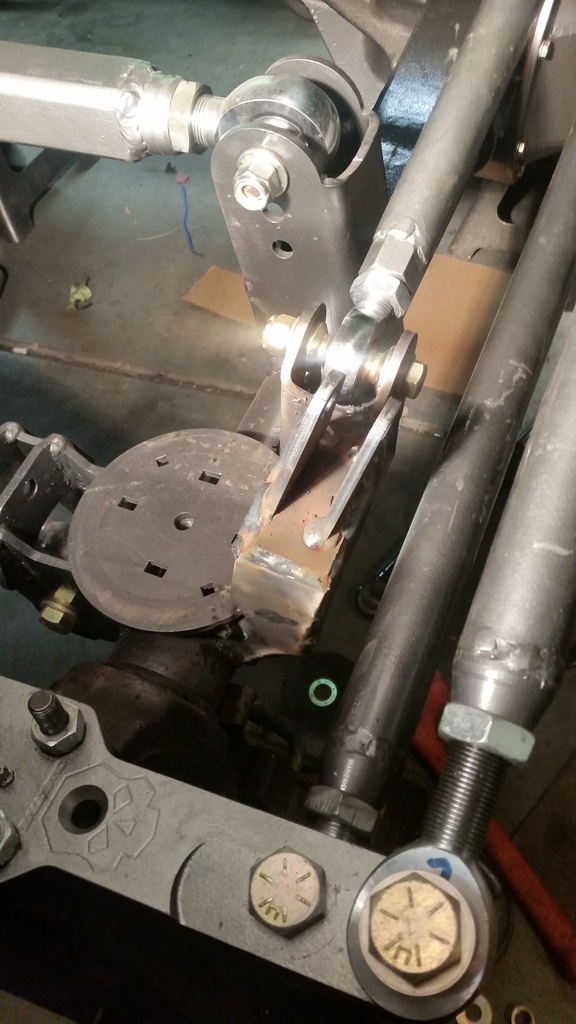

finished. this isnt the final hose routing though, may need shorter ones
couple of comparison shots


non adjustable zj booster rod

stock xj adjuster

new adjuster, 1/4-28 bolt with the head ground down


the xj booster is slightly longer so i need to make as new drivers front brake line but the others were able to be stretched and fit.
also got my hydro assist finished up. its ugly, but stout. all .25" plate and tabs, chassis unlimited .5" tube clamp. clears everything, but not by much
final test fit

bushings for the ram ends .75" od .625" id. tabs boogered onto the tube clamp, then i had to machine some of the weld away to allow the bolts to fit


poor mans cad design


finished. this isnt the final hose routing though, may need shorter ones

 01-05-2017, 07:05 PM
#27
Member
Thread Starter
Join Date: Mar 2016
Location: Tempe, AZ
Posts: 113
Likes: 0
Received 0 Likes
on
0 Posts
Year: 1989
Model: Comanche
Engine: 4.7 stroker
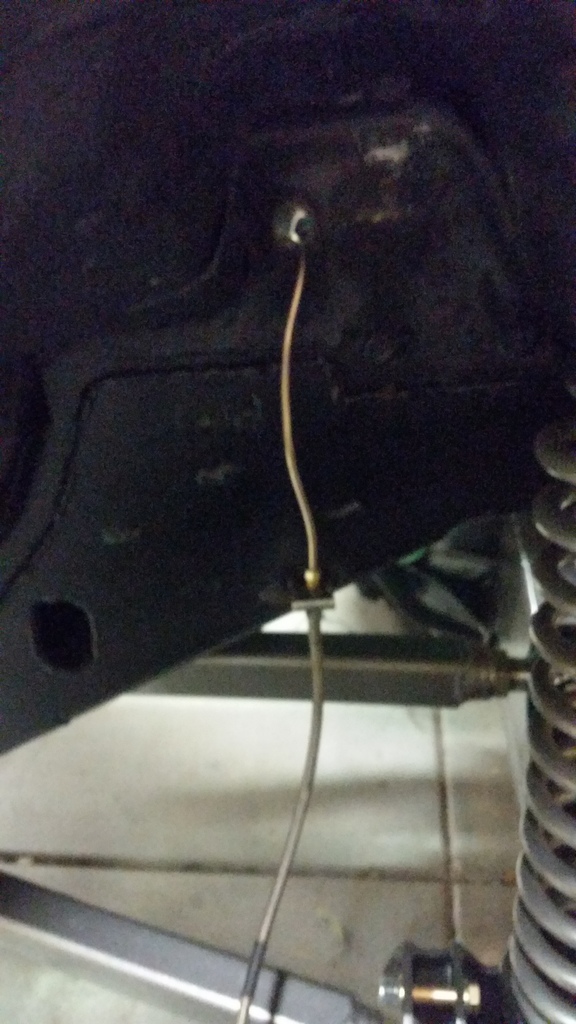
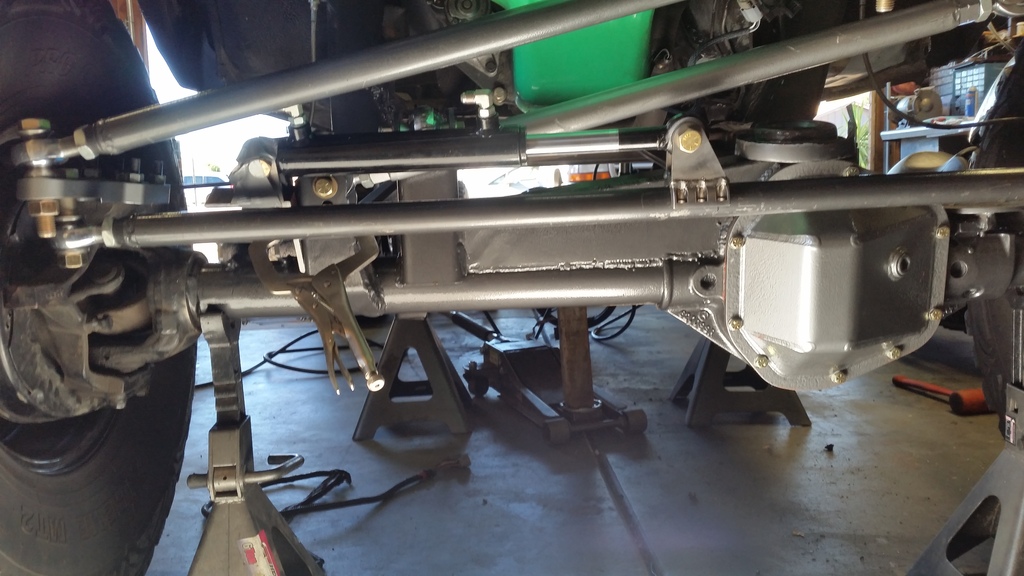
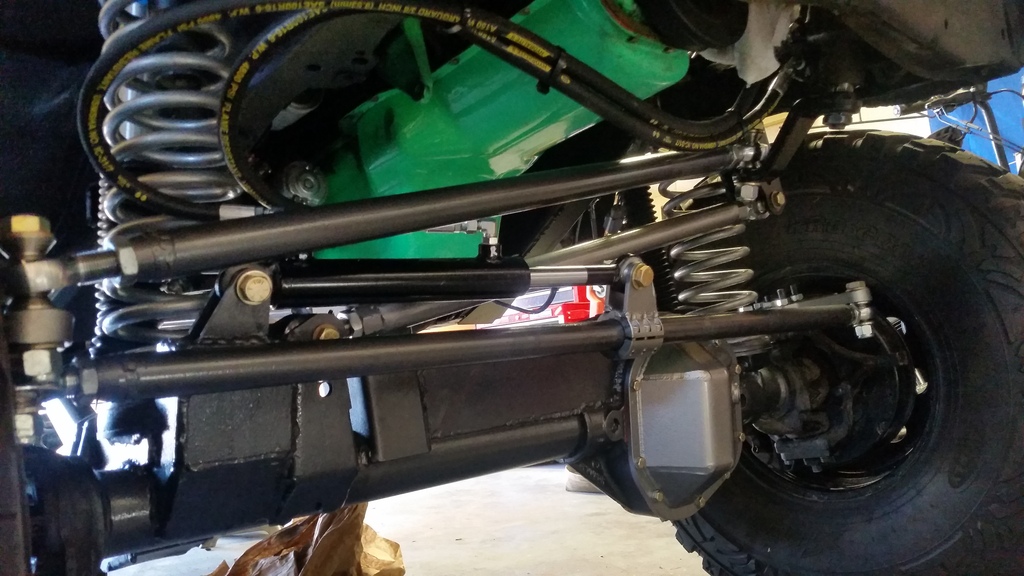
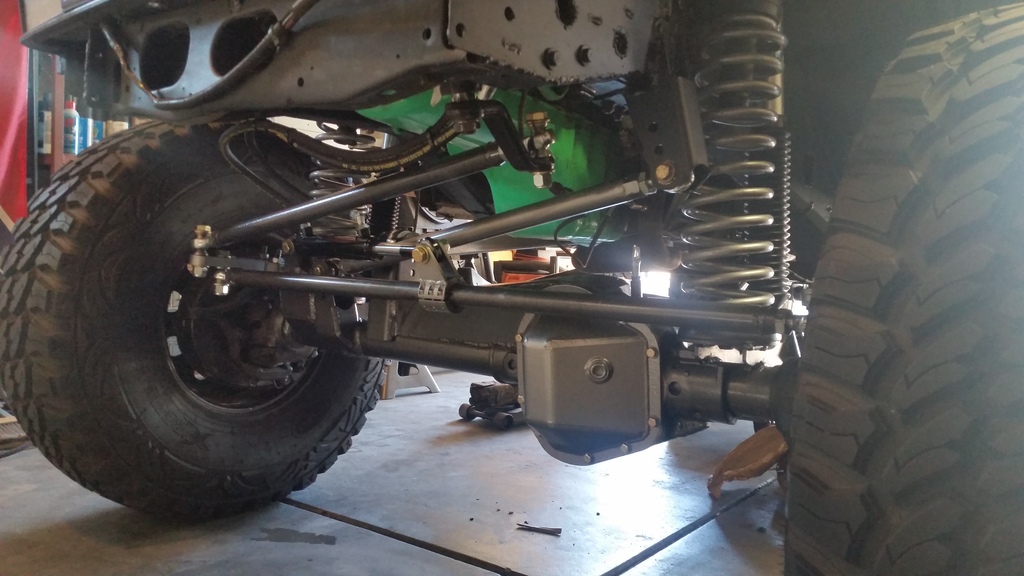
steering, suspension, and brakes are now complete. I'm going to keep the long hoses for now, maybe ill get shorter ones if these become a problem. i will get a solid mounting bracket for them at the frame end vs the temporary zip ties. xj brake booster installed, MC bled, rear brake lines made (pass side is ugly cause i literally had JUST enough tubing to make it) need to finish bleeding the rest of the brakes. i got new fine thread bolts for everything suspension/steering related, just need to finish swapping them out with the mock up hardware. i made the drag link a tad short and don't like how much of the rod end shafts are exposed so i got new inserts and a piece of 1.5x.25 dom to make a new one
other than that all i have left to do is the floor pan(s), seats, and rear driveshaft. pretty bummed i didnt get this done before new years, but ive been busy. new "deadline" is the 21st of this month. we are going camping in the desert for my girlsfriends bday and it would make for a great shakedown
here's some random pics


Last edited by wheelsaz08; 01-05-2017 at 07:20 PM.
01-09-2017, 09:26 AM
#29
Member
Thread Starter
Join Date: Mar 2016
Location: Tempe, AZ
Posts: 113
Likes: 0
Received 0 Likes
on
0 Posts
Year: 1989
Model: Comanche
Engine: 4.7 stroker
got a little bit more done. picked up a set of mj buckets with brackets for $75! they are dirty but the brackets are rust free minus some surface rust. also got the main section of the floor pan welded in. hopefully get the rest of the floor/tunnel done after work this week


 Holy cow! This is awesome! Can you come work on my XJ when your done? Hahaha