When you click on links to various merchants on this site and make a purchase, this can result in this site earning a commission. Affiliate programs and affiliations include, but are not limited to, the eBay Partner Network.
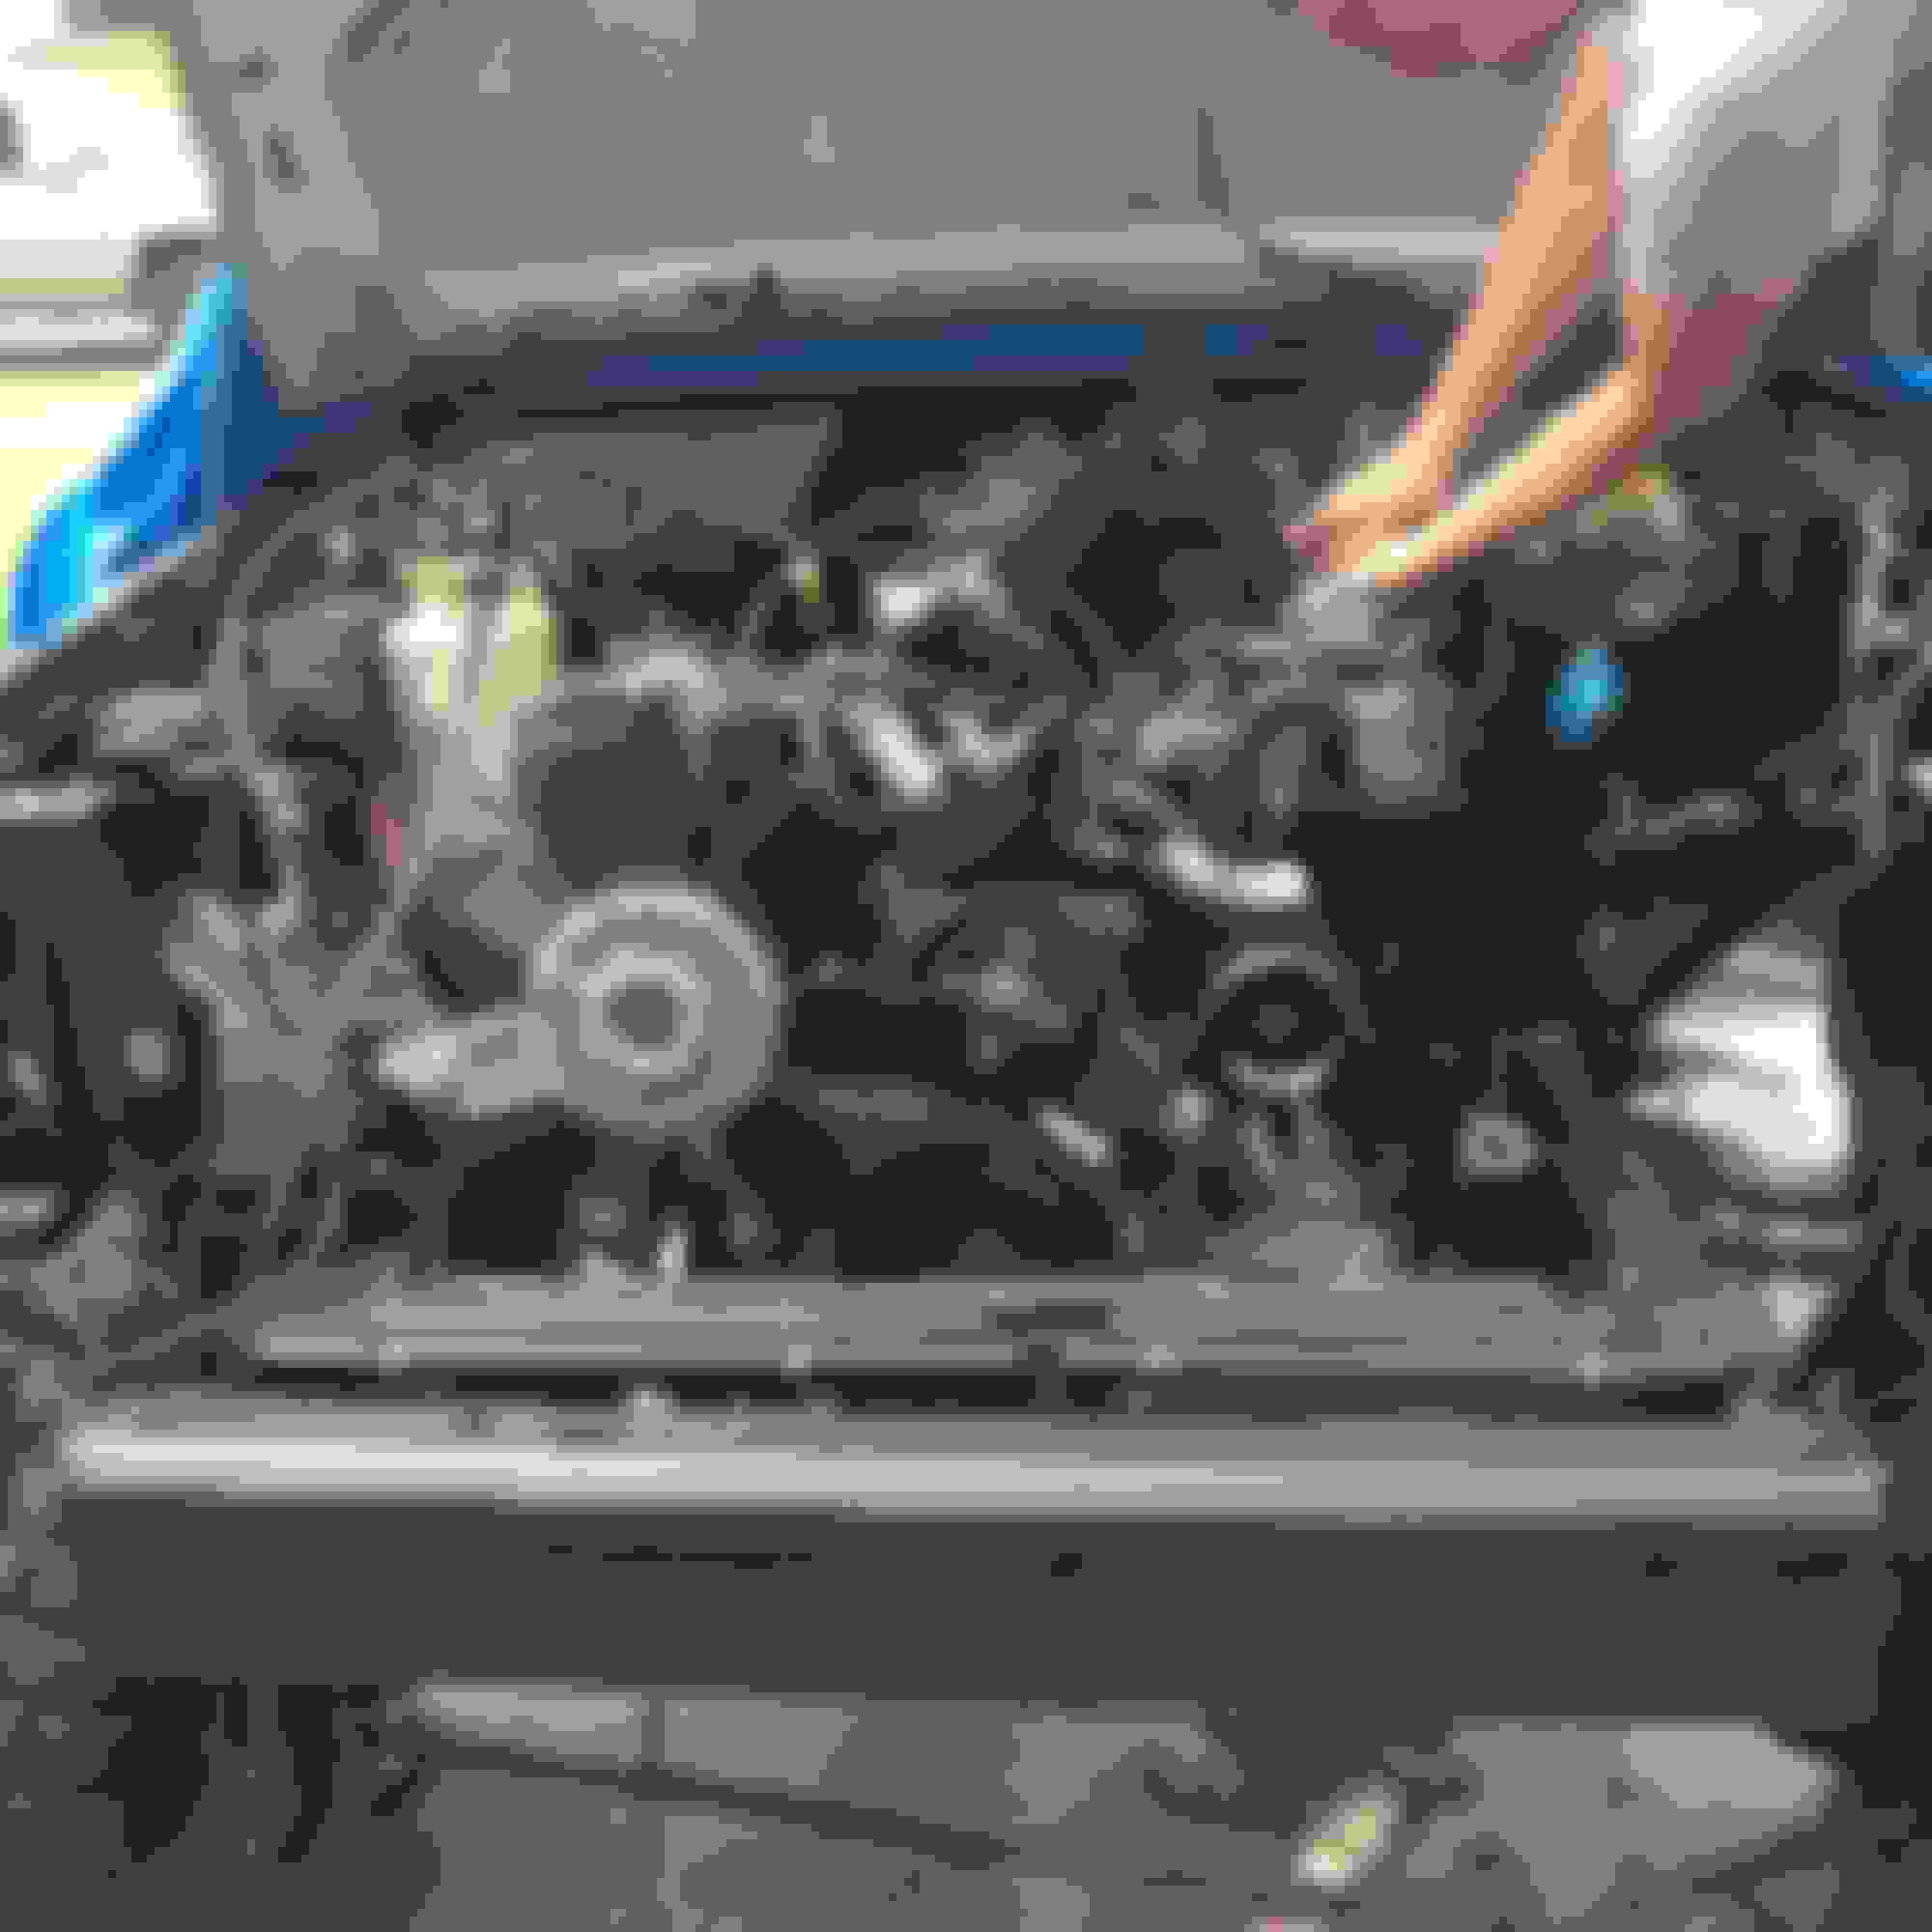
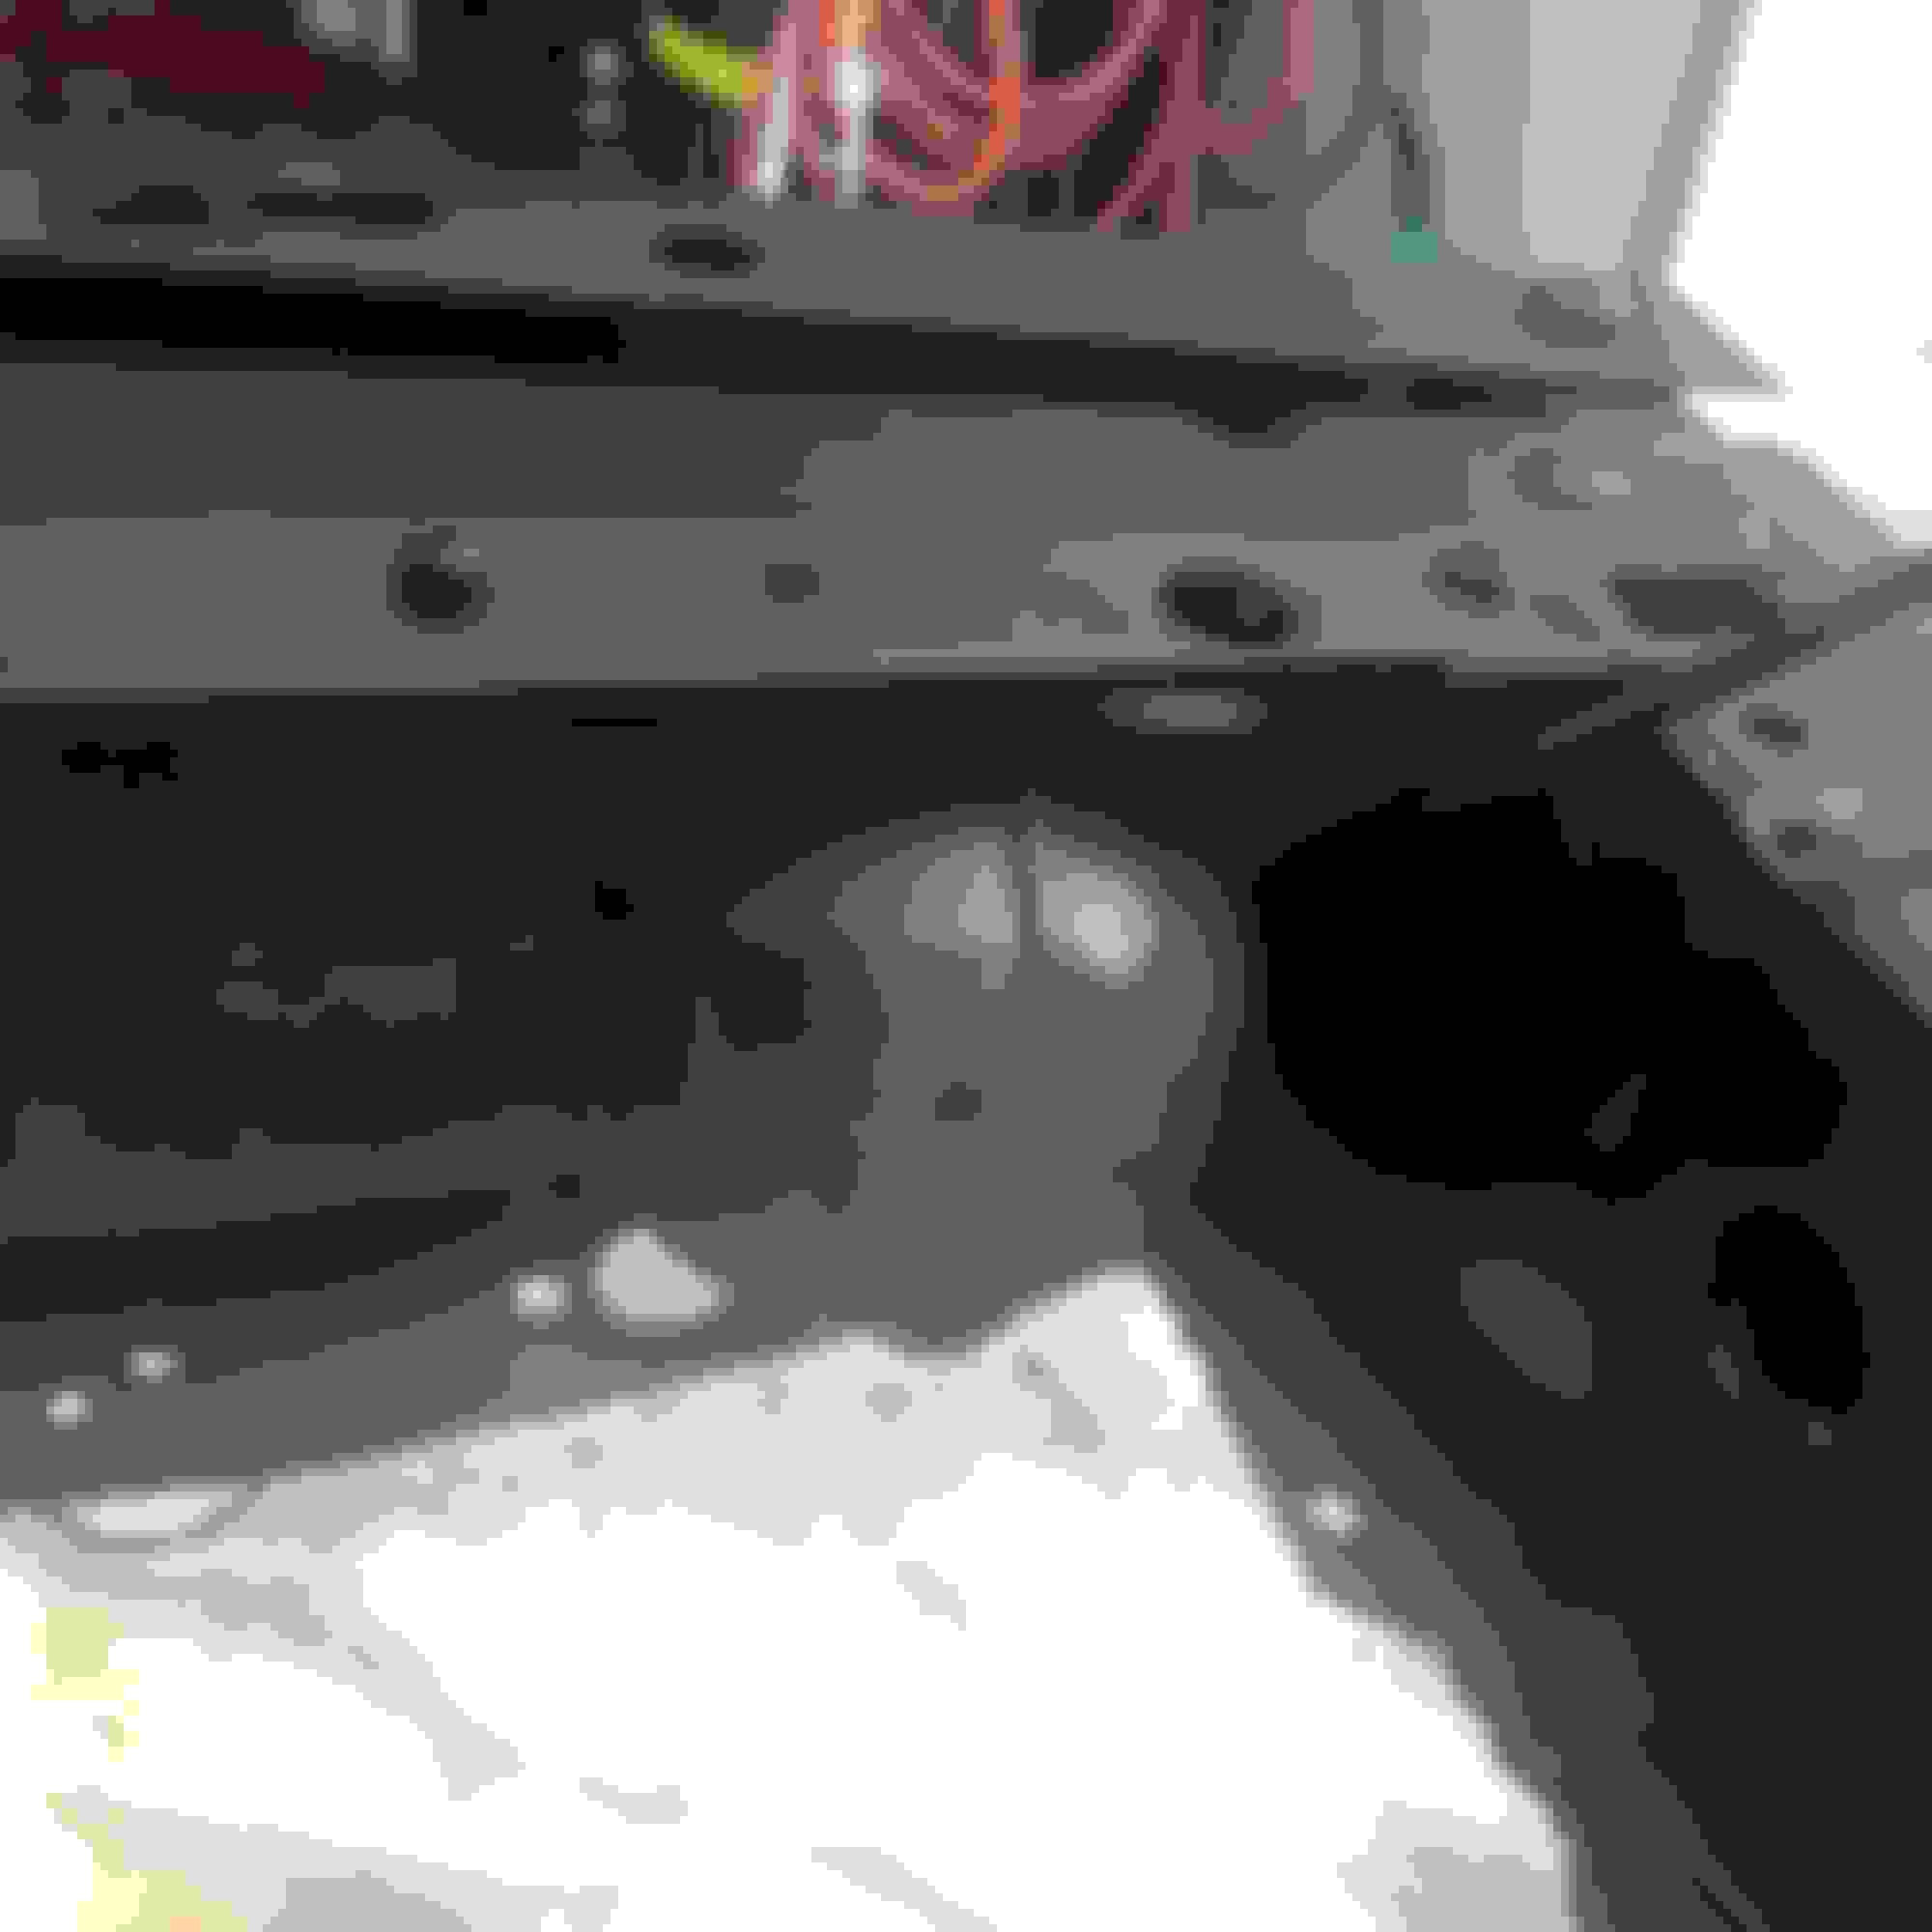
Got my tranny and motor pulled today. Pulled it all by myself with my cherry picker wanting to roll down my driveway. I need friends...haha. Any ways, i pulled my center console to remove the stick which was a win win cus my center console was loose and i need to put my t case shifter in. With all this being said the next time my cherokee starts itll be officially 4x4!! Then i can start saving for my long arm and 1ton steering. While i have the motor pulled im gonna throw in some 2.4 ltr injectors with the 4 hole spray pattern. Im also gonna put a durango steering gear in it and remove that useless ABS once and for all
Does anyone know if i have to take my clutch off to put it on my engine stand? Never had a clutch on my other cherokees. Also should i replace my clutch while im at it? Im for sure replacing my throw out bearing. My clutch has never given me any issues but then again i dont wanna have to pull it again 2k down the road. Anyways been scrubbing down the block. It feels like jeep forgot the gaskets in this one with as much sludge on this bad boy. Made a little progress need to get more wire brushes
This is a little different than the normal posts but im just trying to share and hopefully expand my network. Basically the gist is i started a blog. I dont have the funds to throw money at my xj like i would like to let alone the time to devote to it daily, i have as many of you do a wife and a home to also care for as well so i started a blog in which i will be slowly building my jeep, my blog is cheepjeepin.blogspot.com and i also have an instagram that you can follow me at cheep_jeepin. The purpose of the two of these is to help guys/gals who want to learn how to do mods and repair there own rigs that might not have someone to help them at home. Jeeps are my passion and i wish i had the shop, tools, and time to bring everyone that wanted to learn in and teach them and also learn from them because trust me im no professional. The blog will have lots of how toos with pictures and directions(once i start rolling on my build again) it has links to tons of part vendors and other resources(if your a vendor and i missed you please email or pm me ill add you as soon as i get a chance) the main thing i want to hit on is how too build a jeep you can be proud of. So if you would give me your comments once it starts moving along if you have some helpful hints feel free to post them or if i miss a step along the way. Also i want my instagram to show build progression of other peoples builds so if you want to be featured please follow me and direct message me or email me at cheep.jeepin@gmail.com comment them on my blog or pm me on here as well Thanks for any future support and dont forget to wave Cheepjeepin.blogspot.com
Cheep_jeepin instagram Cheep.jeepin@gmail.com
Last edited by lil01cherokee; 03-27-2015 at 06:40 PM.
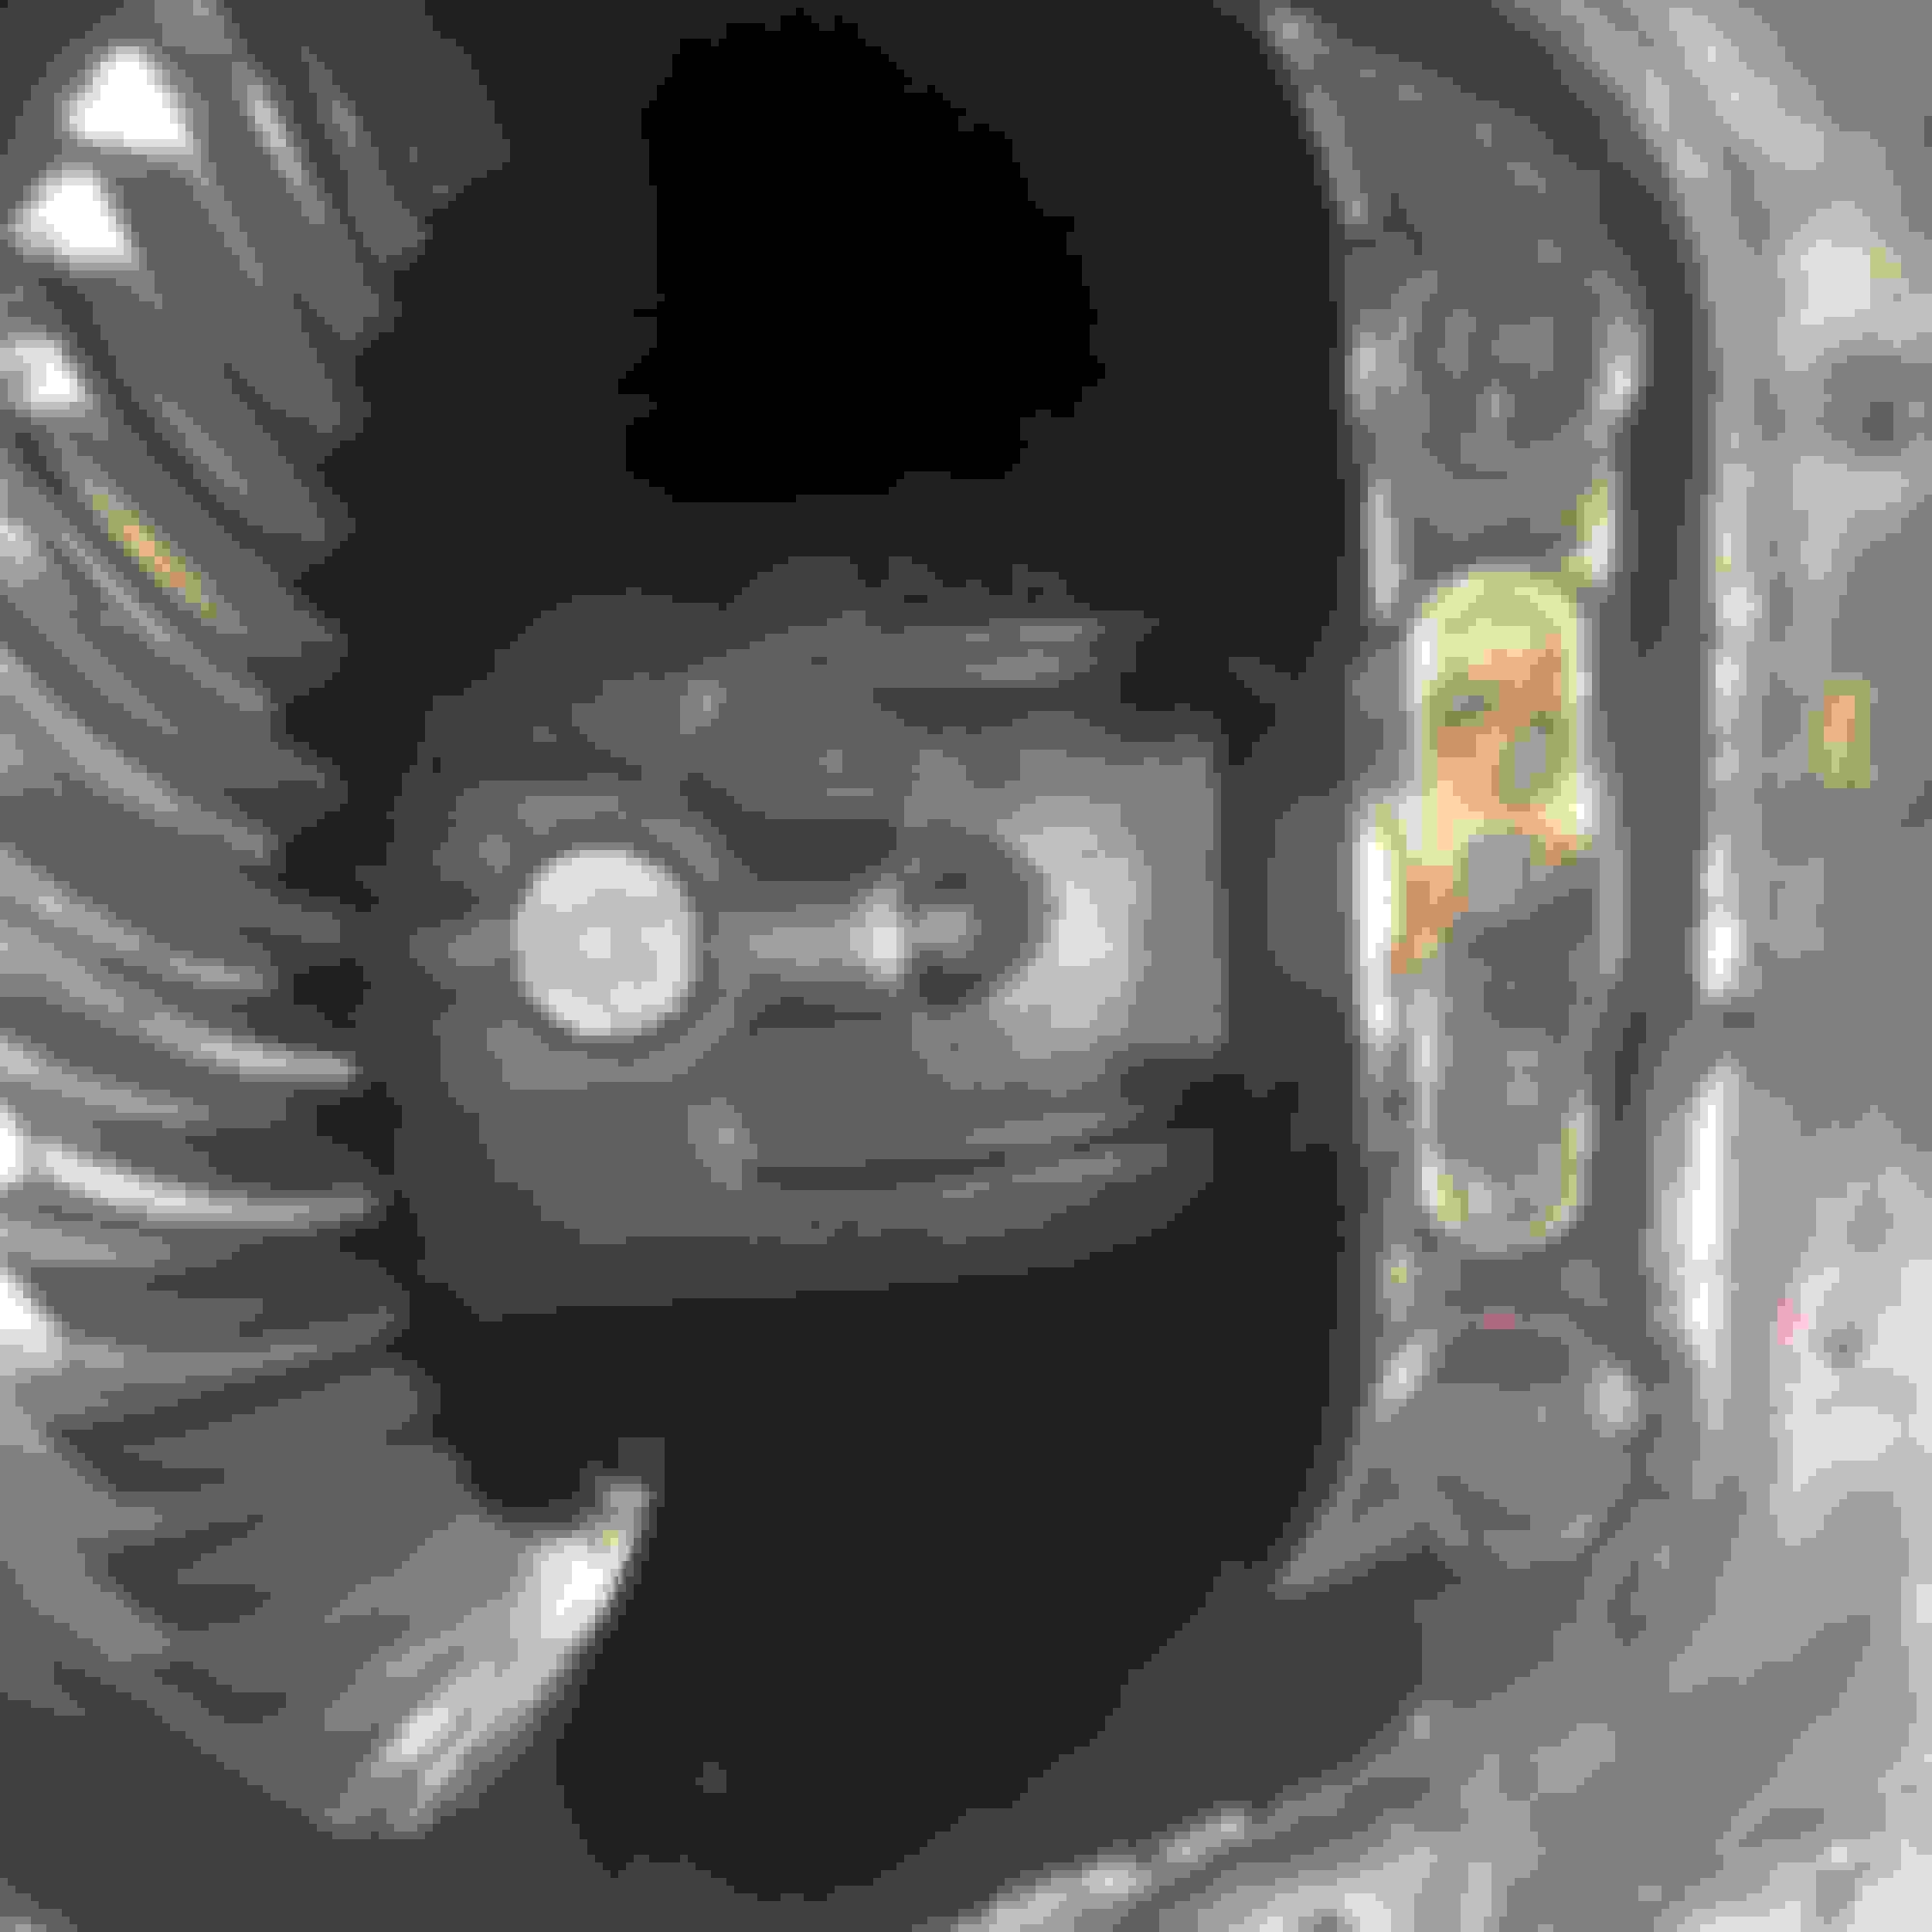
Well Finally got my motor tranny and tcase all finished up and thrown in
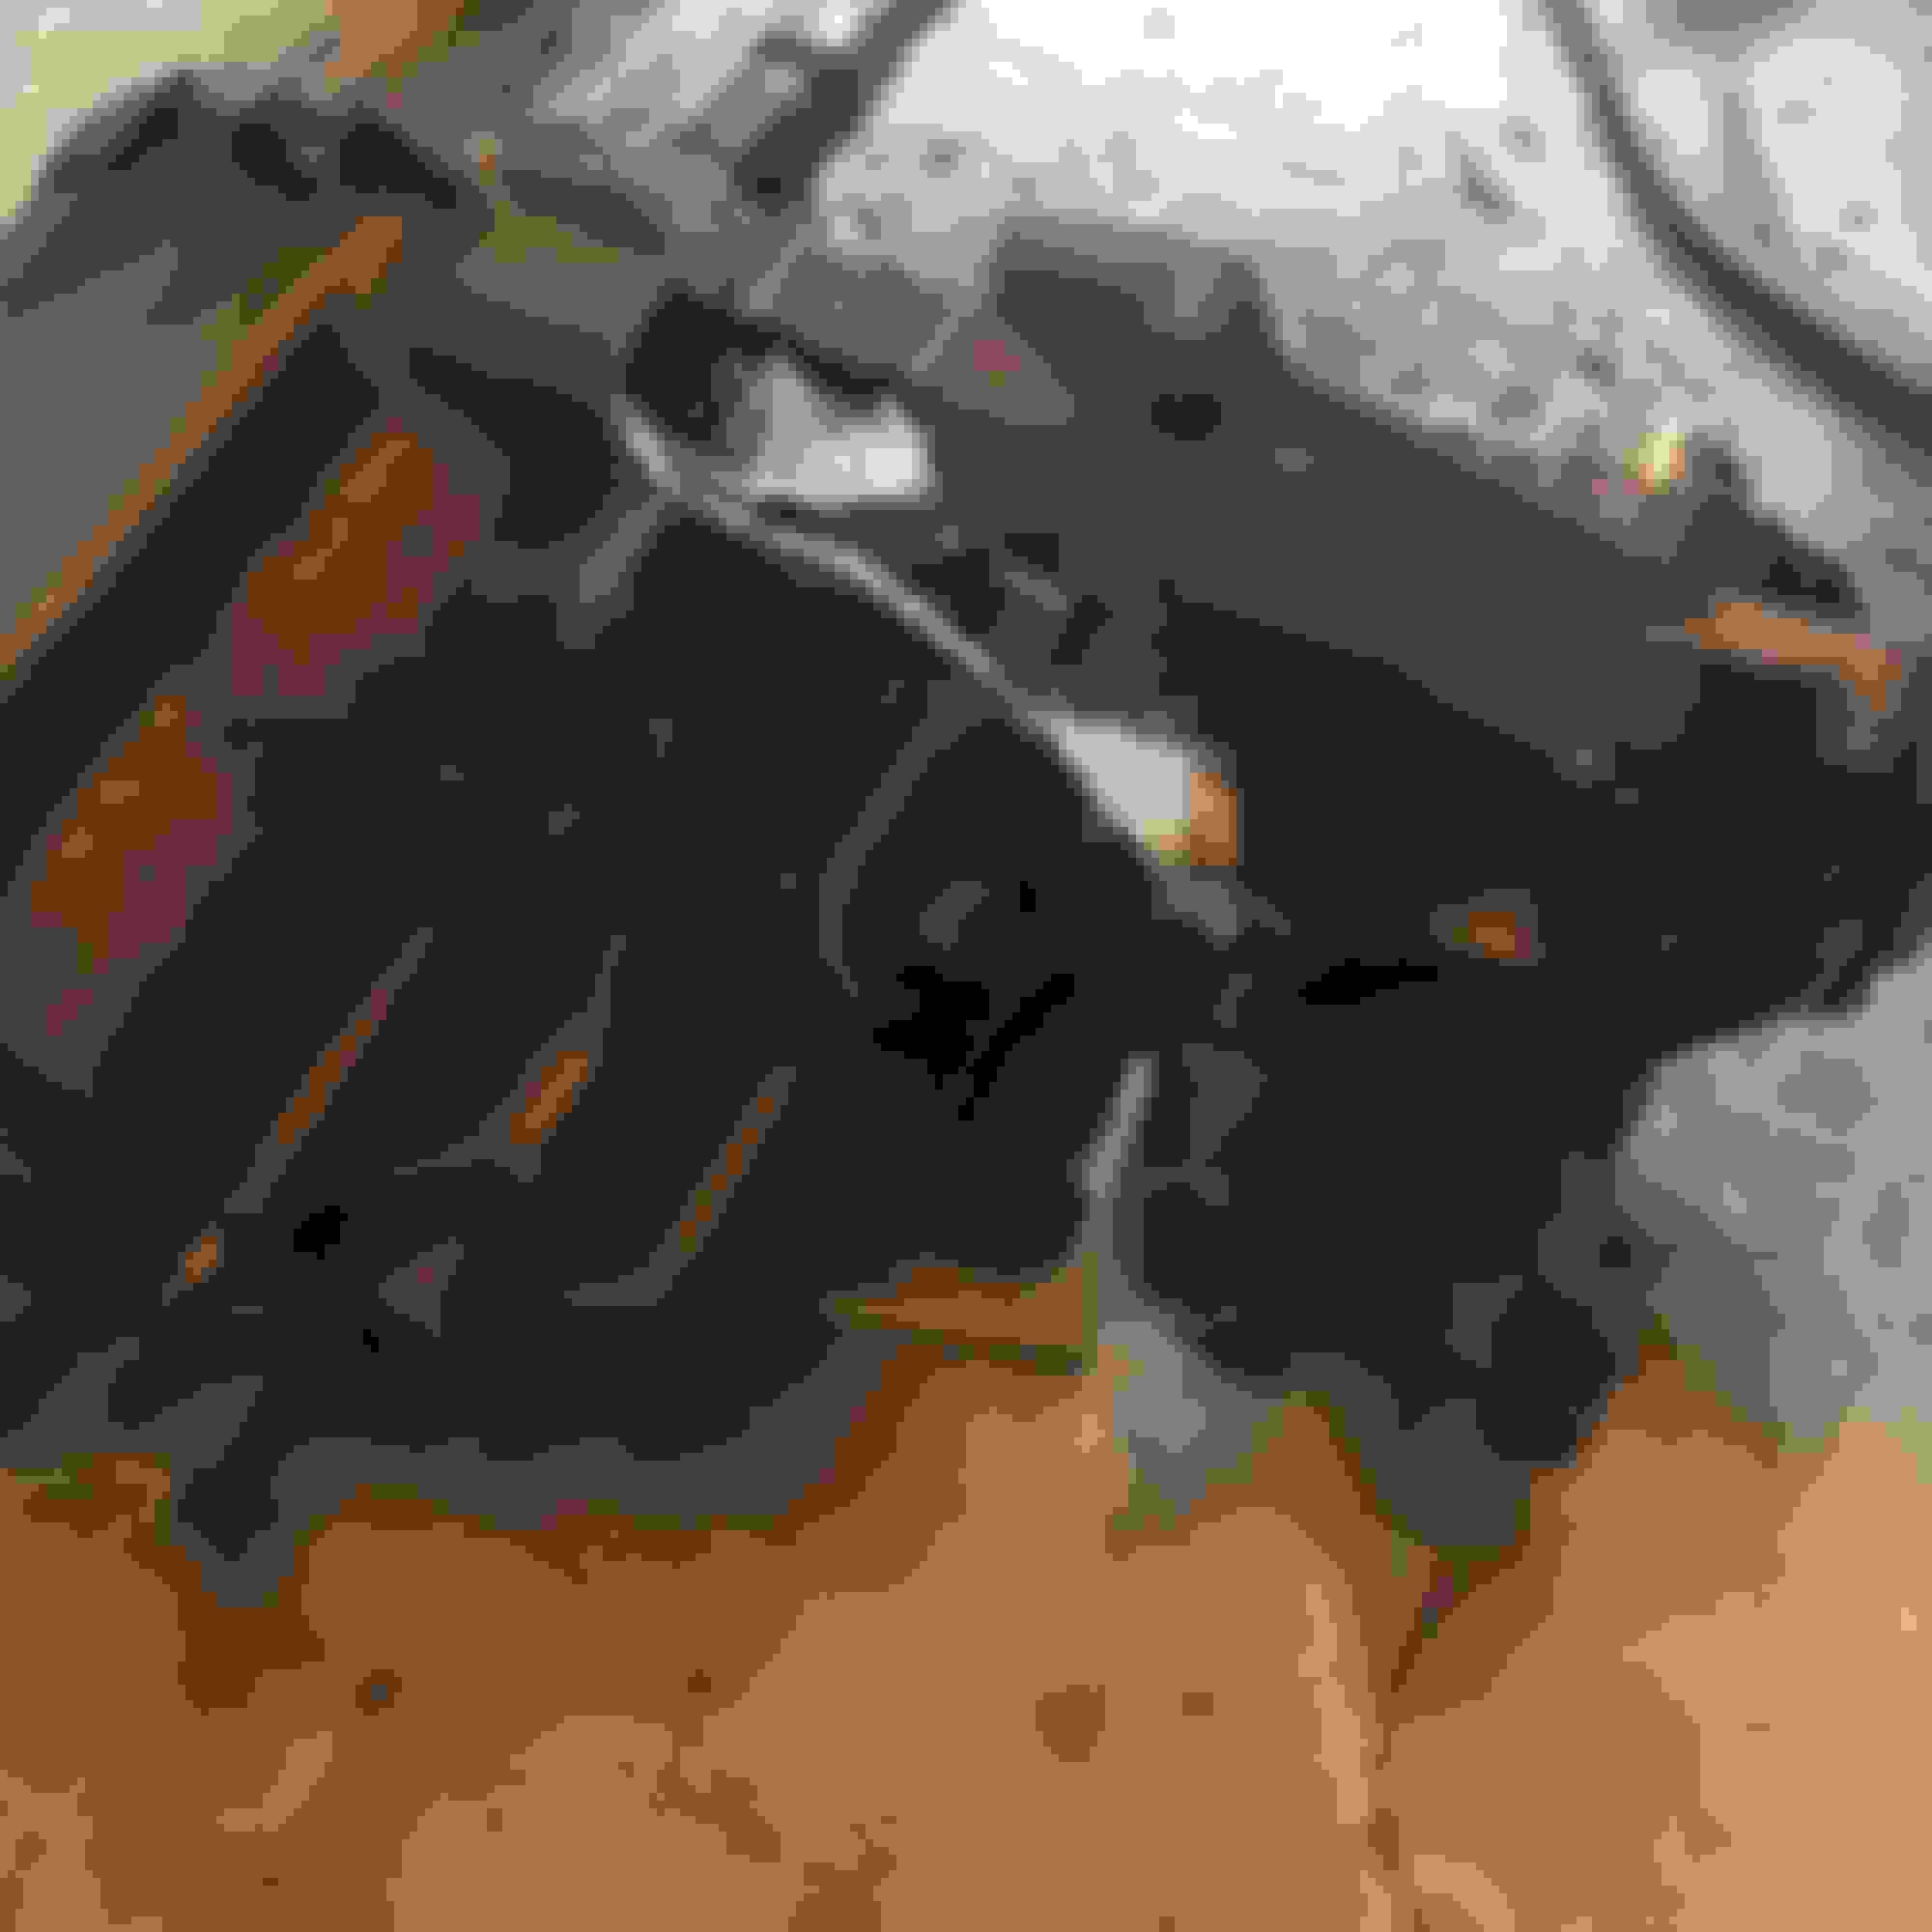
As you can see i had a slight hold up when it came to the transfer case, managed to bust the entire case trying to get the front yoke nut to come loose.
So i managed to find a brand new T case in the box for 140$ so i cracked it open and put my SYE on that instead
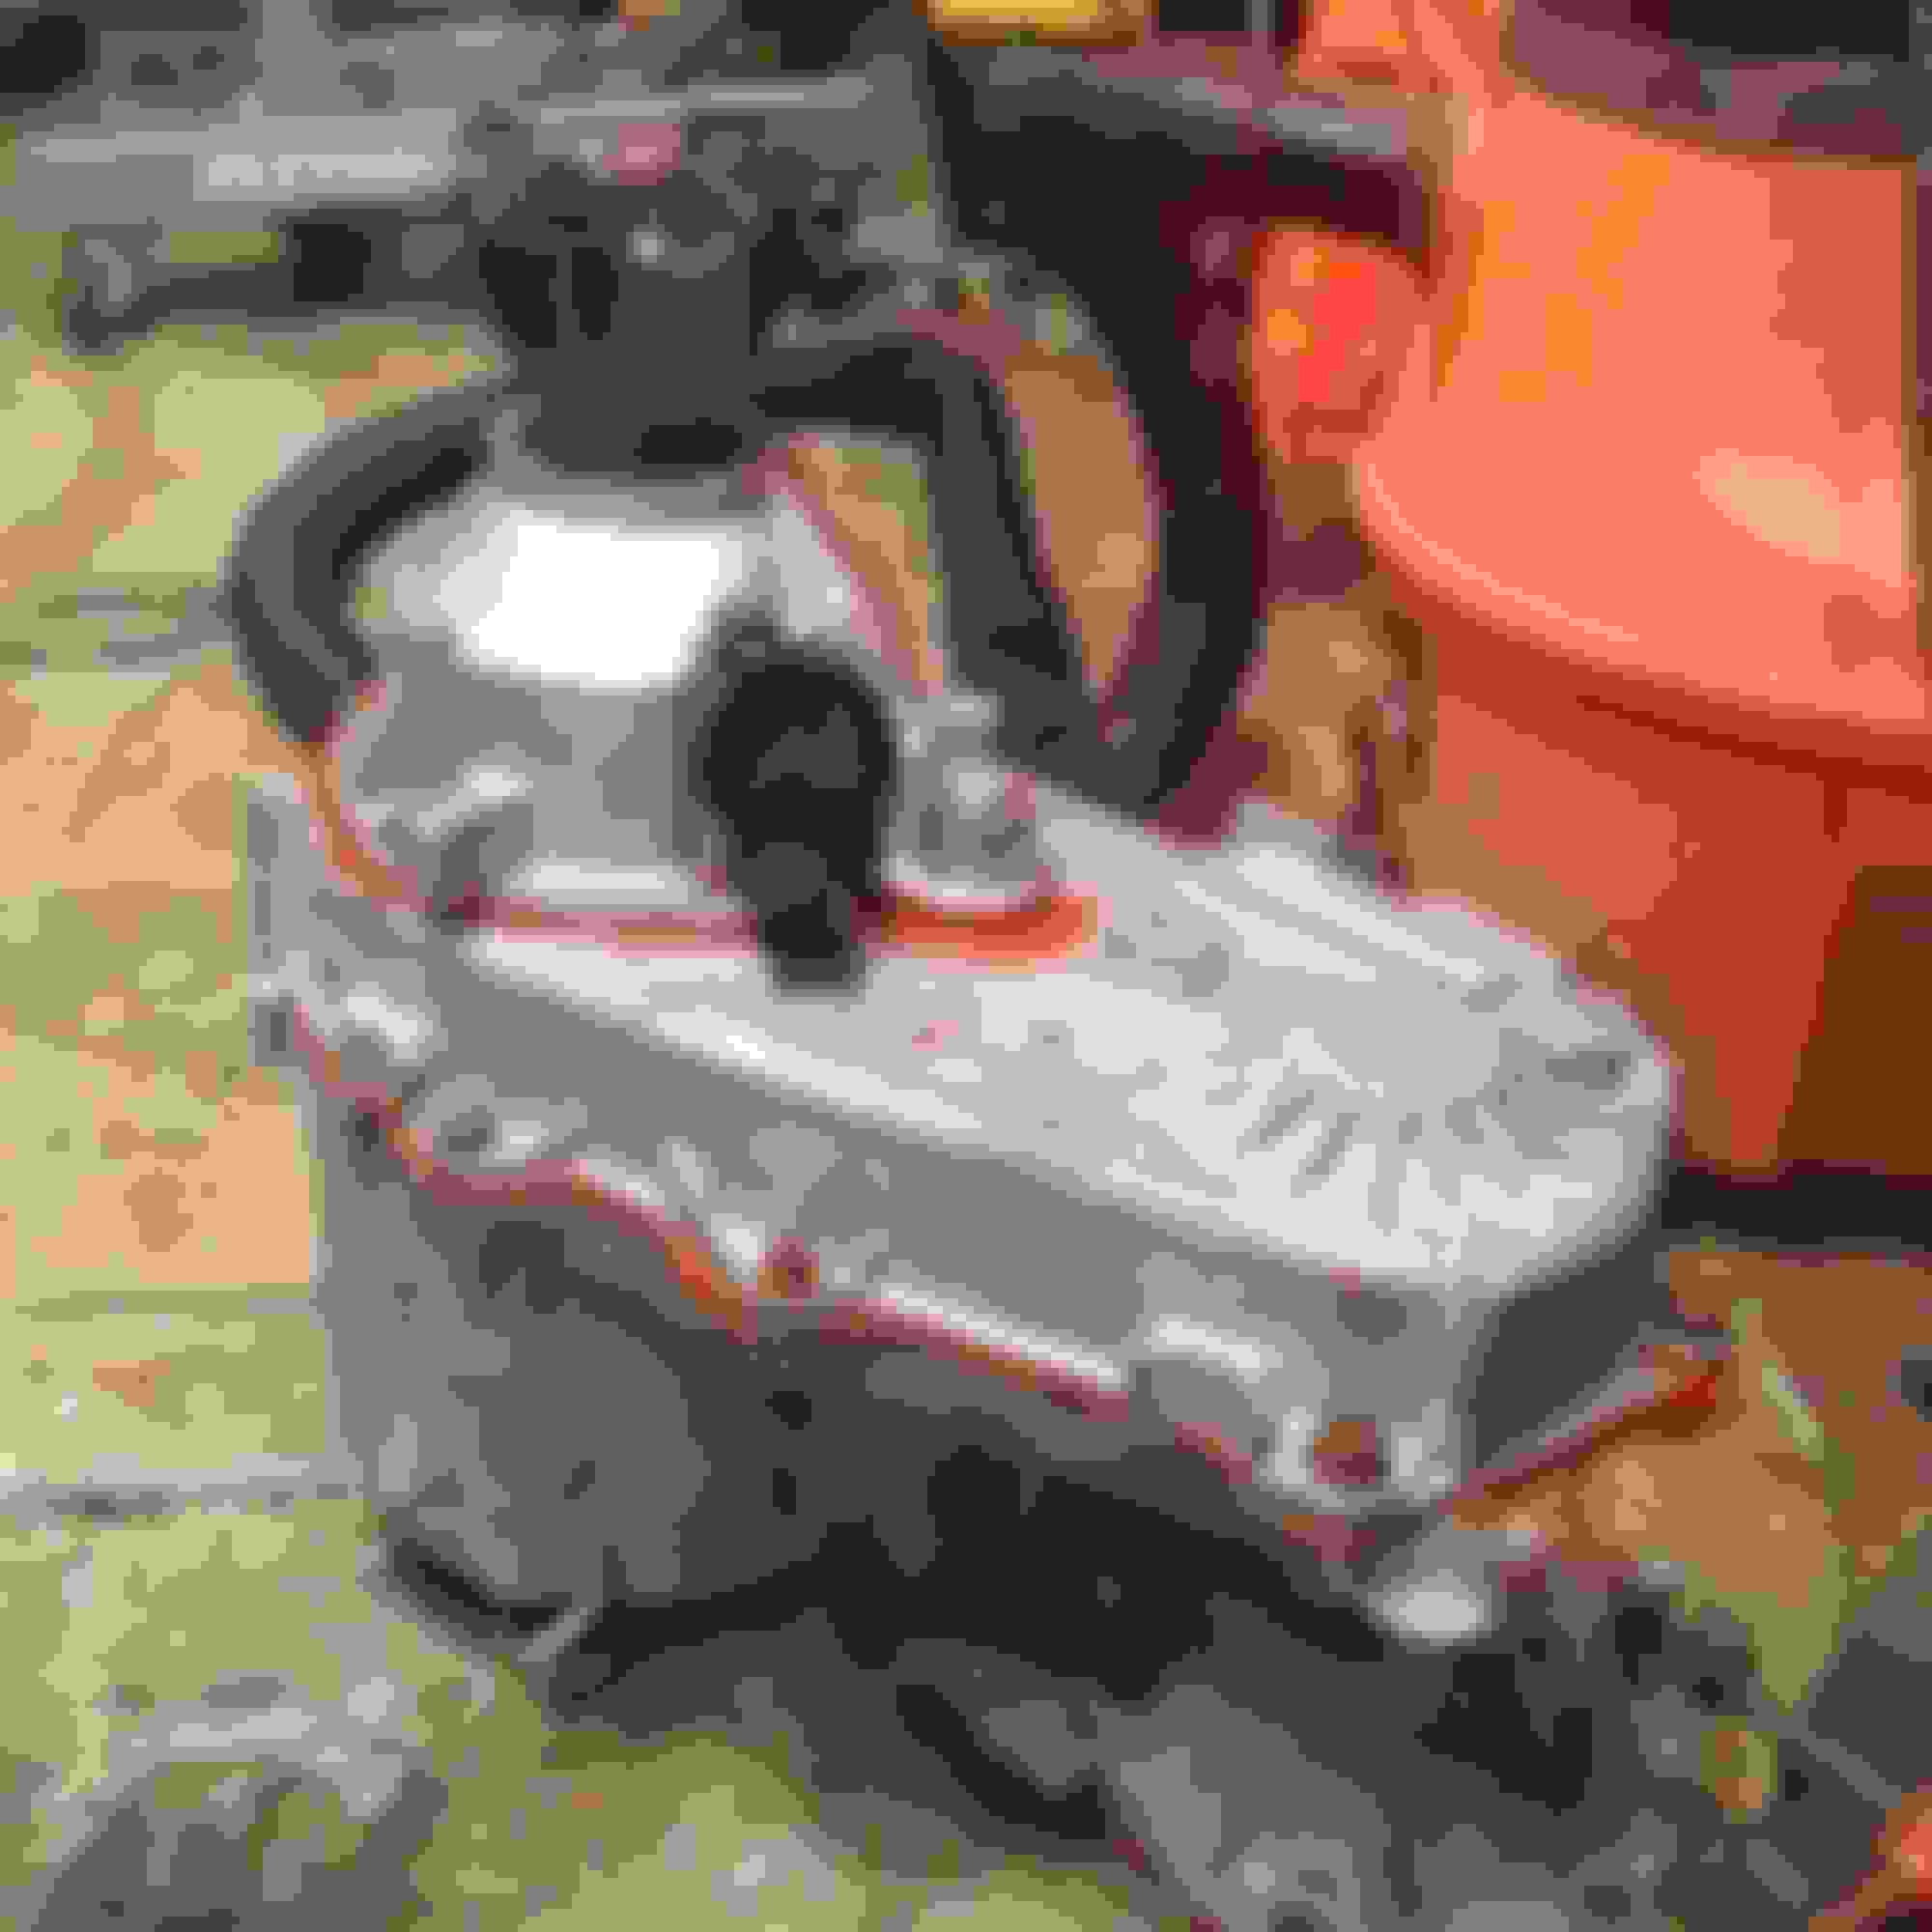
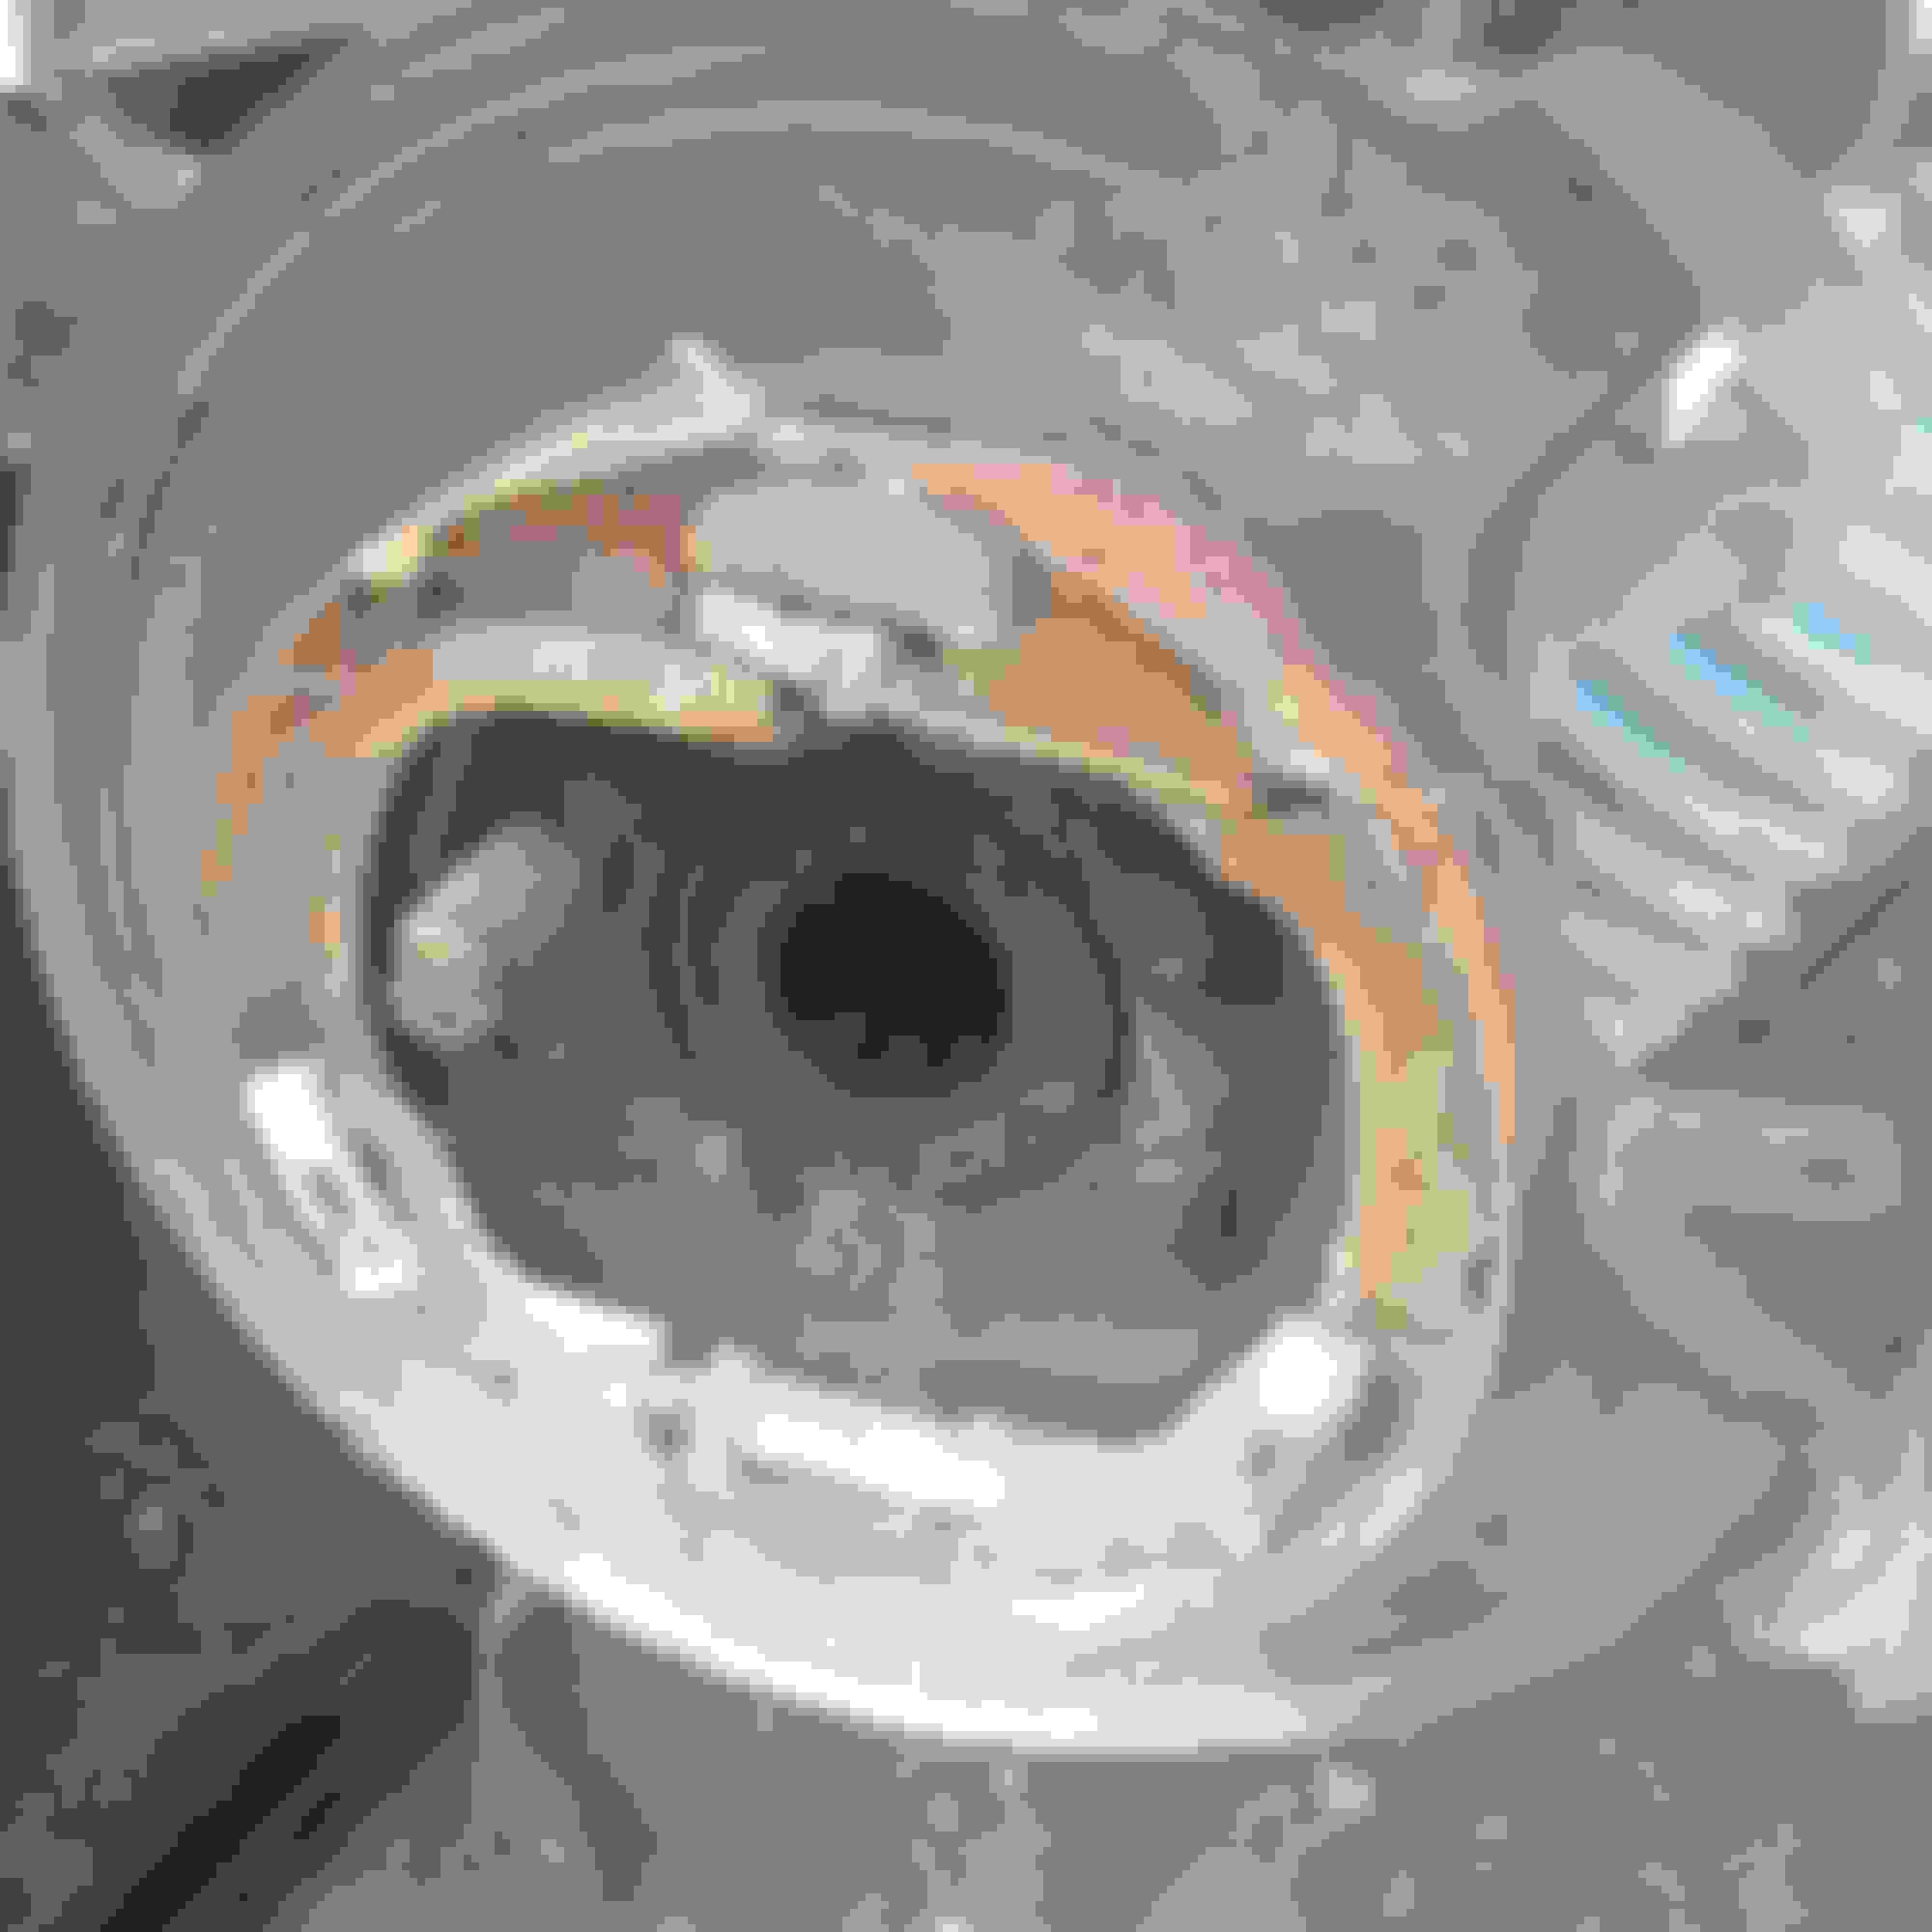
So if you couldnt tell from my last post i cut my bumper down to a stubby because it was smashed on one side, well i still needed my vacuum canister but didnt want to give up any engine bay space so this is what i came up with.
I only had to drill one hole because one hole was already there from the factory. Simply drill the hole and screw it down and your done.
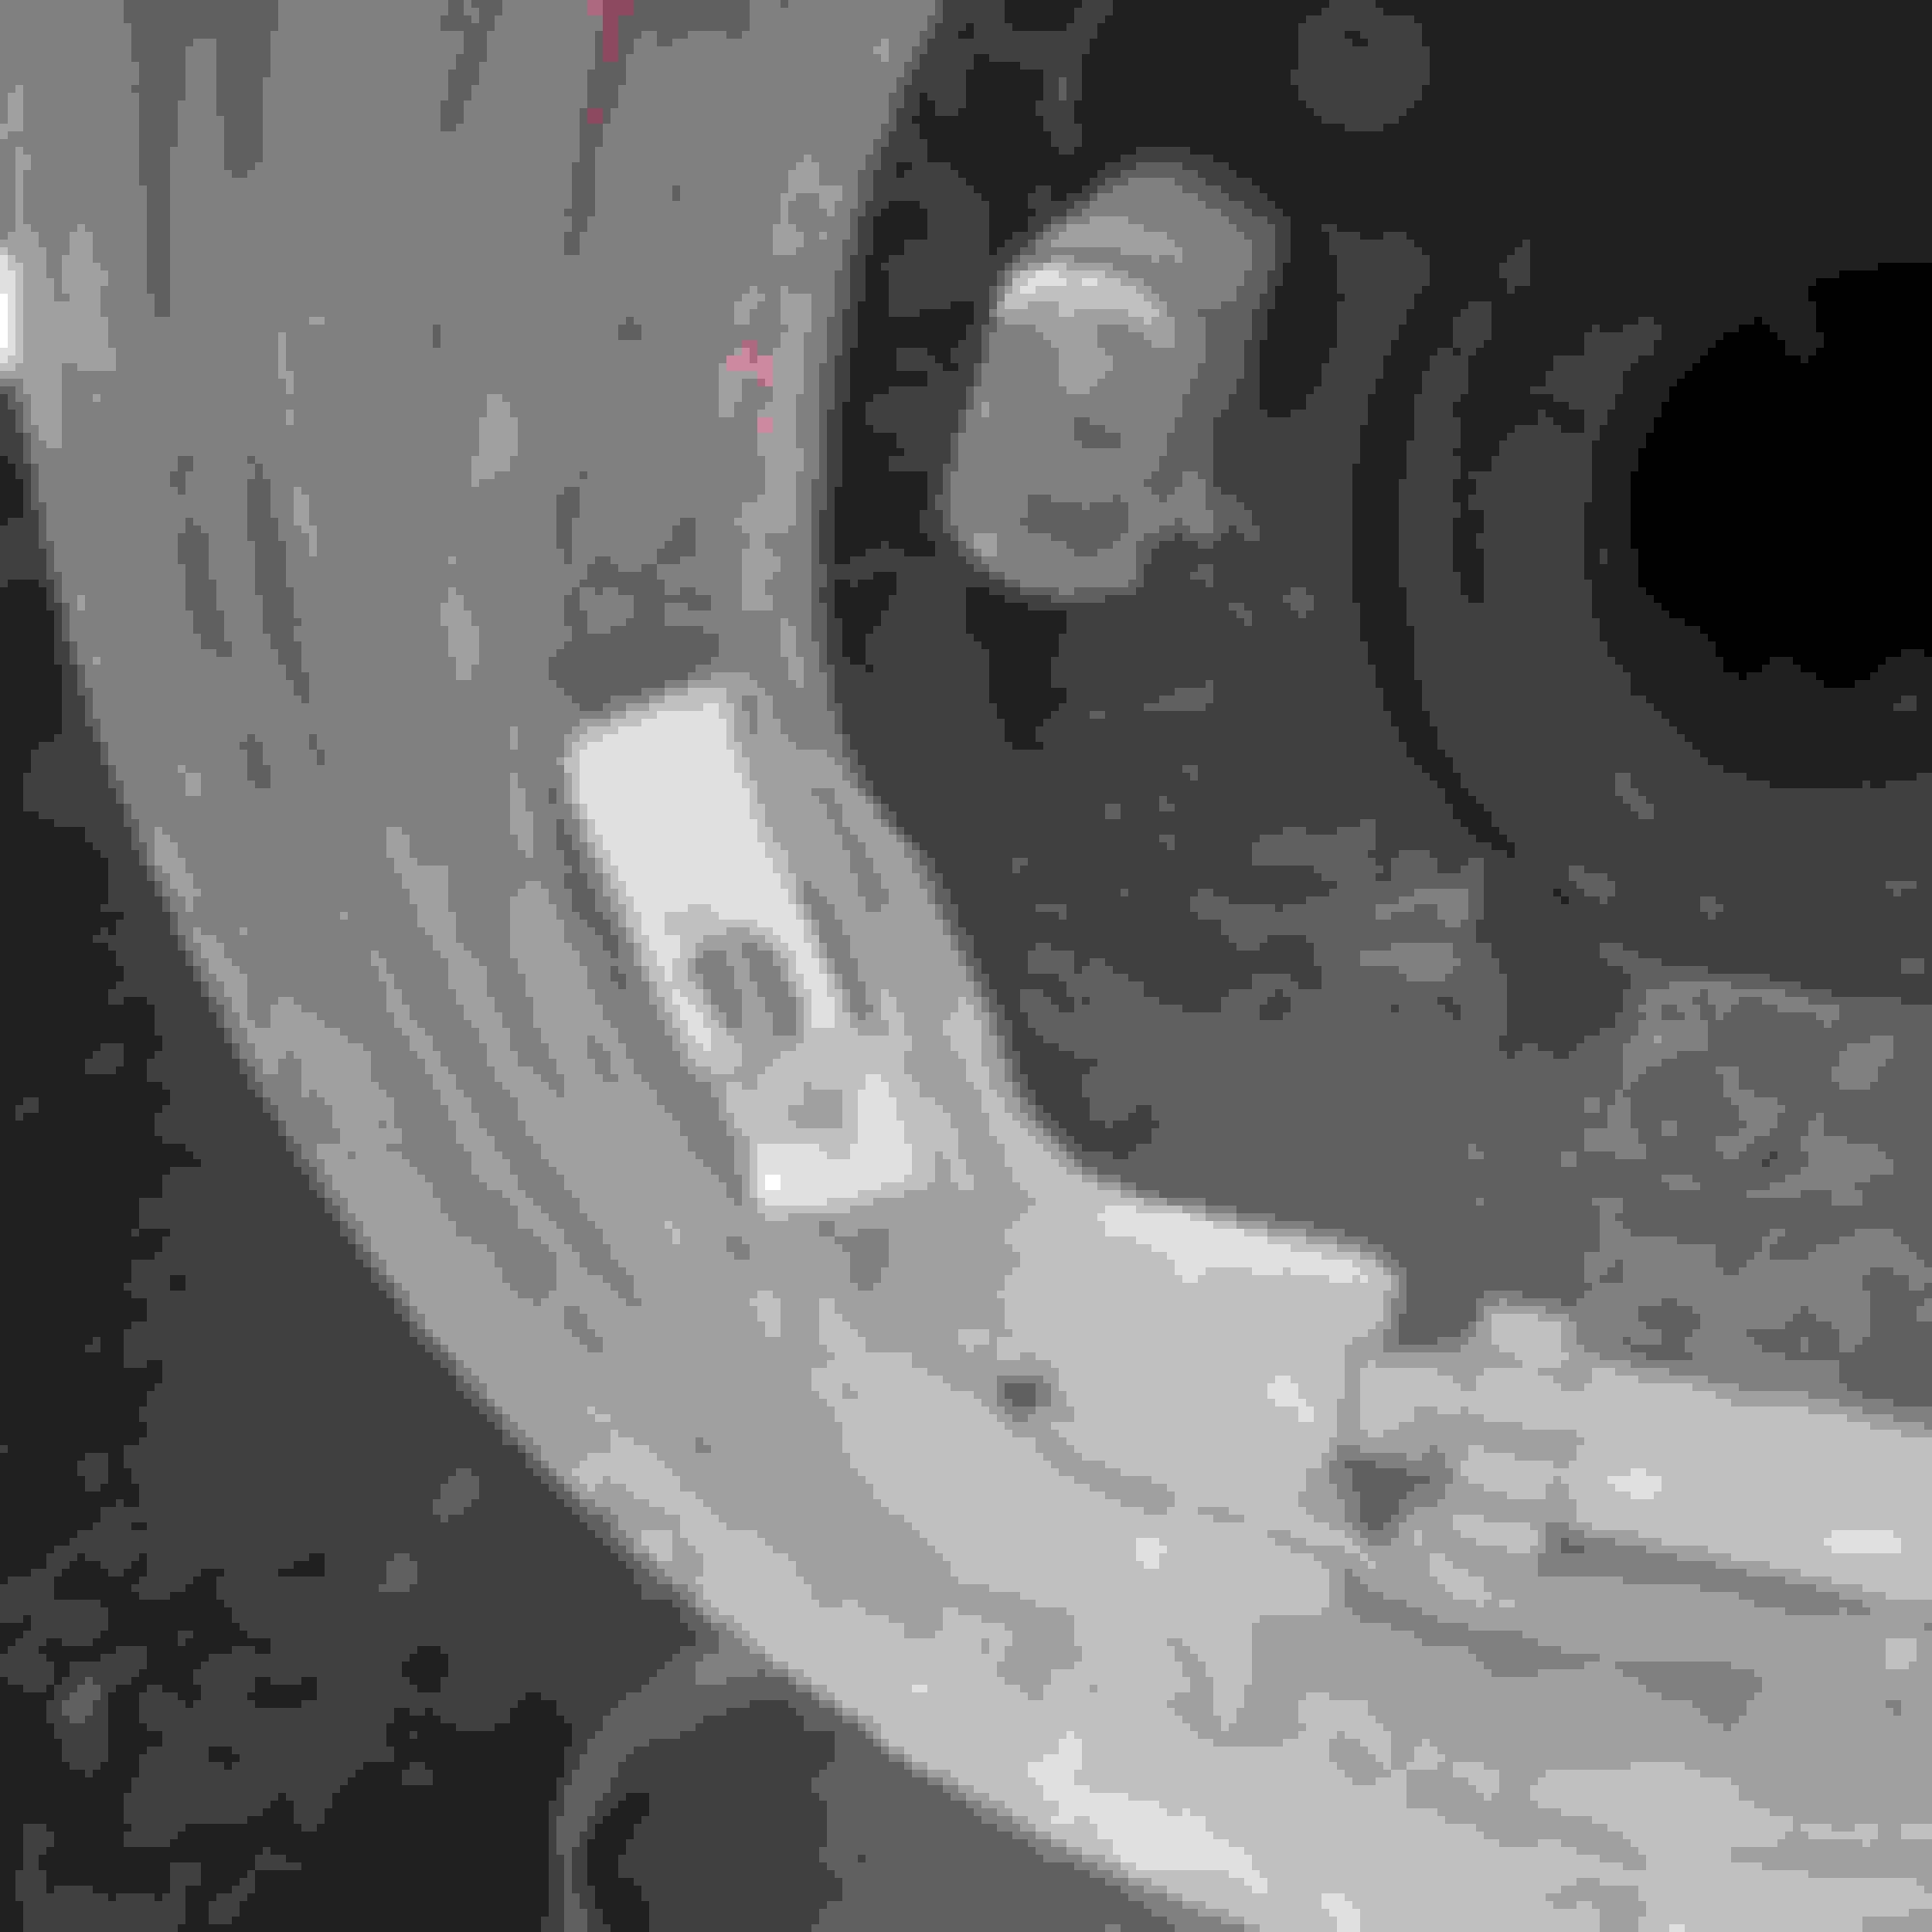
made it in and out of the Junk yard intact. I managed to spend 120$ but i came out almost completely ready for my rear disk brake conversion. I also managed to find a steering gear out of a 98 Durango with a V8(only the V8 Durango gear will work).
Remove the cotter pin and bolt going through the bottom of the pitman arm
Hammer a pickle fork in and pop the drag link free from the pitman arm
Remove the 3 bolts holding the gear box to the frame
Remove the single bolt that holds the steering shaft in and remove the shaft
With an open face wrench remove the two lines going into the top of the box
Drain the Fluid(into a pan of course)
Tools required
Rachet
Extension
Breaker Bar
14,12,10mm sockets
14mm Wrench
Hammer
Tin snips(to cut hard brake line if you choose too
Flat head screw driver/putty knife
So heres what you need to snag from the yard todo the swap
Find a ZJ at the yard
Remove the rear diff cover bolts and break the seal with your screw driver/putty knife and drain the fluid(into a drain pan of course). I believe they were 12mm
While that is draining take off the wheels if there is any if not just move to the removing the calipers which are held on with 2 12mm Bolts(Keep the bolts you will reuse them) once you get the bolts out shimmy off the caliper, you may have to finagle the retaining clip on the outer brake pad then the caliper should pop off.
SKIP THIS STEP IF YOU ARE BUYING NEW CALIPERS(YOU MAY STILL WANT THEM FOR A CORE) Remove the old brake pads from the caliper(some yards charge even for ****ty unusable pads so i removed mine).
Remove the 10mm bolt that holds the soft line to the axle(keep this as you will reuse it on your XJ axle. Now you can either just cut the hard line like i did or undo the hard line from the soft line, either way you should have the caliper with soft line still attached ready to do in your bucket( I used a piston compressor to squeeze the brake fluid out)
Now you can remove the brake rotor from the axle, set that aside, if there good take them or just buy new like i am going to do.
By this time the gear oil should be drained. Place the transmission in neutral, this will free the rear axle carrier. Spin the carrier until you see the small 12 point bolt on the carrier, this is a retaining bolt for the pin the holds the spyder gears in place and also holds the axle shafts in place. remove the small 12 point bolt and push the center pin towards the spyder gears so they remain in place. At this time you should be able to very simply push the axle shafts in and very easily slide the C-clip off the shaft, the shaft will then slide out completely.
All the E-Brake components should be right there, there are 2 clips on the bottom push them in and slide them down and they should pop out, then you can squeeze the 2 E-Brake shoes together and pull them off, its up to you and the quality of the components weather you want to keep or trash the shoes and hardware.
Now you can see the brake backing, there is 4 nuts holding each backing plate on, they are 14mm, once you take those off your not in the clear yet take a hammer and tap out the 4 studs and push out the ABS sensor. Now the Backing will come off. I save the studs and nuts just in case.
Now you need to remove the E-Brake cable from the backing, this requires taking pliers and pushing down the tabs and pushing the cable out.
Finally the brake baking is free, put them in your bucket,
Now you need the proportioning valve from the engine bay, unscrew the 4 14mm fittings(requires a open face wrench)
Unplug the sensor on the side of the valve
The next is up to you, you can either unbolt the bracket that is on the master cylinder and the valve will come off or you can just bend the bracket back and forth until it brakes off
Now you should be done but first make sure you snag up a center latch, or any of those broken interior trim pieces, before heading to pay.
In all you should have...
2 brake backings with the caliper bracket
2 calipers if you choose to use keep them
4 12mm caliper bolts
2 10mm soft line bracket bolts
2 soft lines
8 Studs
8 14mm nuts
1 proportioning valve
Any E-Brake components you want, i choose to buy all new due to the poor nature of the E-brakes
My total at the end of the day was 127ish after core charges and environmental fees and that was with the Durango gear box.
I will be gone for the whole month of July so the reinstall will have to wait but here is a list of parts you may need that i am buying to complete my swap.
Chrysler 8.25 specific parts
Axle Seal x2
Axle Bearing x2
97ish ZJ Rear Brake parts
Brake Pads
Rotors x2
E-Brake Shoes x2 sets
E-Brake Hardware kit x2
Caliper Piston x2 (mine had chips in them, or i would leave them as is)
Caliper Piston seal x2
Durango Gear box
Steering Gear seal kit
Also youll need some wire wheels, scotchbrite pads, degreaser, brake fluid, and paint to clean up and refinish everything.
All this and more can be found on my Jeep build blog cheepjeepin.blogspot.com
 02-03-2015, 04:01 PM