Project Spartacus
 01-19-2017, 07:56 AM
#46
CF Veteran
Thread Starter
Join Date: Jun 2016
Location: York PA
Posts: 2,929
Likes: 0
Received 5 Likes
on
5 Posts
Year: 2001
Model: Cherokee
Engine: 4.0 Litre I6
Meh... hey, now you've got a good batter and don't have to worry about it again for a while. Did you go withe the Group 58 or the 34? I went with the 34DLG, XJWonders cables, and a 136 amp alternator for a '98 XJ (same as the XJ 136 amp, but has the 5 rib pulley instead of 7 rib). You should see my headlights. People refuse to believe they're the stock sealed-beams... of course, the wiring harness helps too.
 01-19-2017, 08:32 AM
#47
CF Veteran
Join Date: Jan 2013
Location: west chester, pa
Posts: 19,216
Likes: 0
Received 39 Likes
on
35 Posts
Year: 1999
Engine: 4.0
https://www.cherokeeforum.com/f74/he...pgrade-219596/highly recommend this guy. The quality is equal or better than the aftermarket stuff out there.
I would know because over the amount of XJs I had, I ran Putco, LMC, eBay, homemade harnesses. This option is cheapest of all and it's equal. And what's better, you get to support a fellow forum member.
I would know because over the amount of XJs I had, I ran Putco, LMC, eBay, homemade harnesses. This option is cheapest of all and it's equal. And what's better, you get to support a fellow forum member.
01-19-2017, 09:12 AM
#48
No, I don't lick fish.
Yeah buddy. If you think you might upgrade your alternator in the future (ya know for winch, power inverter, lights, etc) you might as well get the cables to prepare for that when you order 'em from Neil. Definitely do the headlight harness. Takes all that strain off your headlight switch.
01-19-2017, 10:15 AM
#49
CF Veteran
Thread Starter
Join Date: Jun 2016
Location: York PA
Posts: 2,929
Likes: 0
Received 5 Likes
on
5 Posts
Year: 2001
Model: Cherokee
Engine: 4.0 Litre I6
Yeah buddy. If you think you might upgrade your alternator in the future (ya know for winch, power inverter, lights, etc) you might as well get the cables to prepare for that when you order 'em from Neil. Definitely do the headlight harness. Takes all that strain off your headlight switch.
01-22-2017, 08:55 PM
#50
CF Veteran
Thread Starter
Join Date: Jun 2016
Location: York PA
Posts: 2,929
Likes: 0
Received 5 Likes
on
5 Posts
Year: 2001
Model: Cherokee
Engine: 4.0 Litre I6
01/22/17
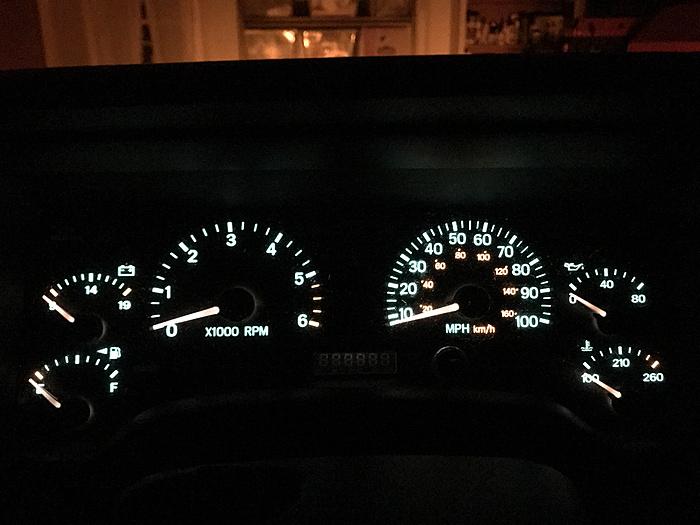
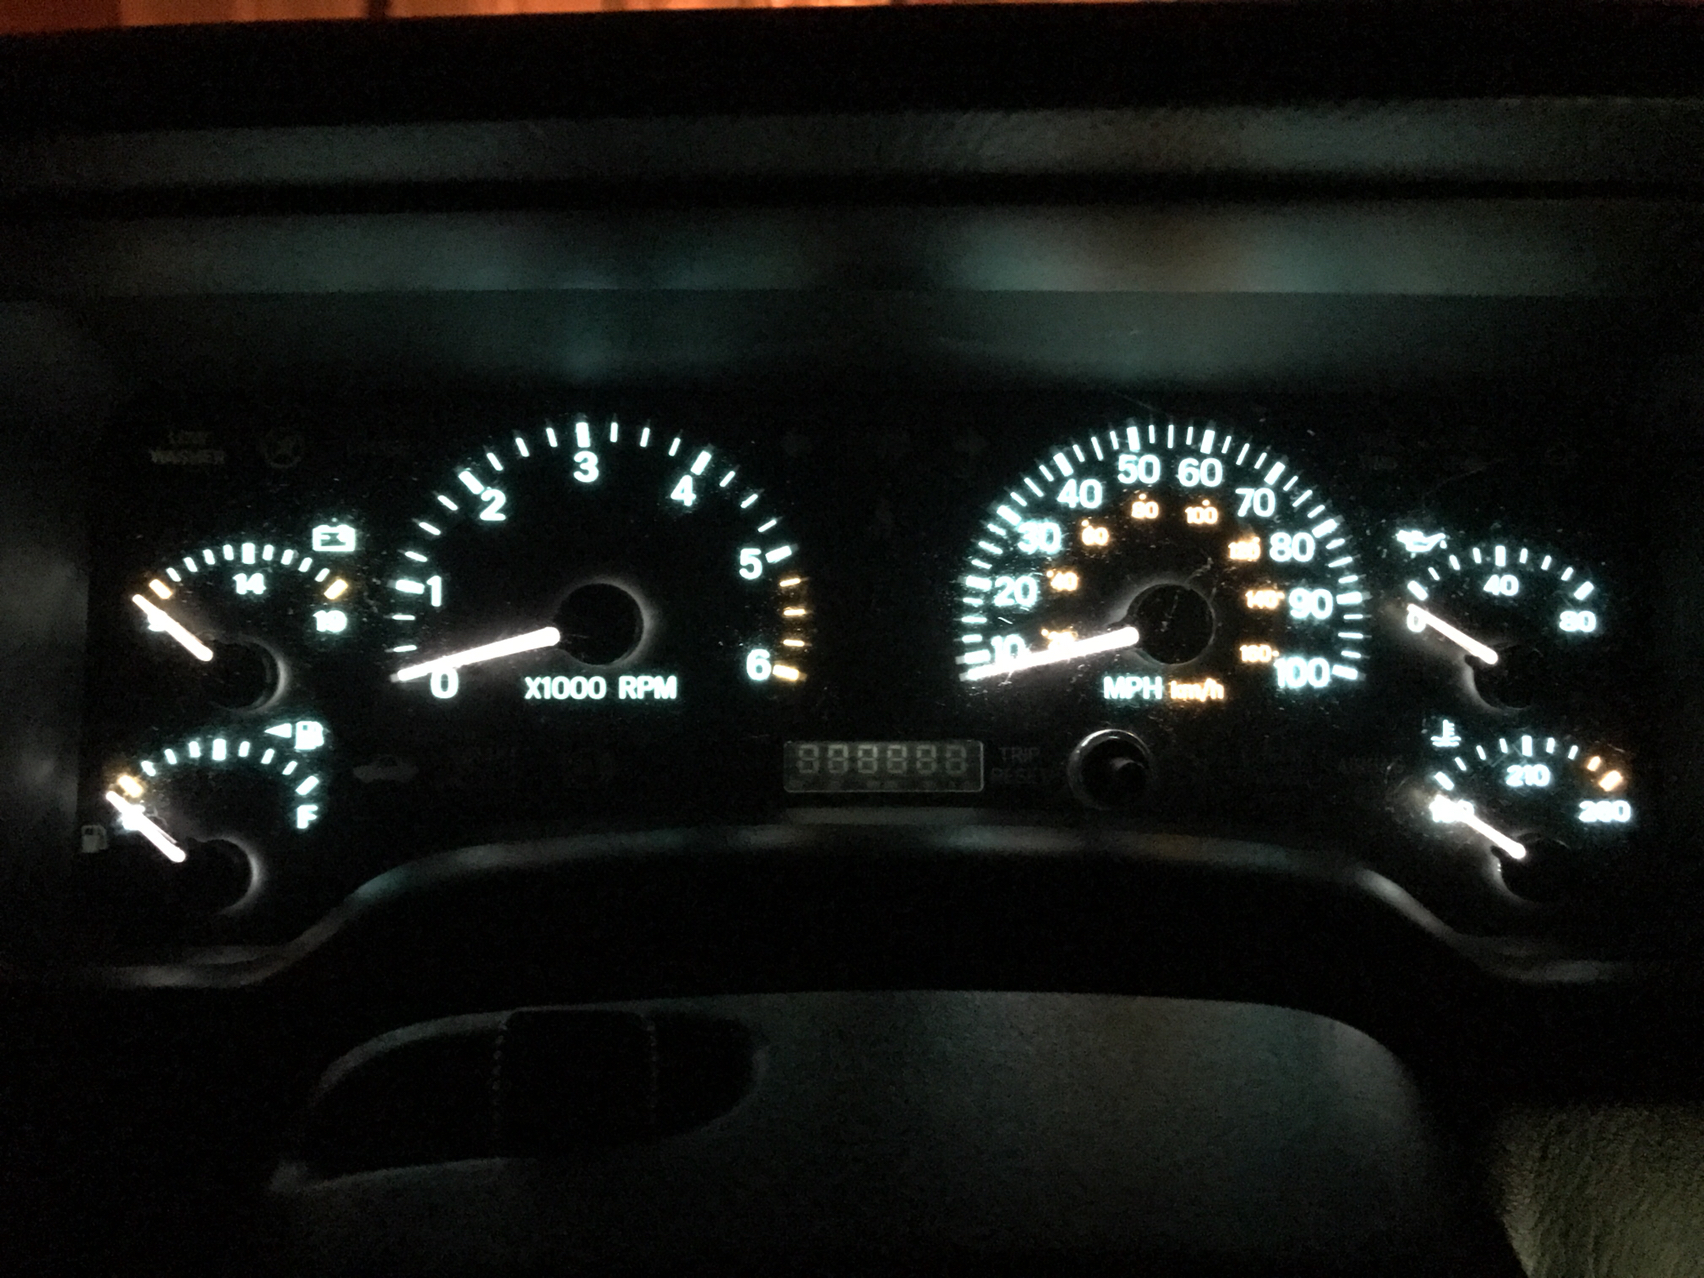
Ayyooo, I received my OneWayLight XJ instrument LED kit in the mail Saturday night.
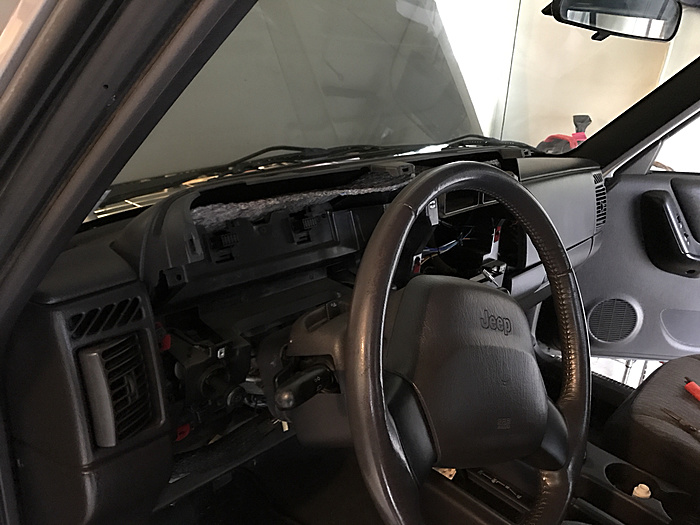
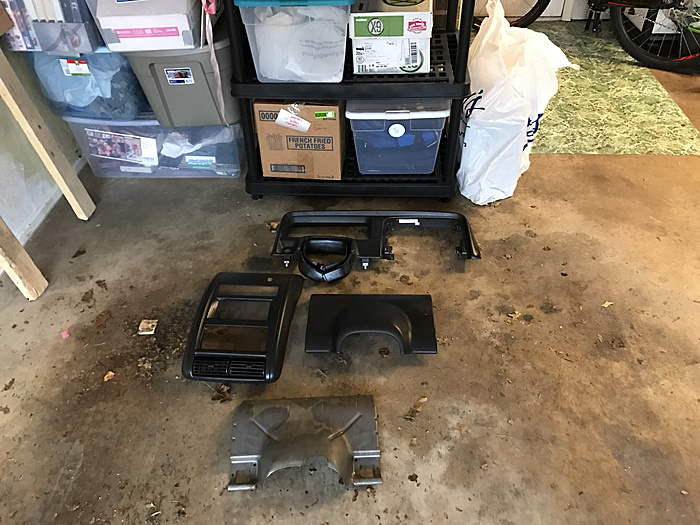
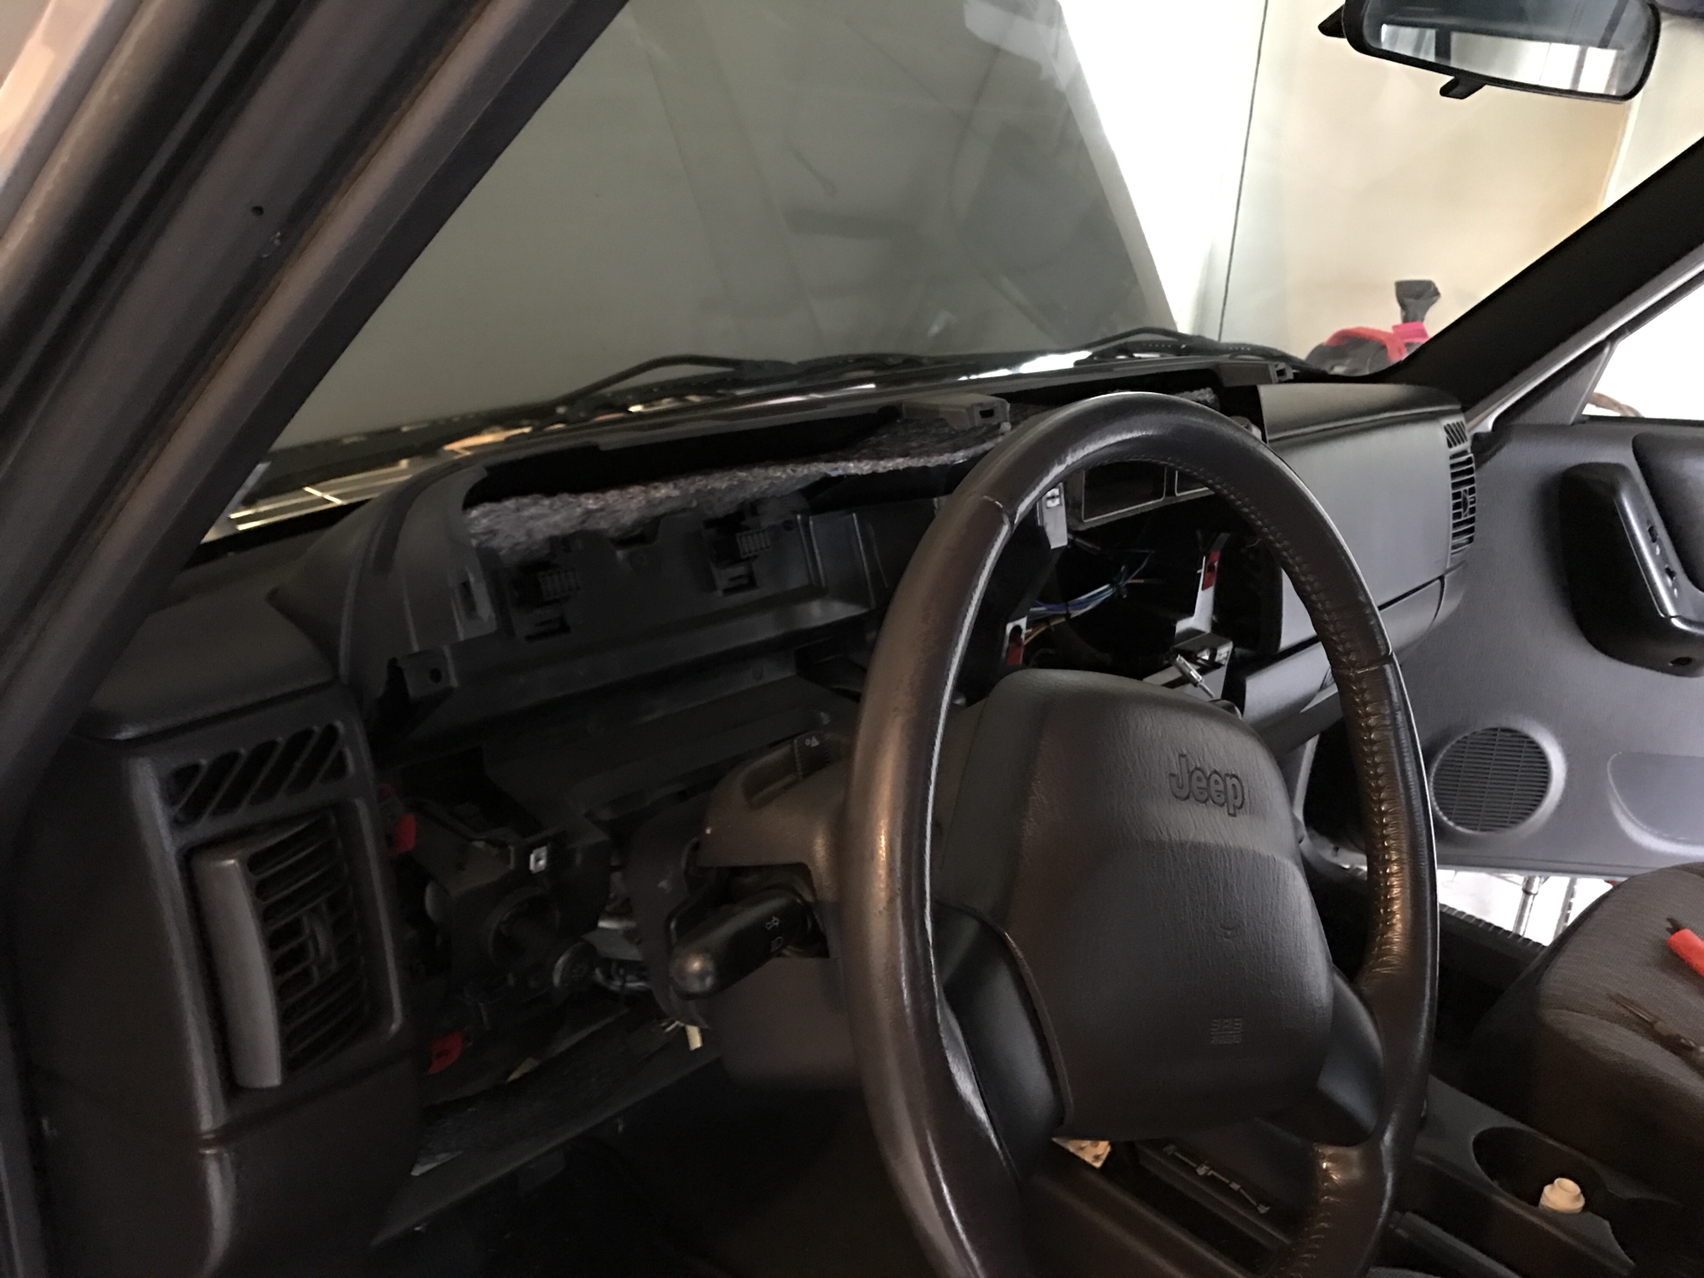
Figured I would install them today, didn't get of bed till damn near 10AM and did get motivated until around 11:30AM. First, I disassembled the dash. For this kit I would need to access the instrument panel, climate controls, bottom rocker switch array, and t-case/transmission bezels.
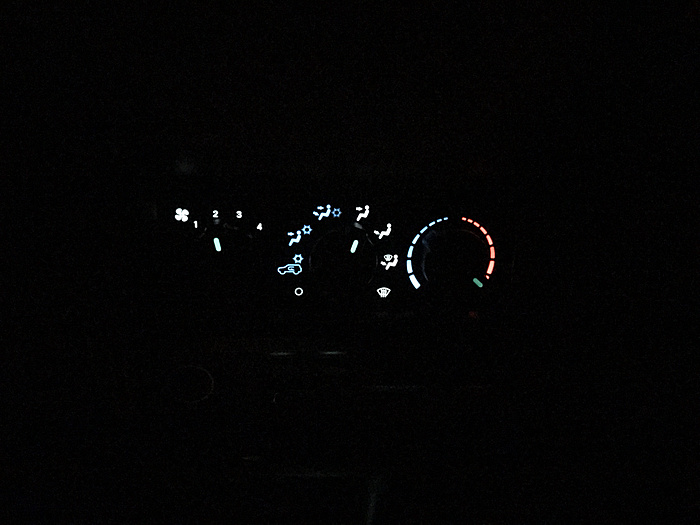
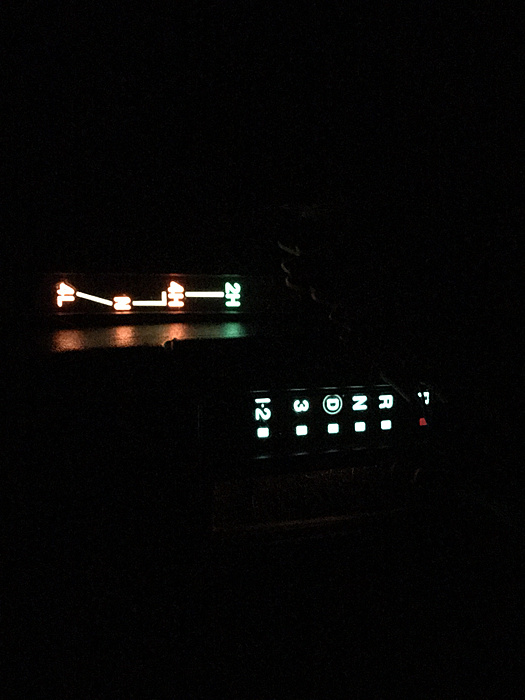
Orignal lighting
Dash disassembled
Kicked the wife's Mazda out of the garage for the day so I would have more room. LOL
The climate and rocker switches went pretty well. Obviously, you can get the polarity wrong on the LEDs. So there was some trial and error. Put them in, turn on head light circuit, if they don't work reverse them.
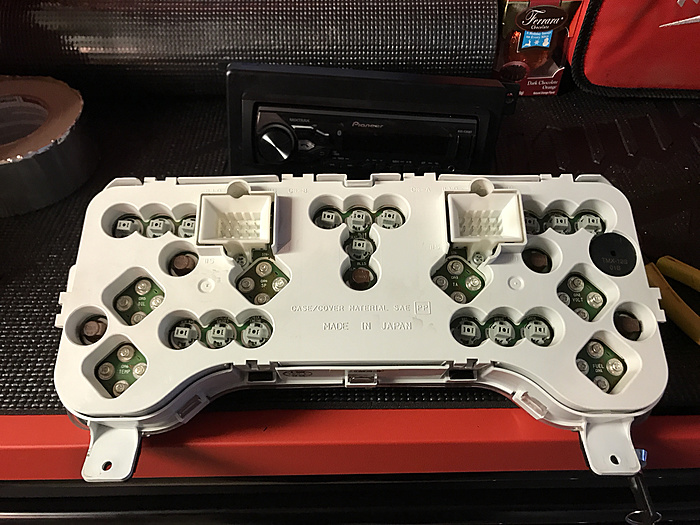
The instrument panel wasn't bad either. Everything is pretty easy to access. There were 5 brown colored bulb holders that illuminate the panel. Plus, two turn signal indicators and the high-beam indicator. Panel just pulls right after you get the dash disassembled.
Instrument panel rear
The only real hiccup came with the auto trans shifter bezel. Apparently, the PO broke that at one point. The bezel is two pieces. The top textured black panel that you see when everything is assembled and an off-white assembly beneath that holds the lightbulb, the gear indicators and those funny thin plastic pieces that move with the shifter.
Broken crap
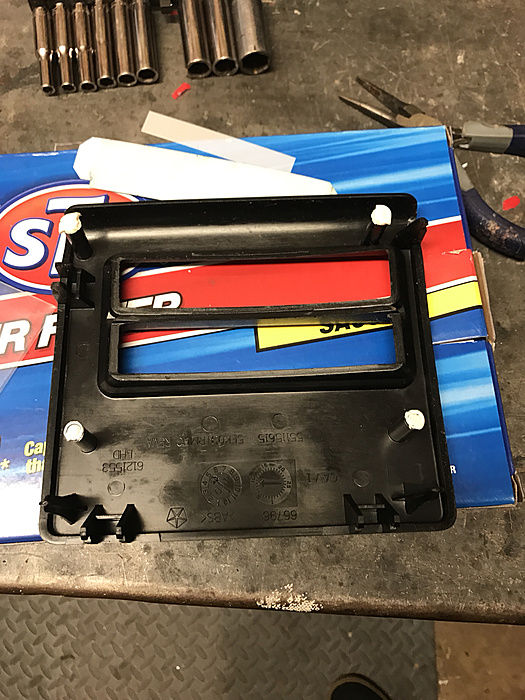
The white assembly and the texture black part are suppose to be a homogenous part. I think you could pry the two pieces apart if needed. However, at some point in the vehicle's history someone broke the four mounts that connect the two parts. Easy fix though, I ran inside and grabbed some modeling glue from my hobby desk. Fixed her right up.
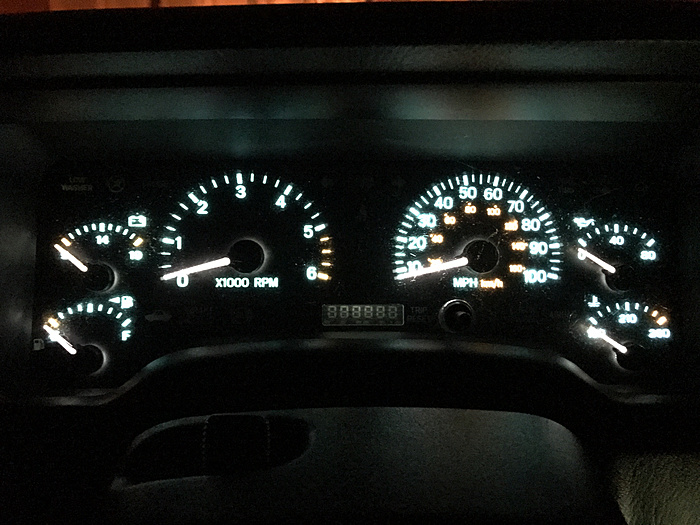
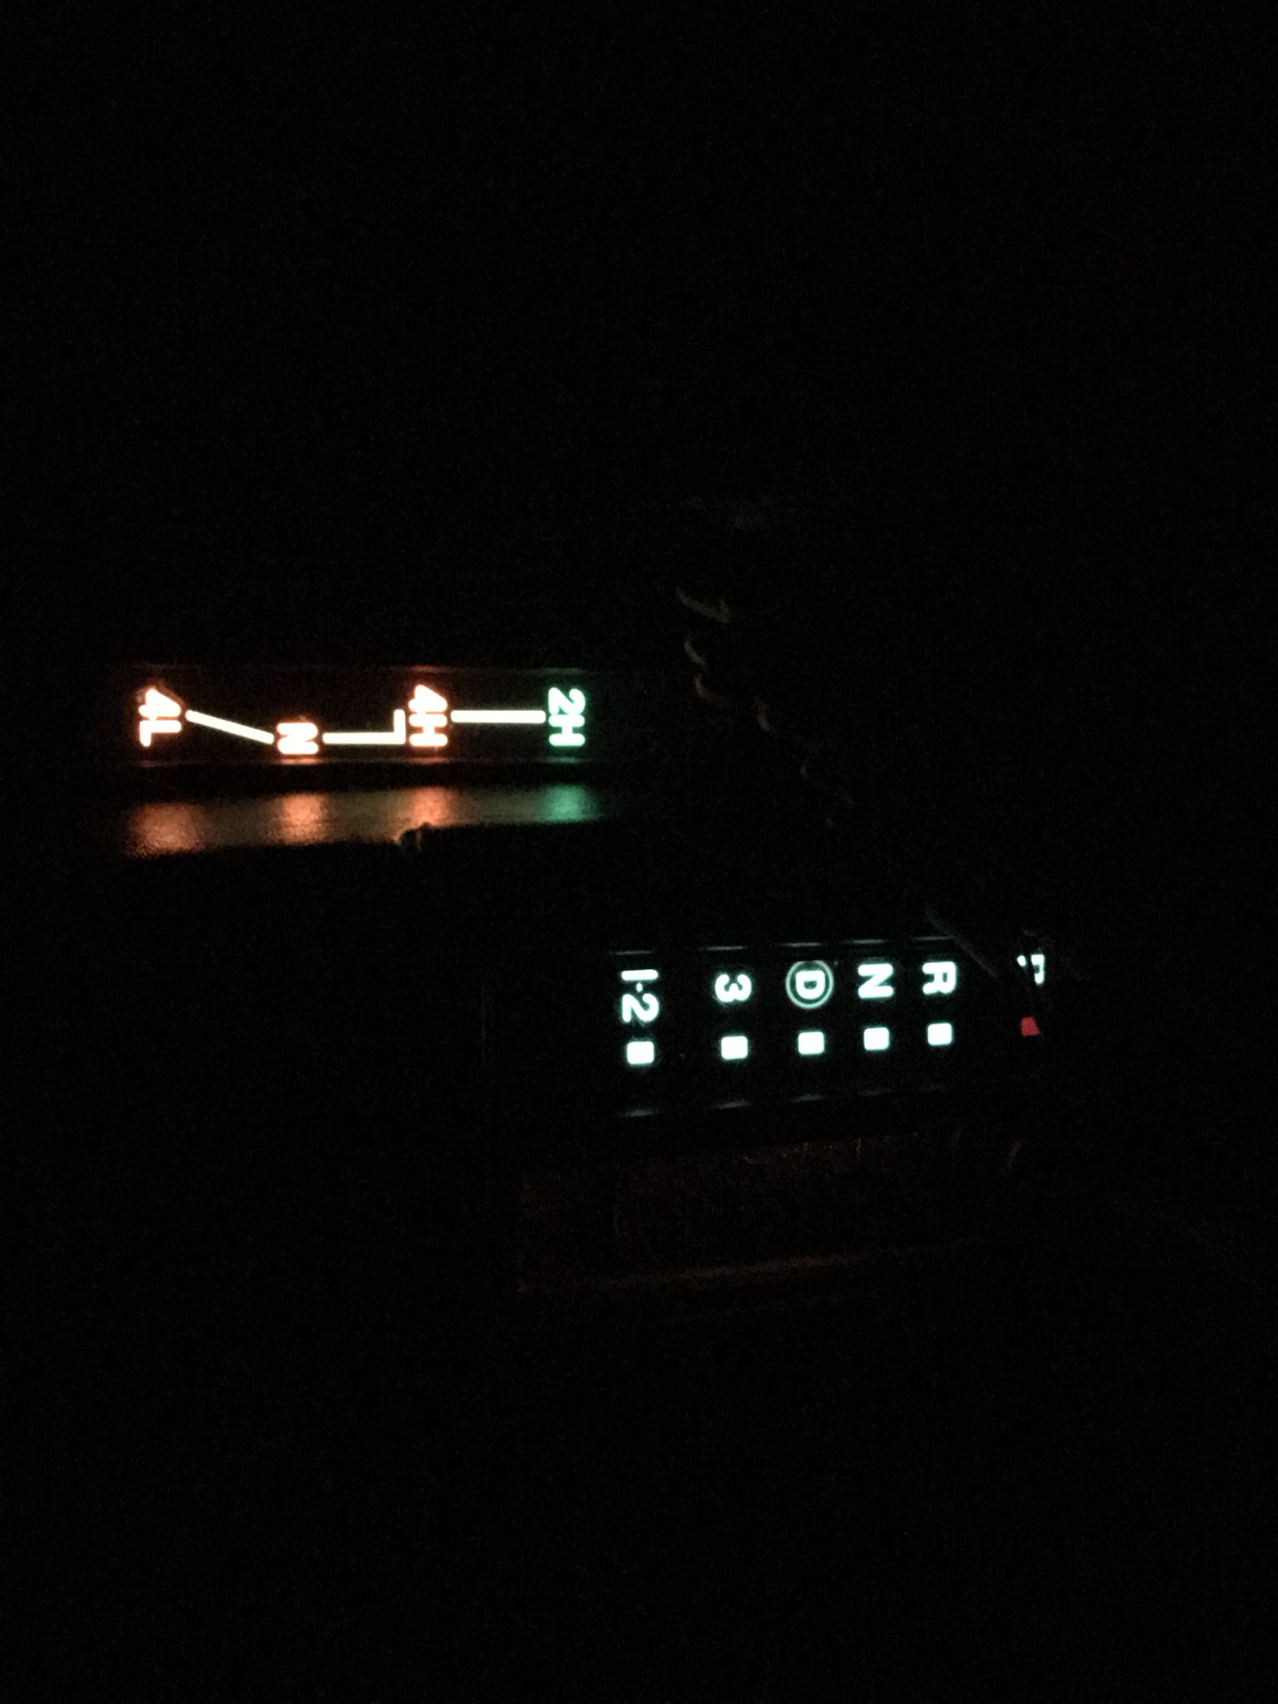
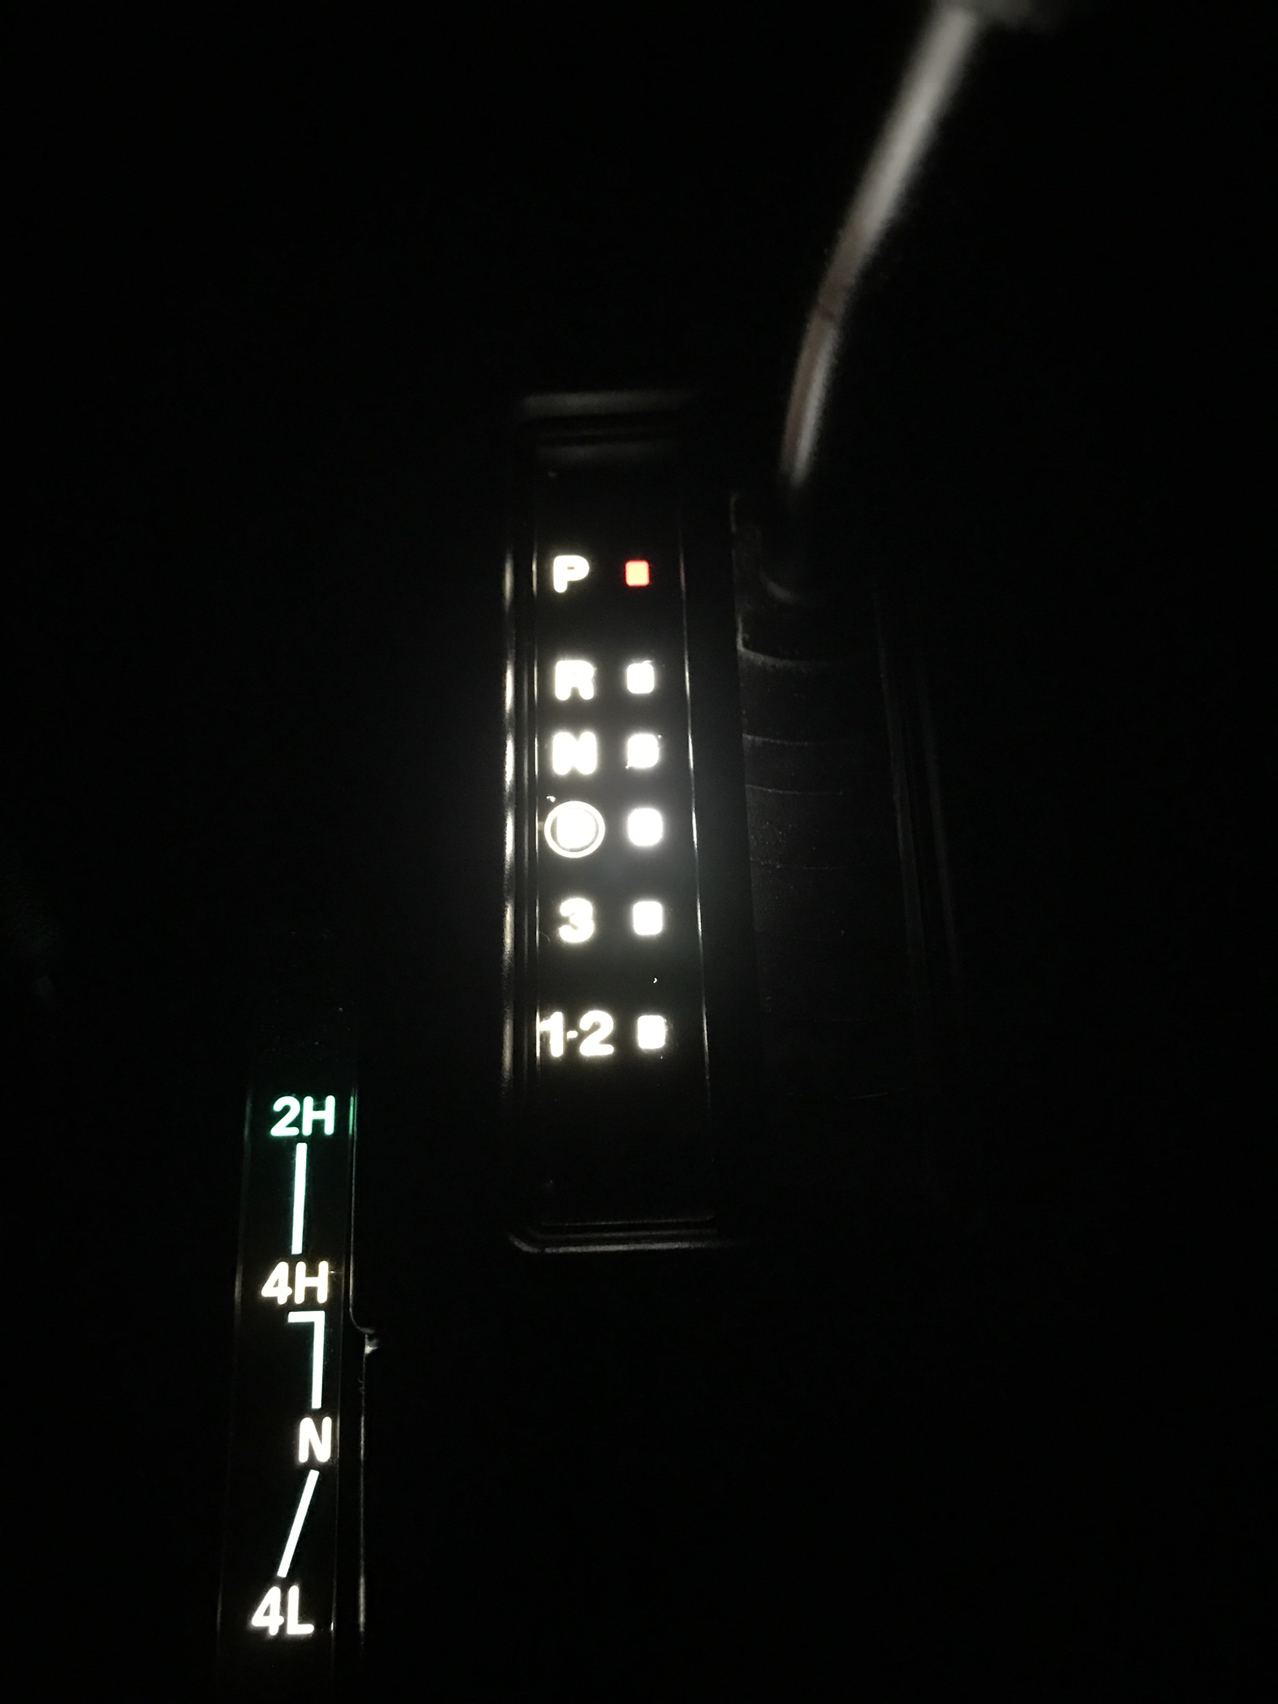
LED lighting
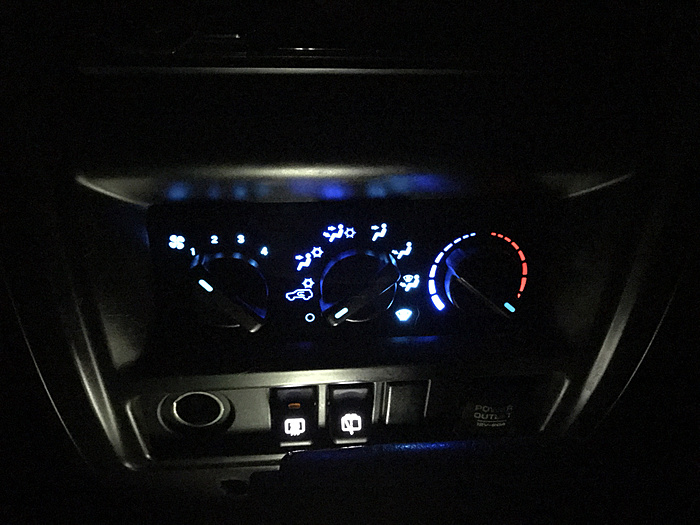
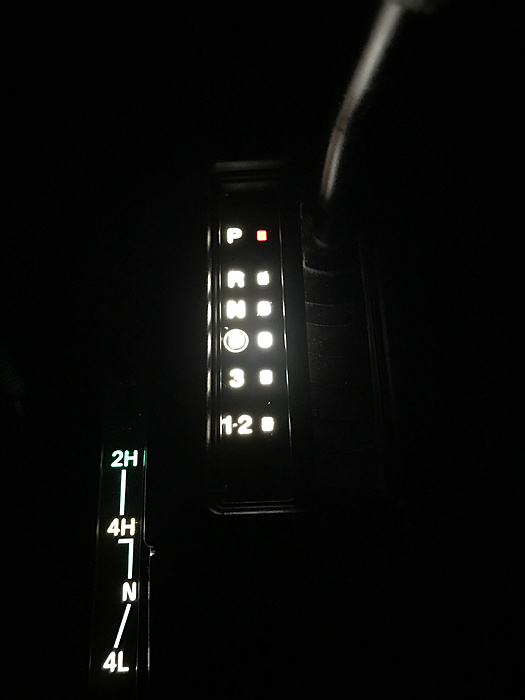
Post project thoughts:
If you are on the edge about this purchase, as Nike says...."just do it". Nice little project that sets off your interior. The pictures really don't do it justice. Can't wait to "LED" the rest of the interior!
Ayyooo, I received my OneWayLight XJ instrument LED kit in the mail Saturday night.
Figured I would install them today, didn't get of bed till damn near 10AM and did get motivated until around 11:30AM. First, I disassembled the dash. For this kit I would need to access the instrument panel, climate controls, bottom rocker switch array, and t-case/transmission bezels.
Orignal lighting


Dash disassembled
Kicked the wife's Mazda out of the garage for the day so I would have more room. LOL

The climate and rocker switches went pretty well. Obviously, you can get the polarity wrong on the LEDs. So there was some trial and error. Put them in, turn on head light circuit, if they don't work reverse them.
The instrument panel wasn't bad either. Everything is pretty easy to access. There were 5 brown colored bulb holders that illuminate the panel. Plus, two turn signal indicators and the high-beam indicator. Panel just pulls right after you get the dash disassembled.
Instrument panel rear

The only real hiccup came with the auto trans shifter bezel. Apparently, the PO broke that at one point. The bezel is two pieces. The top textured black panel that you see when everything is assembled and an off-white assembly beneath that holds the lightbulb, the gear indicators and those funny thin plastic pieces that move with the shifter.
Broken crap

The white assembly and the texture black part are suppose to be a homogenous part. I think you could pry the two pieces apart if needed. However, at some point in the vehicle's history someone broke the four mounts that connect the two parts. Easy fix though, I ran inside and grabbed some modeling glue from my hobby desk. Fixed her right up.
LED lighting

Post project thoughts:
If you are on the edge about this purchase, as Nike says...."just do it". Nice little project that sets off your interior. The pictures really don't do it justice. Can't wait to "LED" the rest of the interior!
Last edited by CurrySoSpicy; 01-22-2017 at 09:00 PM.
01-24-2017, 04:43 PM
#51
Seasoned Member
have i said before just how nice your xj is? if i haven't..... your xj is wicked nice man!
01-24-2017, 04:48 PM
#53
Seasoned Member
01-24-2017, 04:55 PM
#55
Seasoned Member
02-03-2017, 05:57 PM
#56
CF Veteran
Thread Starter
Join Date: Jun 2016
Location: York PA
Posts: 2,929
Likes: 0
Received 5 Likes
on
5 Posts
Year: 2001
Model: Cherokee
Engine: 4.0 Litre I6
1/29/17
Perform oil change with Mobil 1 10W-30 full synthetic and Mobil 1 oil filter. Also, changed air filter with STP.
Sent oil analysis sample to Blackstone Labs.
Perform oil change with Mobil 1 10W-30 full synthetic and Mobil 1 oil filter. Also, changed air filter with STP.
Sent oil analysis sample to Blackstone Labs.
02-18-2017, 04:29 PM
#57
CF Veteran
Thread Starter
Join Date: Jun 2016
Location: York PA
Posts: 2,929
Likes: 0
Received 5 Likes
on
5 Posts
Year: 2001
Model: Cherokee
Engine: 4.0 Litre I6
2/18/17
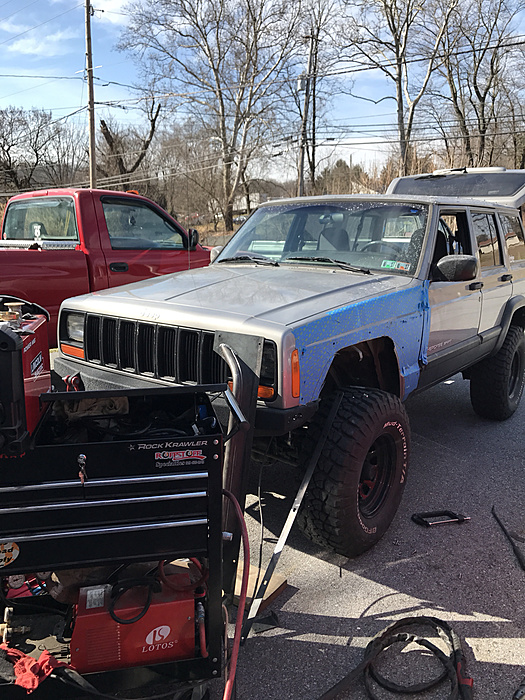
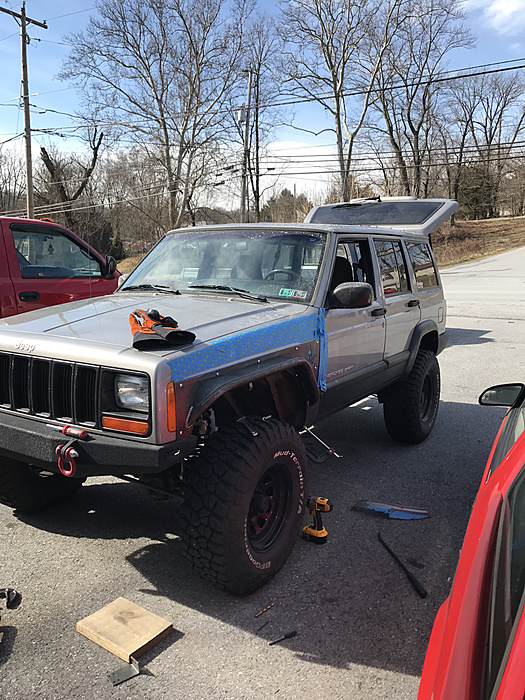
Went up to forum user foxmxrcer's house today for some help installing my tube flares. The flares for Hooligan are nice, but do require some manipulation to get them to fit. We had to make a slight relief bend at the bottom of the Hooligan fender to get it to angle towards the body more. All in it was a really nice day to work outside and a big thanks to foxmxrcer, I couldn't have done it with out him. He had a lot of fabrication tools such as his plasma cutter that made quick work of the fenders. Just need to prep, primer and paint the Hooligans fenders. It is nice to now be able to turn the tire with out grinding it into the fender, also the weight of the flares on the front have given the vehicle a heavier more rugged feel.
XJ ready to go under the knife
Fender being cut
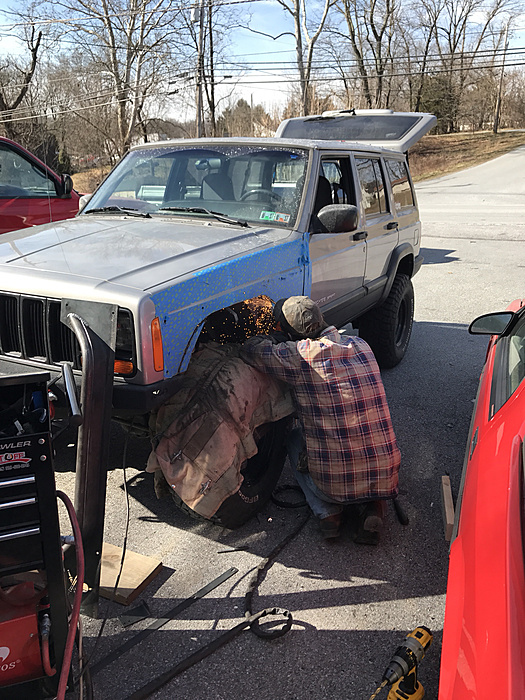
Drivers side complete
Went up to forum user foxmxrcer's house today for some help installing my tube flares. The flares for Hooligan are nice, but do require some manipulation to get them to fit. We had to make a slight relief bend at the bottom of the Hooligan fender to get it to angle towards the body more. All in it was a really nice day to work outside and a big thanks to foxmxrcer, I couldn't have done it with out him. He had a lot of fabrication tools such as his plasma cutter that made quick work of the fenders. Just need to prep, primer and paint the Hooligans fenders. It is nice to now be able to turn the tire with out grinding it into the fender, also the weight of the flares on the front have given the vehicle a heavier more rugged feel.
XJ ready to go under the knife

Fender being cut

Drivers side complete
