Project CHIOBA
 05-06-2013, 10:36 AM
#16
CF Veteran
Thread Starter
Join Date: Dec 2012
Location: York, PA
Posts: 4,169
Likes: 0
Received 6 Likes
on
6 Posts
Year: 1998
Model: Cherokee
Engine: 4.0
Thanks! I can't wait for it either. It will be a while though unfortunately. I'm in the process of finding a part time job to help fund this project, and also my DD has been stuck in my garage for now on week 2 for repairs...Getting it back together and out of the garage hopefully this week, and then progress will continue on the CHIOBA... 
Last edited by PocketsEmpty; 05-06-2013 at 10:39 AM.
 05-22-2013, 10:46 AM
#18
CF Veteran
Thread Starter
Join Date: Dec 2012
Location: York, PA
Posts: 4,169
Likes: 0
Received 6 Likes
on
6 Posts
Year: 1998
Model: Cherokee
Engine: 4.0
Well, I finally fixed my car that has been stuck in my garage for a month, and now I can finally begin working on the XJ again. First order of business is to fix what I suspect are loose flexplate bolts, have a pretty intense rattle at idle in park or neutral when warmed up. That hopefully won't be too long, and this weekend I'll probably get started on my disc brake conversion!
05-24-2013, 05:02 PM
#19
CF Veteran
Thread Starter
Join Date: Dec 2012
Location: York, PA
Posts: 4,169
Likes: 0
Received 6 Likes
on
6 Posts
Year: 1998
Model: Cherokee
Engine: 4.0
Got some goodies for tomorrow's project...still need to get some odds and ends such as a differential gasket, extra quart of gear oil, and probably some more BPC.
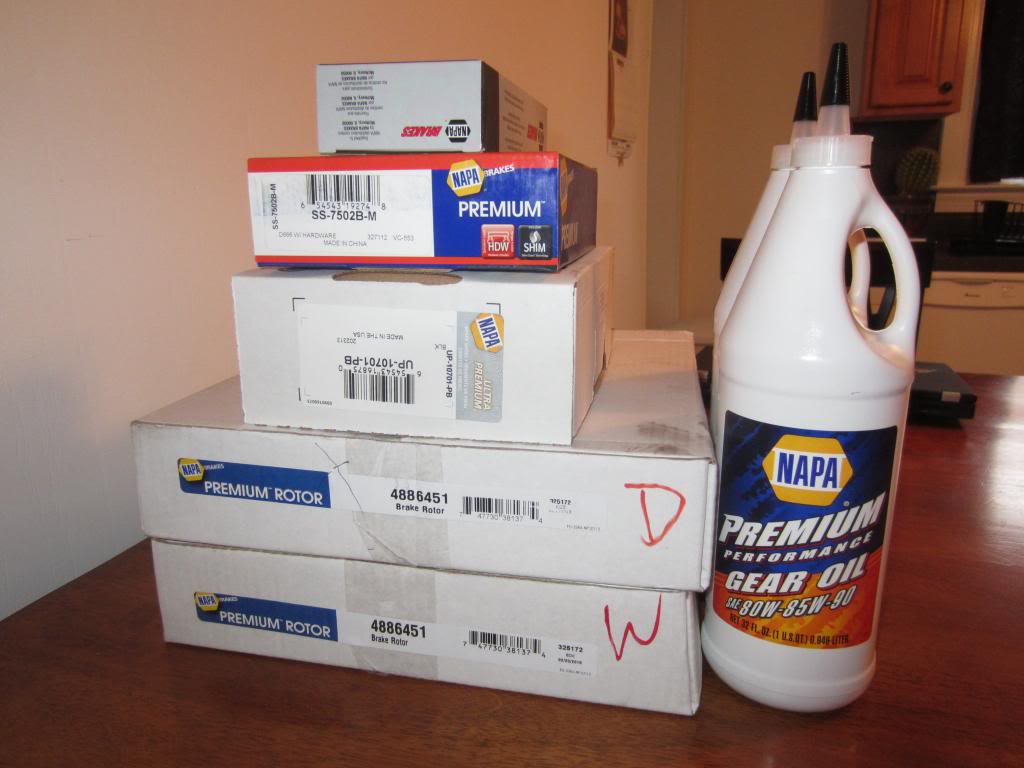
More to come...
More to come...
05-26-2013, 03:24 PM
#21
CF Veteran
Thread Starter
Join Date: Dec 2012
Location: York, PA
Posts: 4,169
Likes: 0
Received 6 Likes
on
6 Posts
Year: 1998
Model: Cherokee
Engine: 4.0
Well, everything was peachy until it came time to pull the axle shafts. The carrier pin retention bolt, a 5/16", is giving me hell. I can't get it out with the wrenches I have. So, I'm off to get a new blowtorch and a 6-point 5/16" wrench and hope for the best. It has to work! 
06-05-2013, 12:12 AM
#22
CF Veteran
Thread Starter
Join Date: Dec 2012
Location: York, PA
Posts: 4,169
Likes: 0
Received 6 Likes
on
6 Posts
Year: 1998
Model: Cherokee
Engine: 4.0
Finally a little update...After about 2 weeks of working on it here and there I finally got my disc brakes on. Acquired a whole new ratchet set and who knows what else during this process!
First step was to pull the axle shafts...
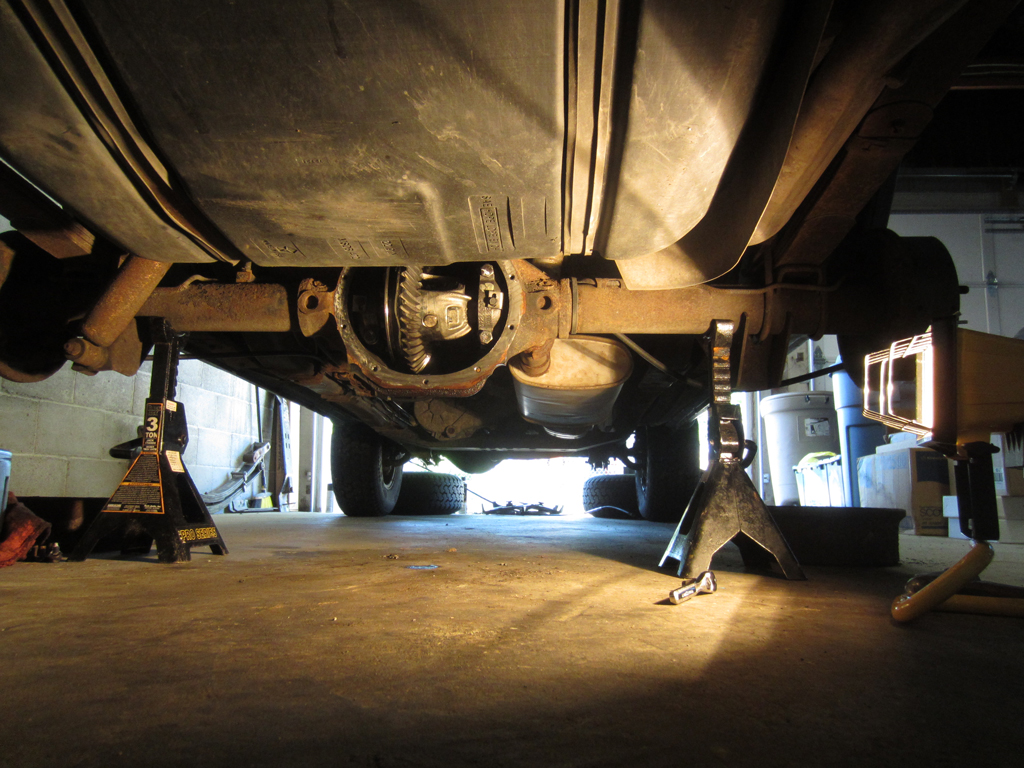
This was my first time ever inside a differential and it was quite an experience. I found that I couldn't get that 5/16" cross pin retaining bolt out with any tools I had. So, off to Sears and I pick up a 1/4" ratchet and 6-point socket and also a 5/16" 6-point wrench just to be sure, a blowtorch and some other little things. That did the trick!
Once I finally got that pin out I realized two of the spider gears wanted to come along with it. It was a little puzzle for me at first to put it back together since I never have before, but it was pretty easy. Now, on to remove the old junk!
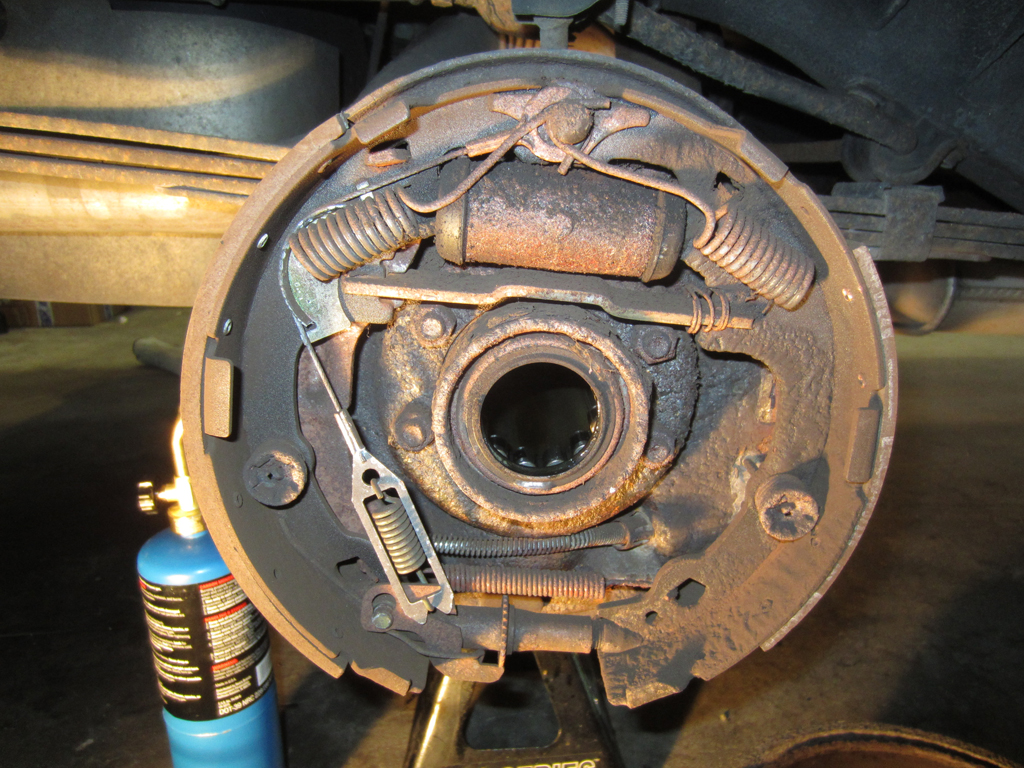
After removing that mess, I did a bit of cleanup work on the axle tube with the Dremel due to all the rust. I'll eventually get to undercoating everything when I do body work (next project). After lots of dremeling and replacing a rear brake hose that I broke, the end result...
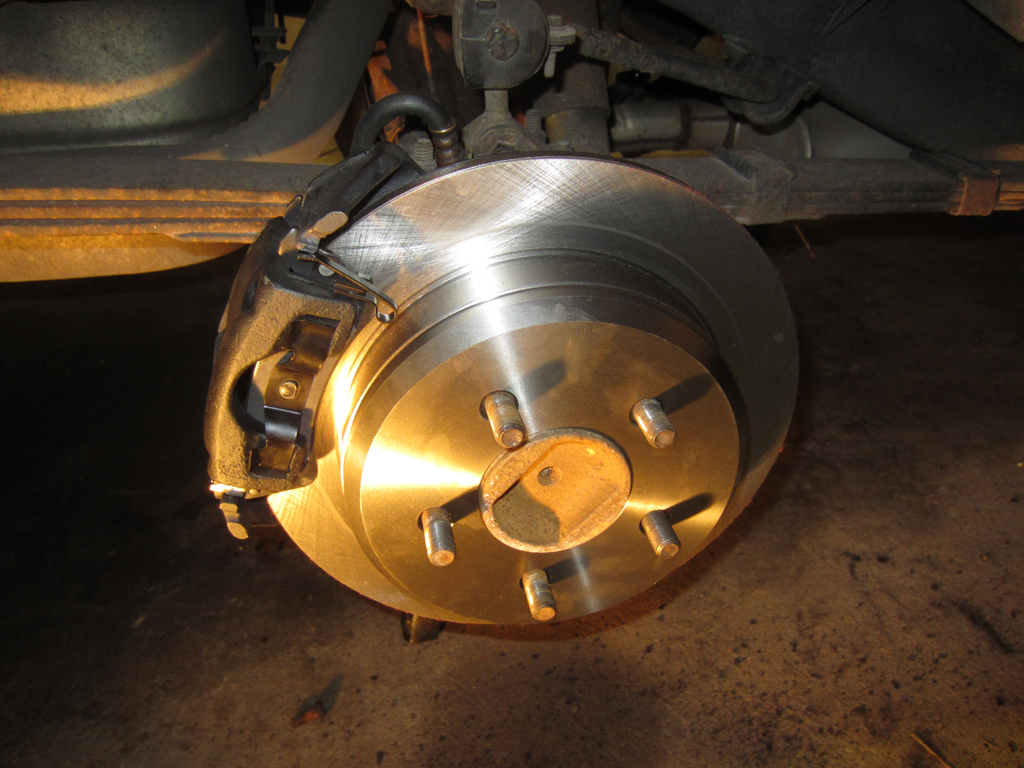
In closing of this project, I would say that it was definitely worth the upgrade from the spin around the block I took earlier. Much better than that old junk. I still have the ZJ proportioning valve internals to swap if I feel that I need to down the road. I also still have to sort out my e-brake, and figure out what cable I need for the passenger side.
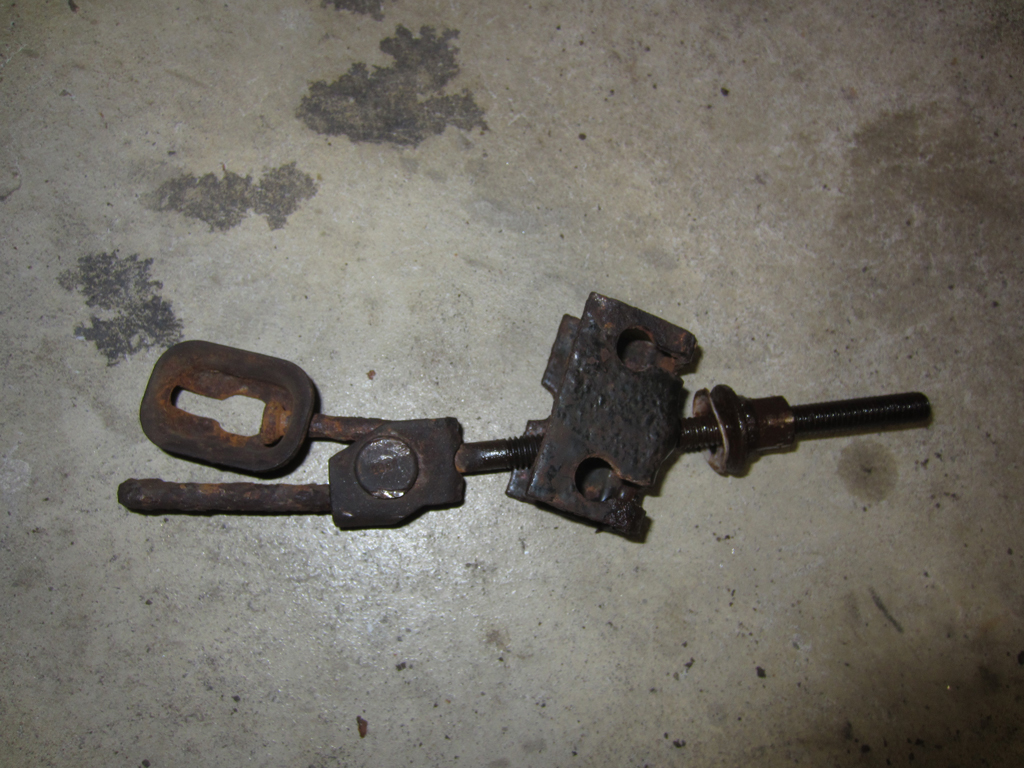
Oh, and can anyone tell me where I can order or hopefully replace this part besides the junkyard????? It's the piece where the two brake cables plug into one for the cab lever. Mostly rusted fast.
First step was to pull the axle shafts...
This was my first time ever inside a differential and it was quite an experience. I found that I couldn't get that 5/16" cross pin retaining bolt out with any tools I had. So, off to Sears and I pick up a 1/4" ratchet and 6-point socket and also a 5/16" 6-point wrench just to be sure, a blowtorch and some other little things. That did the trick!
Once I finally got that pin out I realized two of the spider gears wanted to come along with it. It was a little puzzle for me at first to put it back together since I never have before, but it was pretty easy. Now, on to remove the old junk!
After removing that mess, I did a bit of cleanup work on the axle tube with the Dremel due to all the rust. I'll eventually get to undercoating everything when I do body work (next project). After lots of dremeling and replacing a rear brake hose that I broke, the end result...
In closing of this project, I would say that it was definitely worth the upgrade from the spin around the block I took earlier. Much better than that old junk. I still have the ZJ proportioning valve internals to swap if I feel that I need to down the road. I also still have to sort out my e-brake, and figure out what cable I need for the passenger side.
Oh, and can anyone tell me where I can order or hopefully replace this part besides the junkyard????? It's the piece where the two brake cables plug into one for the cab lever. Mostly rusted fast.
06-15-2013, 06:33 PM
#23
CF Veteran
Thread Starter
Join Date: Dec 2012
Location: York, PA
Posts: 4,169
Likes: 0
Received 6 Likes
on
6 Posts
Year: 1998
Model: Cherokee
Engine: 4.0
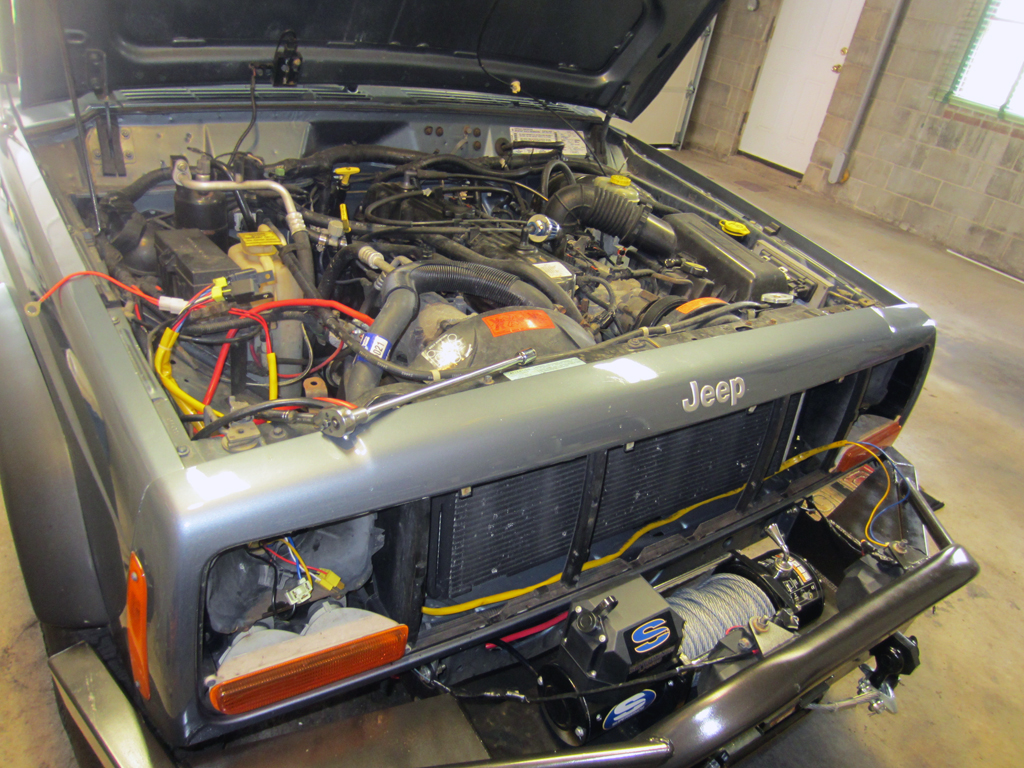
Today I'm working on installing my Putco wiring harness that's been sitting in my garage for a few months now. I'm looking forward to the benefits of brighter lights!
Also, while I had it apart, decided to go ahead and paint the grill and headlight bezels flat black. Might redo them with the Rustoleum Hammered one day to match the bumper...which I also need to touch up by now a bit.
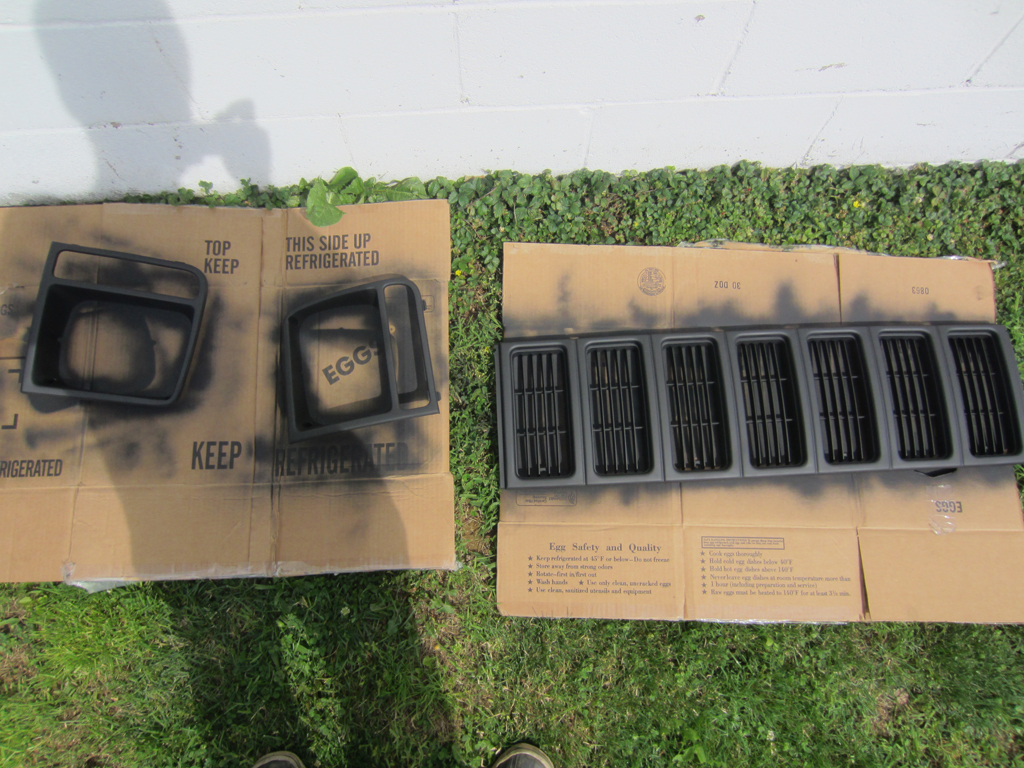
Also, while I had it apart, decided to go ahead and paint the grill and headlight bezels flat black. Might redo them with the Rustoleum Hammered one day to match the bumper...which I also need to touch up by now a bit.
06-18-2013, 10:36 AM
#24
Banned

Join Date: Jun 2013
Posts: 7
Likes: 0
Received 0 Likes
on
0 Posts
Model: Cherokee
Looks great! On the rusted brake part or any other parts not rusted through I suggest getting a cheap blast cabinet if you already have a compressor. $99 at harbor freight and $20 for 80 grit alum oxide media. Paint with a etching primer then paint 
06-18-2013, 11:25 AM
#25
CF Veteran
Thread Starter
Join Date: Dec 2012
Location: York, PA
Posts: 4,169
Likes: 0
Received 6 Likes
on
6 Posts
Year: 1998
Model: Cherokee
Engine: 4.0

I did however get a replacement from Big Dave, and it's entirely rust free! Haven't installed it yet though. Waiting on funds to get the new Liberty e-brake cable.
07-26-2013, 08:28 AM
#26
CF Veteran
Thread Starter
Join Date: Dec 2012
Location: York, PA
Posts: 4,169
Likes: 0
Received 6 Likes
on
6 Posts
Year: 1998
Model: Cherokee
Engine: 4.0
Some quick updates. Recharged my A/C and it's working great again! No signs of any leakage yet. It's been cool here in PA though and haven't needed it.
Also, I've changed my plans a bit. I'm selling the Rusty's long arm kit and going with adjustable short arms instead. Can anyone recommend good ones to get? I decided this because of my wheeling style and I'm hoping I can use some recovered funds towards shocks. Also looking at the Rock Krawler bomb-proof track bar.
Tonight, the garage is getting cleaned up a bit and Jeep is going to be stuck up on jackstands for a while as I gut the whole Jeep, remove both axles and all suspension, and prepare for rust repair and entire undercoating with Chassis Saver and Monstaliner bedliner where appropriate.
Here's the unfortunate rust I'm dealing with...hole on the rocker panel here
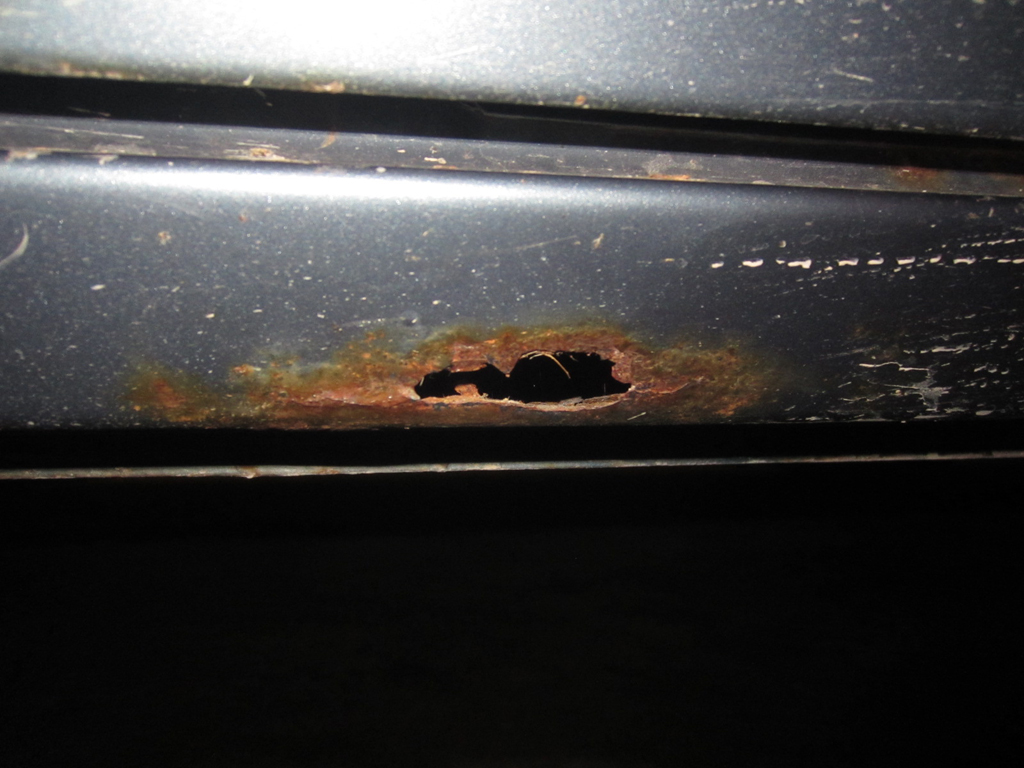
And door jamb here. All on drivers side
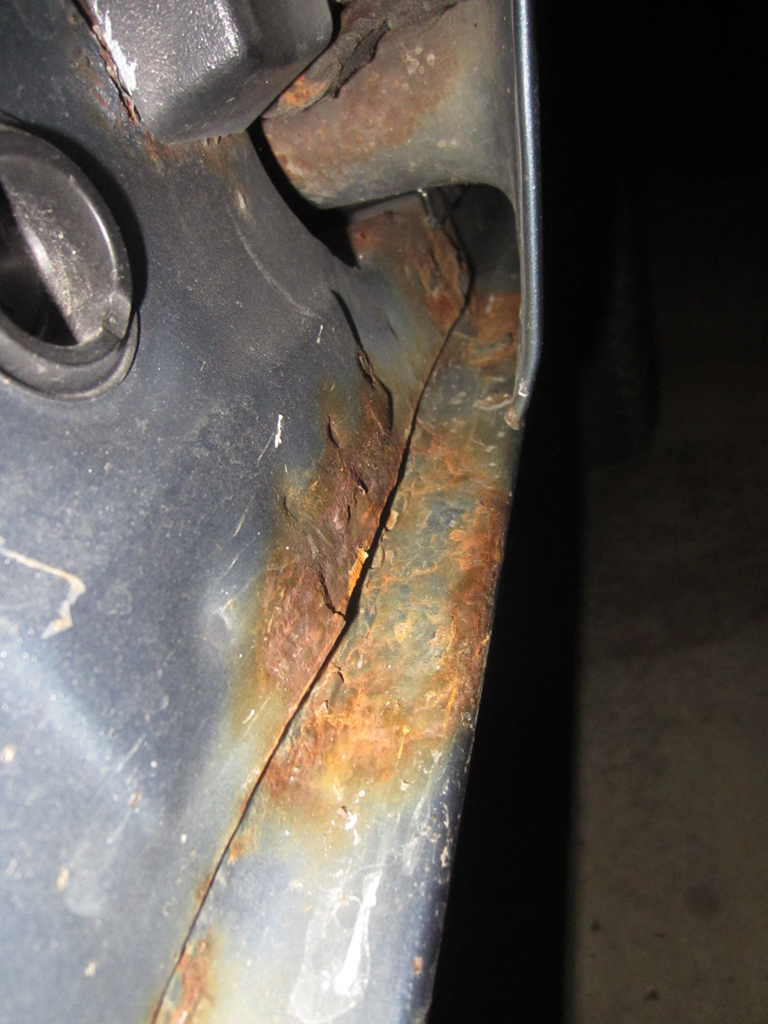
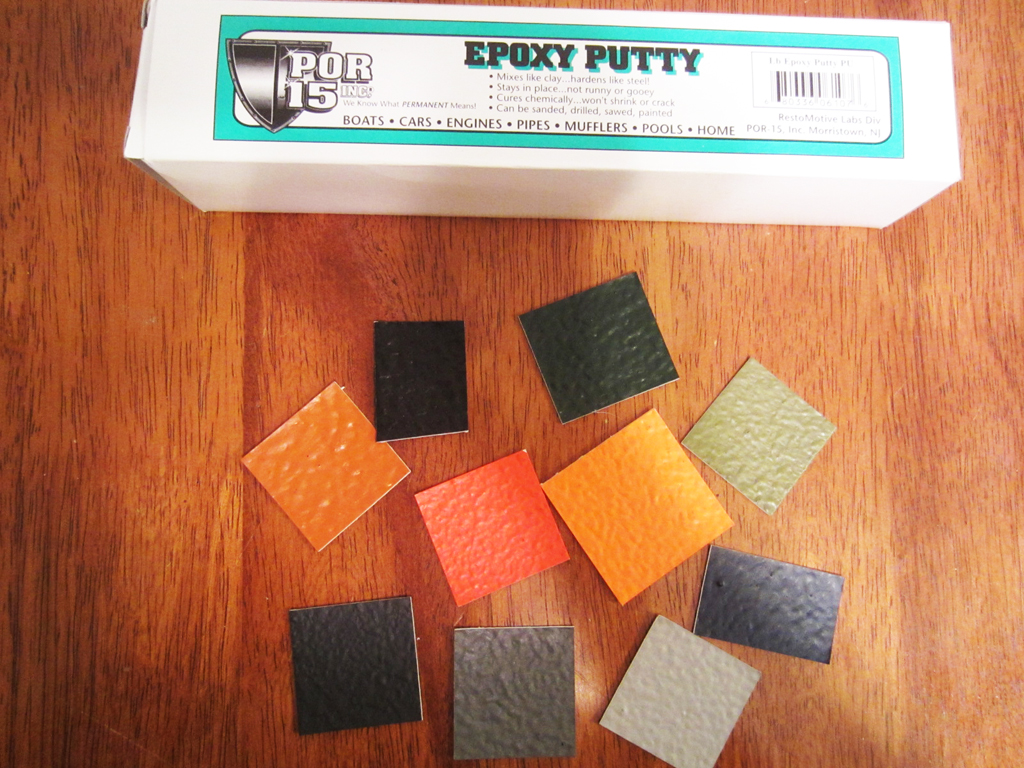
I ordered some POR15 Epoxy Putty to fill it in with after I grind it all out and apply Chassis Saver. Hopefully, the rockers will hold up for a while after this. Also in the pic are all of the Monstaliner color sample chips I got in the mail.
Also, I've changed my plans a bit. I'm selling the Rusty's long arm kit and going with adjustable short arms instead. Can anyone recommend good ones to get? I decided this because of my wheeling style and I'm hoping I can use some recovered funds towards shocks. Also looking at the Rock Krawler bomb-proof track bar.
Tonight, the garage is getting cleaned up a bit and Jeep is going to be stuck up on jackstands for a while as I gut the whole Jeep, remove both axles and all suspension, and prepare for rust repair and entire undercoating with Chassis Saver and Monstaliner bedliner where appropriate.
Here's the unfortunate rust I'm dealing with...hole on the rocker panel here
And door jamb here. All on drivers side
I ordered some POR15 Epoxy Putty to fill it in with after I grind it all out and apply Chassis Saver. Hopefully, the rockers will hold up for a while after this. Also in the pic are all of the Monstaliner color sample chips I got in the mail.
07-26-2013, 02:33 PM
#27
Banned

Join Date: Apr 2013
Posts: 13
Likes: 0
Received 0 Likes
on
0 Posts
Model: Cherokee
Nice build man your bringing that thing back to life the right way. Just need some decals, check out the website. way to go and keep up the good work.
www.stuckupproducts.com
www.stuckupproducts.com
07-27-2013, 08:33 PM
#28
CF Veteran
Join Date: Oct 2012
Location: Canton, GA
Posts: 2,314
Likes: 0
Received 3 Likes
on
1 Post
Year: 1996
Model: Cherokee
Engine: 4.0
Looking forward to more from this build.
Did you just now paint the grill/bezels black or did you repaint them? It looks like they're black in your profile picture.
Did you just now paint the grill/bezels black or did you repaint them? It looks like they're black in your profile picture.
07-27-2013, 10:52 PM
#29
CF Veteran
Thread Starter
Join Date: Dec 2012
Location: York, PA
Posts: 4,169
Likes: 0
Received 6 Likes
on
6 Posts
Year: 1998
Model: Cherokee
Engine: 4.0
Tearing out the interior and carpets tomorrow!
 07-28-2013, 05:59 PM
#30
CF Veteran
Join Date: Oct 2012
Location: Canton, GA
Posts: 2,314
Likes: 0
Received 3 Likes
on
1 Post
Year: 1996
Model: Cherokee
Engine: 4.0
I painted them a few weeks ago when I put the Putco in. It was already black, but needed a touch-up. I kinda half-assed it, I'll probably repaint it at some point, maybe with the Hammered paint to match the bumper (which also needs touched up)
Tearing out the interior and carpets tomorrow!
Tearing out the interior and carpets tomorrow!