When you click on links to various merchants on this site and make a purchase, this can result in this site earning a commission. Affiliate programs and affiliations include, but are not limited to, the eBay Partner Network.
So I'm coming up to the last few weeks of my current Jeep build, and I thought I'd start a thread to document what I've done over the past 8 months, and then start documenting the current. I've read others build threads, and wanted to start mine a while ago, but never really had the patience to sit down and actually start it. I'm going to start off by showing my old jeep and the current one with its progress up until this past May (Part I). Then May 2015 until current (Part II), and then current on (Part II). It'll kind of like a backwards build if you will.
I come from knowing nothing about the mechanics of a vehicle to being able to do a head swap in a day, and still learning. I have no skill set like most of you do; welding, fabrication, etc, my professional work background is customer service, and schooling is in Criminal Justice. However I do possess the willingness learn on my own; research, tear into a project, and the critical thinking to fab s**t up my self if need be. IF YOU HAVE QUESTIONS ABOUT ANYTHING PLEASE DON'T HESITATE TO ASK. I'm super happy with how the current jeep (gray) is turning out so ask away. Half the stuff I've done turned out so well because of threads on forums such as CF.
Part I
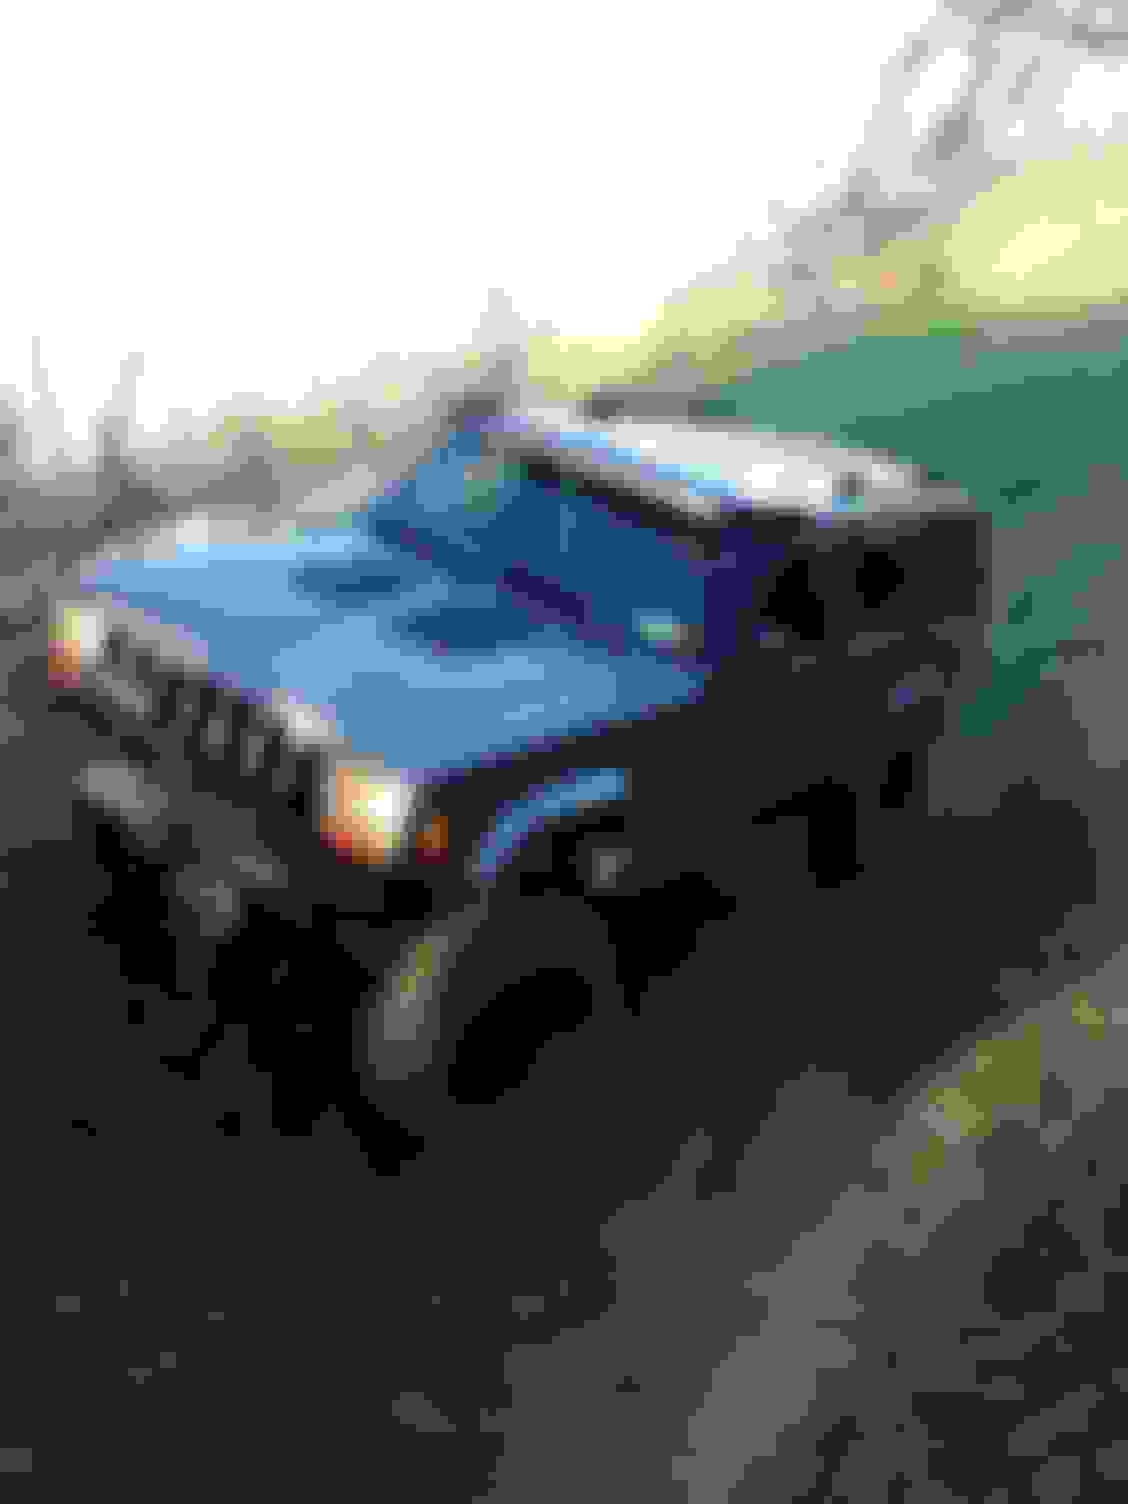
To start off, this will my second XJ build, the first was a 2000 white XJ that was my first Jeep, bought it stock in 2009 with 98k miles. Drove it a year stock then added a RE 2.5" BB. A couple years DD it and wheeling it, I noticed oil pressure drop and the typical symptoms of a cracked head. Pulled the oil cap and sure enough I could physically see green coolant seeping into the top end between cylinders 3 and 4. I put a Clearwater head in and ran it like that for a while, and wheeled what was available to me in ME: hundreds of miles of logging roads and ATV trails.
Job changed, so did state, I moved to WNY/Buffalo at the end of 2013, and found myself wanting to upgrade the lift. So I did a bunch of research and decided to piece together a lift rather than by a kit; 4.5" RC coils, 3" RC full packs, RC adj shackles, IRO upper and lower CA's, IRO TB, AA SYE, and IRO tie rod. Here is how it sat after all that:
So having just moved, and from reading up online, I knew it was going to be mostly mall crawled as there weren't a lot of wheeling options in WNY. That winter came and the fuel pump died. Decided I wanted a fresh build as the infamous road salt of WNY started taking a toll, in only a few months, on the already lightly rusted body.
So I took what I wanted from her, sold what I could, then scrapped the body; which in hindsight I shouldn't have as it was still in very good shape.
Set out to find a new XJ bone stock to start my next build. Having just moved to a more populated area, there were plenty to choose from. I ended up finding one a little over an hour away. It was the holy grail of XJ's in my opinion: 2000 73k original miles, owned by 2 people prior (previous owner was an elder lady that let the thing sit in a covered garage and never used it), absolutely no rust, no modifications (which is what I wanted, a clean start), factory original everything. The only problem was it was a trade in at a used car dealer, and I hate dealing with any sort of car dealer haha. Long story short I drove it home a few days later for $5800 after taxes and all the BS fees they have. I thought at the time that it was a little steep, but after seeing what others on here, and in other areas of the country pay for a lesser XJ, I felt better.
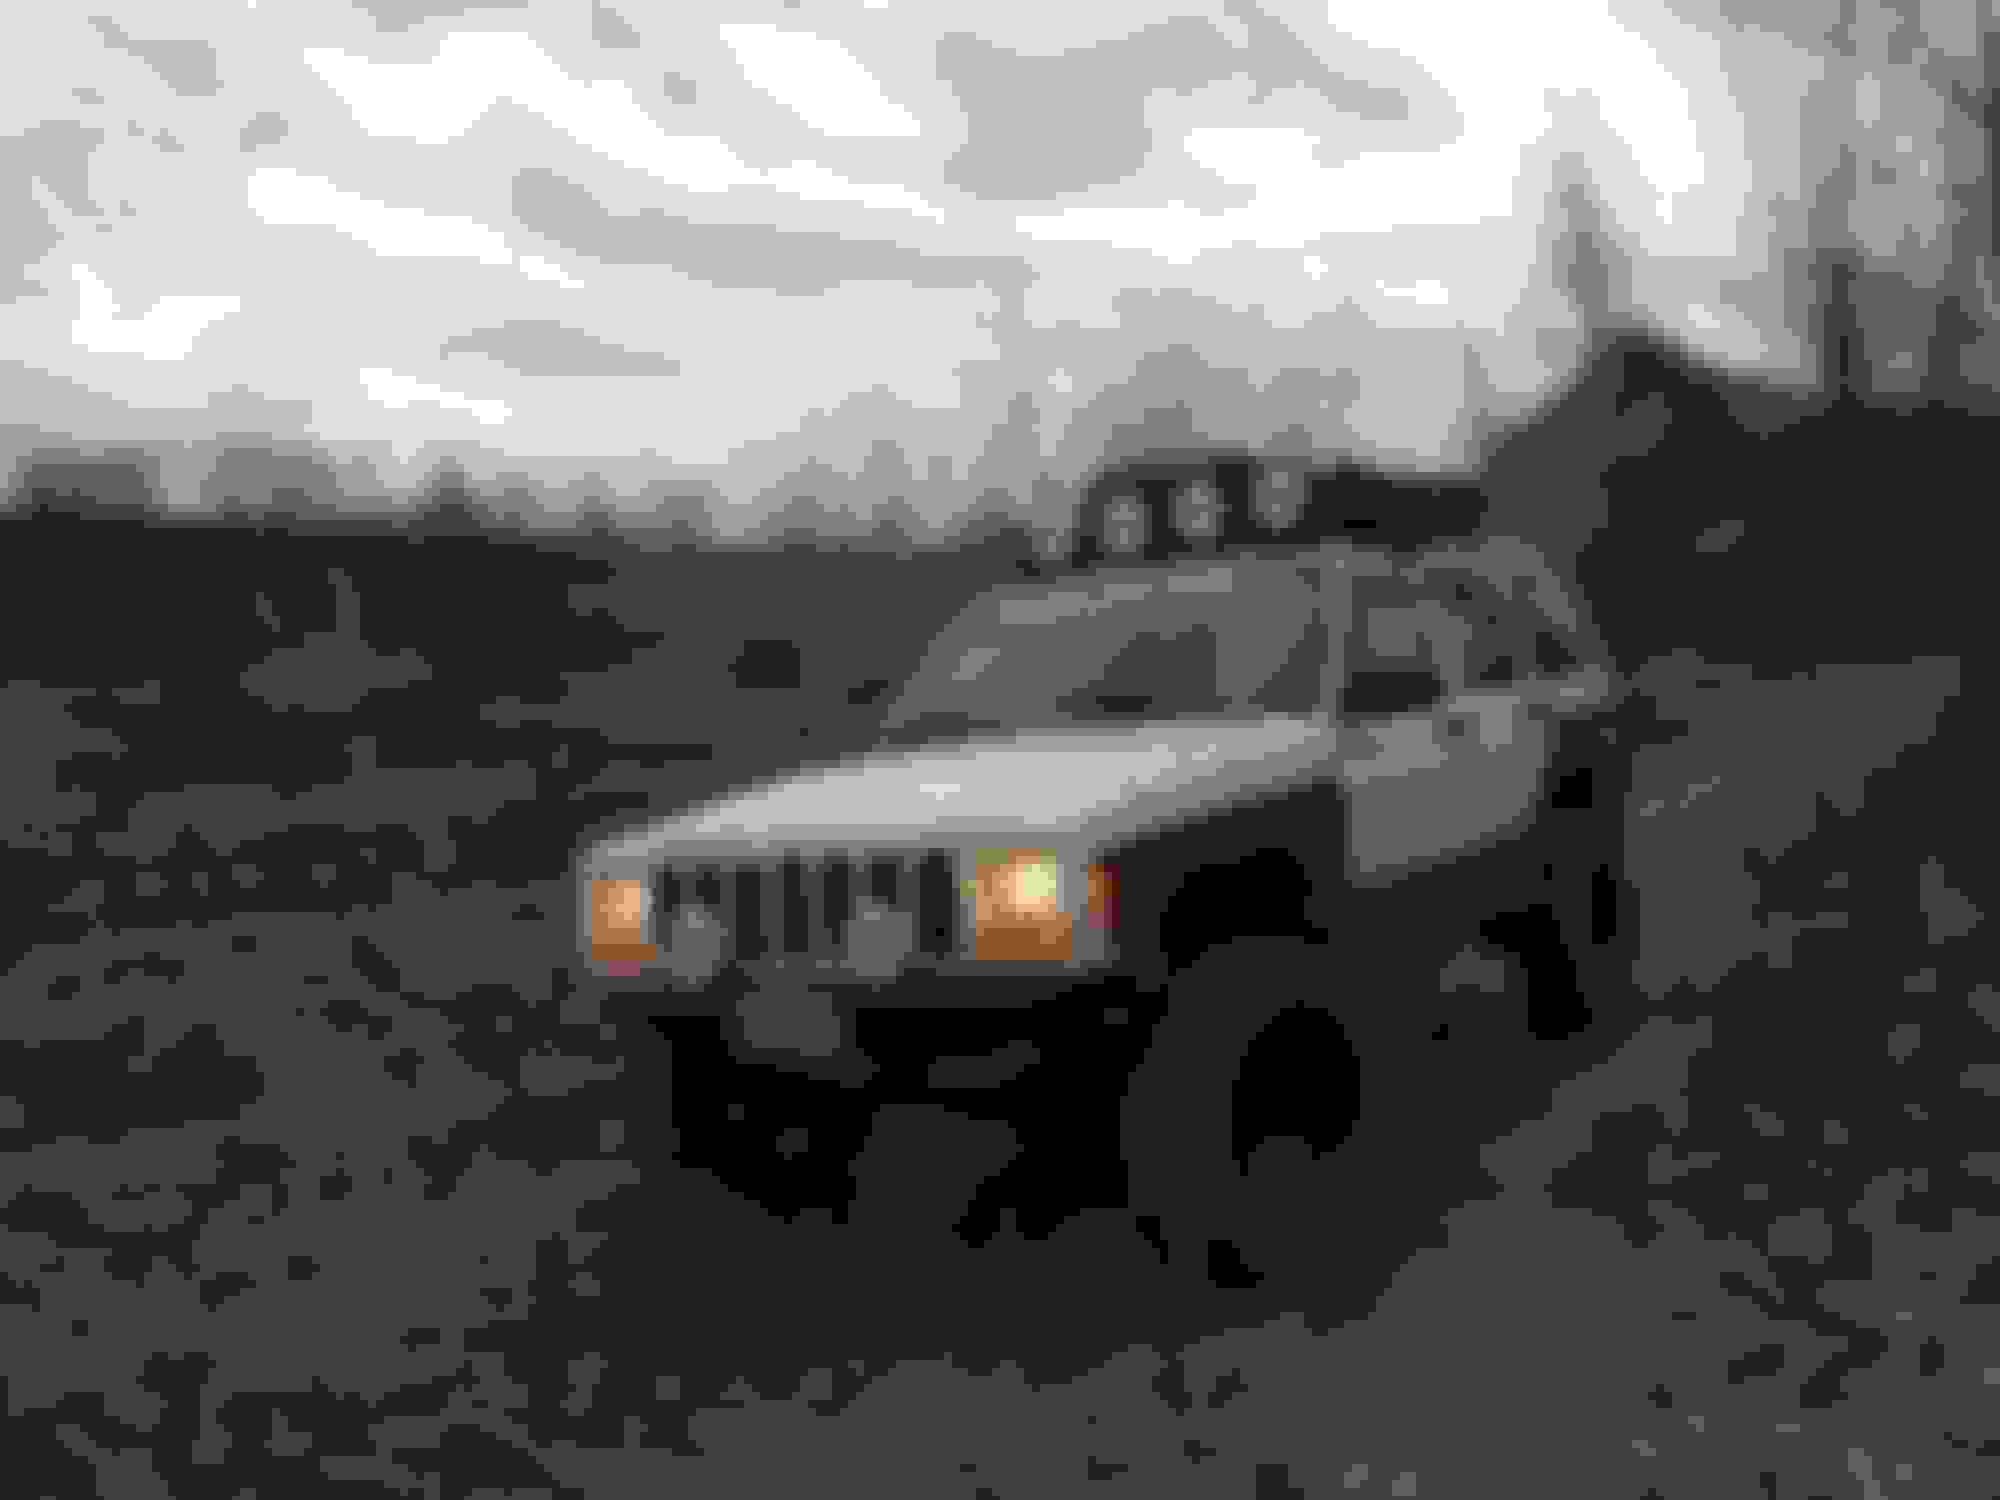
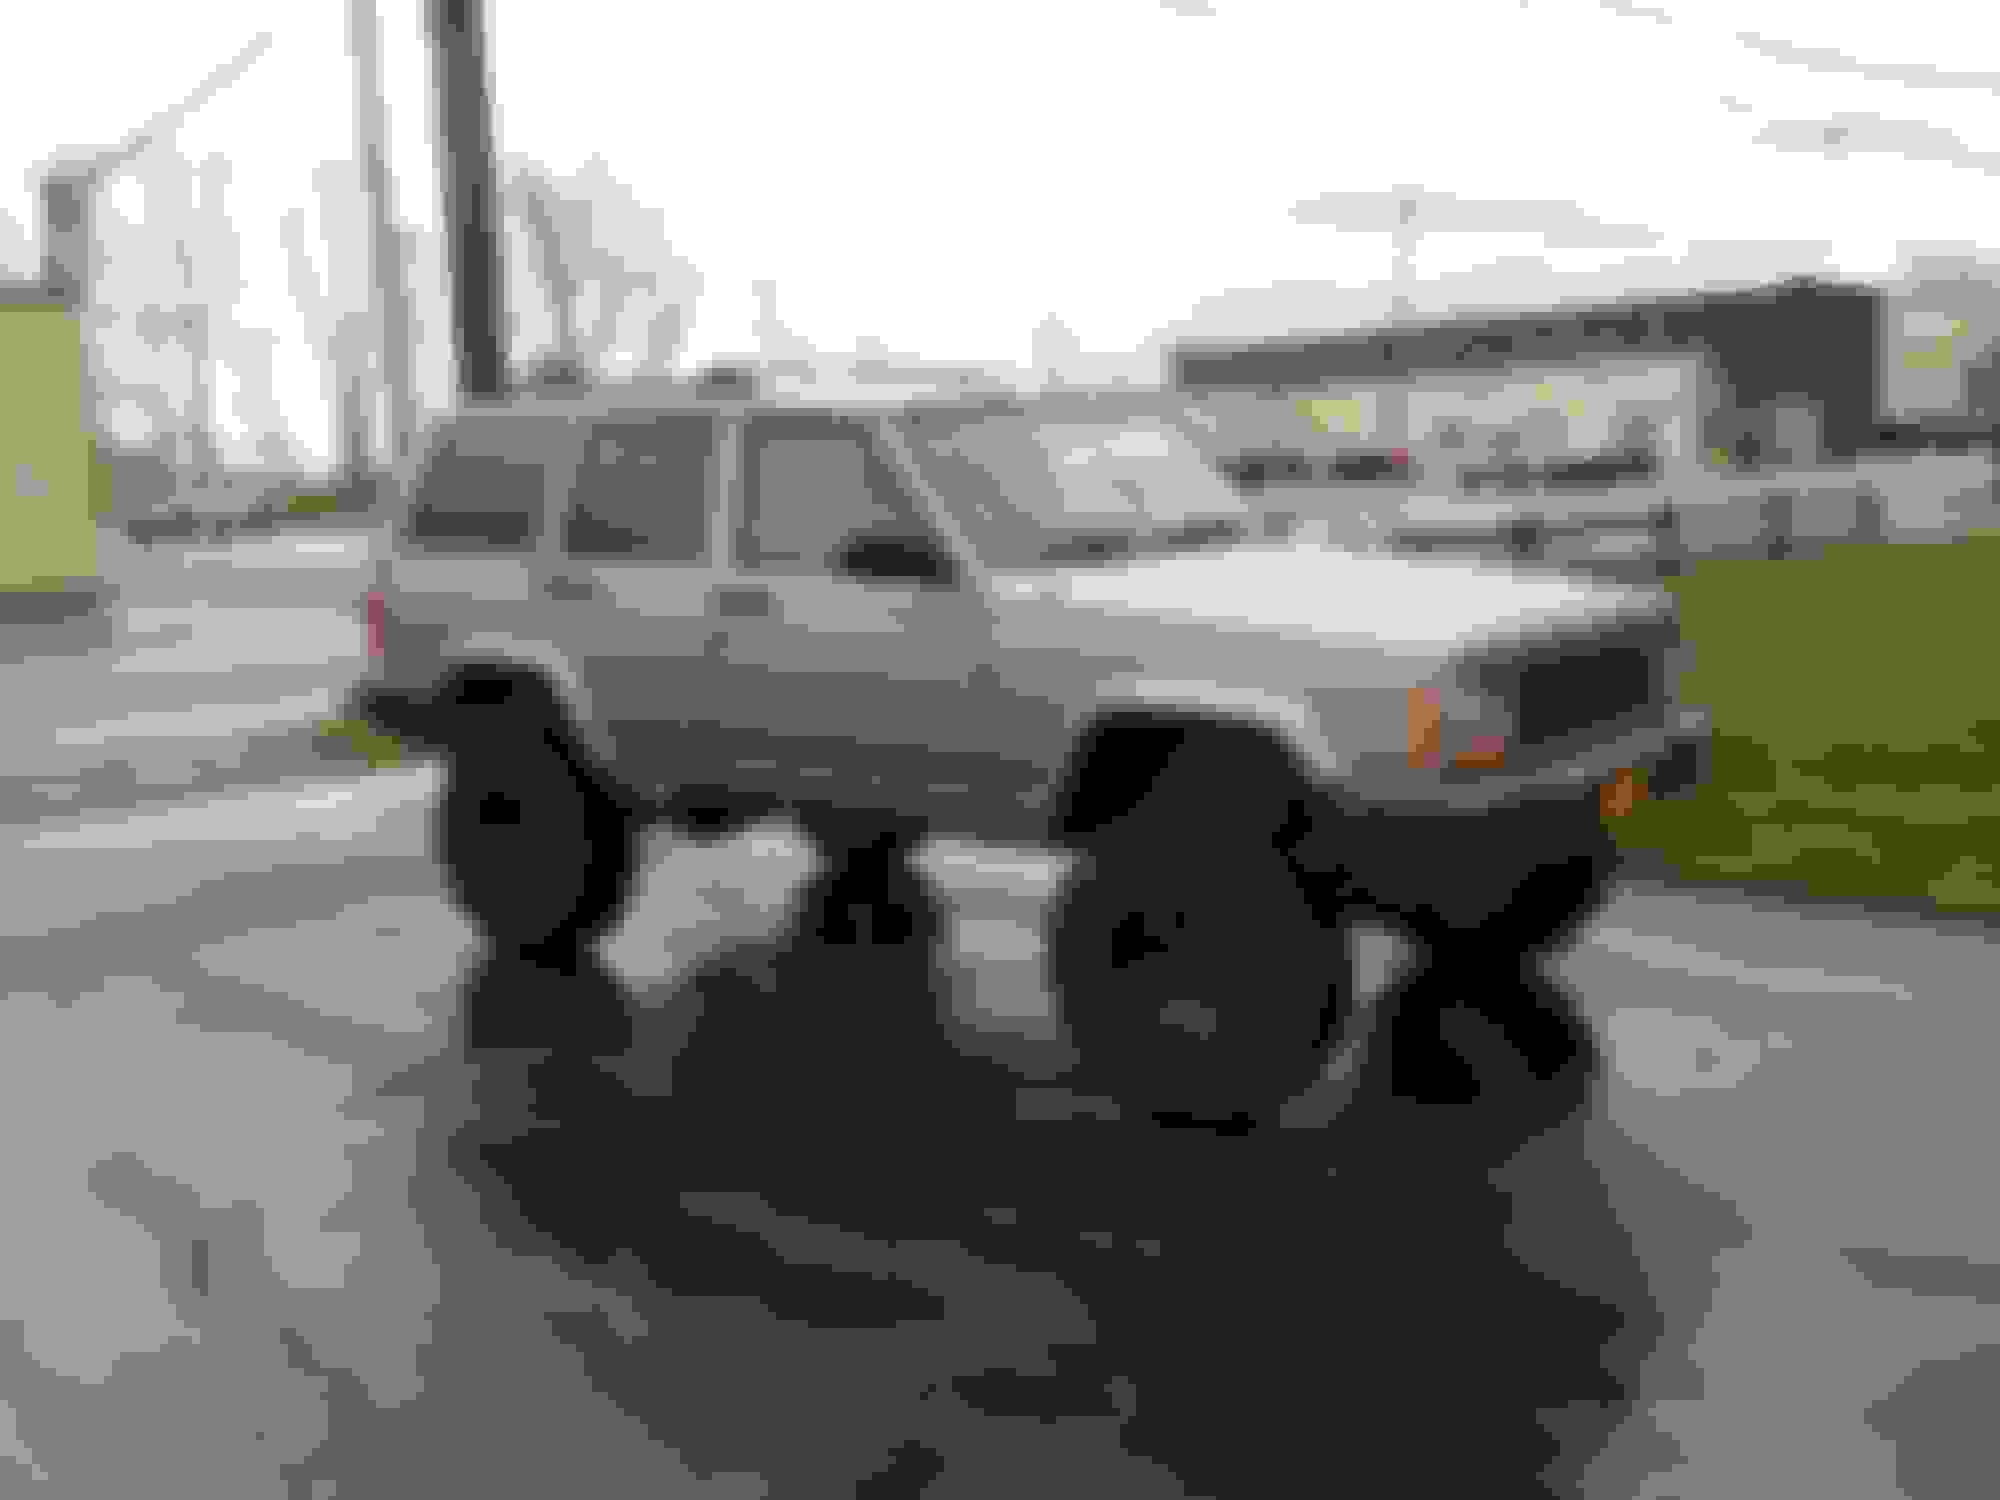
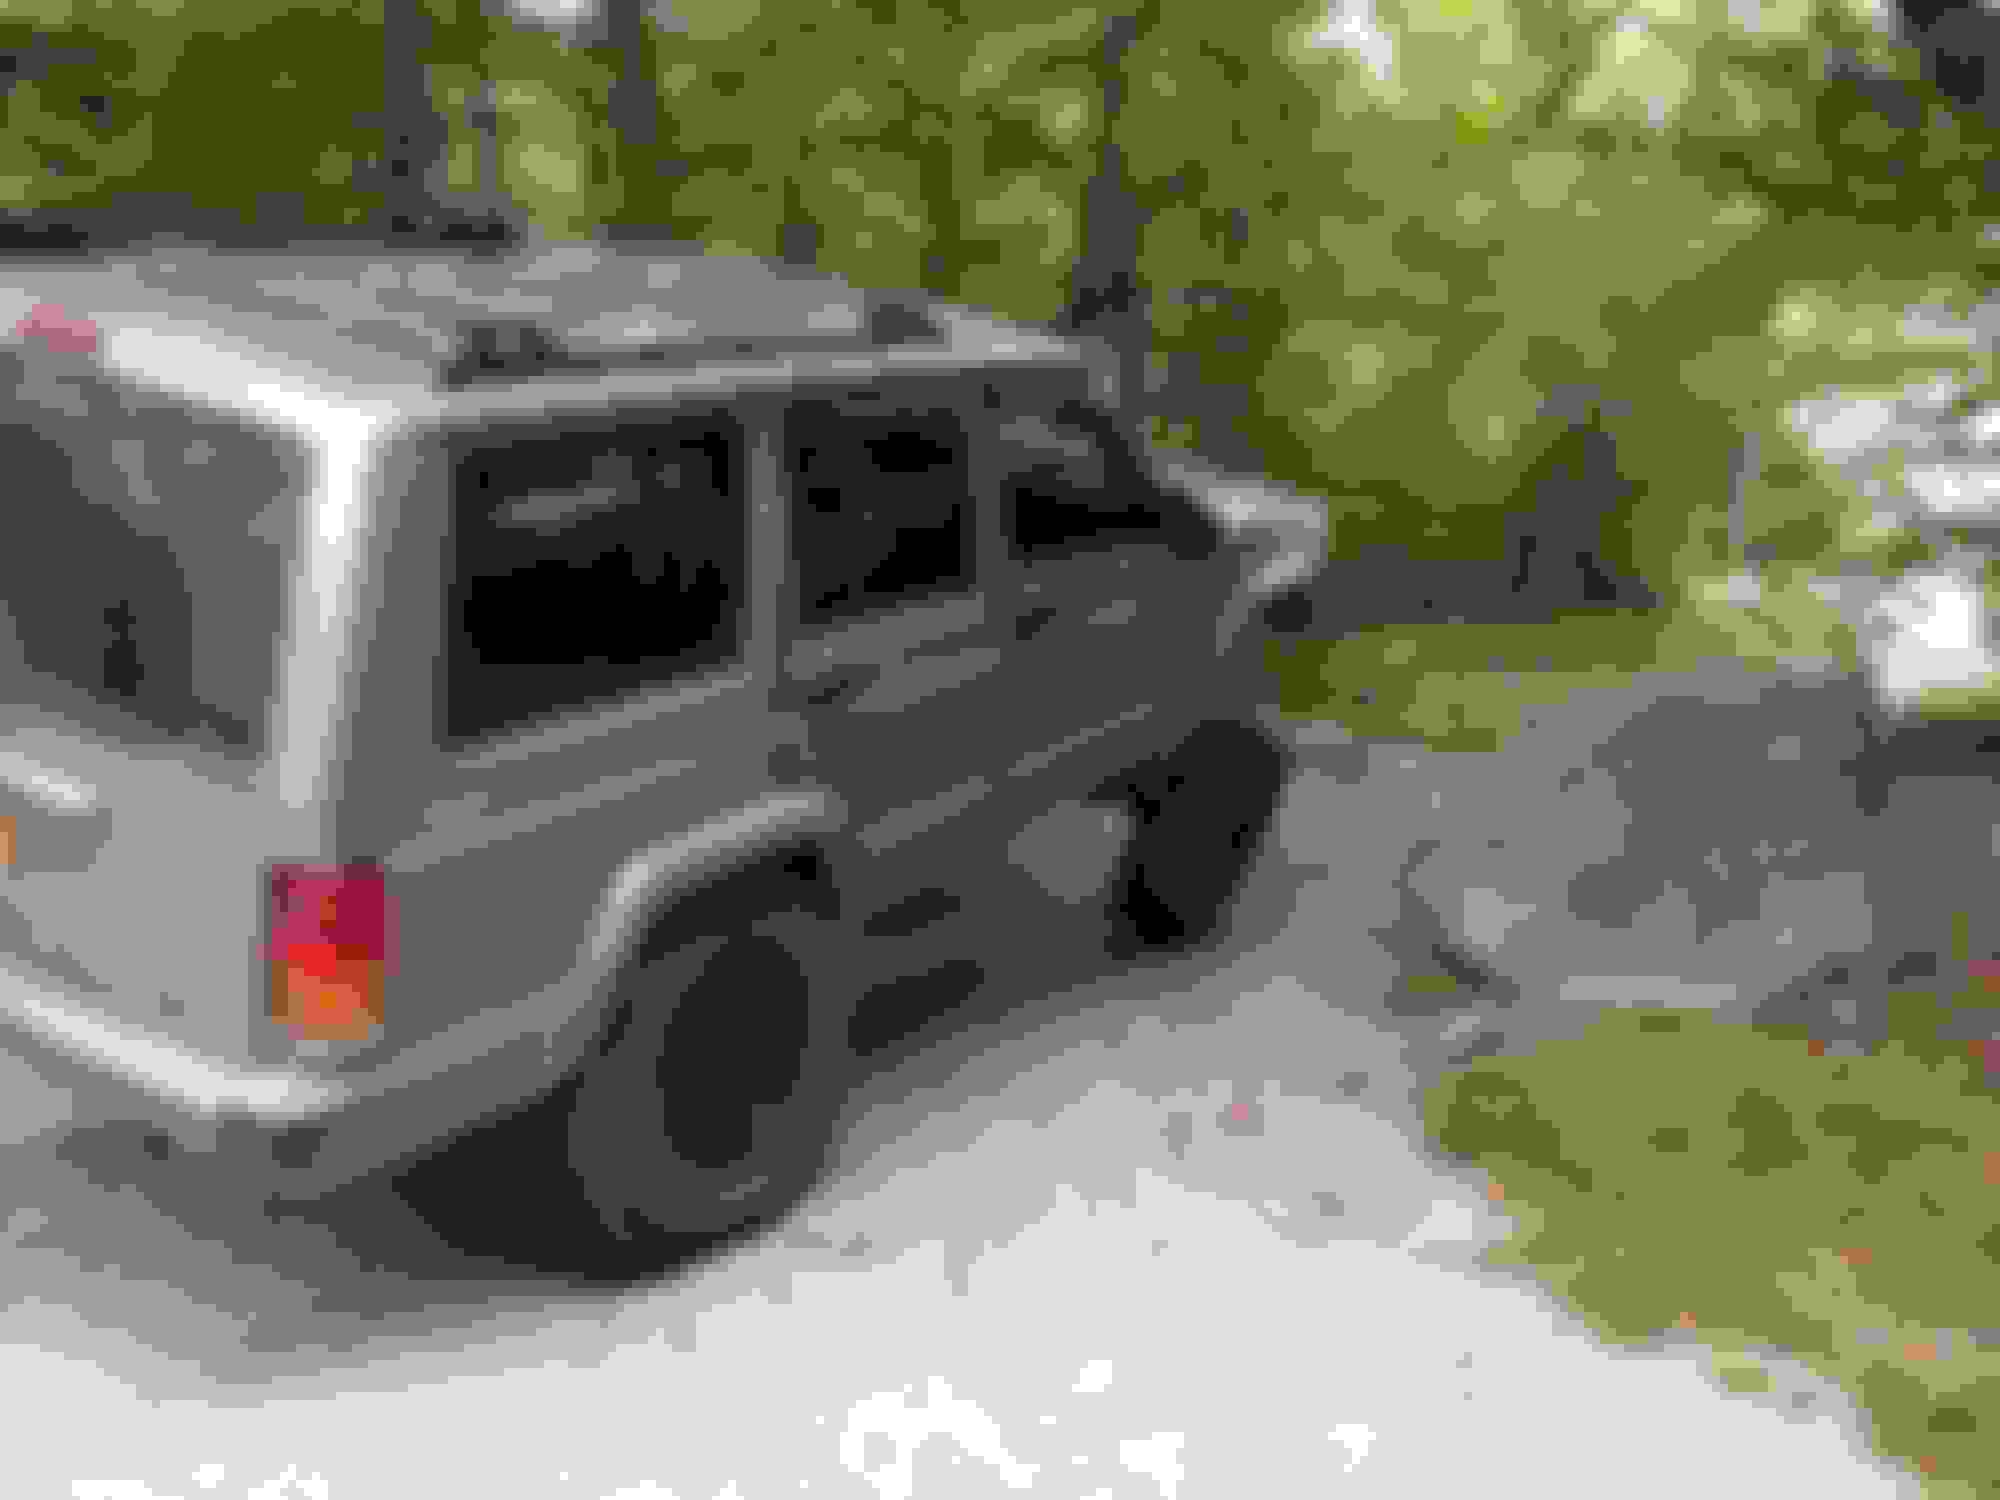
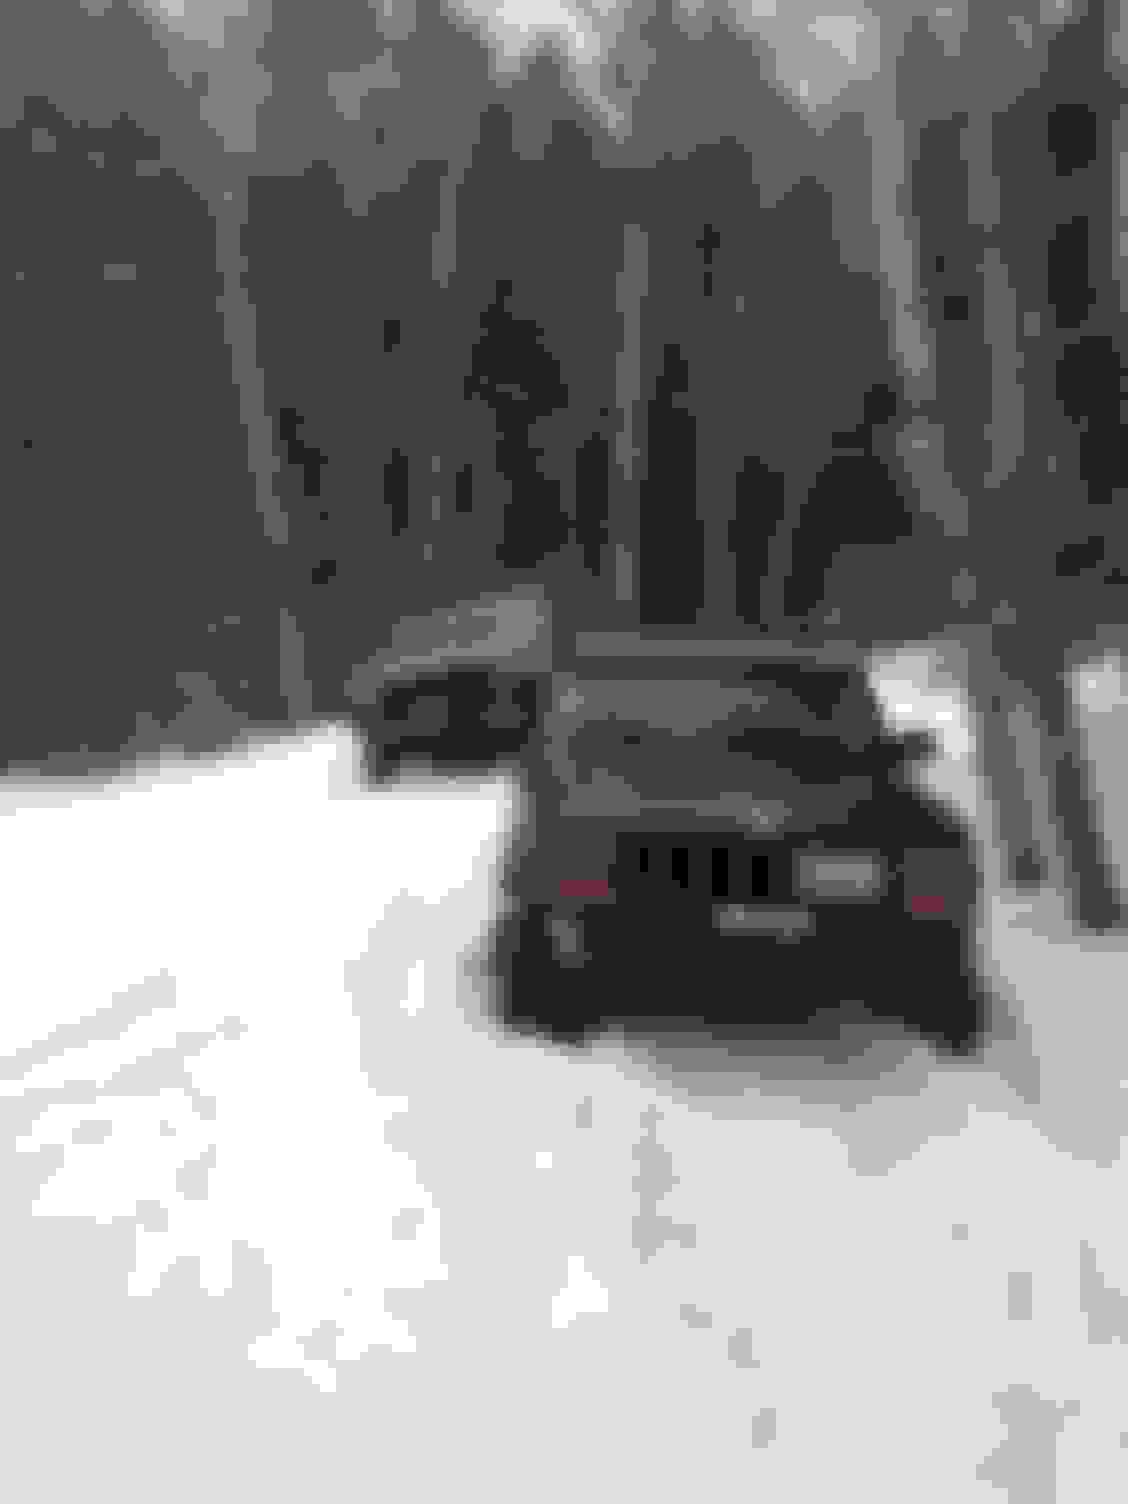
So with a new jeep, parts from my old jeep, I set out to combine the two; but with a little extra. I took the full 4.5" RC lift and added parts form the RE BB to net me around 6.25" total lift, this is how she sat around May 2014:
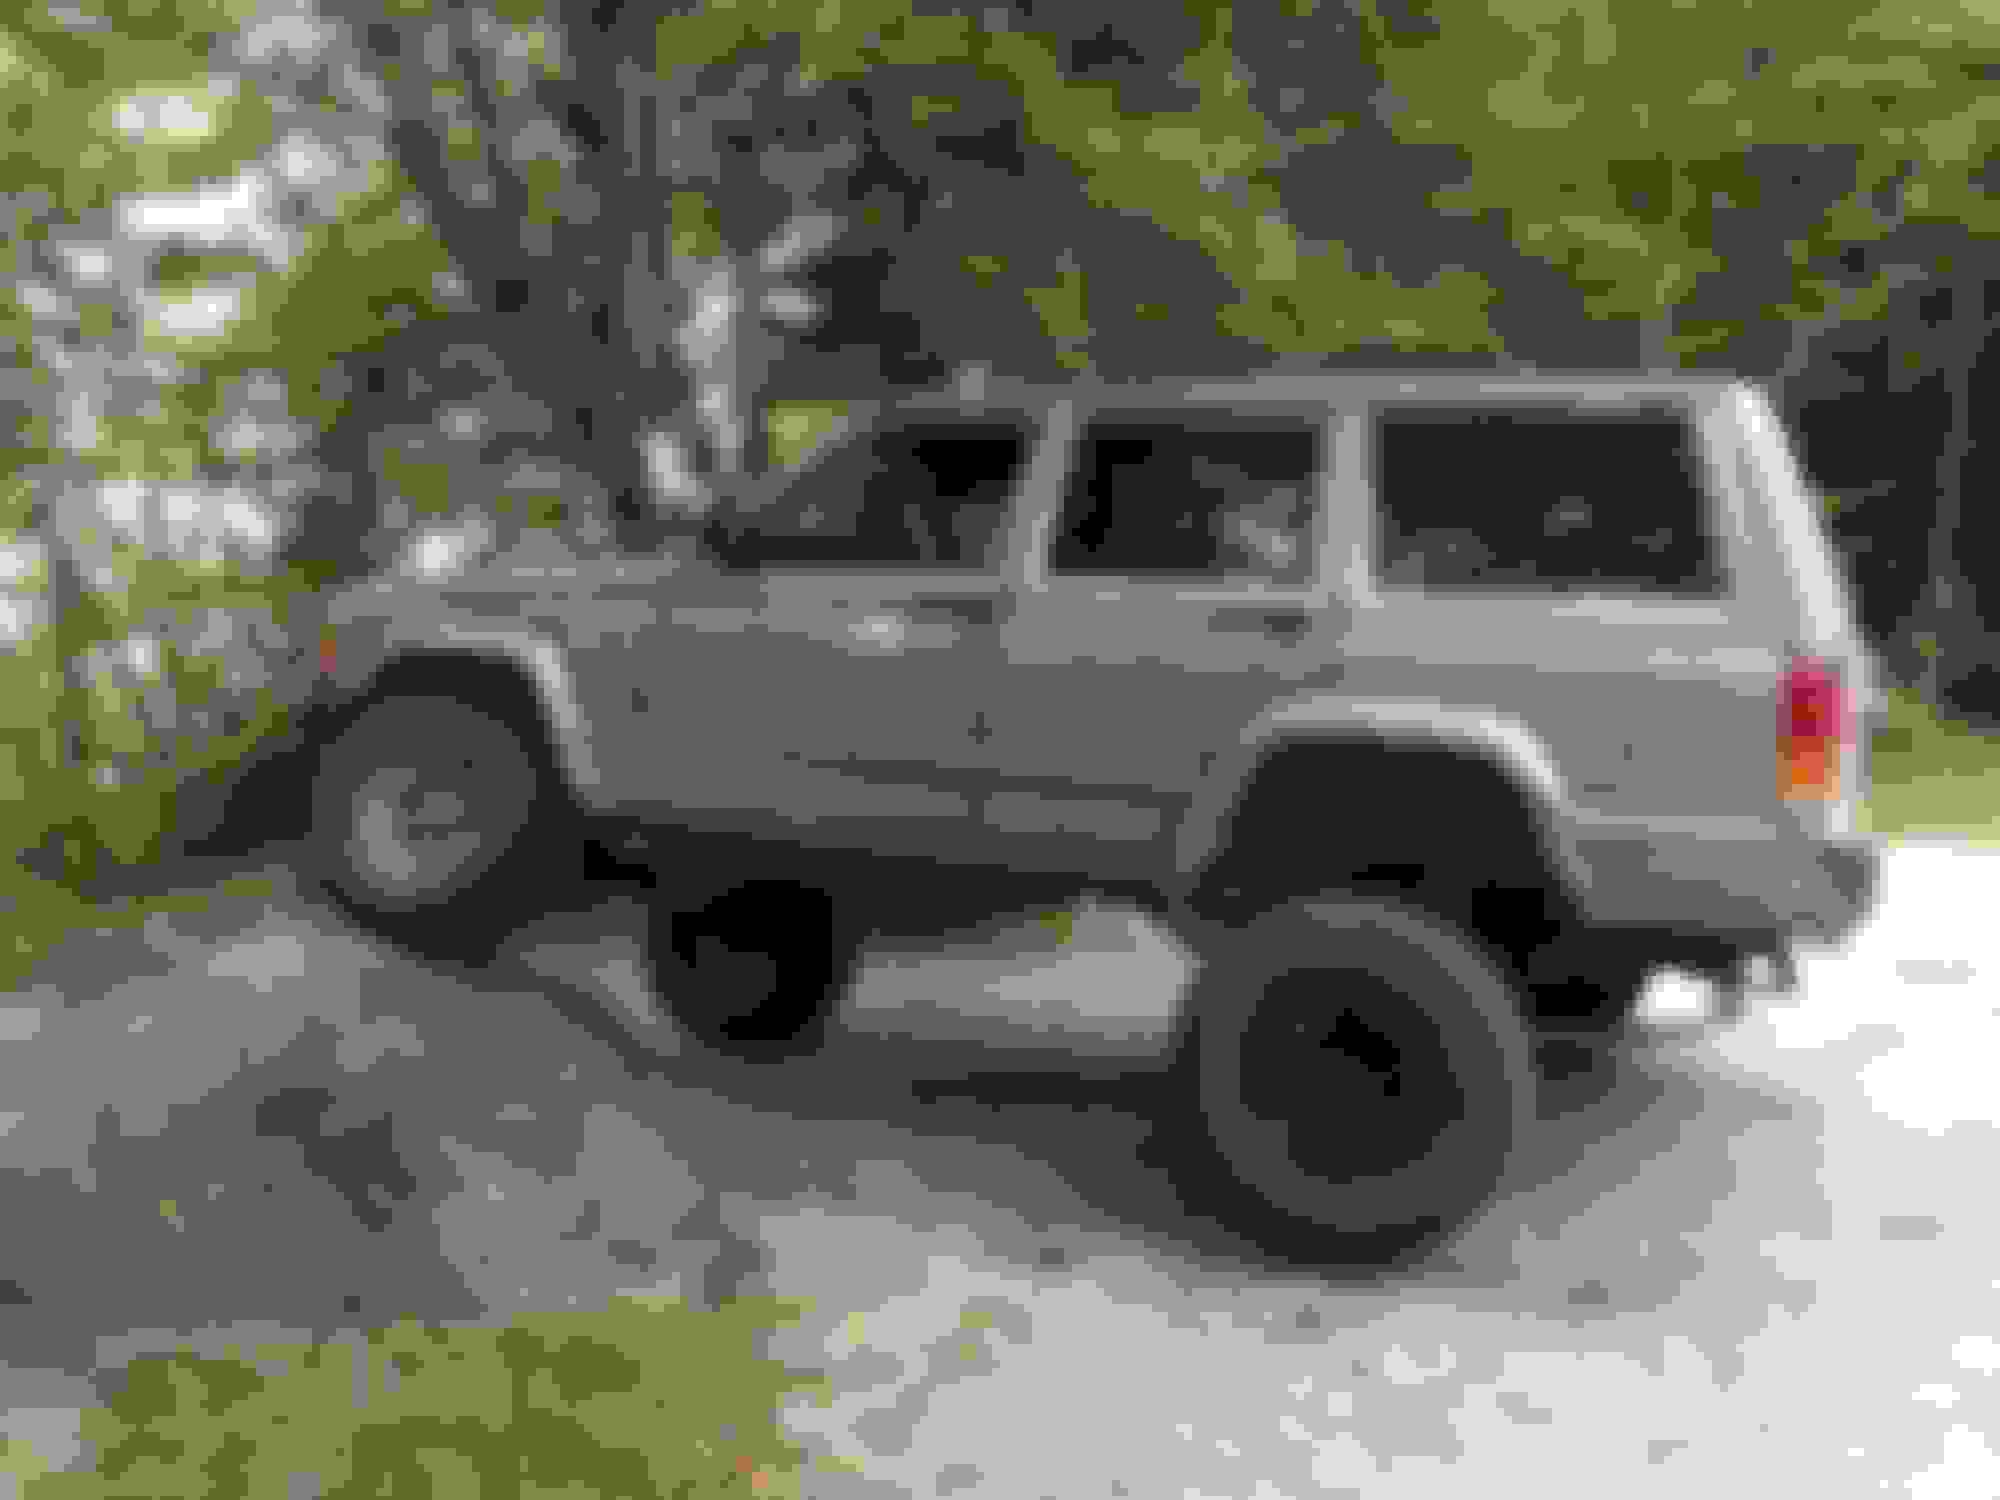
Over the course of a year I added a bunch of odds and ends, lighting, accessories, upgrades, etc, and drove it to ME a few times to visit family, and wheel those logging/atv trails. This is how she sat up until May 2015
As you can see my whole theme is for a clean build. I'm very OCD when it comes to stuff (I don't actually have OCD, I'm just super **** about how things come out, and if I'm not satisfied, I redo it), and wanted a clean looking XJ. I'll try to list as much as I can, if you have questions about anything, how I mounted anything, or why, ask away:
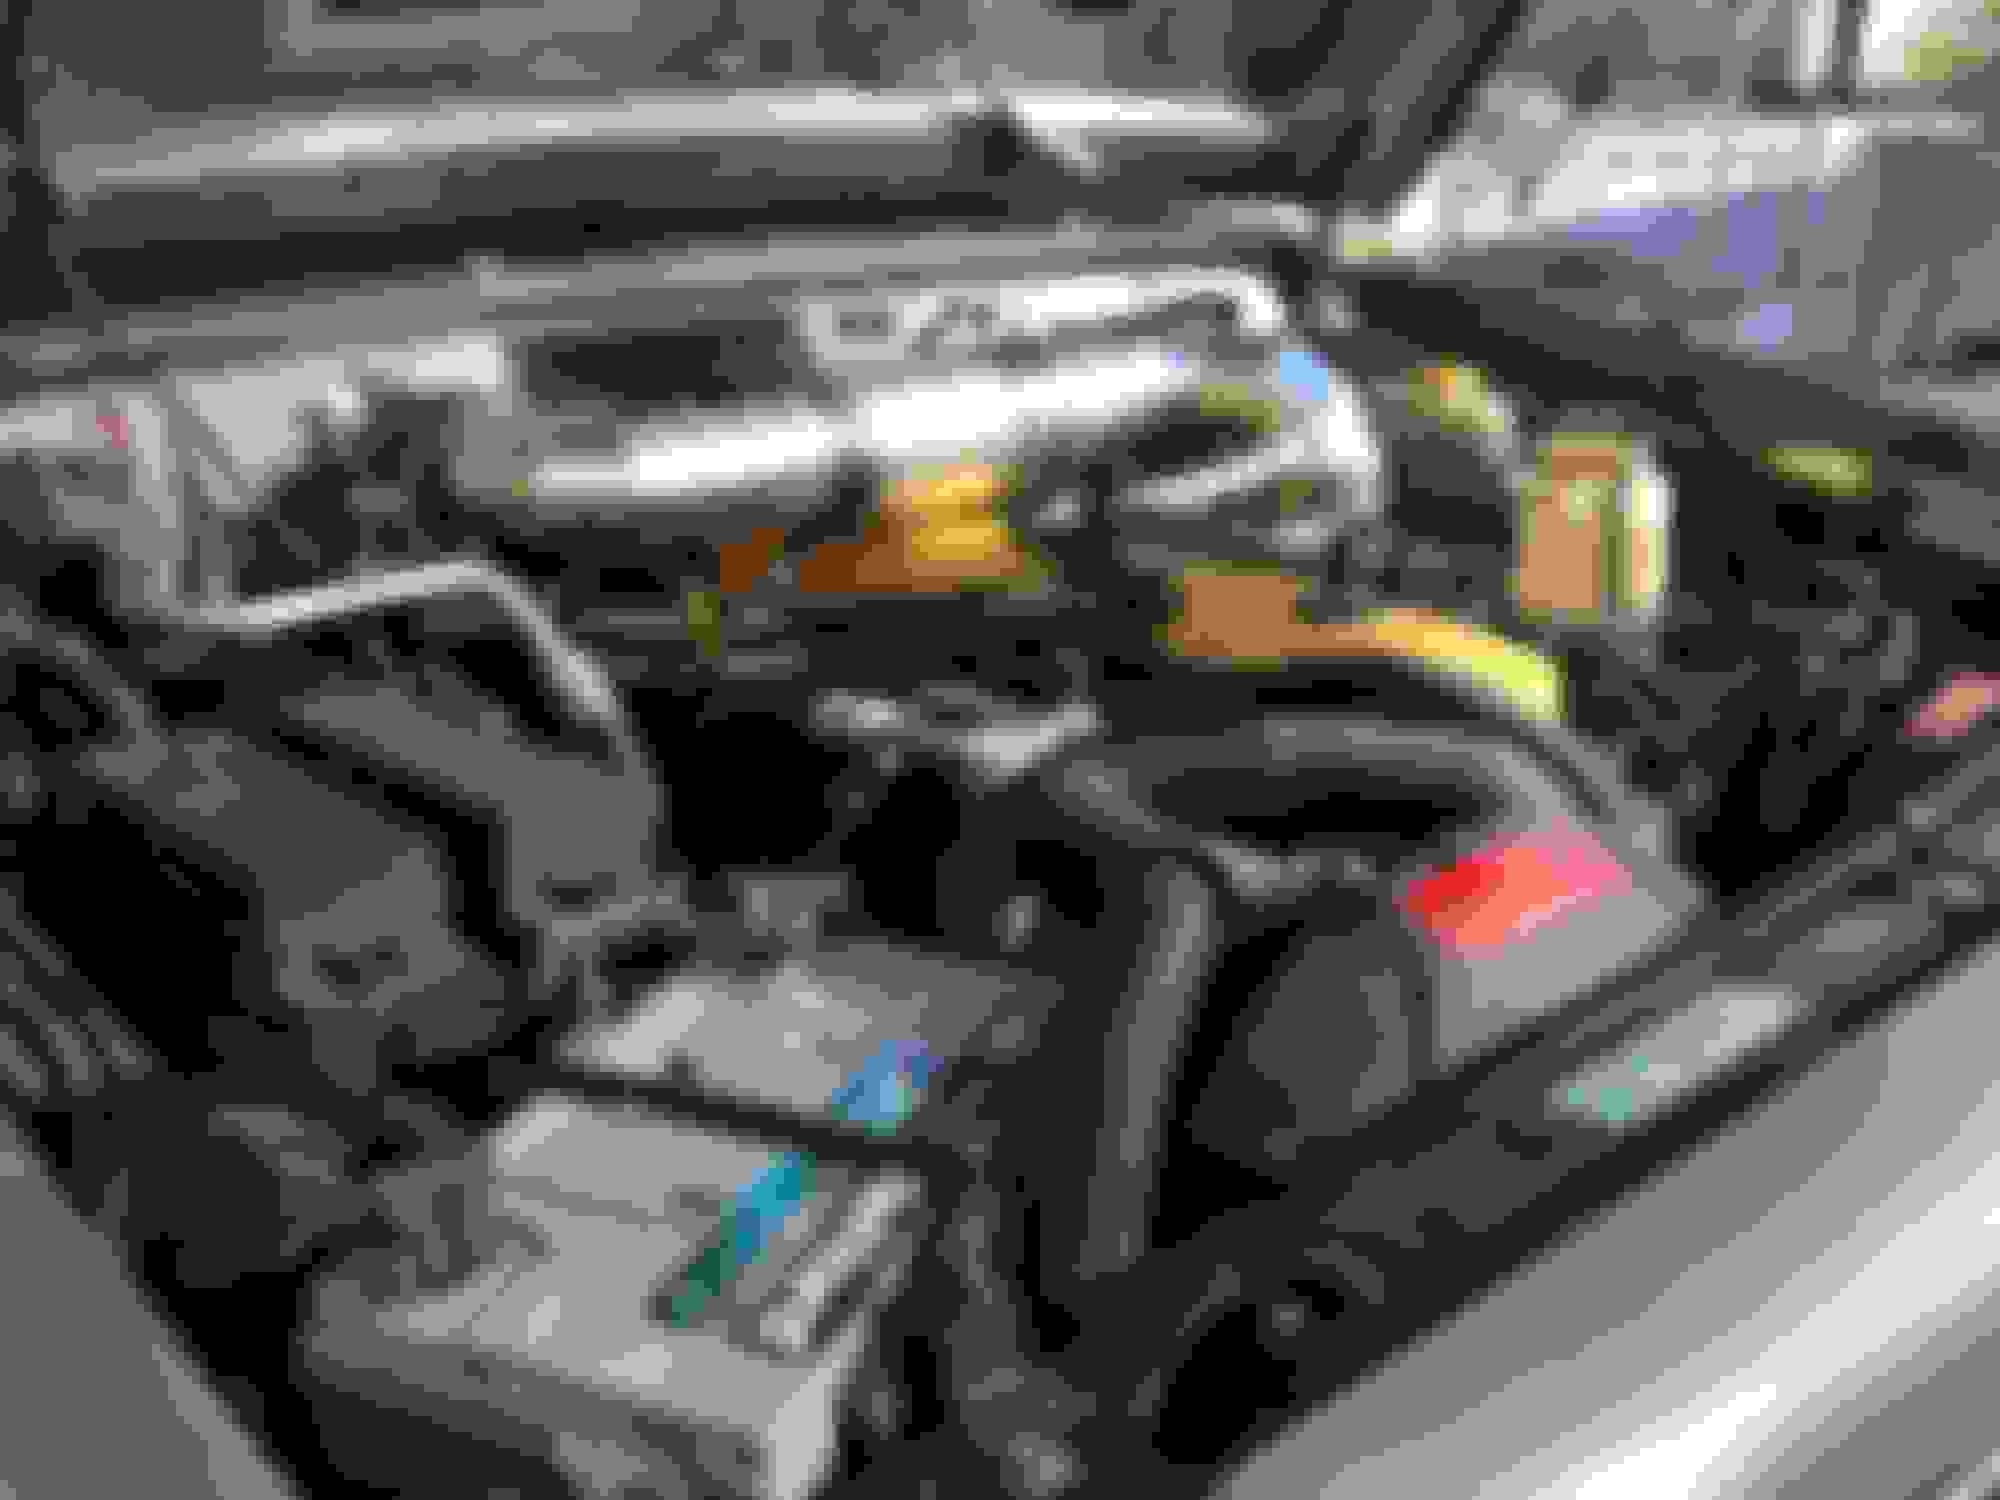
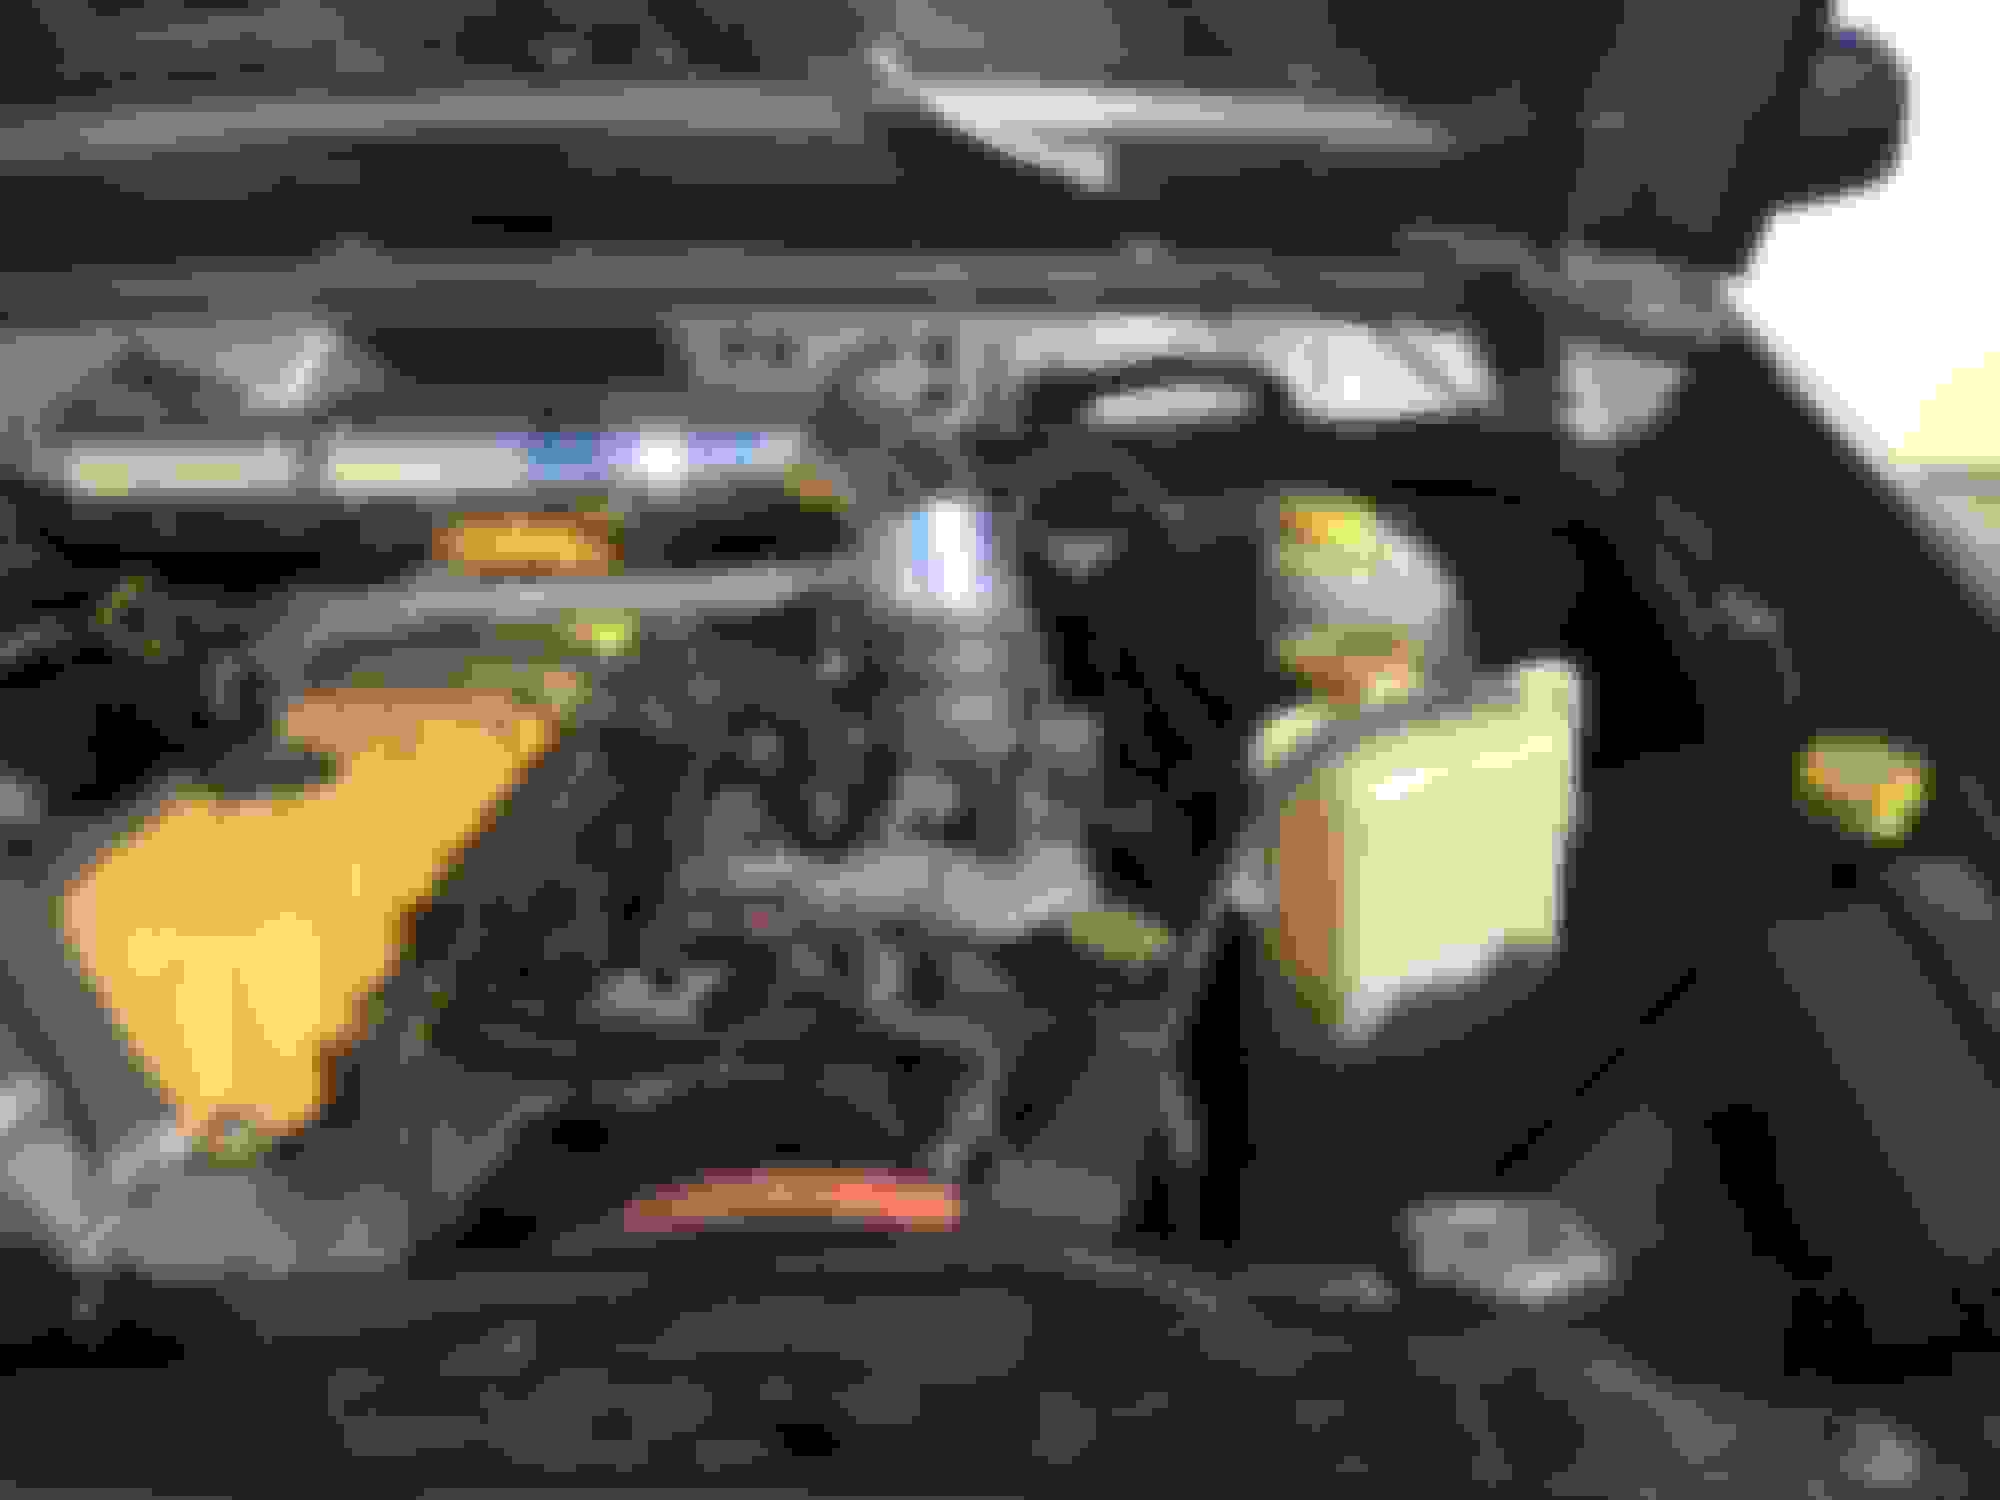
Engine:
-replaced stock head the week I bought it with the Clearwater from the previous jeep.
-Spectre cowl intake
-Custom made second OEM PDC to power all accessories
-5-90 mains from previous jeep
-Brown Dog motor mounts
-Napier Precision hood vents
-Neon 4 hole injectors
-60mm bored throttle body
-B&M tranny cooler Suspension:
-RC 4.5" coils
-RE 1.75" spacer
-RC 4.5" leaf pack
-RC adj shackle
-RC shackle relocators
-IRO adj upper and lower CA's
-RC CA drop brackets
-IRO double shear TB and bracket with custom made brace Steering:
-IRO tie rod, oem rest Miscellaneous/Accessories:
-AJ's PreRock front winch bumper
-AJ's standard rock rails
-Hooligan Offroad custom made 40" light bar gutter mounts
-Olympus Offroad single row Pro Series lighting: 2x5" bars as rock lights, 11" on bumper, 42" roof bar
-LED interior from Superbrightleds
-River Raider bench seat Hi-Lift mounts
-Hi-Lift
-IAS 10lb CO2 tank, mounted on a fire extinguisher mount to the BODY behind the plastic trim
-TRED recovery tracks
-1lb fire extinguisher on driver seat, 2.5lb out back
-Rugged Ridge floor mats all around
-Wet Okole seat covers all around
-Raingler cargo net
-B&M tranny temp gauge
-custom made overhead switch panel
-Rock **** TC shifter
-80's (30 years old!) warn m8000, rebuilt and brought to life with:
-Warn solenoid contactor pack, mounted in engine bay
-Olympus Offroad Arachni synthetic winch line
This is just what I can remember as I sit here and type this, I know there's more I'm forgetting. I also didn't buy all this c**p outright. I waited and bought over the course of a year, and always with free shipping and some sort of coupon code. For instance the Wet Okole seat covers I bought from AutoAnything in July of 2014 for $370 shipped! Expensive still, yes, but that's almost $150 off!
I have photos for how I installed or made most of what's listed, so if you have questions ask and I can post up some photos of how something was done. Like mounting the CO2 tank up, or making the custom second OEM PDC for accessories, etc.
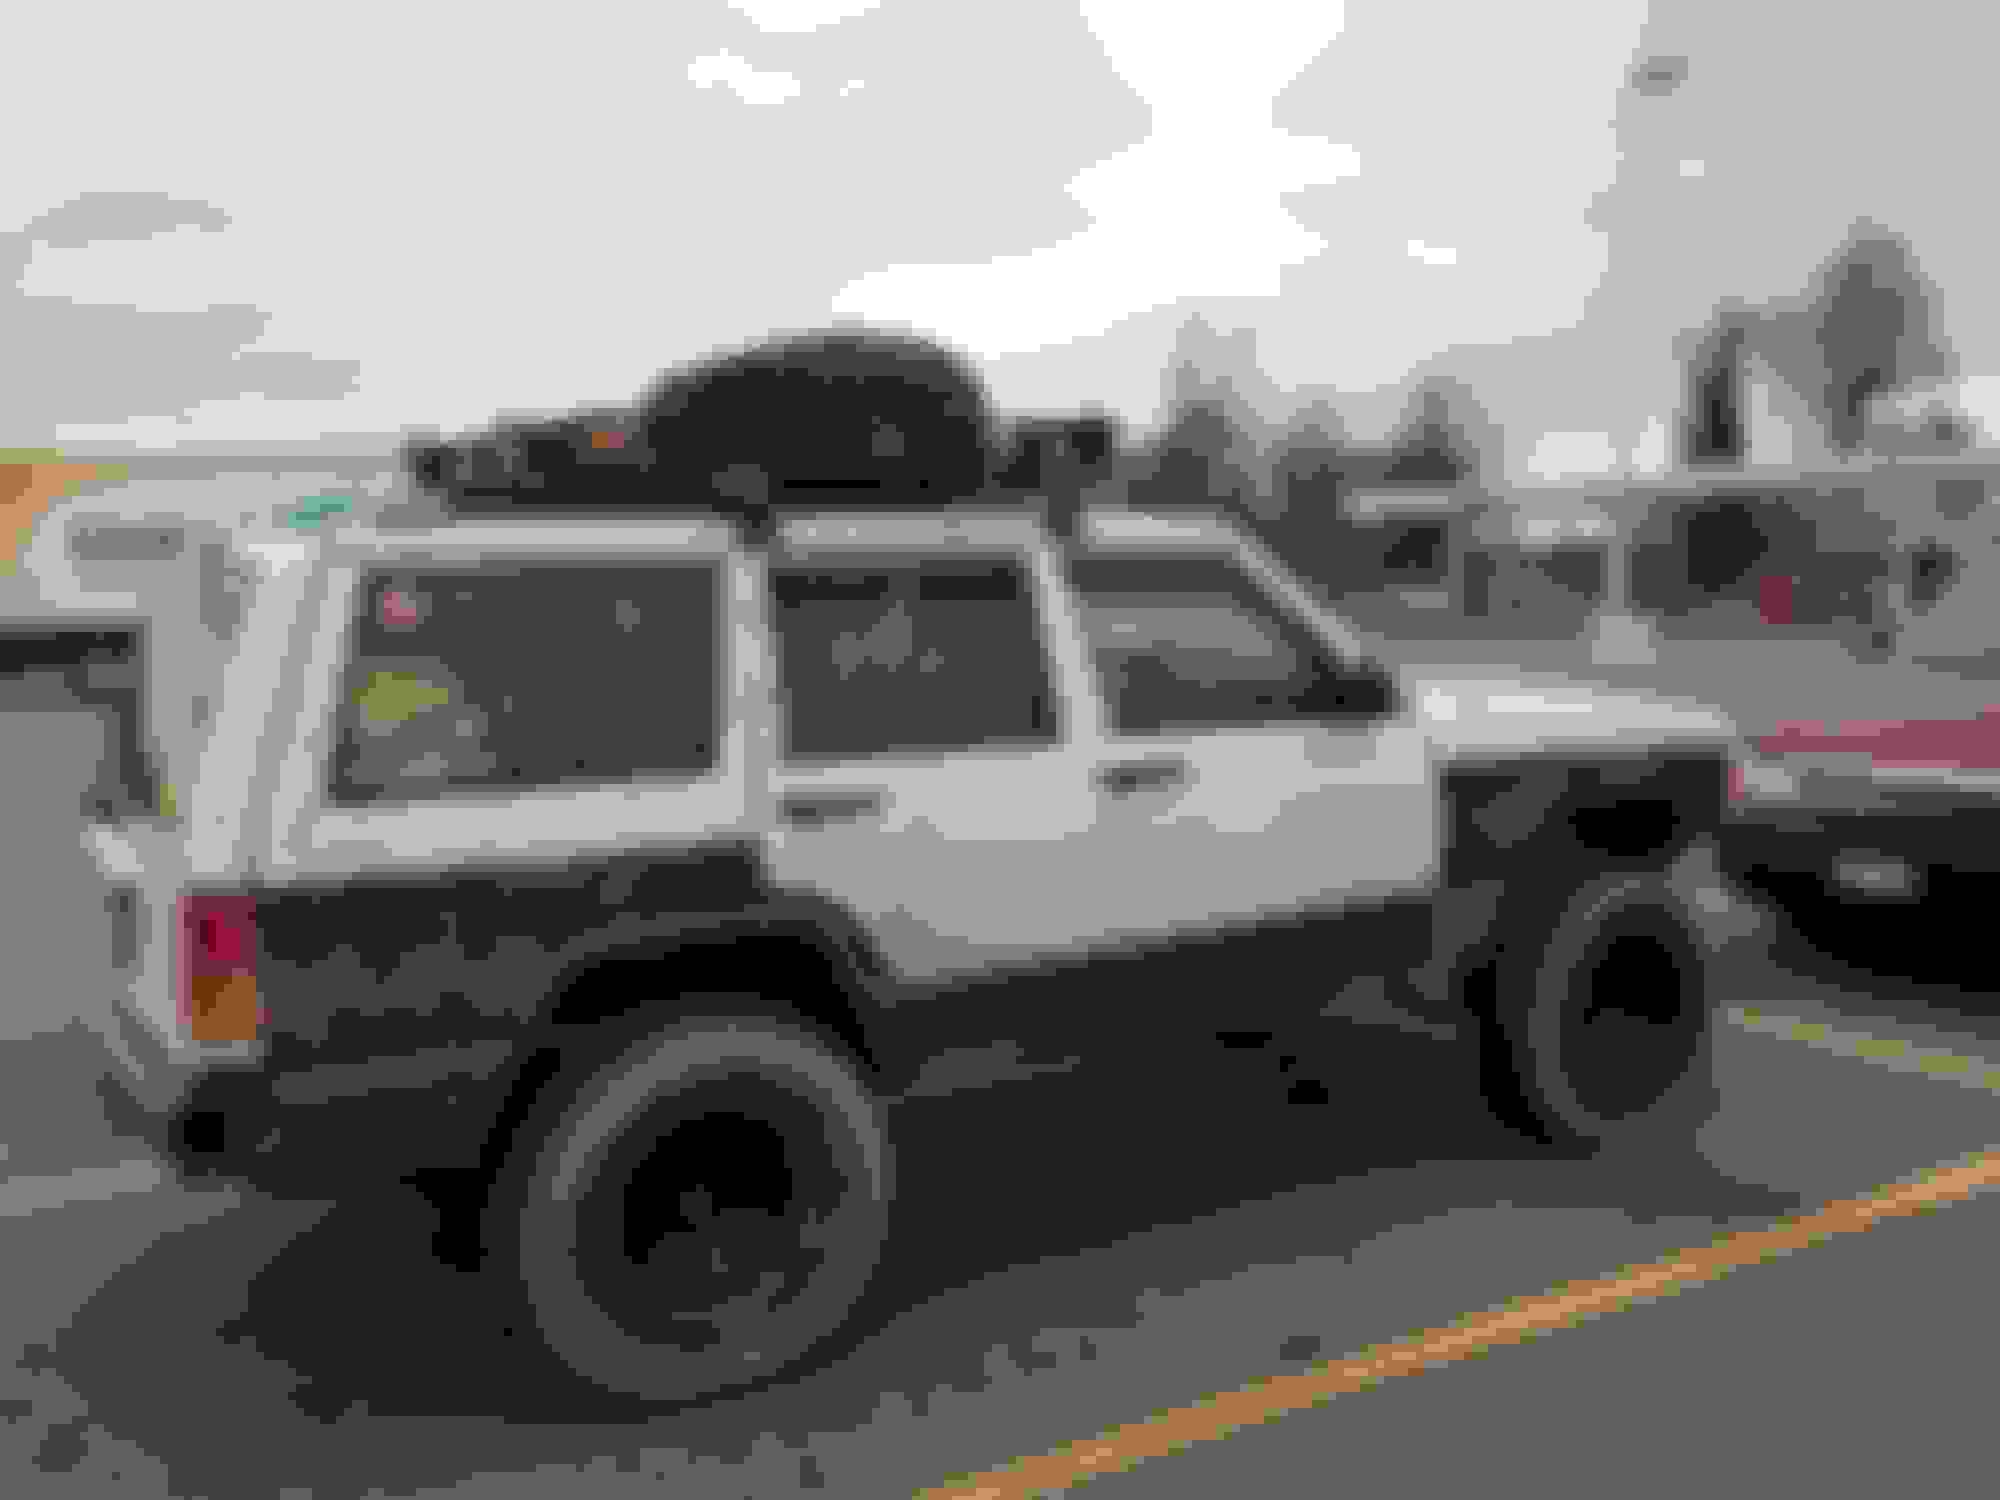
So that's how I drove her from 2014 until May of 2015; DD with the occasional wheeling either at a privately owned property or when I travel to ME:
My co pilot enjoying his morning joe:
Thus concludes part I of my Jeep life; up until May 2015. Part II is from May 2015 to current, and then Part III is current on. I'll be typing out part II here shortly. Hint, basically redid the whole damn Jeep ground up.
Thanks for watching(reading) thus far,
Stay classy CF.
So come May 2015, I decided I wanted more from my XJ. I wanted to upgrade the axles, I wanted gears, lockers, LA's. I wanted to build a VERY capable DD that I could beat at places like Rausch, and possible travel out West sometime in the next couple years to camp/wheel.
So I parked the Jeep, and started taking everything out from under her. 8.25, lp30, short arms, drop brackets, leaf packs, coils, everything was sold. I did a lot of research and decided on a plan of attack that would net me a solid DD, and be an awesome wheeling rig as well.
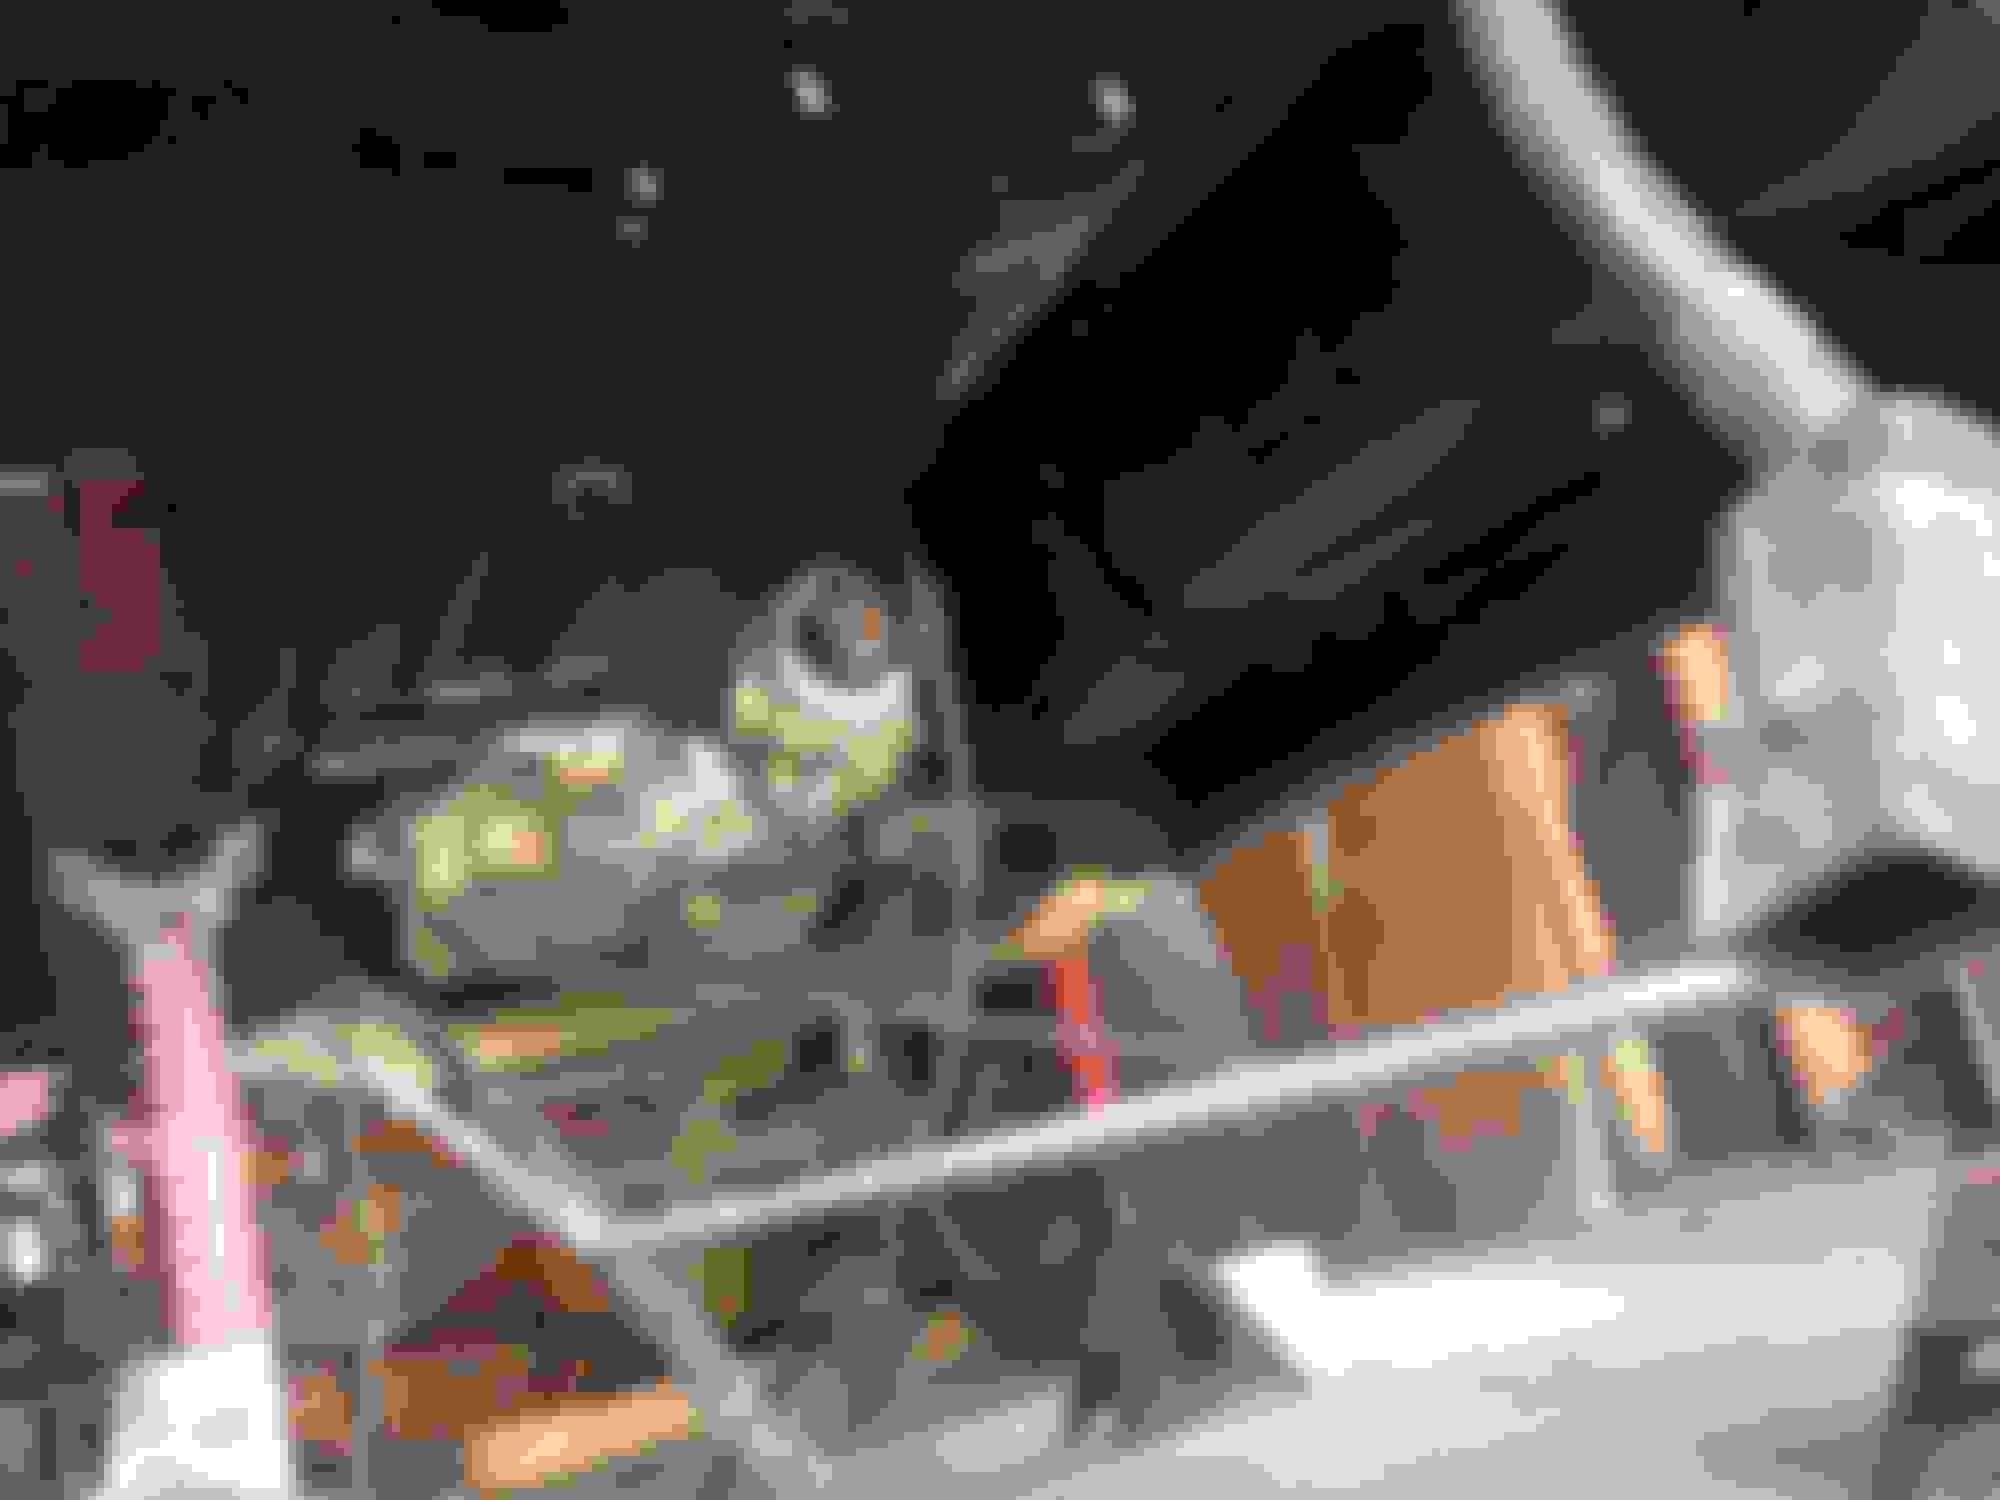
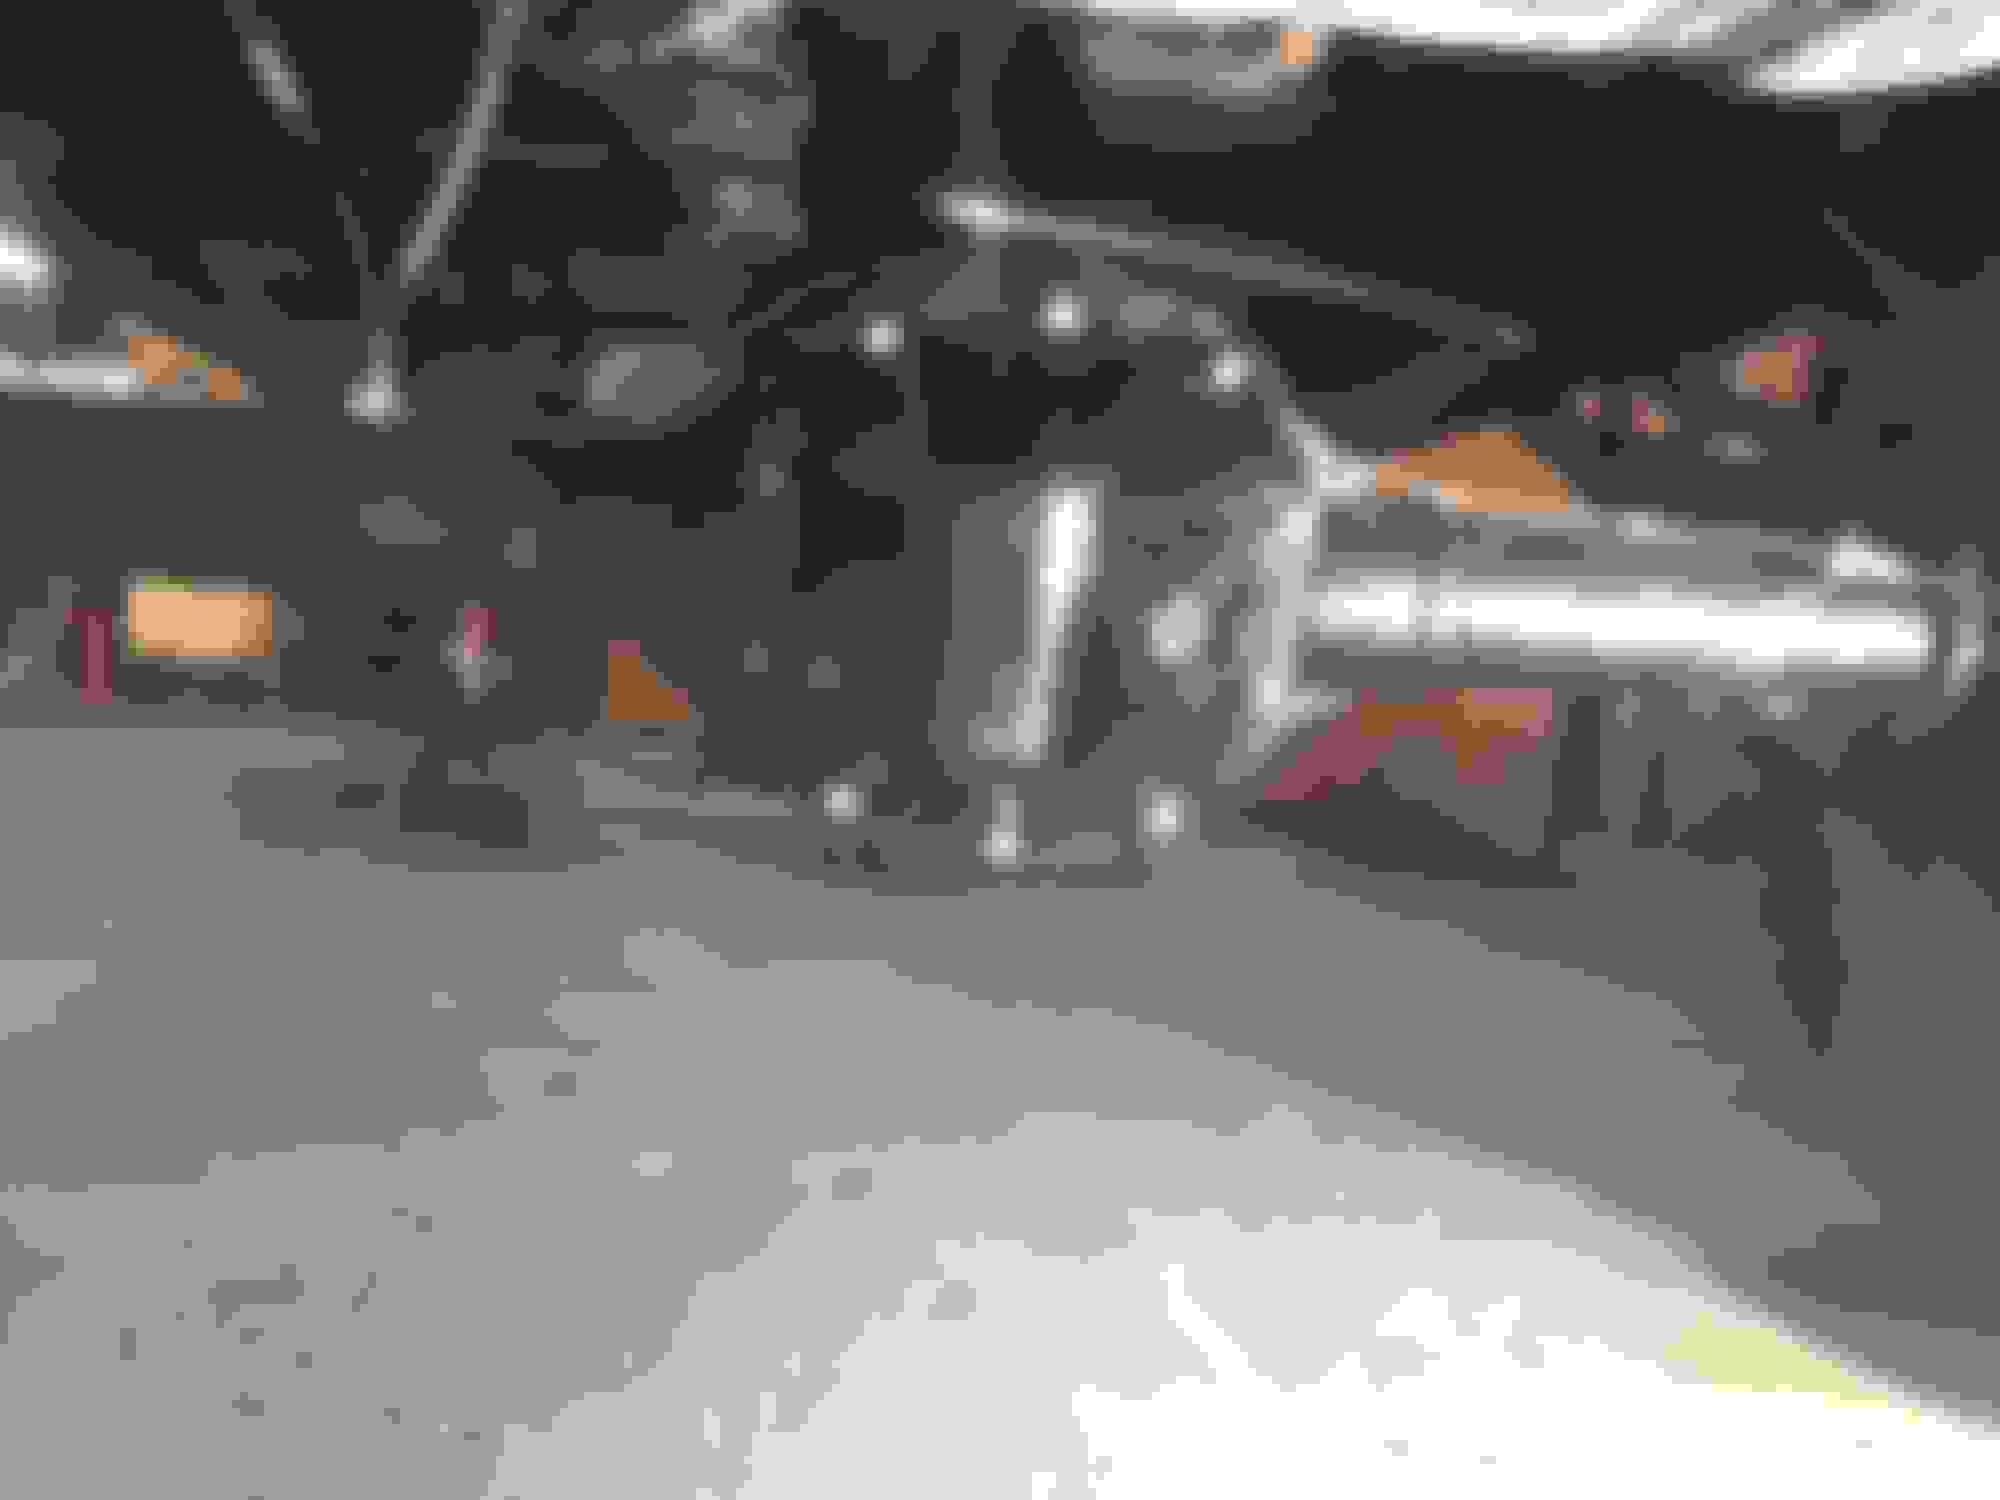
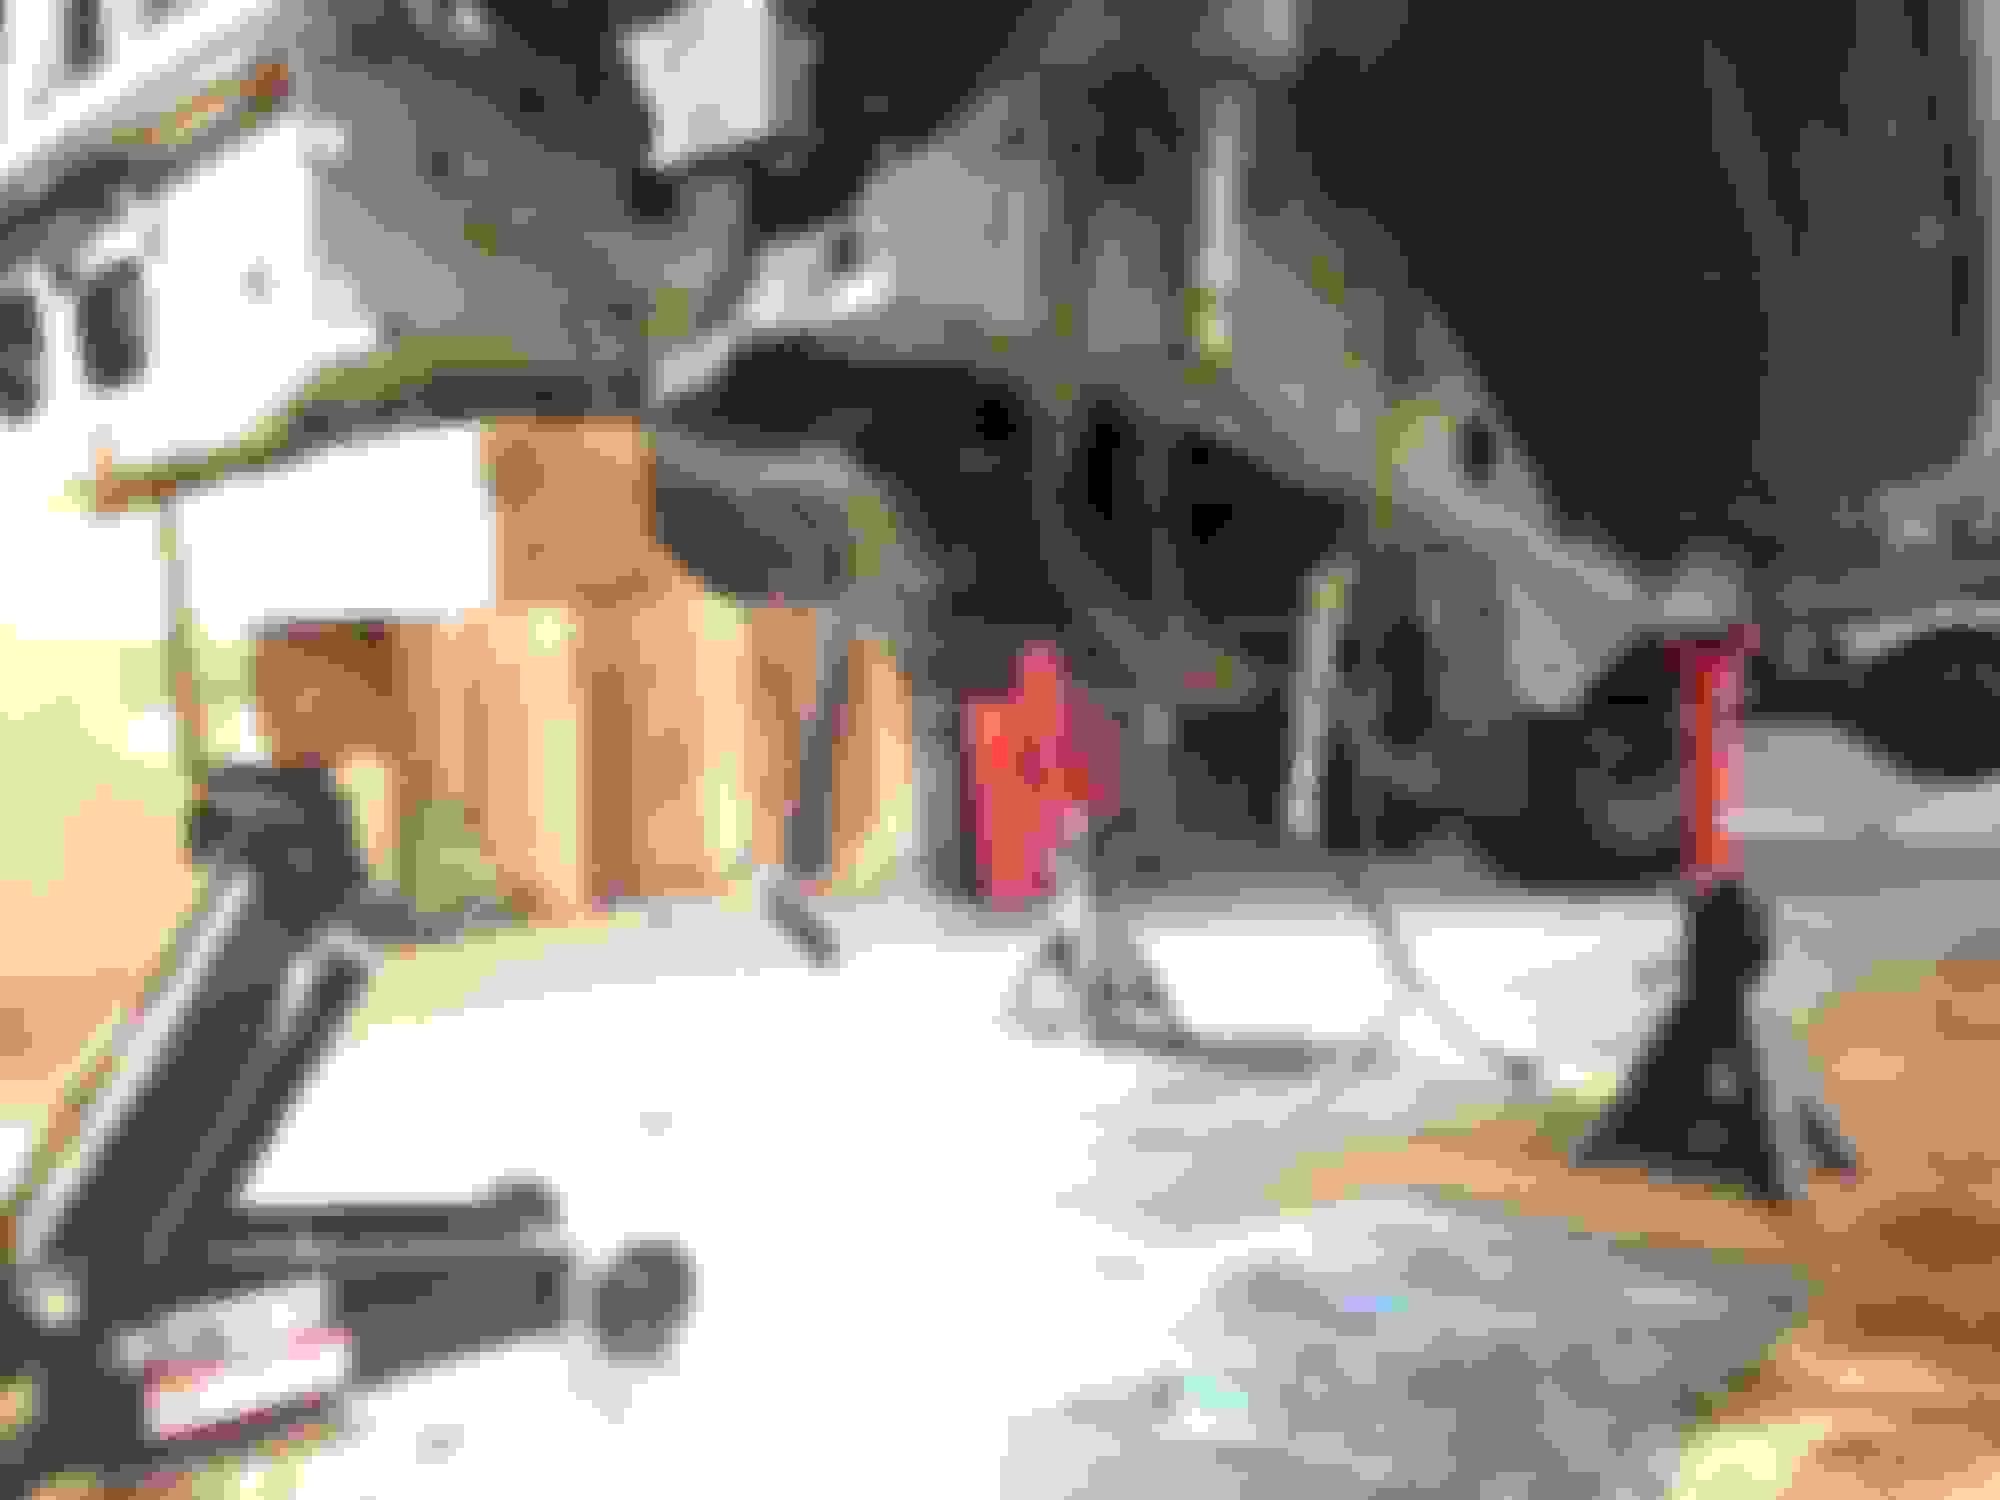
But first! Having everything out from under the Jeep, sitting there one night drinking, looking at it, I decided I wanted to paint the underside, all of it. I knew I was going to be using Monstaliner for the rear quarter cut and fold, so I decided to try their Chassis Saver. The photos below show me taking everything out and prepping the surface. The last photo shows the sprayed and painted on Chassis Saver:
So being the skeptic I am, I wanted to make sure it was solid. I let it dry for a week (more than the 72 hrs recommended), and started trying to scratch it. Well it was pretty resilient to my attempts to scratch it. HOWEVER, once I was able to scratch it, it started coming off in sheets. WHOLE SHEETS. This told me that while it was a strong product, once something did penetrate it it would get behind it and make it useless:
So having just wasted a week of my life, I decided to just scrape/sand/air blow as much off as I could, and go with the tried and true Rustoleum Enamel. I spent 2 days getting as much of the Chassis Saver off as I could, then cleaned, sanded, etched the metal once again. I brushed on Rustoleum Rusty Metal Primer in the hot spots (Red in color), then sprayed on 2 thick layers of Rustoleum Clean Metal Primer (white in color). I let that dry for 1 week. Then sprayed on 4 coats of regular Rustoleum Gloss Black Enamel:
After letting it dry for a couple weeks I did a scratch test. while it scratched a little easier than the Chassis Saver, it didn't scratch below the white primer, and didn't peel or flake or anything. It will also be easier to touch up with a rattle can whenever I want to.
So having finished that it was time to start the rear build.
I decided on H.D. Engineering No Lift Shackle Relocators after talking to a few people. At the same time I finished up the rear quarter cut an fold that I started prior to spraying the underside, and covered it in thick layers of Monstaliner:
Happy with it all came out, I started on the rear axle and suspension. I decided on and 8.8 for the rear axle, as I could get one for $100, it would already have discs, and a LS that I wanted. The suspension is BDS 6.5" leaf packs, and I took a leaf out. My goal is around 5-5.5" of lift after settling. I wanted a solid lift to stuff 35's, but didn't want it any higher than 5.5". The 6.25" i had previous was a little sketch when I flexed out, felt too tall for my liking. So with my BDS leaf packs with one missing leaf, and BDS 1" shackles, combined with the no lift relocation brackets, I was hoping for around 5.5" before settling, as I've read BDS doesn't settle like some brands.
Well I got the 8.8 home and found out it wasn't a LS. So knowing I still wanted a LS for DD duties, esp on my 9hr drives to ME, I opted for a full case TruTrac. This also solved the problem I've read about clutches wearing rather quickly, and any deflection that might happen with the 8.8 OEM carrier.
I also found that the disc backing plates were toast from rust, so opted for Black Magic 8.8 backing plates that came with pads for the parking brake already set up. They were expensive, but better than me going to the JY and spending time trying to find good ones, and then pulling them; most the yards near me dump the damn vehicles right on the ground, so pull the axles would have been a pain. On the 8.8 I cut all the OEM brackets and stuff off, and opted for RuffStuff hardware, I cut off the ABS "fins", and cut a good sized chunk off the output of the differential. This to me made the 8.8 look a lot cleaner and not as bulky as some of the setups I've seen. I had the tubes welded and had the TruTrac installed at a local shop with 4:88 gears (since I was going to run 35's eventually), painted it when I got it, and installed it:
I didn't like the 8.8's OEM breather hose and brake line mount location, so I opted to have the hole filled in, and I drilled and taped a new, single hole, where I could use the 8.25's breather hose bolt, which also doubles as the mount for the rear soft line. Made for a much cleaner look. I also opted for ECGS brake line kit for the 8.8, and RuffStuff hardware and diff cover.
Side note: all the welding was done by someone I paid, I have no welding experience, but the welds looked clean and OK to me.
For parking brake cables, I originally had ECGS cables, the sheath was too short, the cable itself was long enough, but the sheath from mount point to mount point was maxed out and left no room for the suspension to flex. So I returned them for M.O.R.E cables, which were the same. I opted to buy Napa YJ cables, 2 passenger side cables, and just do the loop and clamp method to attach to the parking brake lever at the backing plate. Worked perfect and for $50 for the Napa cables and clamps, was cheaper.
The 8.8 can be done for like $2-500, I opted to just buy almost everything new as most of the axle I got was rusted beyond use, even the axle itself was flaking BAD, but after getting it sandblasted and looked it over good, decided it would do.
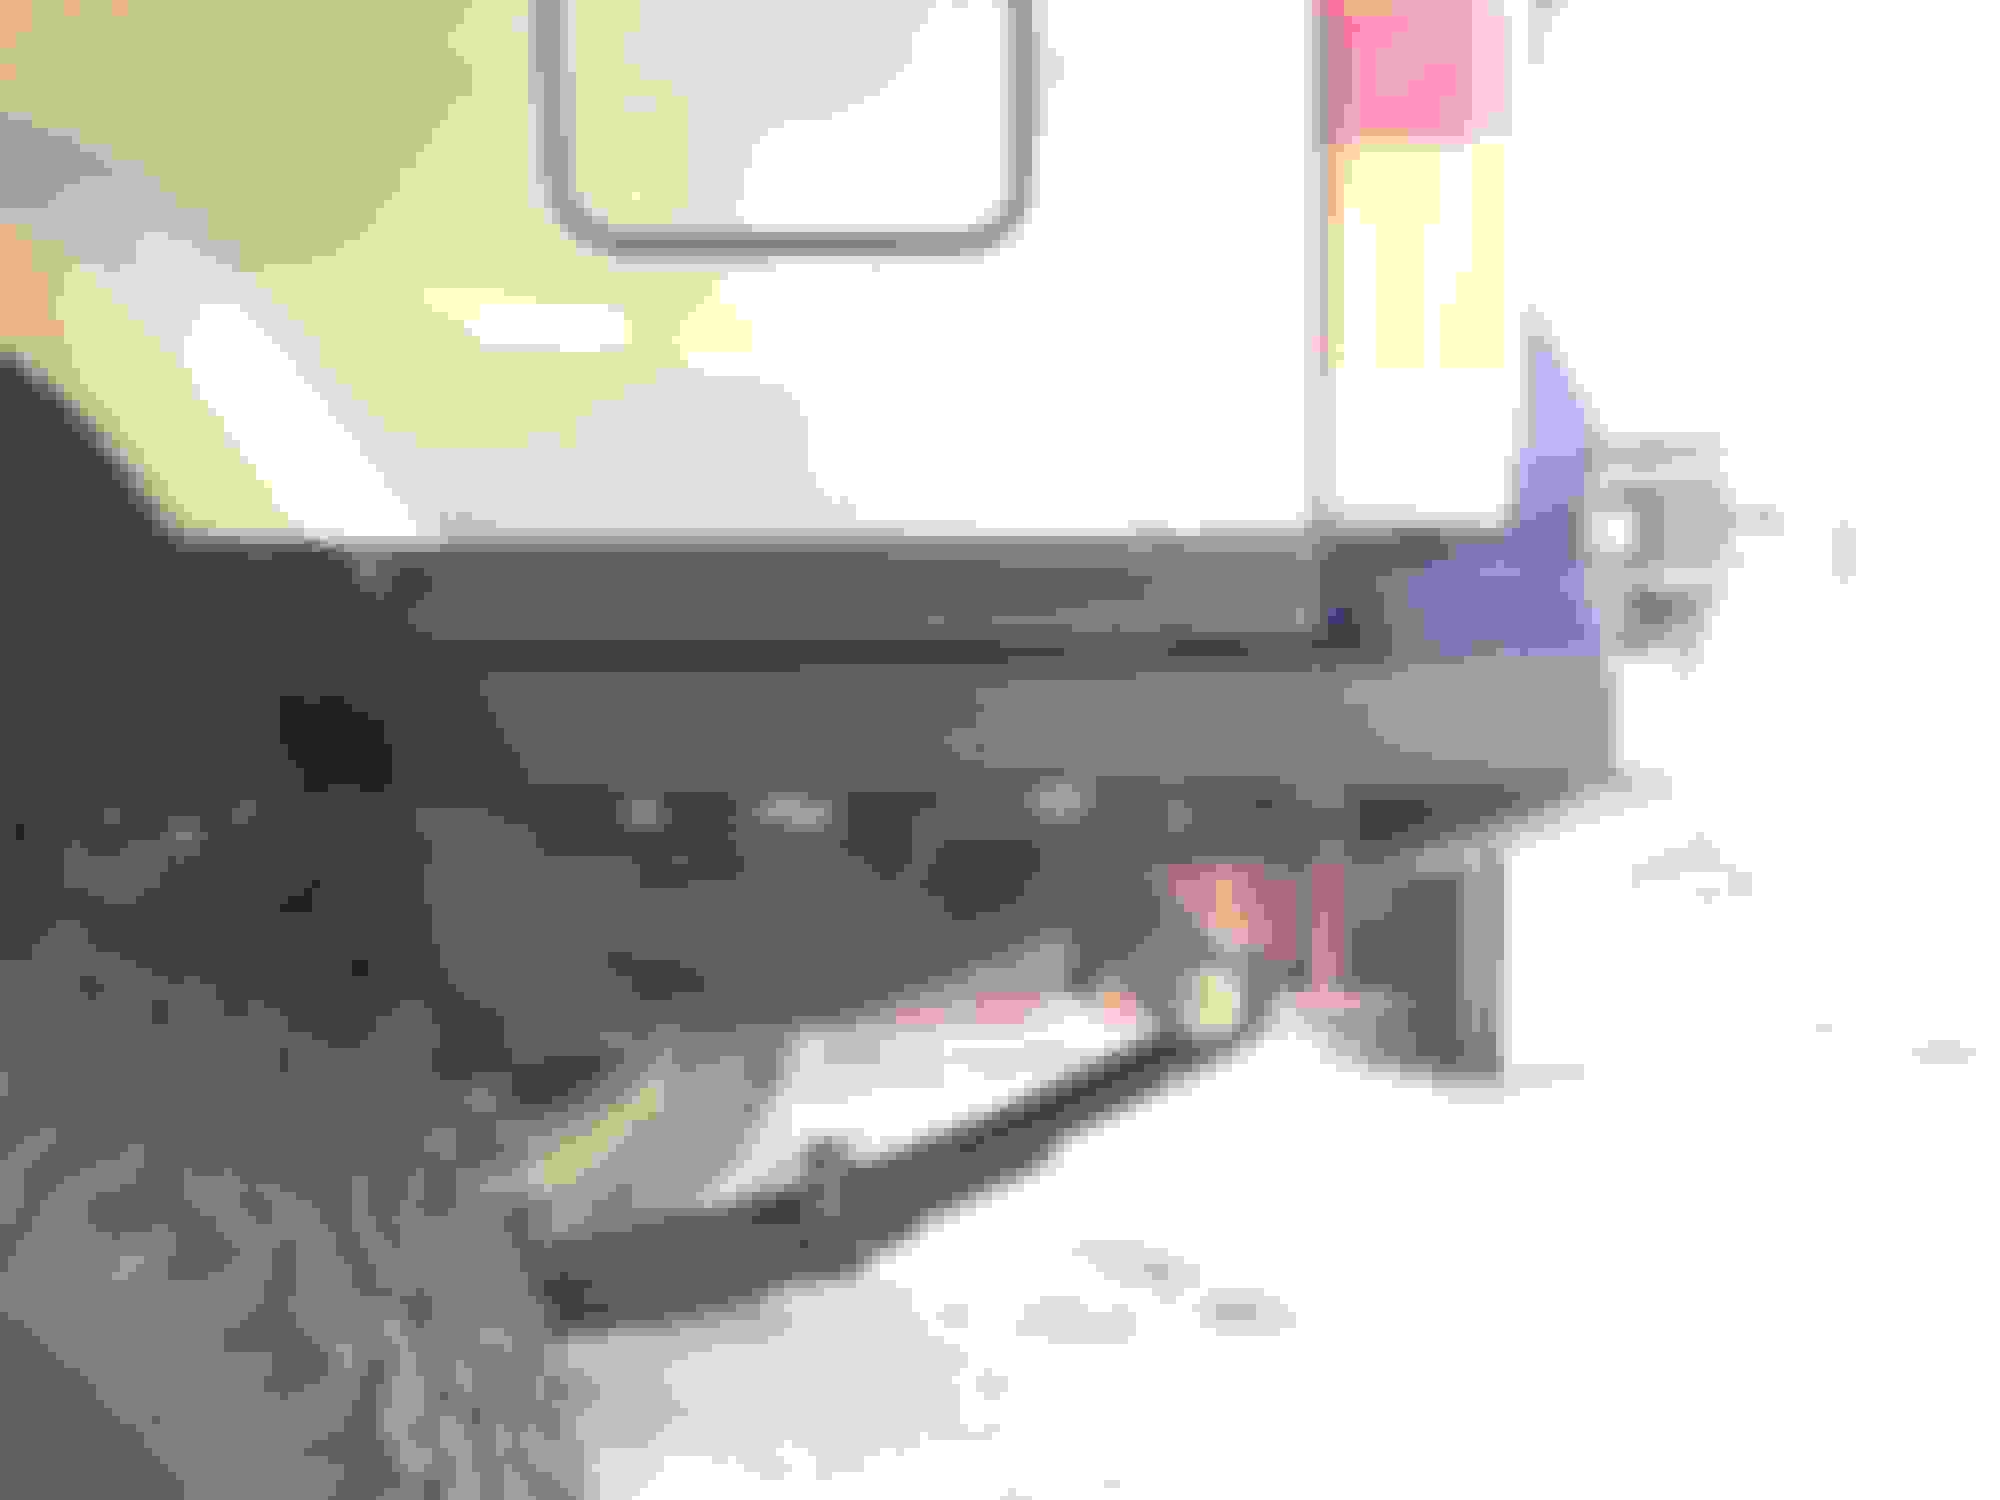
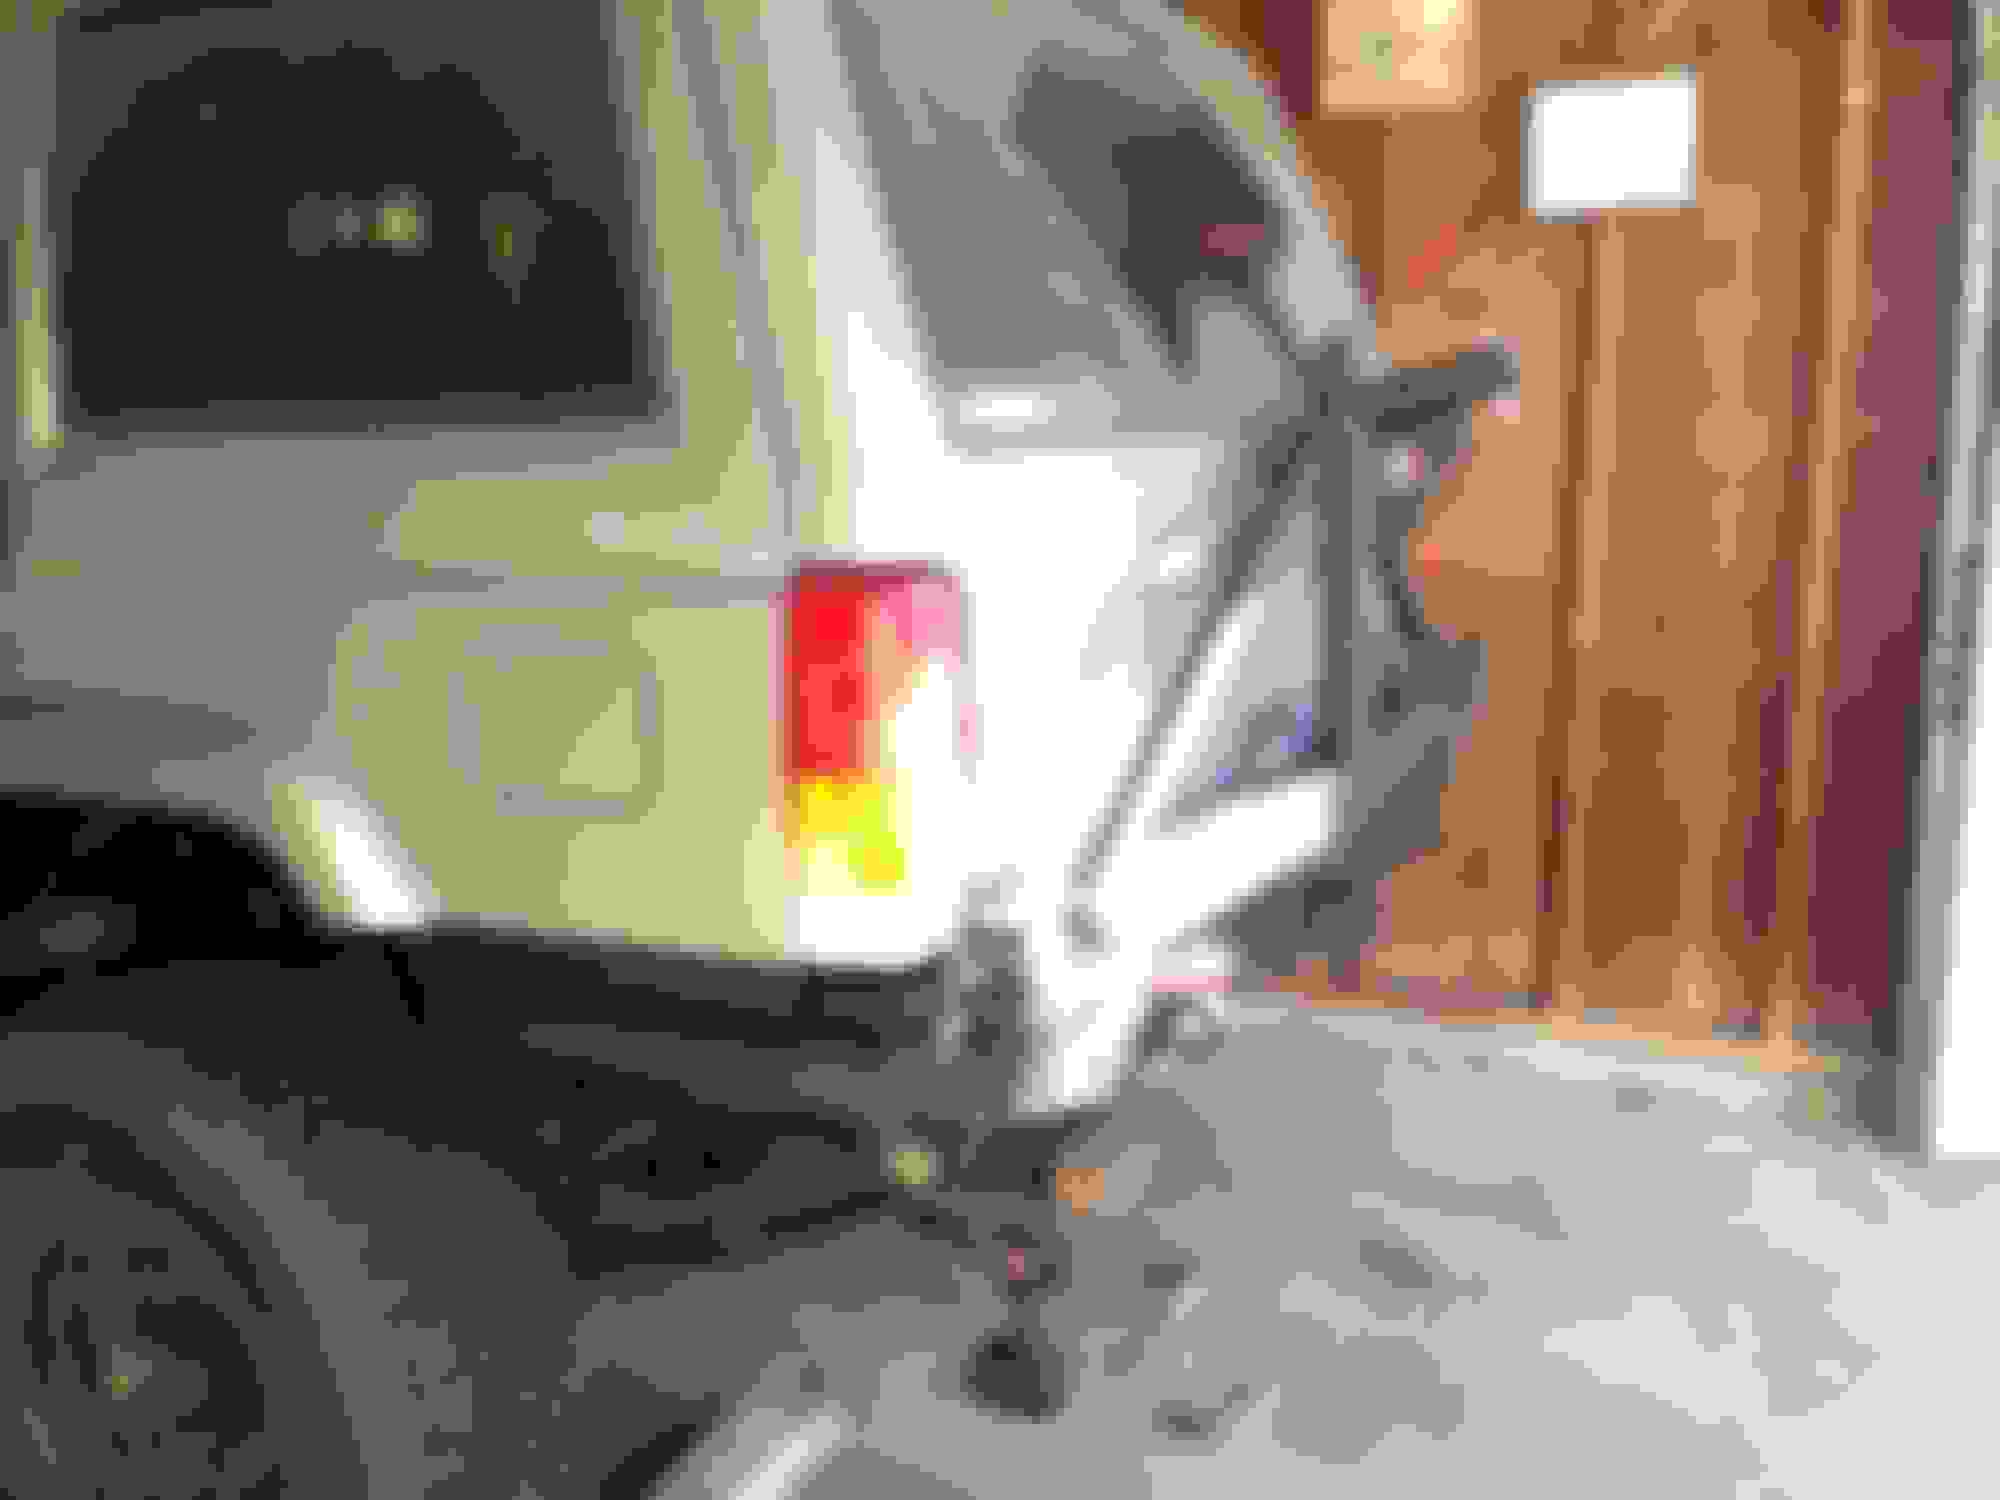
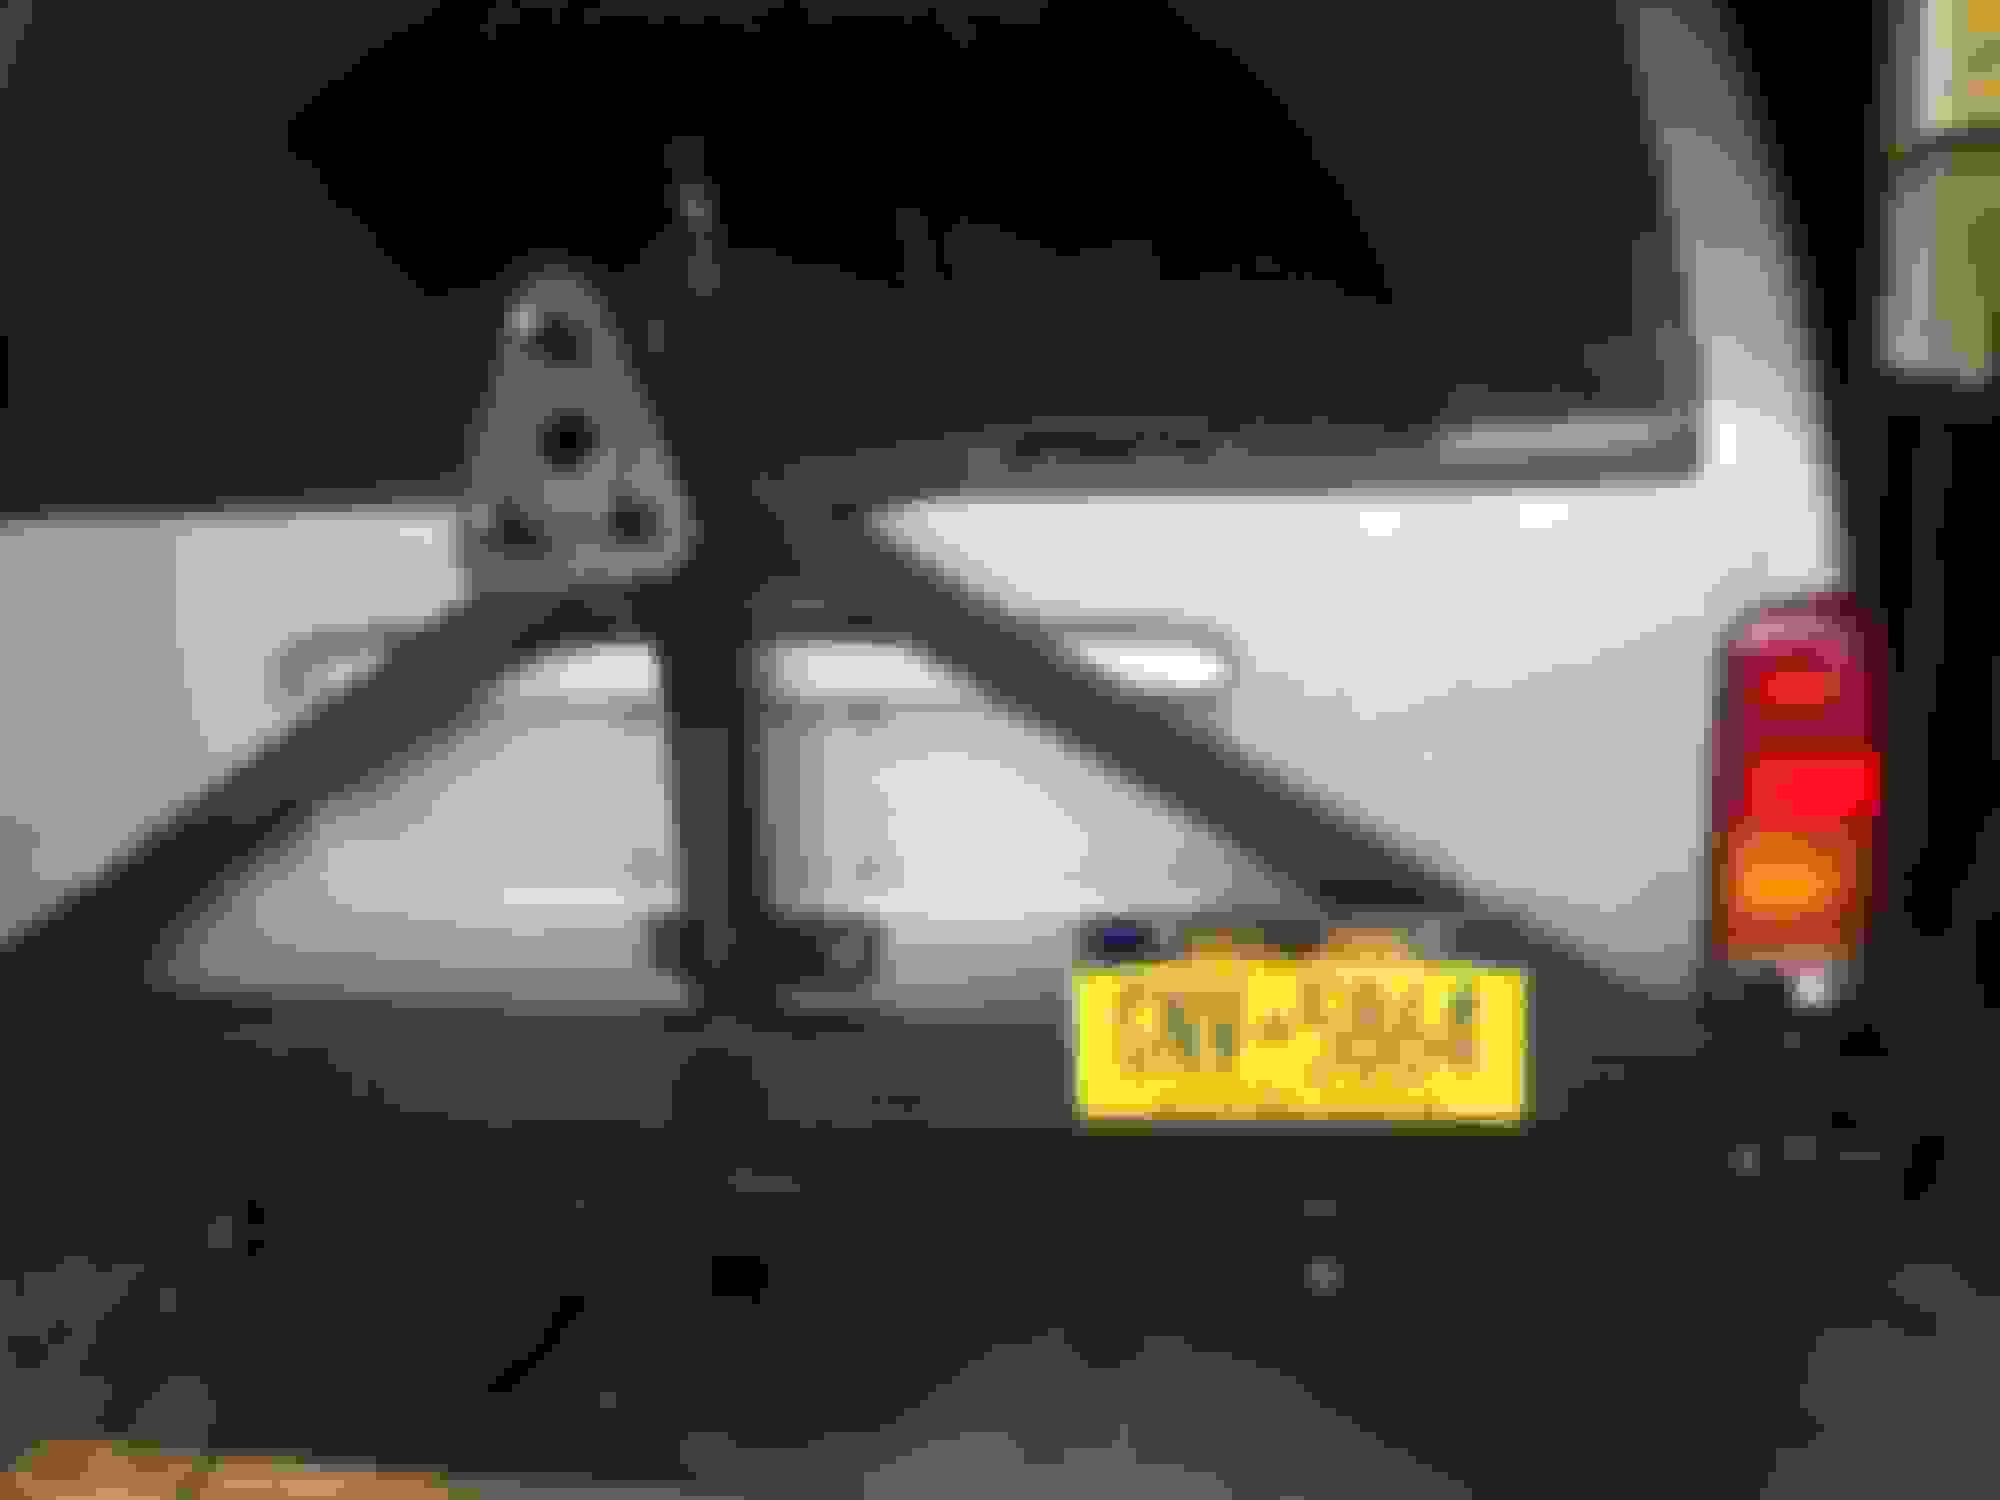
I knew I needed something for the rear bumper as well, and having an AJ's front, I just decided to get his rear tire carrier, which was tire carrier (what I wanted), and meant for the cut and folded rear:
So the rear was more or less done, time to move on to the middle, and front..
Thanks! I'm very happy with how smooth it went overall, with a few minor snags. I am lucky enough to have the time and money at the moment to do what I want with it. I've basically done in 8 months what takes most a couple years.
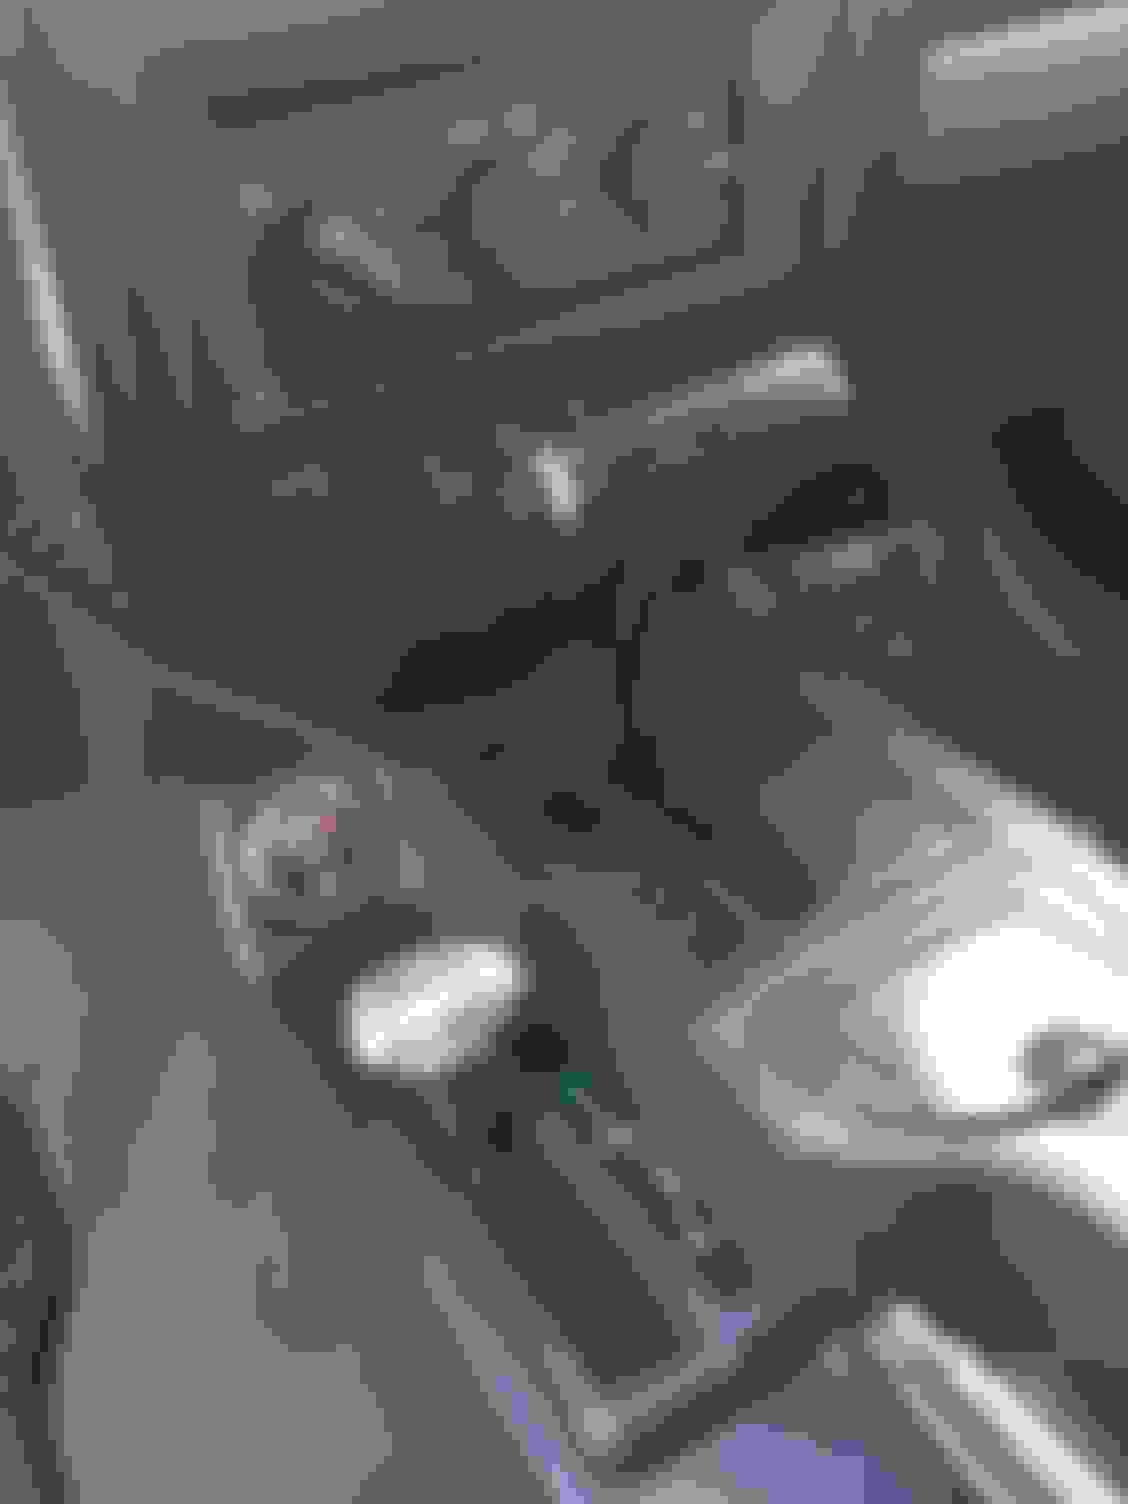
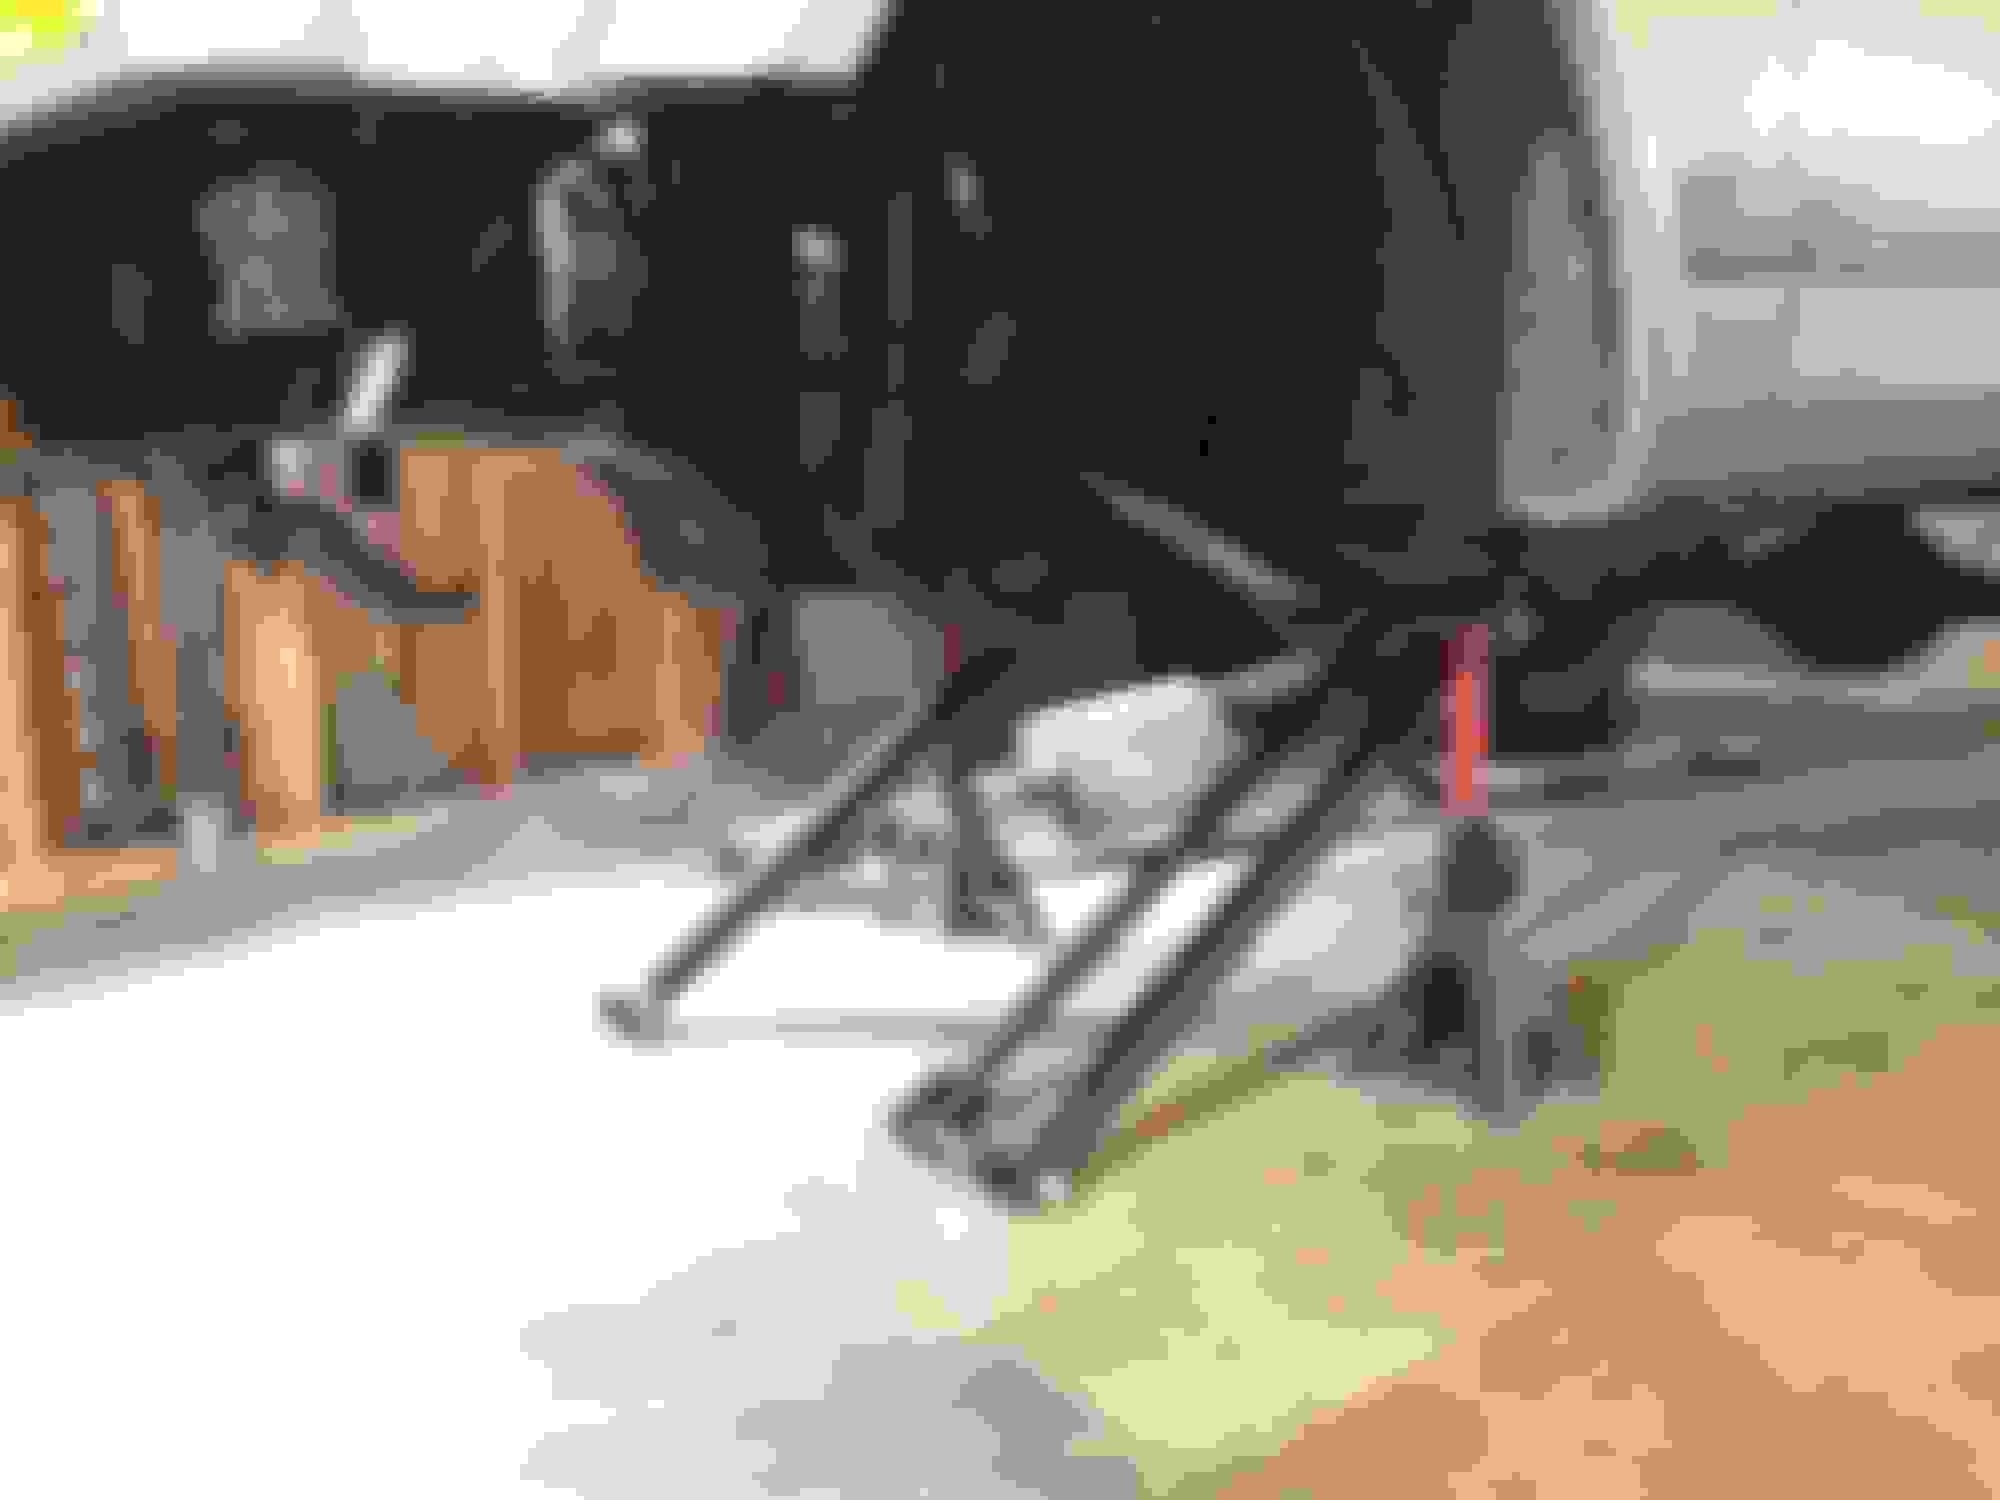
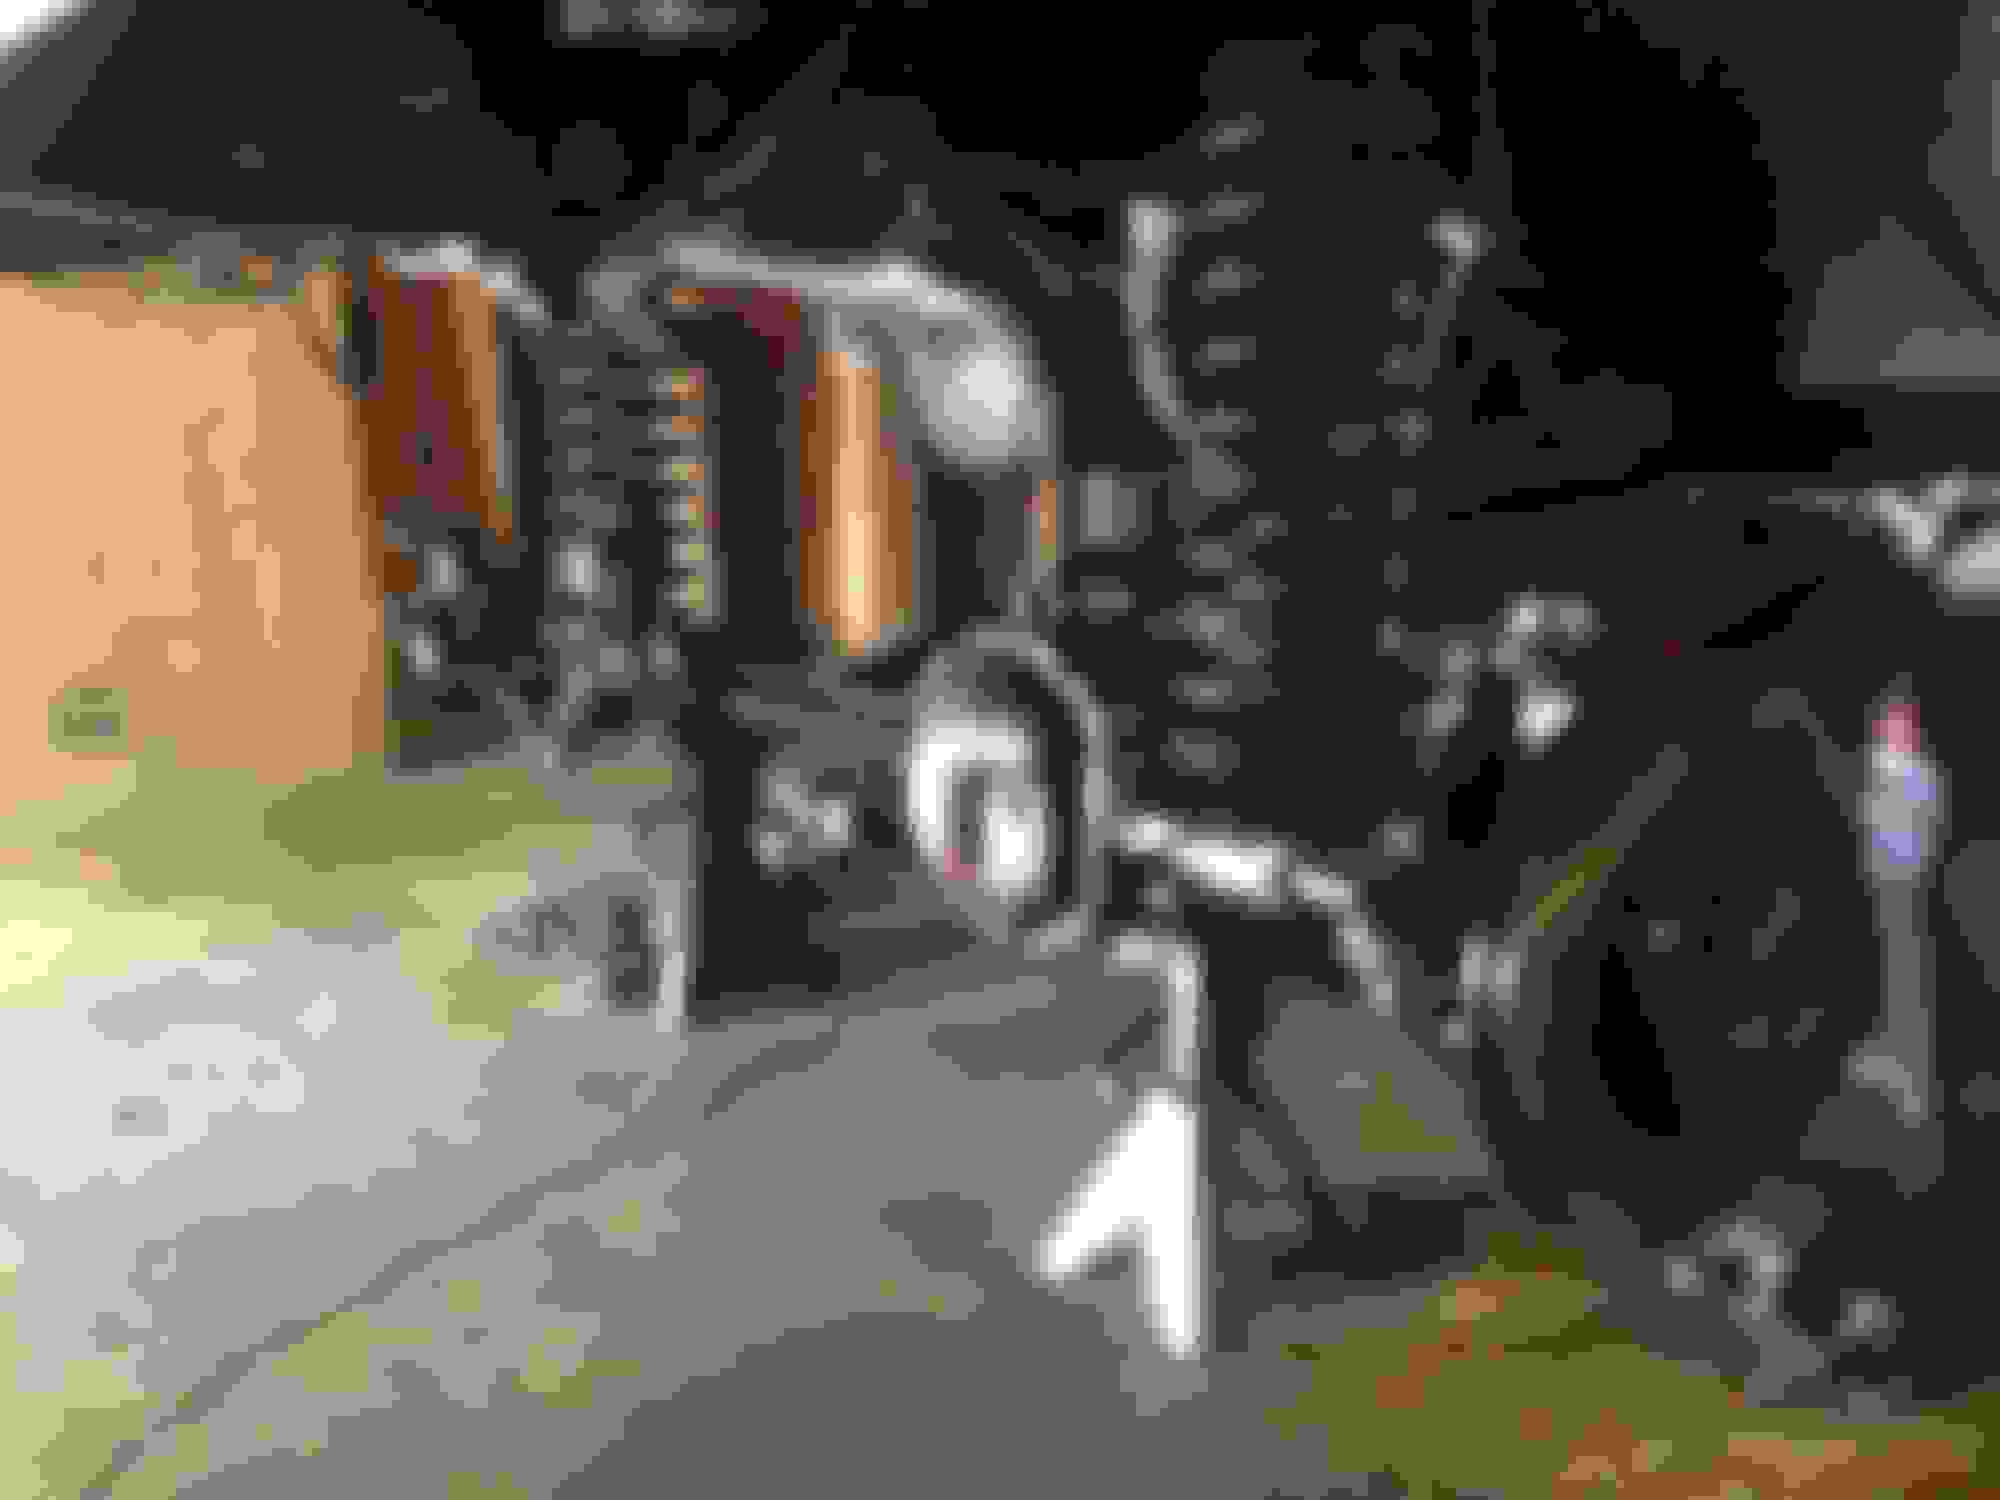
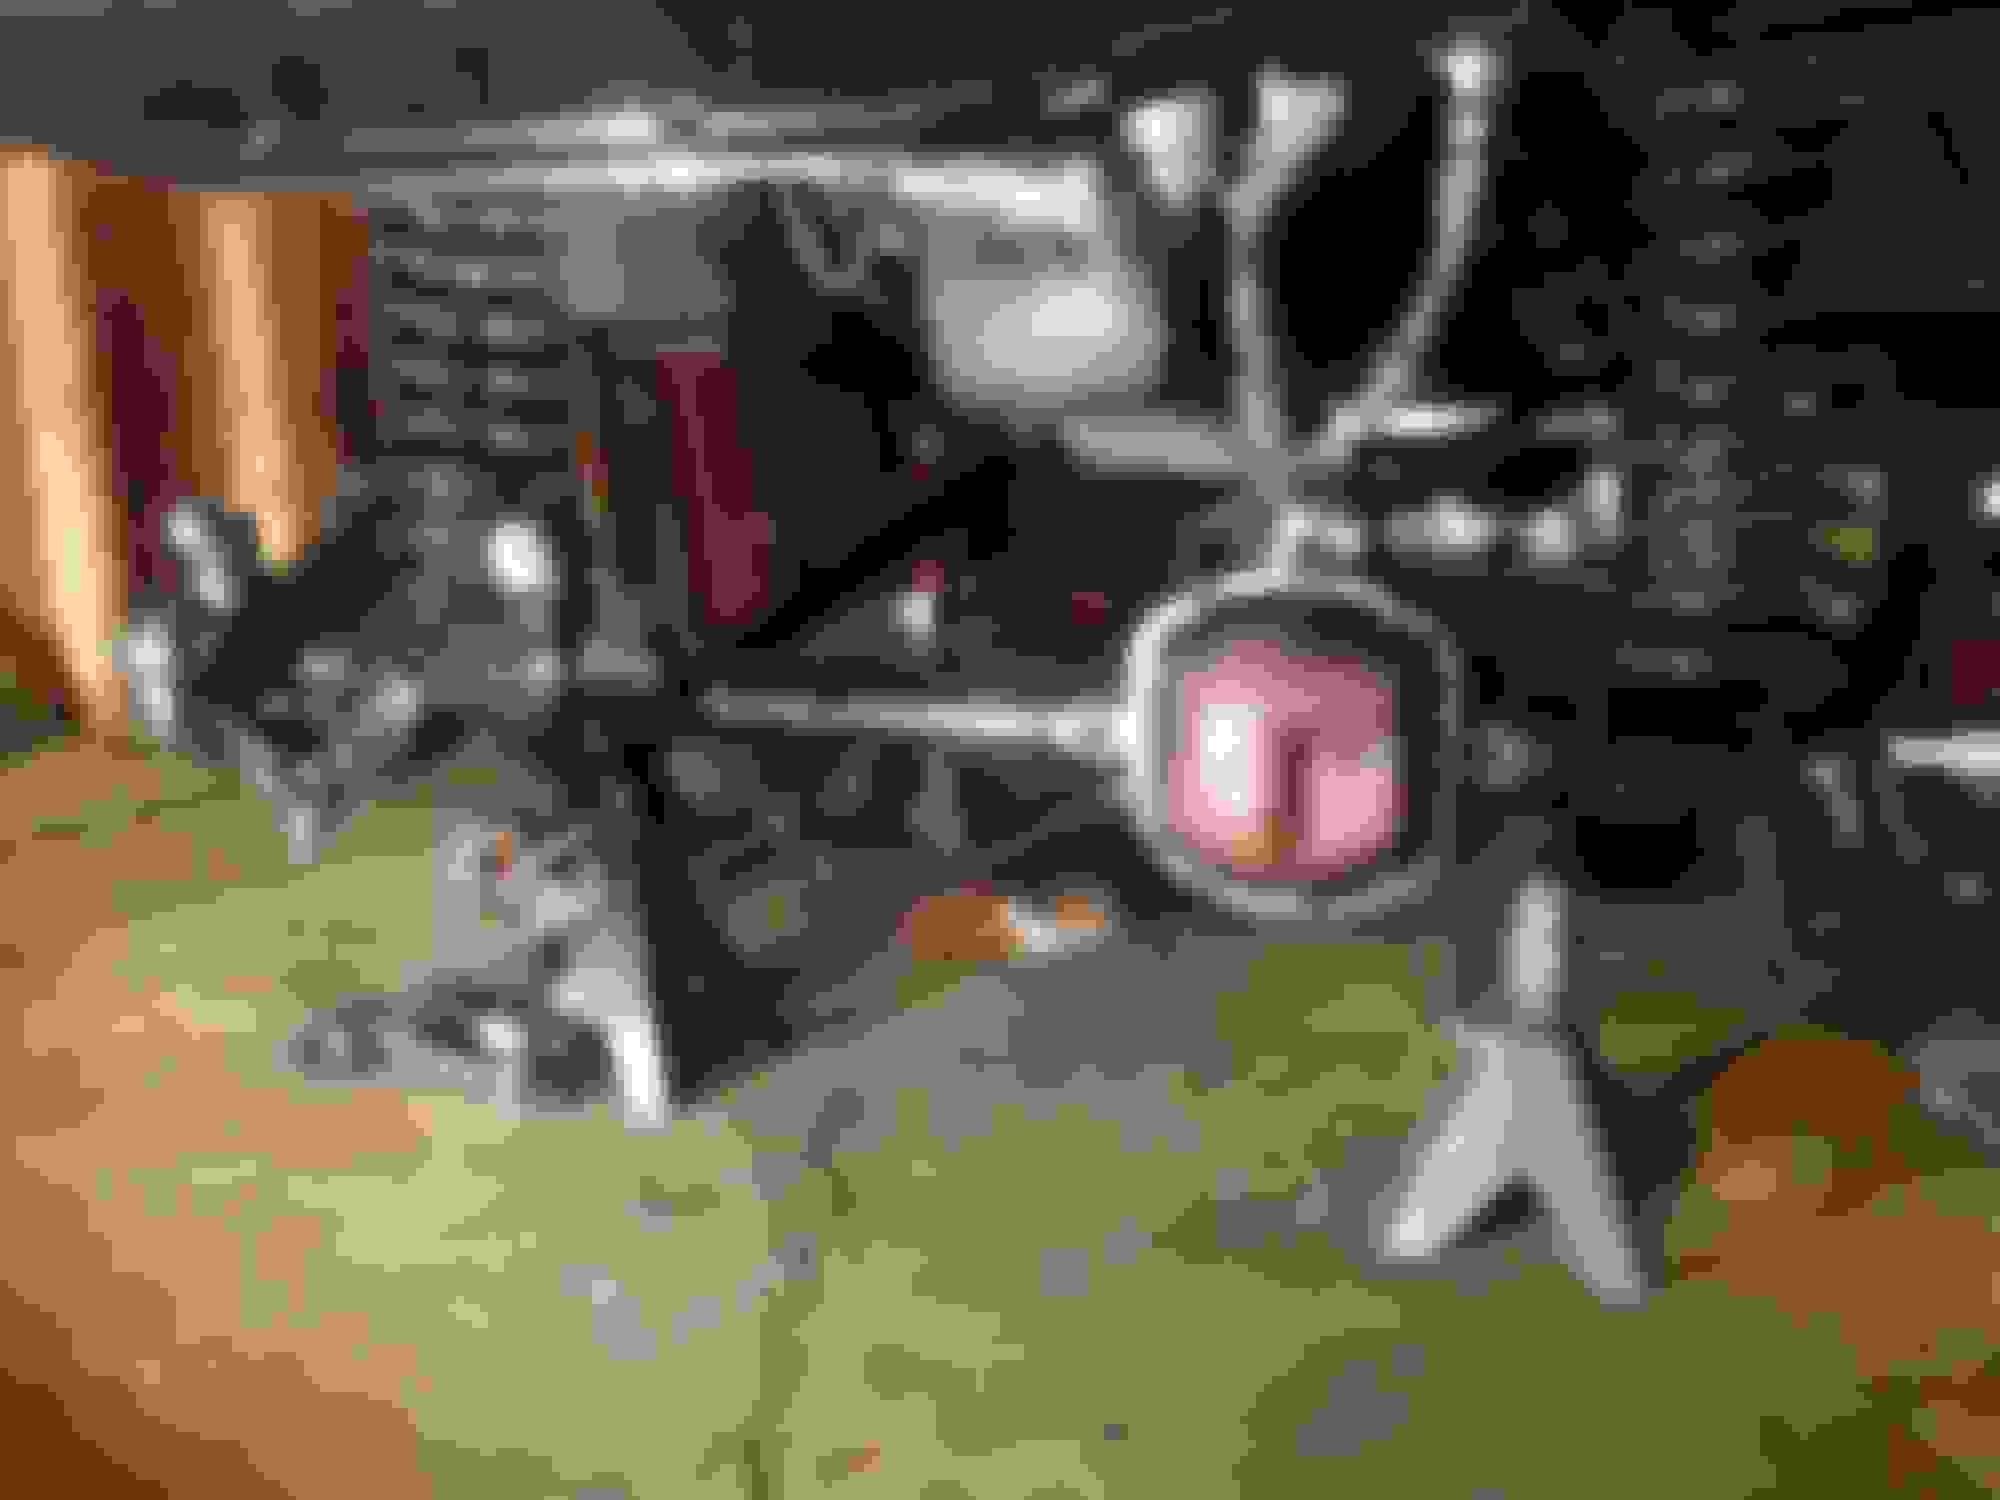
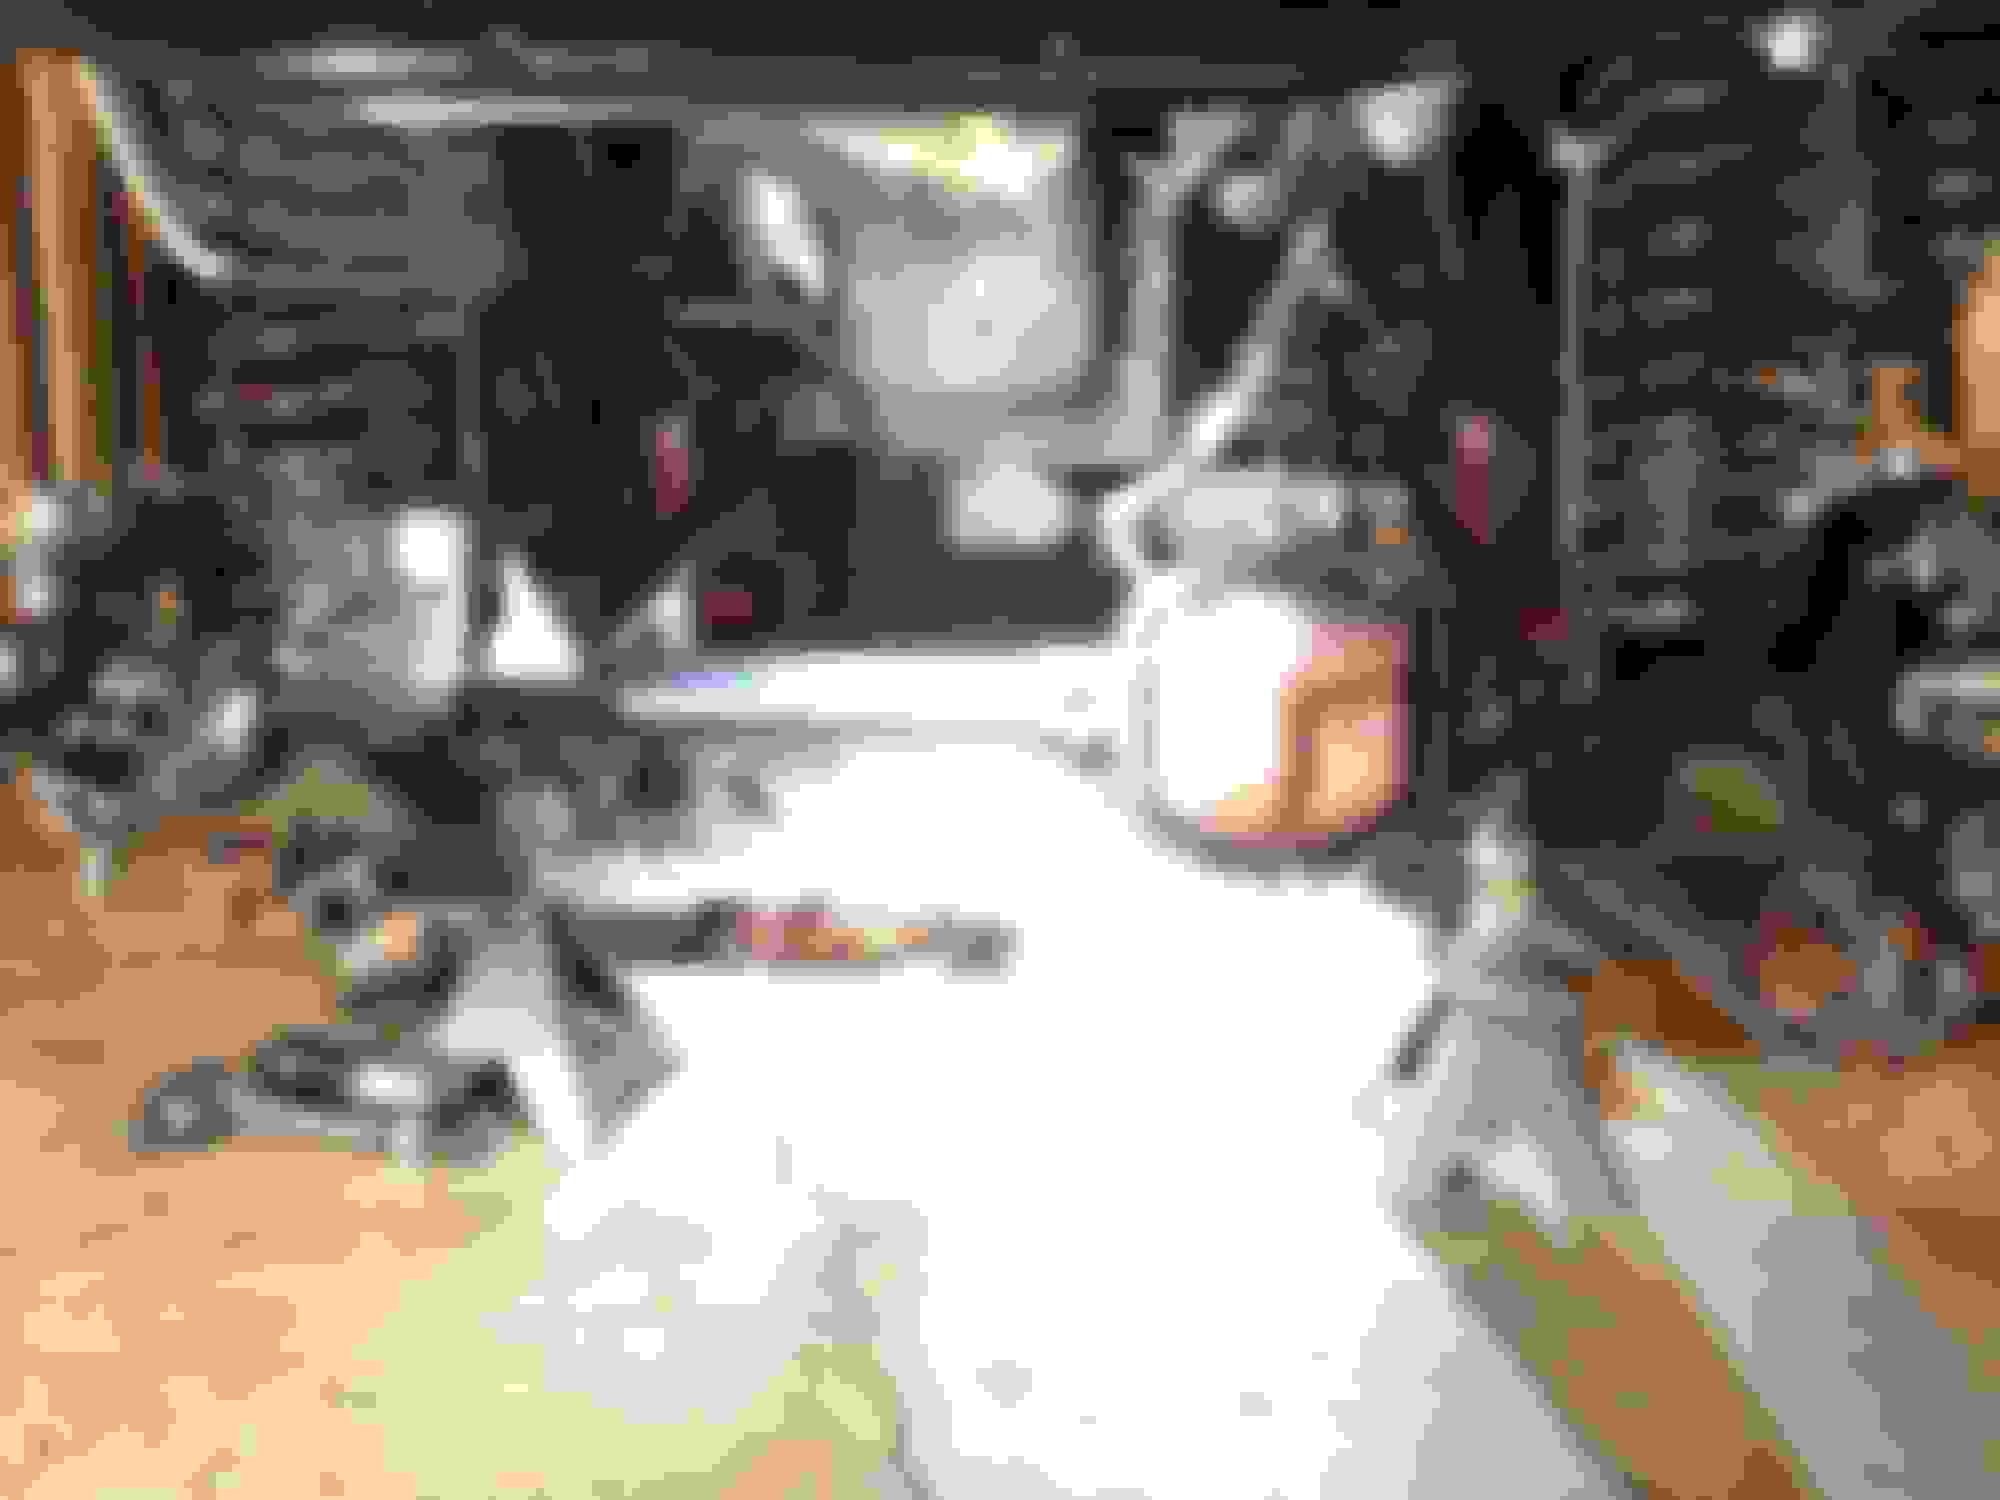
Before we continue the rest of Part II to get us to the present, I took a break from all the hard stuff and worked on a few other things. Trimmed the over head switch panel I made for a slimmer profile, added the ARB compressor I knew I would need for the Yukon Zip I decided on for the front, redid all accessory wiring with a TXL wire and added a Bussmann acc box, redid winch cables, added some Vision X Dura Mini rock lights, and more:
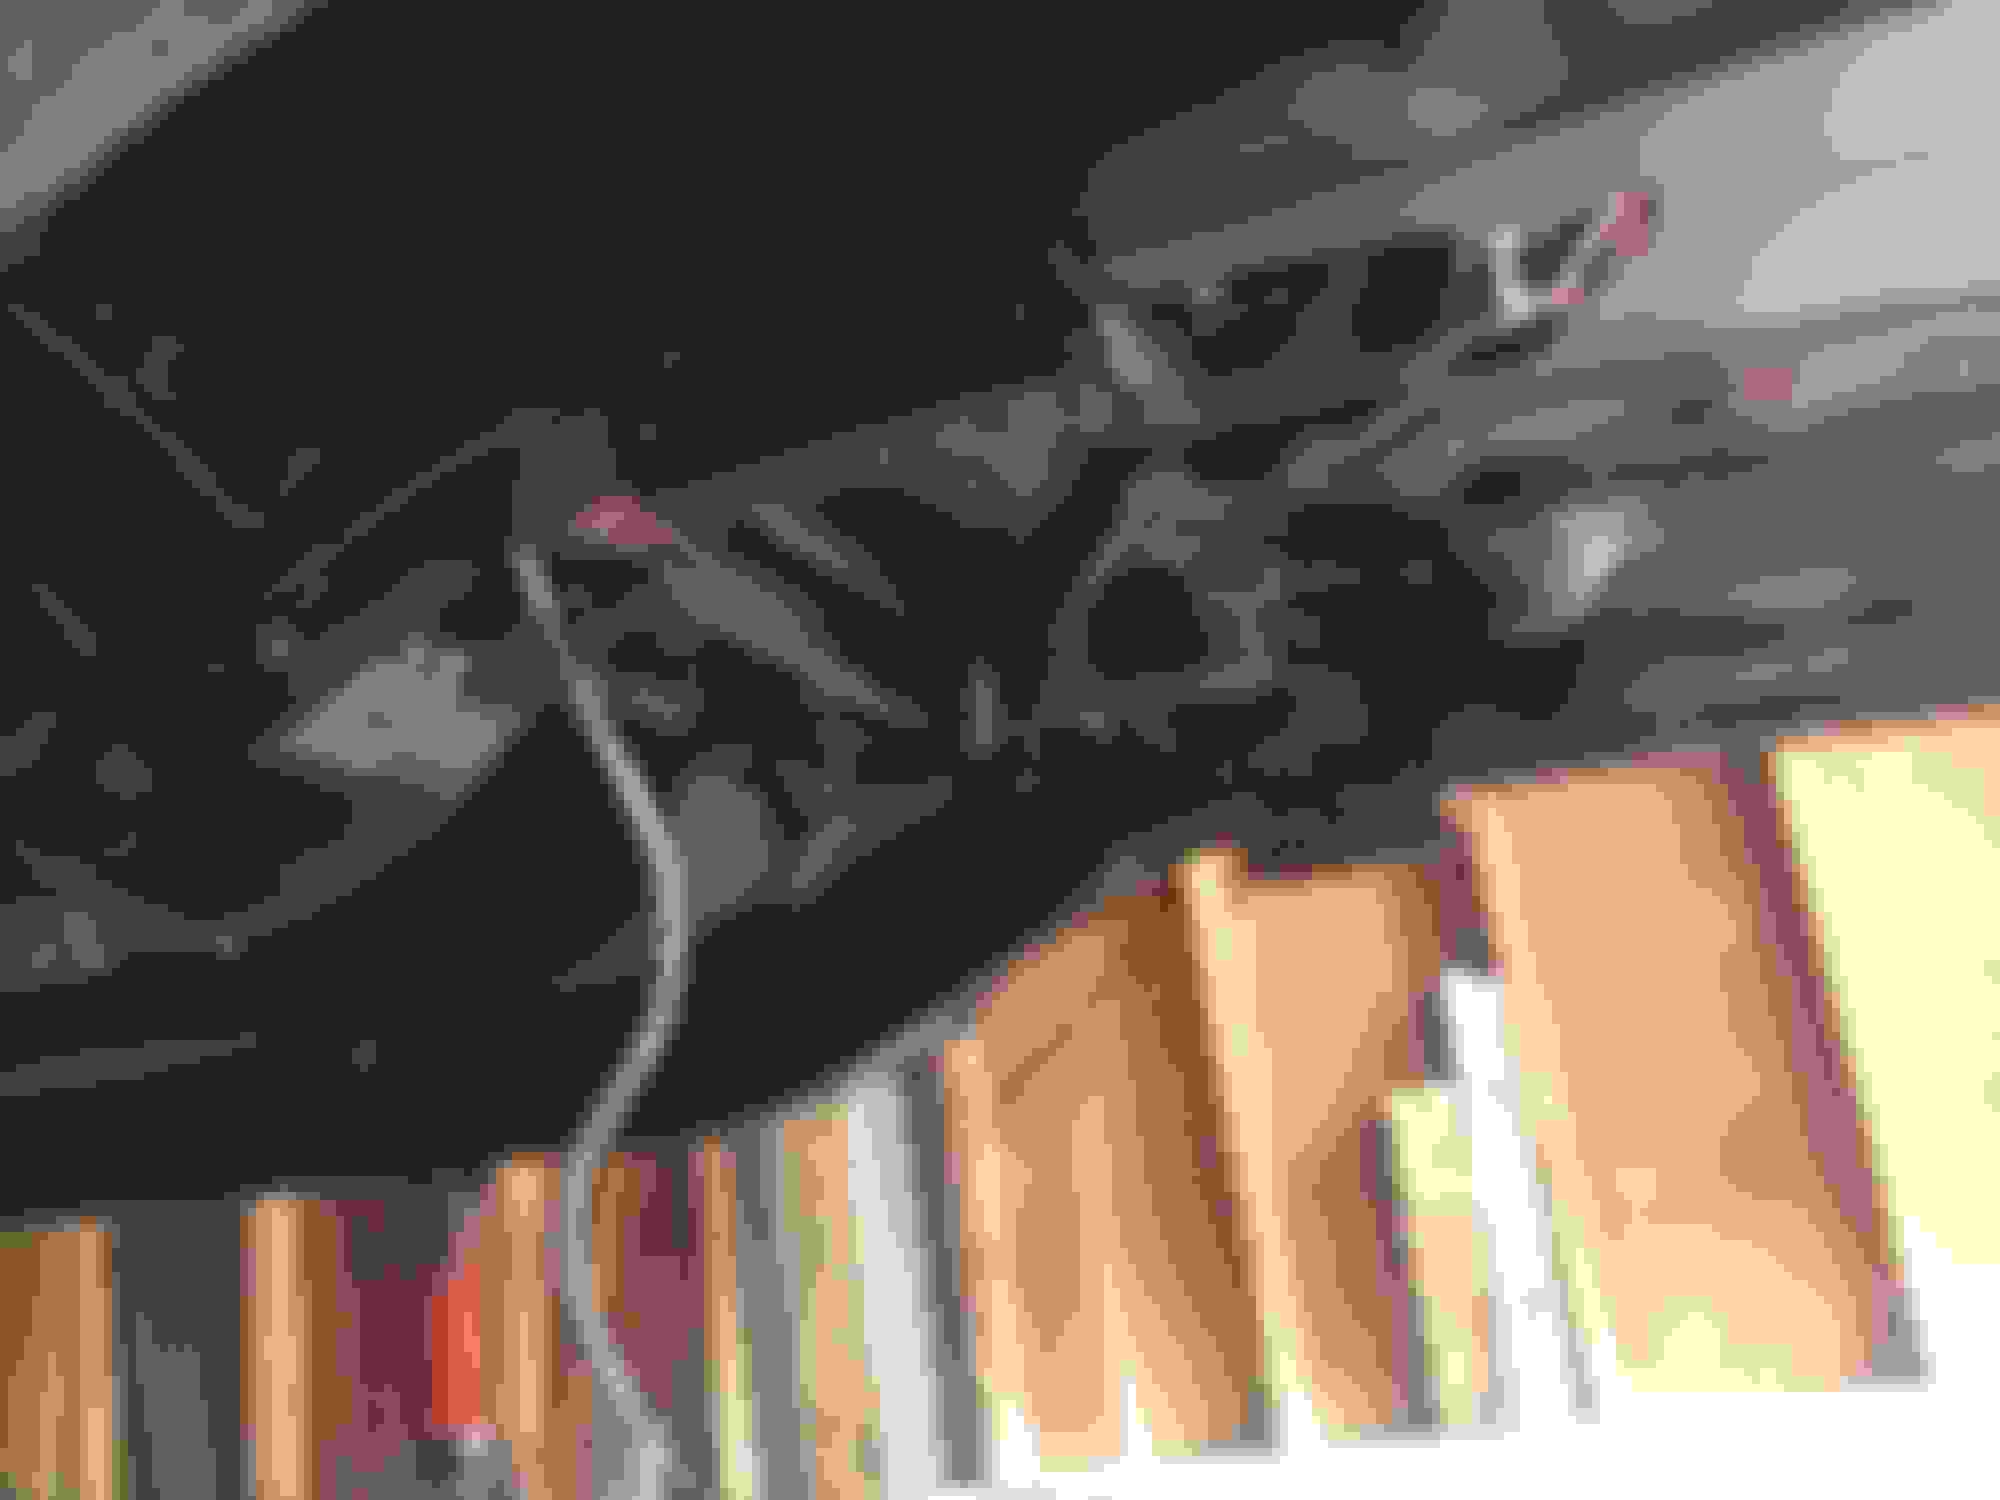
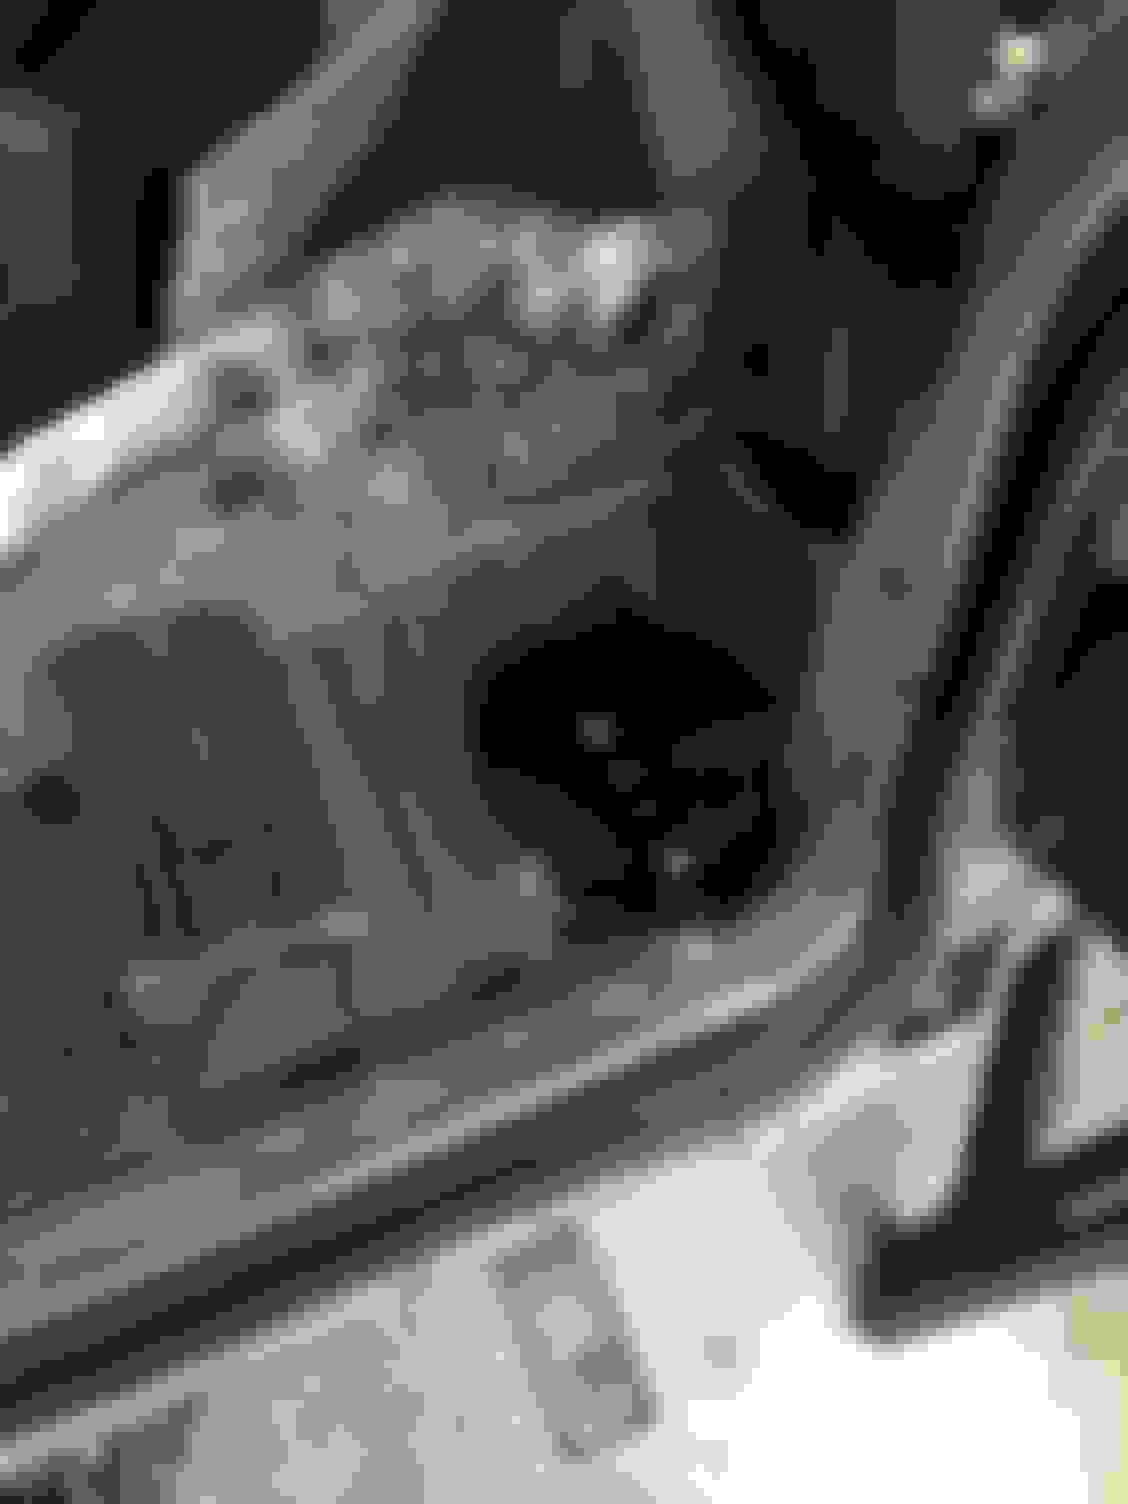
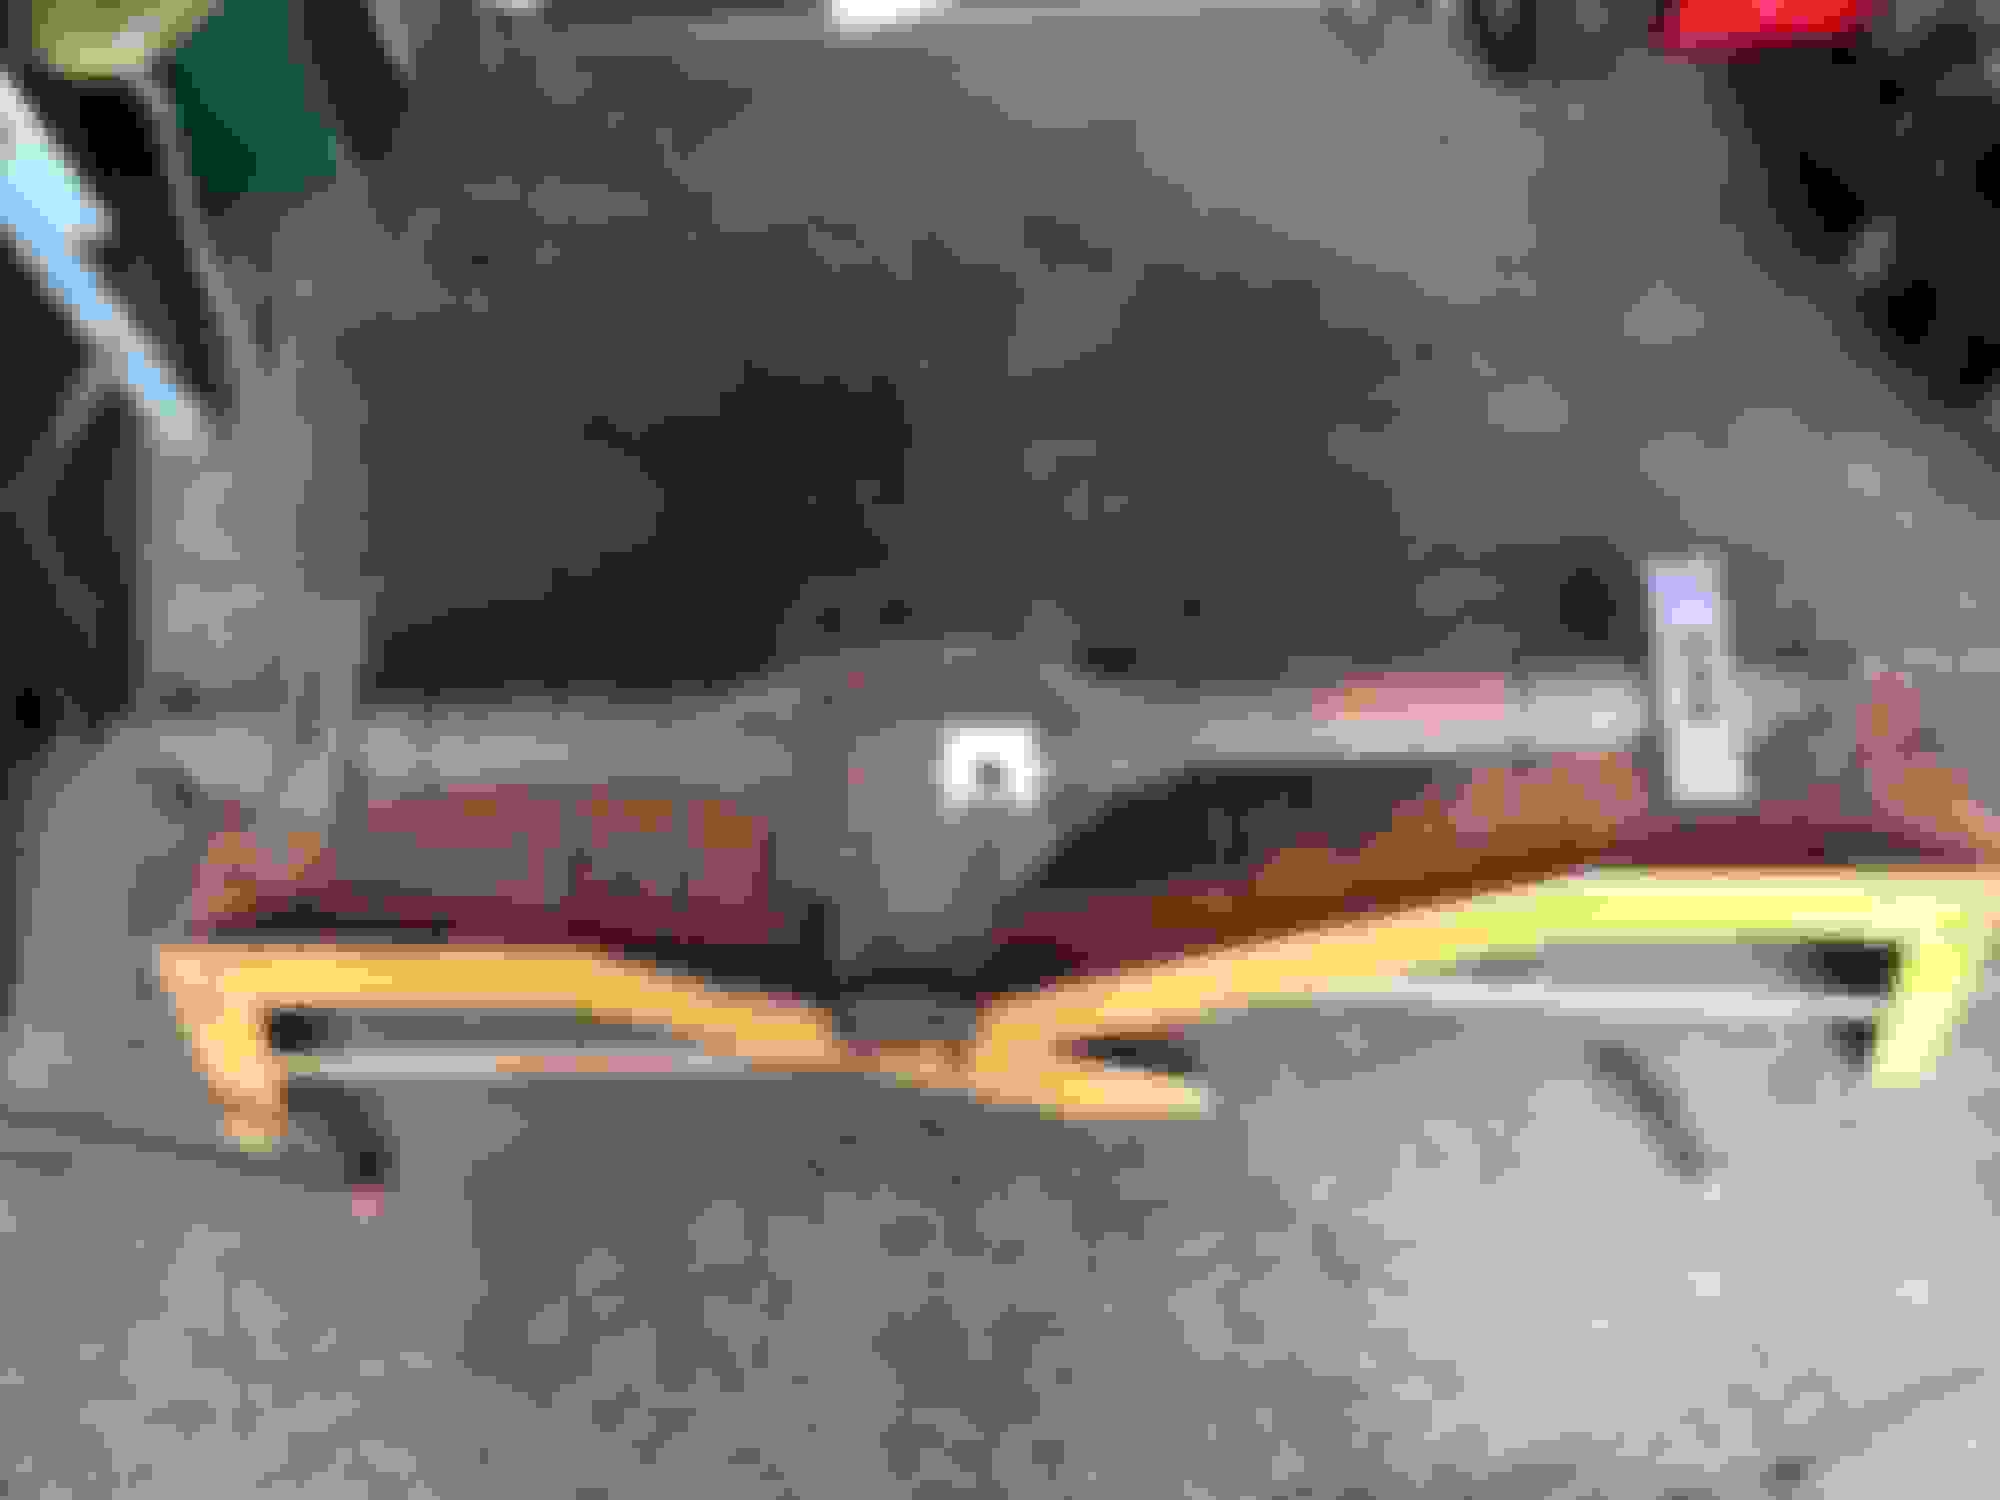
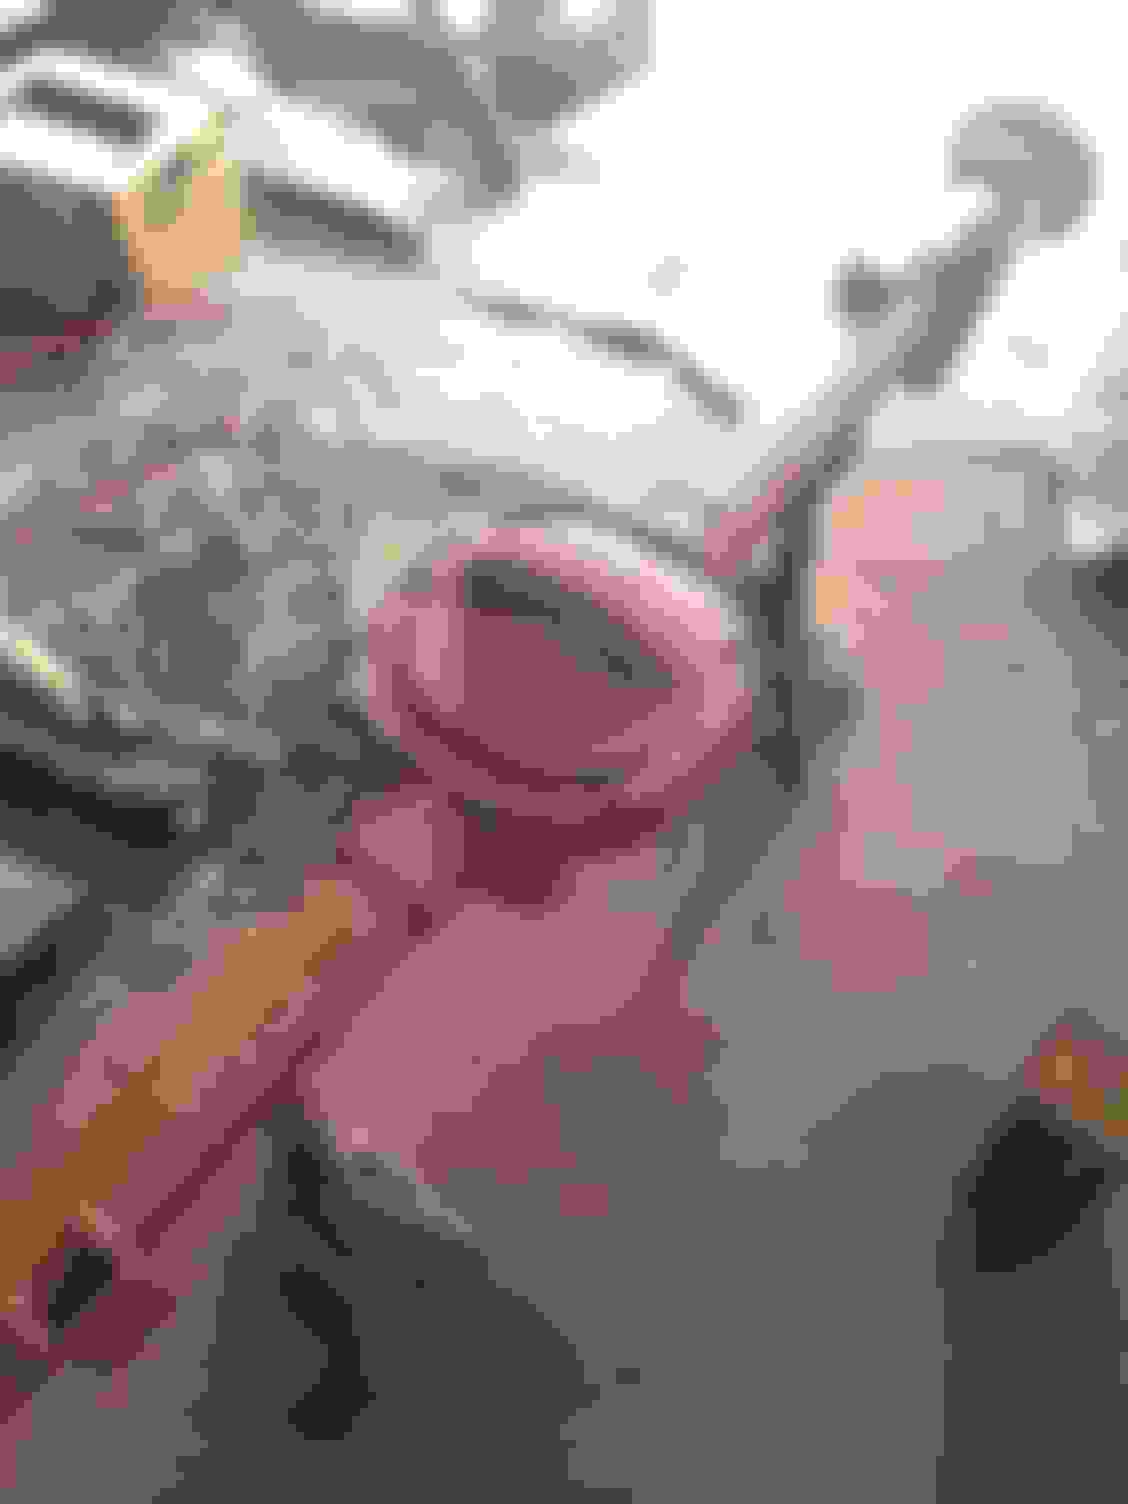
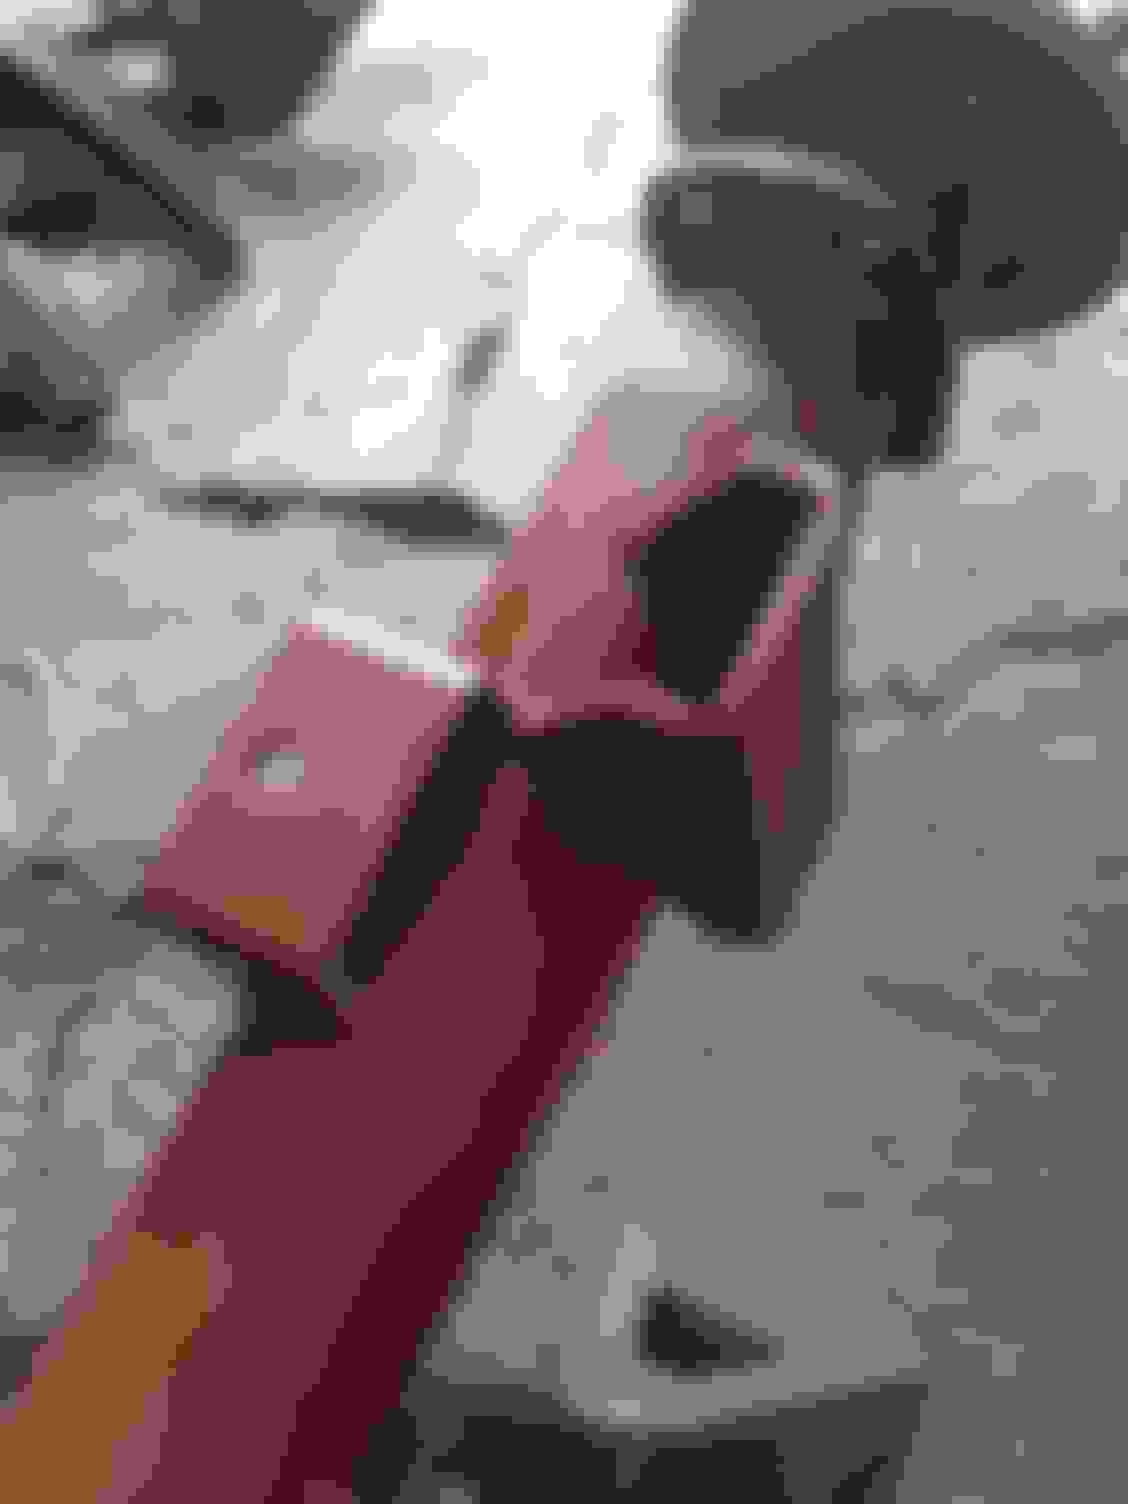
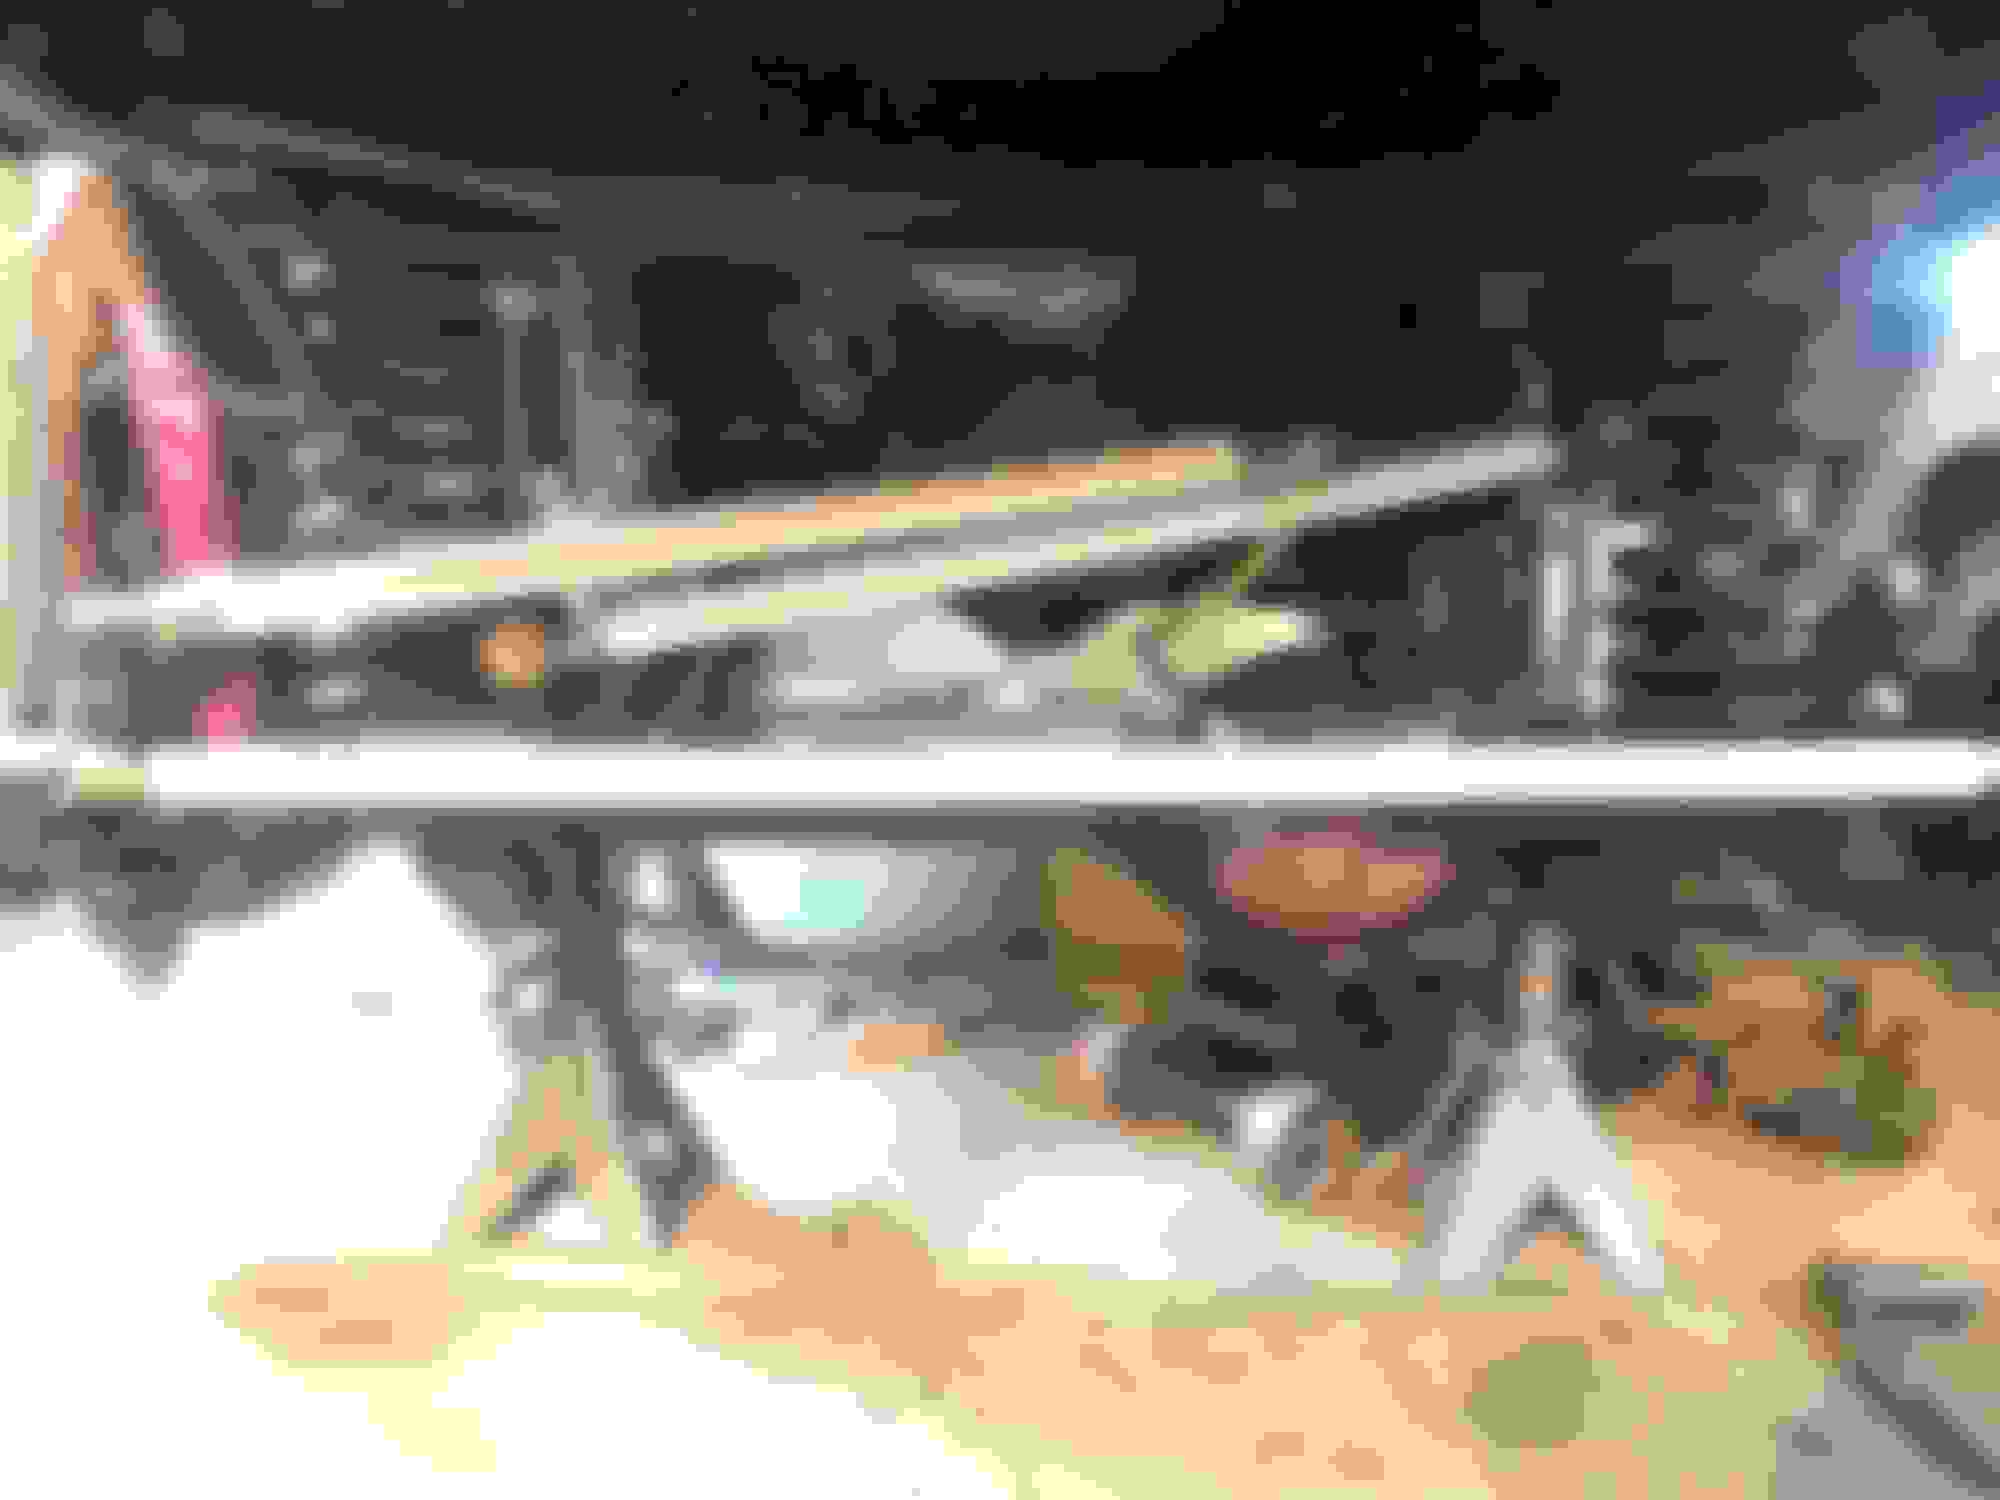
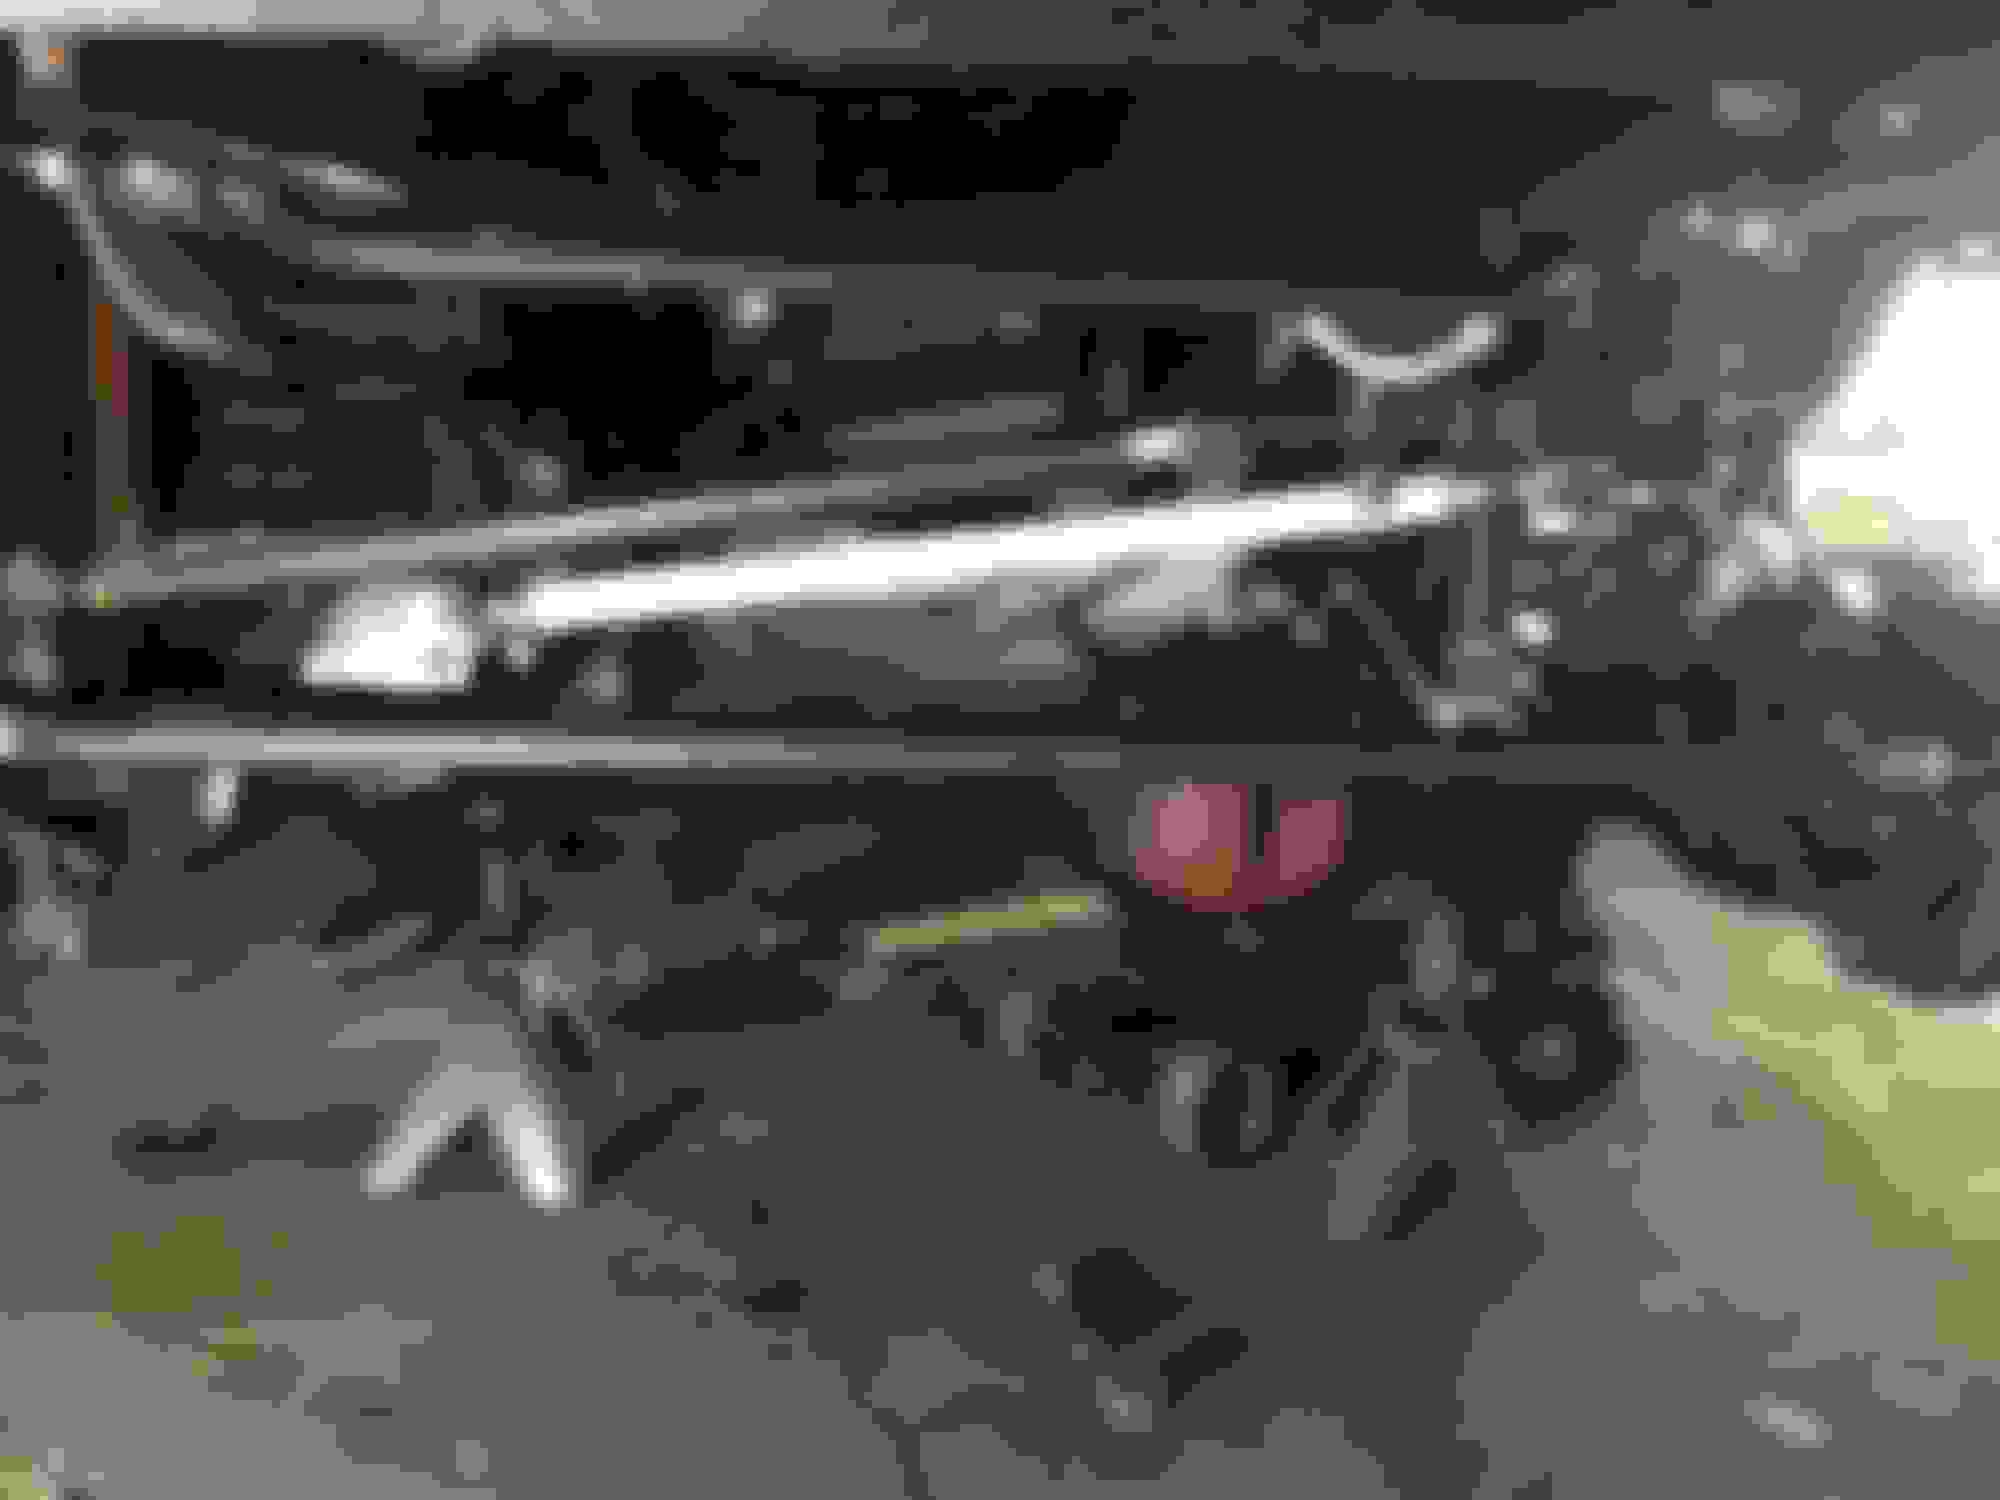
Here are some photos that show what I mentioned in the first part of Part II, about the "hook and clamp" parking cable, and the rear soft brake line junction block and breather hose from the 8.25:
So after a month of messing around with a bunch of little stuff, and researching what I wanted to do with the front, I dug in.
I knew I was going long arms, and I knew I wanted a true 3 link. My only options were make it, buy the pieces from a vendor like RuffStuff and assemble myself, or B. Lee Offroad, who is the only vendor I found that sells a bolt on 3 link kit. It's not the end all kit, and is very basic, but I liked how simple it was. And the crossmember would be easy enough for me to build off of when I add armor underneath down the road. I installed the long arms without a hitch, and I replaced all heims with RuffStuff heims. I don't doubt the heims that come in the kit are good, but being the OCD guy I am, I wanted ALL joints on this fresh build to be new, and from RuffStuff; I threw the B. Lee heims in my trail box for spares.
For the Axle I was pretty limited on what to pair with the 8.8, so just decided to build a solid hp30. I found one from a member on here, who wasn't too far away from me. He let it go for $80 once I explained I could get one local for $60 from the jy, but didn't want to mess around with pulling it; also having cash in hand helps. He wanted it gone so let me have it for the $80. I got it home and proceeded to strip it of the stuff I didn't need, specifically the passenger upper CA mount. I don't jump my jeep, there will always be at least one tire on the ground. So after doing a few days of hard research on both sides on the argument, I opted to not truss it. I could always add it later if I need to. I did however add IRO C gussets, just because they were cheap enough so why not. For the front locker I decided upon a Yukon Zip. I originally wanted air lockers front and rear, but ARB is the only air locker made for the 8.8, and buying ARB front and rear would have put my build on hold for a WHILE. So I got an awesome deal on the Yukon Zip (and my Vision X lights) from Rockridge 4WD. A sale had just ended on another offroad vendors site, and rather than send me along my way, I politely asked, and they price matched that vendor, and even matched the promotion that vendor had for a free ARB compressor with a Yukon Zip purchase. Rockridge got my business from there!
I opted to keep the axle shafts 27sp, as after reading a lot, I wanted those shafts to be my "fuse". That and i could buy them by the dozen at the local yards, and carry trail spares. for the set I had current though, I opted to do the full circle snap rings.
While I wait for the hp30 to be geared at the shop, I strip the front and prep for the same treatment the rear got: Rustoleum. Before I paint I grind off the OEM upper CA frame mounts, as I didn't want any question of whether there would be contact, and I wasn't going back to short arms. So I prepped it all, primed, then painted.
I get the 30 back from the gear shop (my local gear shop is a guy that/s been doing it for decades, he also does all the trannys/gears for the local racers who drag at the local track. I provided 4:88 gear sets, lockers, and axles, he charged me $1100 for both axles: labor, and all bearings/seals. This was way cheaper as he could work on them on a bench and not have to take up a lift or garage bay), and paint it up and put it under the Jeep.
As you can see in the last picture there, there is a JKS OTA TB bracket welded on. I decided on steering while I was waiting for the axle. I am dead set on 35's as my final tire, even if not for another couple years (I just bought brand new BFG AT 33x10.5 in March 2015, so I wasn't about the sell those, I'll run them until they're done), so my steering of choice is the WJ swap. I get better steering, better brakes, better geometry, and hopefully do away with the steering stabilizer.
Also in the picture above you can see my new choice in coil springs, BDS. Since I did a lot of research before I got the BDS leaf packs, I knew I wanted to match brands for springs front and rear as I read that having matching springs is better for ride quality. Don't know if its actually true or not though, but I found some posts that say the spring rates of matching sets compliment each other better than say a coil from one company paired to a leaf pack of another. BDS doesn't make a 5.5" XJ coil, BUT, they do make a 4.5" ZJ coil! Anyone who knows a little more than average about lifts knows that a lifted ZJ coil put on an XJ will usually net 1" over what it was rated for the ZJ. So guess what, it did pefectly. I actually got the coils back before I stripped the jeep to start the project, and swapped them out for the RC I had on at the time. i took measurements from the frame to top of axle tube, and guess what, turned out to be about 5.75-5.85". After a little wear and tear on them I have no doubt they'll come down a bit to be right at 5.5"
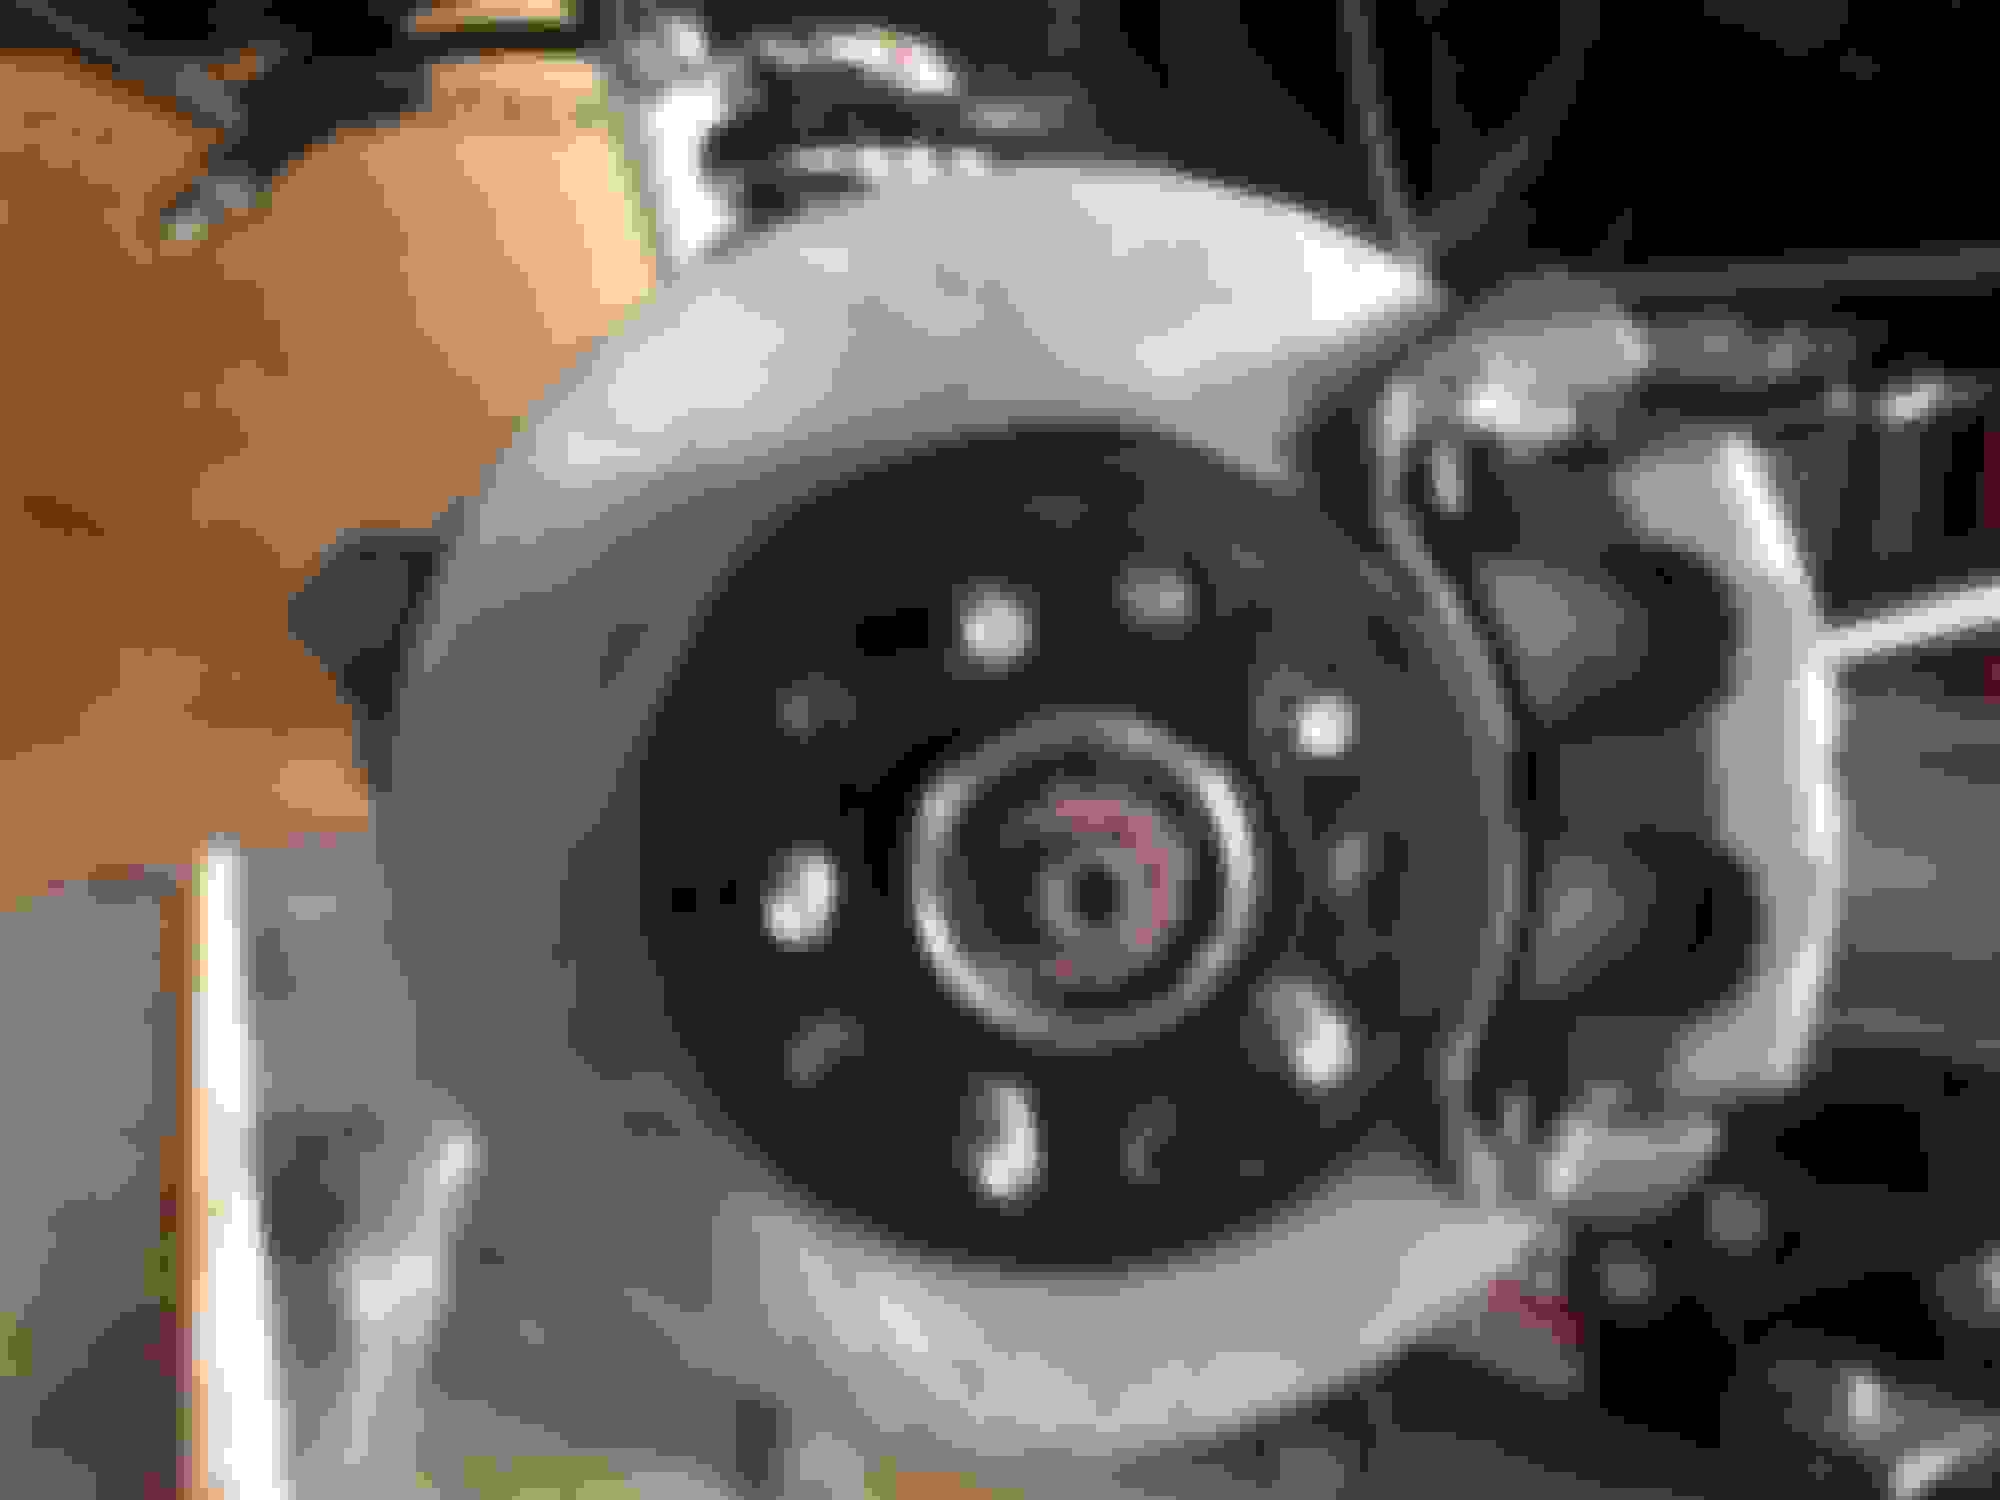
So anyway, I get the axle under, and start bolting everything up, including the WJ stuff. I sourced all the WJ stuff from a jy an hour away, as they put their vehicles on wheels, so they're elevated. Walked out of that yard with 2 knuckles and 2 Akebono calipers in good condition for $110. I also opted to redrill the rotors so there was no issue of spacing or anything. I drilled to 5/8" first, using a wheel adapter. The holes where ever so slightly off. So after talking to Blaine at Black Magic Brakes, he said explained the holes to the wheel studs could be 1" if they had to be, since the rotor is hub centric. I did'nt feel comfortable drilling them THAT much, so opted to drill the holes bigger to 3/4", which did the trick.
You can also see in the pics the TRE's. I opted to use 1 ton TRE's for all steering, and use 3/4 heims for the TB.
I'll explain in the next post as we get closer to the current, trying to split "Part II" up into stages as it covers 8 months worth of work..
Big fan of the build. I see a lot in common with my own. Interested in seeing where the progress you've made and the current state that the Jeep is in.
Big fan of the build. I see a lot in common with my own. Interested in seeing where the progress you've made and the current state that the Jeep is in.
Thanks! I'll finish up the rest of Part II tomorrow, then it will be current on. Once I get caught up I can go back and explain anything in more detail and take better photos.
So I'll finish up Part II with this post, to get us to how the jeep stands today.
So working on the steering I decided upon 1T TRE's for everything except the TB. I also decided I didn't want to drill and use inserts. Mainly for the cost of the reamer vs cost of drill bit and inserts. I have read that even if you ream the knuckles perfectly, there's still a chance of the whole wallowing. If that happens then I'll drill and use the damn inserts haha. I did ream the tie rod holes just a hair more than I should have, but with no vertical movement it'll be fine. The holes were past what the castle nut would catch, so instead of using a washer with the castle nut, I found thicker metric cotter pins that fit the hole and will catch the castle nut.
I opted to use offset TRE's for the tie rod as I wanted to clear any after market diff cover I use. Using the stock one was out of the question, since I wasn't trussing the axle, I wanted to strengthen the axle housing from deflection even if just a little, with a heavy duty cover. Since I had a RuffStuff 8.8 cover, and becasue I'm OCD, I got the front cover from RuffStuff as well. I also used an offset TRE on the knuckle end DL, to clear the JKS TB bracket. I used a high misalignment/angle TRE for the pitman arm.
The offset TRE's presented a problem with my wheels. I had just bought new BFG 33's this past spring, and I wanted to stay with a 15" wheel, as tires for anything else are just too expensive and limited on what you can get. So I ended up asking and getting new steel wheels for Christmas (Cragar V5's) with the max offset I could get (3.75, my old ones had 4, but every little bit will help in the end!). I had the tires and wheels balanced with static weights (sticky ones) with the weights as far outboard as they could go, and shaved the TRE's and caliper's a little. From doing all that the wheels don't rub or contact anywhere when I spin/turn it on stands in the garage, I'll check it all again when I start driving it. I don't feel the amount I shaved off will affect strength, and even asked in a thread I started on here. Consensus was that it'd be OK.
Here in the following pics I am mocking up the steering. My goal is to get the TB parallel with the DL. I thought about custom making a frame side TB bracket so I could lengthen the TB to get it as close in length as possible to the DL. But after not liking any thing I could fab, and reading a little, opted to just use a pre-made bolt on bracket, as the length difference wasn't going to be really noticeable, and if it is I'll change it down the road if it's unbearable. I chose the RE frame bracket, simply because it had the 2" opening I was looking for, for the heim, and because I could get the brace specifically designed for this bracket.
As you can see the TB isn't quite parallel with the DL, and having opted to use a bolt on frame bracket, and already having the JKS bracket welded on, it left me in a pickle. So after taking a week off and thinking of my options I decided to cut off the JKS bracket, and buy a RuffStuff bracket, which has 3 mounting holes, after confirming with RuffStuff the height of those holes.
With the new RuffStuff OTA TB bracket, I also didn't need to have an offset TRE on the knuckle end of the DL. So having a high misalignment/angle TRE on the pitman, I opted to get the matching high angle TRE on the knuckle, to get mass flex with no binding. This required me to re-ream the DL knuckle a little more as the high angle TRE stud is a little bigger than a standard 1T TRE.
Having switched to the high angle TRE for the DL knuckle end, since the TRE body itself is longer than the offset, required me to shorten the DL. I had all my DOM cut by the local weld shop, so it was cut flat and true.
So this pretty much concludes Part II.
As of today I am awaiting to have all the steering links welded for good. Waiting for the RuffStuff bracket to be welded to the frame. Most of what I was done so far was done up to about the beginning of December 2015. The TB issue was the one snag I've had in this whole build. After coming up with a solution I feel is best, hopefully it'll be on the road in the next couple weeks!
Thats the thing about making it work as you go, sometimes the stars don't align. I'll be doing the same thing soon, so the tip about getting the ruff stuff instead of the jks OTA bracket is a good one.
So now that I've gotten the build thread up to date, I can start showing and posting stuff as it happens:
Part III
Part III is current. So I'll just be updating the thread as stuff happens. And any future trips/mods/etc will be posted as they happen.
While I await everything to get welded, I've been working on a few small ideas, and trying to come up with solutions to others.
First, I need front bump stops. Having thought about poly progressive ones, I opted for the tried and true puck lower, with a countersunk bolt and tapped hole on the lower bucket. Since the bottom was pucks, I wanted to use rubber for the upper so there was a little "give", and not a hard smack. I had poly uppers, and took those off for Crown OEM replacements. I started a thread a month or so ago about these replacements, as they looked to be the same as the OEM ones, but were very loose on the upper bump tower. I thought I got 2 bad ones, so ordered 2 more just to be sure. They arrive, and all 4 are loose! So I'll prob just end up buying news from the dealer for $80, unless I figure out why 4 brand new Crown replacements are loose.
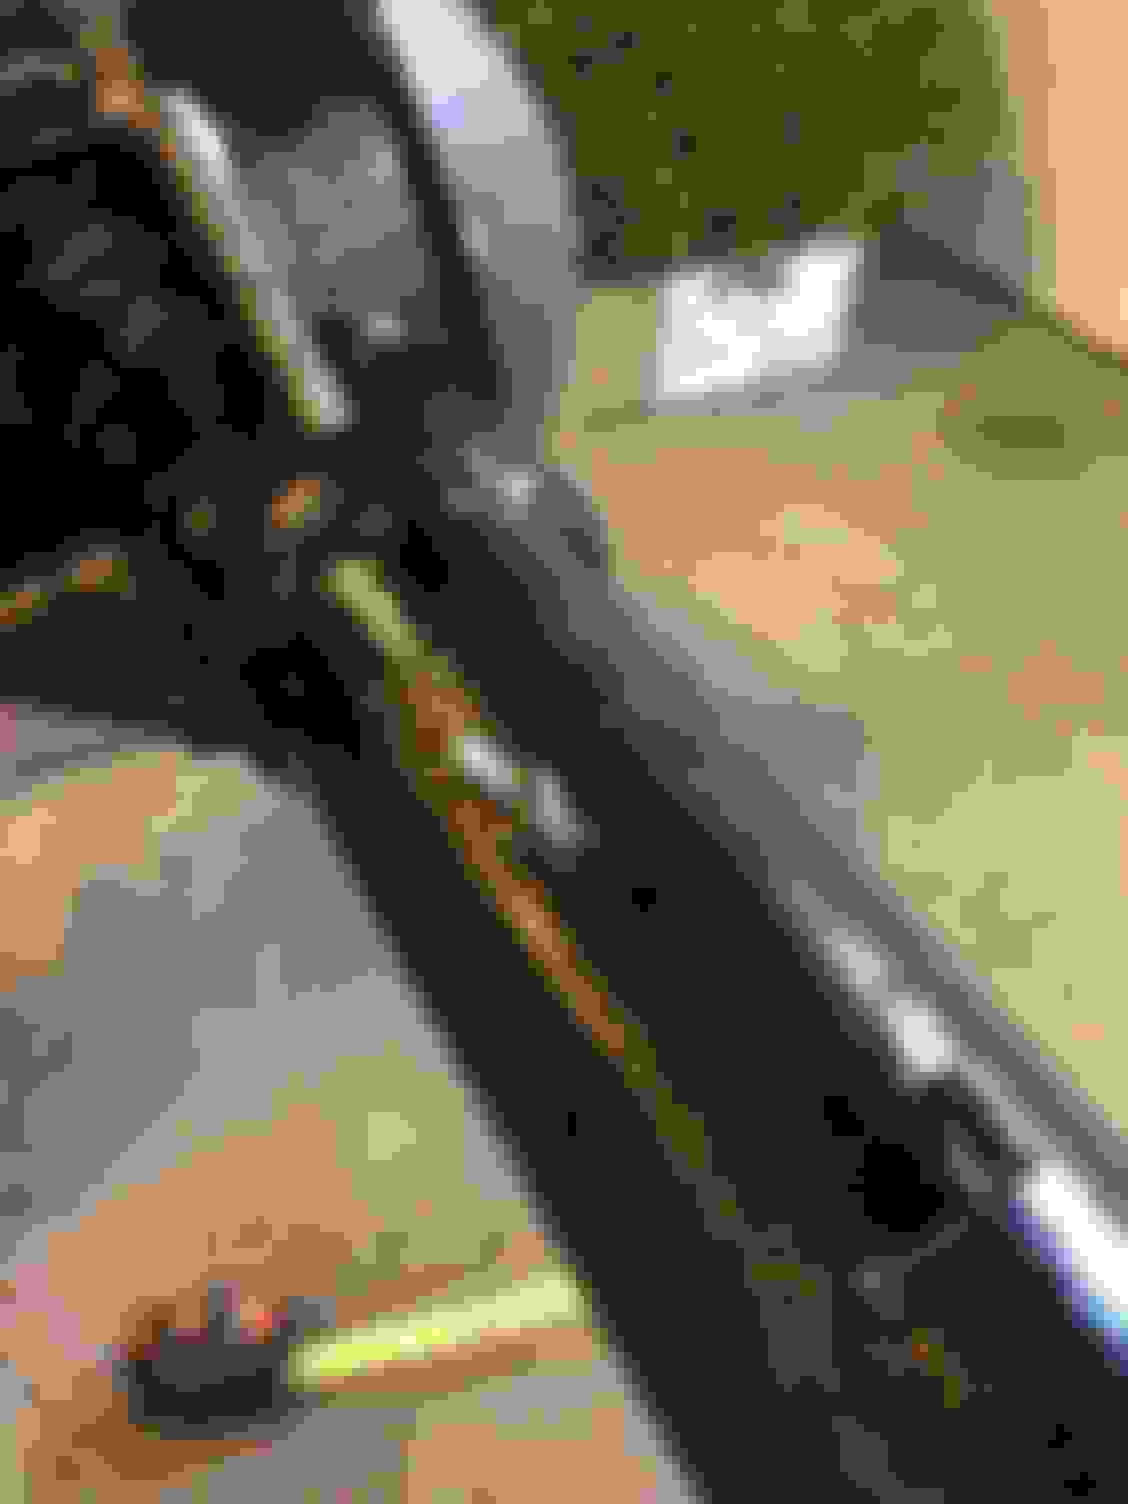
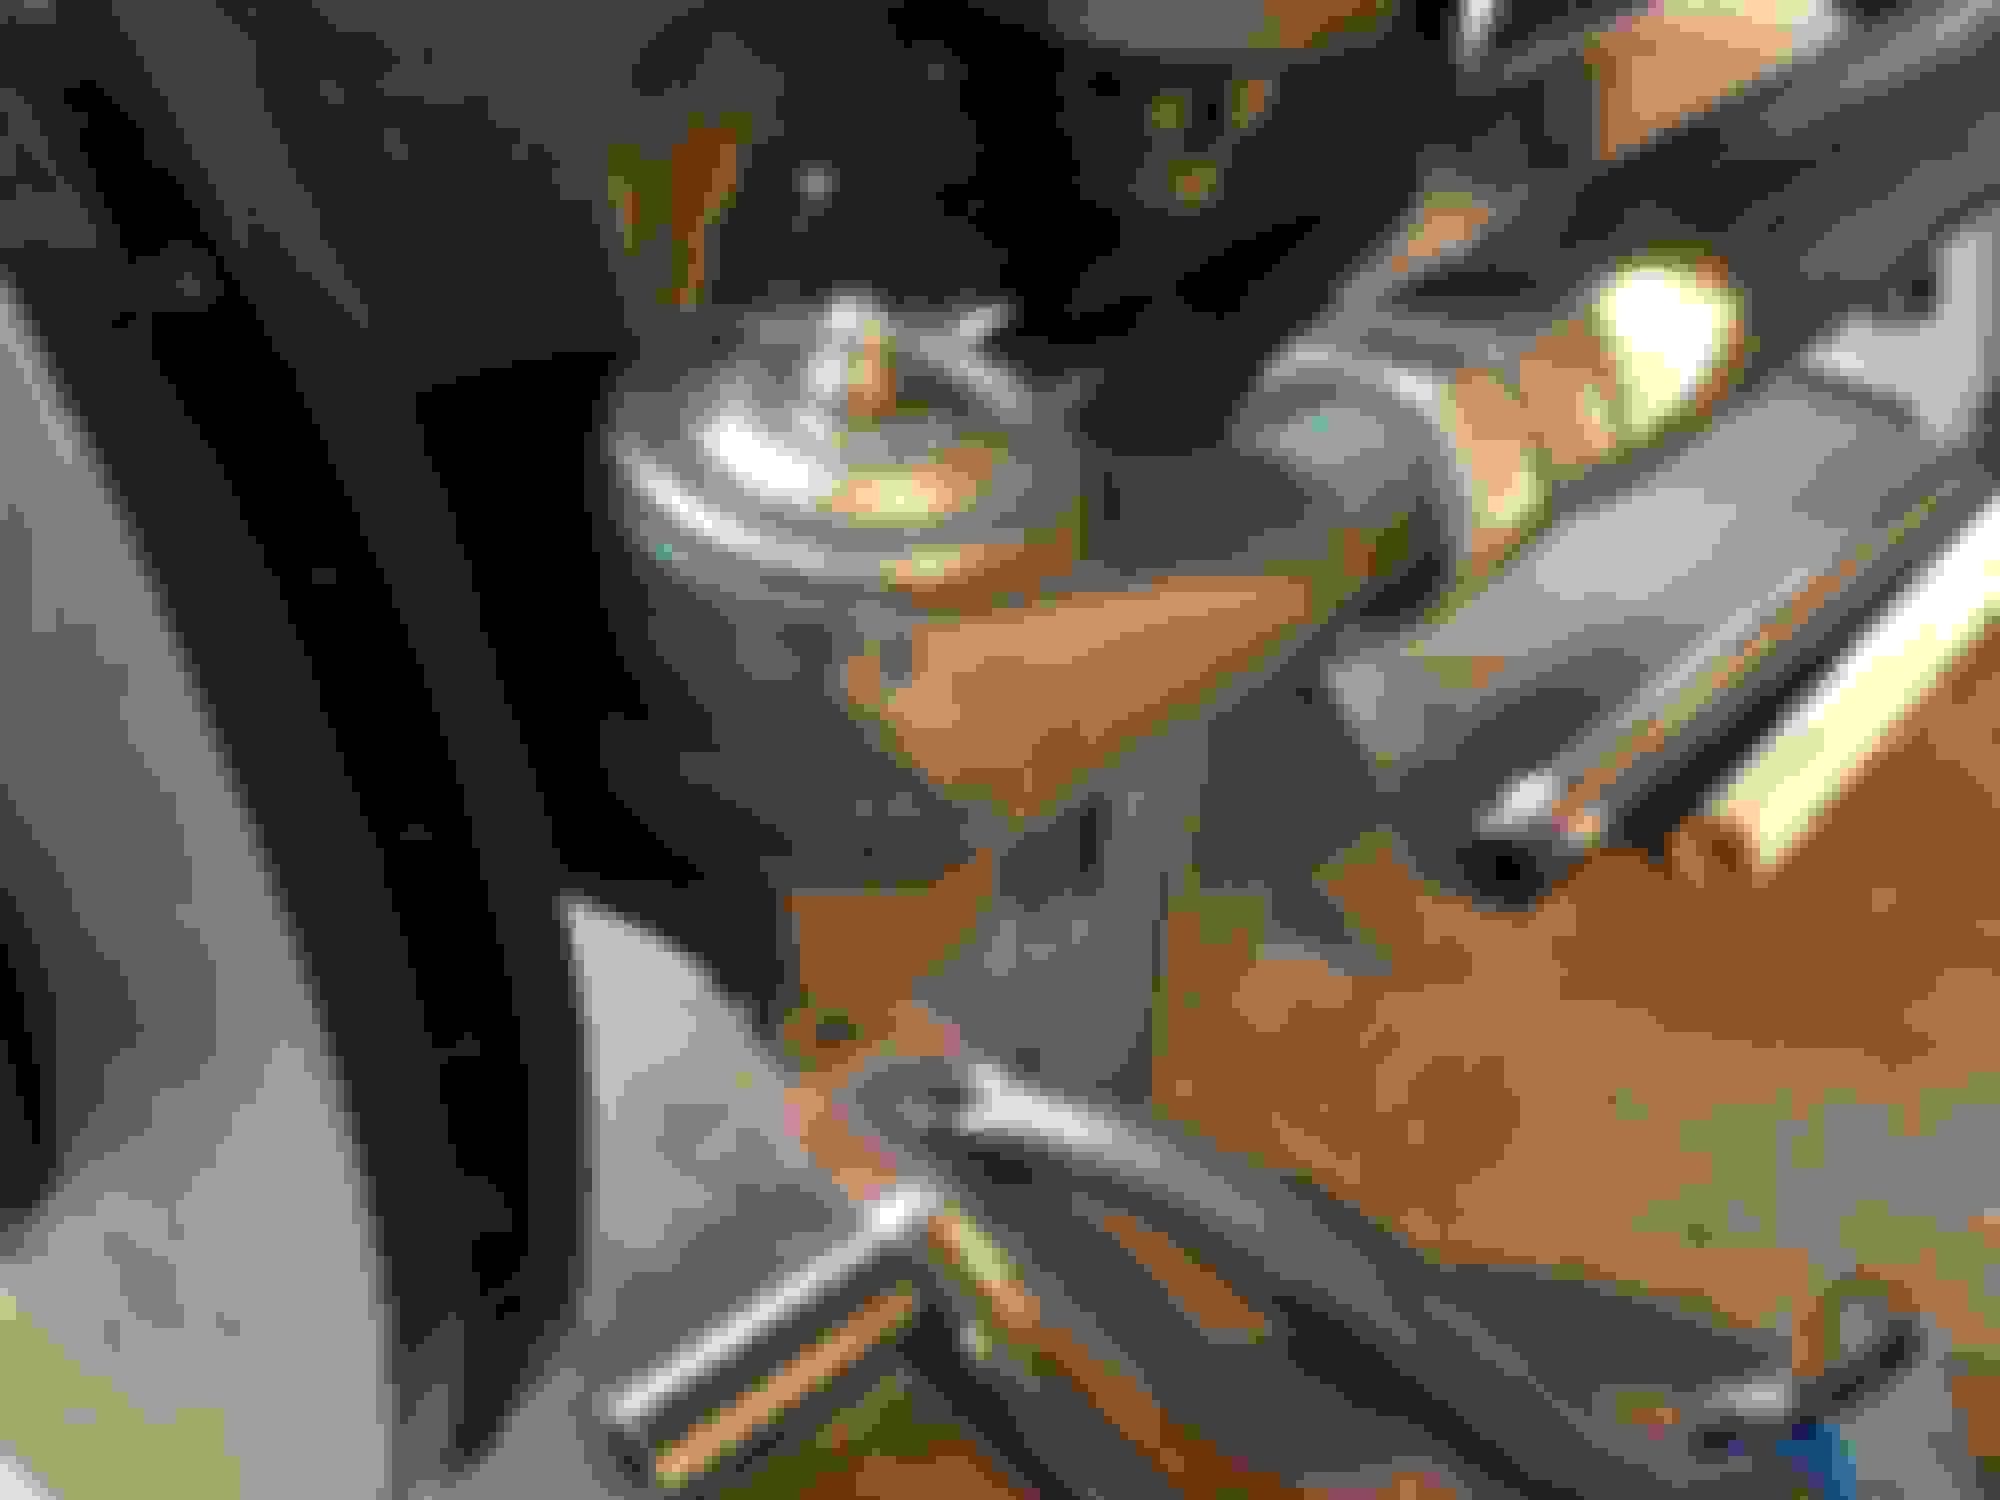
I've also been working on a reverse light mount for the tire carrier. I called up AJ's and had him send me the exact same size plate, only 1/8" with holes already drilled. Took all the guess work out of it. Had a tab welded on, and mounted my Vision X Dura Mini that I am going to use for a reverse light. As you can see I also have been using Monstaliner for everything haha, I have come to like the stuff. Still hate Chassis Saver, and if anyone wants to try it I have a few cans as it was free with the bedliner purchase.
I found a **** with the correct thread for the mounting stud of the light, so whenever I have to take the tire off, I can just unscrew the light from the mount, then slide the tire off.
My short term to do list:
-figure out shocks after I get the TB and steering links done
-bump stops
-mount caddy horns
-mount Tattons driveshaft; I also used Tatton for the rear DS, after putting in the 8.8 the OEM XJ front wasnt long enough by a few inches.
-figure out sway bar mounts. Having stiff BDS springs front and rear, I will most likely cruise around town disco'd, but for anything over 50mph, prob connect them. I'll also need them connected for the drives to ME. So having them is a must.
I decided upon RC discos. i know MANY hate them. I know MANY suggest JKS. Well I had JKS on the white Jeep, and then on this one before I started the rebuild. They were ok, but the road salt pretty much made the adjustability useless as the things would get seized from rust, and even greasing them didn't help. They are built better, but for the price I just got the RC ones. RC also has updated them a bit, with a thicker washer for the top part where you bolt the sway bar bracket thing, and the TRE used is even a little beefier. Time will tell.
The guy I use to do all my welding is picking up the steering links tonight, should have them tomorrow hopefully. Then I can mock it all up for the RuffStuff OTA TB bracket to be welded on. Then it's really just shocks from there to get her on the road!
Before we continue the rest of Part II to get us to the present, I took a break from all the hard stuff and worked on a few other things. Trimmed the over head switch panel I made for a slimmer profile, added the ARB compressor I knew I would need for the Yukon Zip I decided on for the front, redid all accessory wiring with a TXL wire and added a Bussmann acc box, redid winch cables, added some Vision X Dura Mini rock lights, and more:
Here are some photos that show what I mentioned in the first part of Part II, about the "hook and clamp" parking cable, and the rear soft brake line junction block and breather hose from the 8.25:
It's a project box from RadioShack, cut down how I wanted with a dremel. The switches are sitting in switch panel trim pieces which can be bought at OTRATTW, as well as the Carling switches.
The 6x8 box, I believe is what size it is, is the perfect width to fit between the sun visor clips, so all I had to do was go to to store and buy two little "L" brackets with holes already drill (they were meant for picture hanging I think) and use the sun visor clip screw on each side.
 01-02-2016, 01:39 PM