When you click on links to various merchants on this site and make a purchase, this can result in this site earning a commission. Affiliate programs and affiliations include, but are not limited to, the eBay Partner Network.
Yessir. Just got to the airport. I'll check the shackle angles on Monday. Hopefully do the front lift next week and get the valve cover and CCV system back together.
For those of you who asked about the shackle angles...
Well, it's clearly not 45* to the rear. From what I've read, a reduced shackle angle (45 to 60*) gives better flex and improves street ride quality. Is that basically what I would gain from doing this? I would think that the shackle would eventually rotate that way once the leaf pack starts to settle. If this really is necessary, what's the best way? Shackle relocation brackets?
Back to the valve cover work, I bought a flexible magnetic wand to try to retrieve that lost washer that fell into the engine bay compartment somewhere.
Found that sucker first try. Stoked. I'm picking up the CCV tubes/hoses from the dealership tomorrow (finally). Never dealing with dealerships for parts again. Geeze.
Your shackles are at >90* the opposite way which will be a harsh ride. HD offroad makes two great versions of relocators, lift and no lift. I'd think the no lift version would best suit your needs but require you to have nut strips and to drill and bolt a plate in the cargo area. Here's the link to them with detailed instructions. They are the only company I know of that makes a "no-lift" relocator. http://hdoffroadengineering.myshopif...ation-brackets
Your shackles are at >90* the opposite way which will be a harsh ride. HD offroad makes two great versions of relocators, lift and no lift. I'd think the no lift version would best suit your needs but require you to have nut strips and to drill and bolt a plate in the cargo area. Here's the link to them with detailed instructions. They are the only company I know of that makes a "no-lift" relocator. http://hdoffroadengineering.myshopif...ation-brackets
Sounds like a good way to go. I'll make a decision and buy relocation brackets after the lift is completely installed. I'd like to see how my XJ sits and rides before doing this.
I've been making some minor changes here and there while waiting for a new valve cover to come in. "What? New valve cover?" you say. Yes, those stupid CCV elbows (or what's left of them) will not come out of the valve cover. I broke two needle-nose pliers trying to pull them out. Ridiculous. So I decided to buy a new valve cover off eBay and start completely fresh. I'll just sell the old one as is on craigslist. Someone will probably buy it. I have the rest of the CCV parts now, so once the valve cover comes in I'll paint it and reinstall everything. Should be next week.
My passenger side sun visor has been busted from the start. The flip-up plastic mirror cover was broken at the hinges, and the light didn't work. Also, there was something caked on the mirror side of the visor. The whole thing was just in poor condition, so I decided to replace it with a used one off eBay. I finally have a functional passenger sun visor/mirror light. The fianc�e will be happy.
I installed smoked tail lights and turn signals last night that I got off eBay. Since I needed to swap out the normal turn signal bulbs for amber ones, I decided to just replace all of the bulbs in the front and rear for good measure. While the grille and headlight bezels are off, I will be painting them satin black.
Pretty crazy how such a small change can really enhance the look. I see black badges in the future.
In the picture above, you can see that the white, nylon nut at the bottom left of the turn signal is broken. Upon removing the pieces in the front, I noticed that most of these nuts are in bad condition. At least two of them HAVE to be replaced in order for me to screw the grille and headlight bezels back in.
I found the nylon nuts for the grille and bezels at a local auto parts store, so the front is all back together now. The grey body color of the grille and bezels grew on me more, so I decided against painting them black.
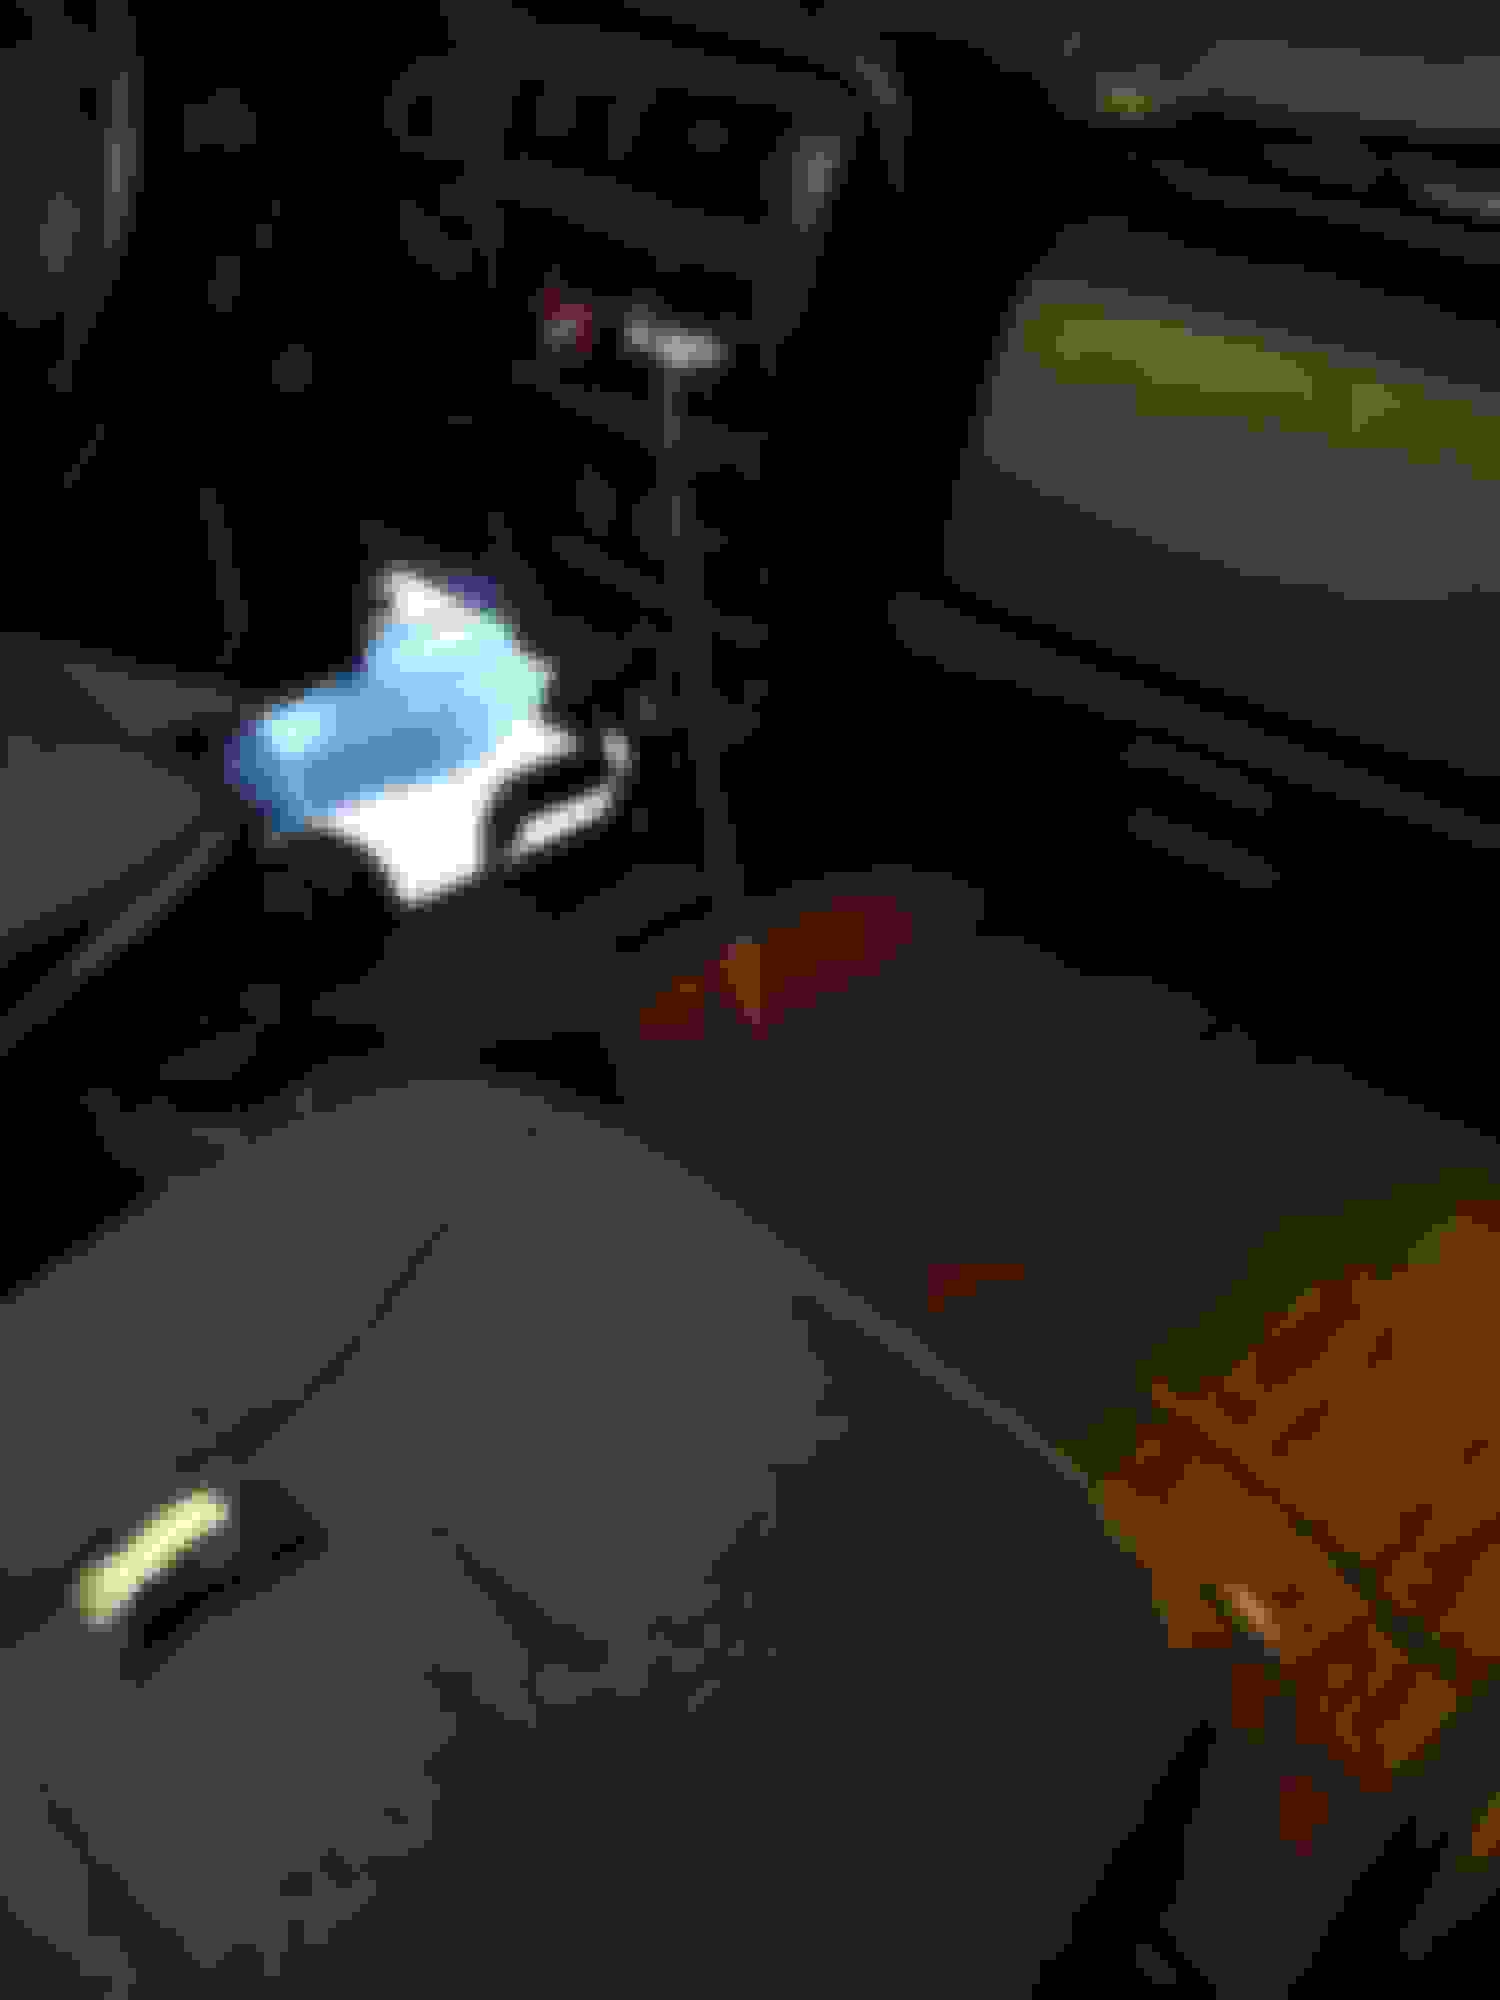
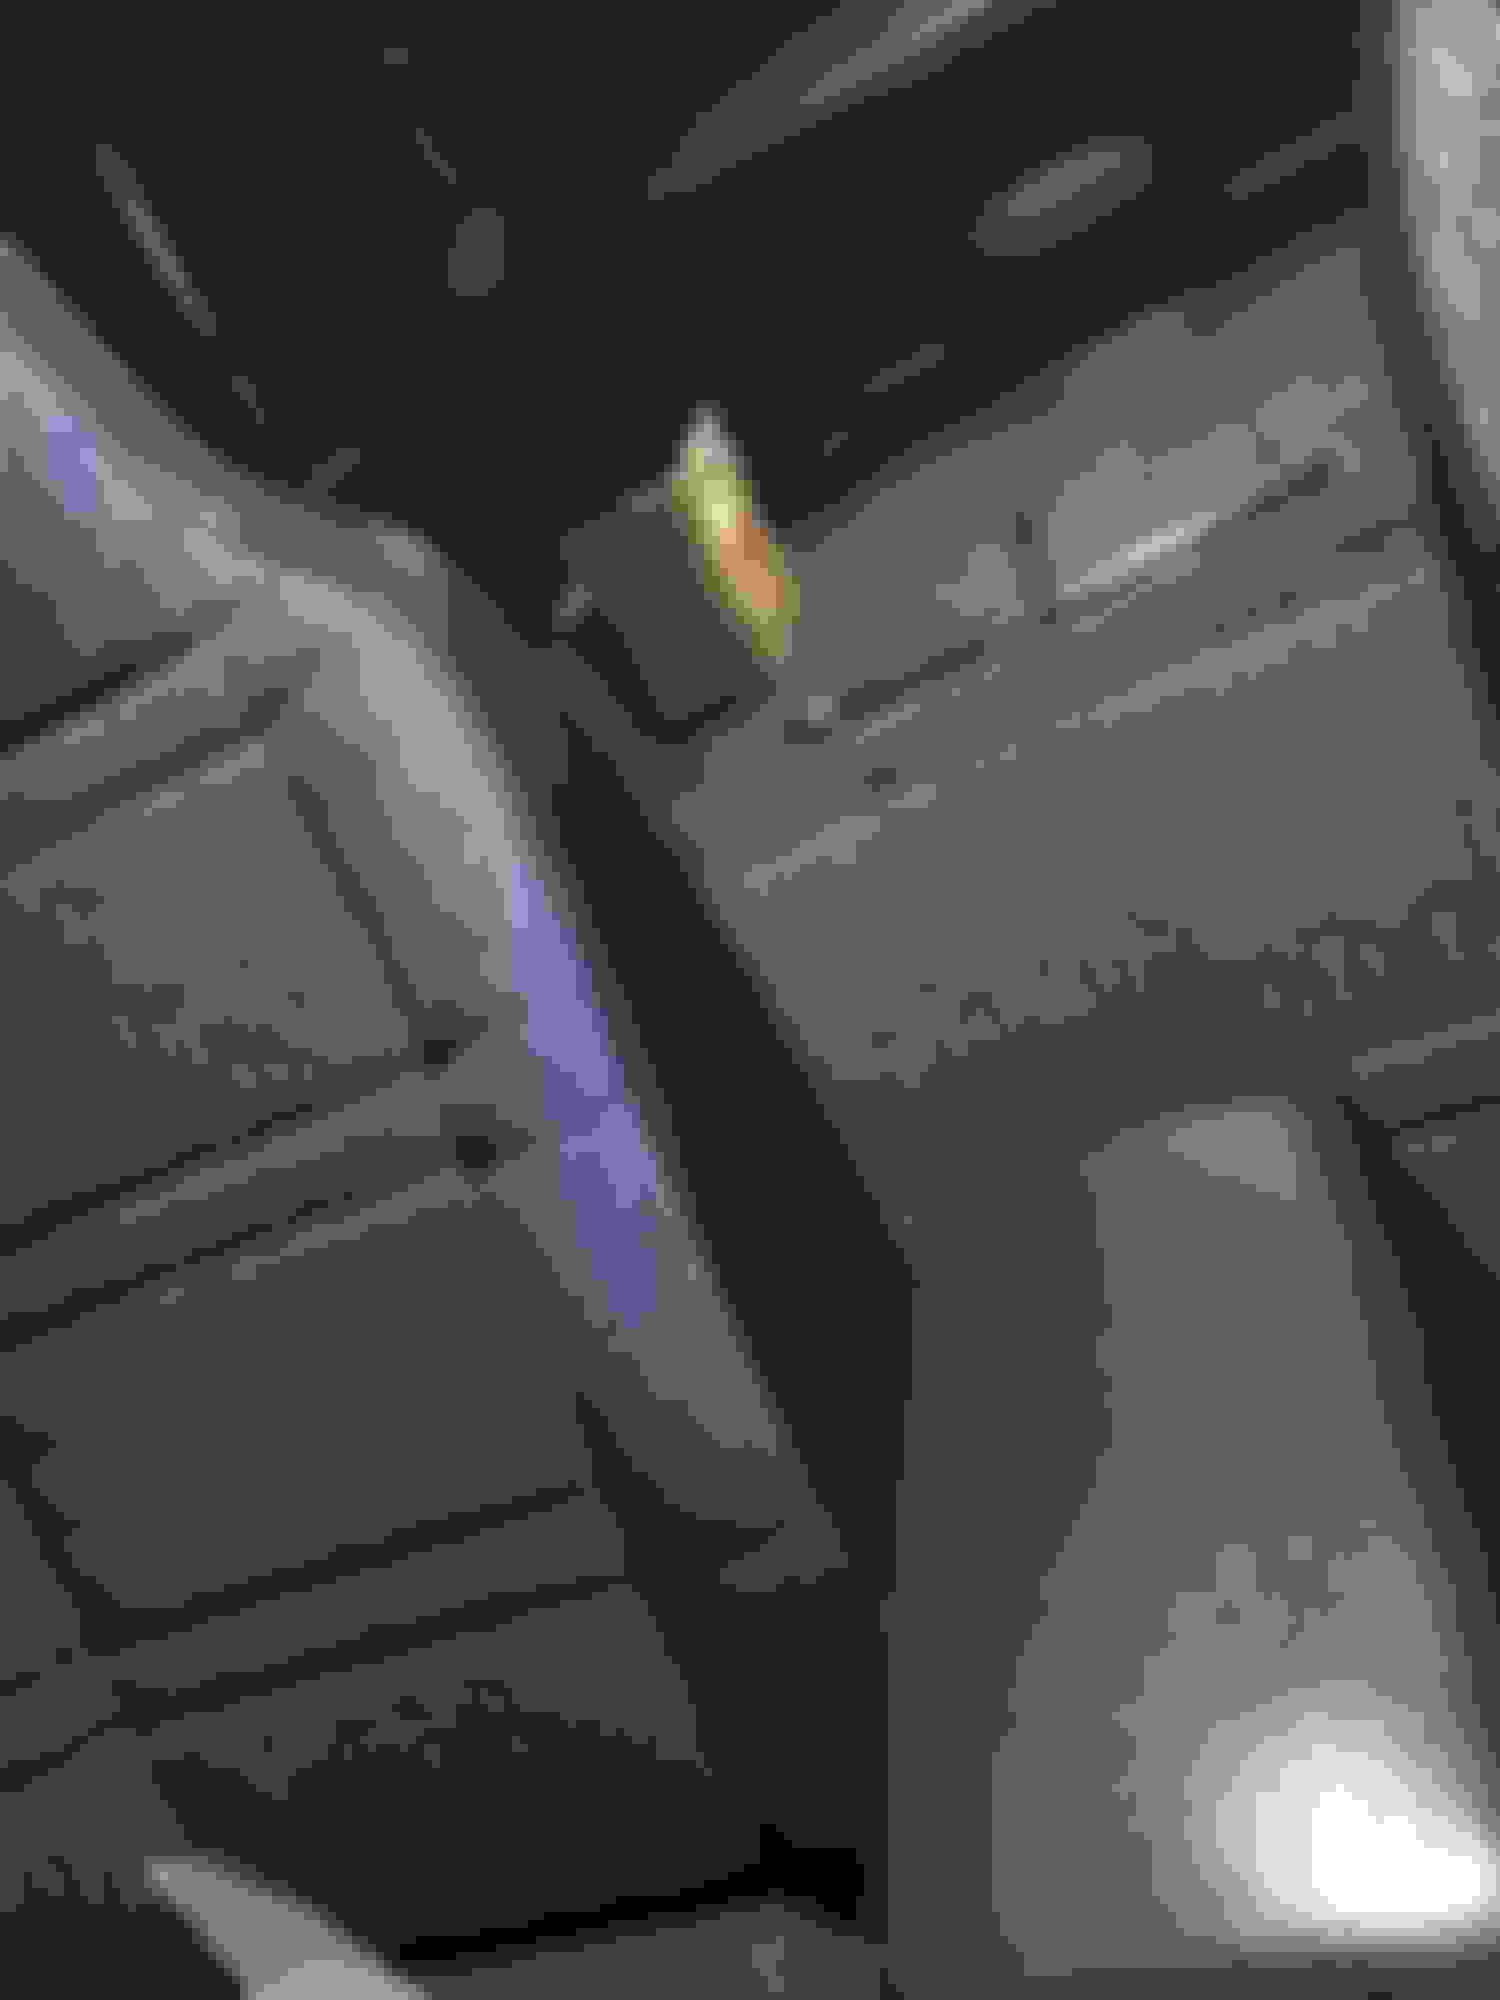
I installed the interior LED kit tonight that Snajo sells here on the forum (https://www.cherokeeforum.com/f73/in...d-sets-188996/). Holy crap is it bright. Extreme difference and improvement over incandescent bulbs. All photos were taken with my iPhone 6 at night. Excuse the poor quality (I'm photographing lit areas at night).
Stock incandescent bulbs
Incandescent cargo lamp
Floor lamp comparison
Full LED interior
At $20, I HIGHLY recommend this kit. Snajo is a pretty awesome guy to deal with, and he clearly cares about the quality of his work.
Lastly, I know I said the front lift was happening last Sunday. It never happened, obviously, but it is happening this weekend! Hopefully it'll go as smooth as the rear lift.
Thanks for the recommendation. I'll be moving around with prices some... Right now I'm making a decent profit off of the cost of the lights... just haven't figured what how much I owe myself for the research and such.
Jeep is looking good... I rode with the rear lift for a week or so on mine. The front lift was just as much a pain as the back, but with more parts. If I could do it again, I think I could knock the entire front and back lift in a weekend for sure. If I didn't screw with the upper control arms, and had new bolts on hand for the rear leaf mounts, I could knock out the lift in a day. My experience was more like three weekends though.
I wish my paint was in as good a condition as yours. I searched really heavy for a month for one in that condition, but eventually it felt like I was hunting unicorns.
I'd love to use your pictures to help advertise my lights... I want to put a gallery of sorts on the website I'm building.
If you have any feedback... doesn't have to be complaints... just stuff that could be improved, let me know. I want to make custom panel lights for the vanity mirrors out of the stuff that's used for cell phone backlight. I want to eventually (maybe a year from now) have dome and cargo lights made that are brighter and with a more centered (less blue) color profile.

 04-10-2015, 08:22 PM